The Conversation (0)
Sign Up
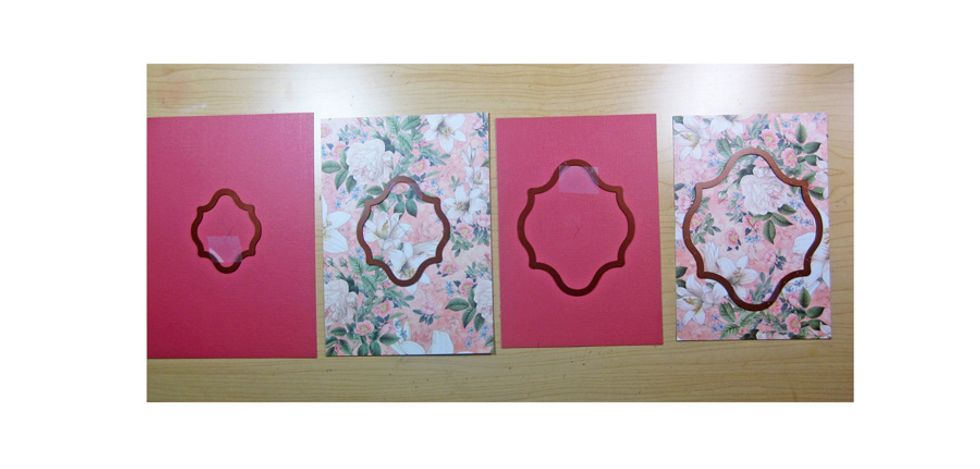
Cut 4 rectangles, Largest 5 x 7", then 4 3/4 x 6 3/4", 4 1/2 x 6 1/2", and 4 1/4" x 6 1/4". Using nesting dies & cut in the center of each, smallest die on largest piece of paper and graduate up.
Here is how the pieces will look once they are cut out and then layered together.

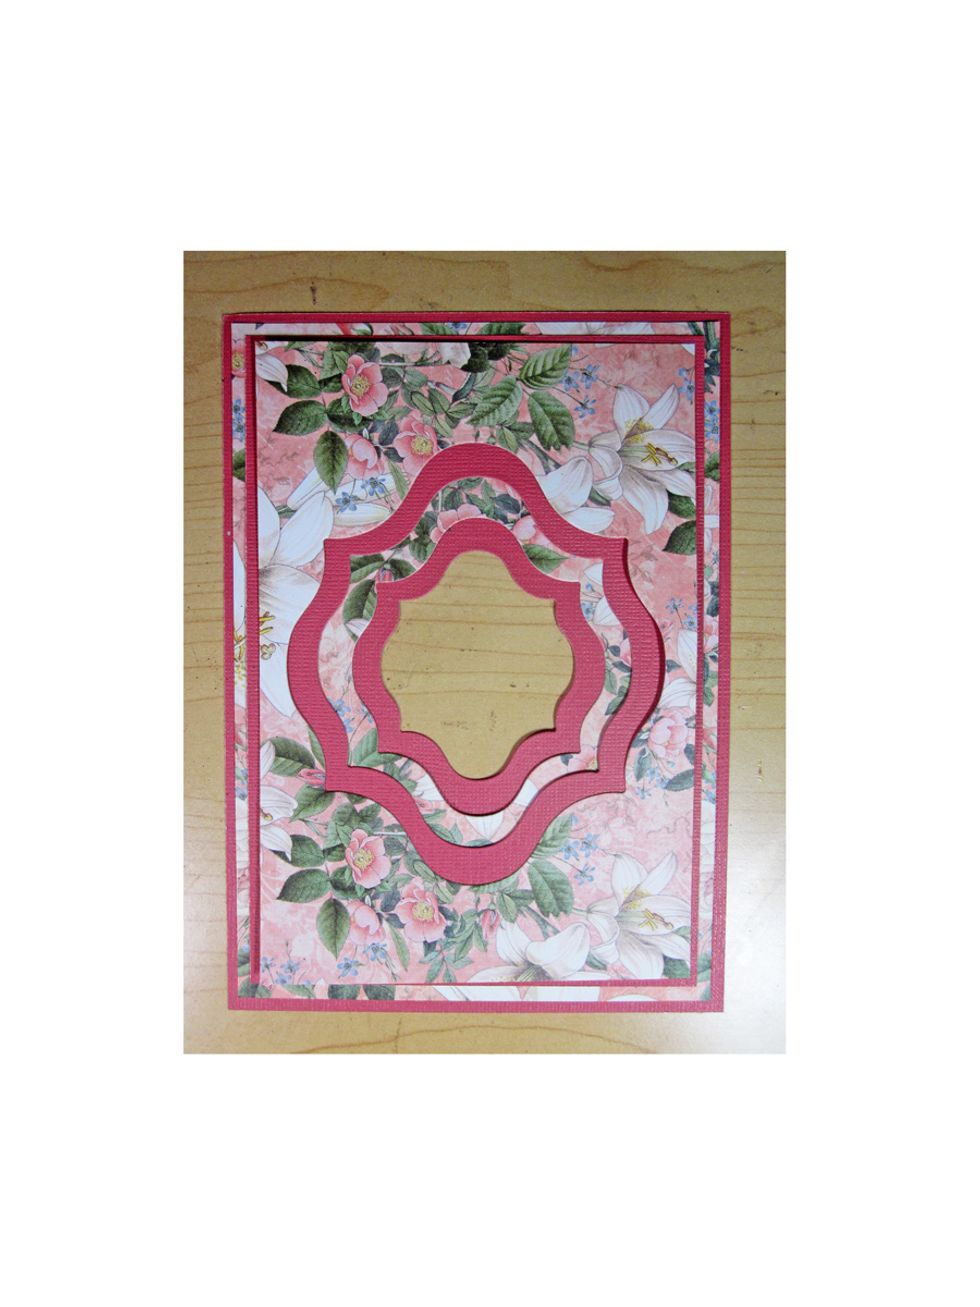
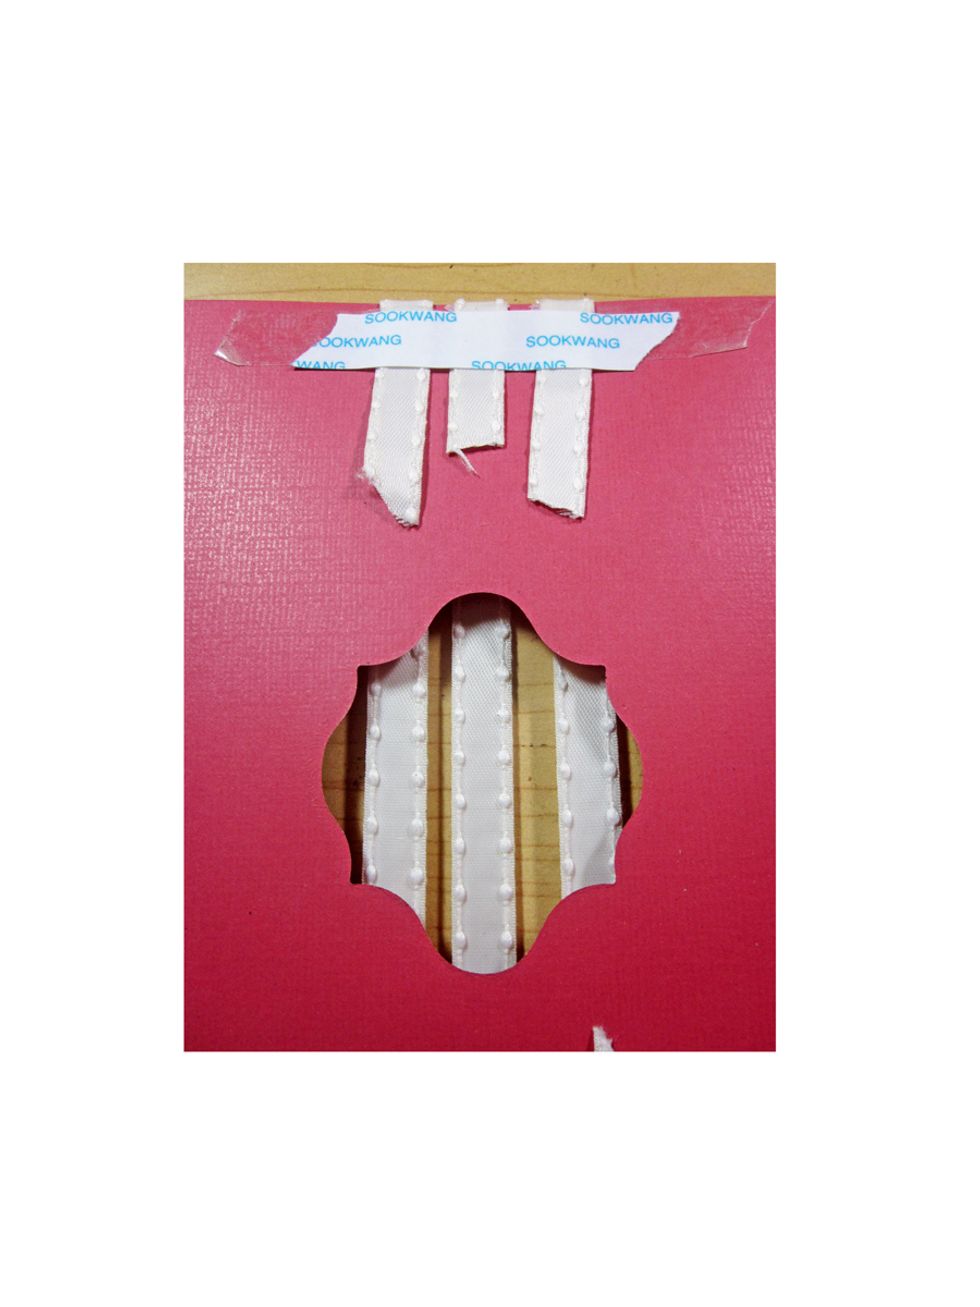
Stack them together and glue down with foam tape. Be sure to place your tape as shown so you will still be able to weave ribbon once the card is together.

Here is how it will look once you have stacked and layered all the pieces together. Now we are ready to start the weave!!!!
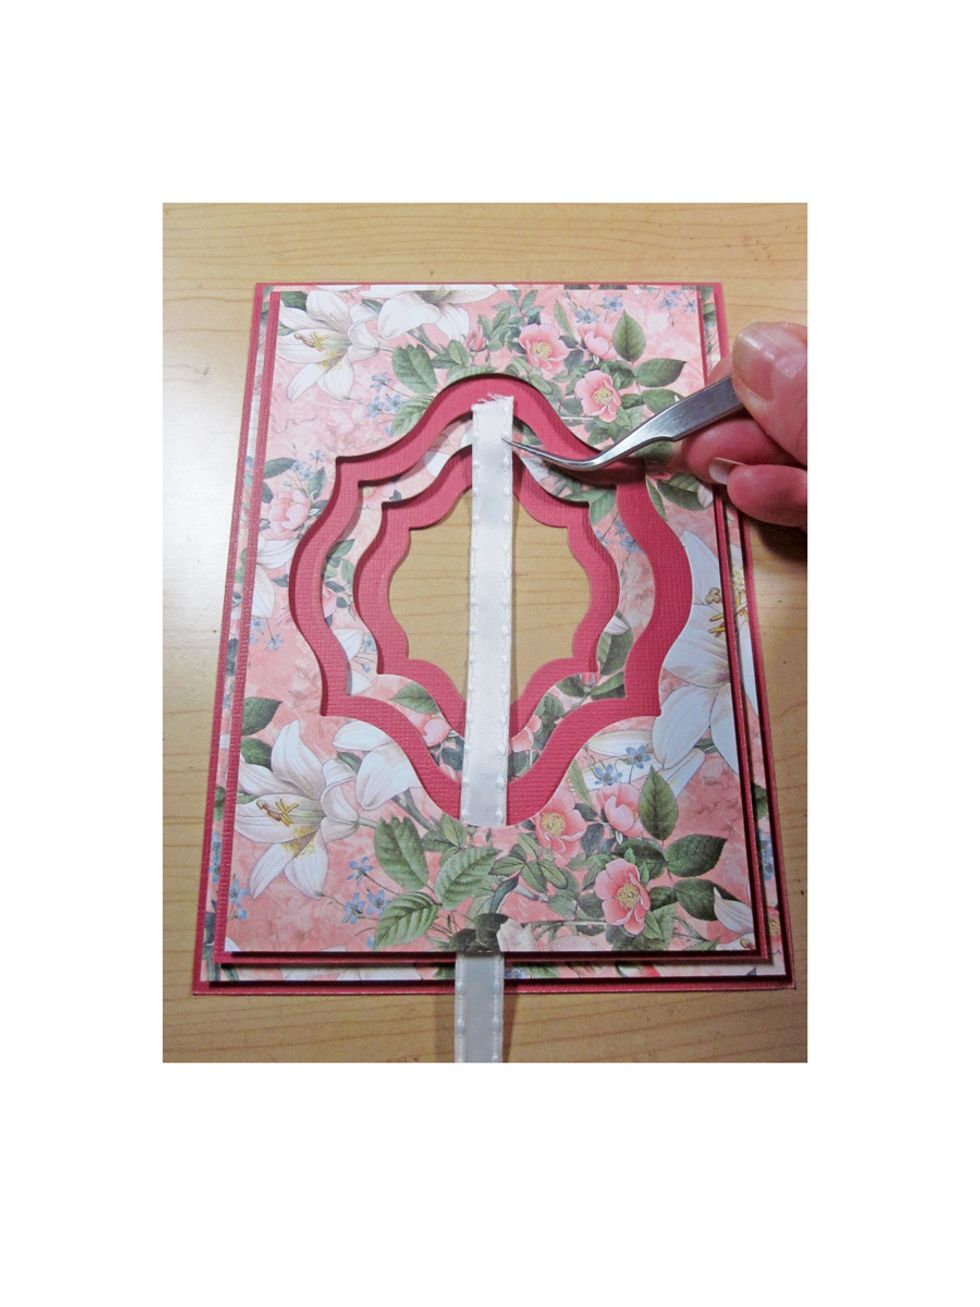
Using May Arts Ribbon take a fine tip pair of tweezers and run your ribbon through the center of the card as shown.
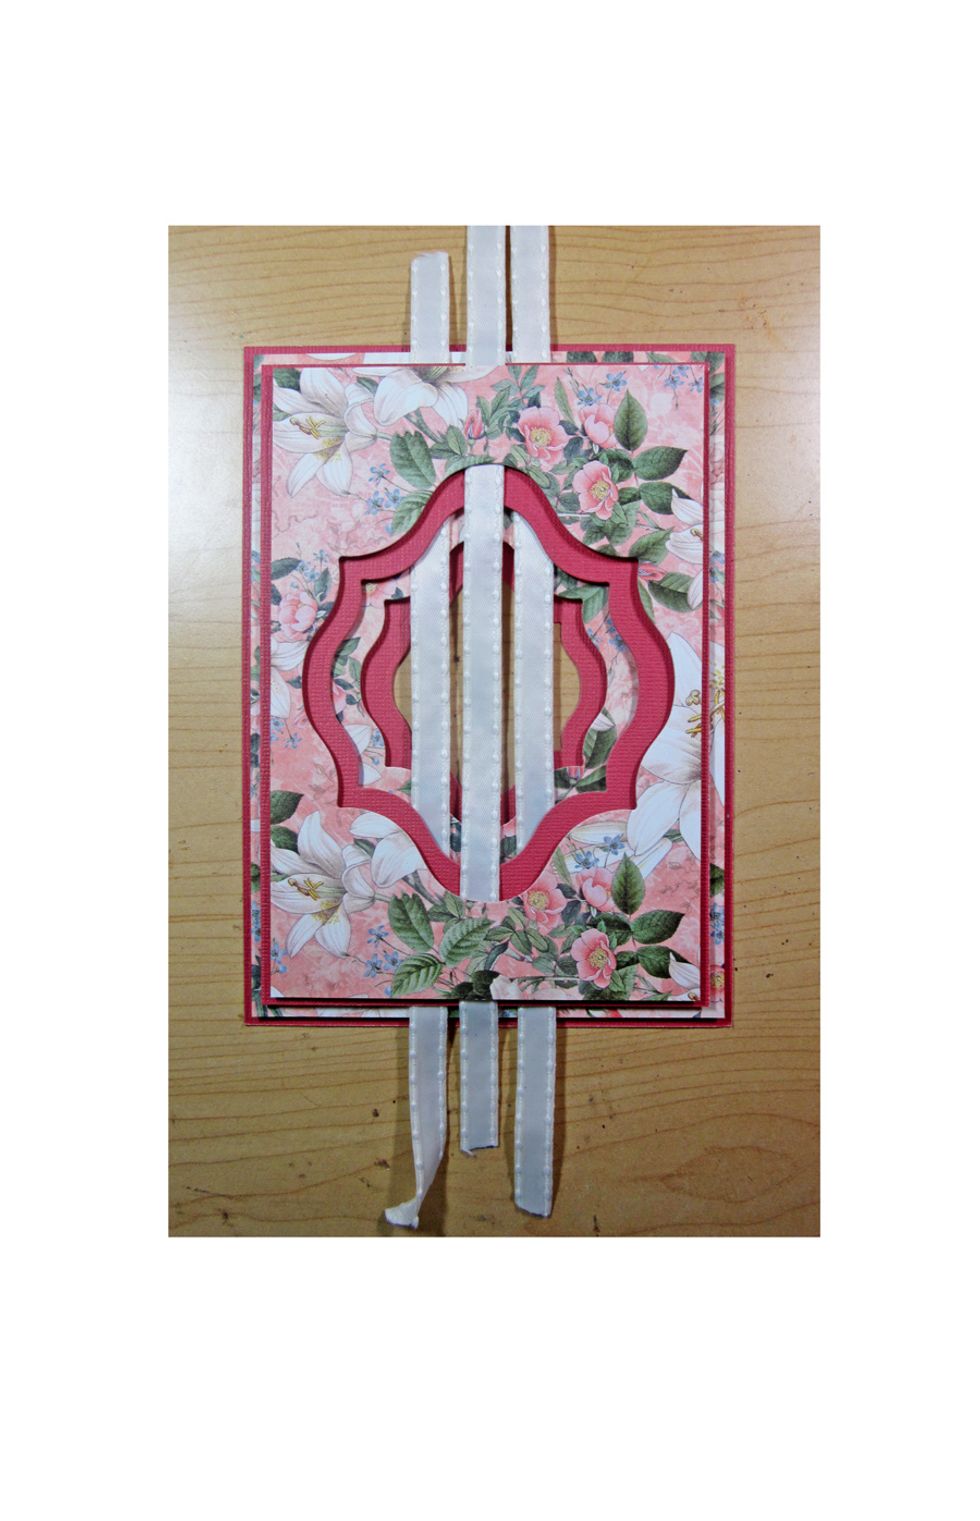
Continue to add two more strips of ribbon as shown. Be sure to alternate the layer that you are running under.
Use a strong glue and wrap the ribbon to the back and glue down. Do the same on the bottom portion too!

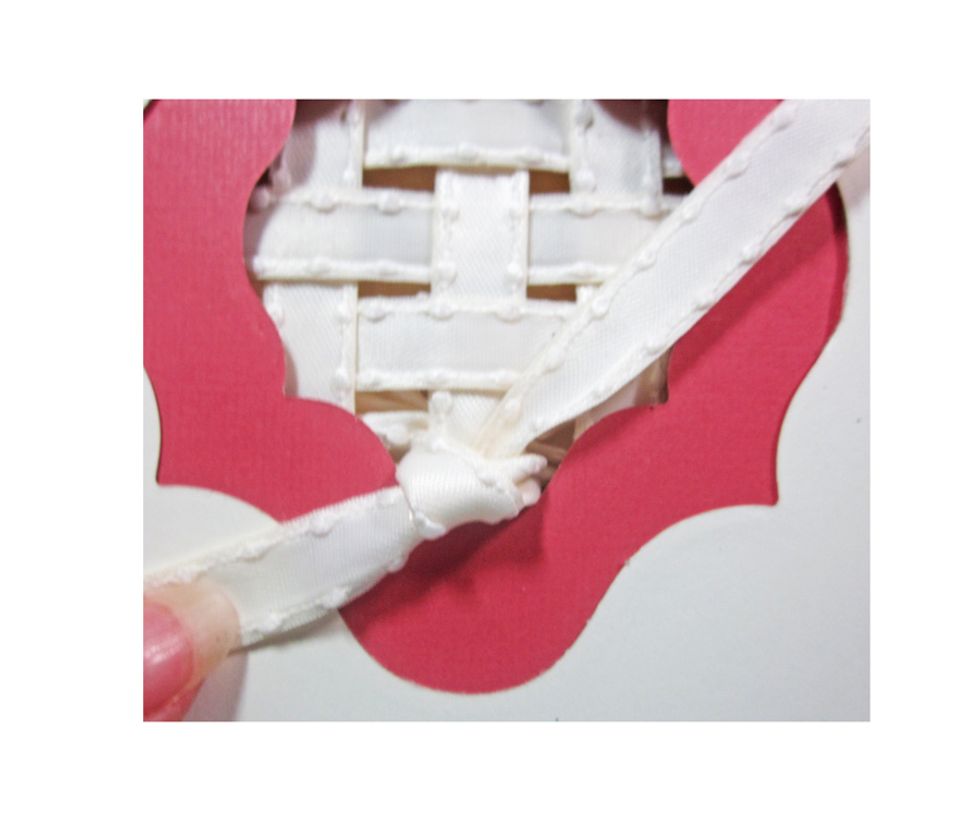
Now rub ribbon from the side and weave it under and over the existing ribbon.

Repeat with two more strips of ribbon. Again, be sure to have one piece of ribbon coming up under one layer and the other two under another so it's alternated.

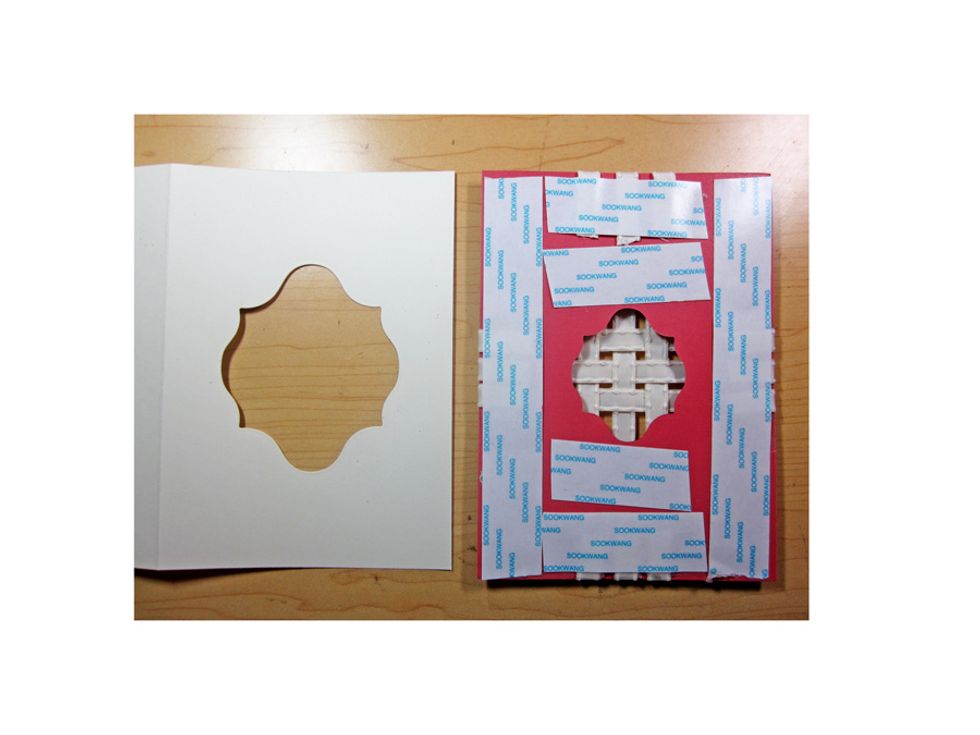
Cut a base card. Then will be a piece of card stock 10 x 7" folded in half. Then line your middle size die down in the center and cut out. This will create a window.

Here's the base card with the window ready to add our front woven panel.
Add strong glue to the back of the woven strip and line up on the base card to attach.

Make a triple loop bow with tails.

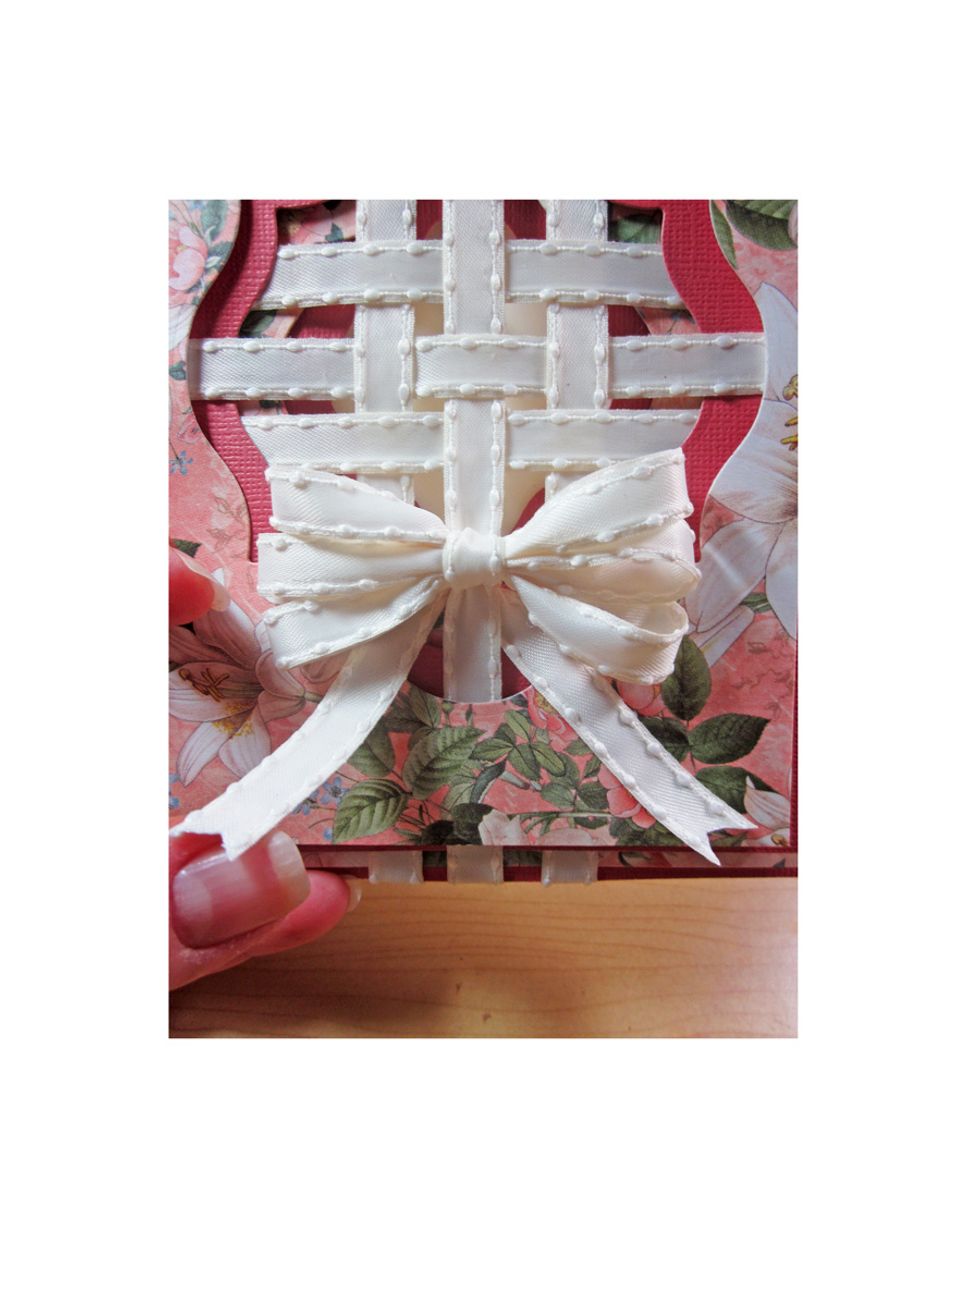
Run your bow tails through the middle of the card.
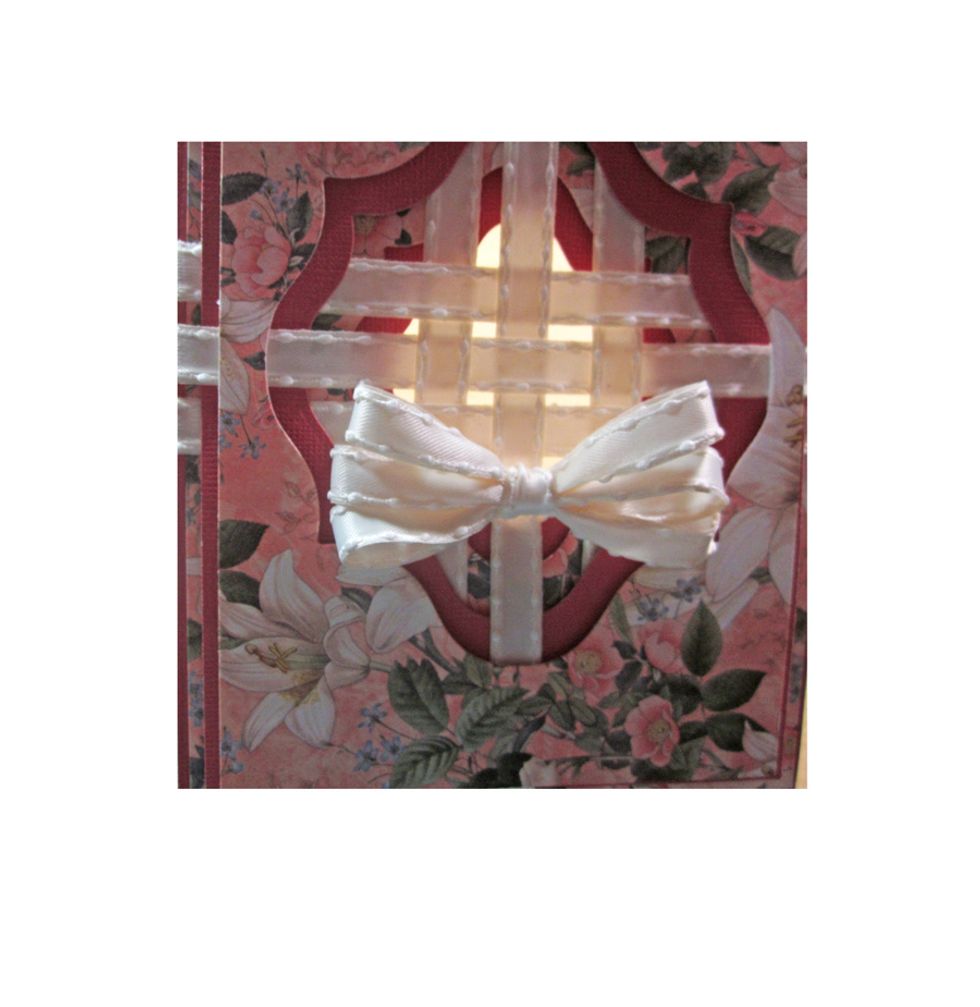
Here is how the bow will look before we have secured it.
Flip your card open and then tie a knot to secure the bow.

Push your tails back to the front of your card.
Wiggle your bow to the appropriate spot and cut your tails with a pretty end. Moving your bow down a bit will hide your knot from site from the inside of the card
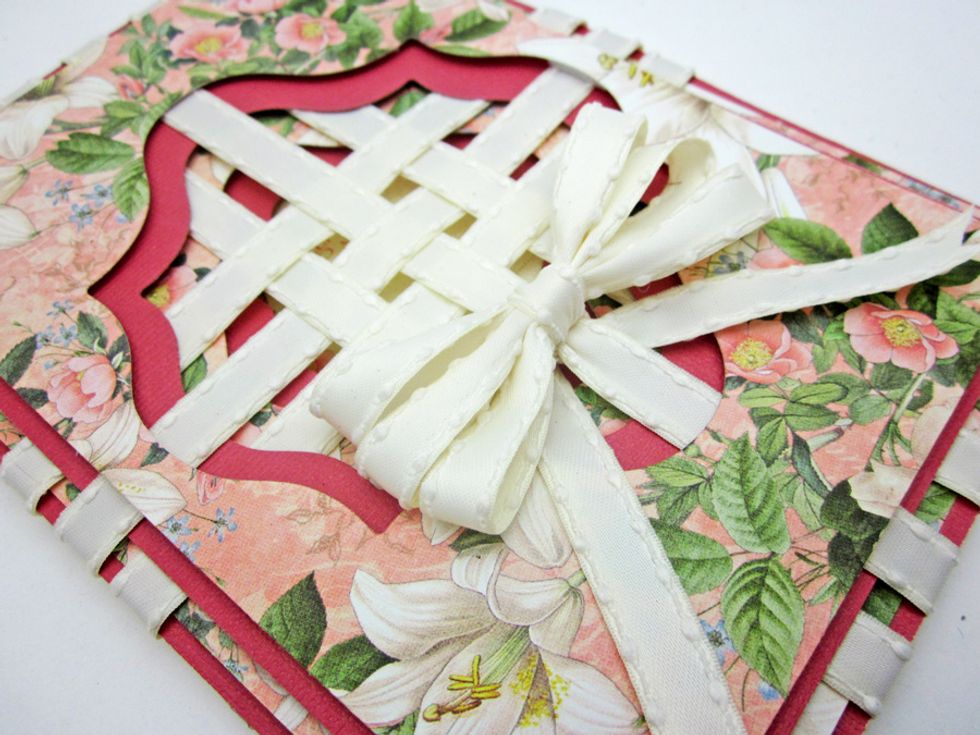
Here is a close up of the woven front. For more pictures and inspiration, check out my blog www.pinkcloudscrappers.blogspot.com and also more ribbon fun at www.MayArts.com