The Conversation (0)
Sign Up
Download PAGES by APPLE from the AppSore ($9.99). Pages is the BEST mobile word processor ever! Buy it, Open it, and let's go!!!
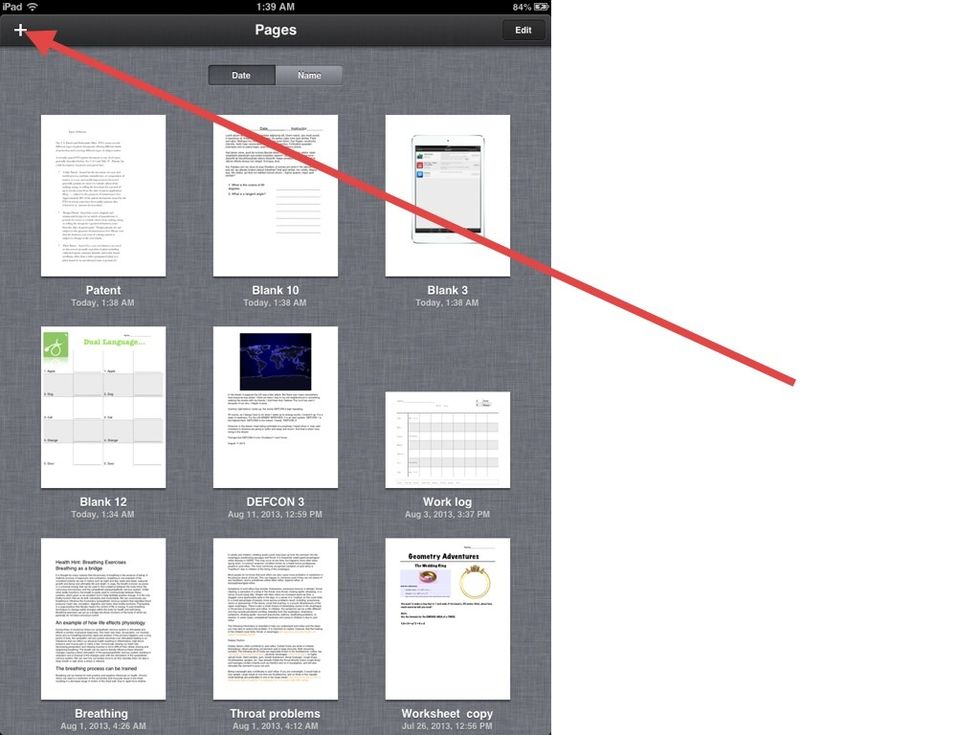
Tap the WHITE PLUS to create a new page.
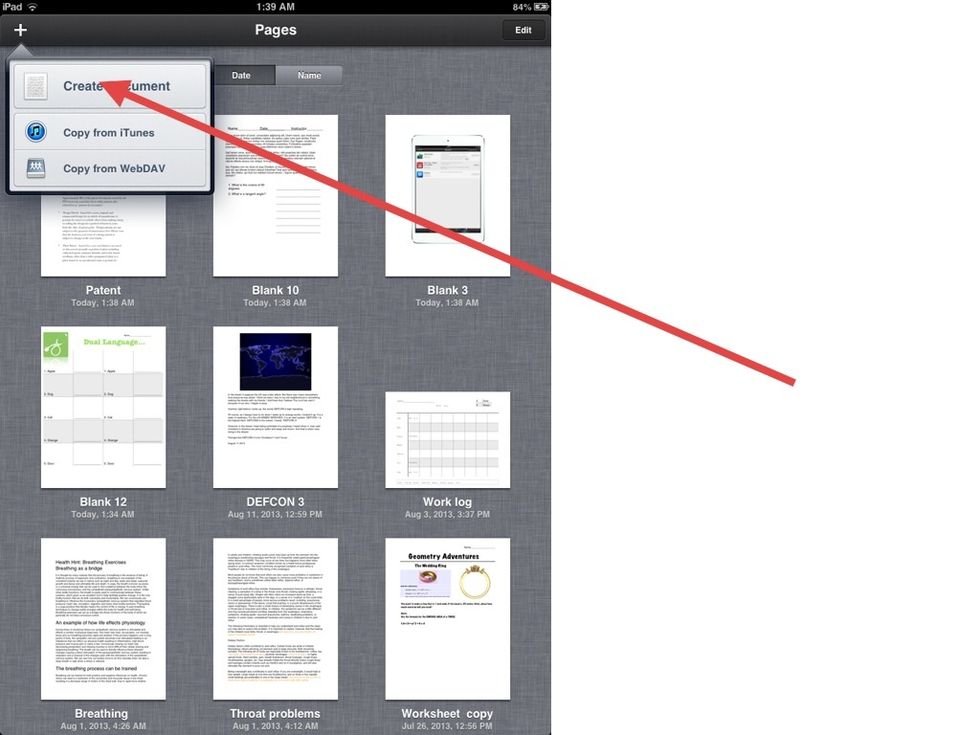
Tap CREATE DOCUMENT.
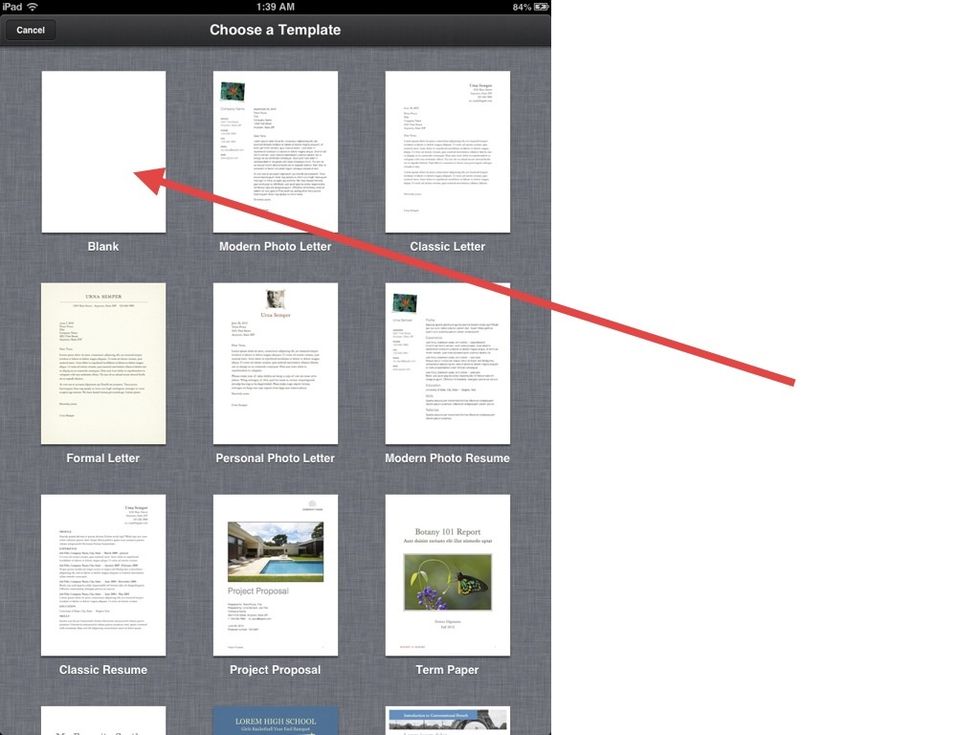
Then BLANK.
TABLE
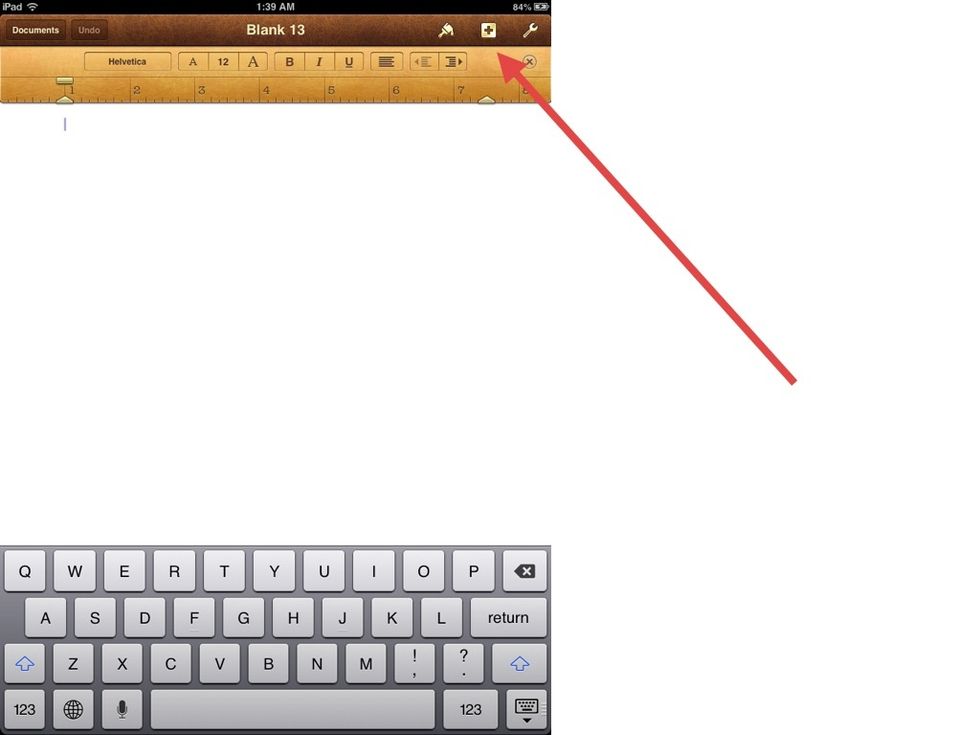
Tap the BROWN PLUS to add a TABLE.
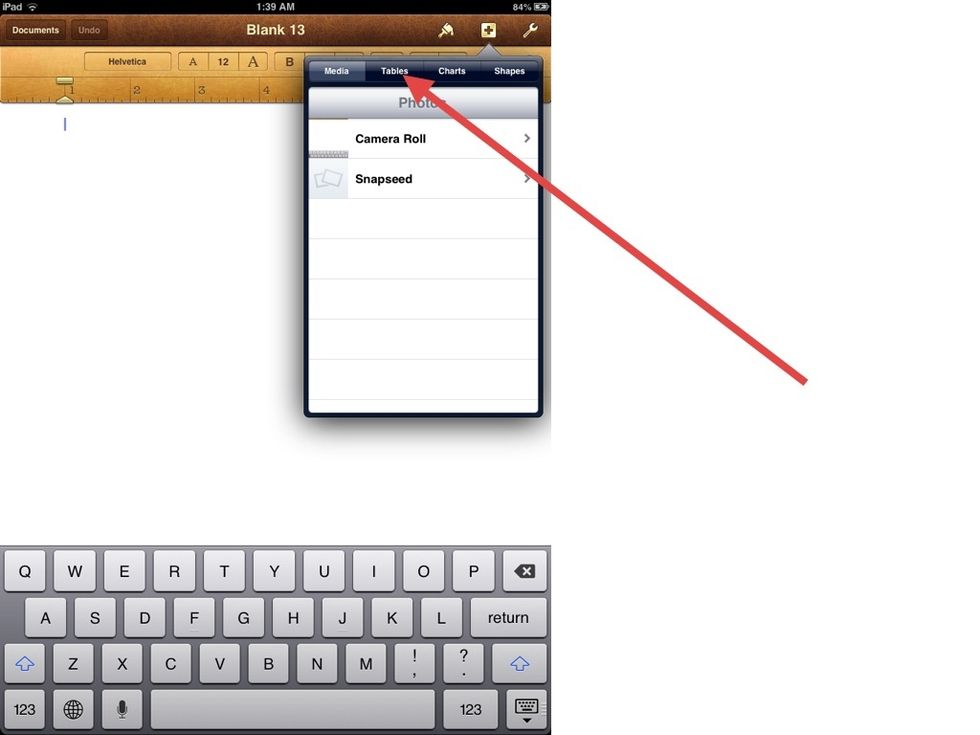
Then tap TABLES.
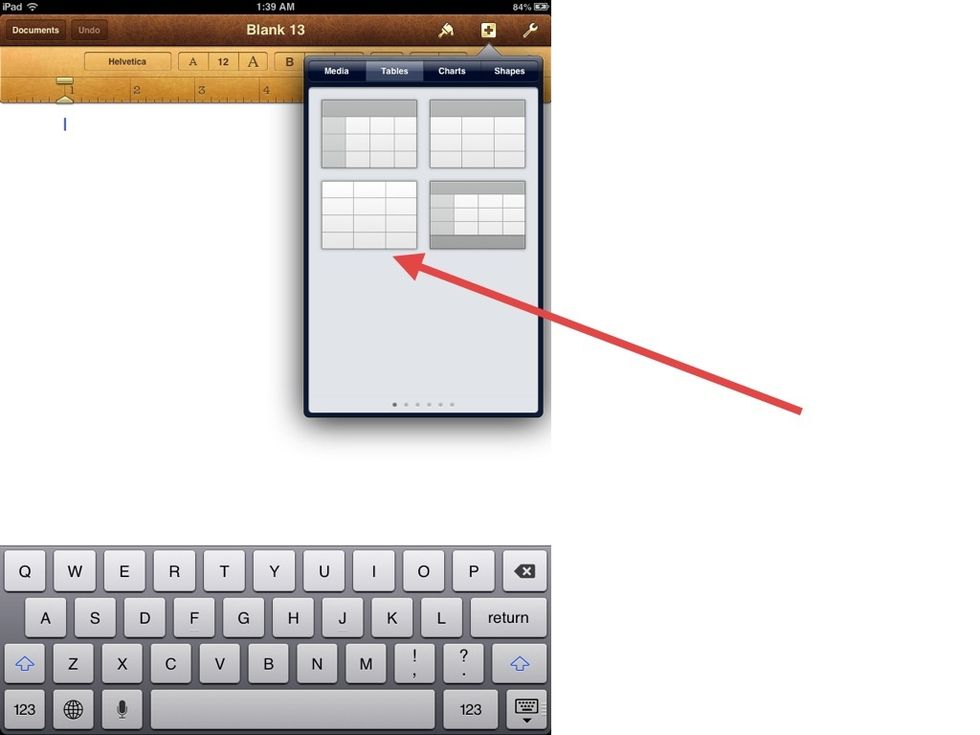
Select a basic table.

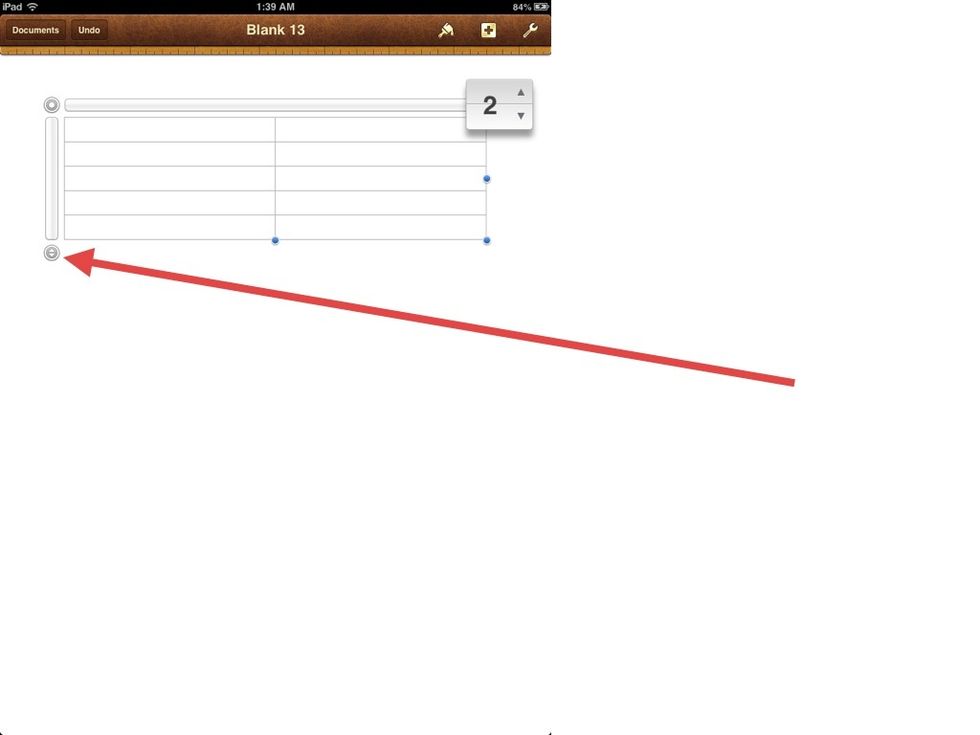
Tap the COLUMN BUTTON to change the amount of columns in your table.
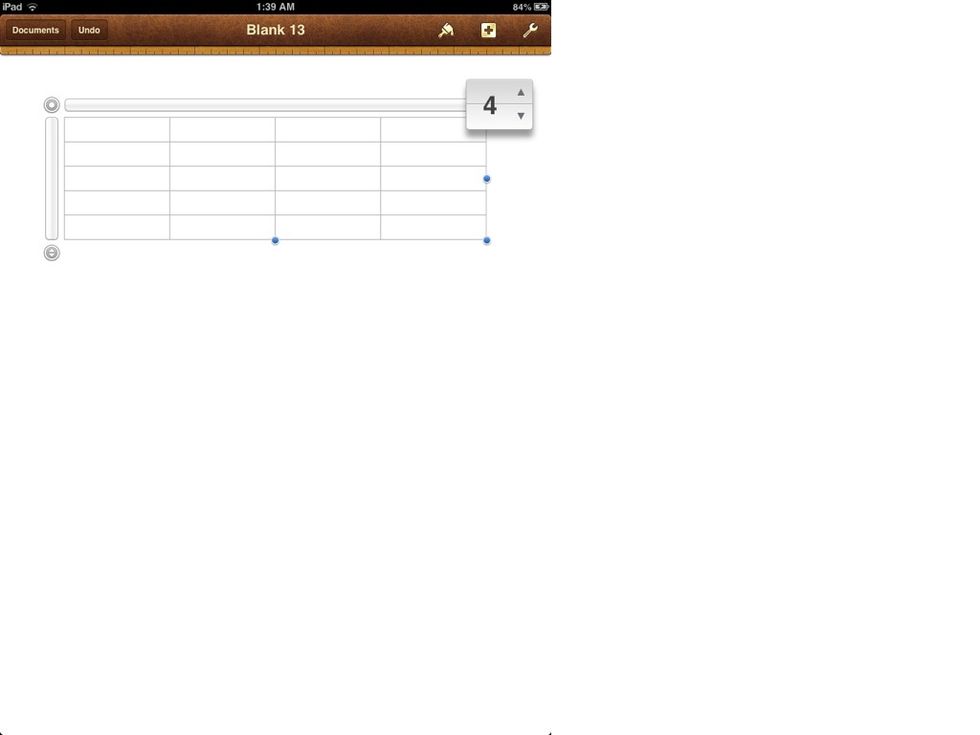
It's currently at 4. Change it to 2
You can also change the amount of ROWS by selecting the ROW BUTTON.
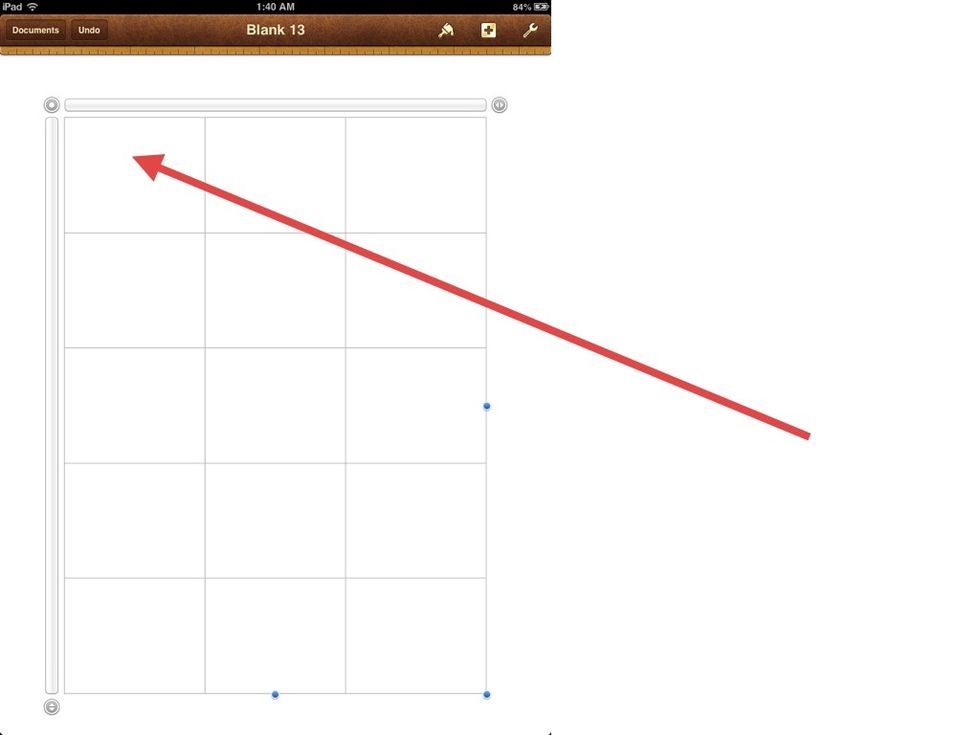
I decided to use 3 columns. Select the table and drag the BLUE HANDLES to adjust the size of the table.
Now select the TOP-LEFT box.

DOUBLE-TAP it to add some text to it.
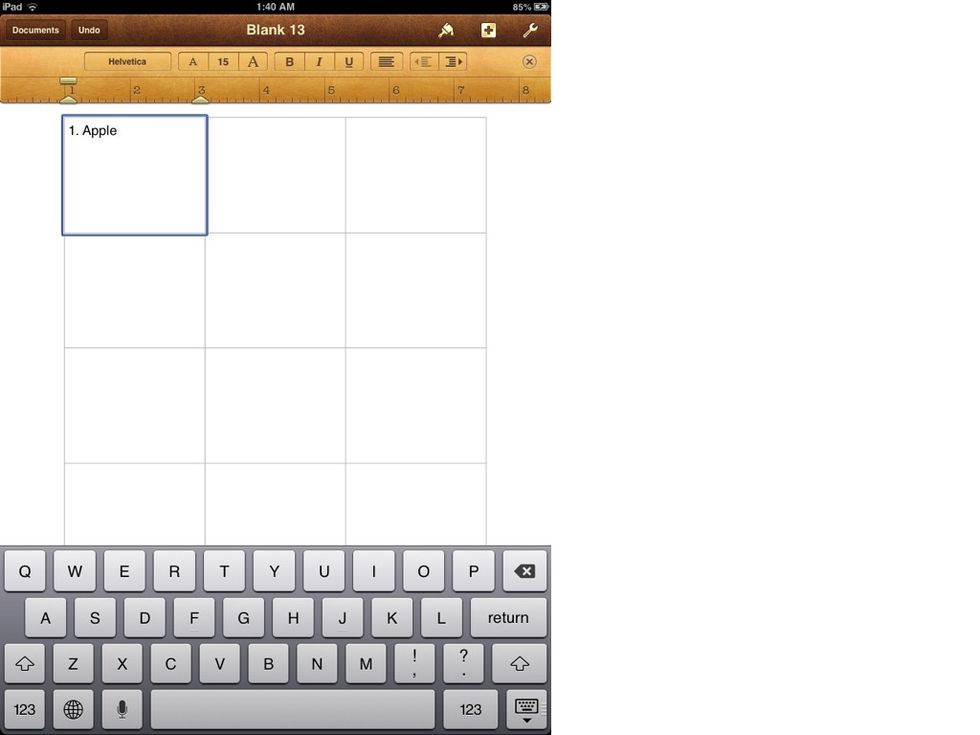
Like so. Do the same for the rows underneath it.
UNDERLINE
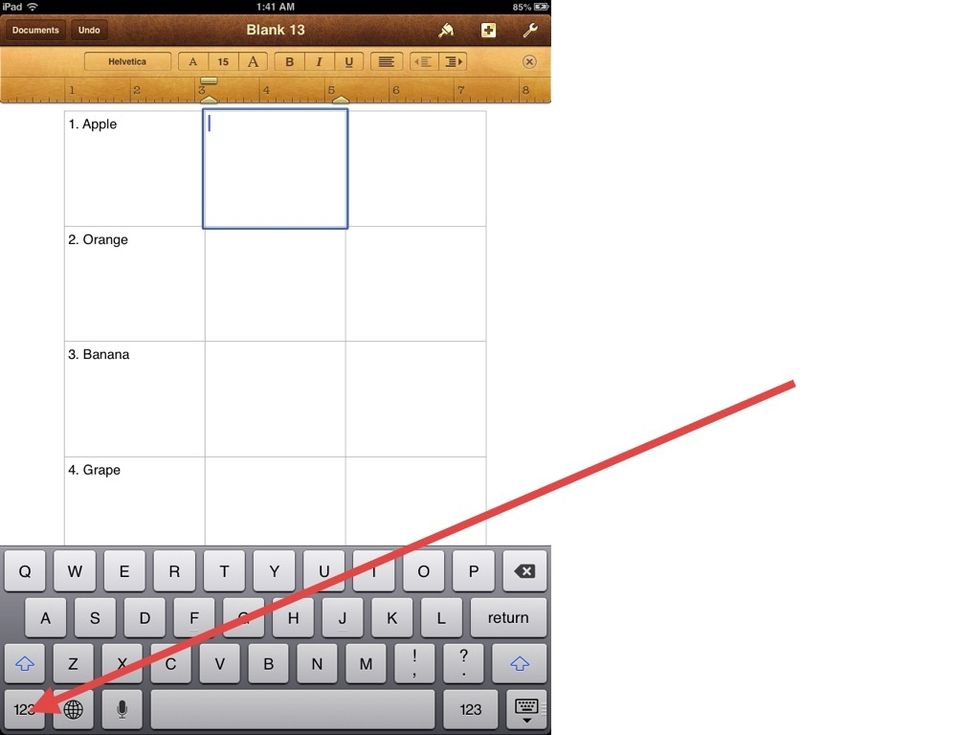
Select the 2ND COLUMN and on the keyboard tap (123).
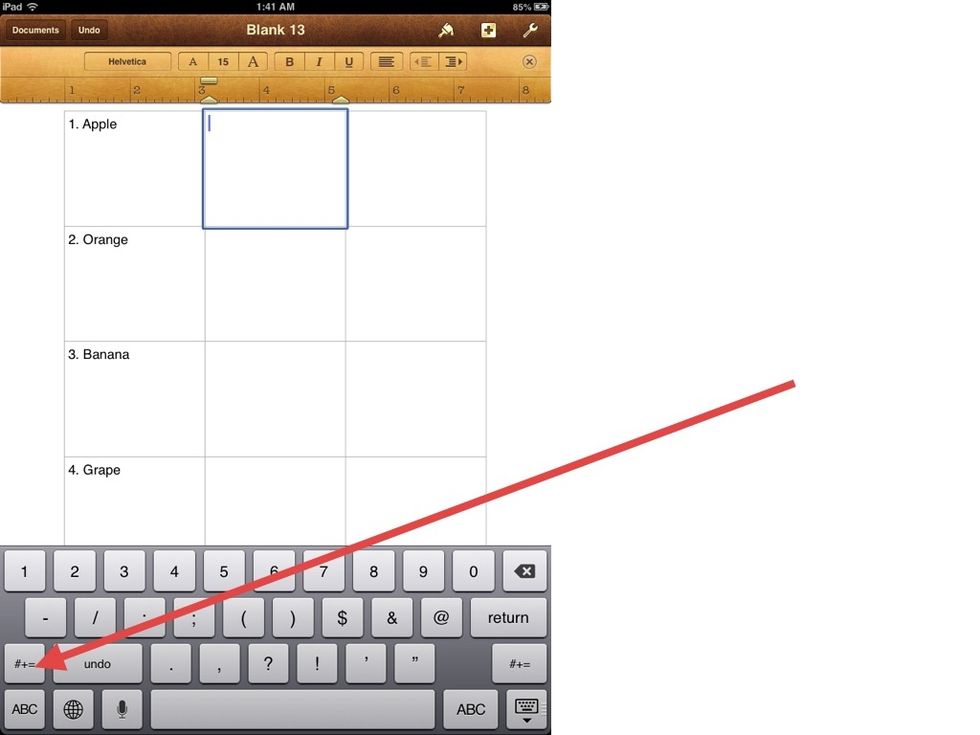
Then tap (#+=)

Then tap the UNDERLINE symbol.
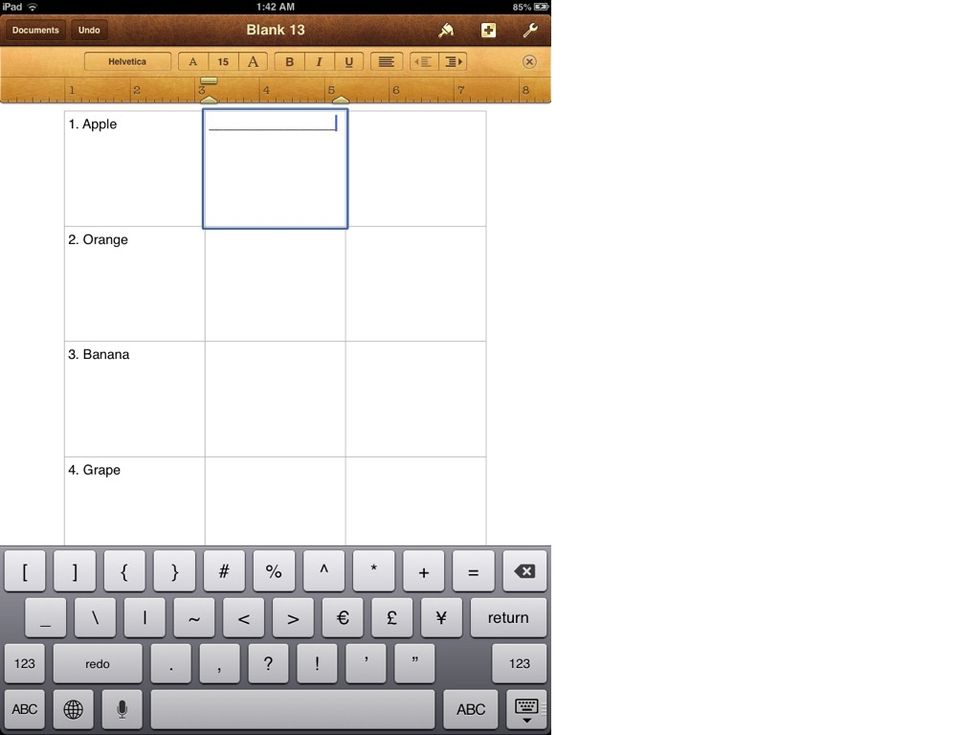
Tap enough times to fill up the width of the box. Don't overdo it.
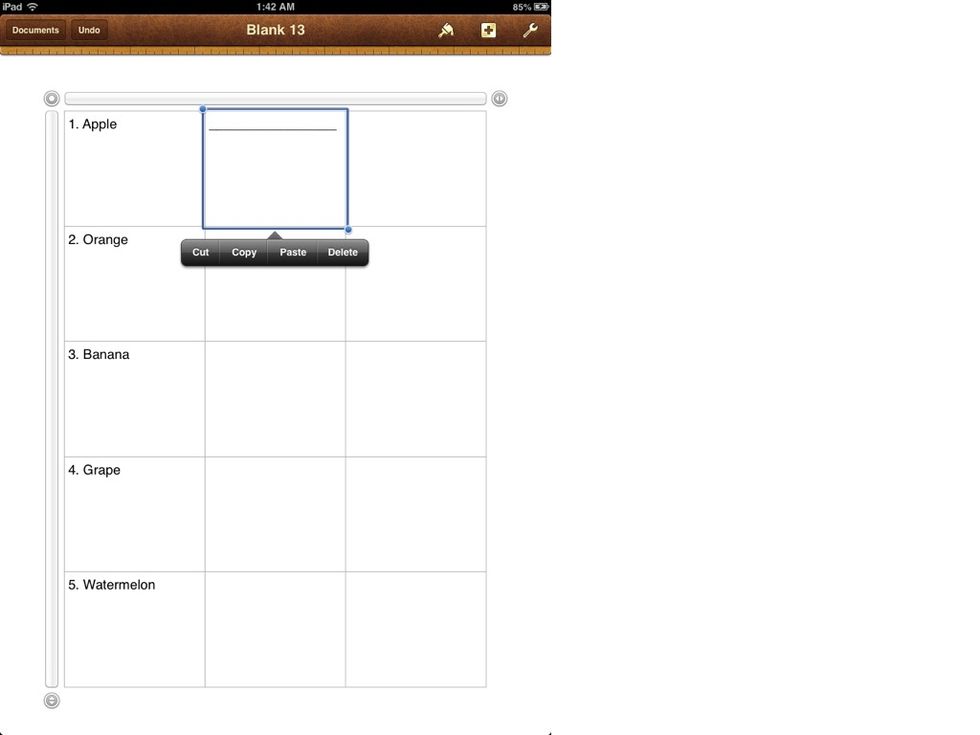
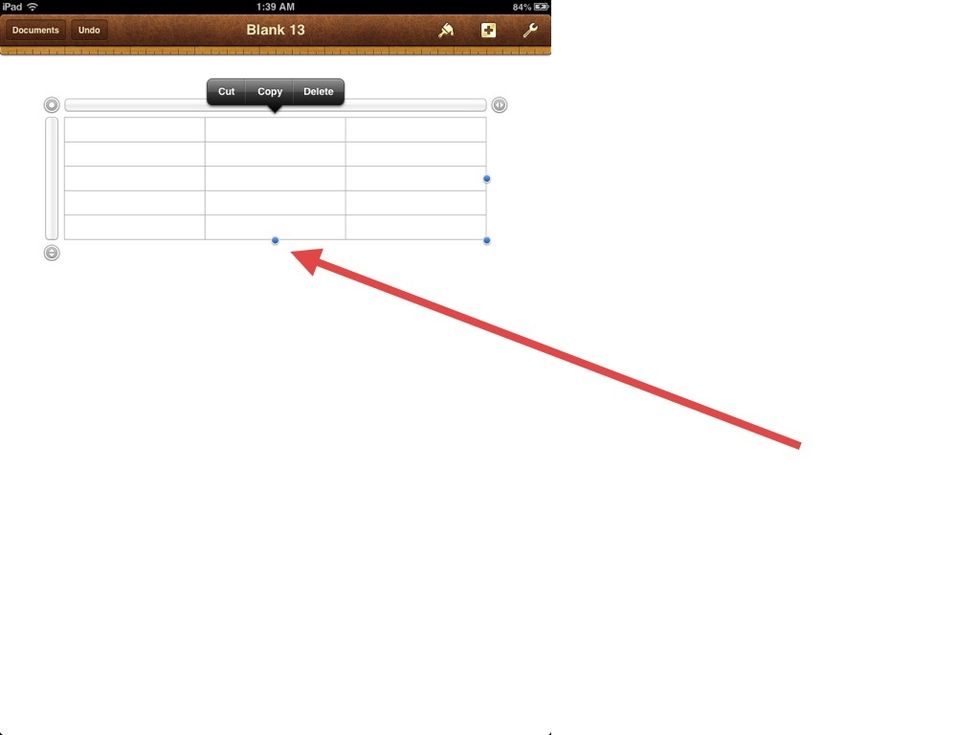
Select the box and tap COPY from the menu that pops up. Paste it into the columns underneath it.
LOCK TABLE
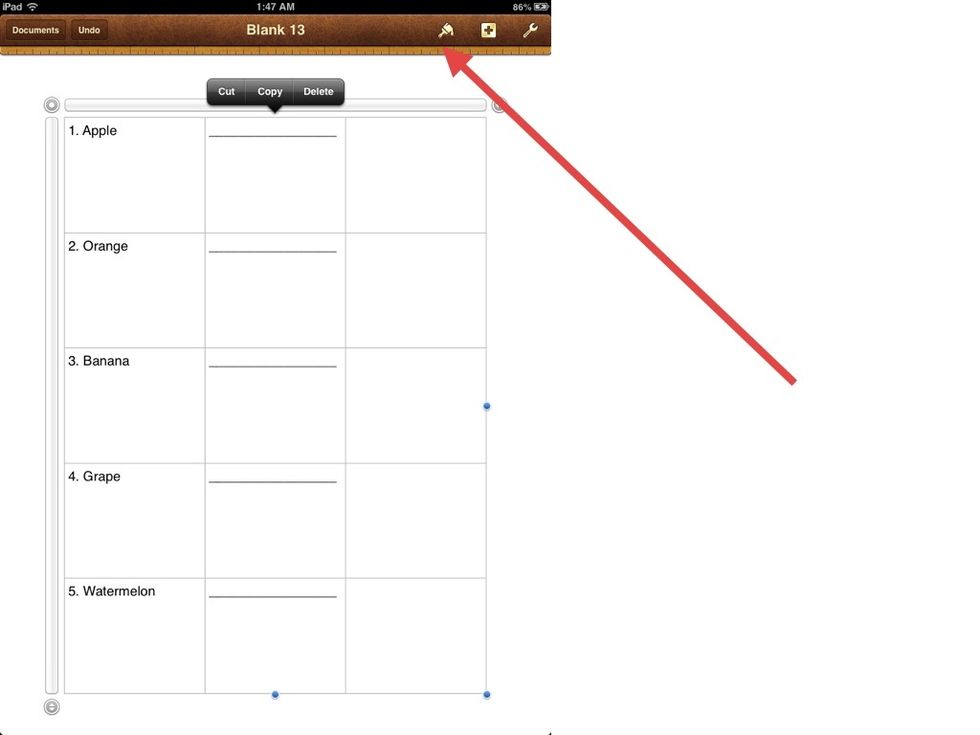
Tap the GOLDEN PAINTBRUSH
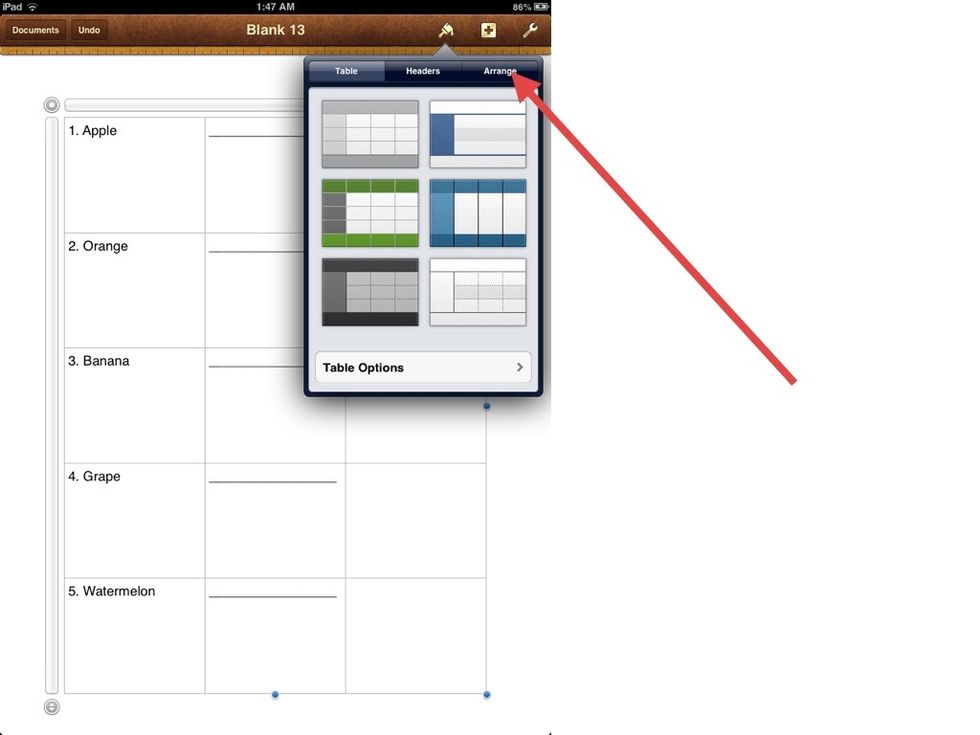
Tap ARRANGE
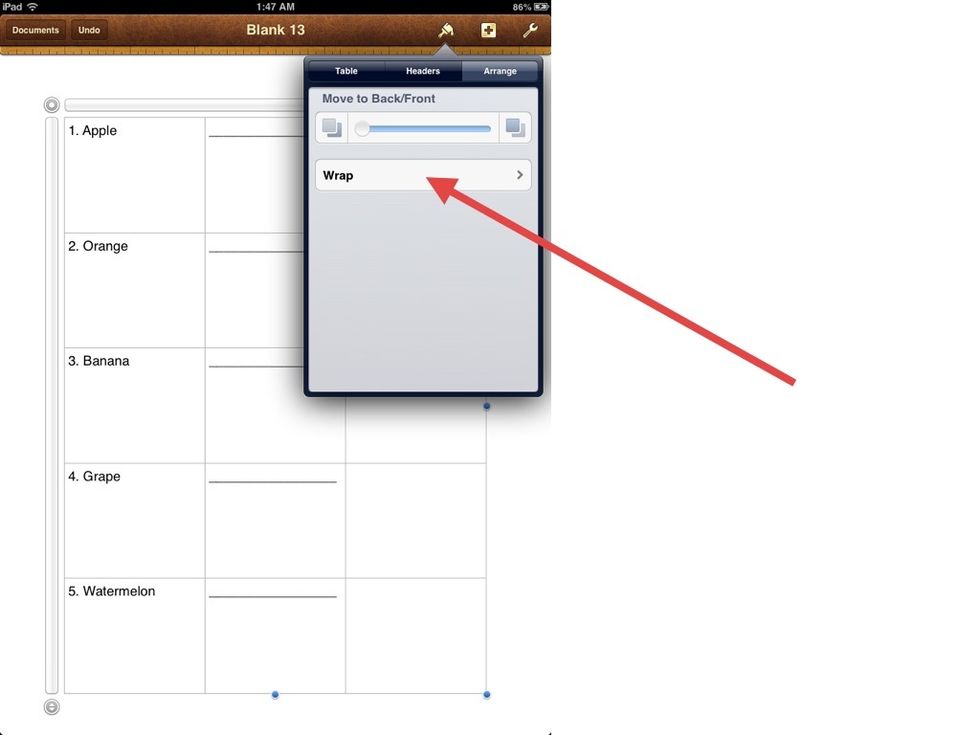
Then tap WRAP
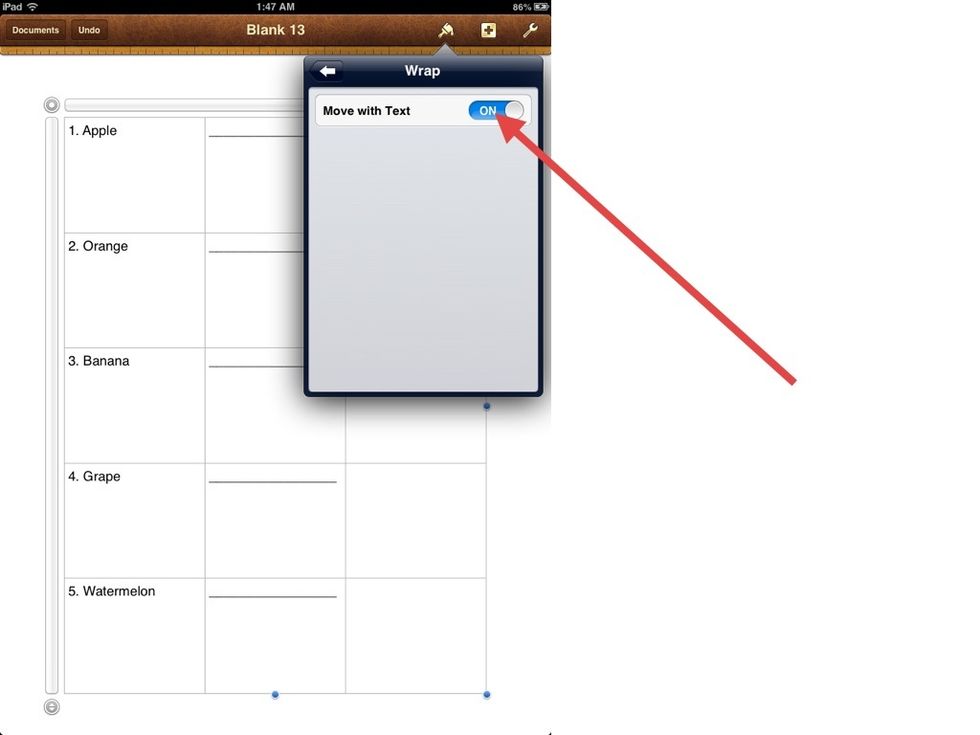
Then turn OFF MOVE WITH TEXT.
The menu changes. Tap the BACK ARROW

Now we can LOCK the table so that it remains in place.
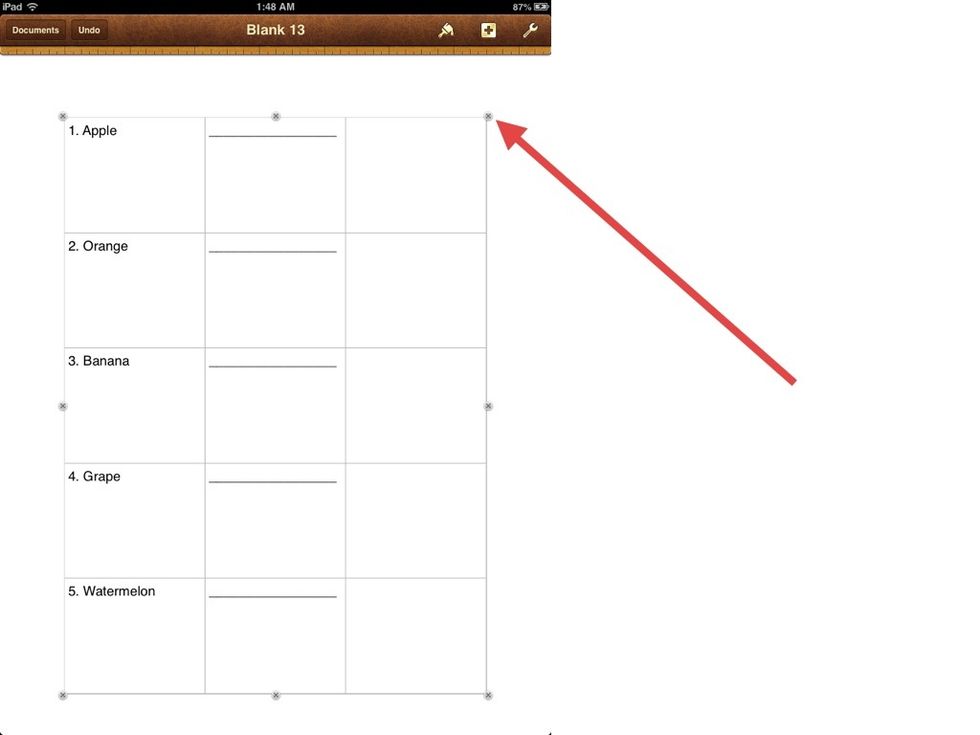
A locked item will have little Xs around the edges.
PHOTO
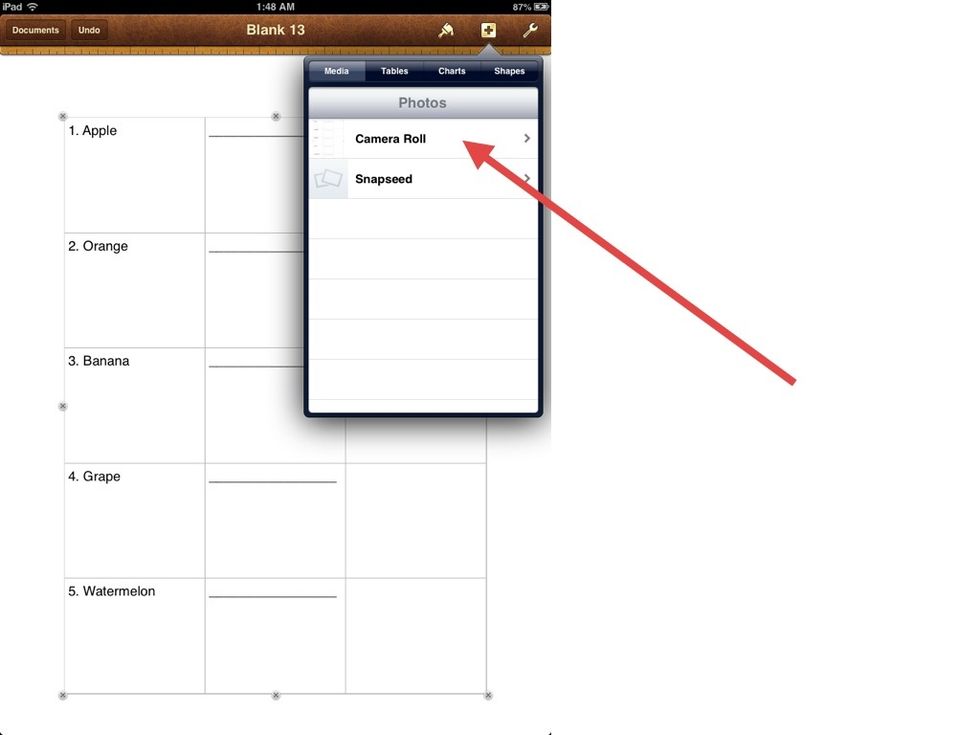
Tap the BROWN PLUS. Then go to MEDIA and then tap CAMERA ROLL.
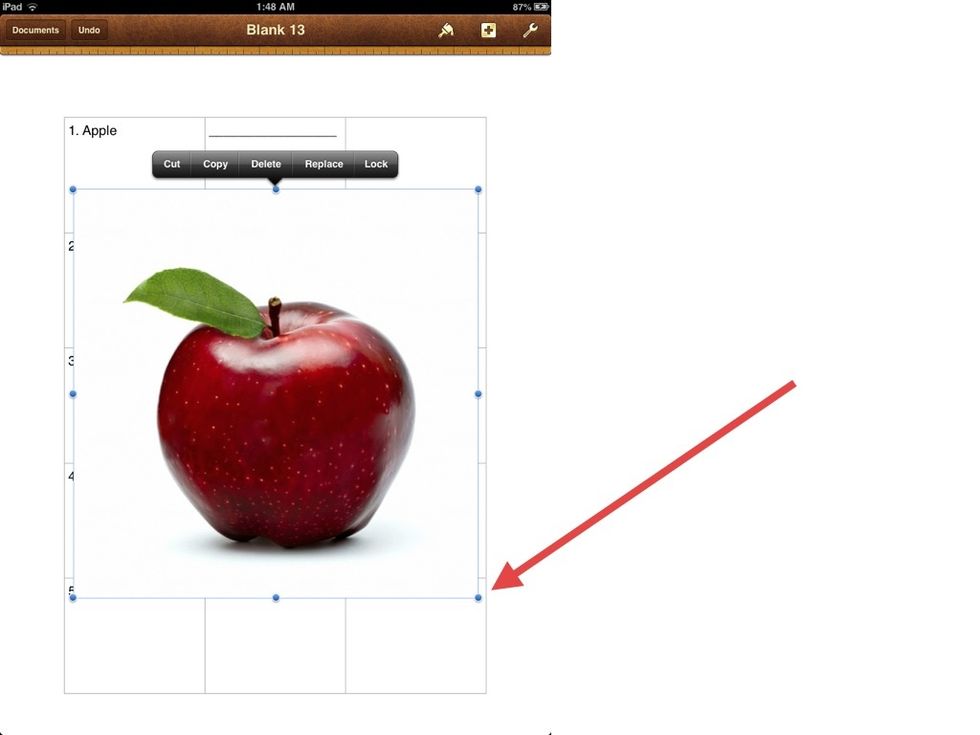
Add a picture. I added an APPLE. Use the BLUE HANDLES to adjust the size.
Place it then select it.
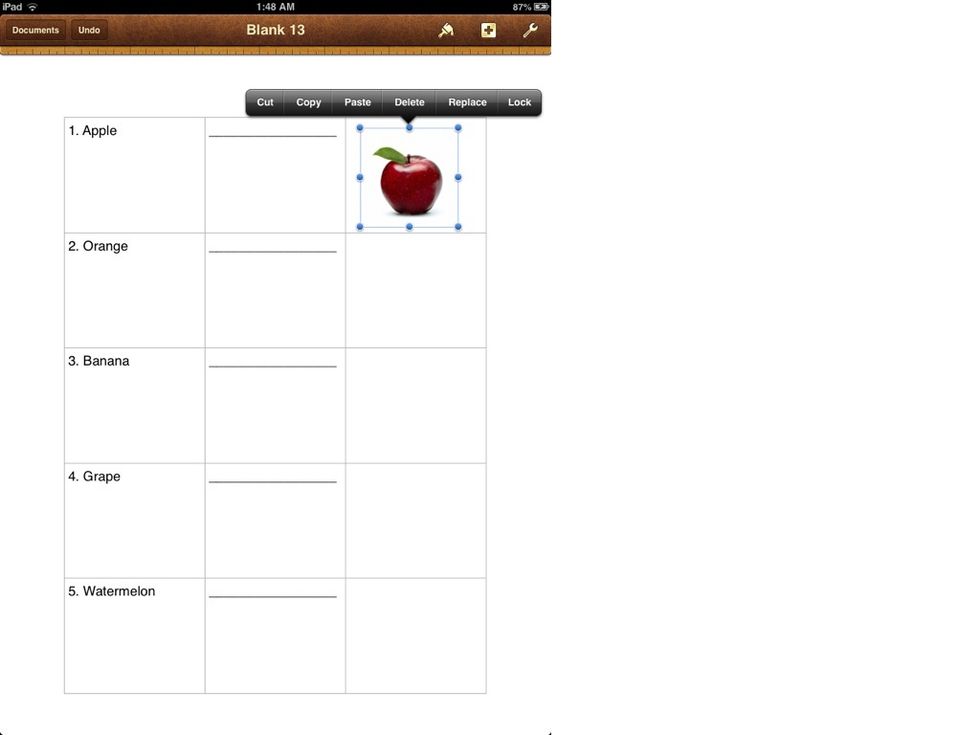
Tap COPY from the menu that pops up.
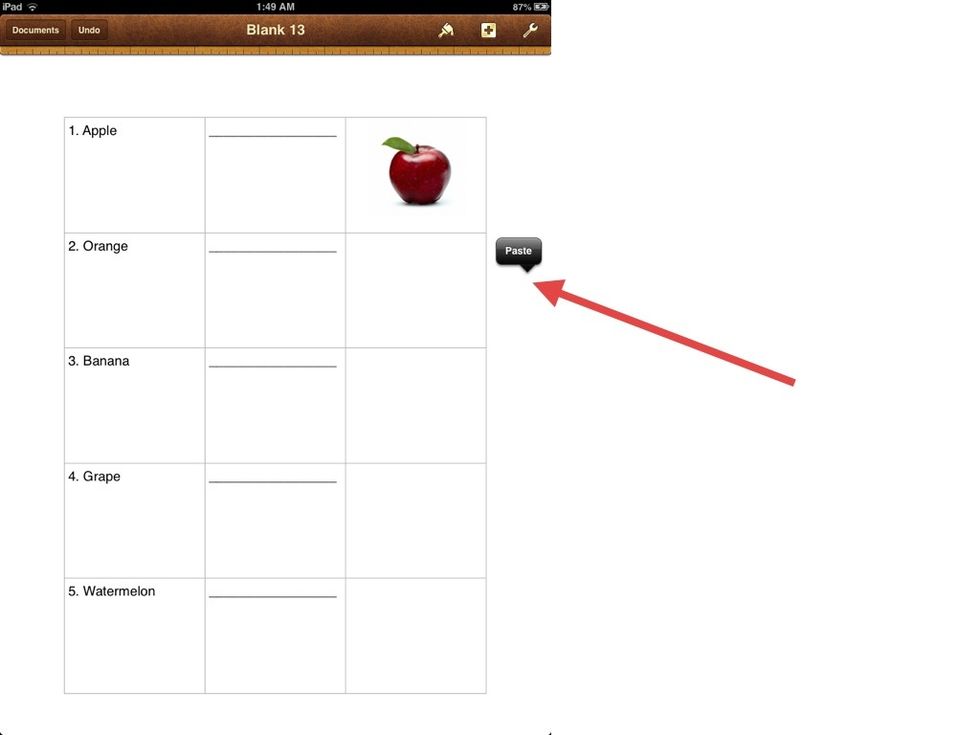
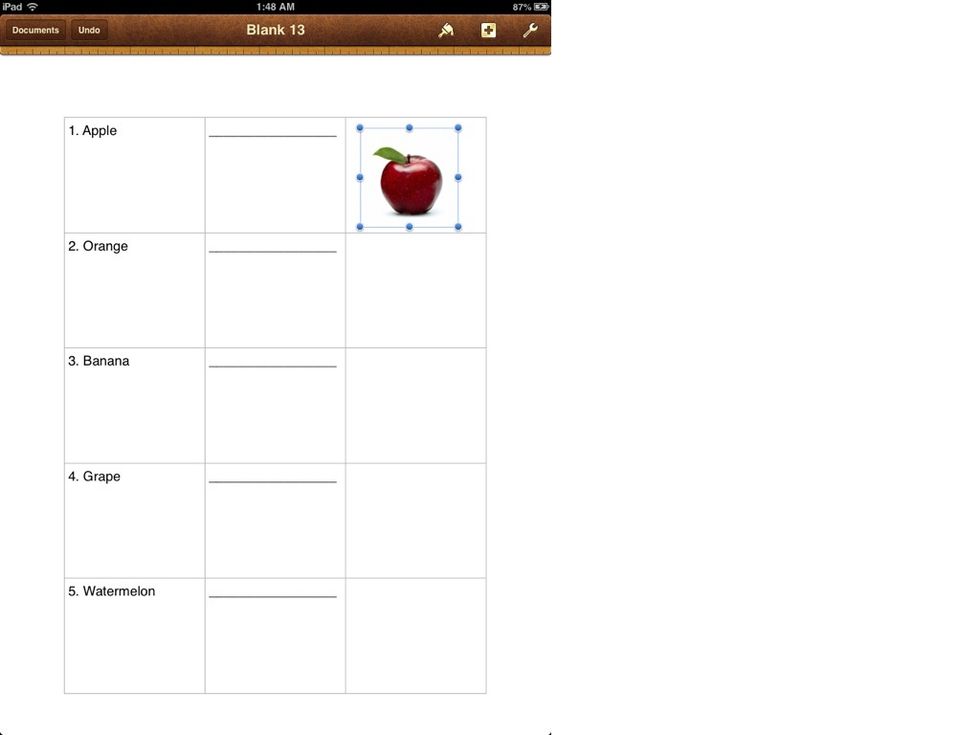
Tap somewhere where there is no item and tap PASTE.
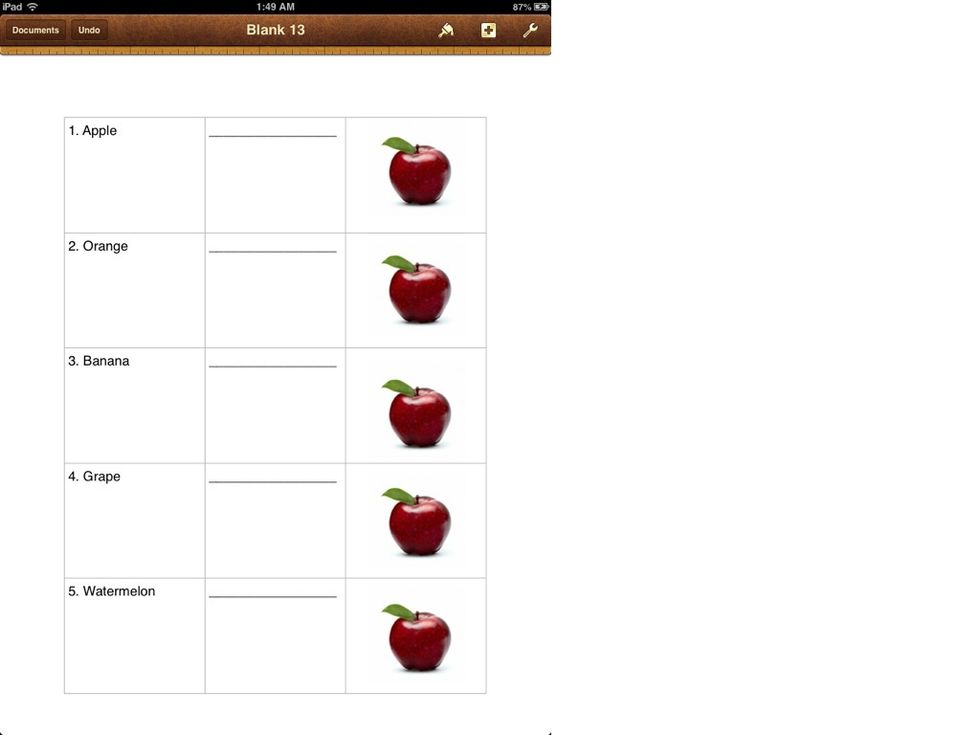
Do it several times for each row.
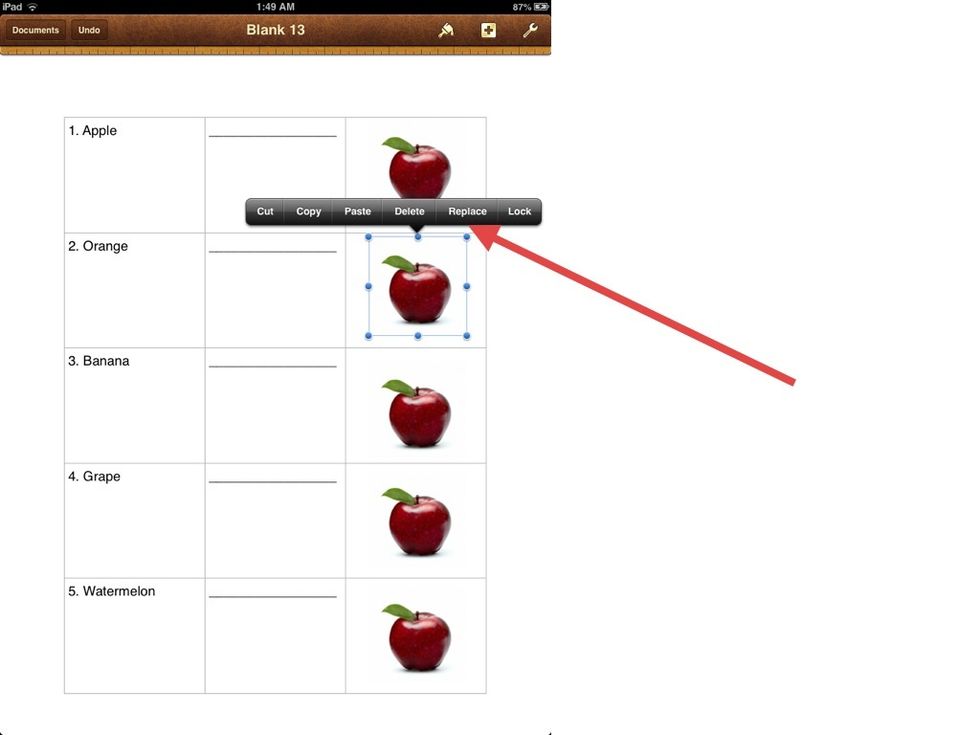
Now select the next row and tap REPLACE to replace this image with another.
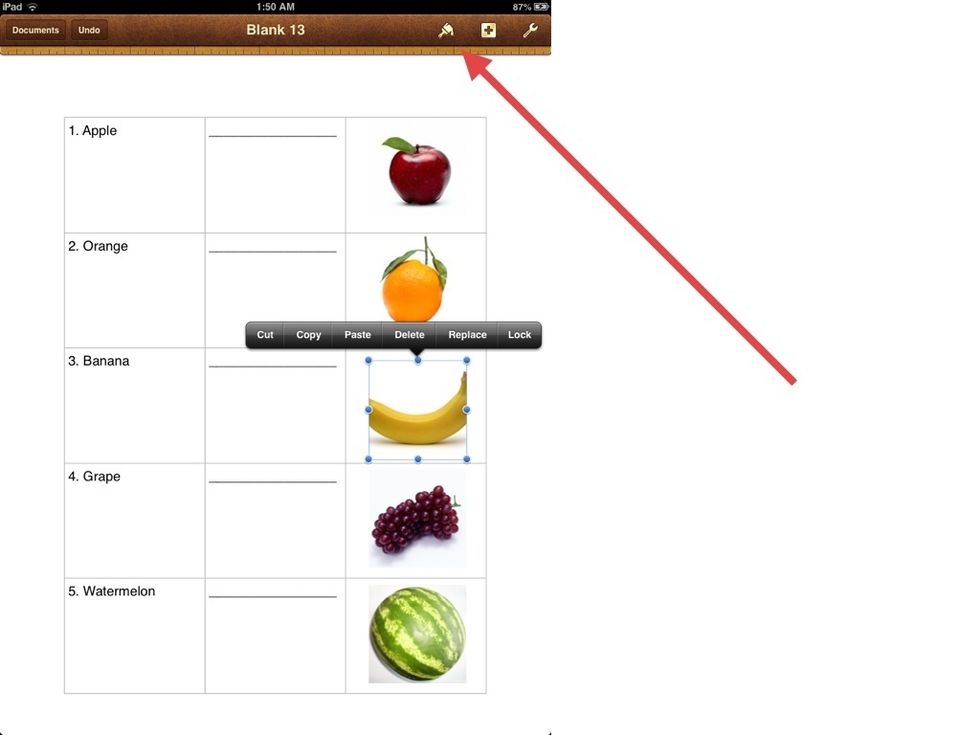
Do it to every picture. OOPS! Our banana picture got chopped off. Just select it and tap the GOLDEN PAINTBRUSH.
UNMASK PHOTO
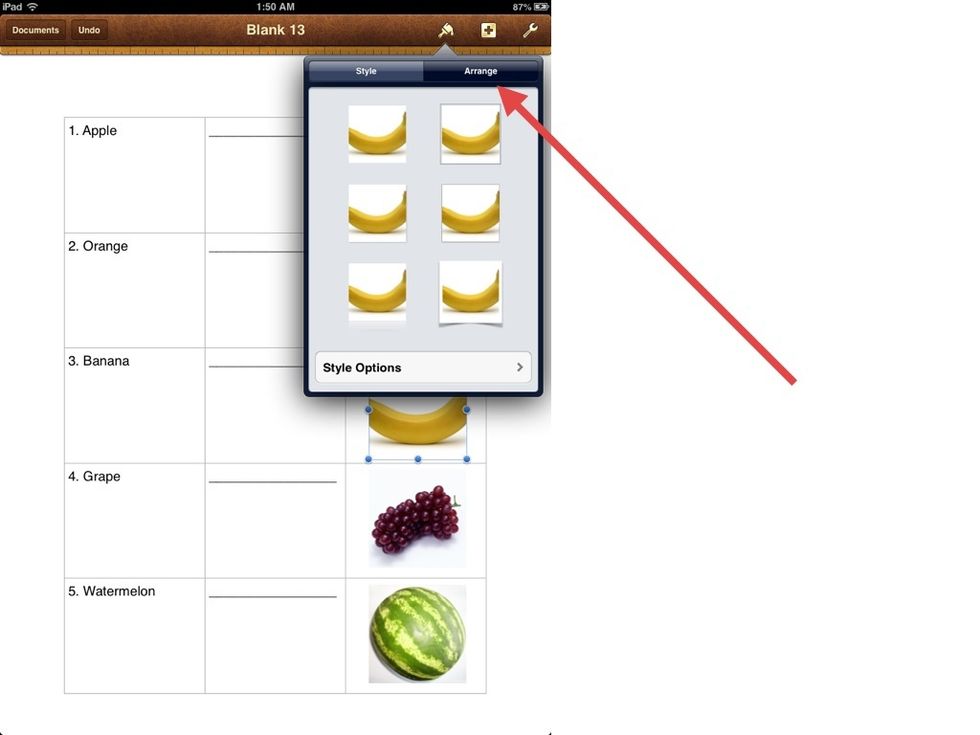
Then tap ARRANGE
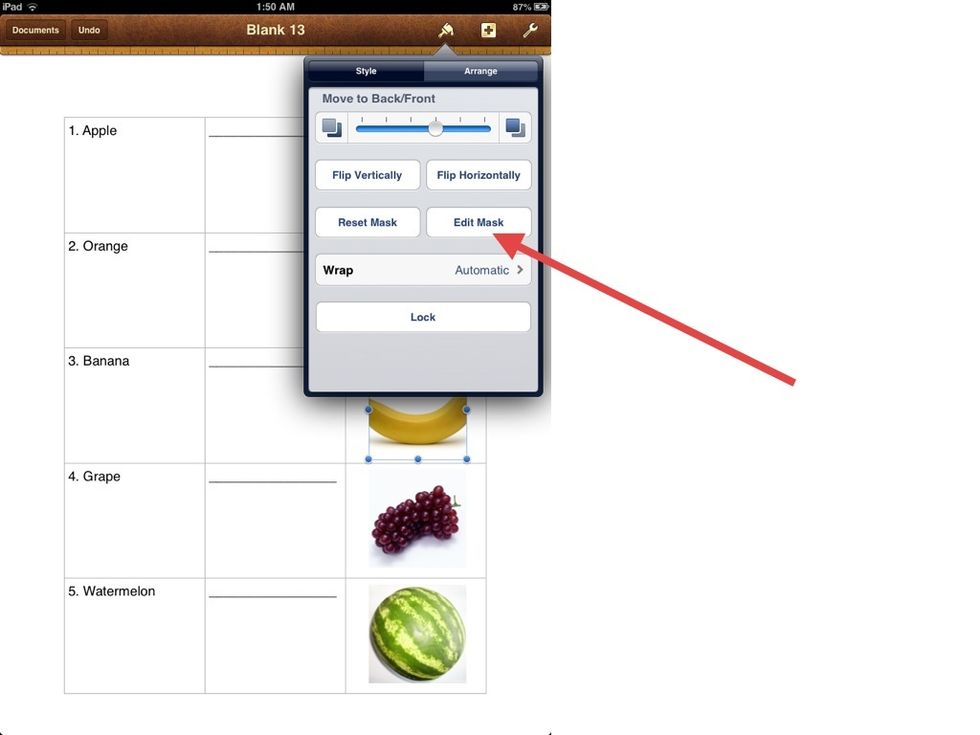
Then tap EDIT MASK
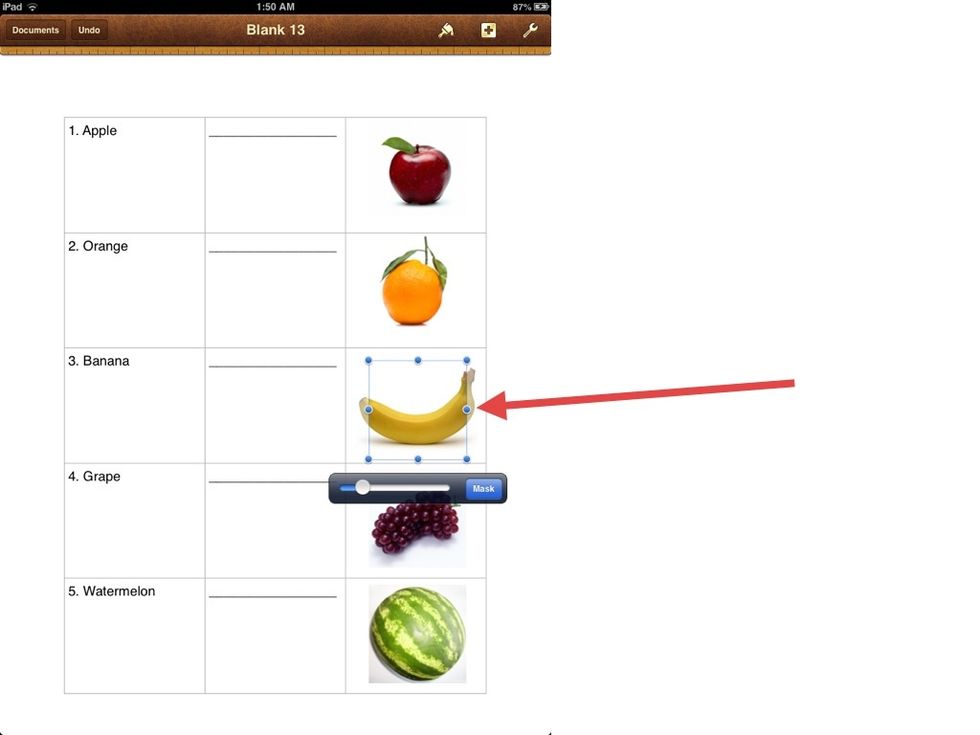
Move the BLUE HANDLES to adjust the mask. (Masks ''mask'' an image to conceal part of it.) Move the handles outside of the banana to show more of the picture.
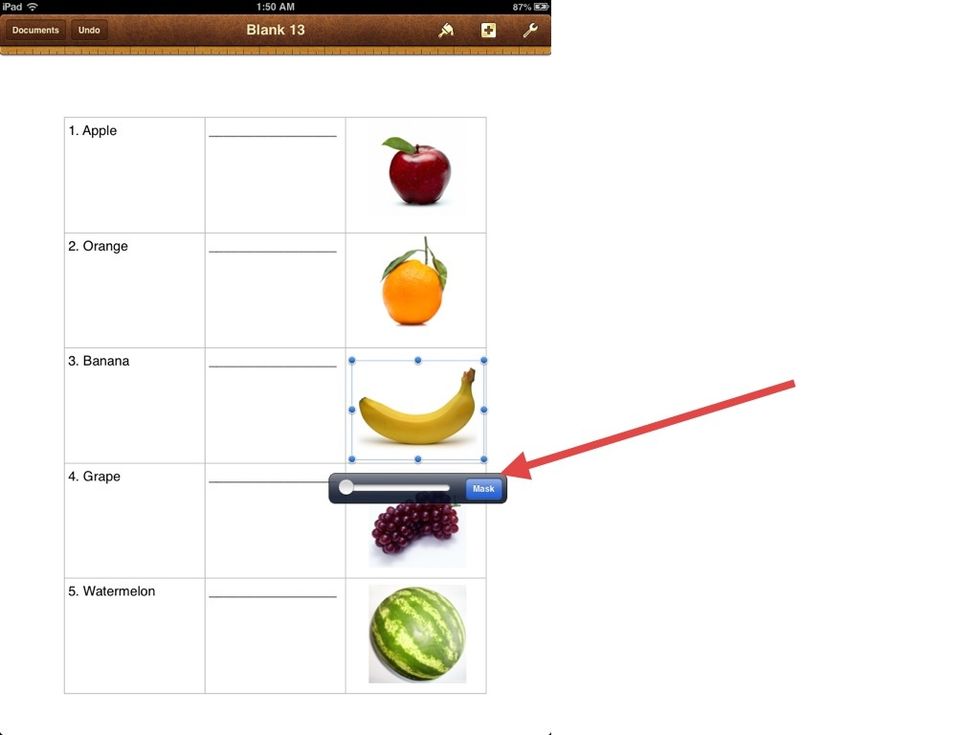
Then tap MASK.
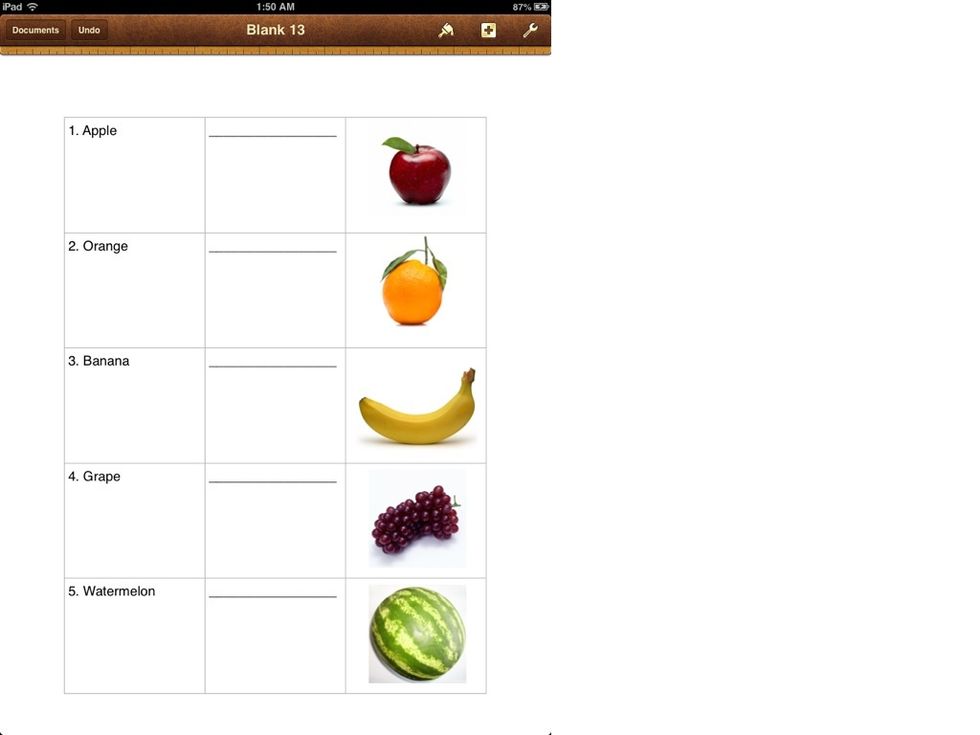
There.
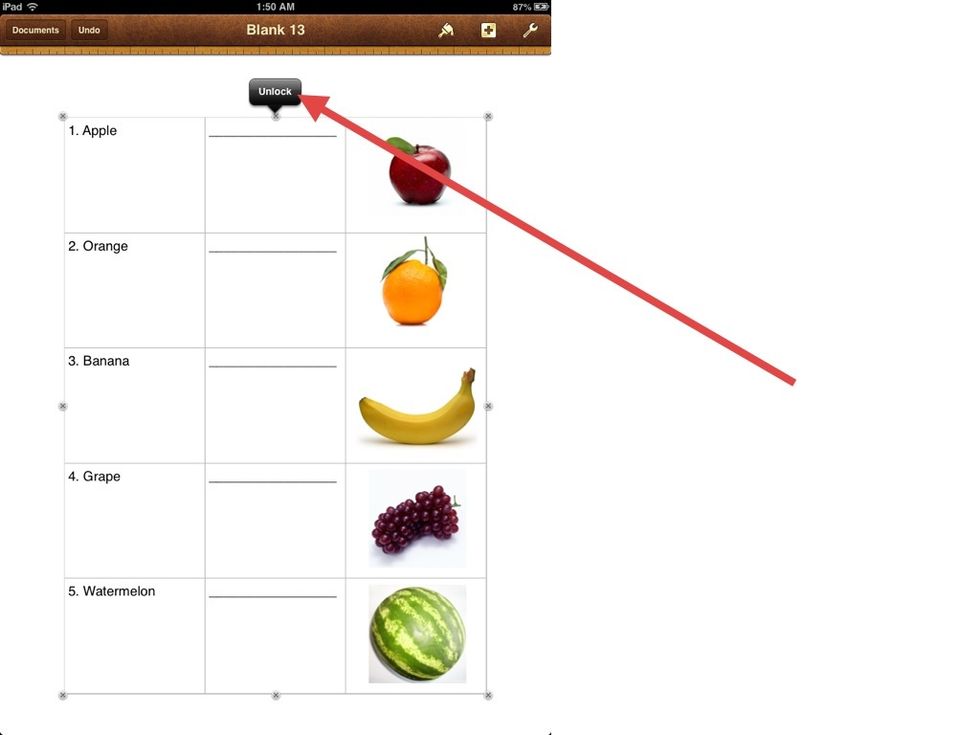
Tap the table and then tap UNLOCK.
JUSTIFY
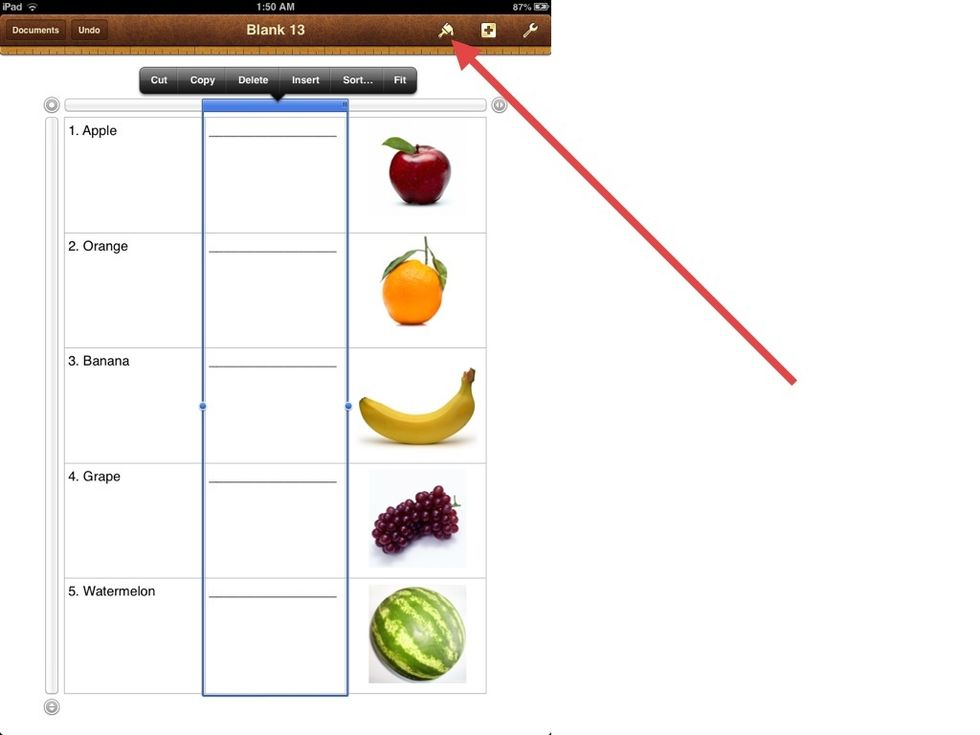
To move the UNDERLINES to the bottom of the box, tap the bar at the top of the column and then tap the GOLDEN PAINTBRUSH.
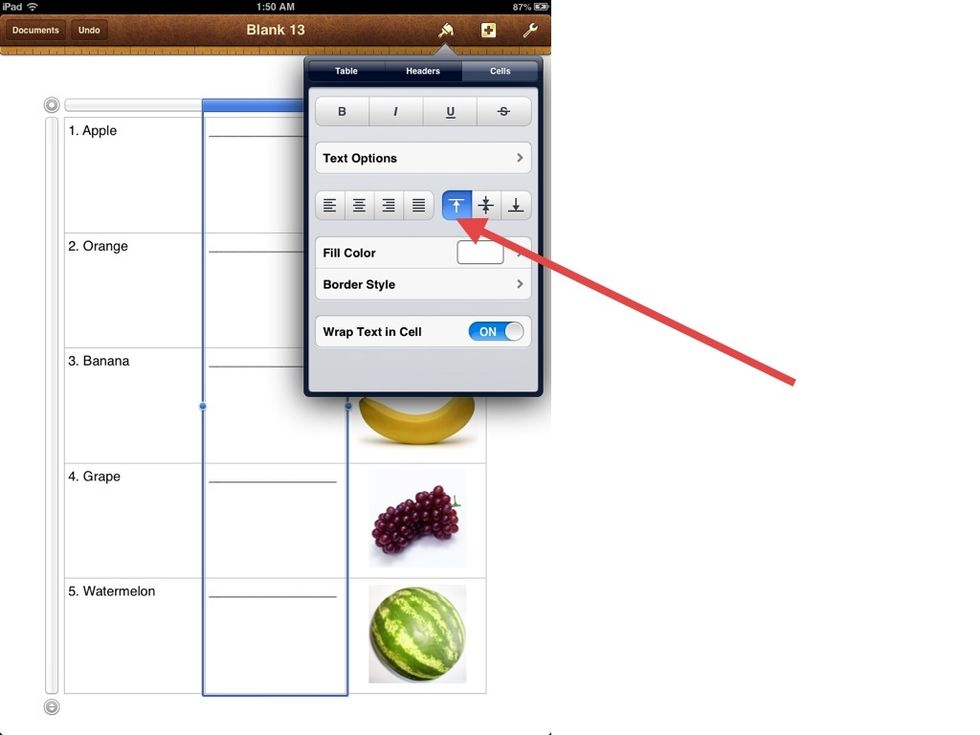
Then change this TOP-JUSTIFICATION to...
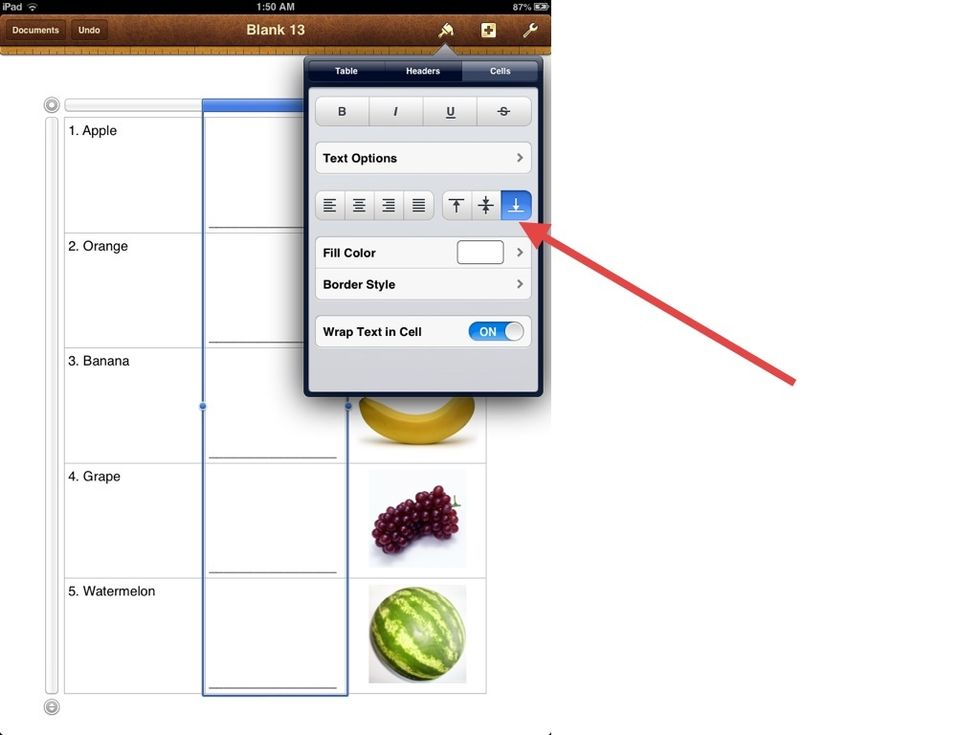
BOTTOM JUSTIFICATION. The UNDERLINE moves to the bottom of the box.
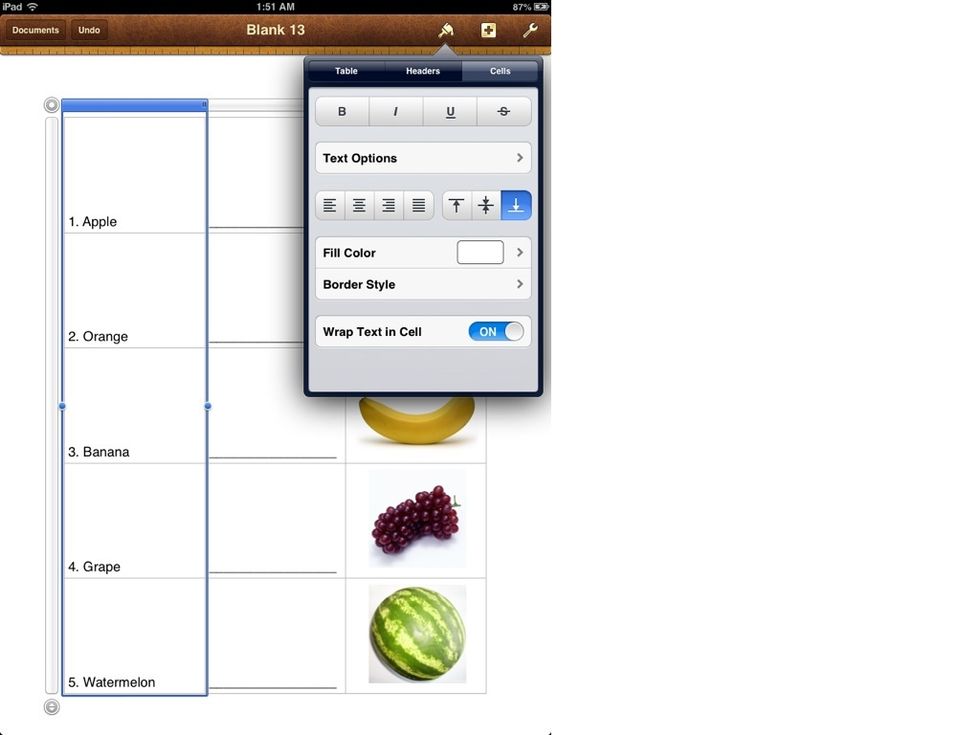
Do the same for the first column.
TITLE & NAME
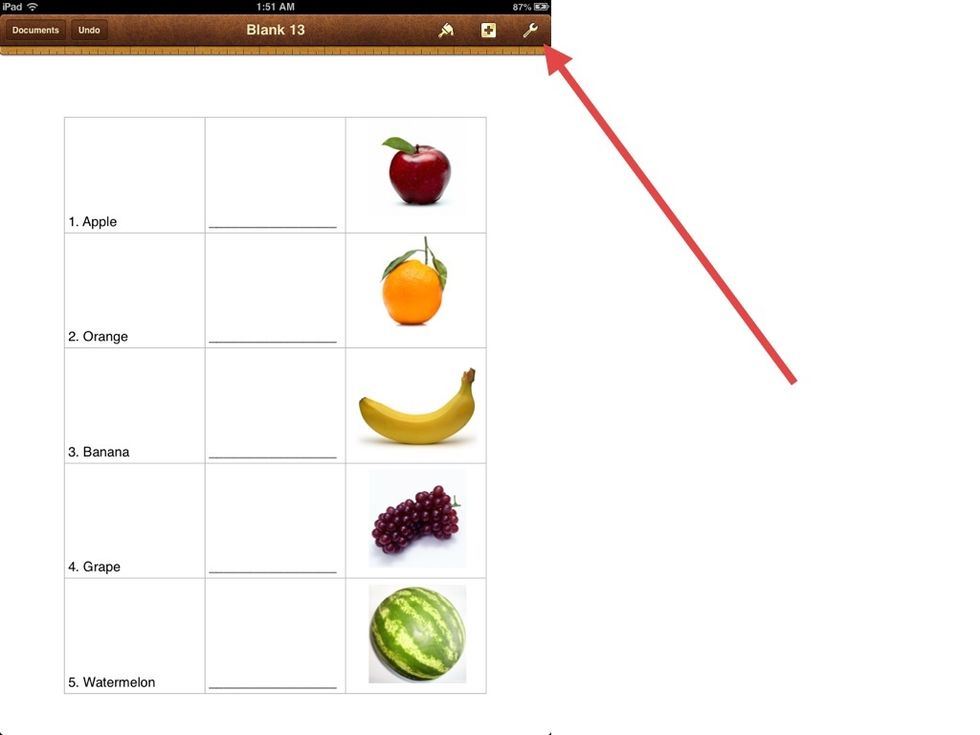
Tap the GOLDEN WRENCH
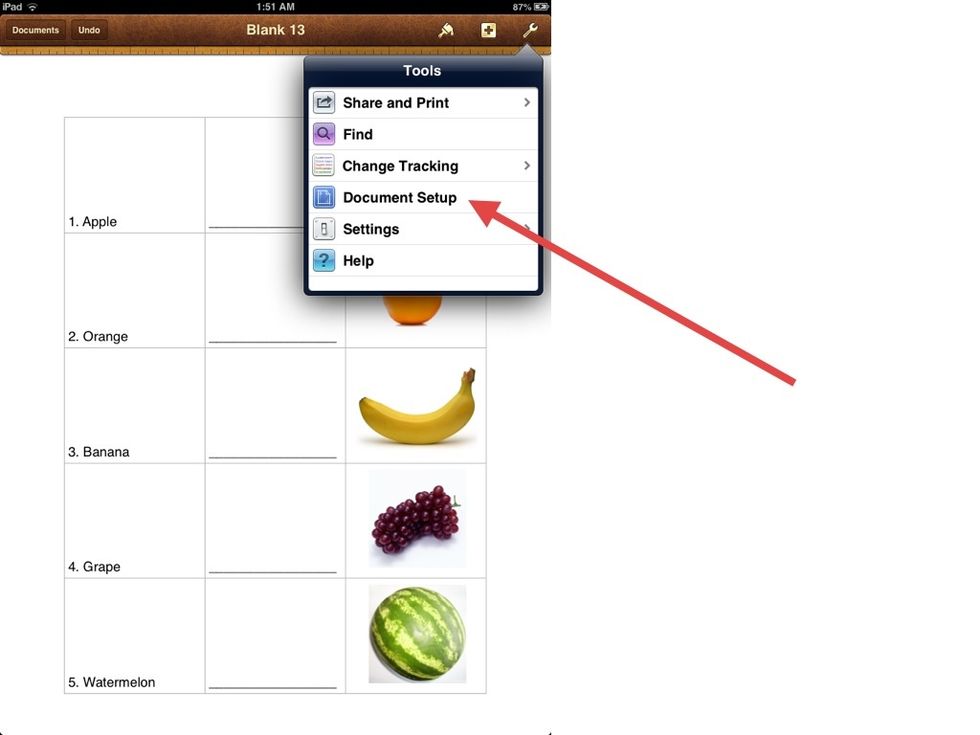
Then tap DOCUMENT SETUP
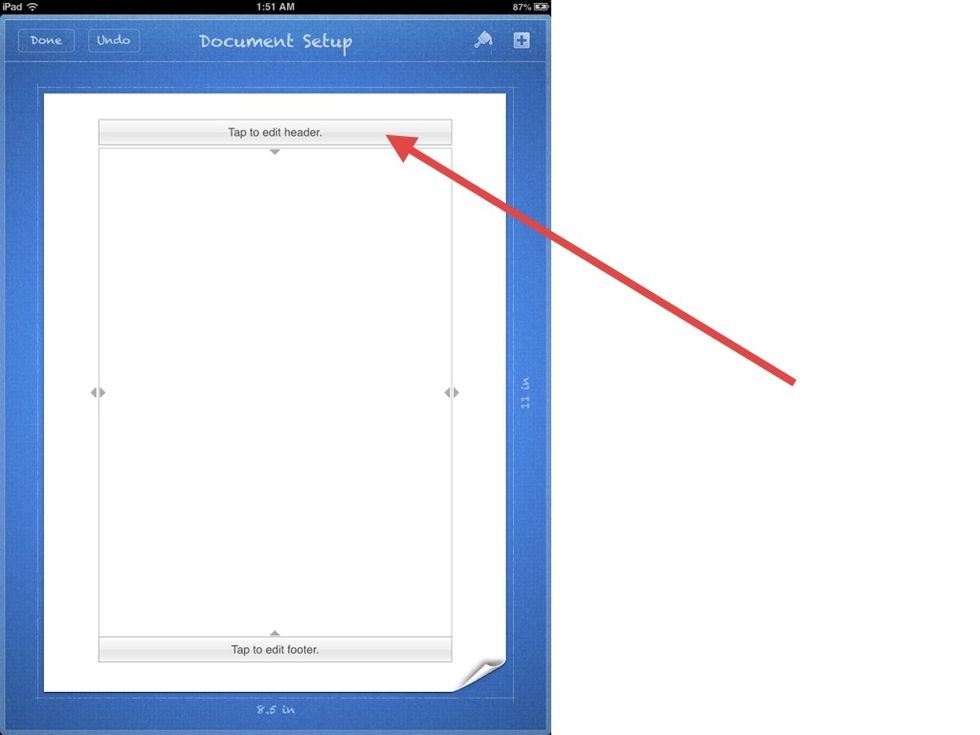
Tap where it says TAP TO EDIT HEADER
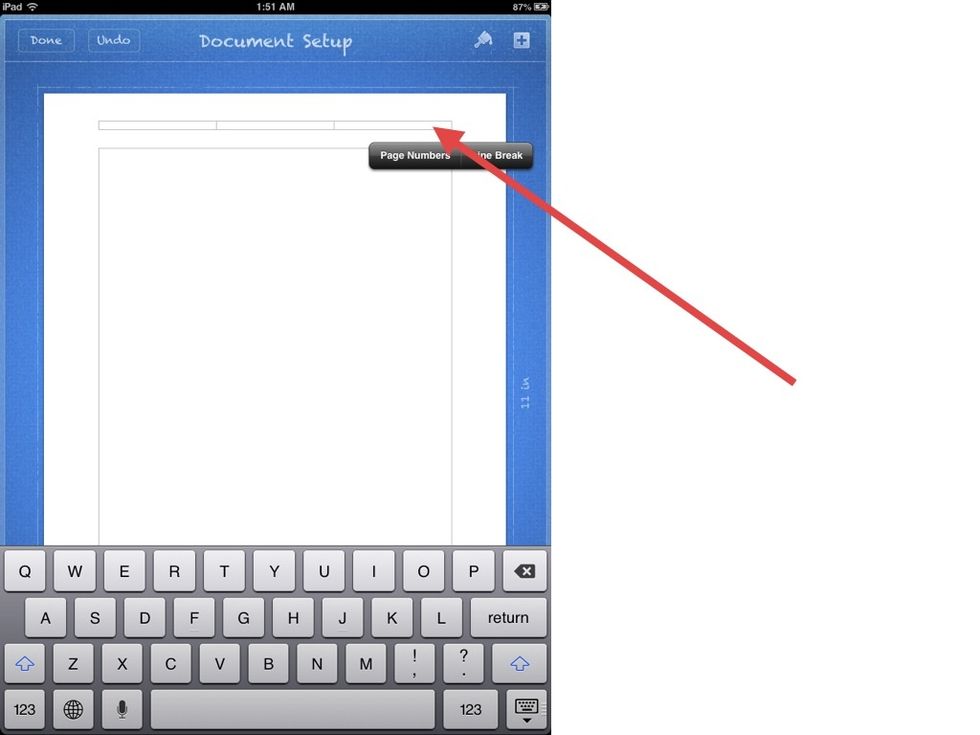
In the RIGHTMOST box tap it and enter "Name_____________"
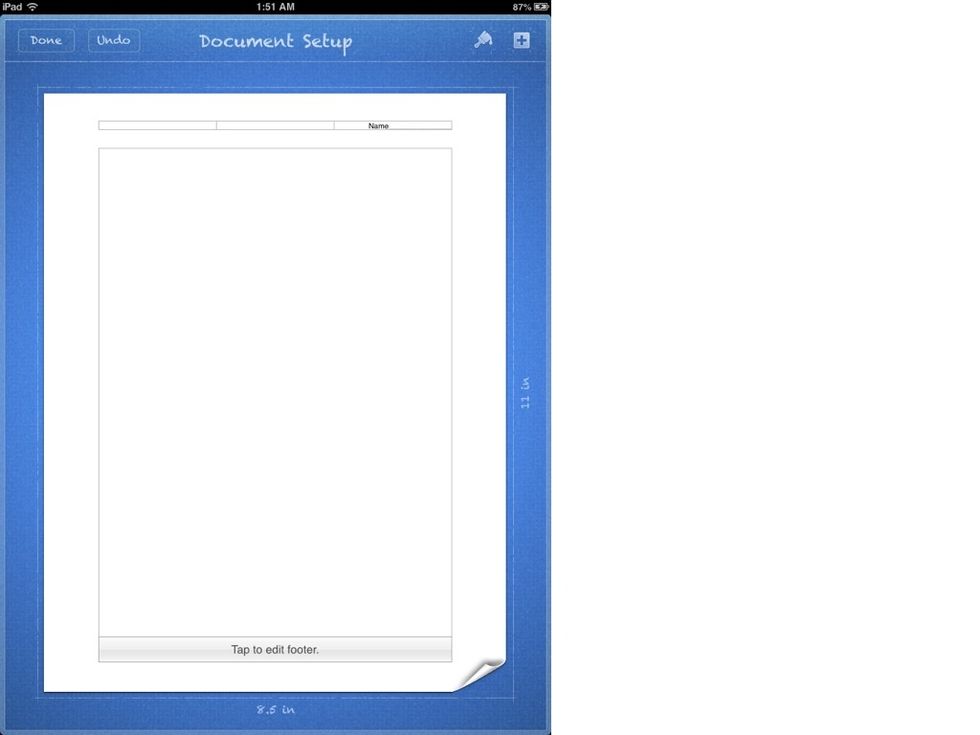
Hit DONE to see the result

See?
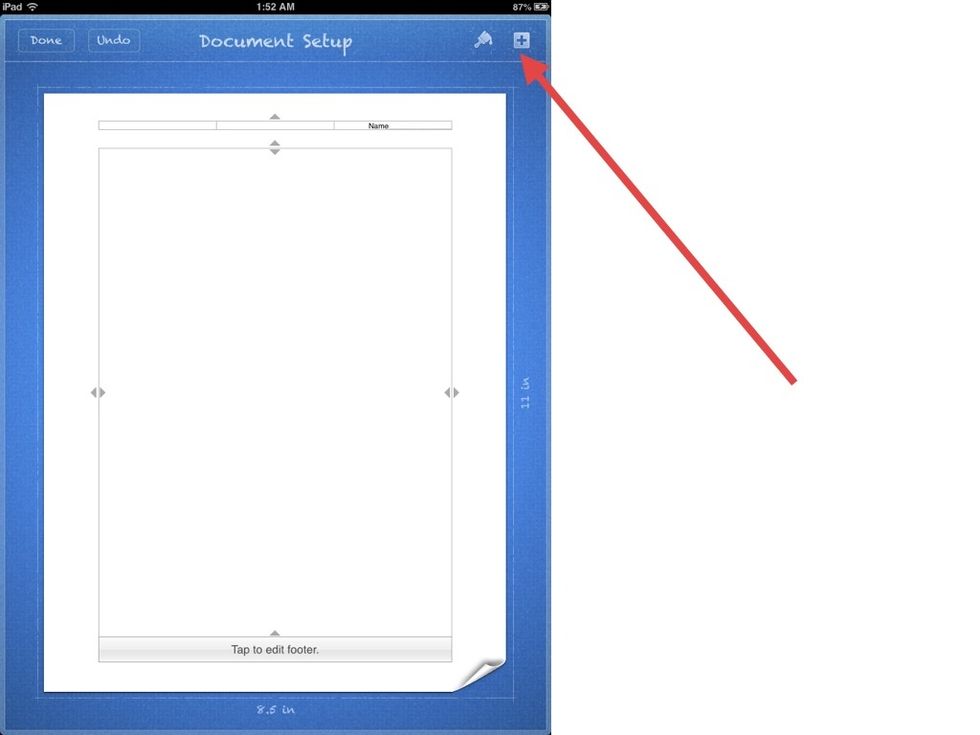
Go back to Document setup and tap the BLUE PLUS
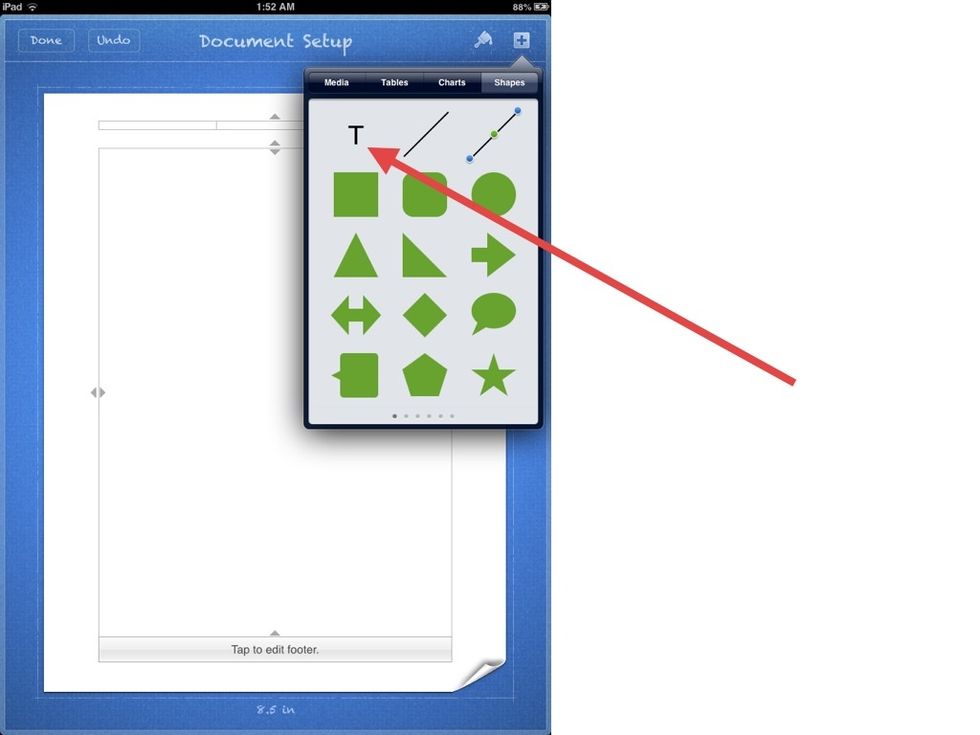
Then tap the SHAPES tab if it isn't selected and select the TEXT symbol.
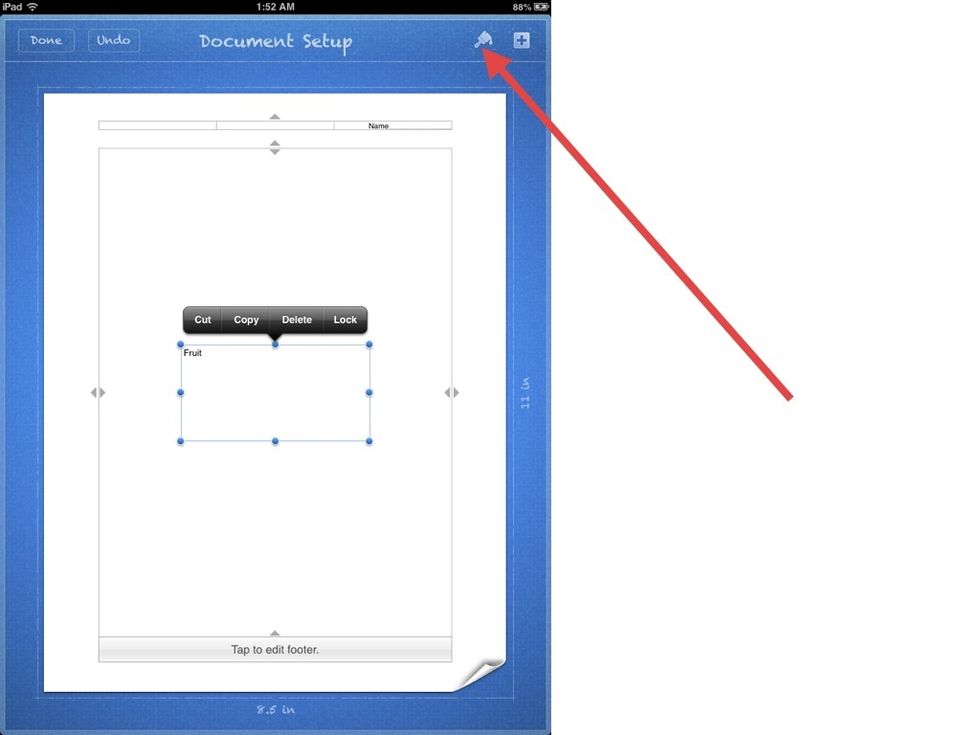
Type in some text and then tap the PAINTBRUSH.

Select the TEXT TAB
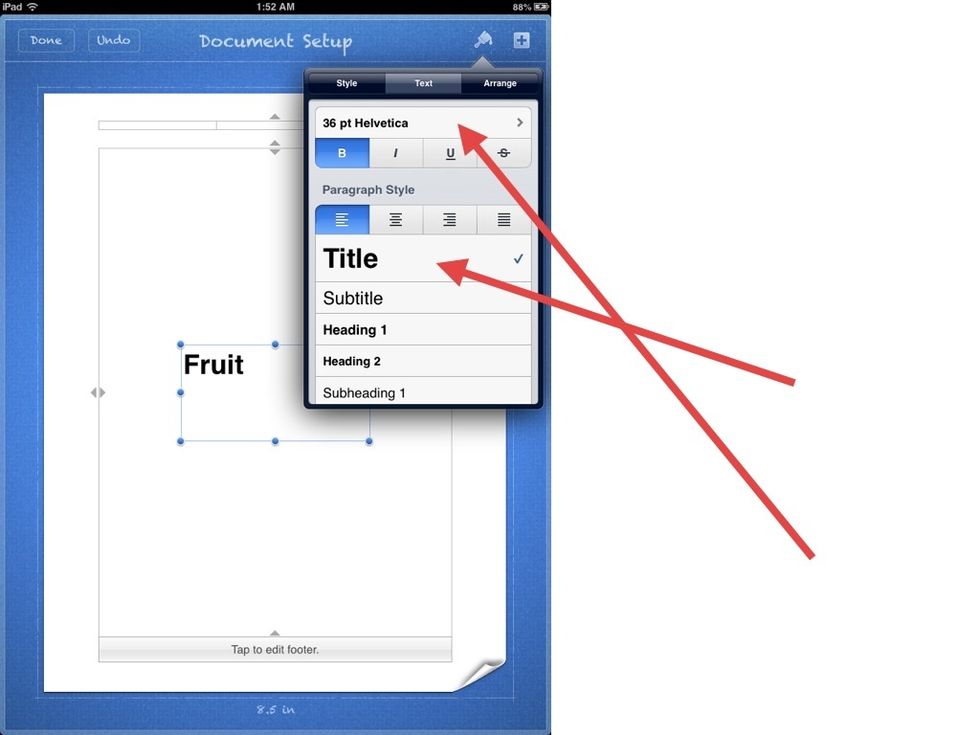
Change the PARAGRAPH STYLE to TITLE. You can also change the FONT type.
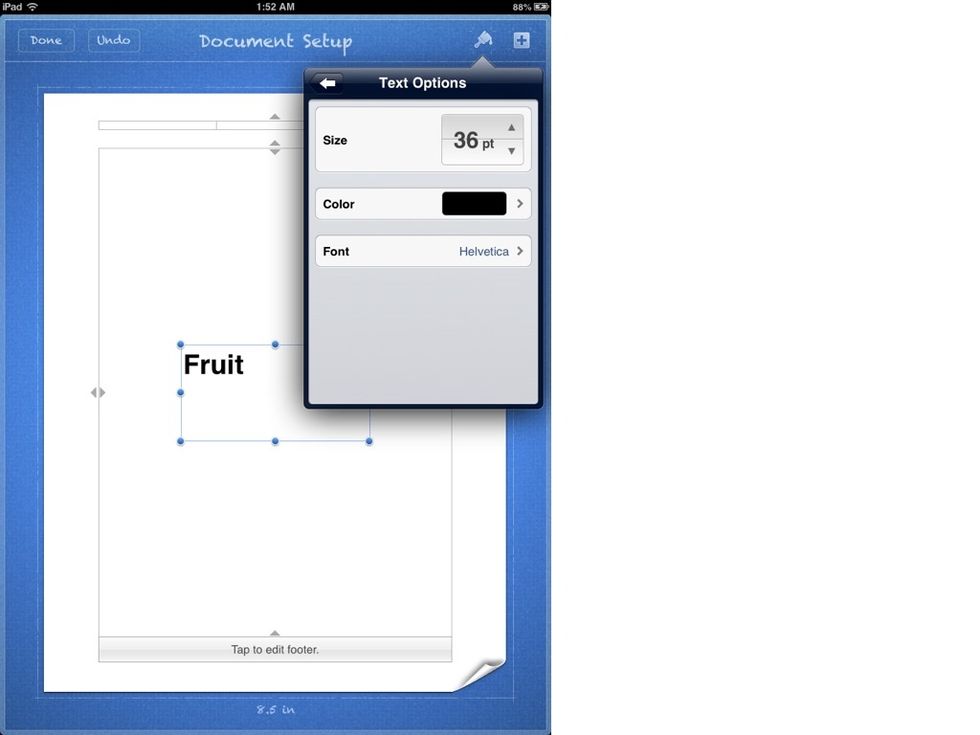
Fruit!

This is our worksheet.
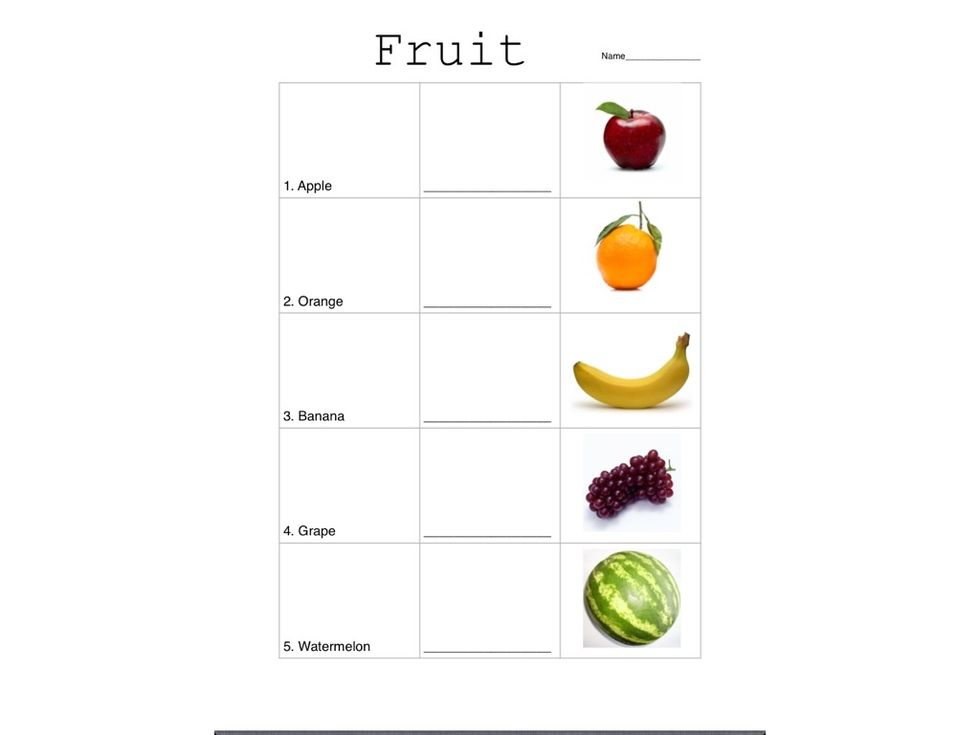
Manzana, Naranja, Platano, Uvas, Sandia
Es Verdad! Muy Bueno!