The Conversation (0)
Sign Up
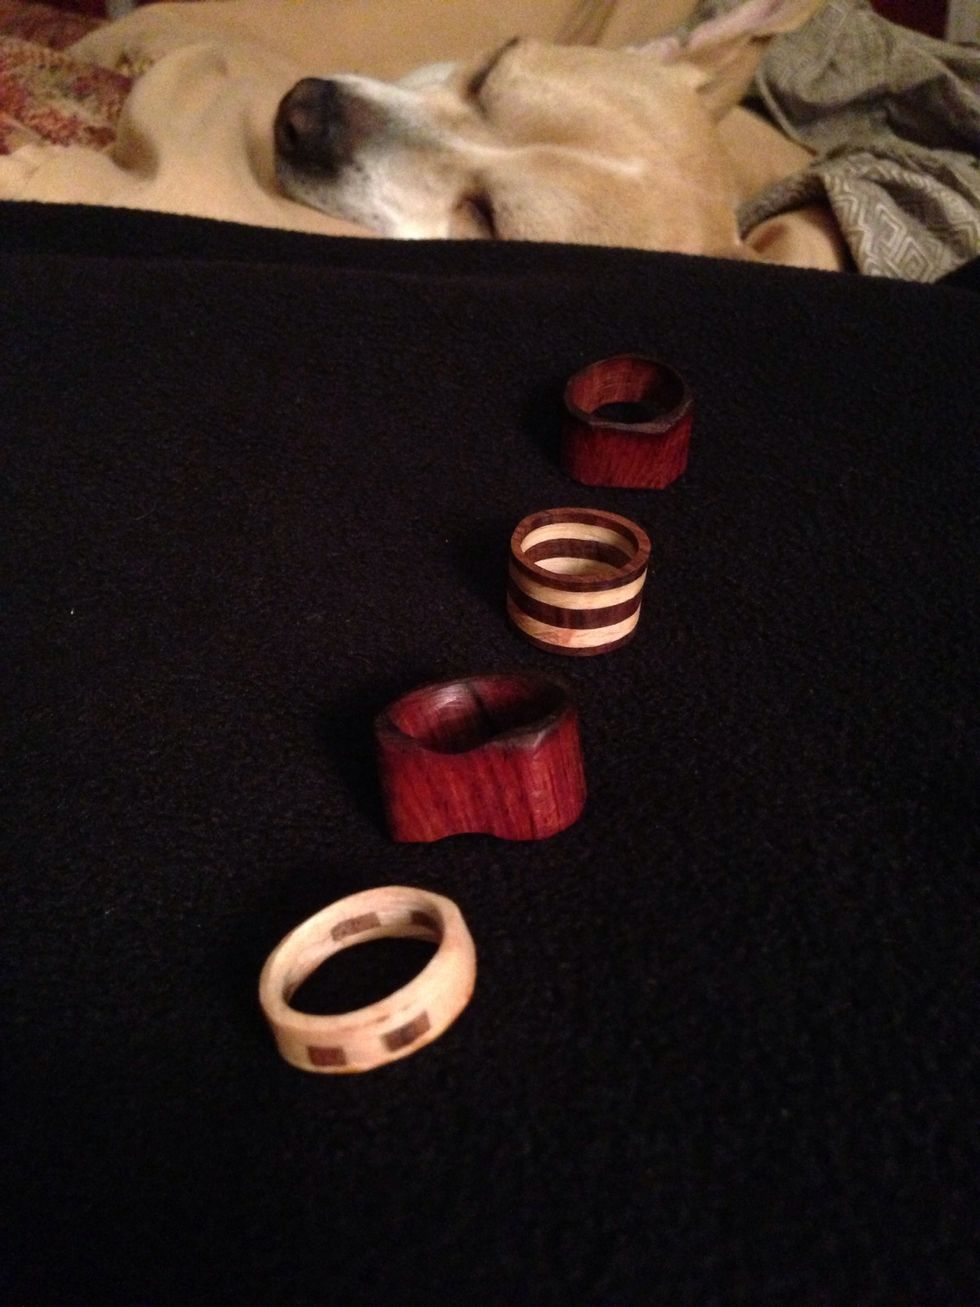
Here are my first four attempts at ring making two are laminated (glued and compressed) and two are solid exotic wood. I will show you how.
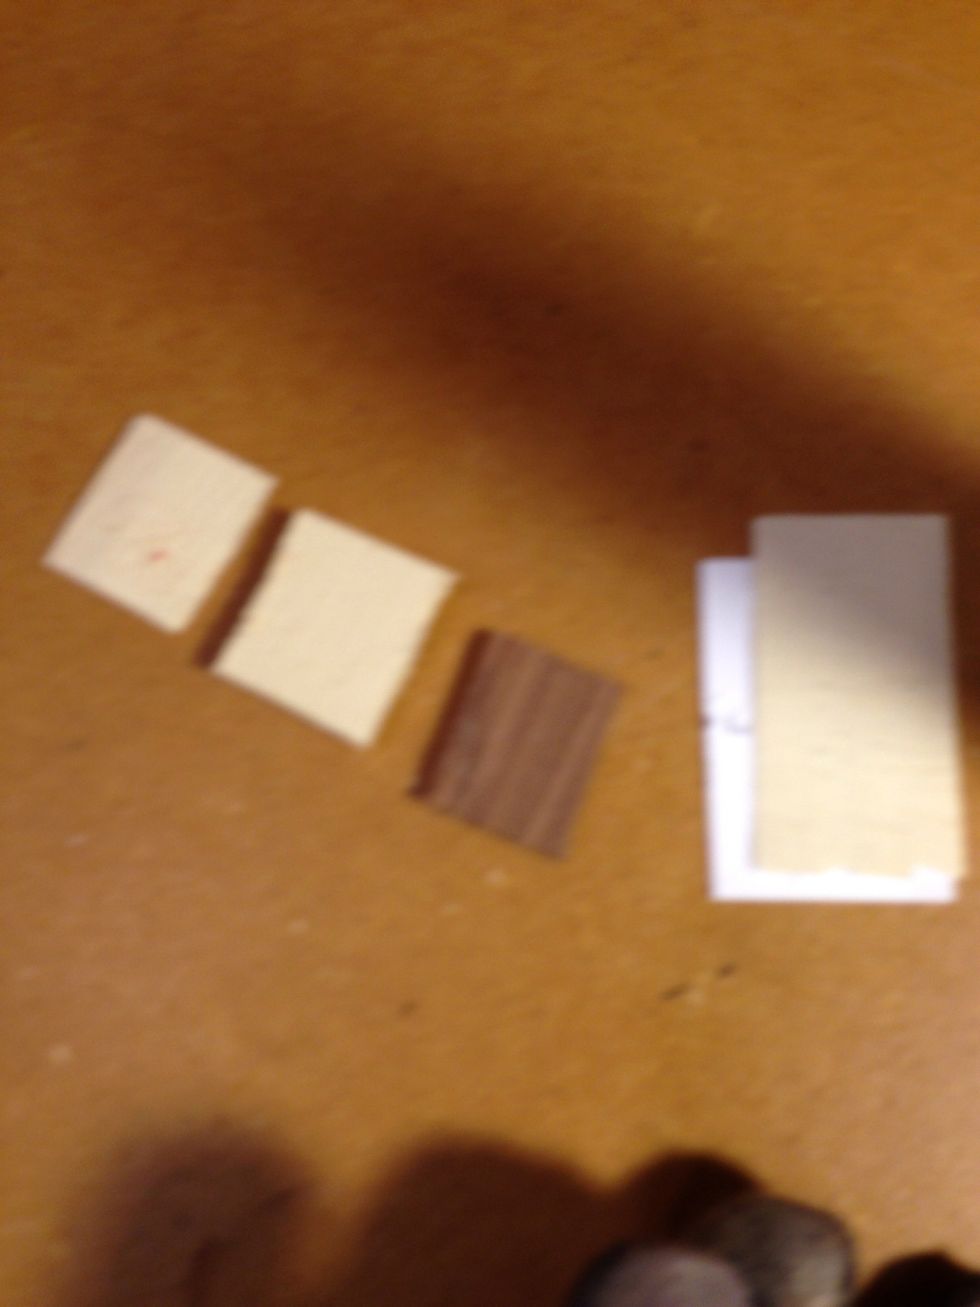
Cut out wood in thin blanks 2" squares thin as possible. Try to get different colors of wood.
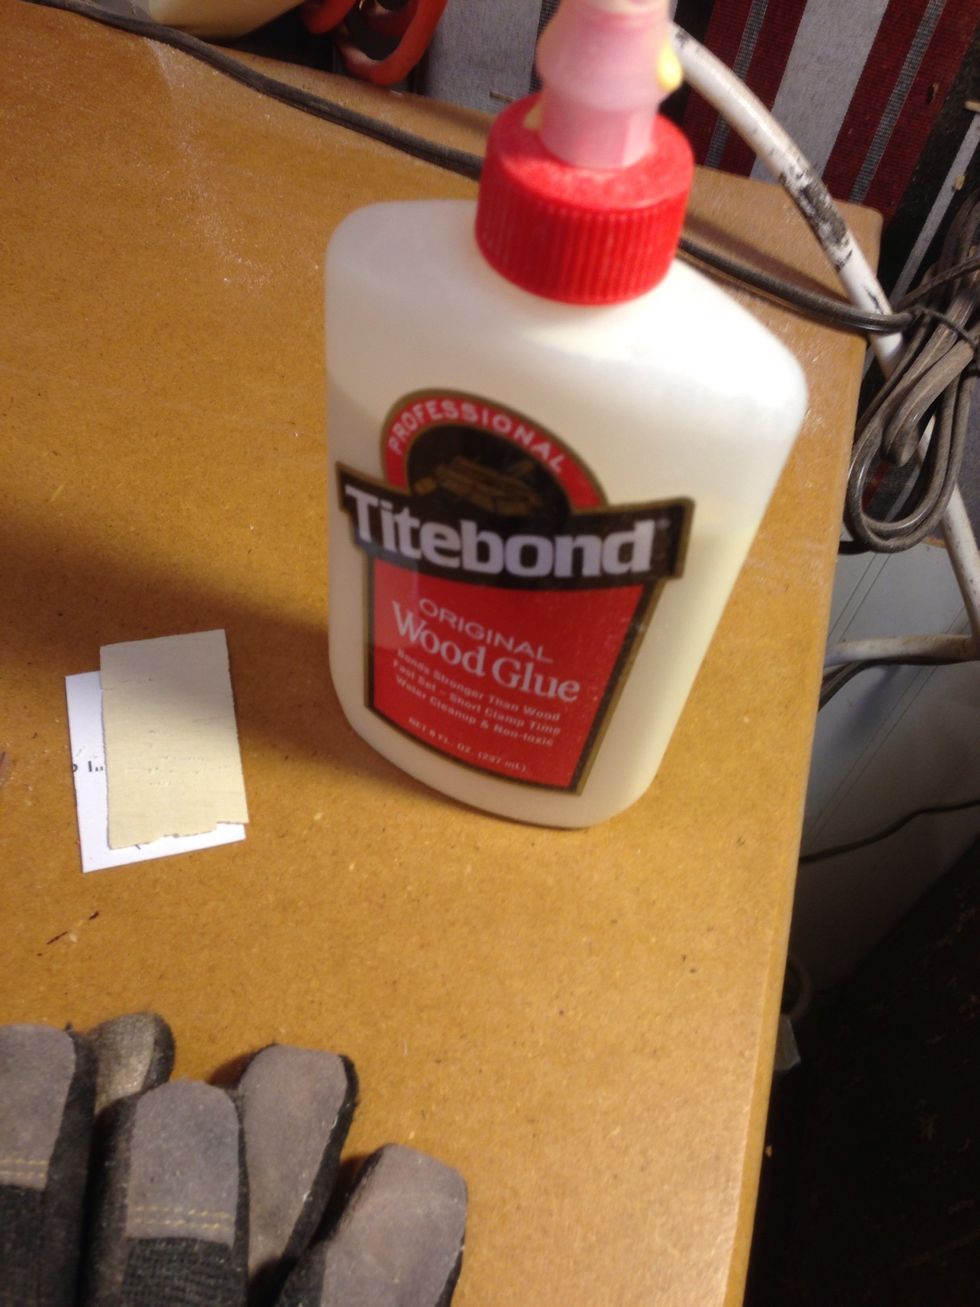
Get your wood glue ready to go.
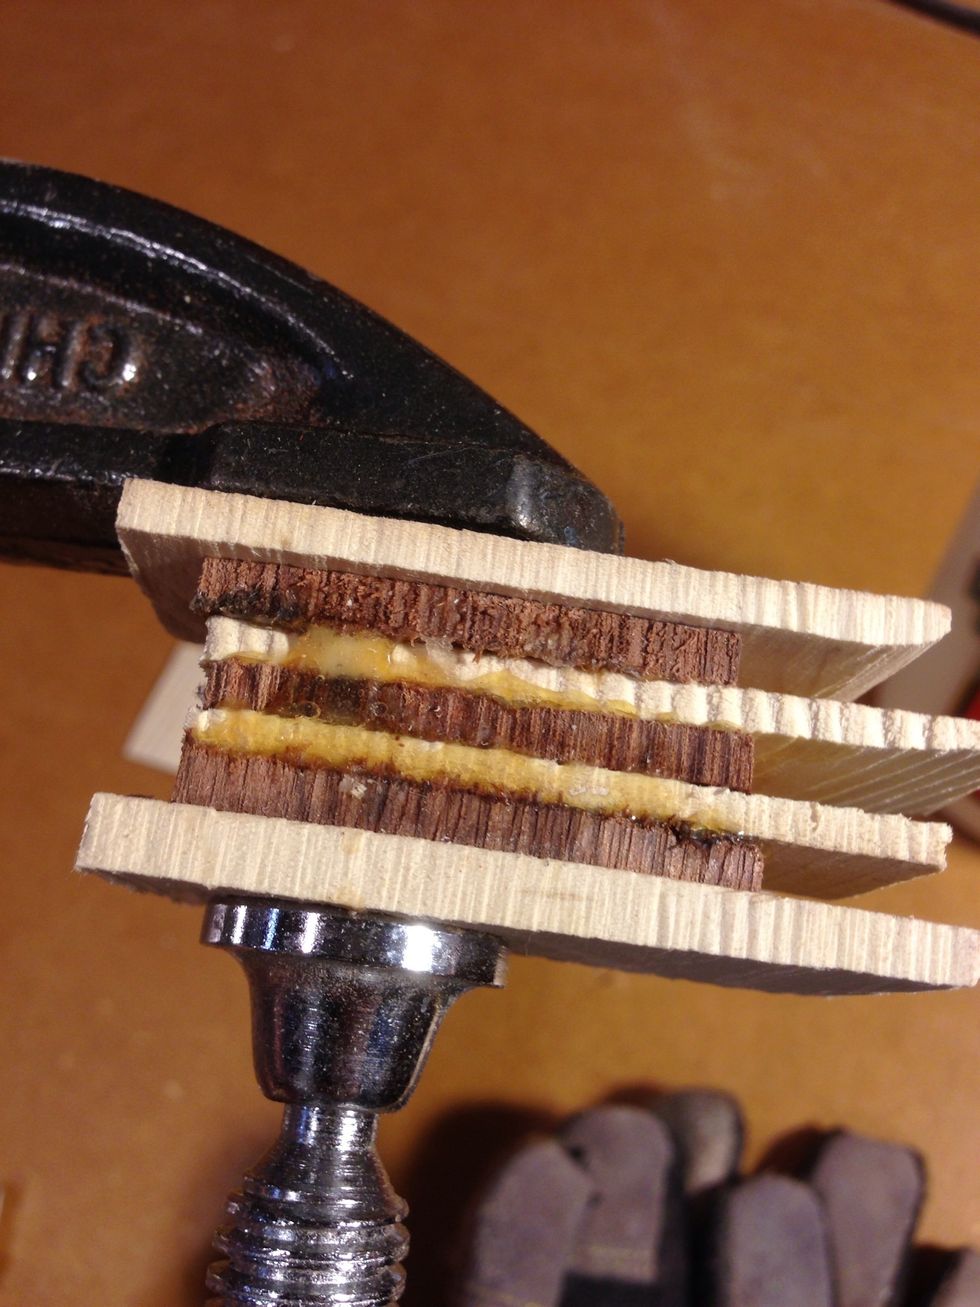
Add glue to each piece of wood and stack together and place in c clamp. The two outside pieces of wood or for compressing and have no glue. This is so you don't damage the wood.
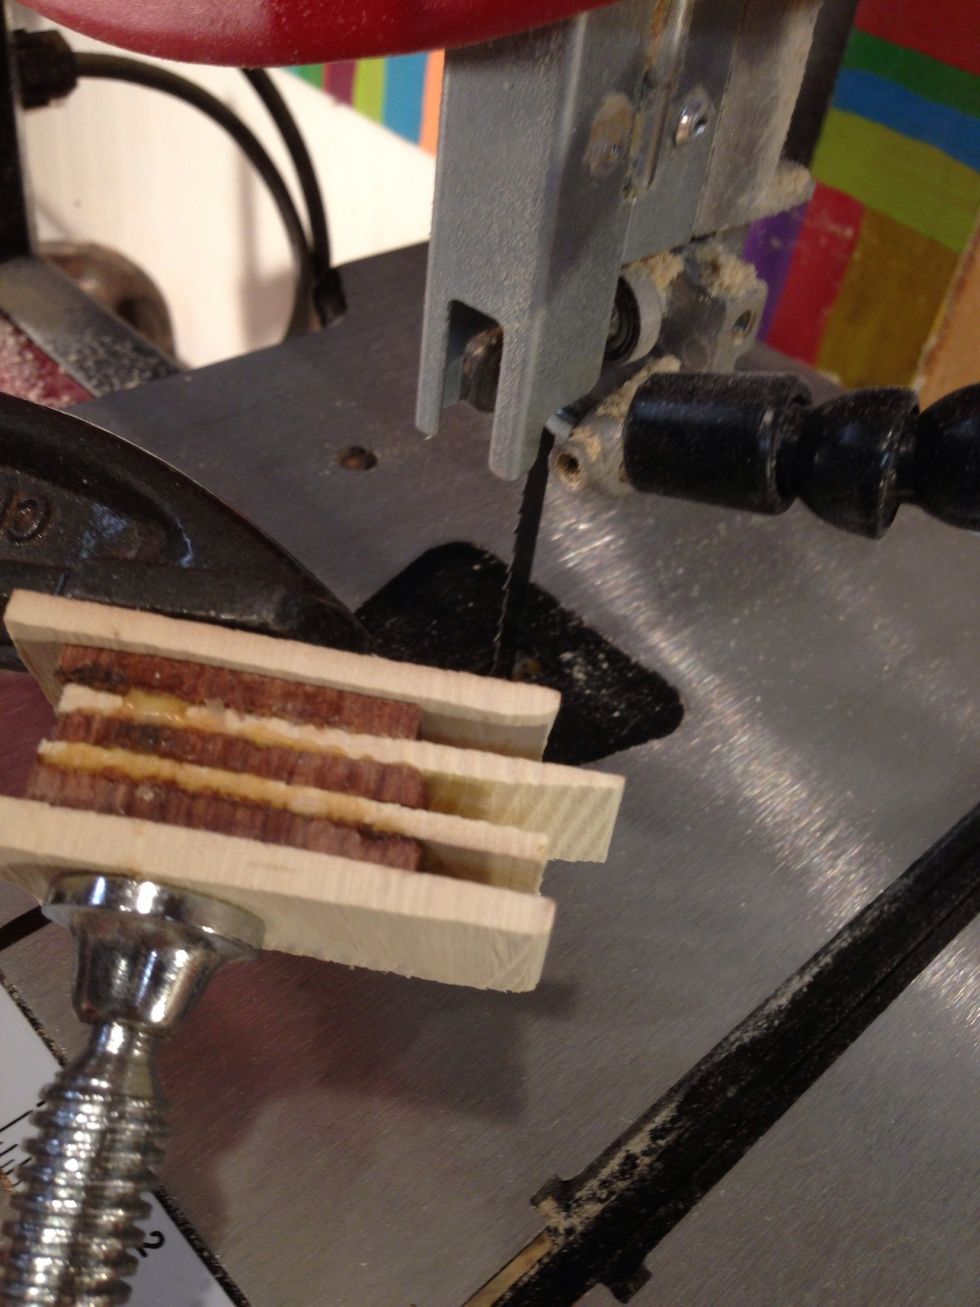
Got to your jig saw or you could cut with small saw. Keep safety in mind wear gloves eye protection and have good lighting so you can see clearly.
Wood laminated and out of c clamp after about two hours. Leave a little tail that we will remove later.
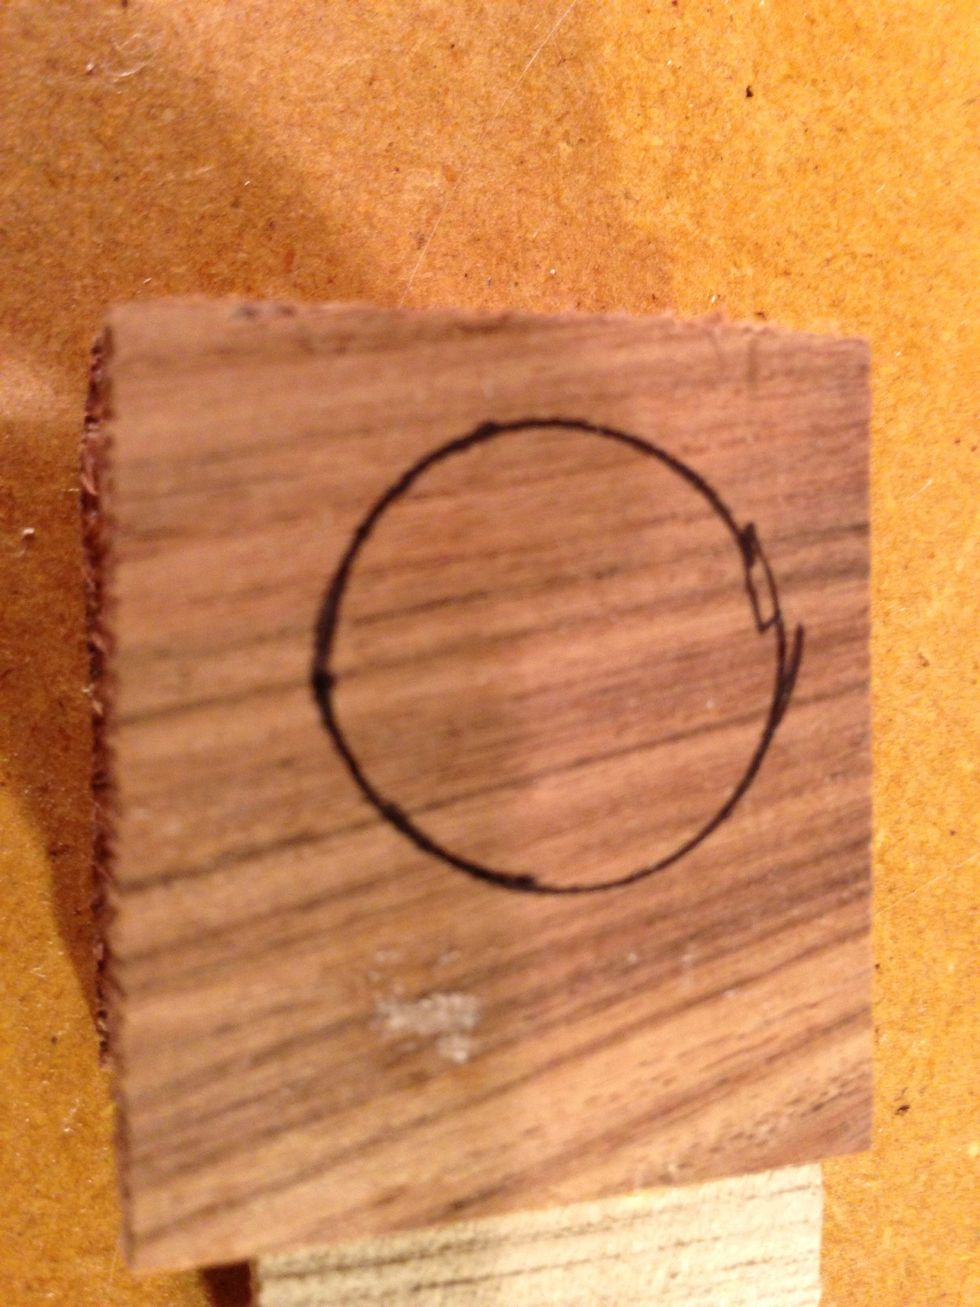
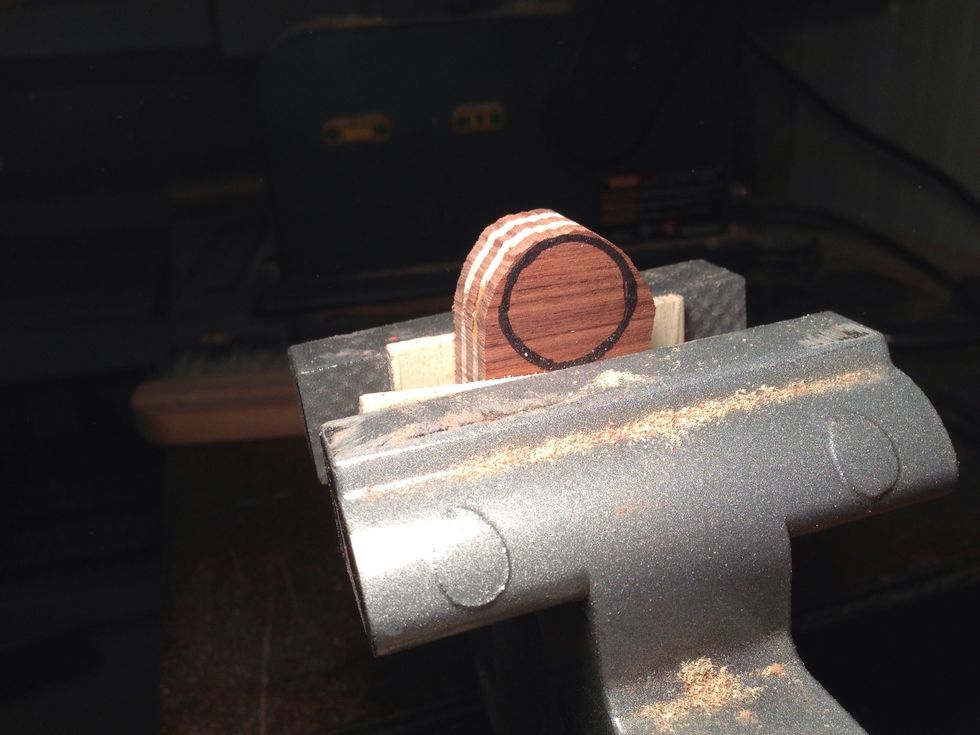
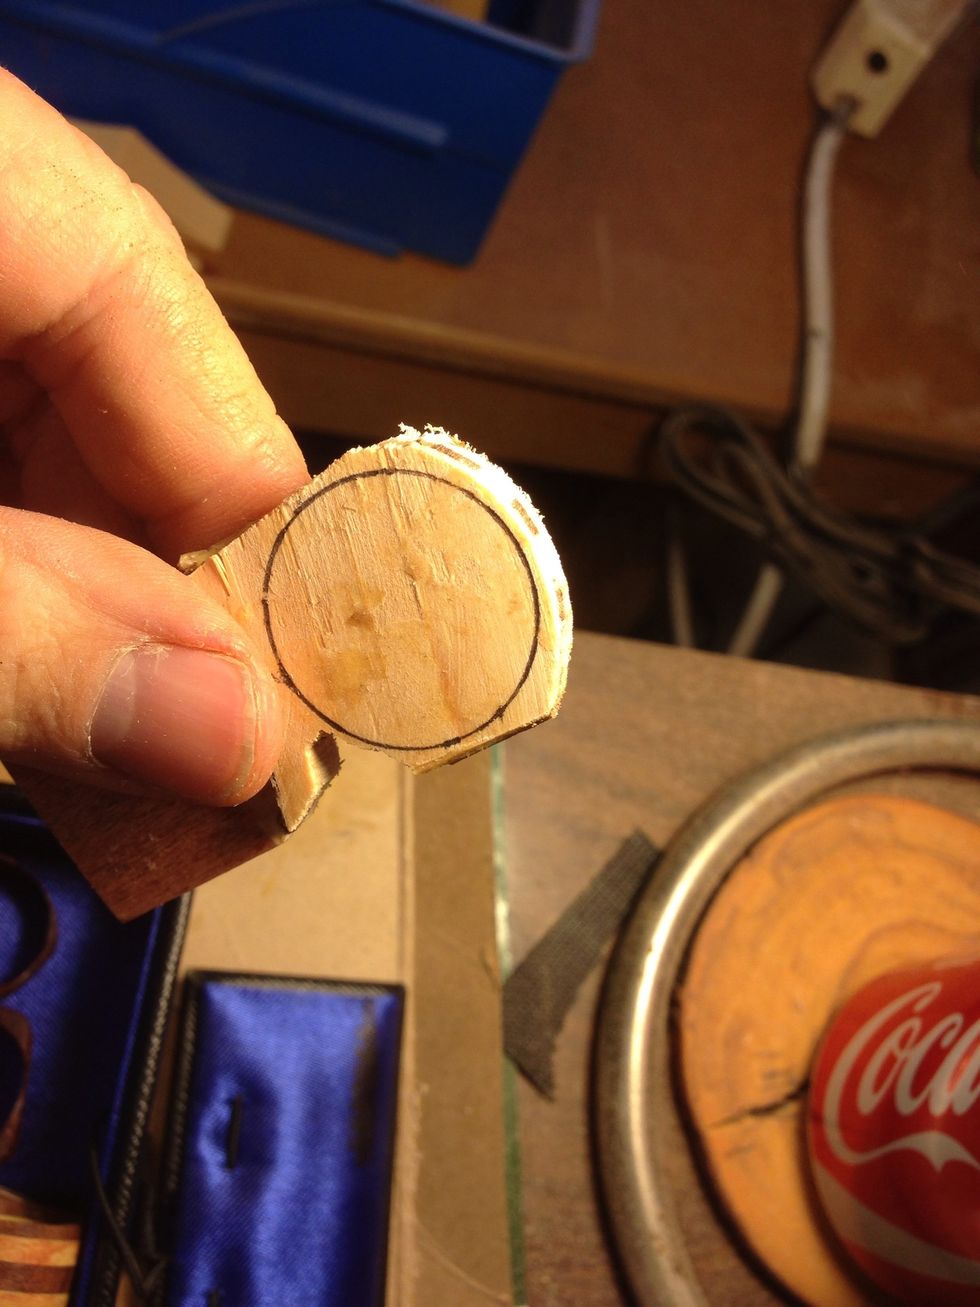
Mark ring outline , go bigger than you think because once it's gone you can't add it back.
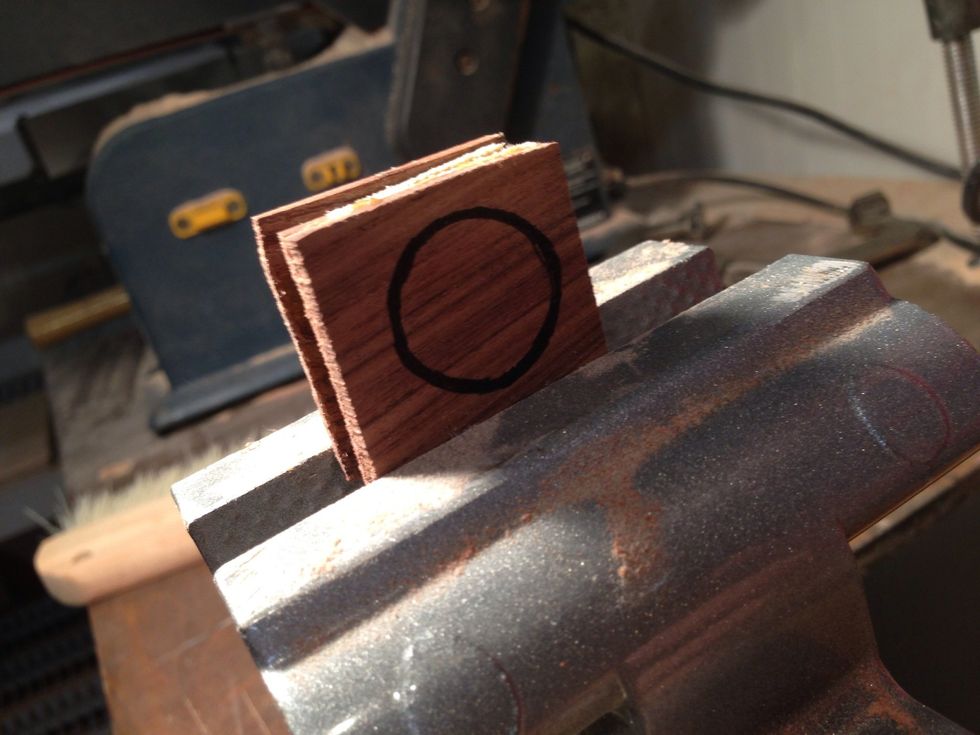
Place in vise, this is where the extra tail material comes in handy.

Trim excess with band saw. Be careful and don't rush
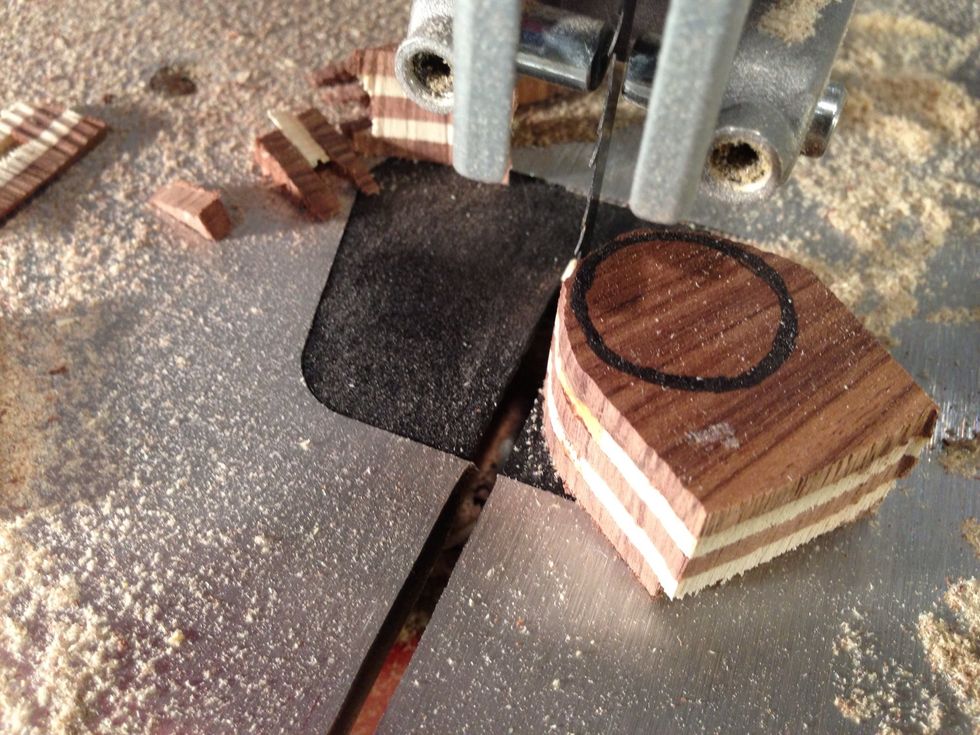
Here you go leave tail on back end.
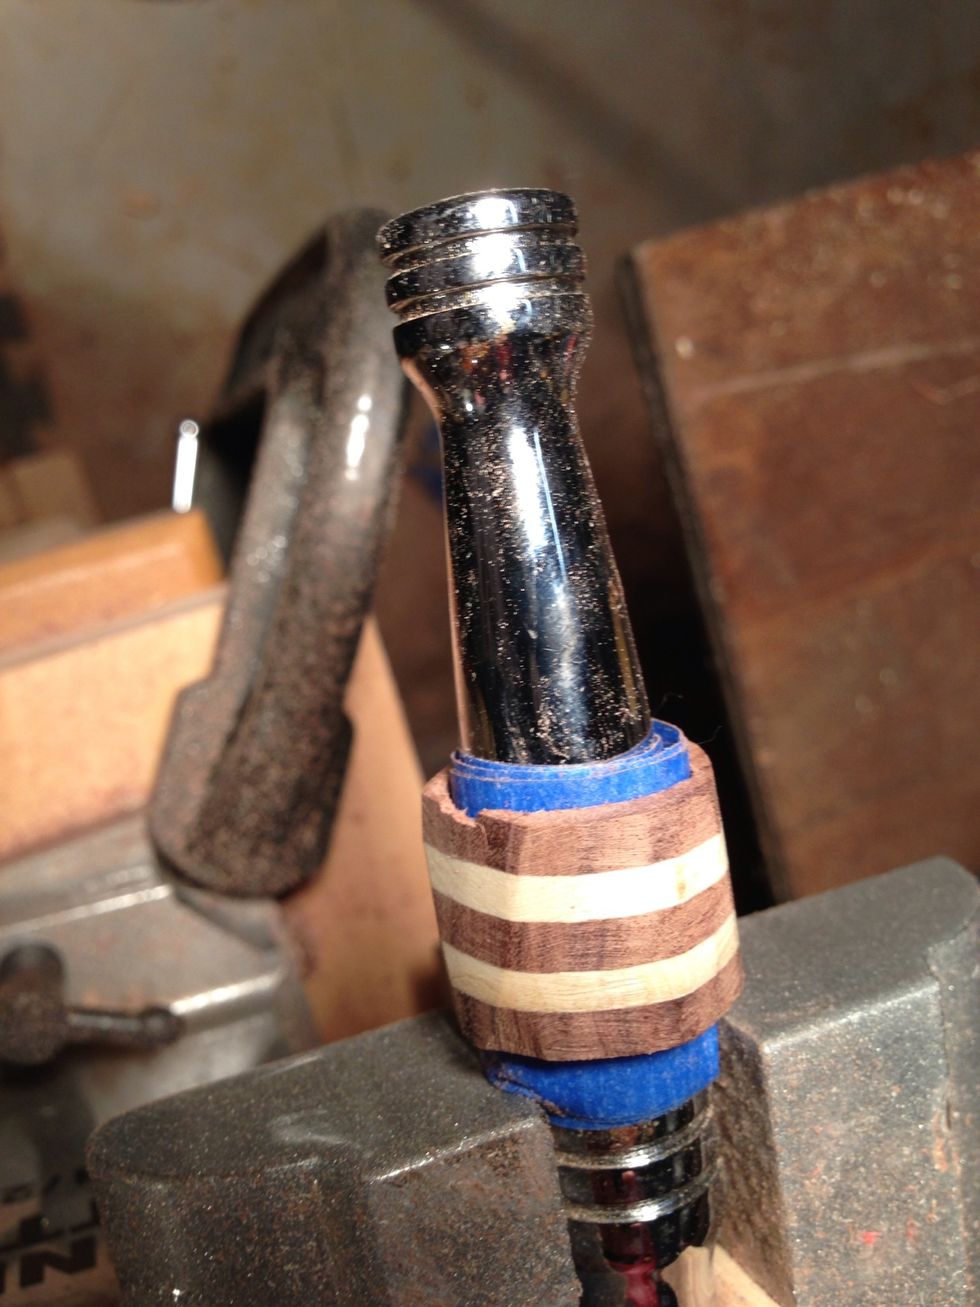
Vise time with extra wood spacer in vice to save the project from marring surface.
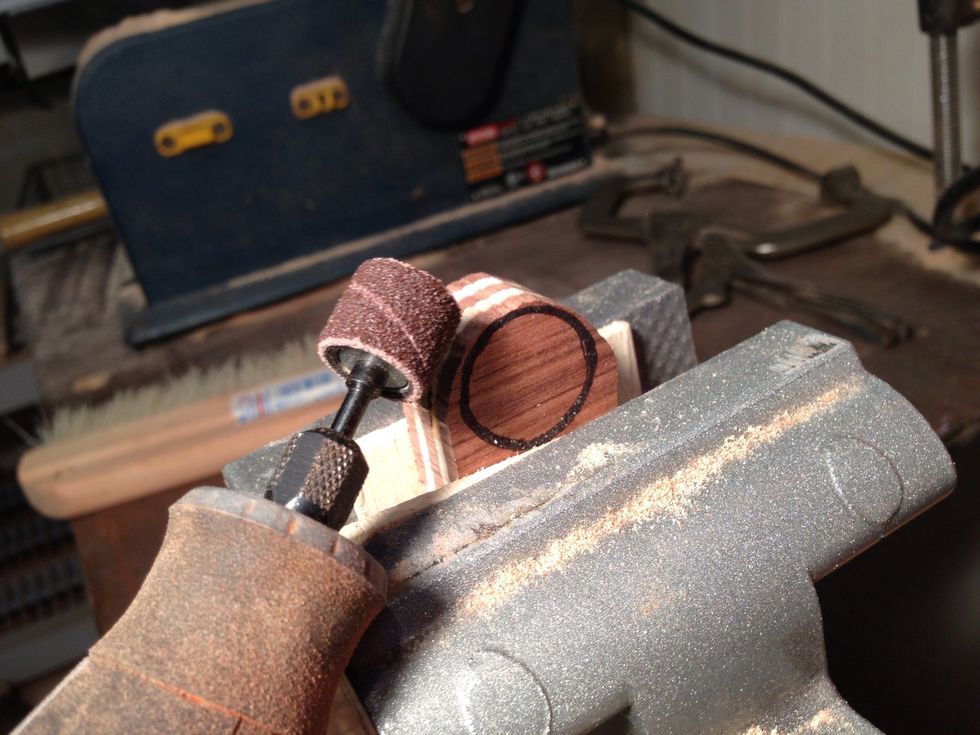
Me and my Dremel. Take your time, yes I know it's not spinning, it's too dangerous while taking pictures.
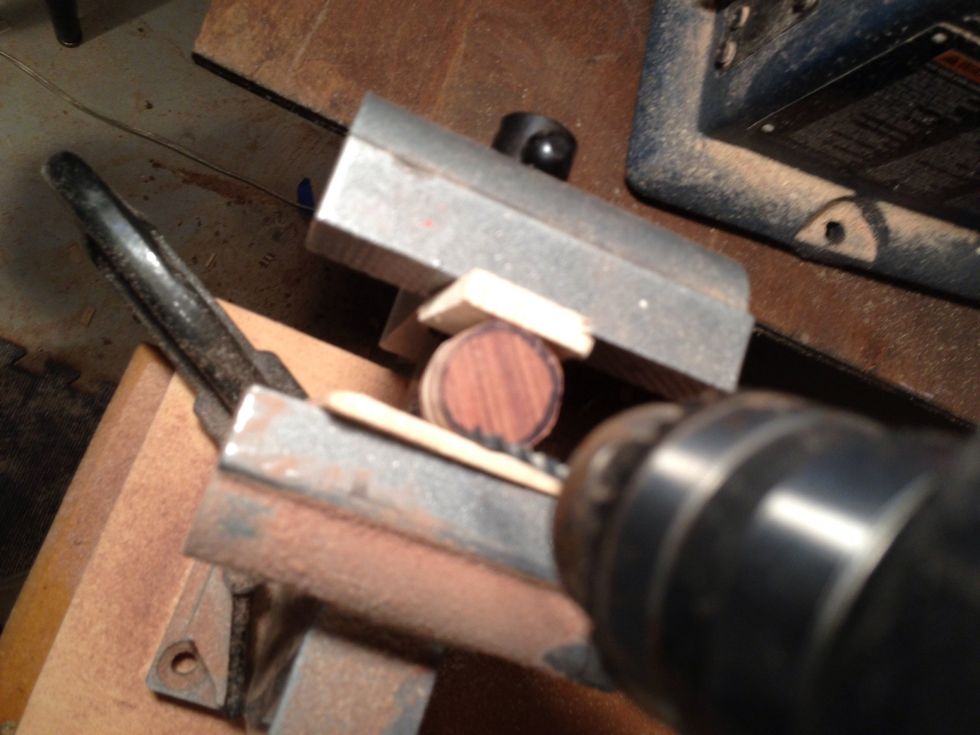
Get a small sharp drill bit go down the middle.
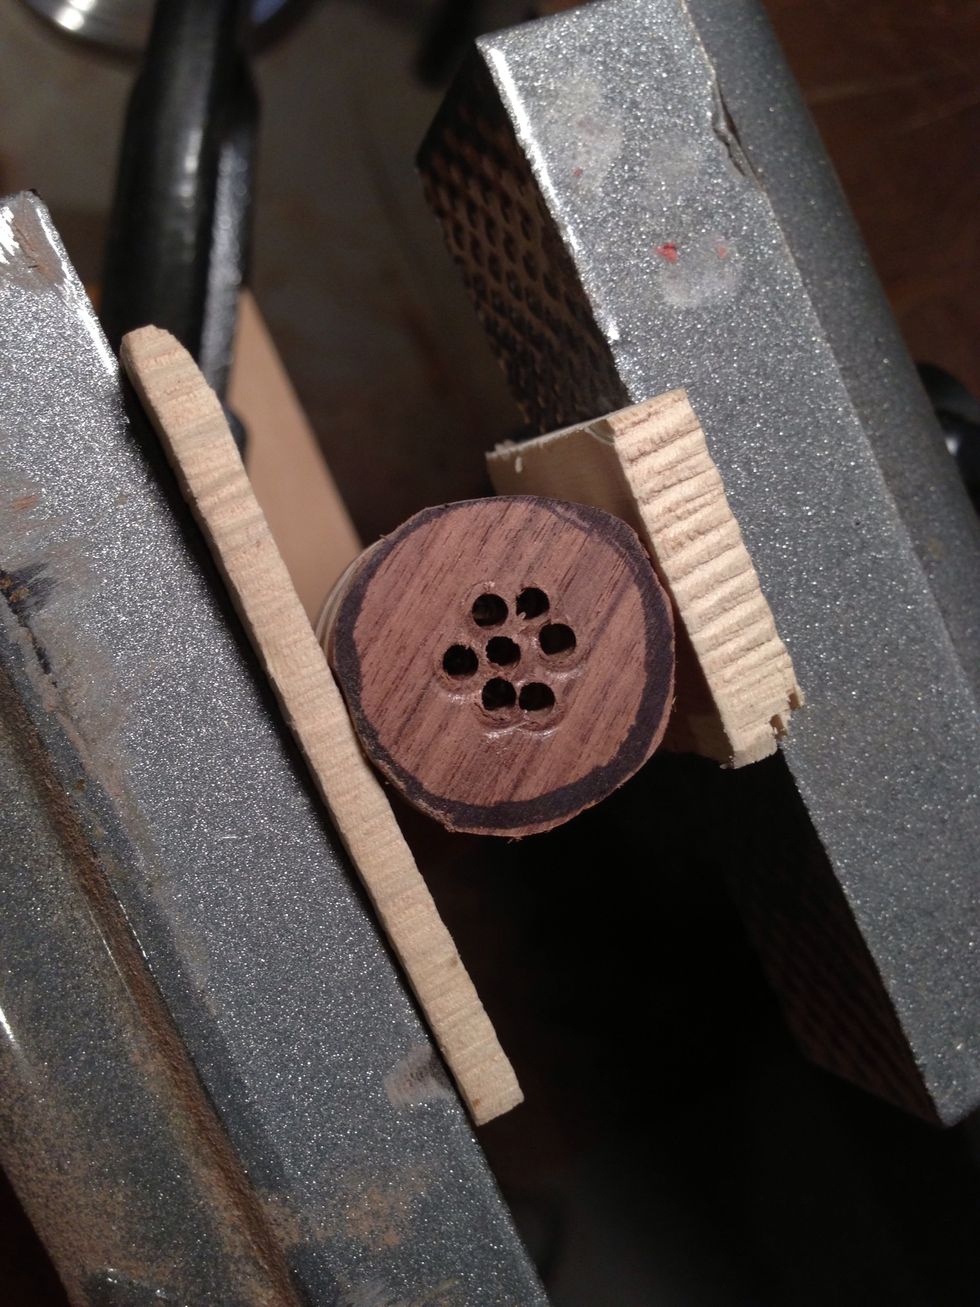
Follow pattern with small holes so you don't split wood. You can go larger drill bit after this or keep going.
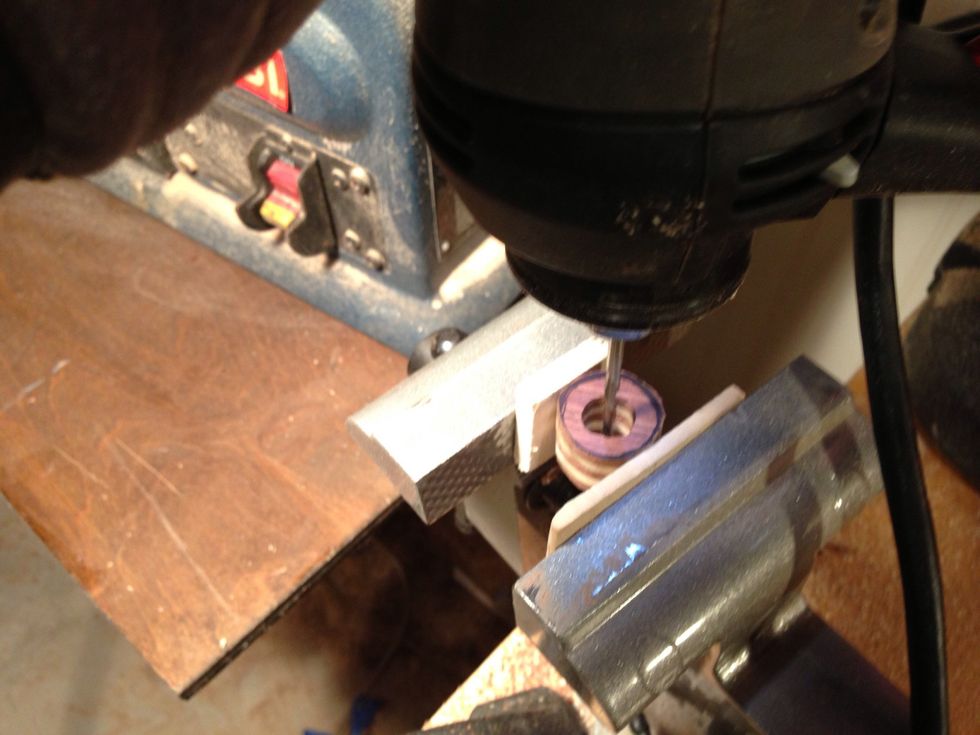
Once you get a large enough hole switch back to Dremel with small sanding disk to smooth out the inside of the ring.
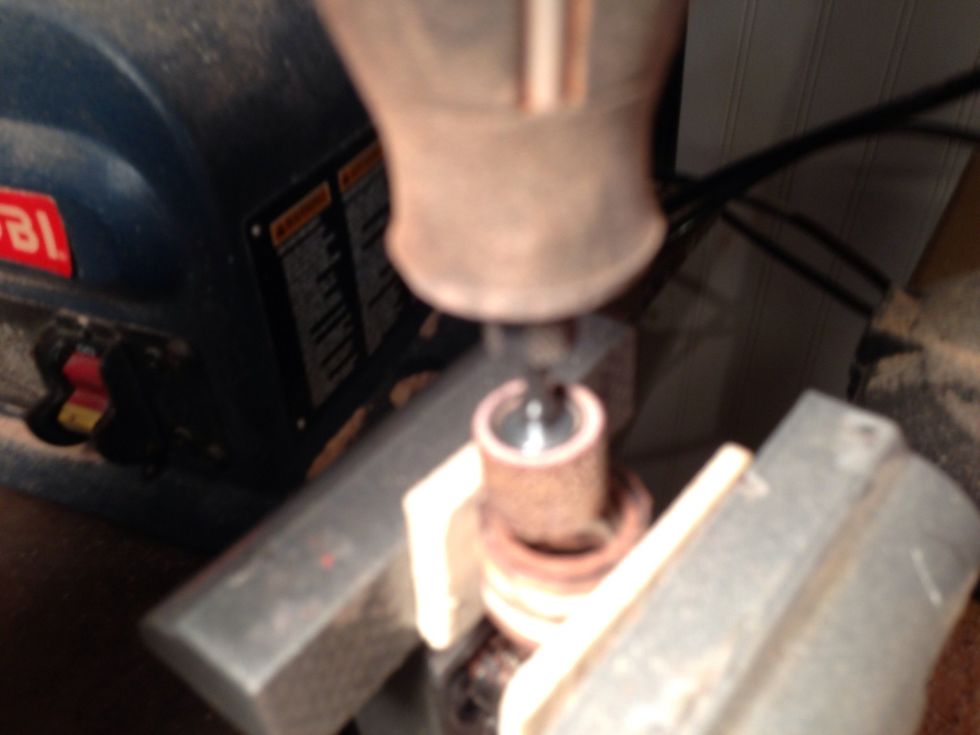
Blurry but you get the idea.
Okay it's starting to look like something. That is dust build up.
I used a ratchet with tape to sand without risking my finger. You may notice a small chip, we will sand down to that level to make it disappear.
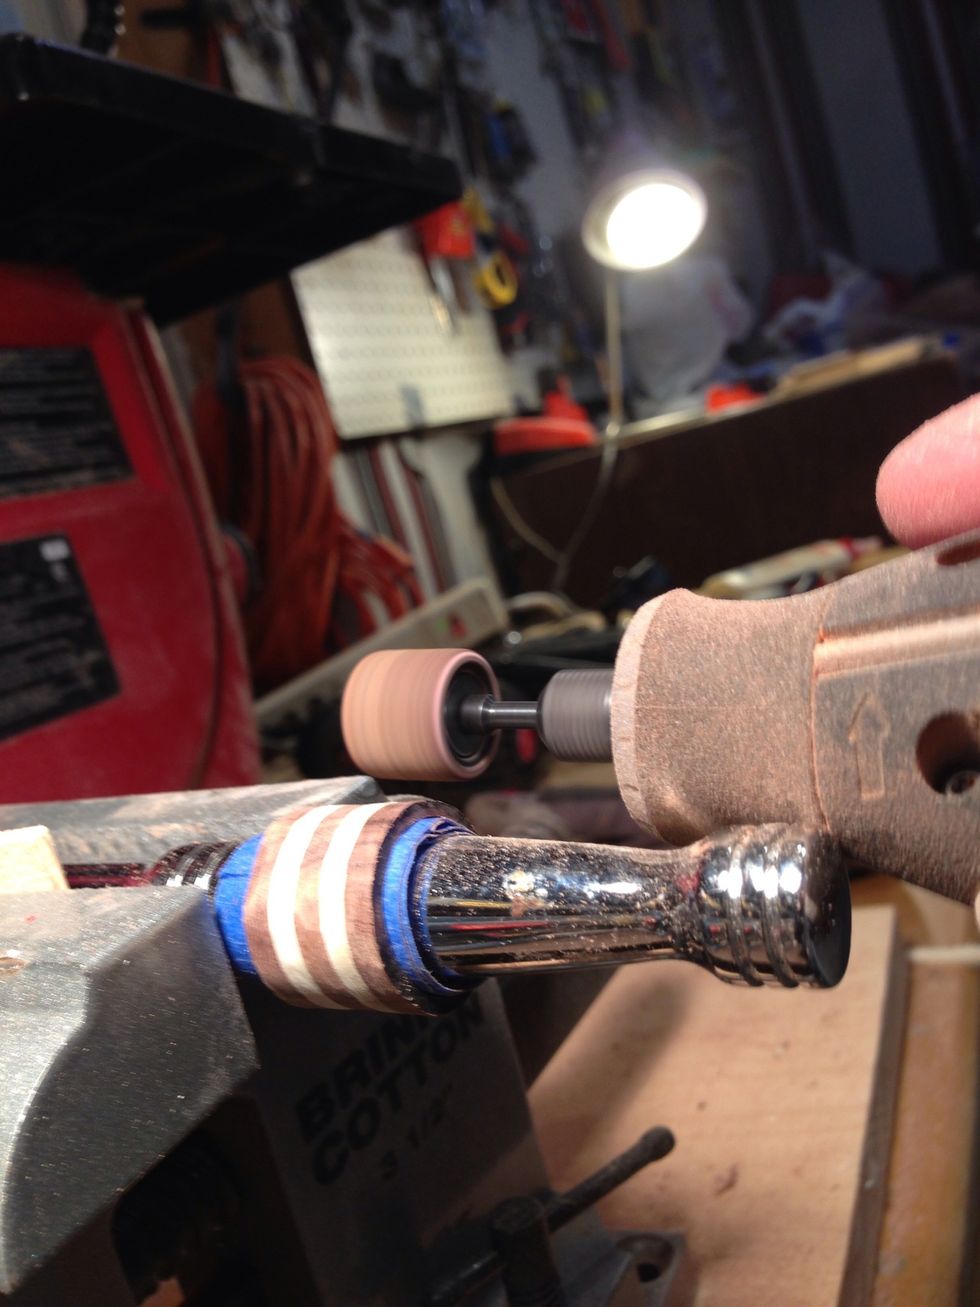
Pretty clever way to sand and hold it still in the vise. Lots of sanding and shaping here. Take your time.
First attempt at a ring #1. Lots of sanding and polishing to follow but it is intact and didn't break apart and I still have 10 fingers.
Another ring attempt different ring material.
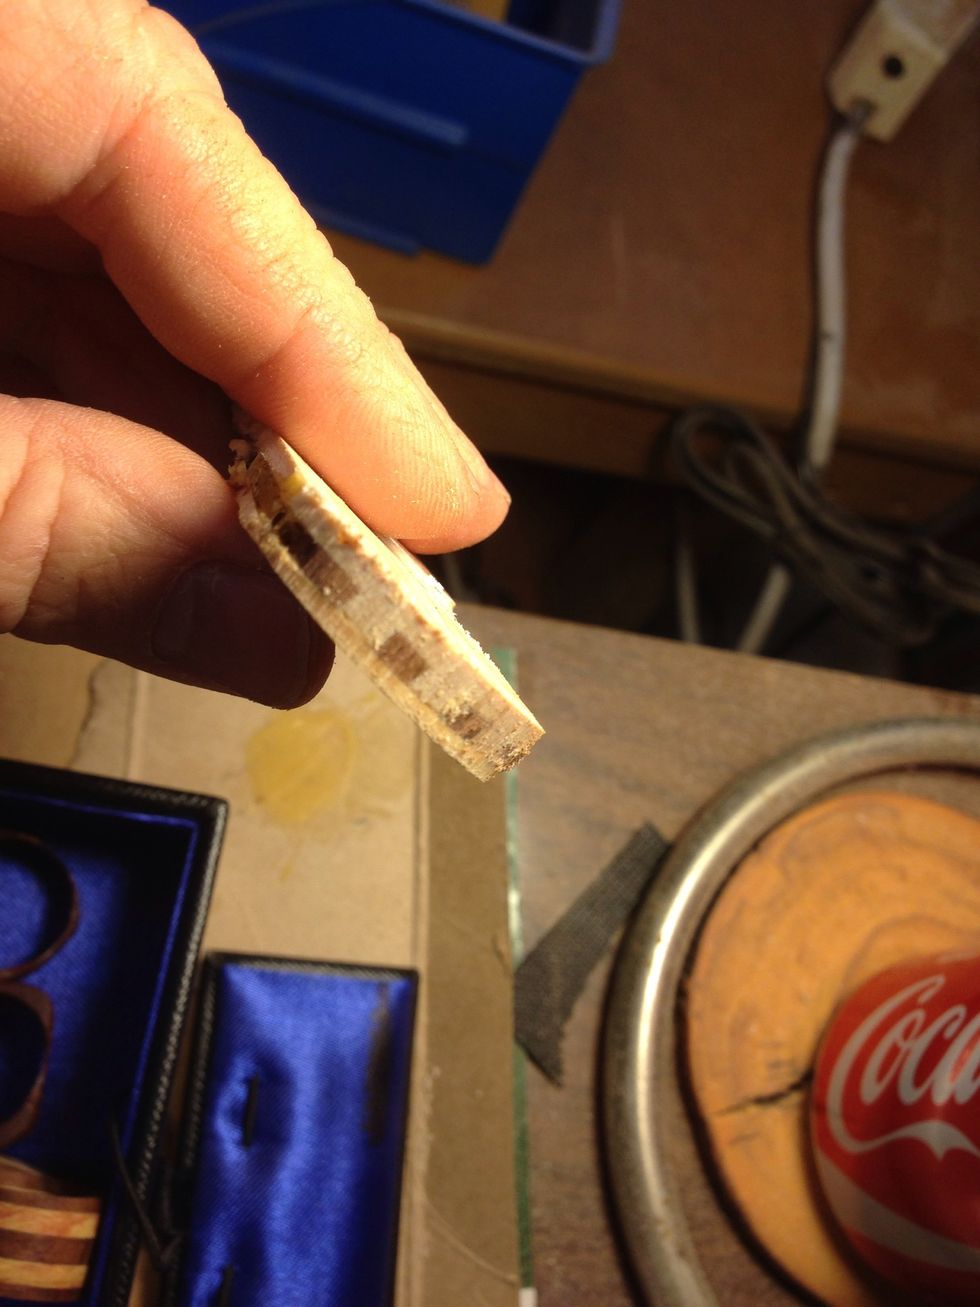
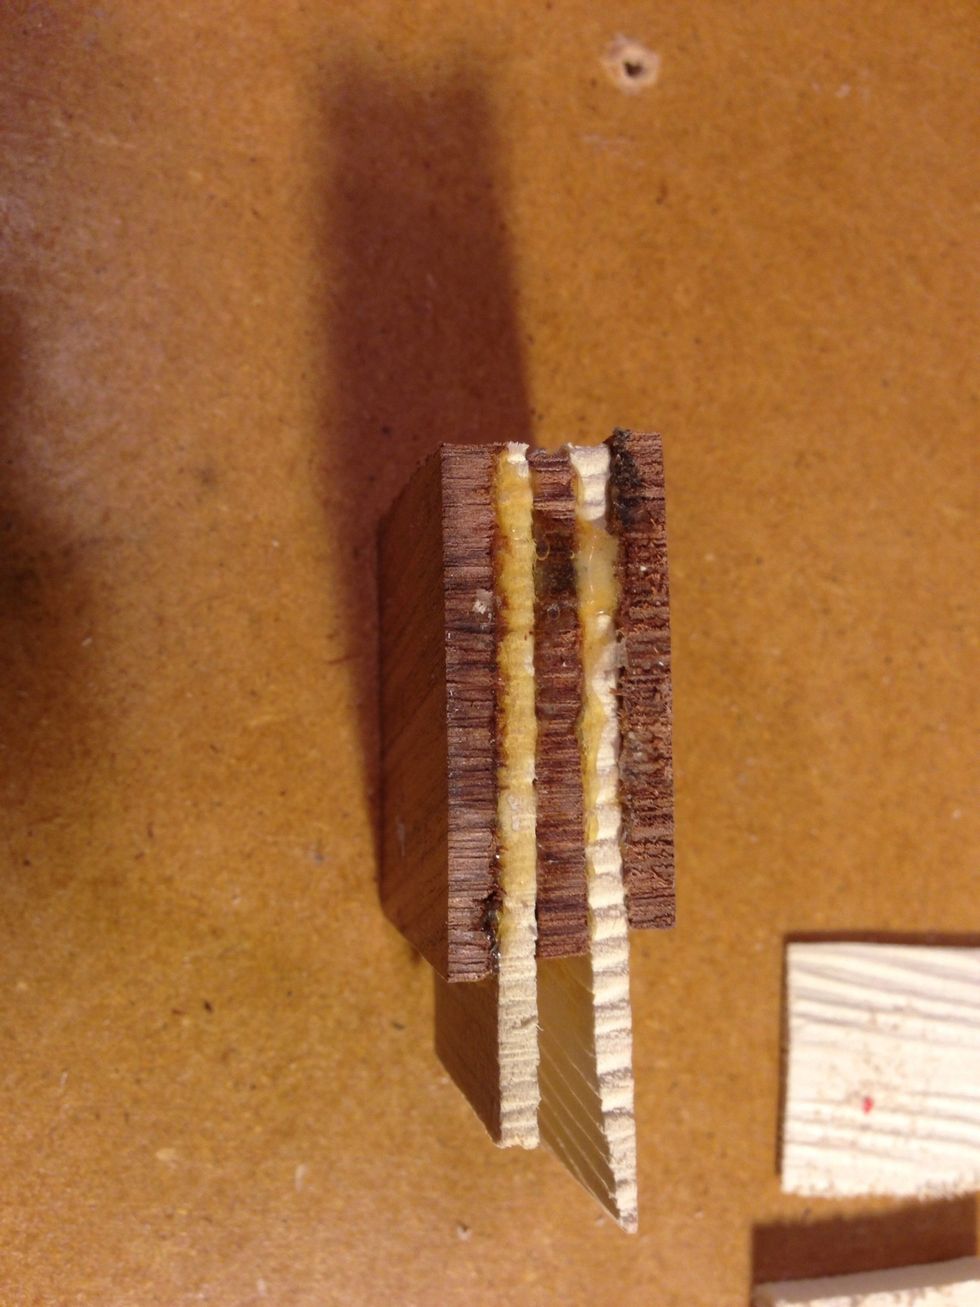
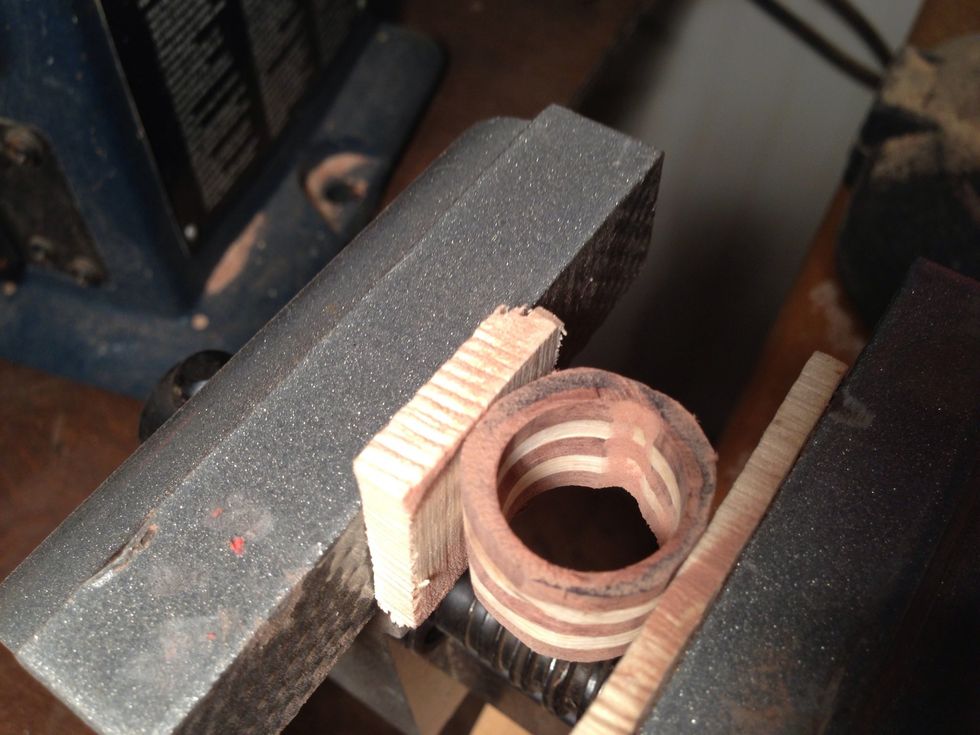
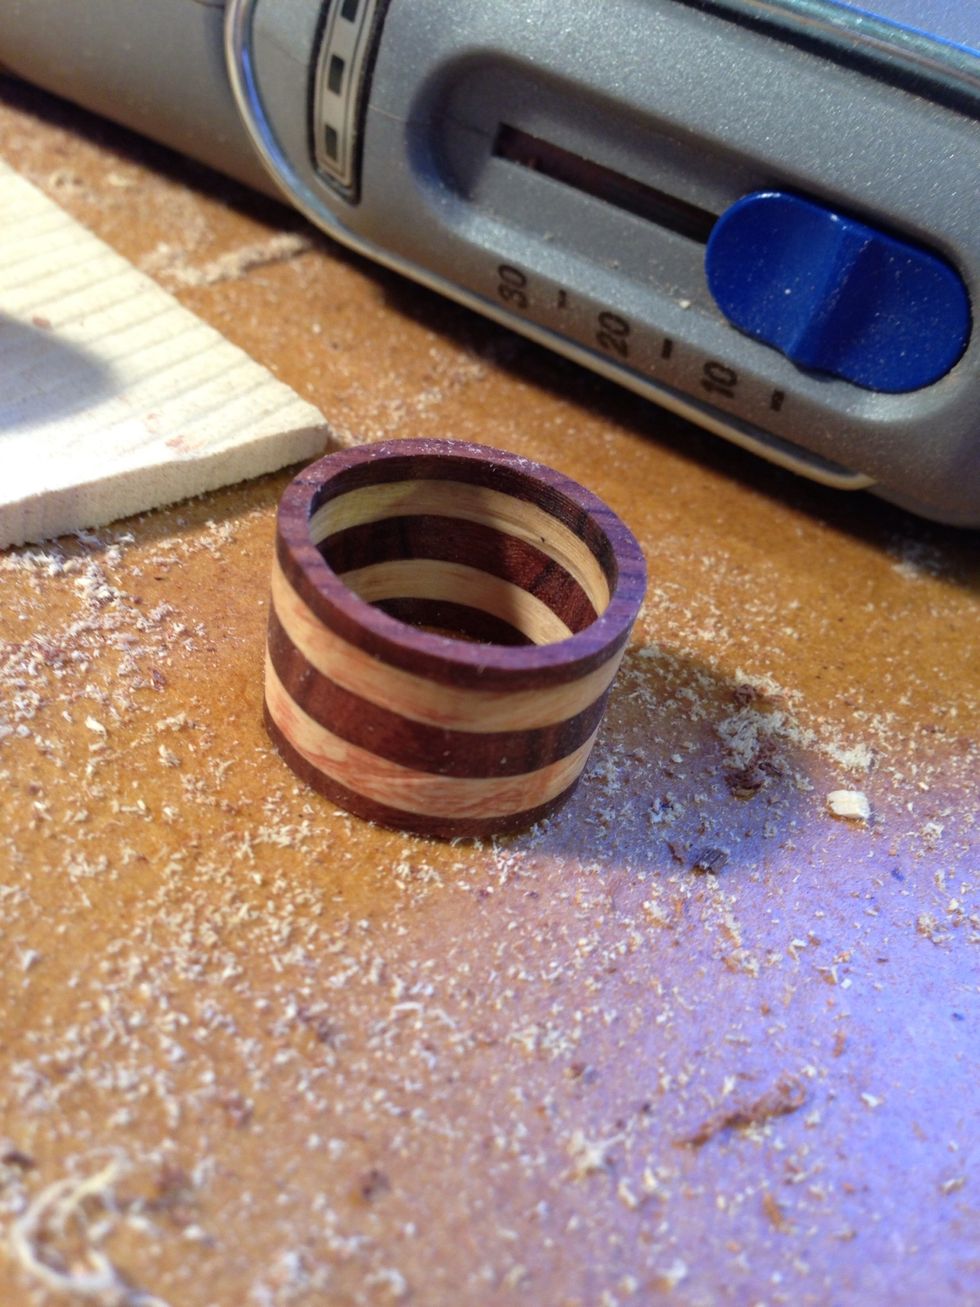
Showing the cross section of the laminated wood. I laid down alternating little beams of wood and sandwiched between two full size pieces.
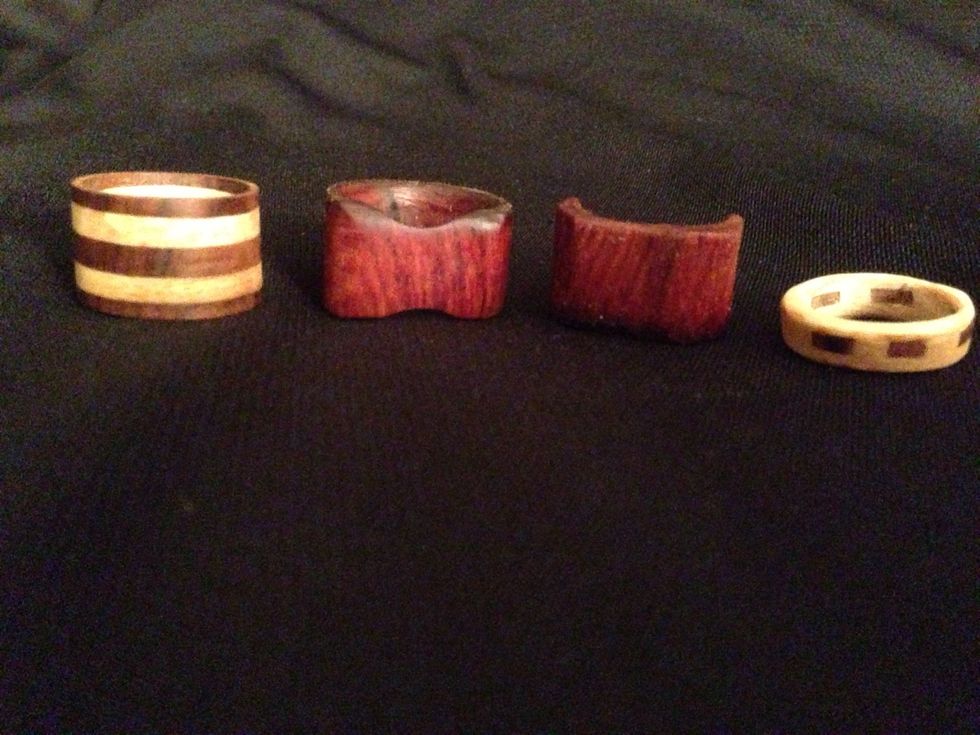
Tap on the picture to view my first four rings. The two rings on the end or laminated (glued) and the two in the middle are exotic wood from one solid piece. Check out my other woodworking projects.

Men's electronic charging valet 11,000 views. Works great.
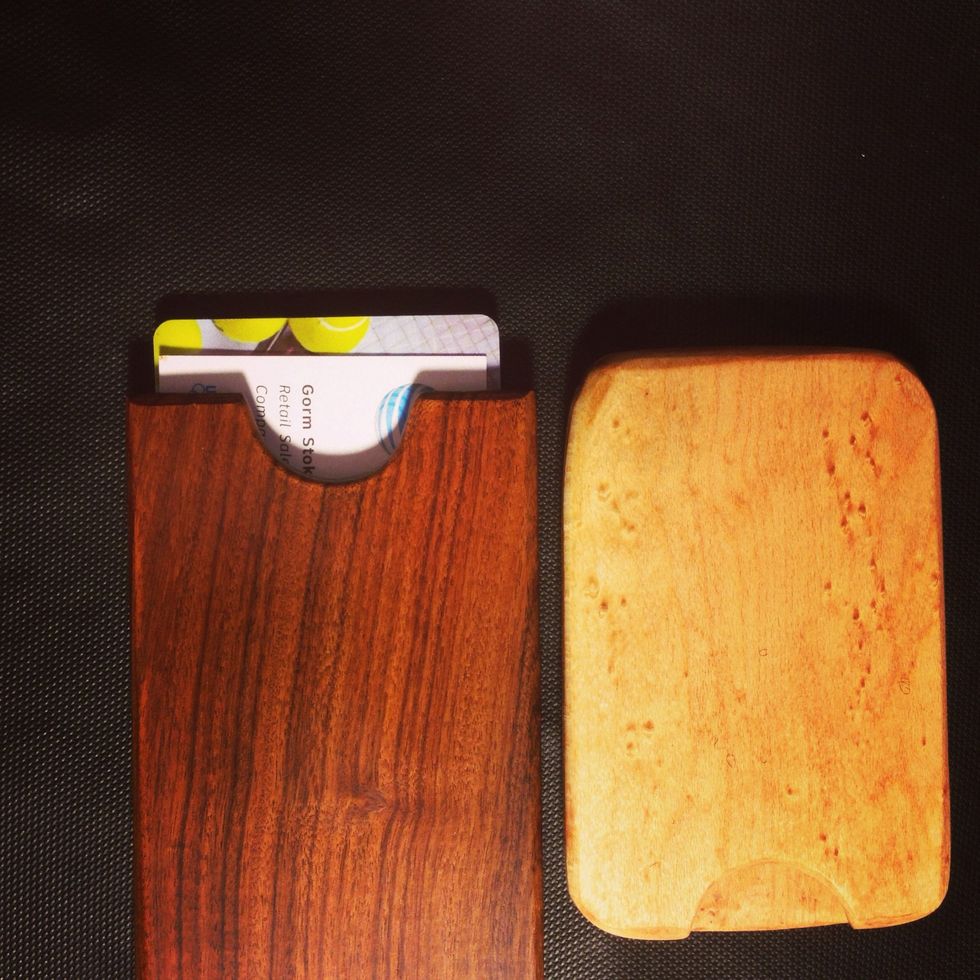
Wooden business card holder
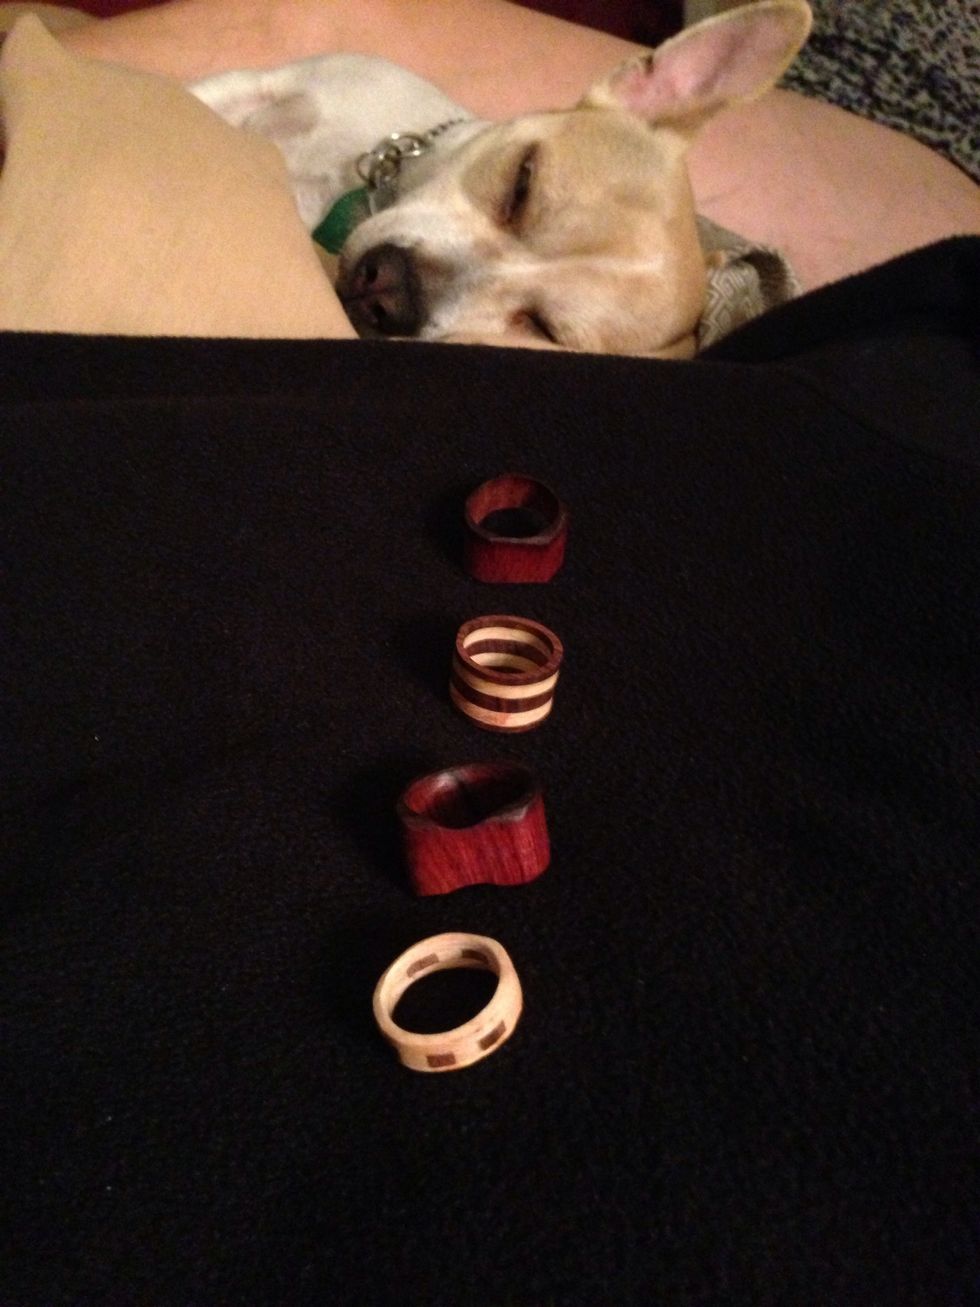
Four rings one happy wife and one tuckered out Lucy the dog and I still have 10 fingers. It was a lot of fun to do please follow me and ask questions if I went too fast during the guide.