The Conversation (0)
Sign Up
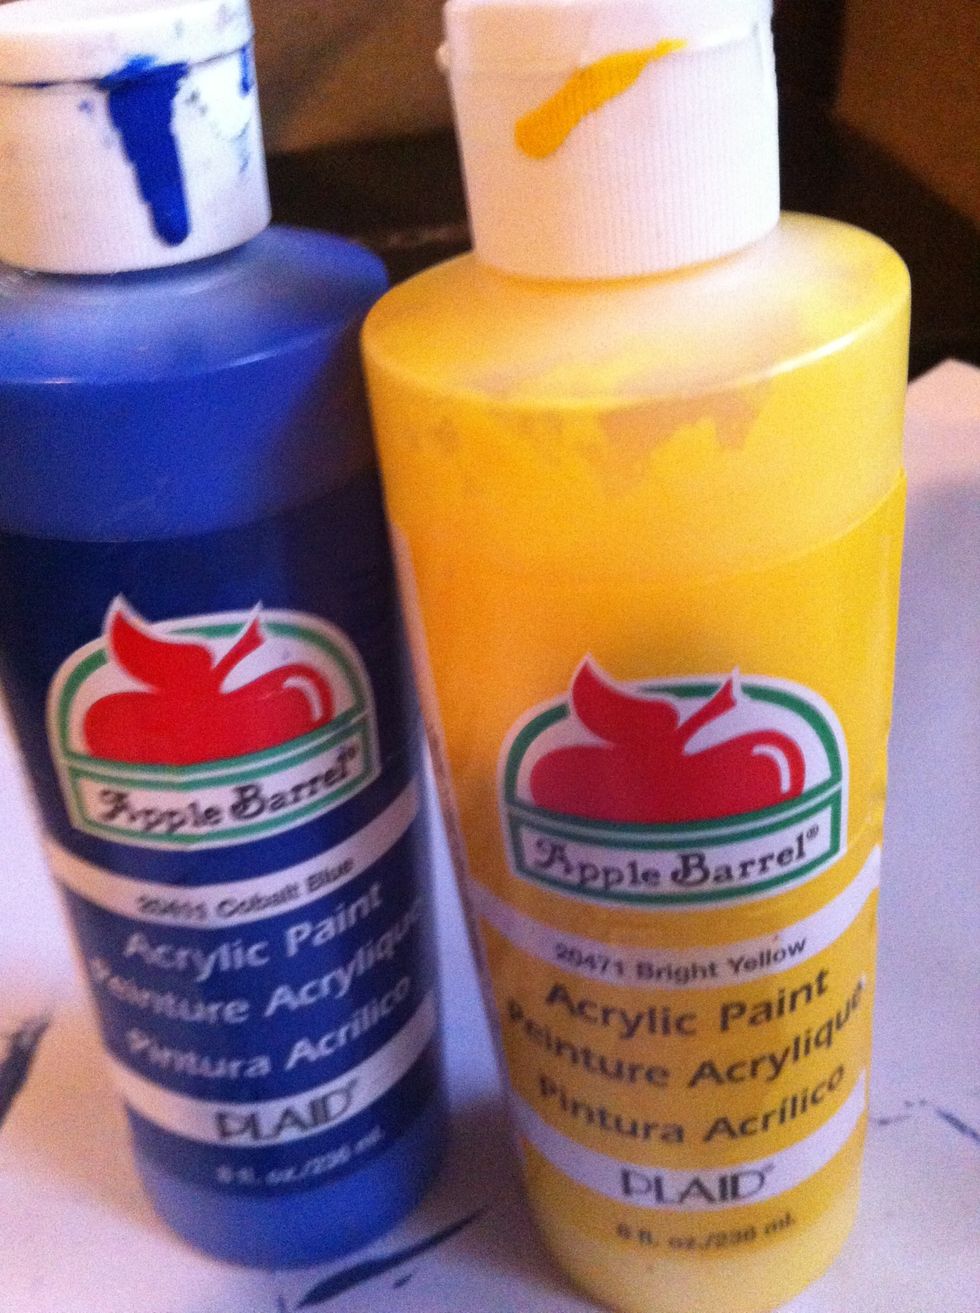
Step One: Paint the plaque desired color and let dry
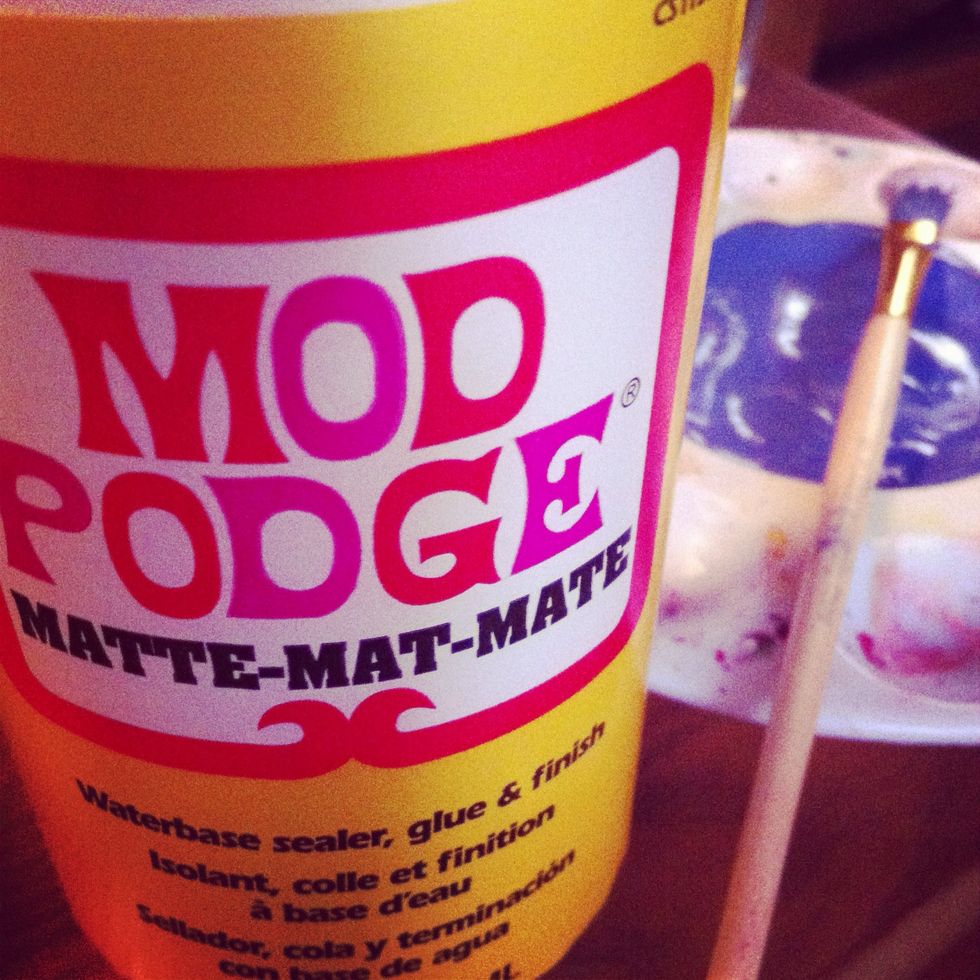
Step two: Apply thin coat of Mid Podge to plaque surface.
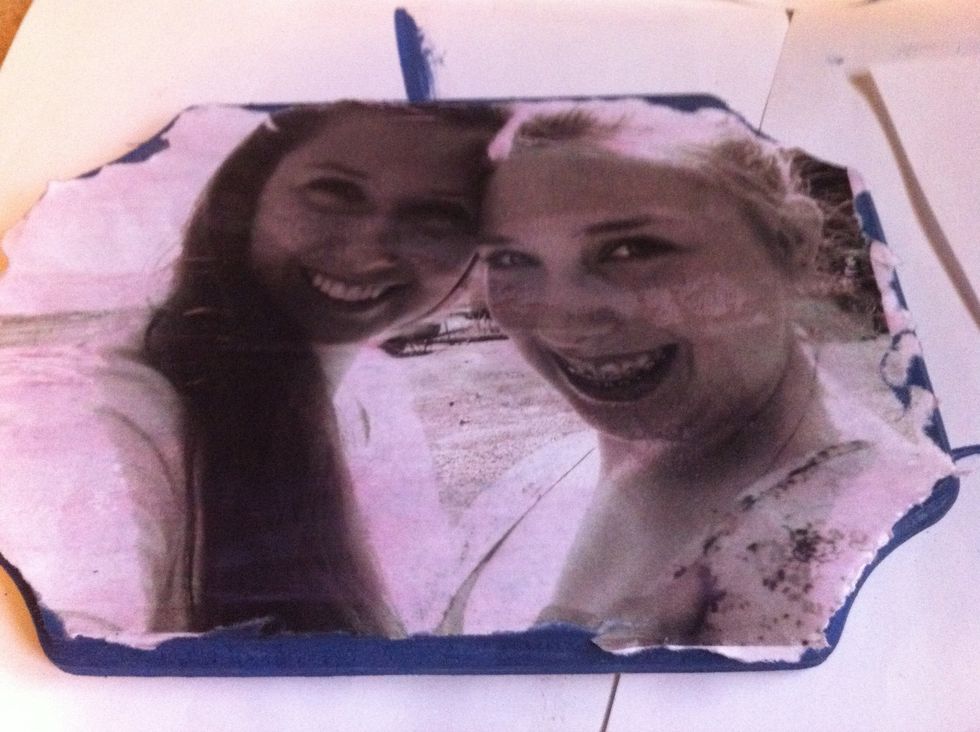
Step Three: Press down the picture on plaque and apply another layer of Mod Podge over picture, making sure to smooth out air bubbles. You will notice it turns the printer ink a slight pink color.
Step four: as the Mod Podge dries, gently tear away excess edges if the picture to fit it to the plaque.
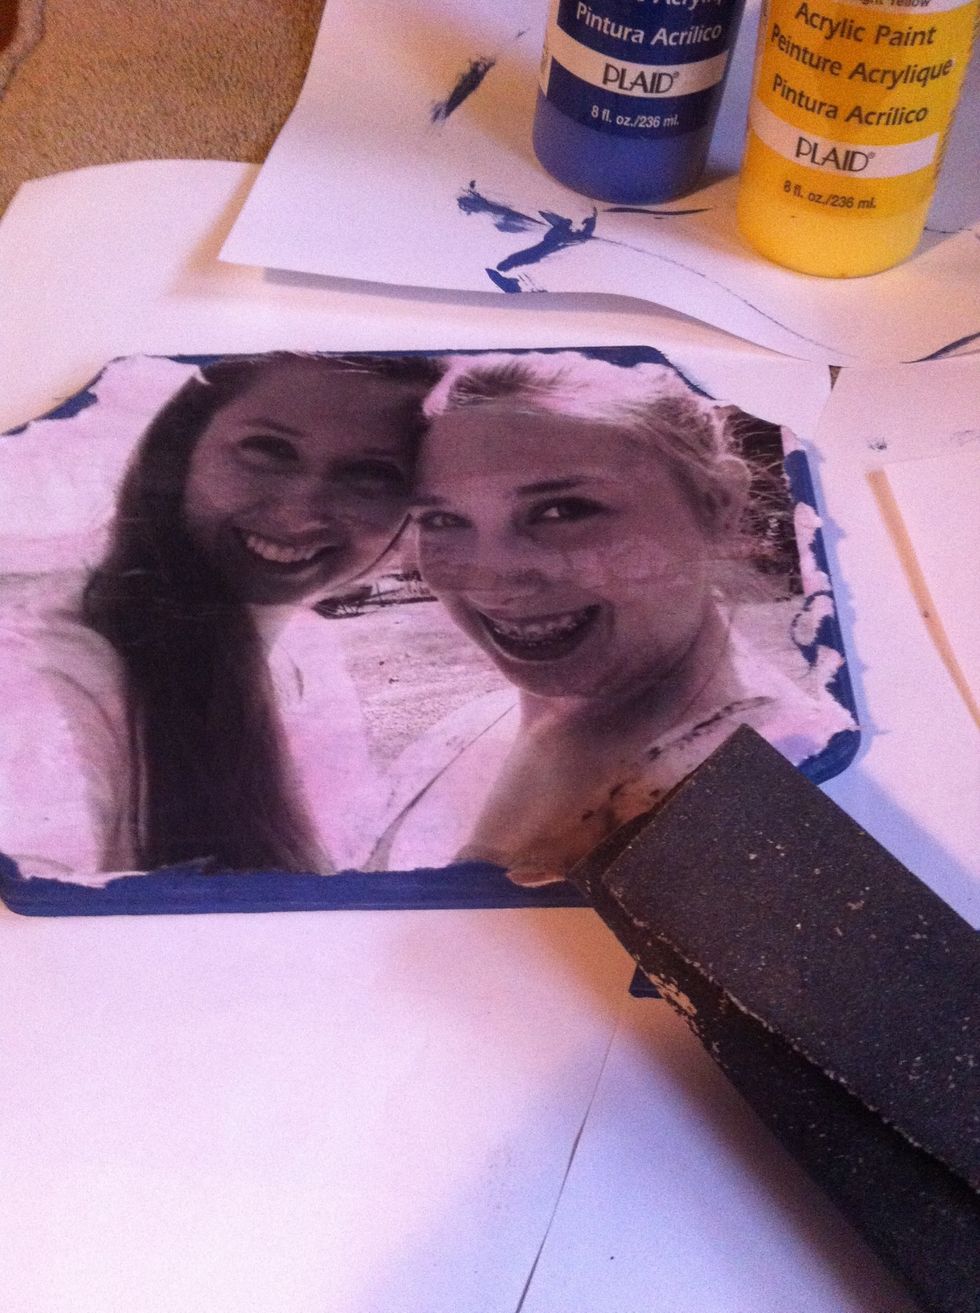
Step five: After Mod Podge is dried, Gently sand around edges to create a distressed look.
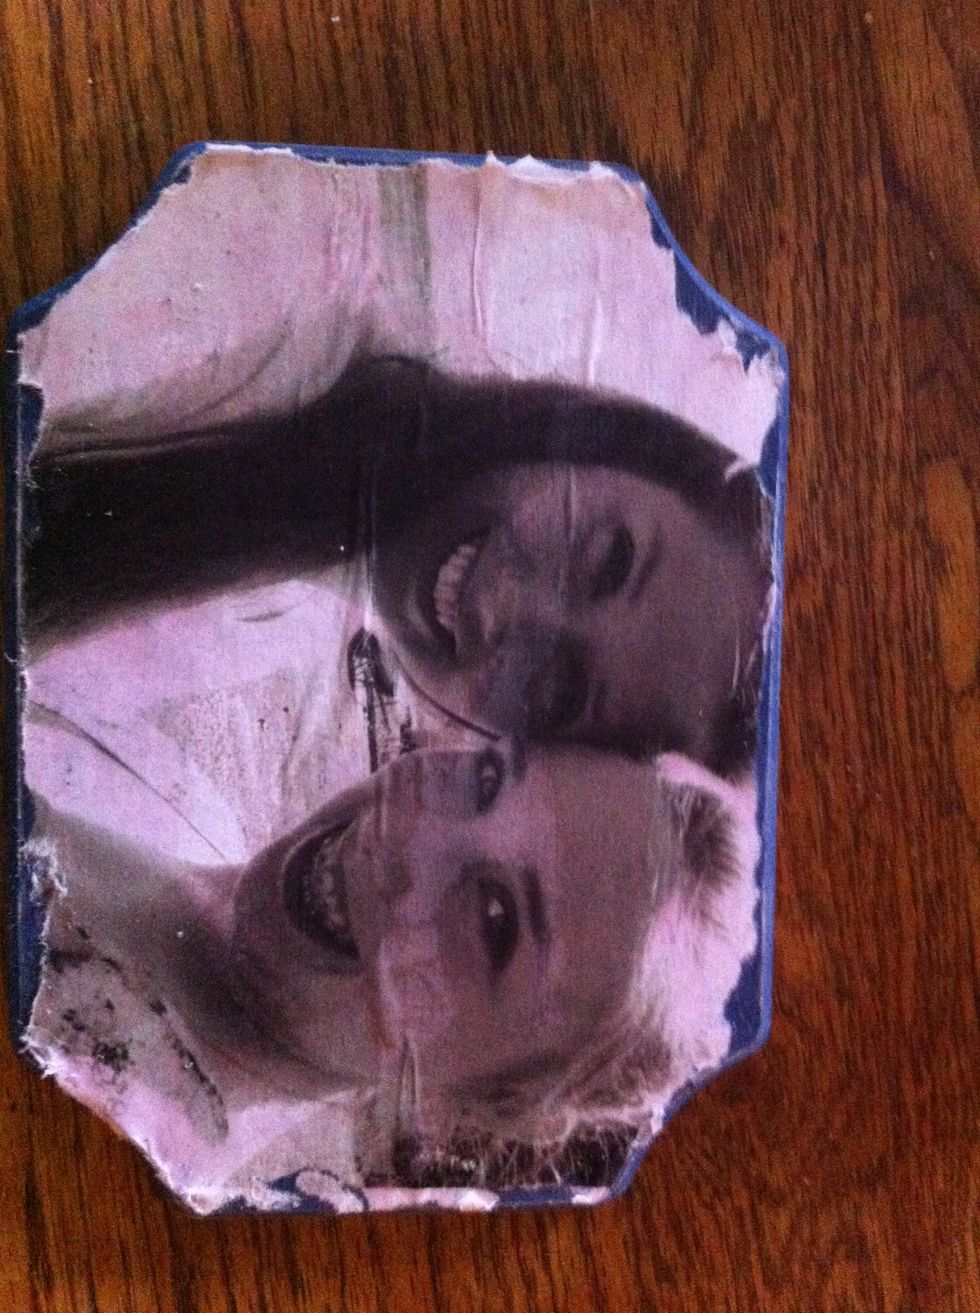
Viola! The finished project makes a great gift!