The Conversation (0)
Sign Up
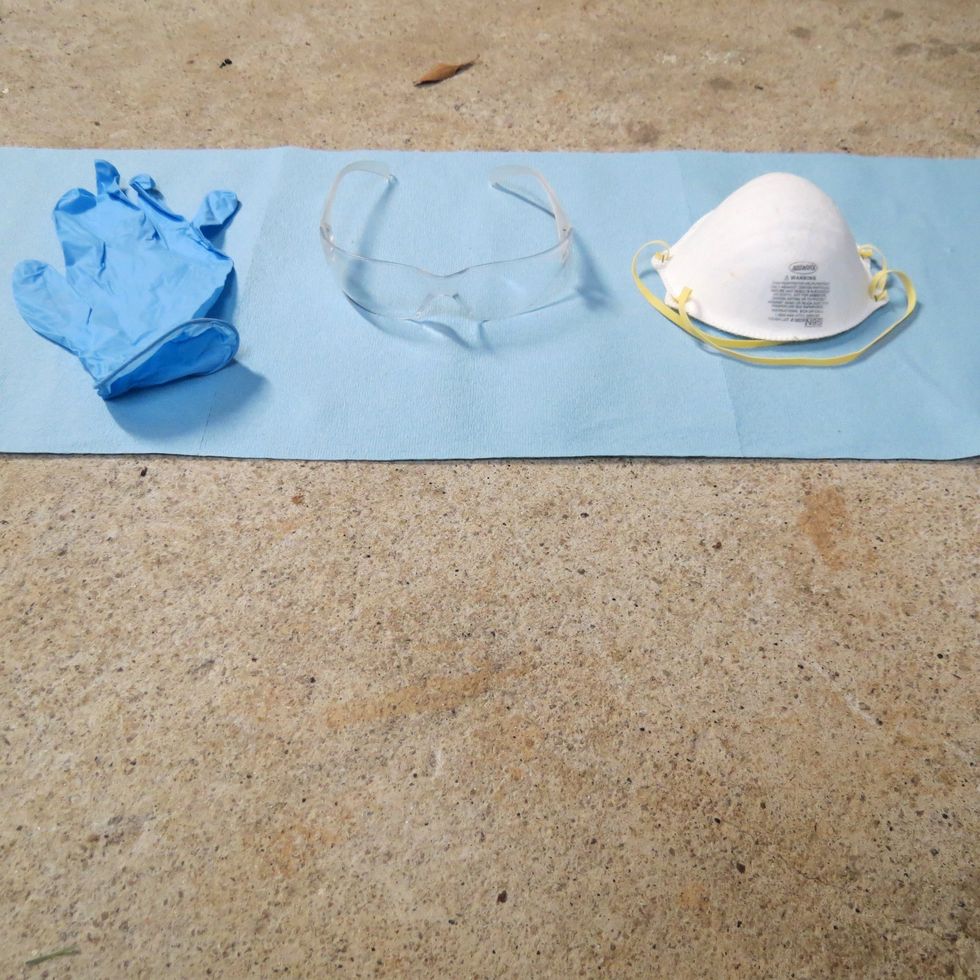
Safety first. Nitrile gloves (for gluing steps). Safety glasses. Dust mask. Paper towels come in handy also.
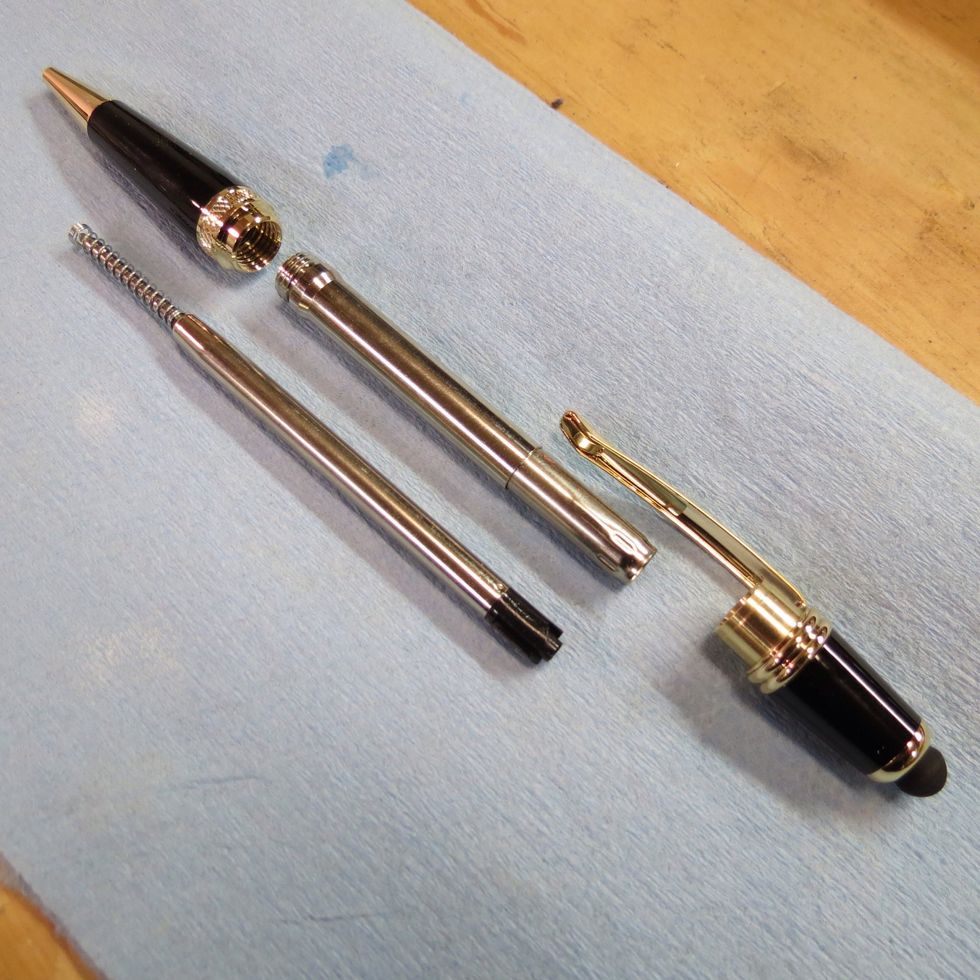
Purchase a pen kit from a supplier. I buy mine from Woodcraft or Penn State Industries. The kit comes with detailed instructions.
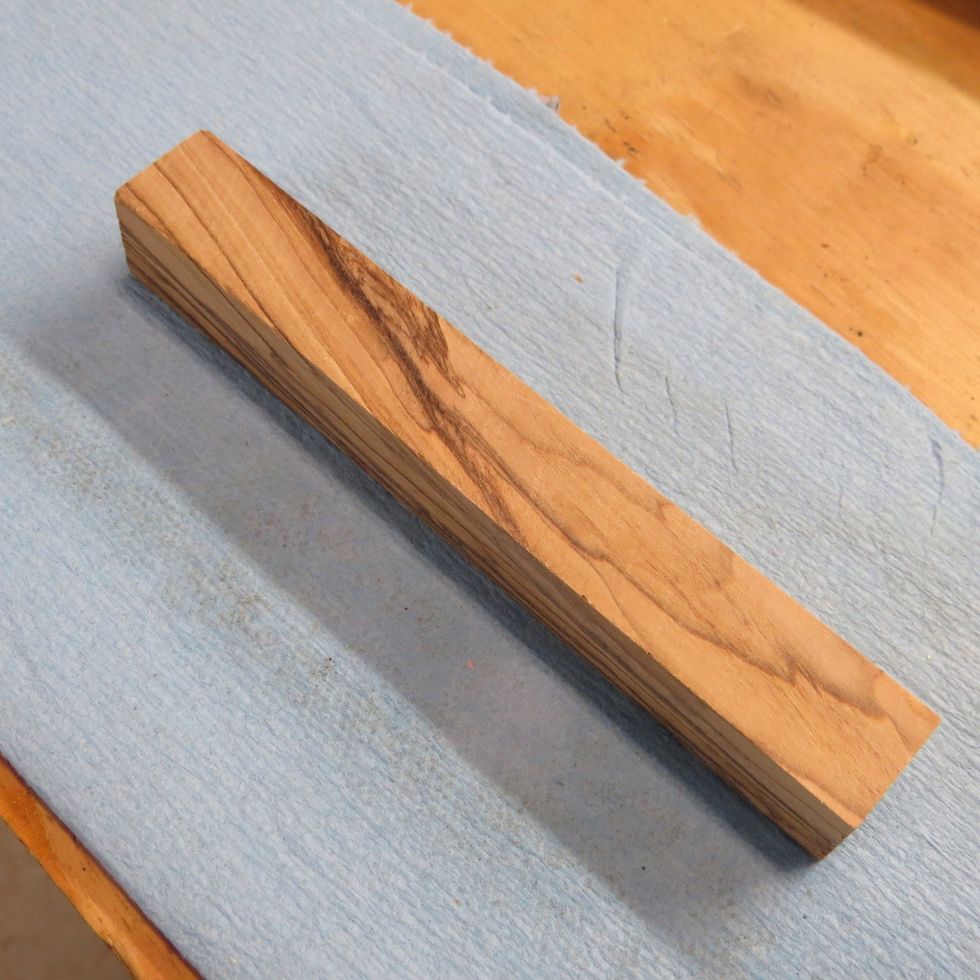
Purchase or cut out a piece of wood 3/4in by 3/4in by 6in long. Choose wood with nice grain patterns. The one pictured is Bethlehem Olive from the Holy Land.
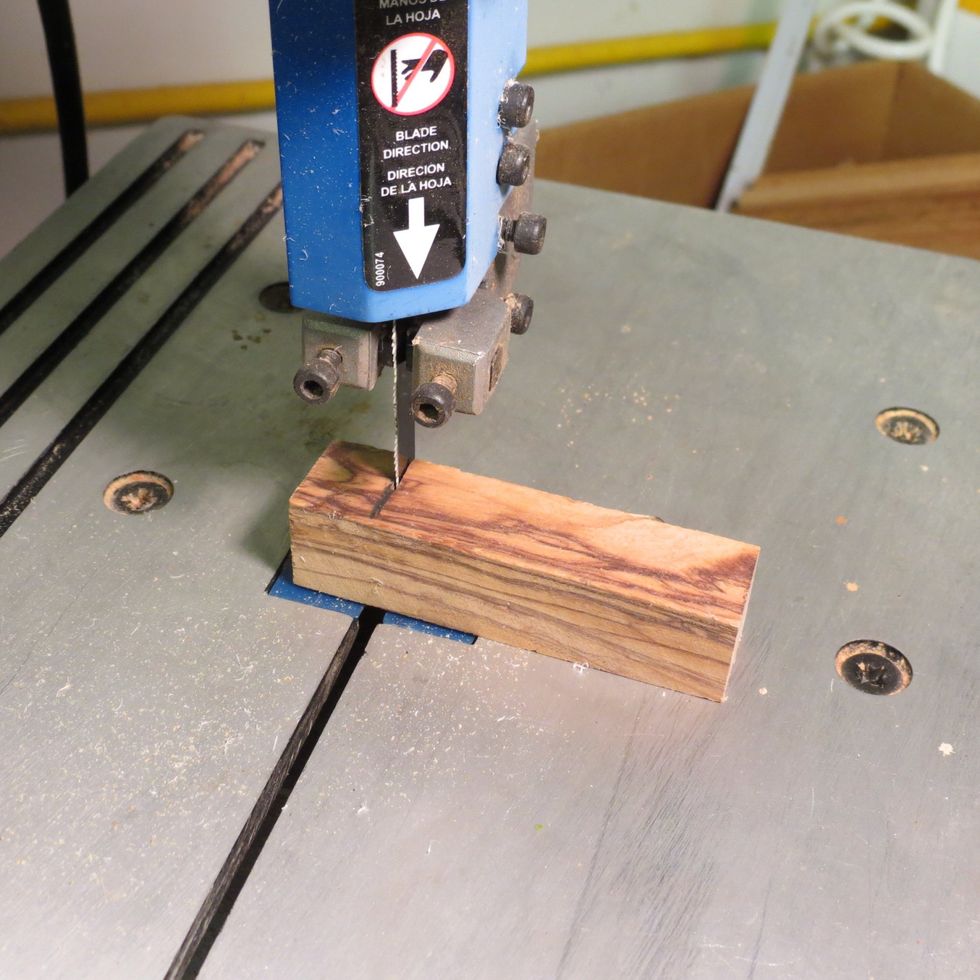
Make sure the wood blank is slightly longer than the brass tube which comes with the kit. I use a bandsaw, but you can used any kind of saw. Watch your fingers!
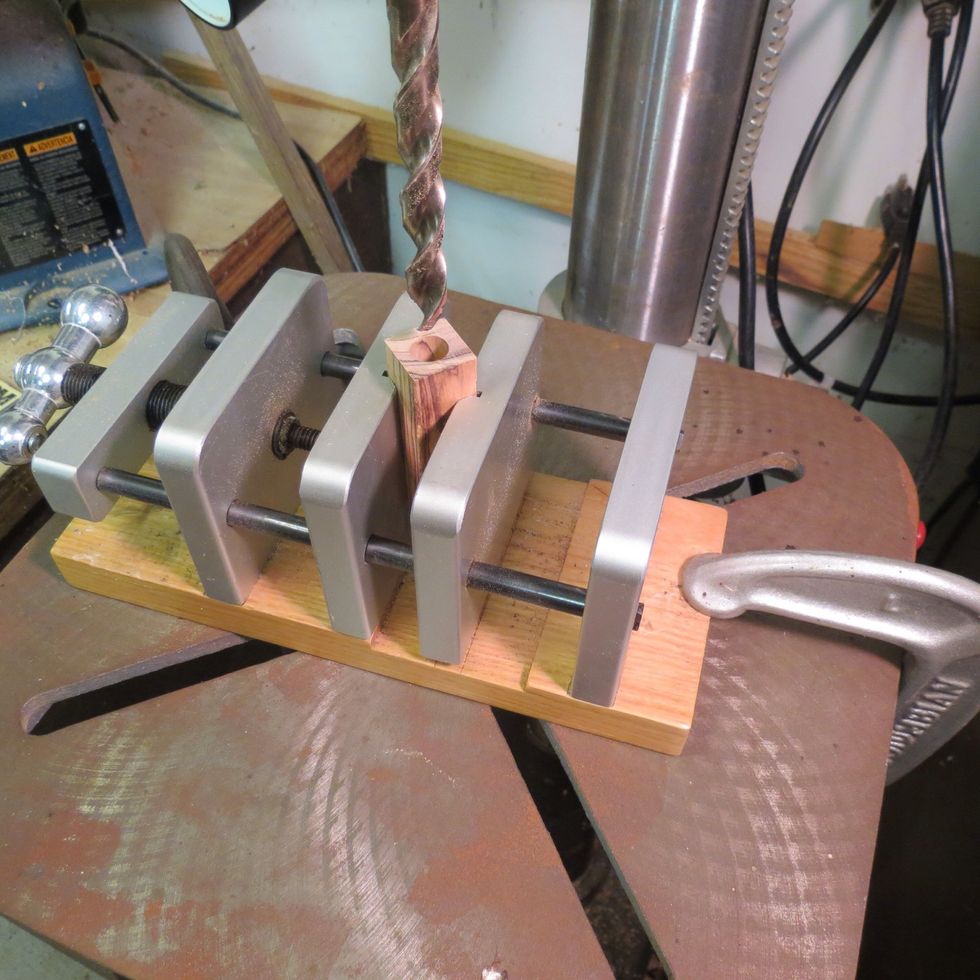
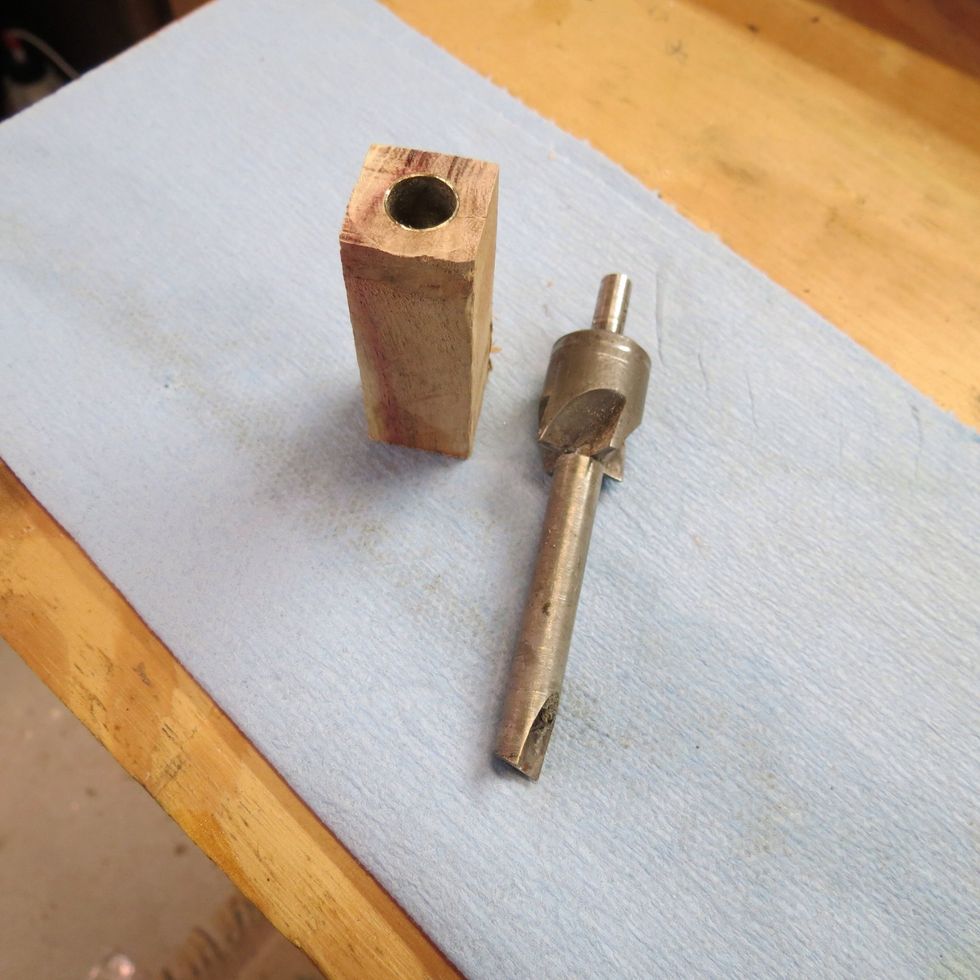
Read the pen kit instructions to choose the correct drill bit size. I prefer to use a drill press and a vise to hold the blank. Drill straight down through the center of the wood blank.
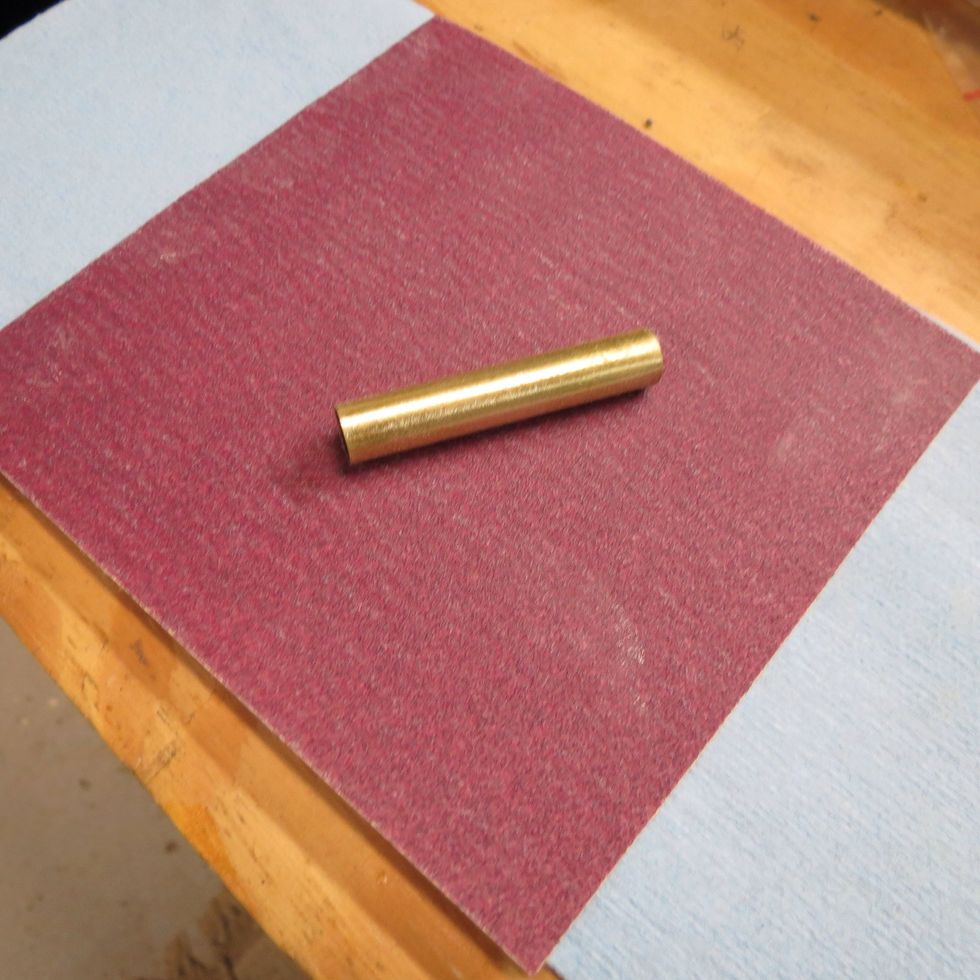
Take the brass tube from the pen kit and scuff it well with coarse sandpaper.

I use CA MEDIUM adhesive for gluing the tubes into the wood blanks. This is a FAST drying glue.
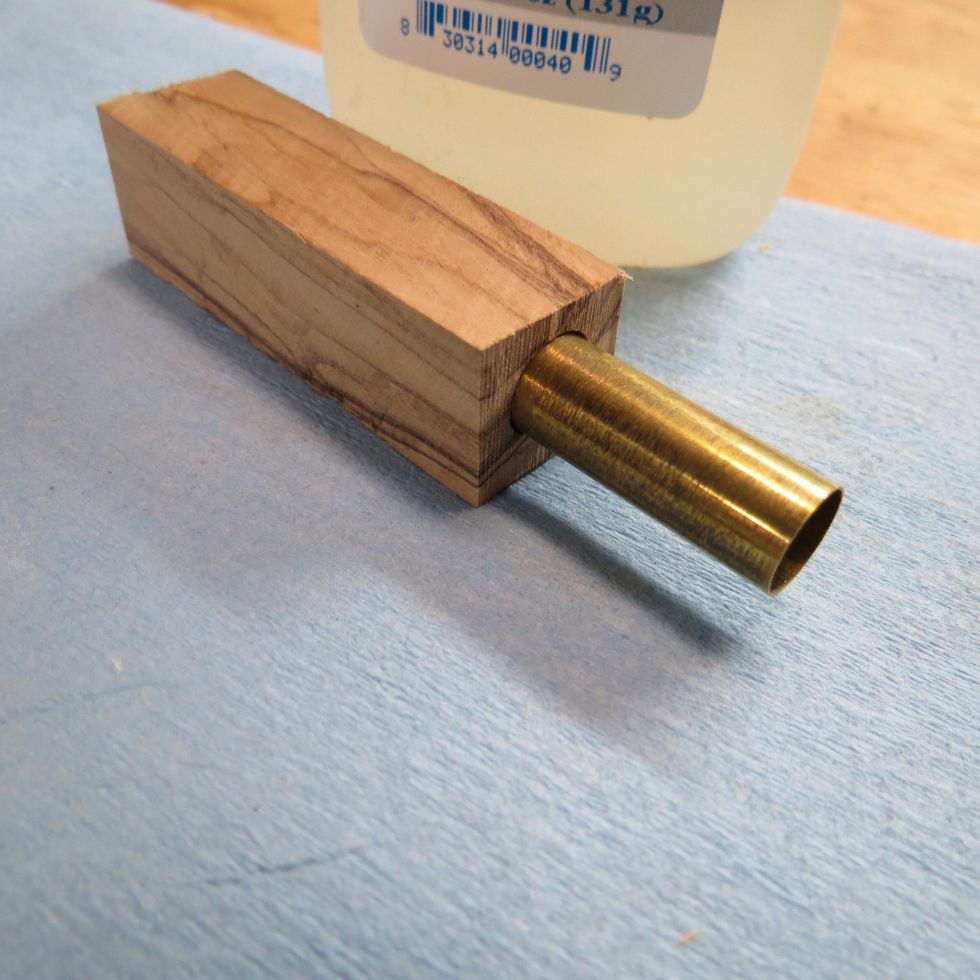
Wearing rubber gloves, grab the tube with one hand and hold the glue bottle over the tube. Apply the glue on the tube and with other hand twirl the tube into the drilled blank. CA glue dries fast!
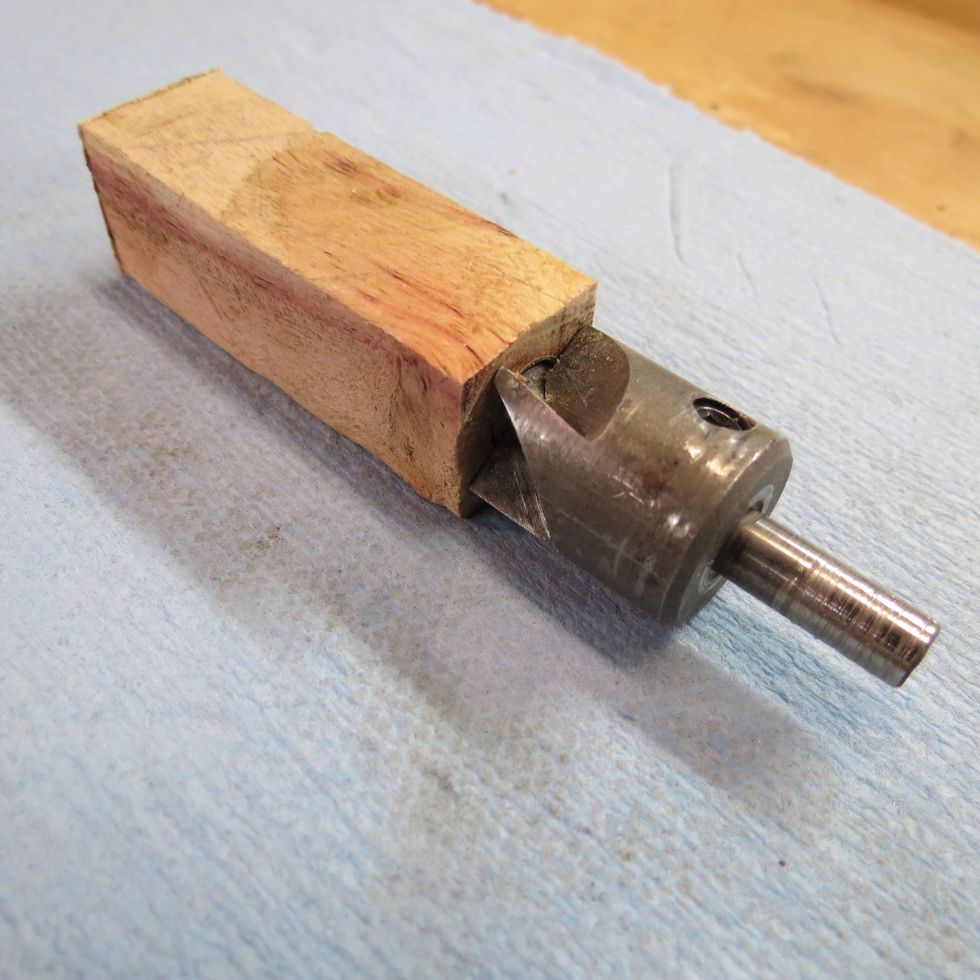
Once the glue has dried, use a barrel trimmer to square up each end. The barrel trimmer attaches to your hand drill (not shown). Go slow and don't crack the wood.
Take the barrel trimmer down to the brass tube, but don't remove much brass tube material. You want to maintain the original dimensions of the pen tube.
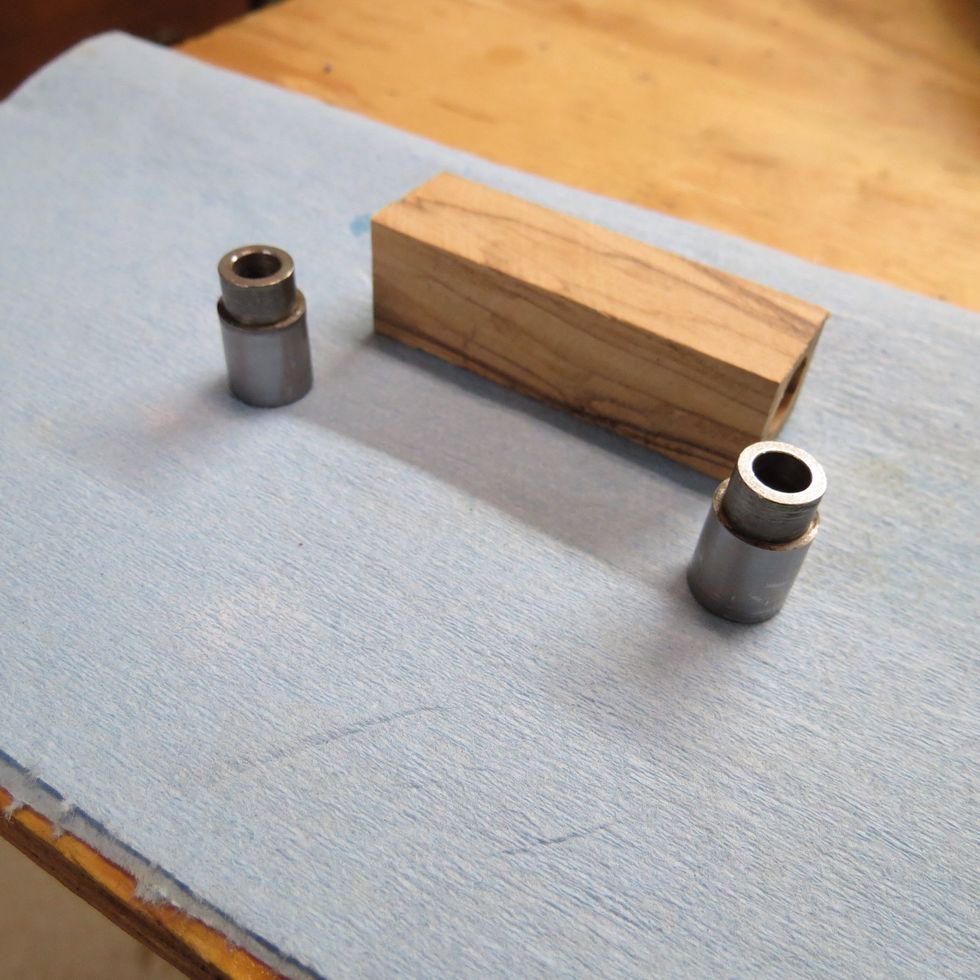
The pen kit instructions list the correct bushings to use. The bushings ensure that you turn the blank to the proper dimensions for the pen.
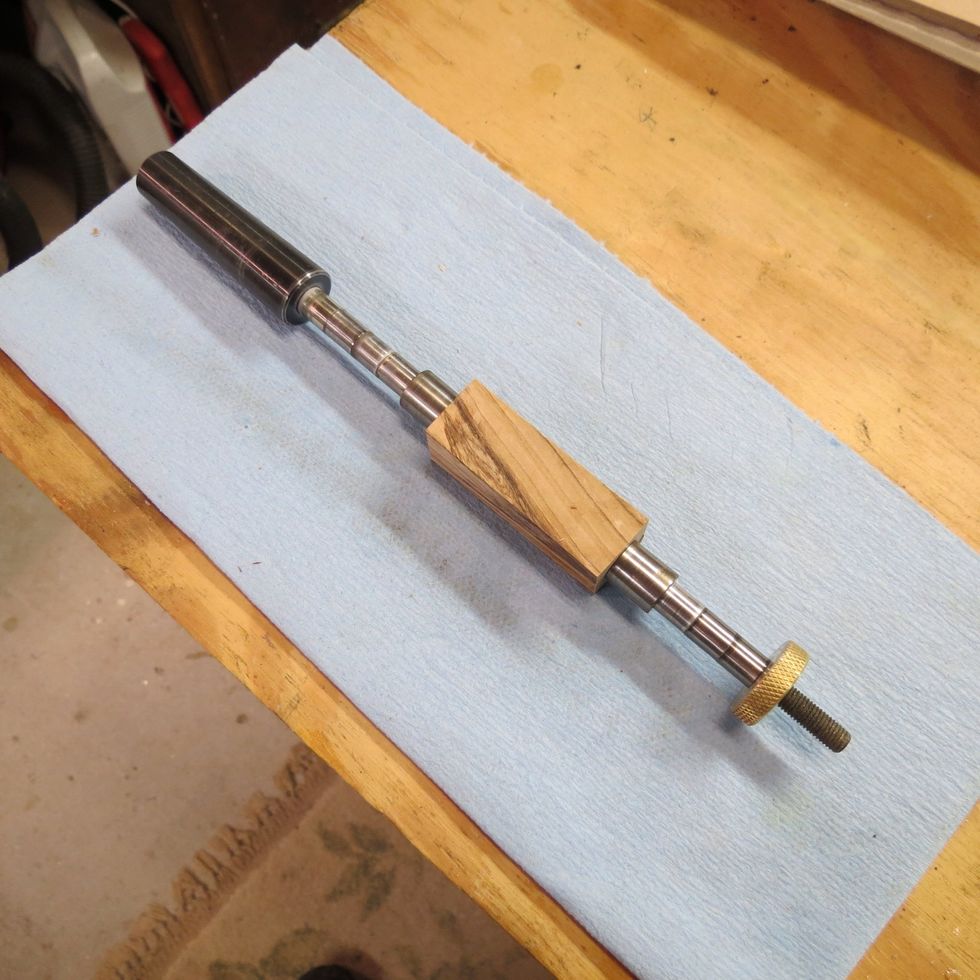
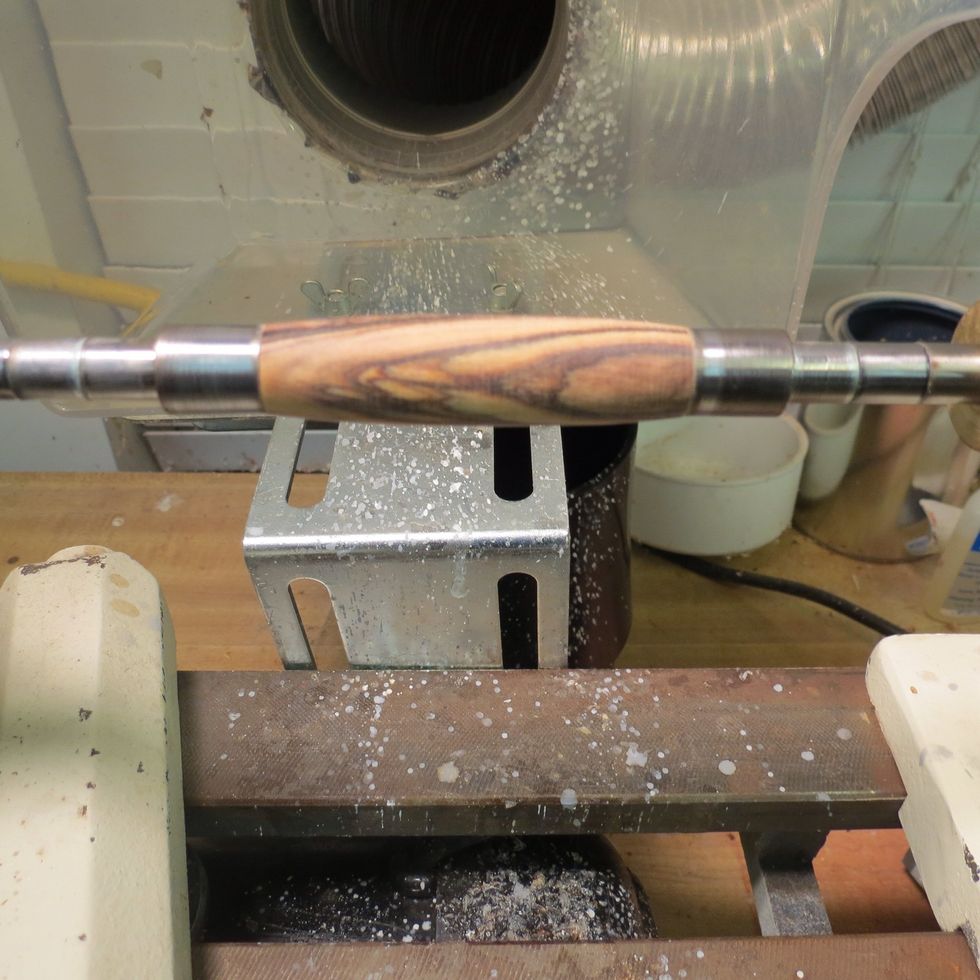
Mount the blank to the pen mandrel as shown above. Note the location of the two bushings on both ends of the blank.
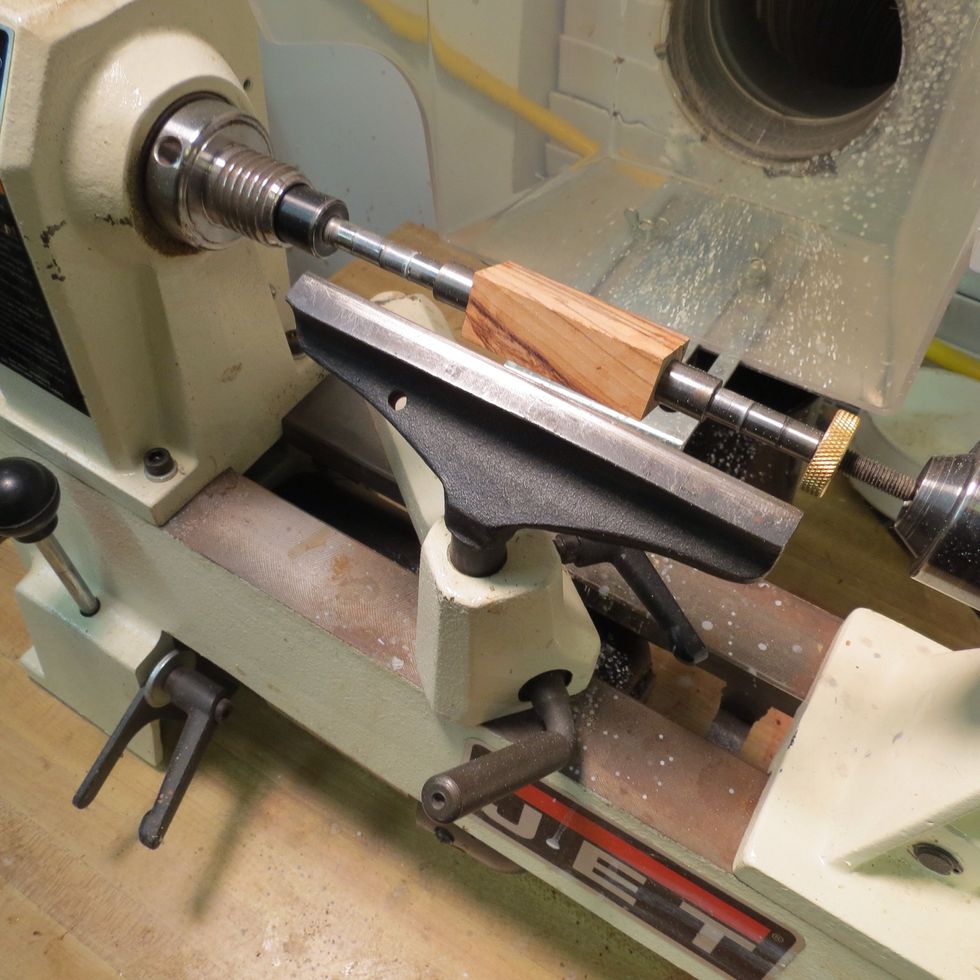
With the blank securely mounted on the mandrel, attach the mandrel to the lathe. Make sure you understand proper lathe operation and observe all safety rules. Wear safety glasses! Watch fingers!
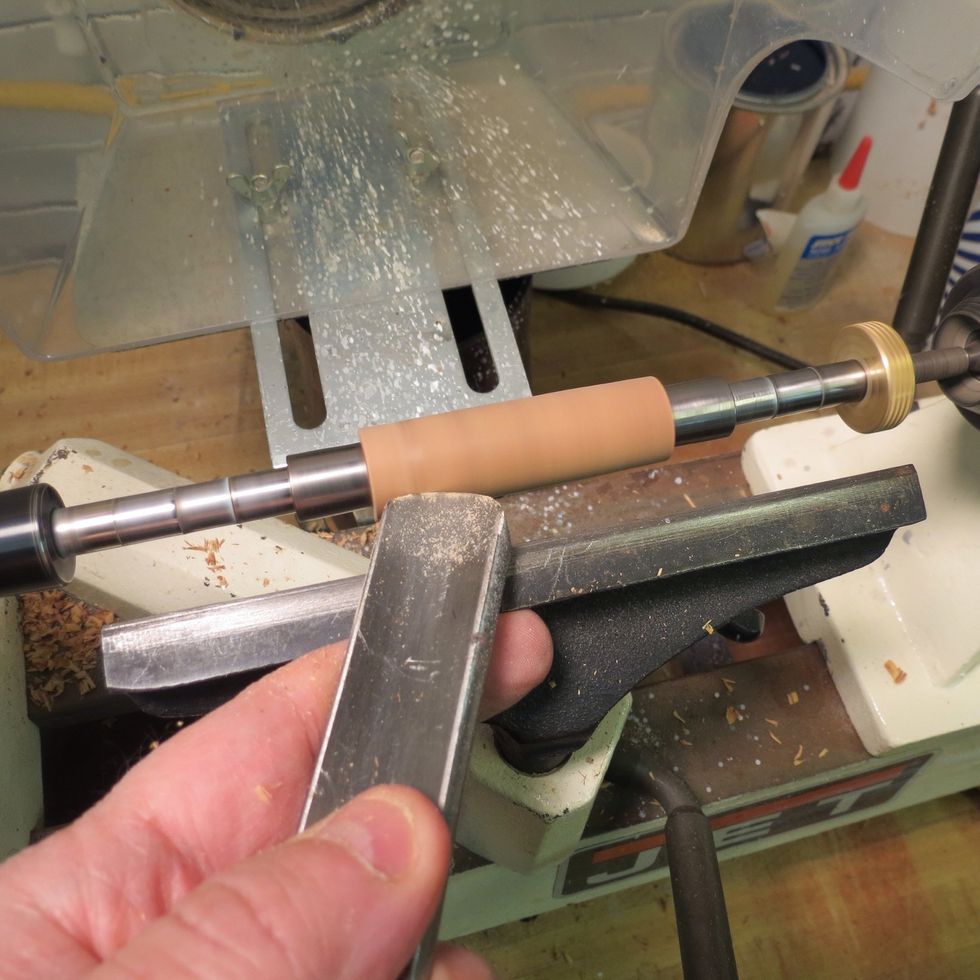
Turn on the lathe and begin shaping the blank. I like to use a gouge most of the time. Maintain a slow, light touch. DO NOT shave all the way down to the bushings with your cutting tool.
Next, use sandpaper, and shape the blank all the way down to the bushings (the metal parts on both ends of the blank). I usually start with 120 grit and move up to 2000 grit sandpaper.
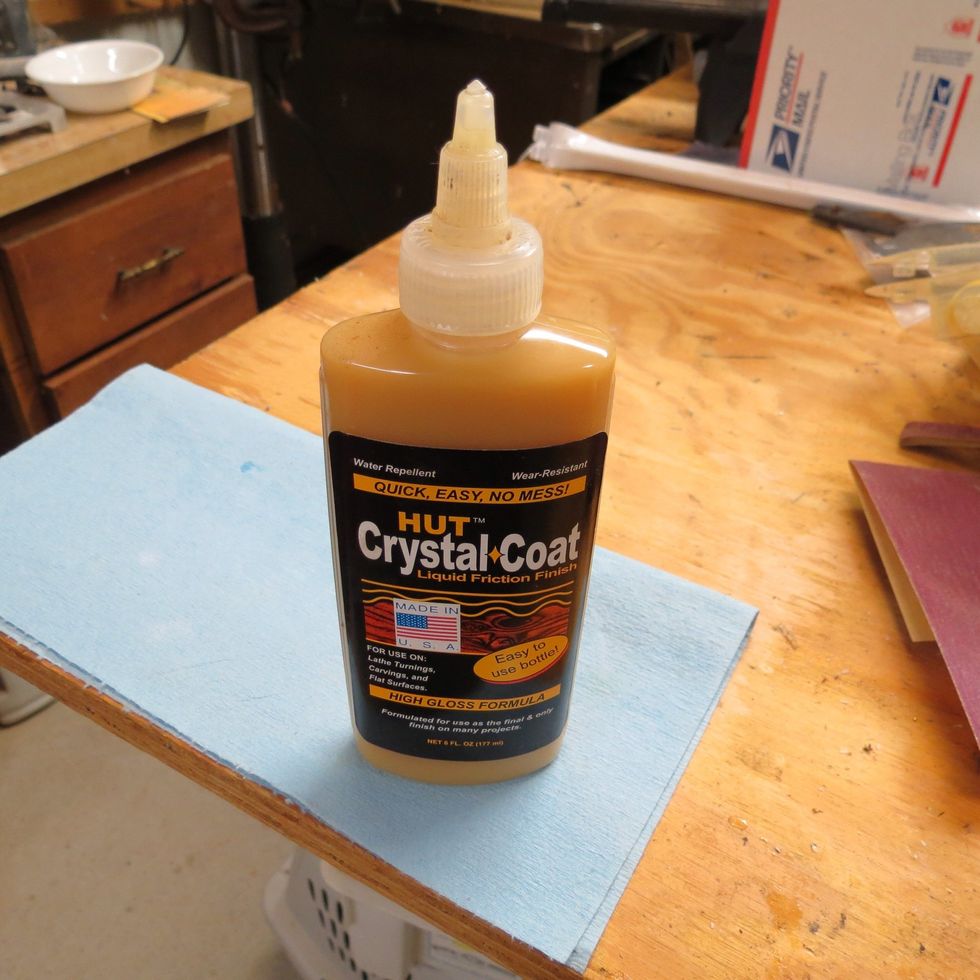
Complete the sanding, and then inspect for scratches or imperfections. Next, take a clean cloth, and apply a friction polish. Some people like to use a lacquer or the CA glue to finish the pen.
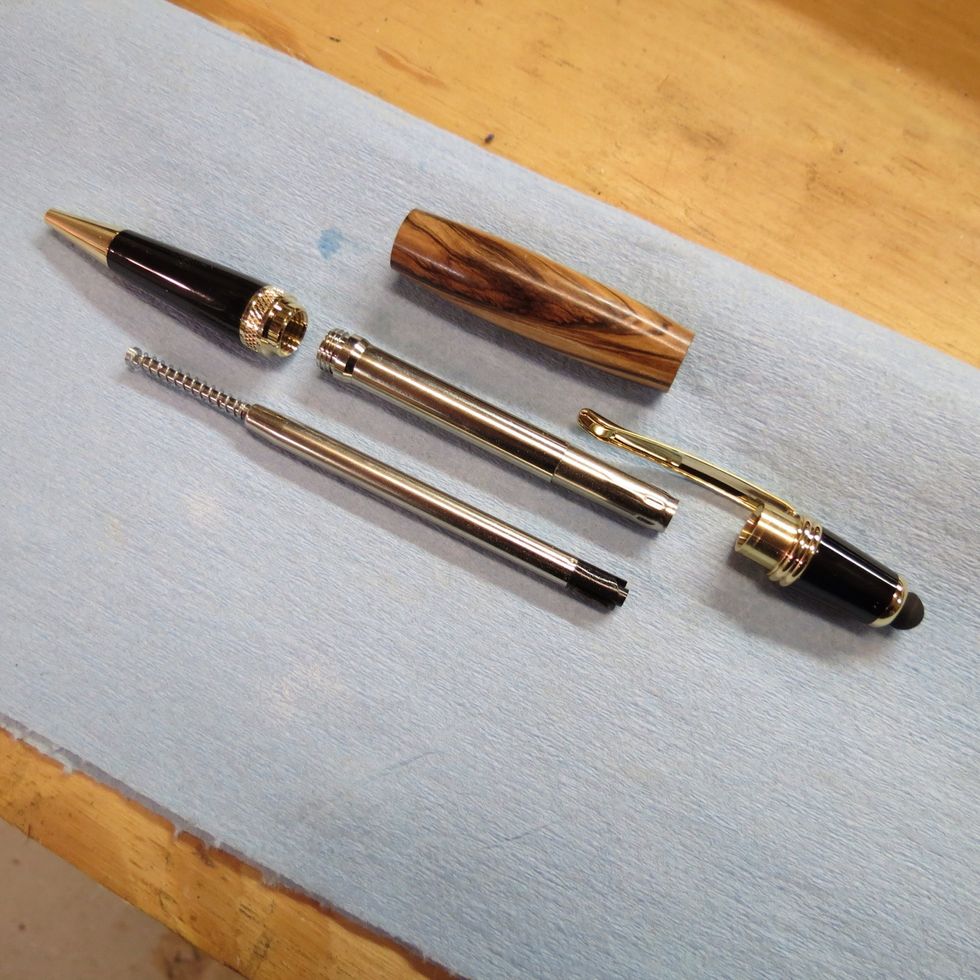
Take all the pieces out of the pen kit and line up what pieces go where. The pen kit will give detailed instructions on how to put the pieces together.
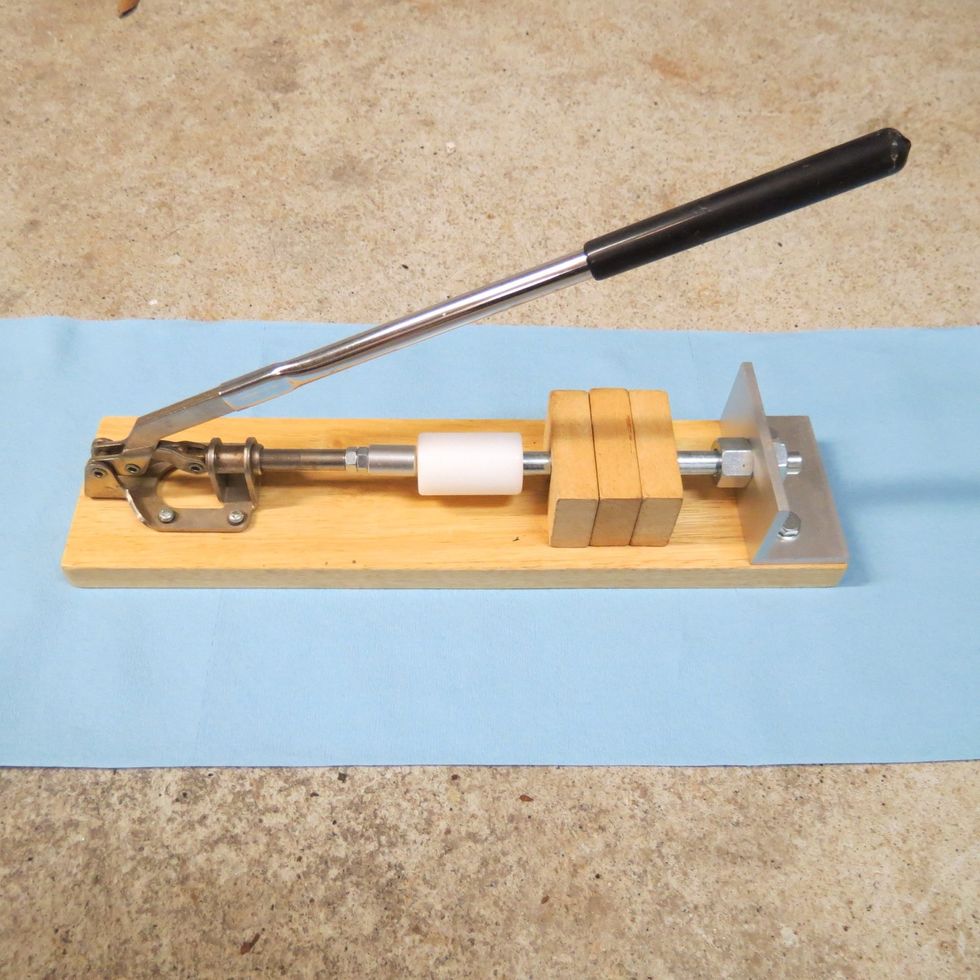
Use a specialized pen press to assemble your pens, or simply use a regular vise.

Congratulations - the finished pen! This is a twist-style pen, and one end functions as an iPad stylus.