The Conversation (0)
Sign Up

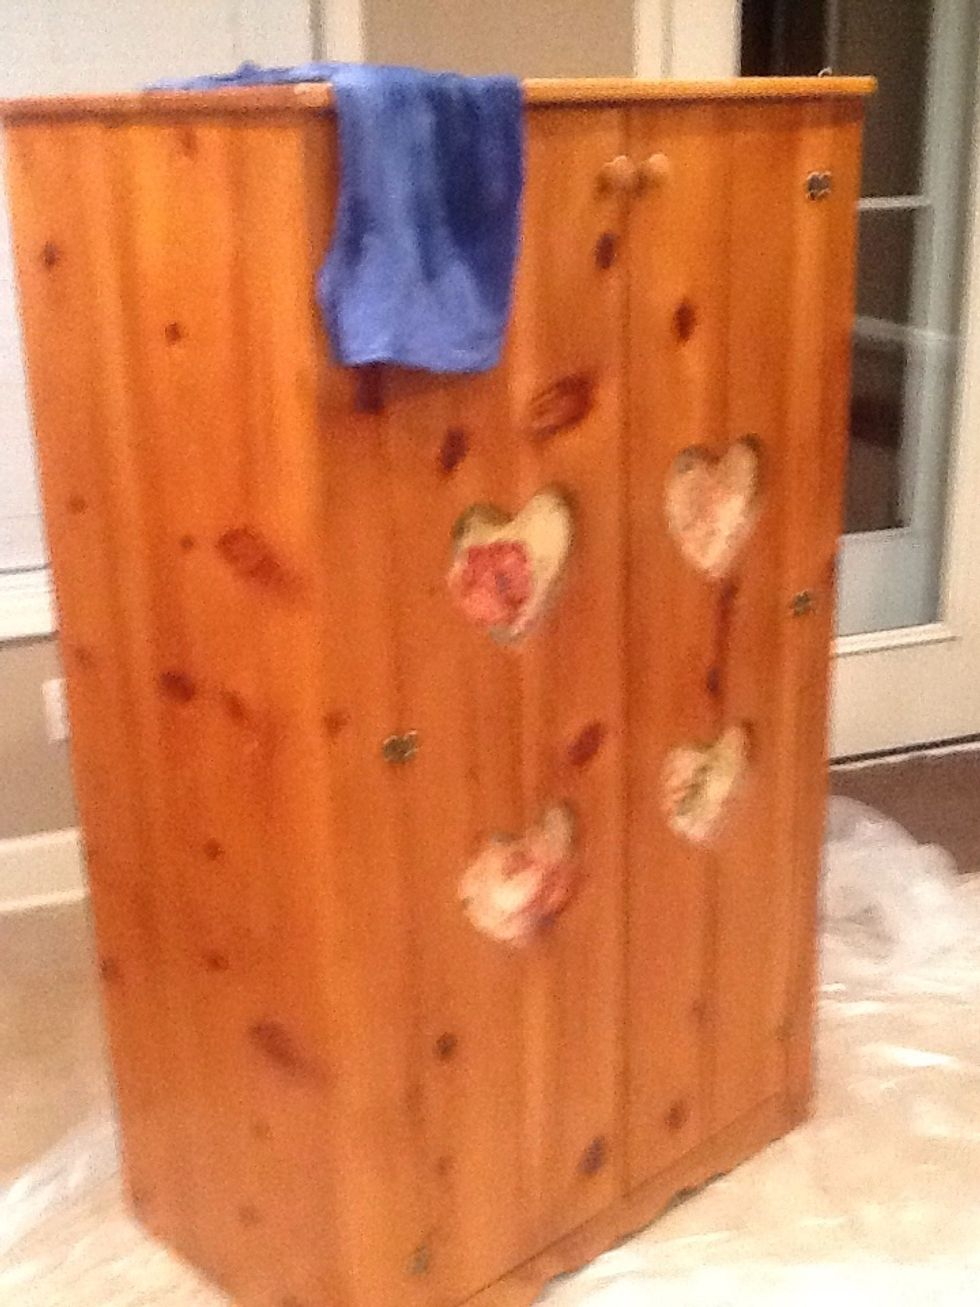
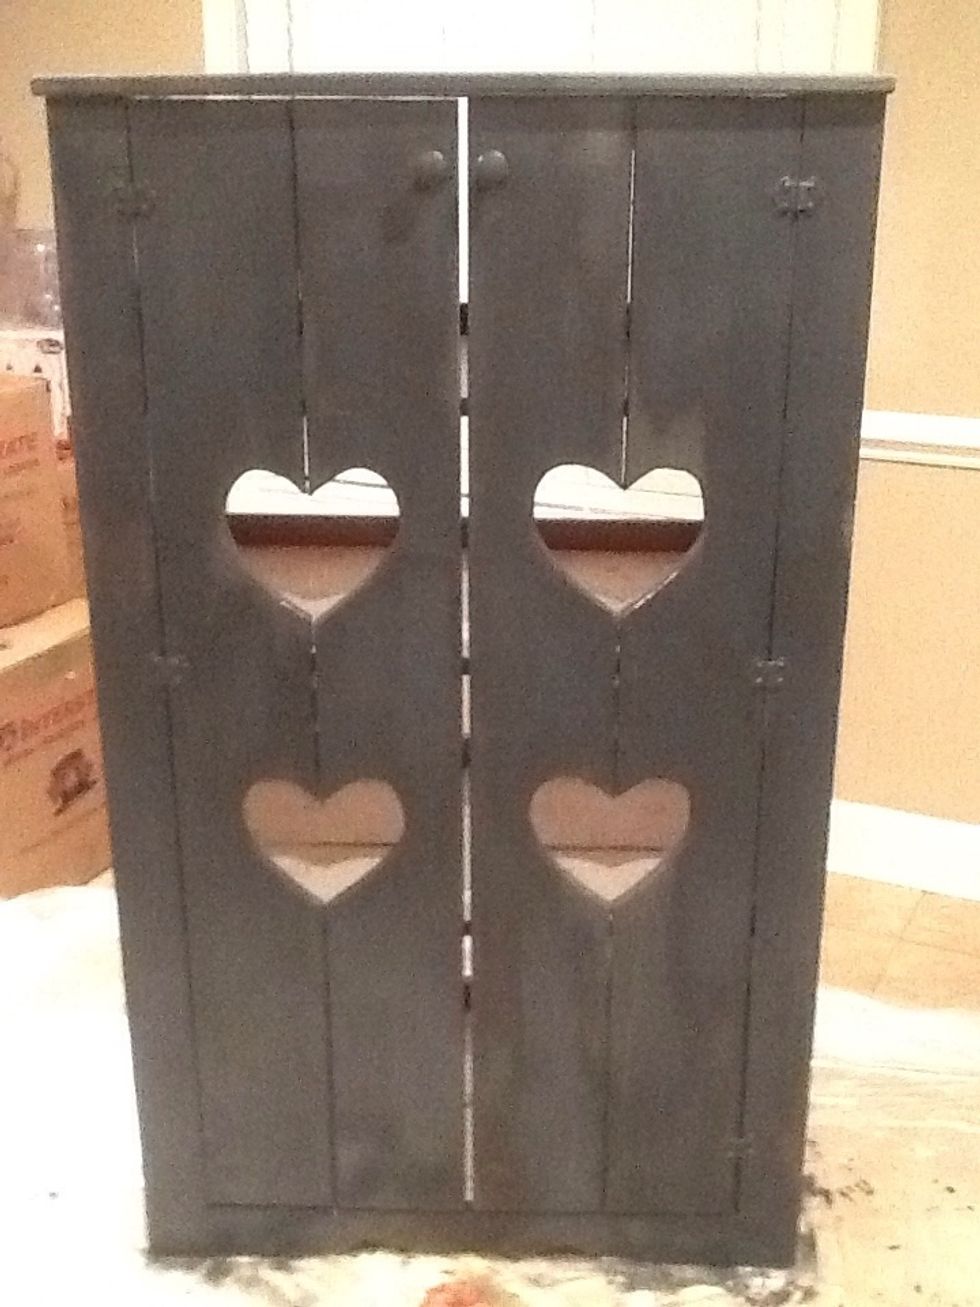
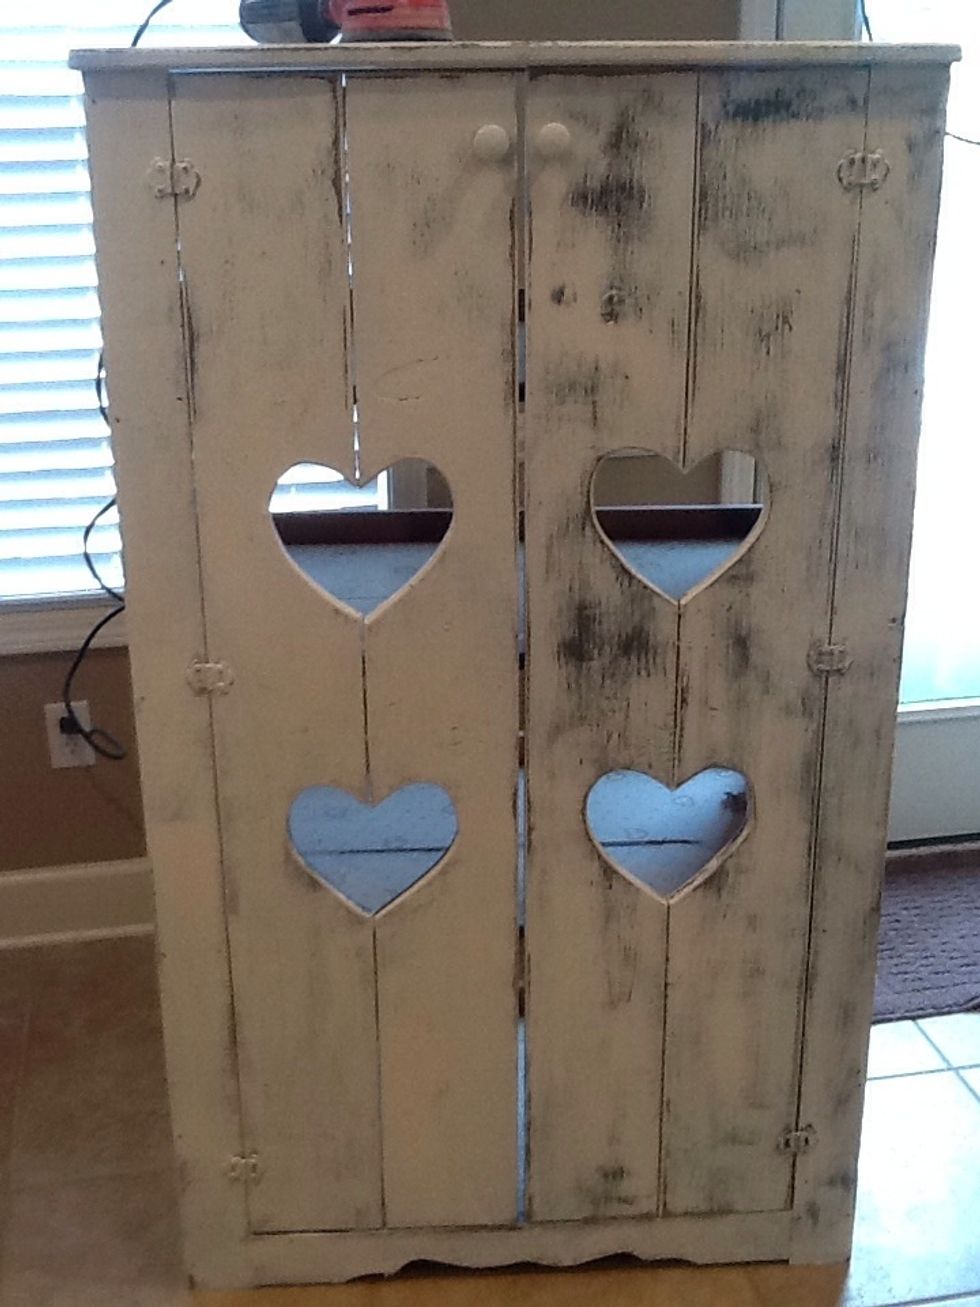
We made this cabinet about 25 years ago. It's special to me be use it's one of the first projects my husband and I made for our house. I use it like a pantry but I usually hide it in the garage.
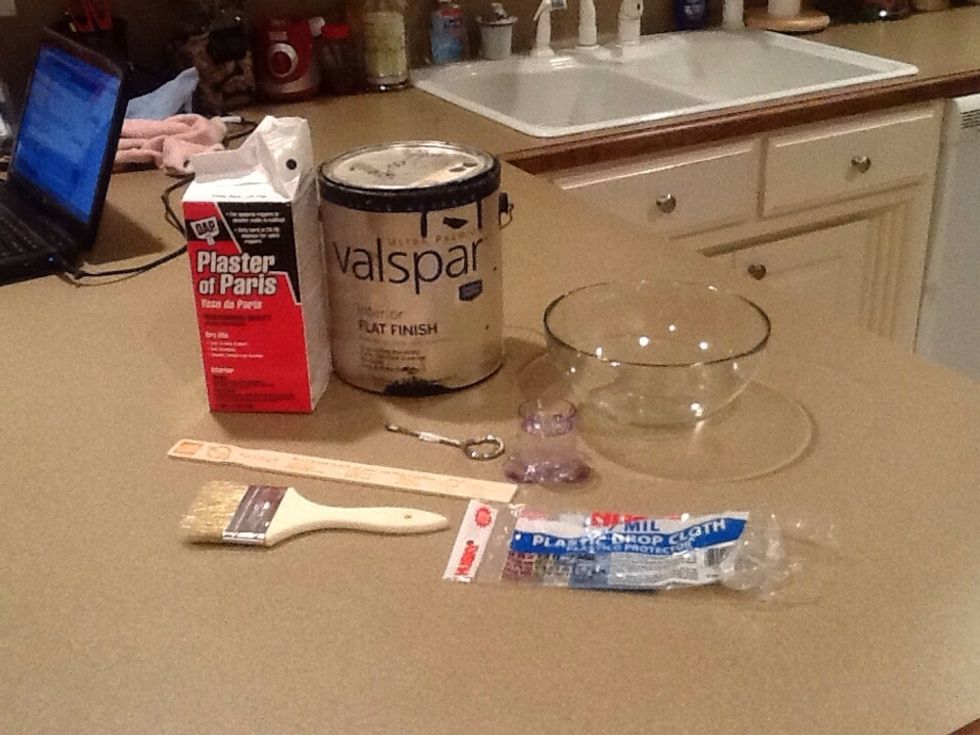
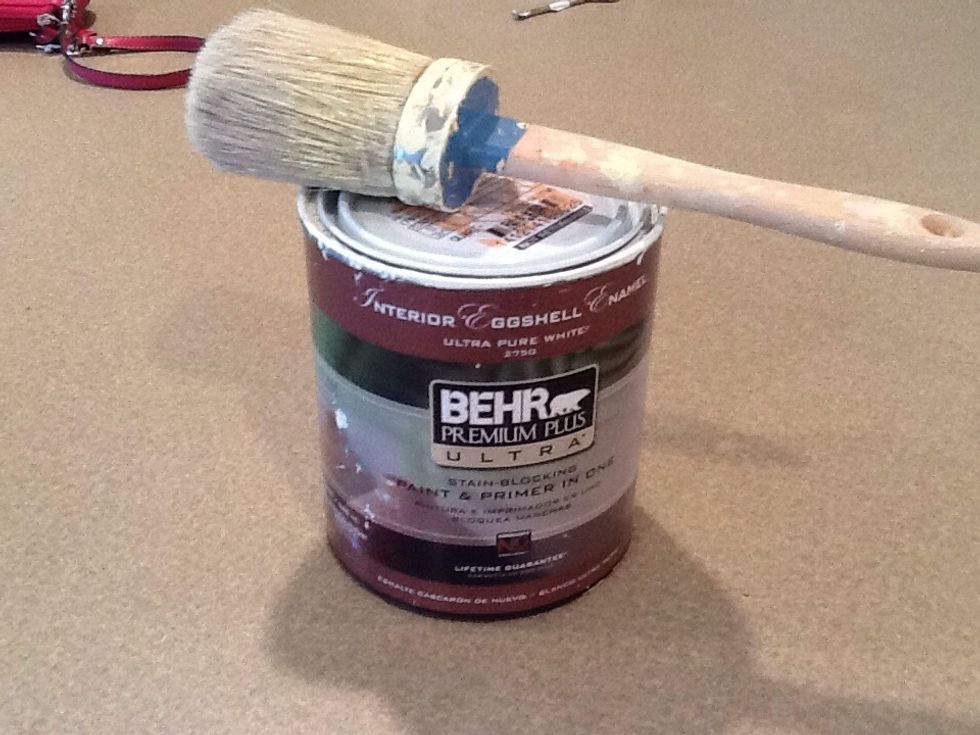
The items for the project are pictured as we go. These items are what you will start with. We will be making chalk paint, for this I like to use a latex paint.

Don't forget to use an apron! It really protects your clothes.
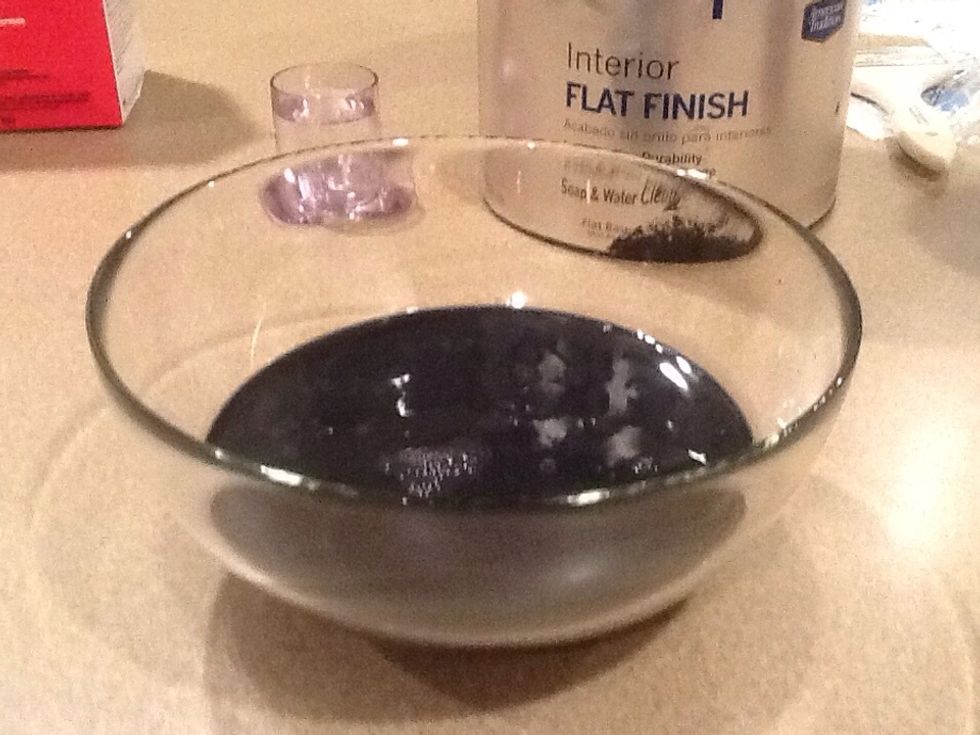
First off, fill your container with about two cups of paint.
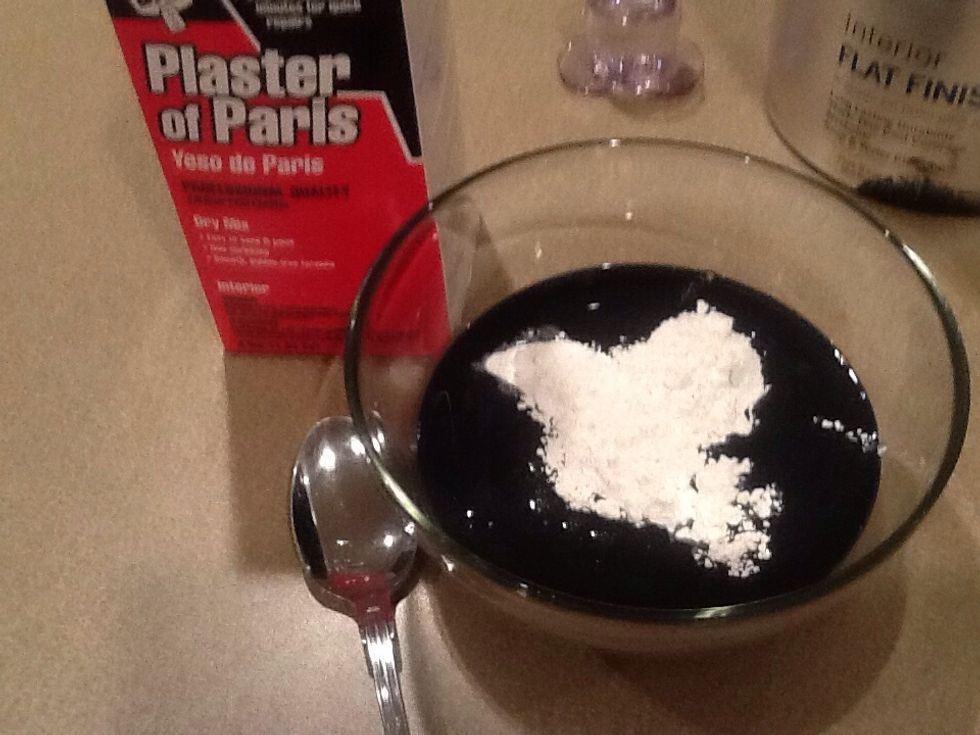
Start by adding about two tablespoons of the plaster powder. Stir softly, you really don't want to make bubbles but if you do, that's okay.

See..bubbles! :-) I just had to wait until the bubbles popped before going to the next step. So here, you might want to continue slowly adding your plaster powder. You want the texture of applesauce.

While the bubbles are releasing, I pulled the old fabric off the of the hearts. I then used dykes to pull any left over staples.
Using a soaped cloth, wipe down the surface of any dirt and grease. Follow by rinsing off the soapy water. Let dry.
Next you will paint one coat of chalk paint into the surface of the wood. See how much lighter it became with the plaster? It's almost a grey but I like it. :-) Let this dry over night.
Next, you will want your top color for the project. This is how I work a little different. I do not make this layer chalk paint. I paint this straight on top of the chalk paint.
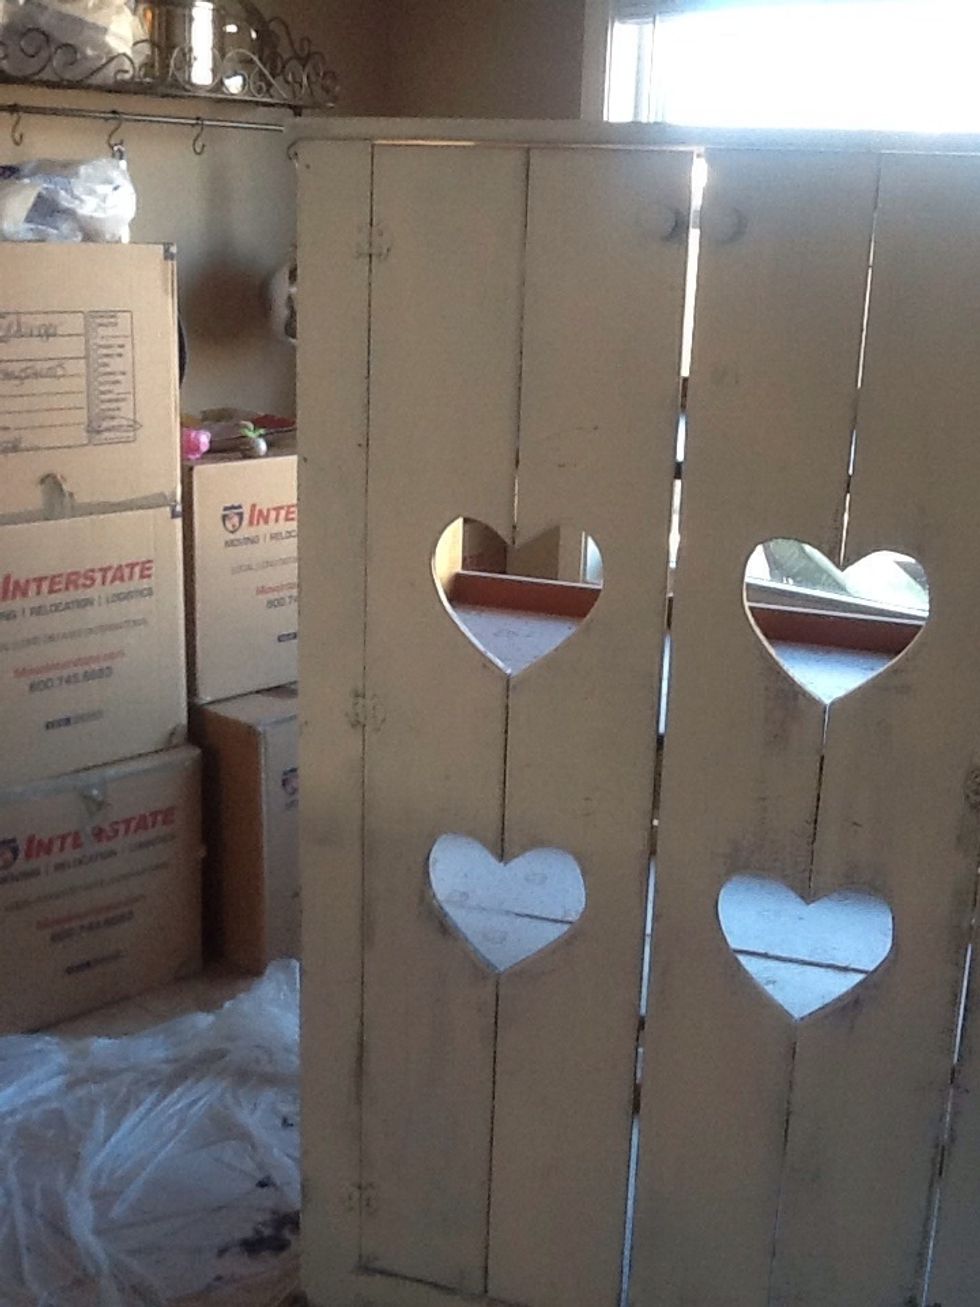
This is the first coat of cream, dried over night. Notice how I didn't cover the dark completely with the cream?
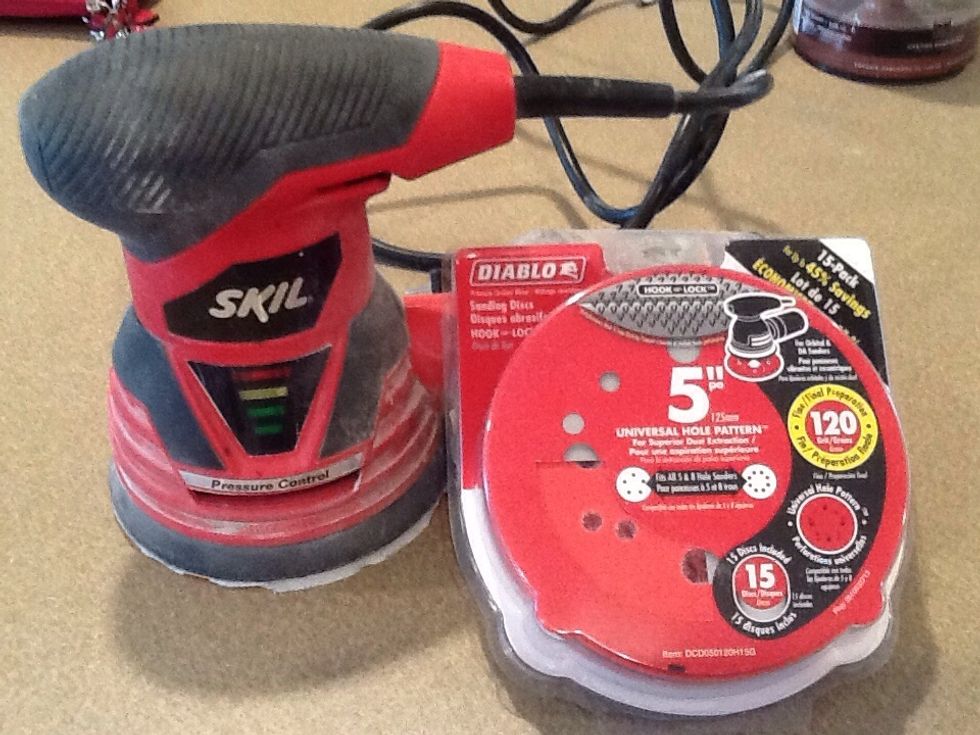
Next, you need to sand down that top layer of cream. Let the sander work by itself. I noticed that it follows the pattern of the wood. The less pressure from your hands, the better.
One side is done. See the difference? I love it already!
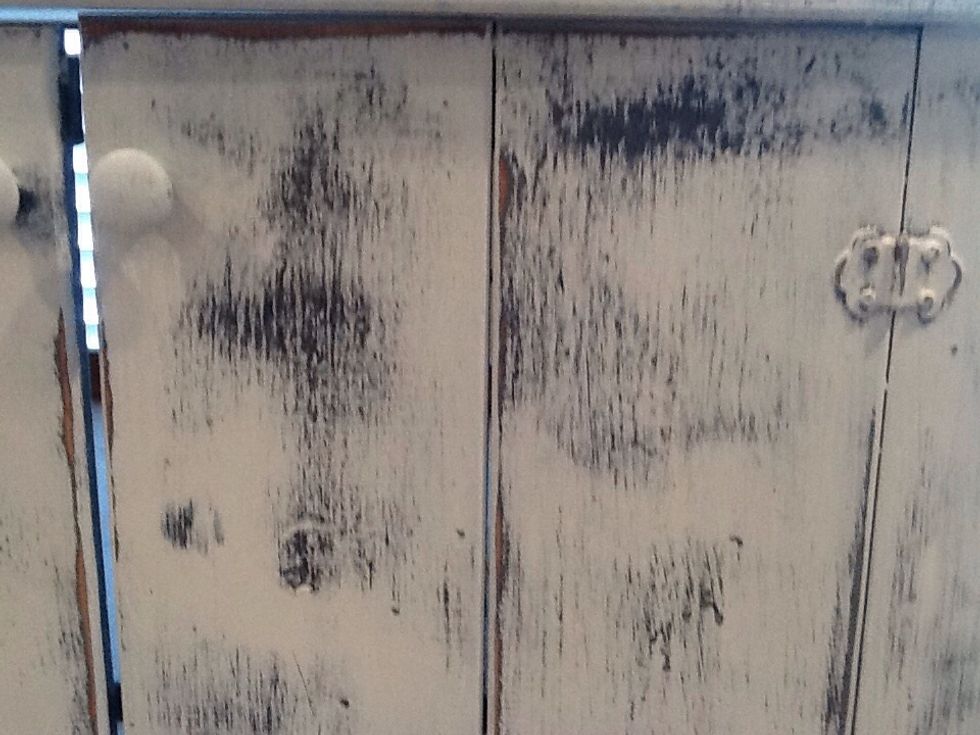
Close up, see how the lines are all painted in one direction? This is an important part of the process. Make all your paint lines in the same direction.
Sanding is done! I like the way there is no pattern in the black or white colors. It looks more natural to me.
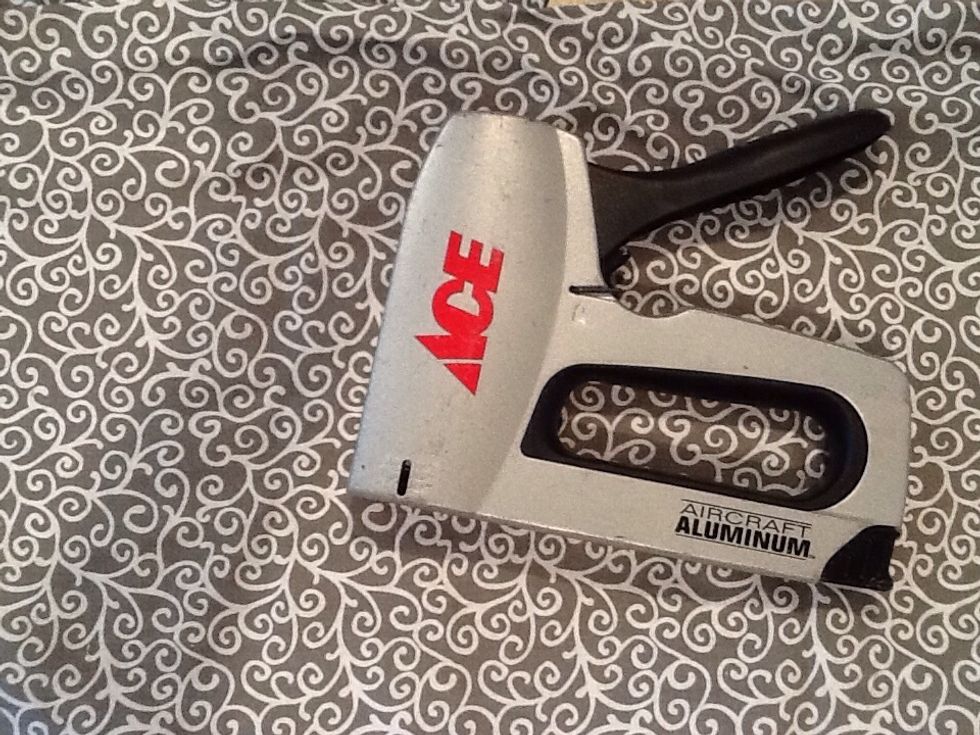
Fabric and staple gun...on the ready!
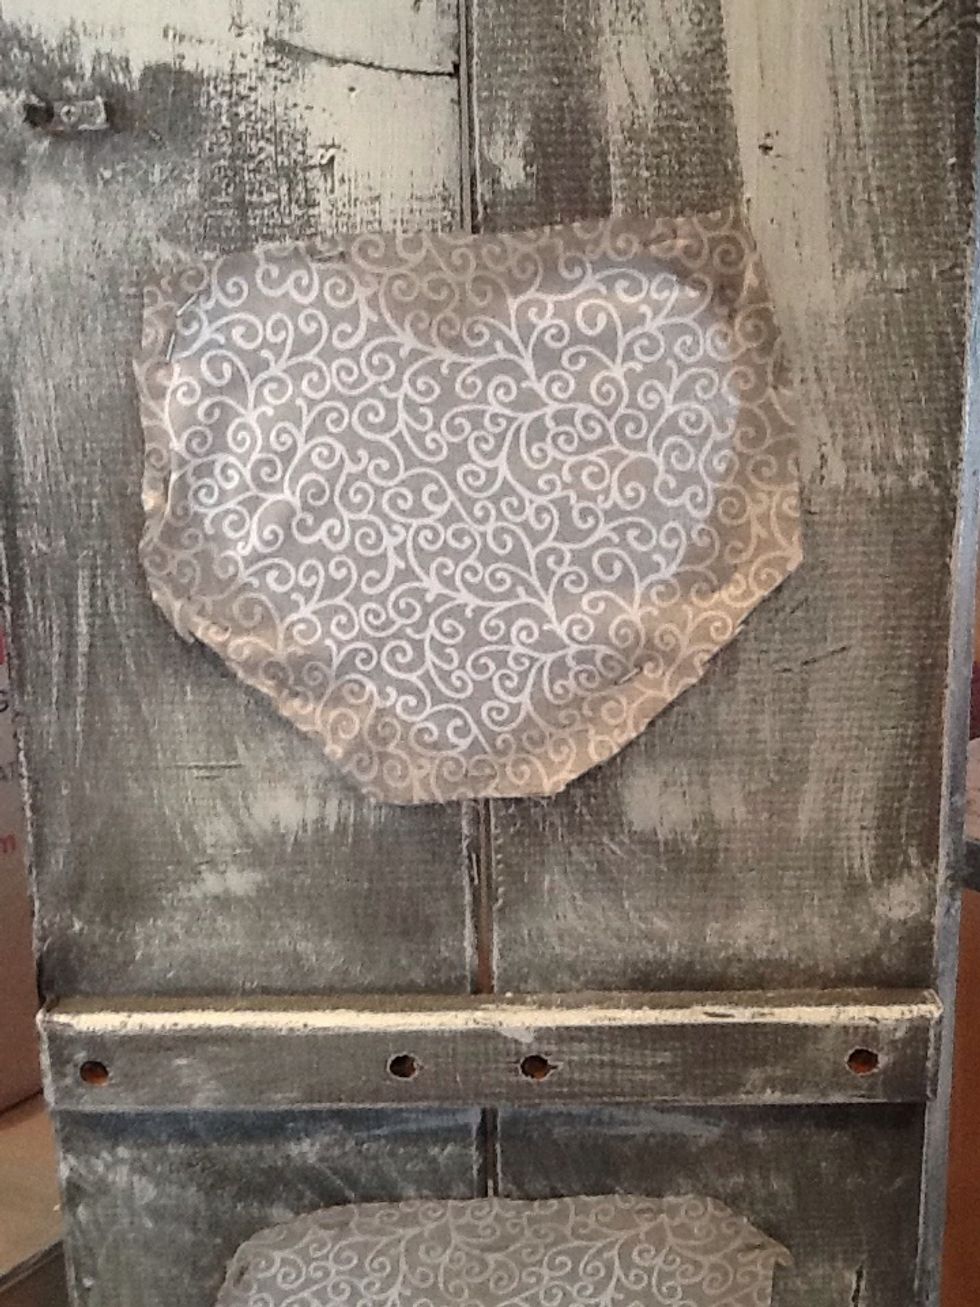
Staple that fabric straight over the heart or holes. Just make sure when you staple you go from corner to corner, stretching the fabric as you go.
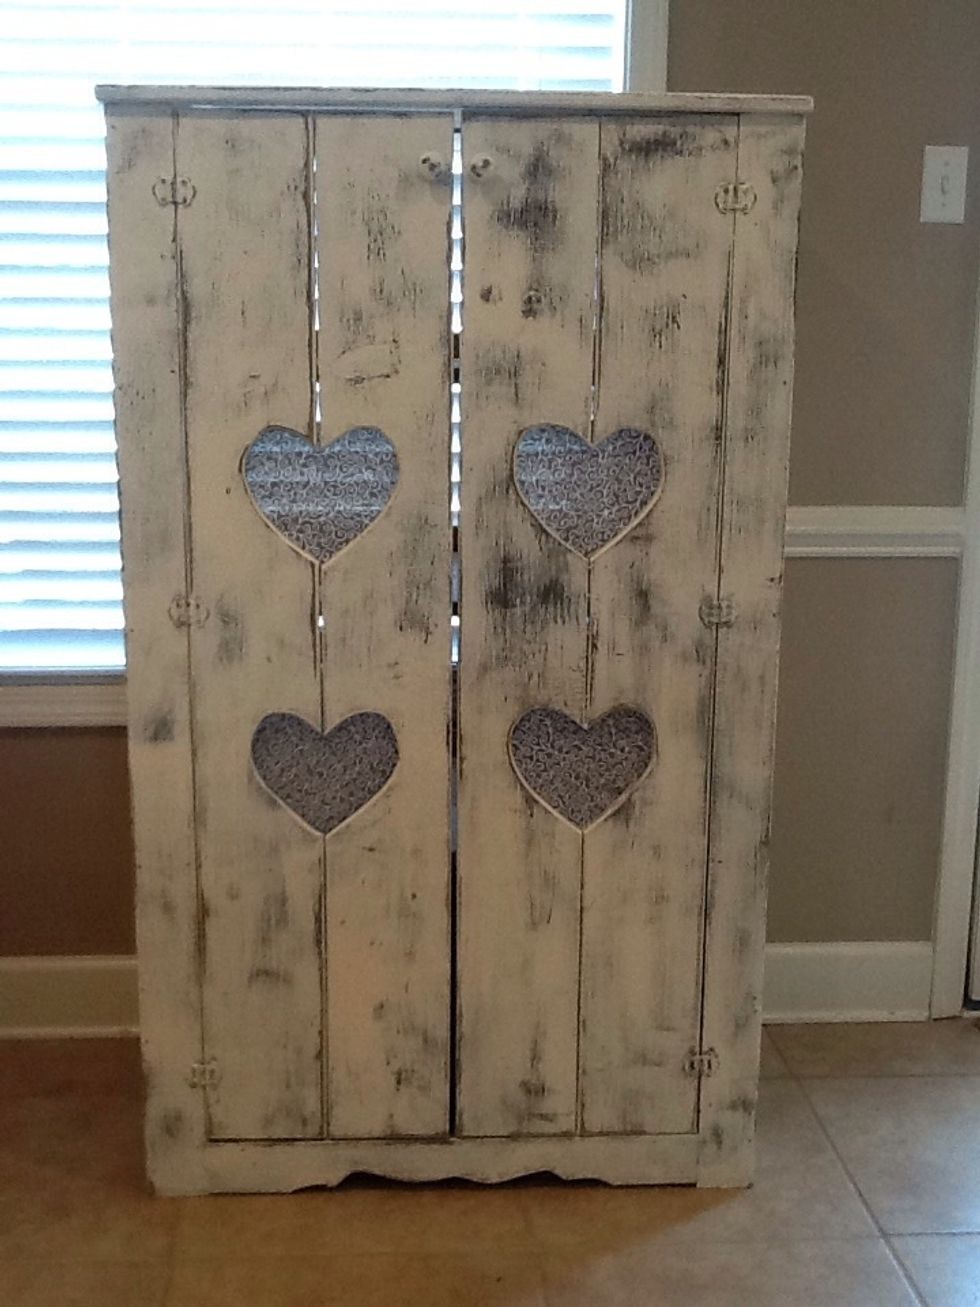
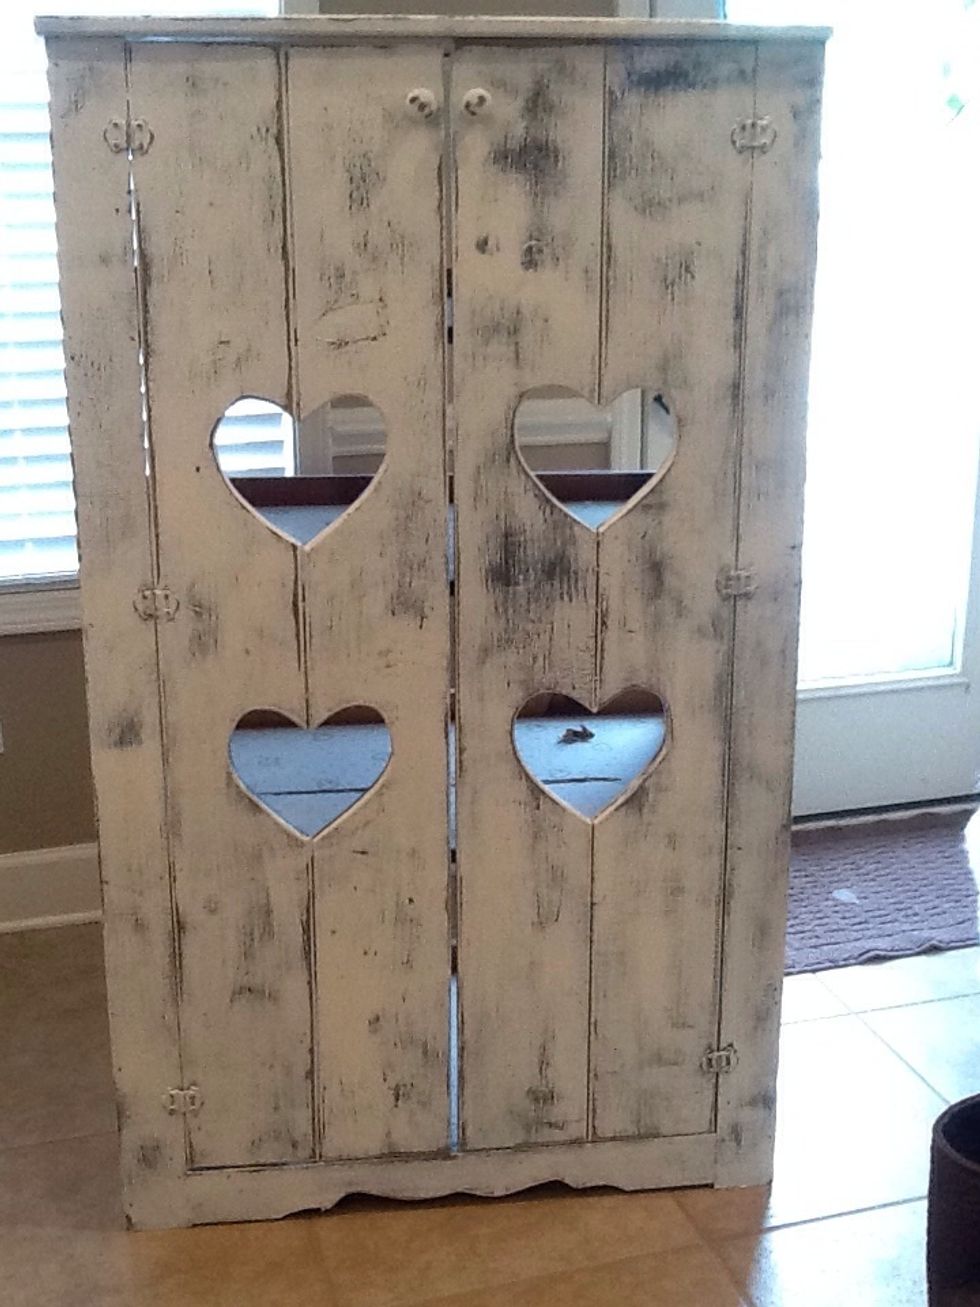
And here she is! All finished and ready to be filled with my pantry items. :-)