The Conversation (0)
Sign Up
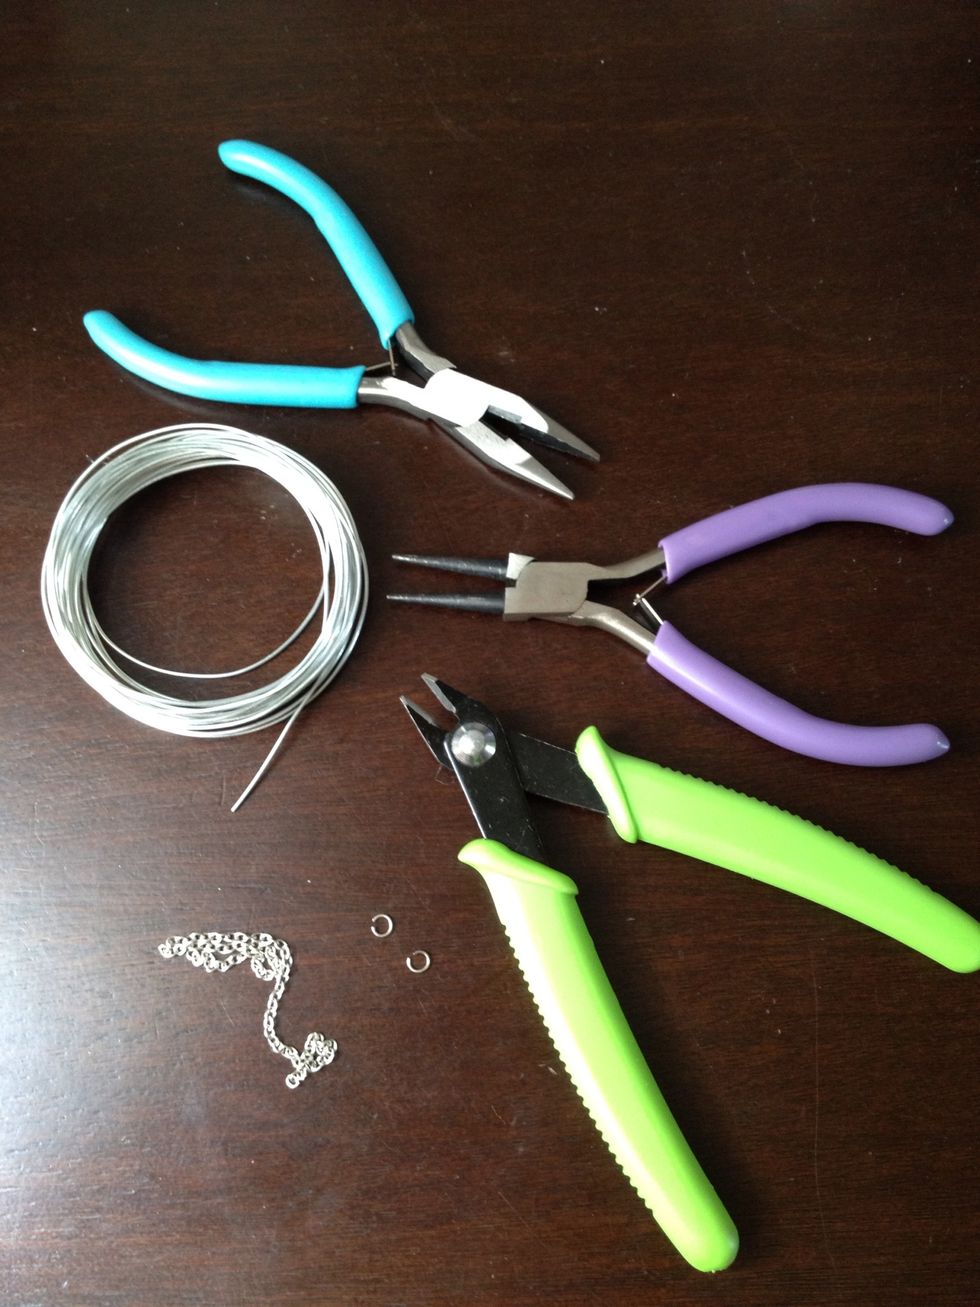
Gather your supplies. Jewelry making tools can be purchased at Walmart or Michael's.
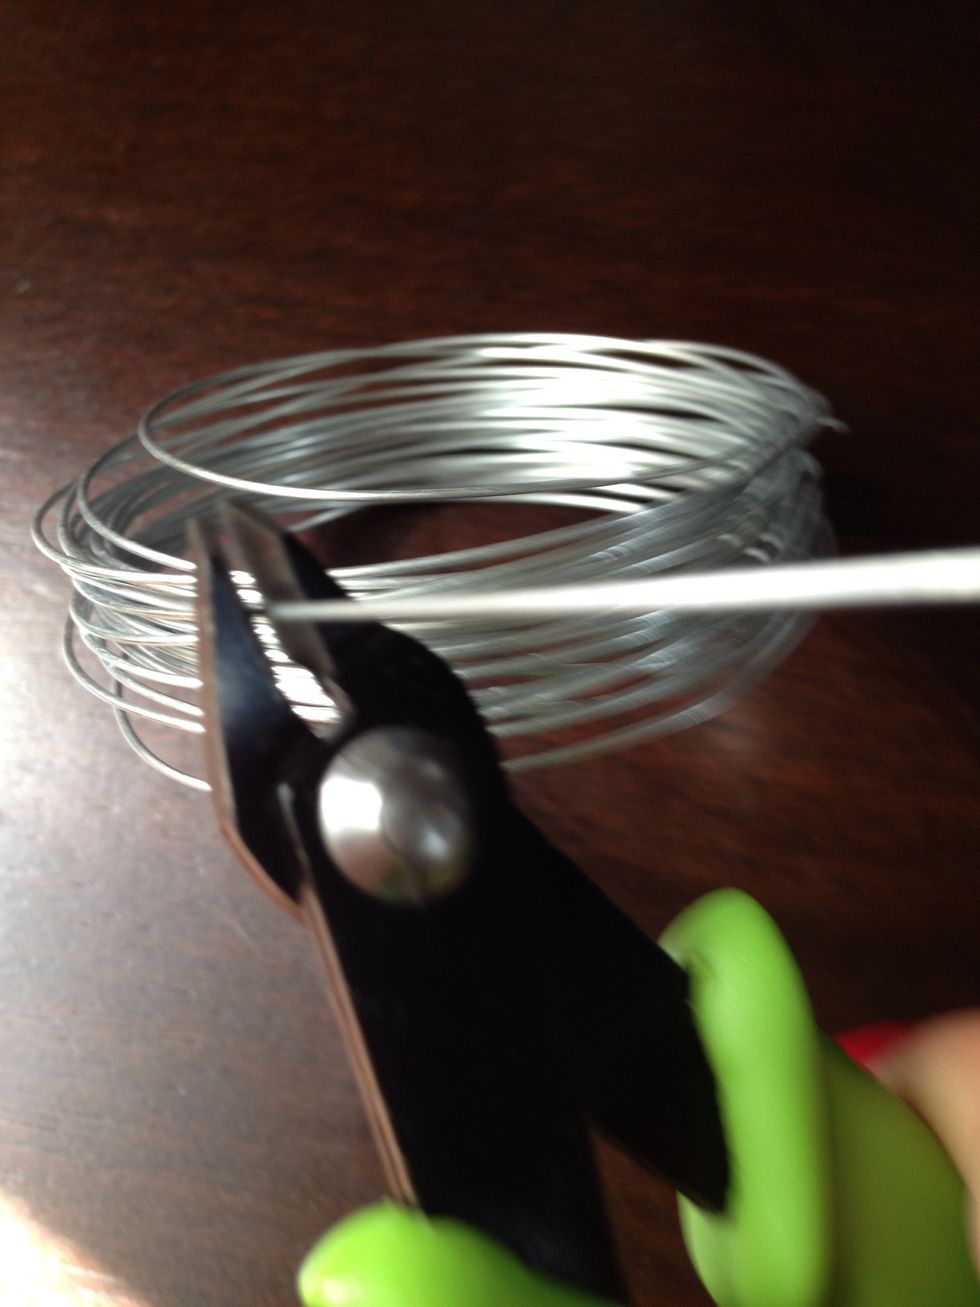
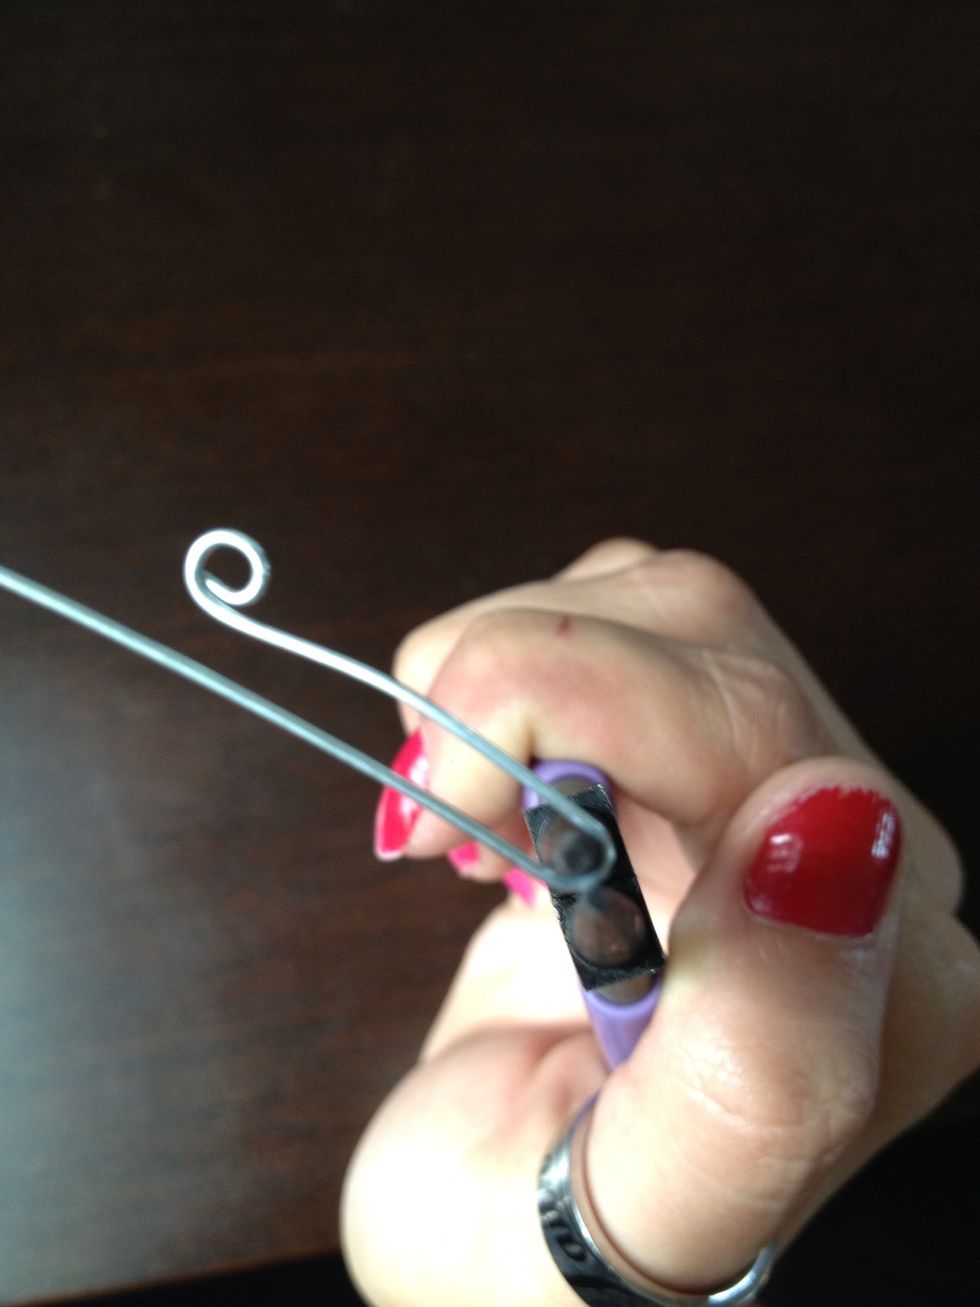
Trim off about 10 inches of wire with your flush cutters (they make smooth cuts and not scratchy)
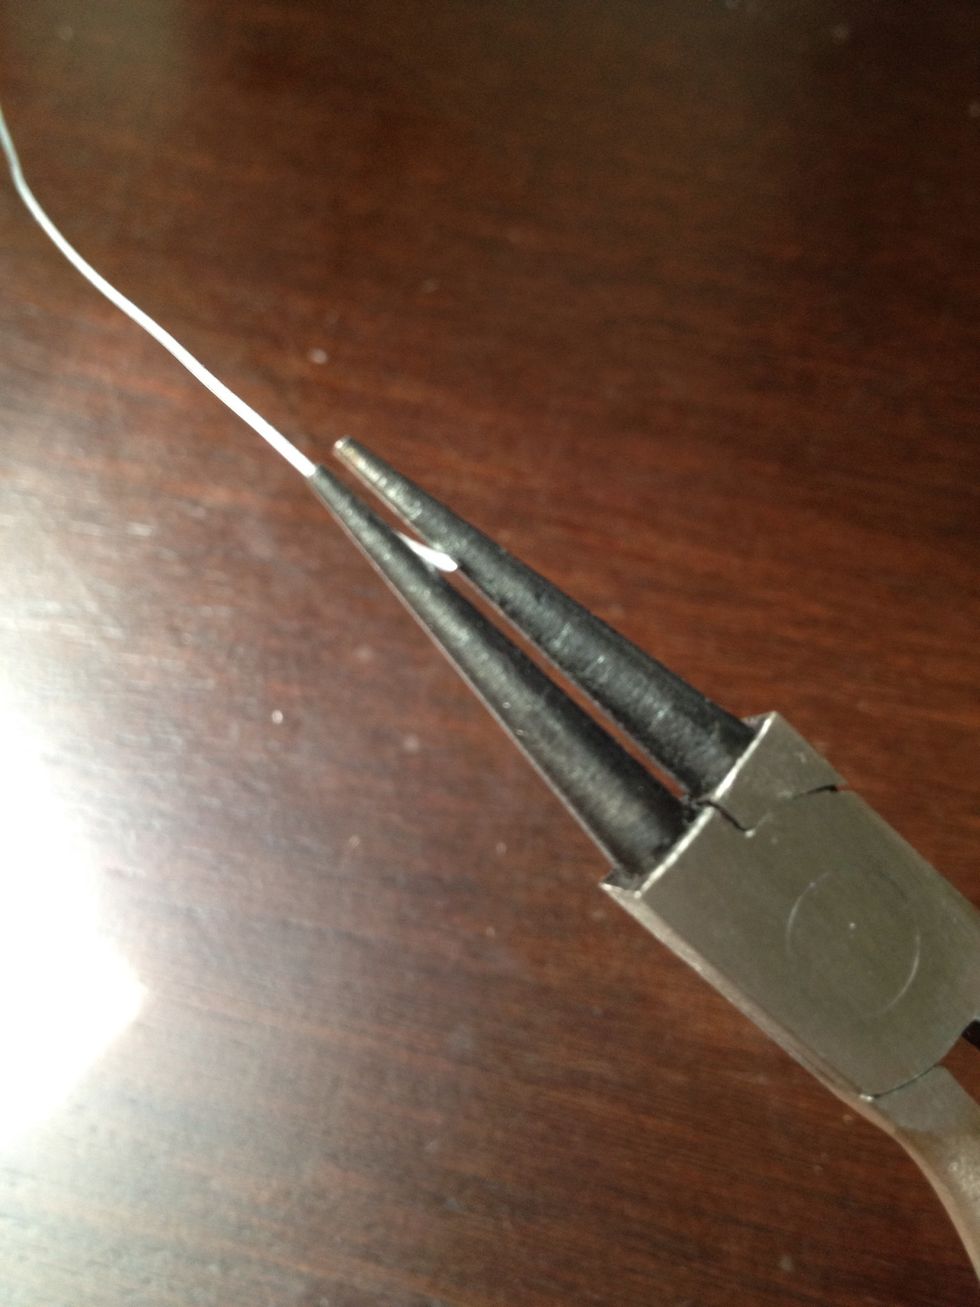
With your round pliers grab the tip of the wire
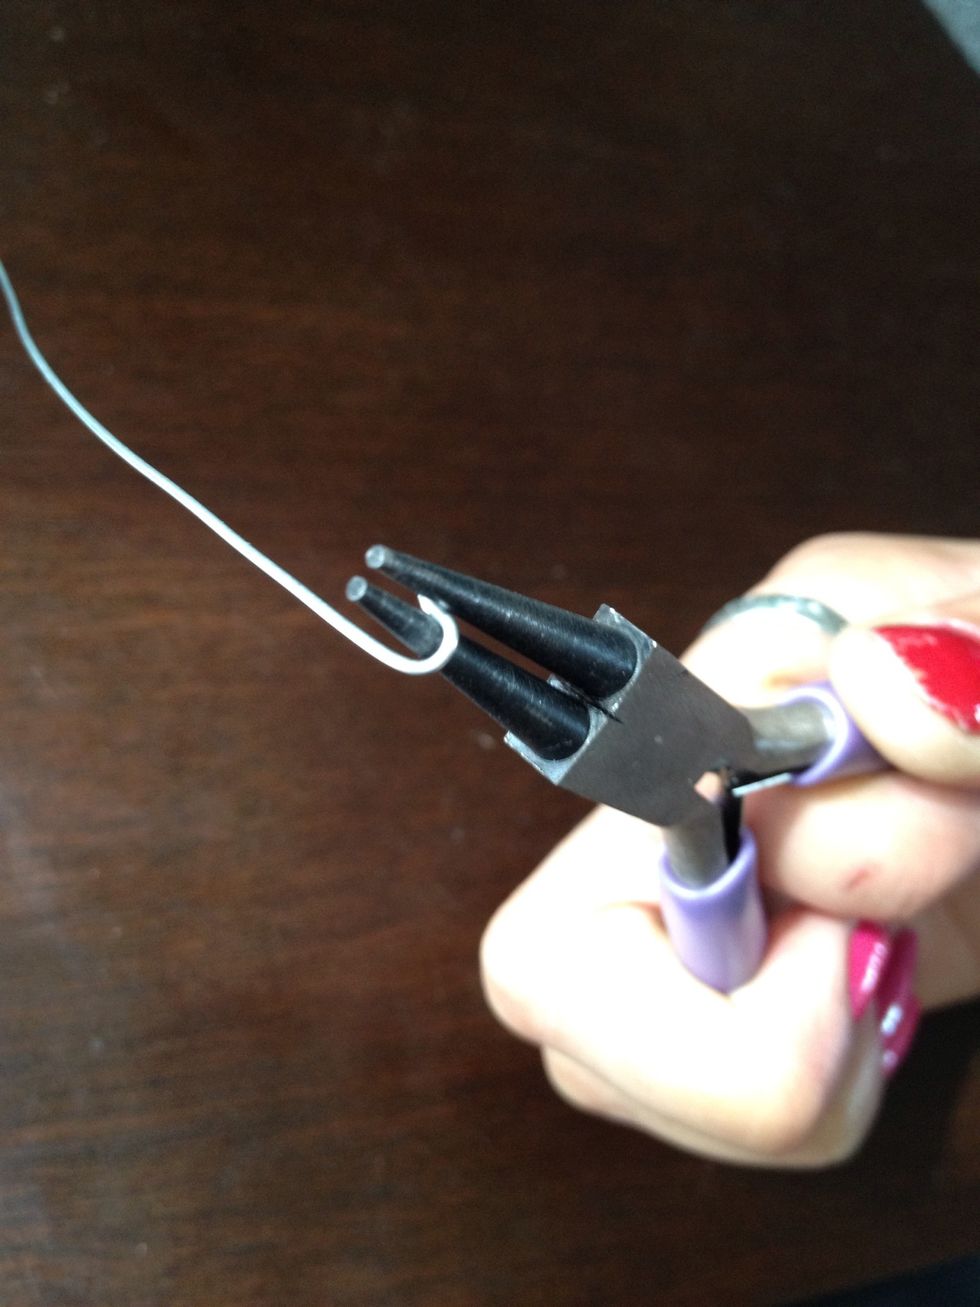
Slowly making a loop with the wire, letting go and repositioning the wire is better then trying to make a loop quickly.
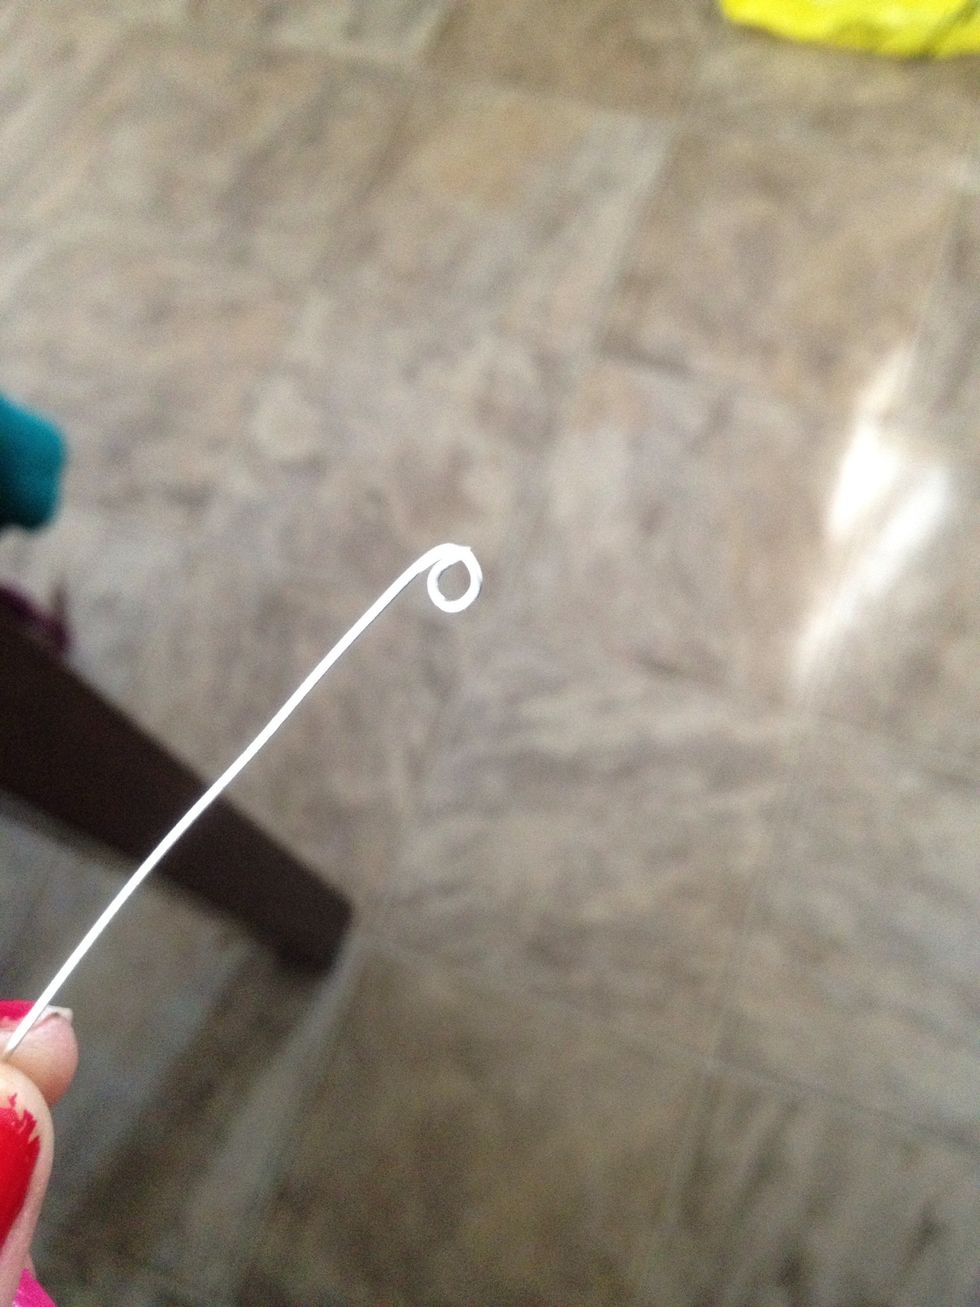
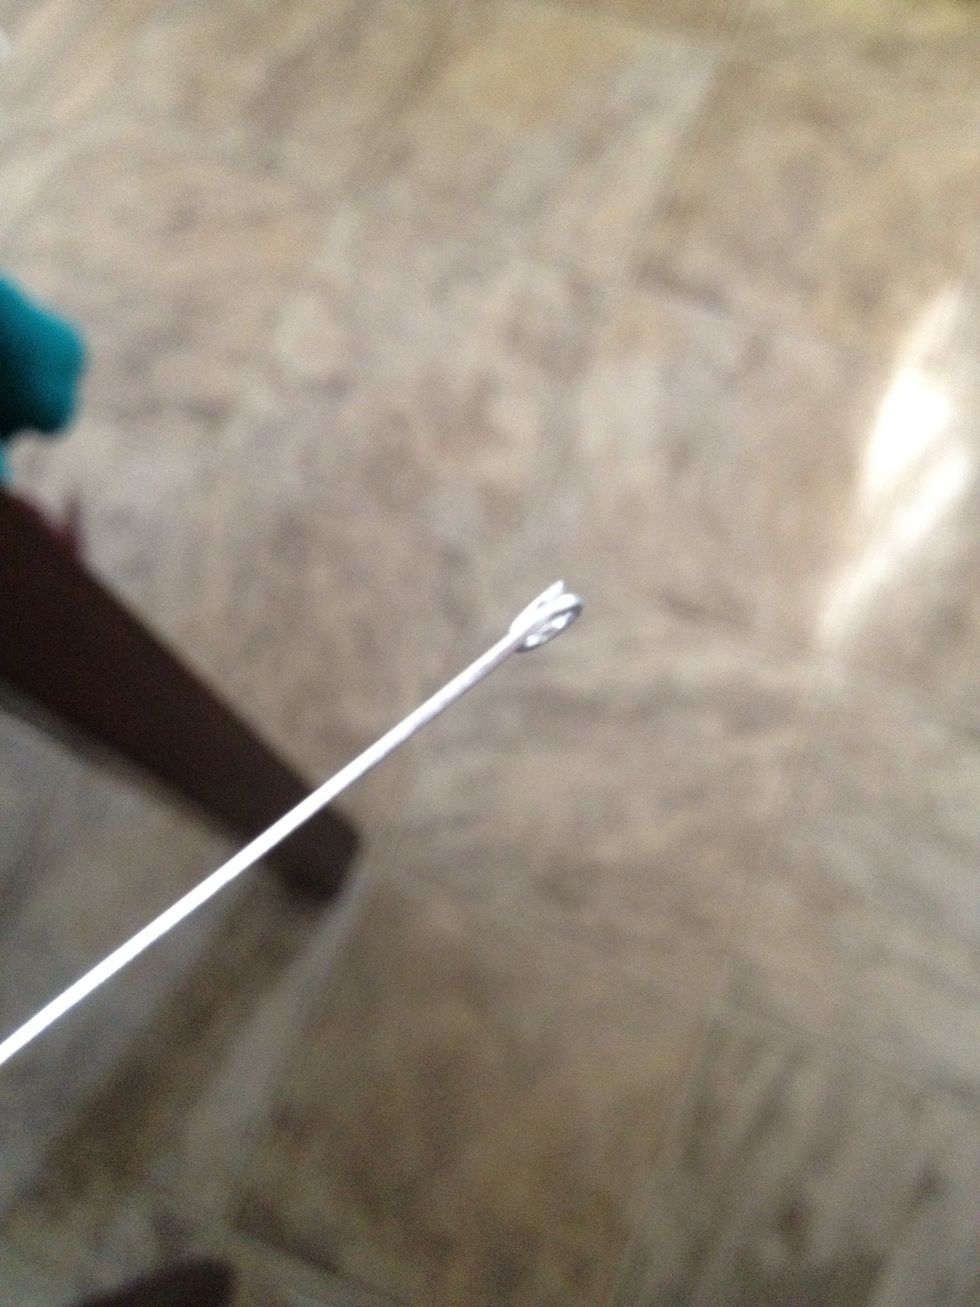
Loops loops!
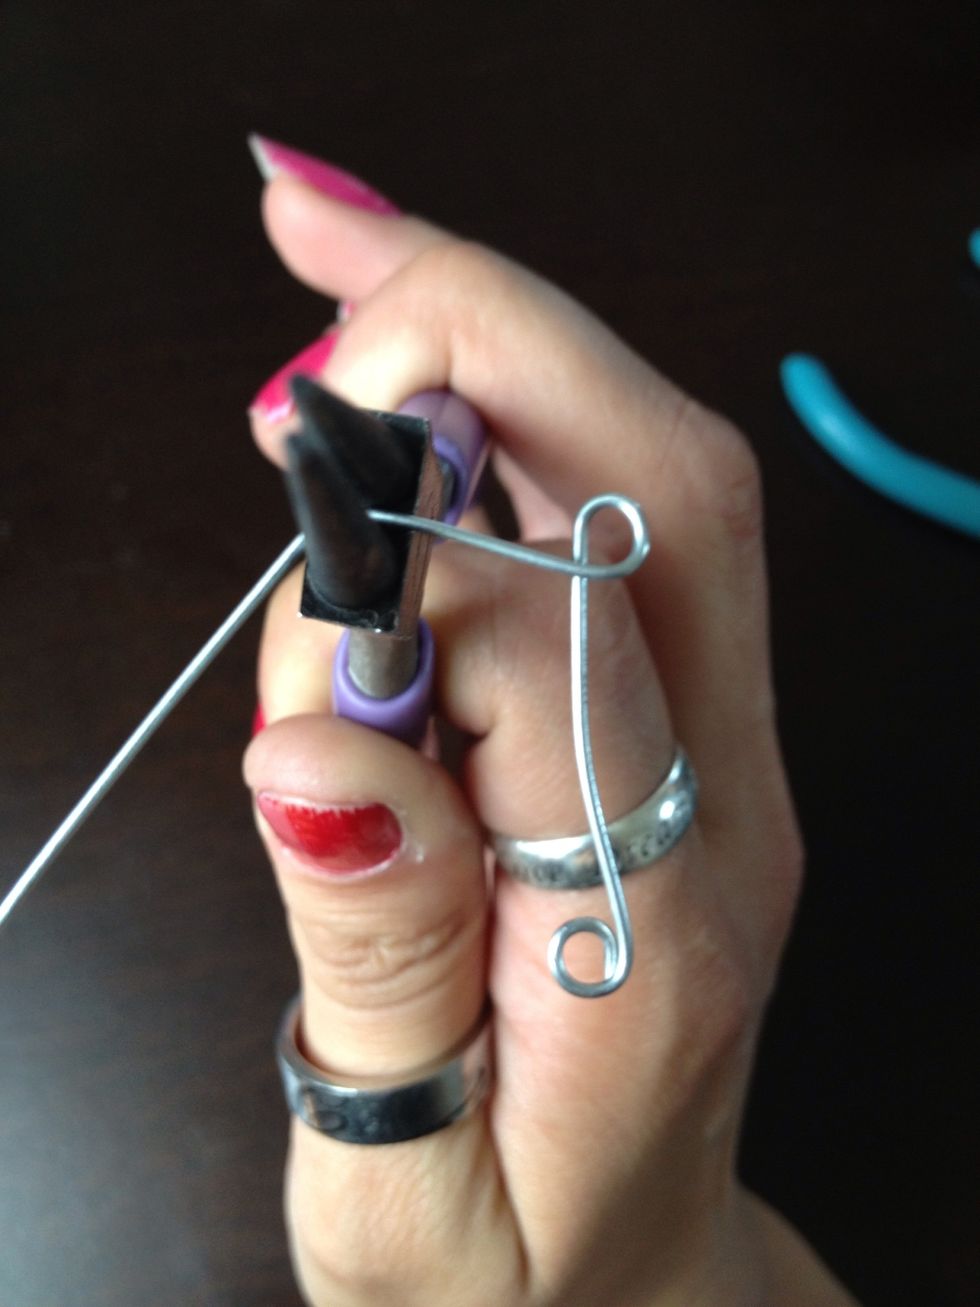
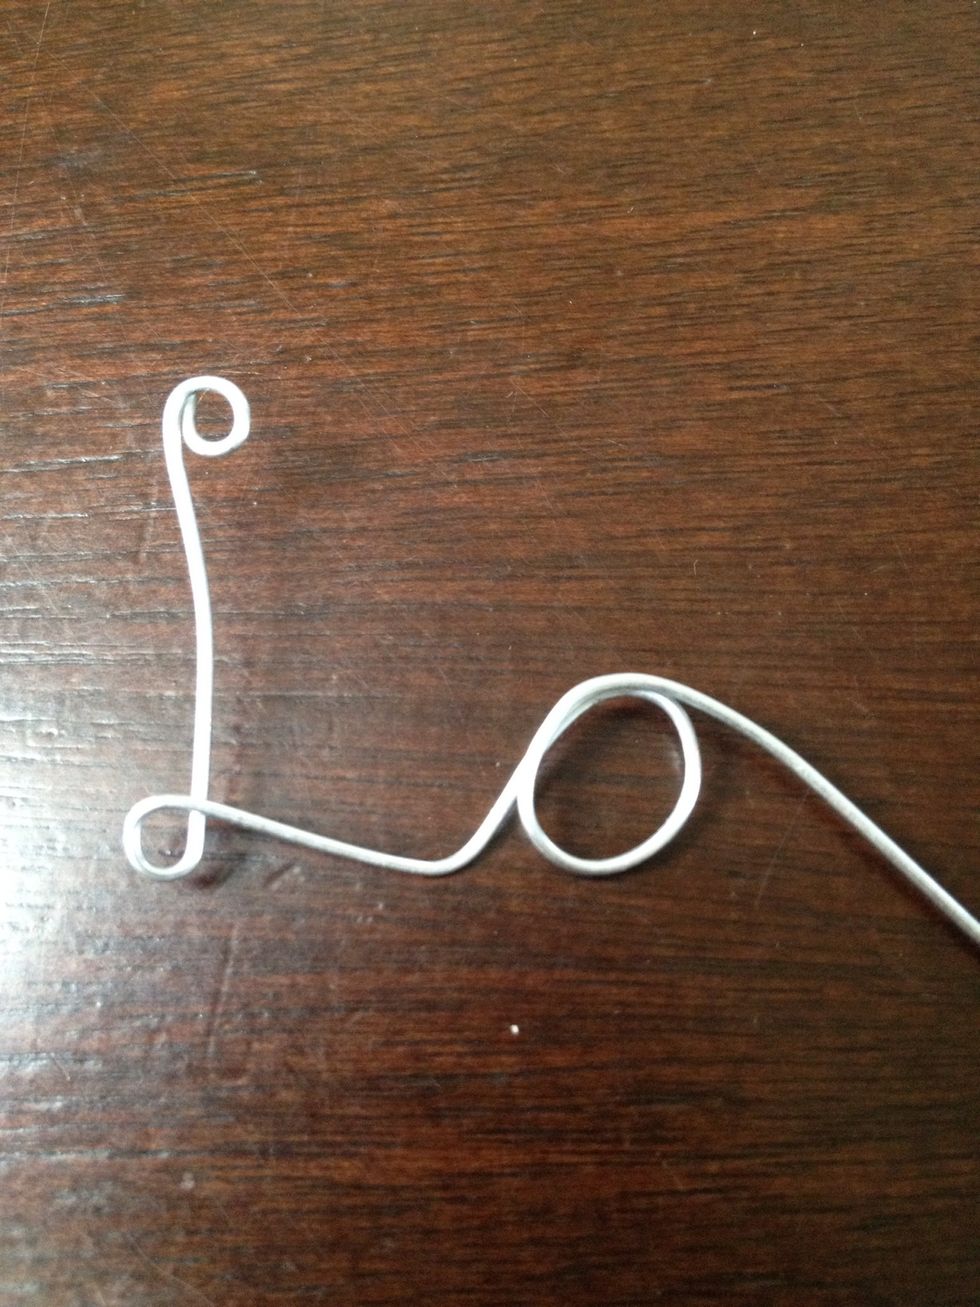
Line up the cut end with the loop so that it looks more finished.
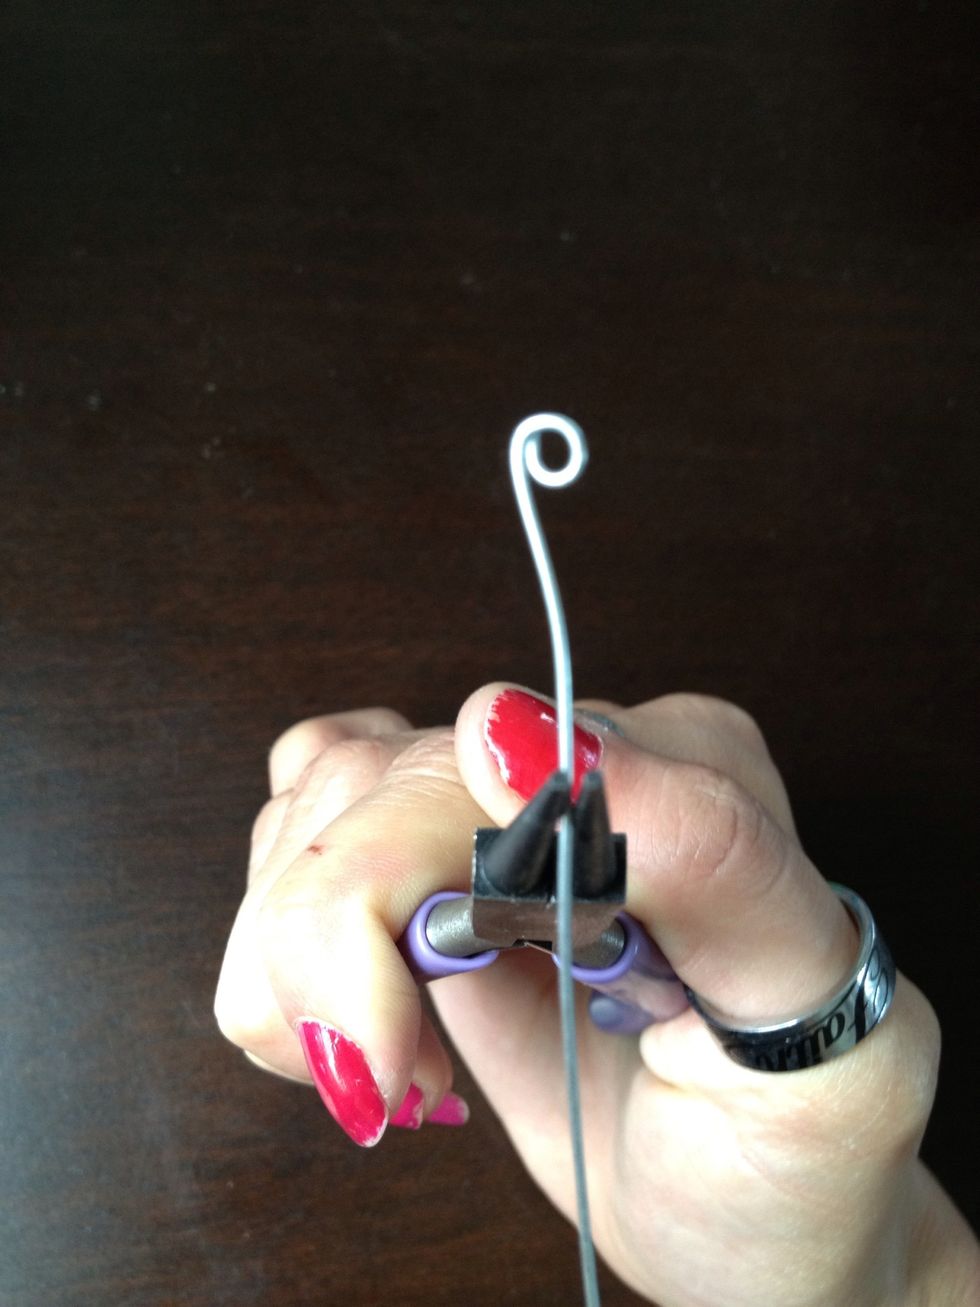
Going down the wire to make the second loop in a capital handwritten "L"
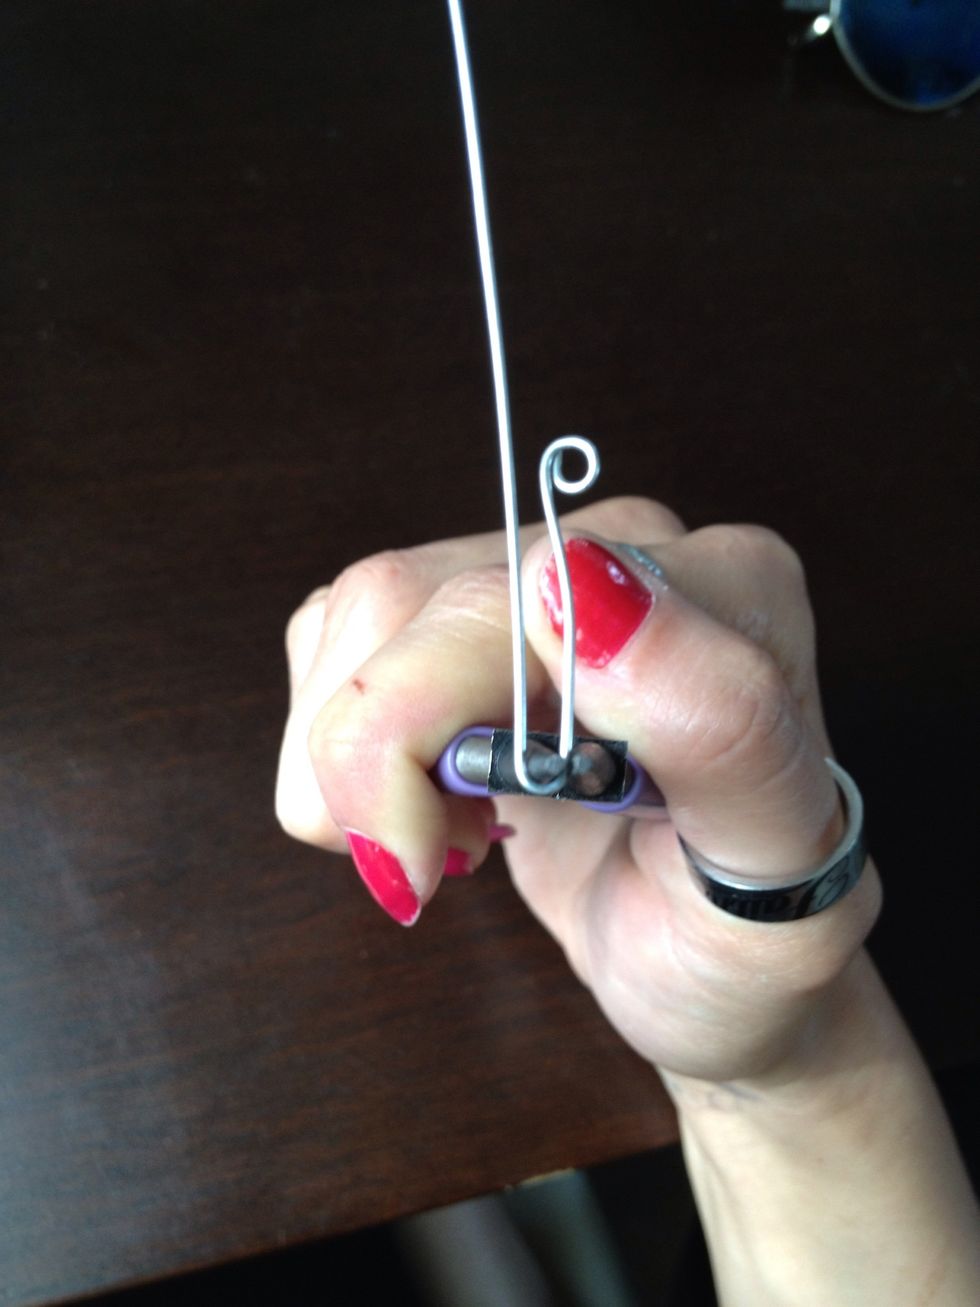
Wrap the wire opposite of the 1st loop.
Notice how I released and moved the wire. Finish off the loop.

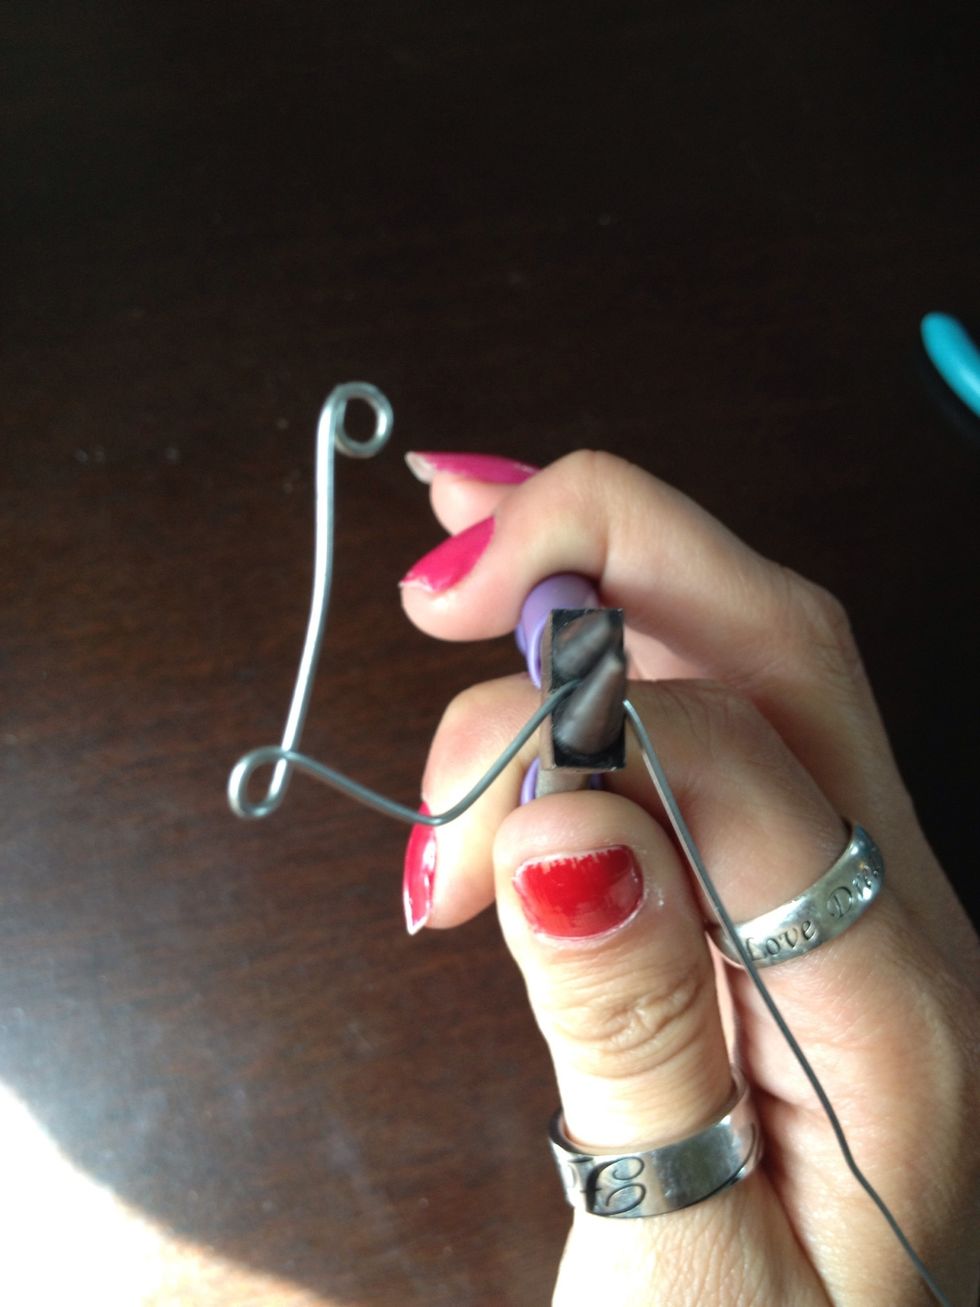
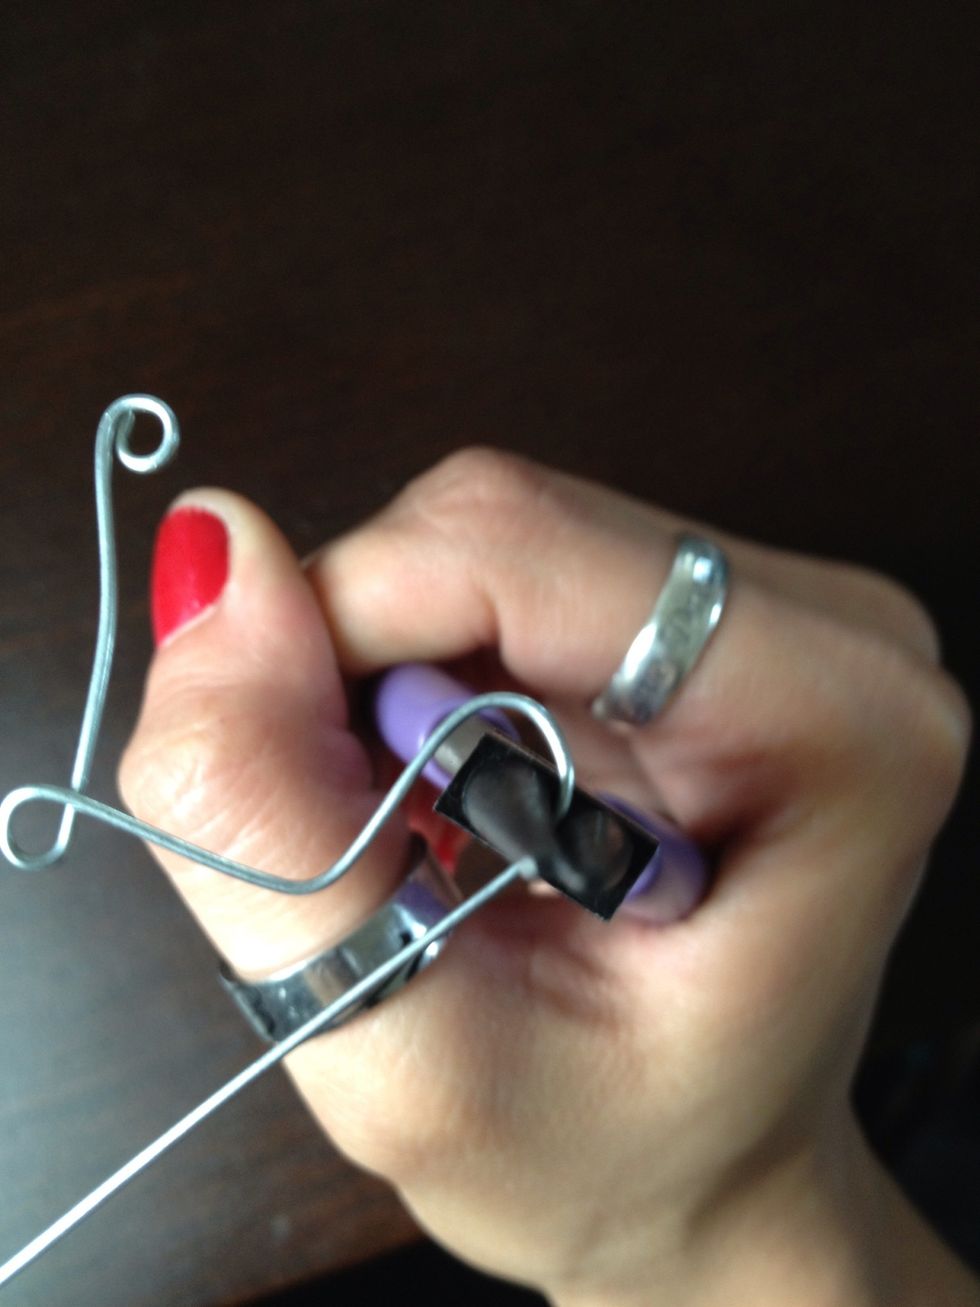
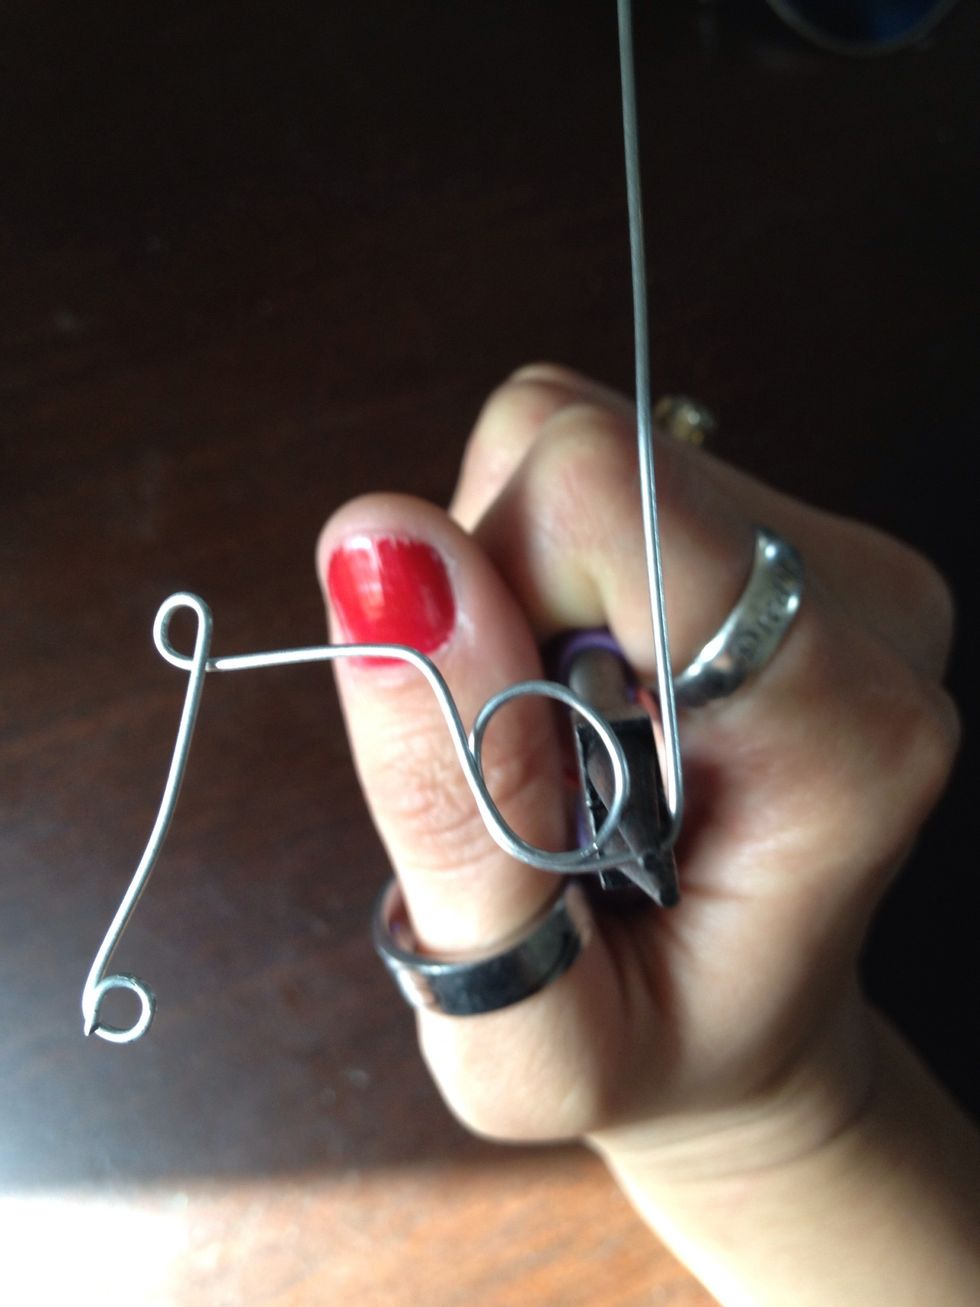
Looking good! With a little thumb might (All those years of video games payed off for something) shape the bottom curve of the L.
Making a half curve up for the O
Making a slanted S or Z. With the release and curve technique curve an O
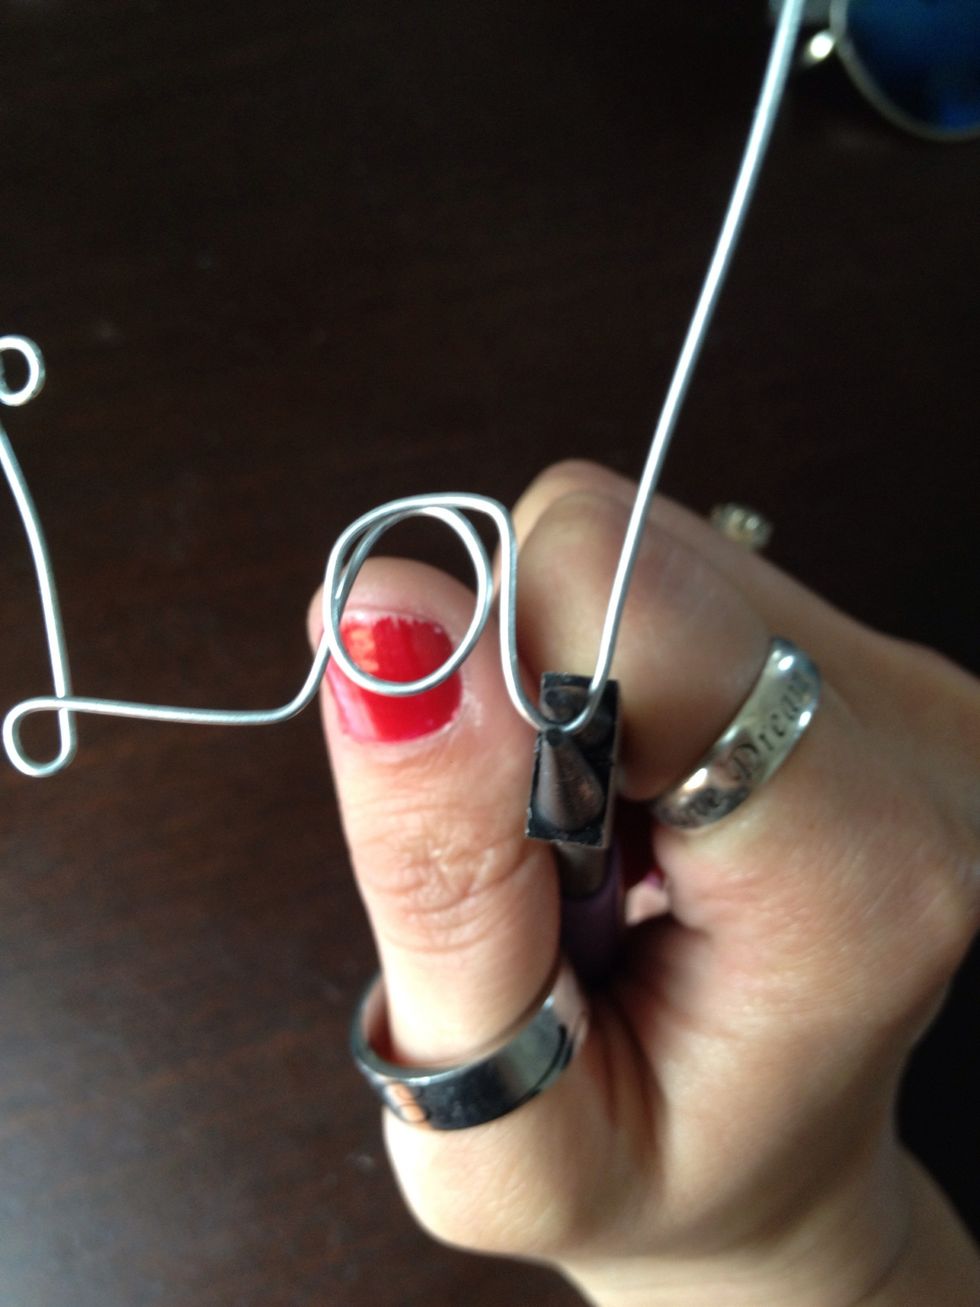
Release and curve.
O man it's looking good.

Grabbing closest to the end of the O.
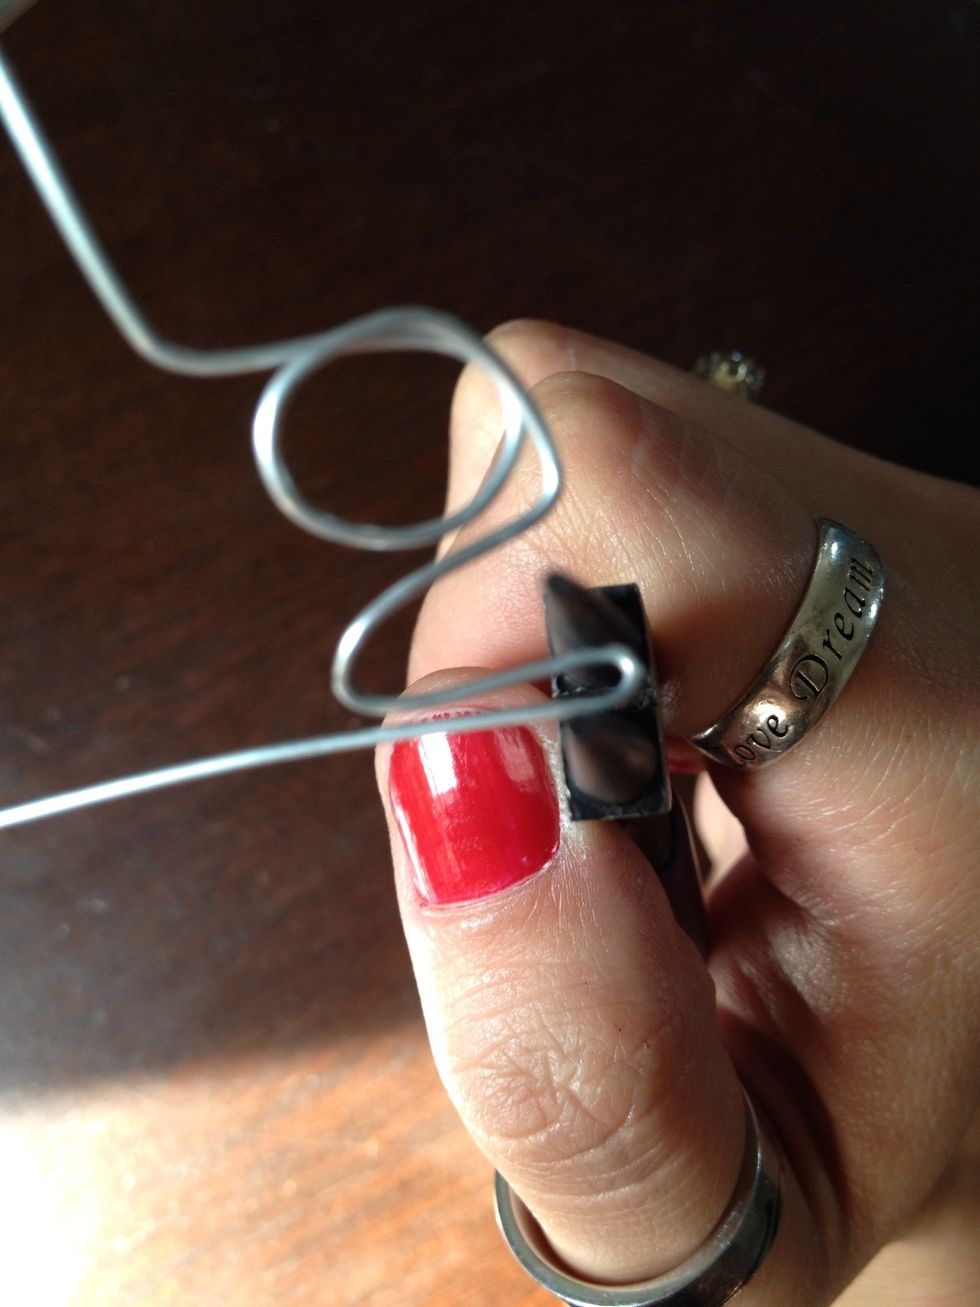
Bending straight down along side the O
Release and curve a V shape.
Make a tight pinch with the round tip on the V
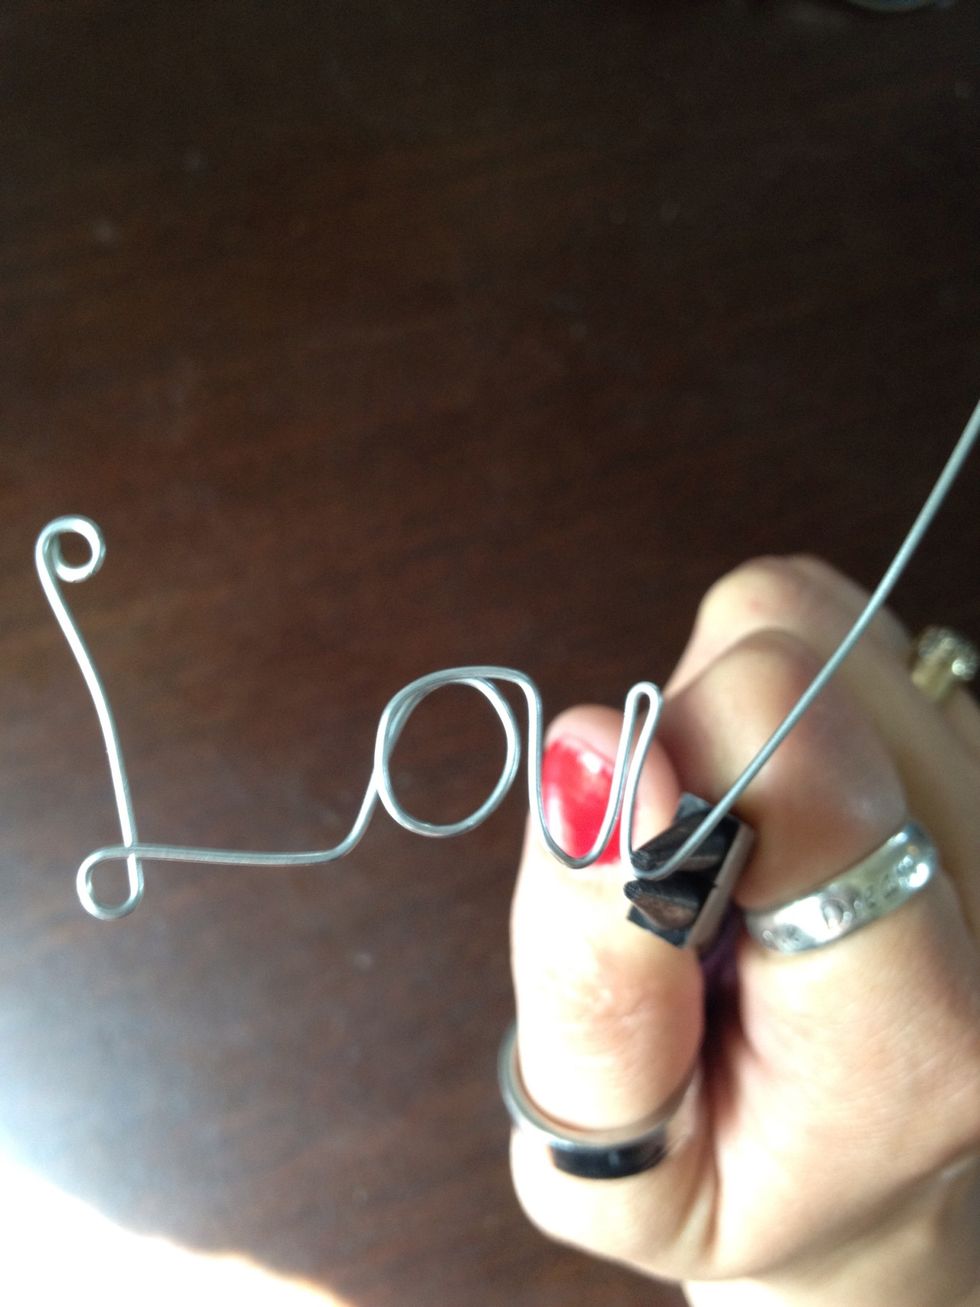
With the free end release and curve so it's pointing to 3 or 4 O'clock .
Pinching up a little on the wire release and curve the rest of the E.
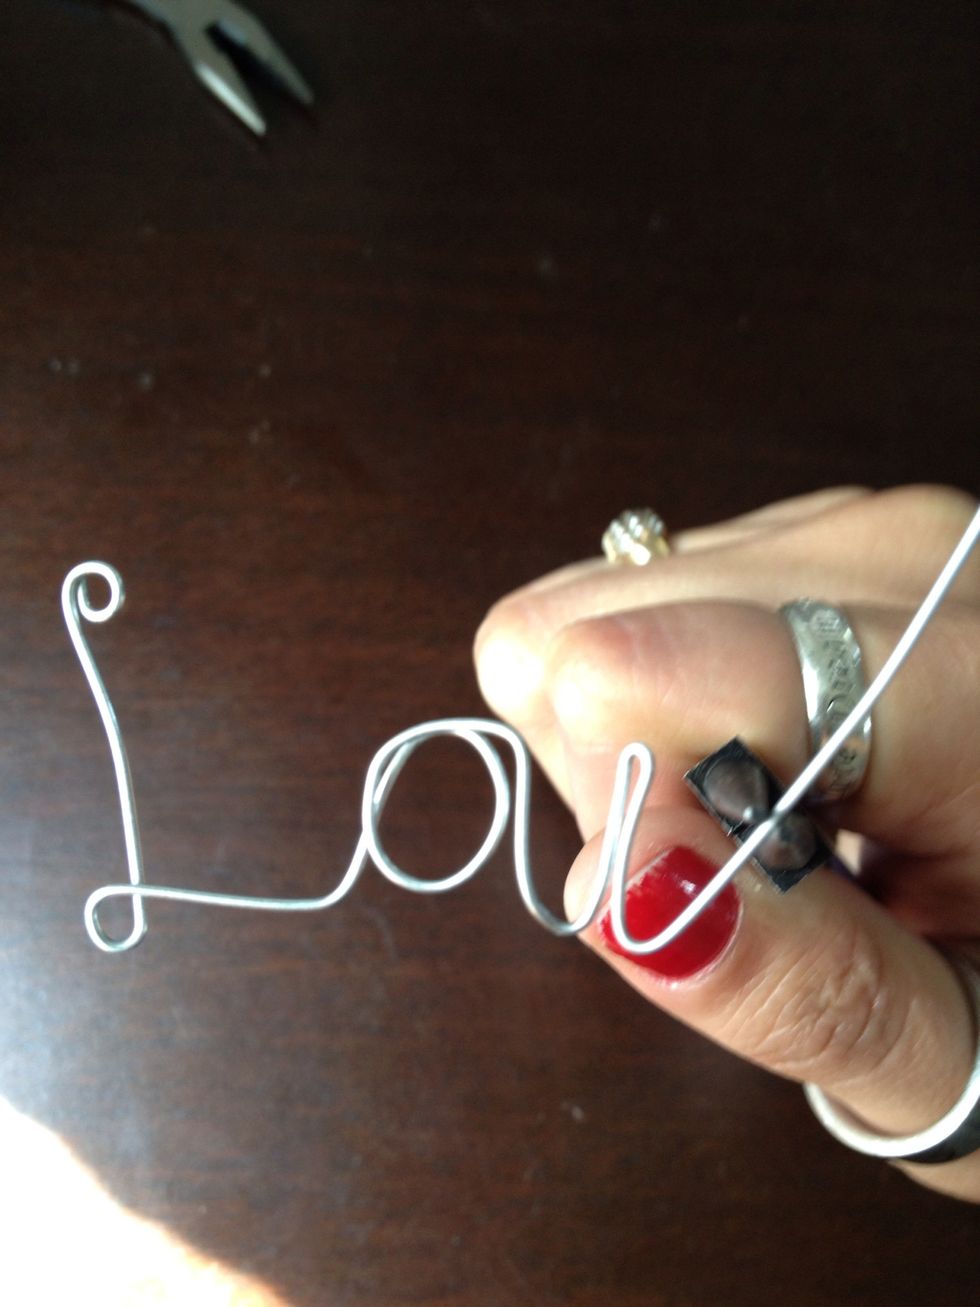
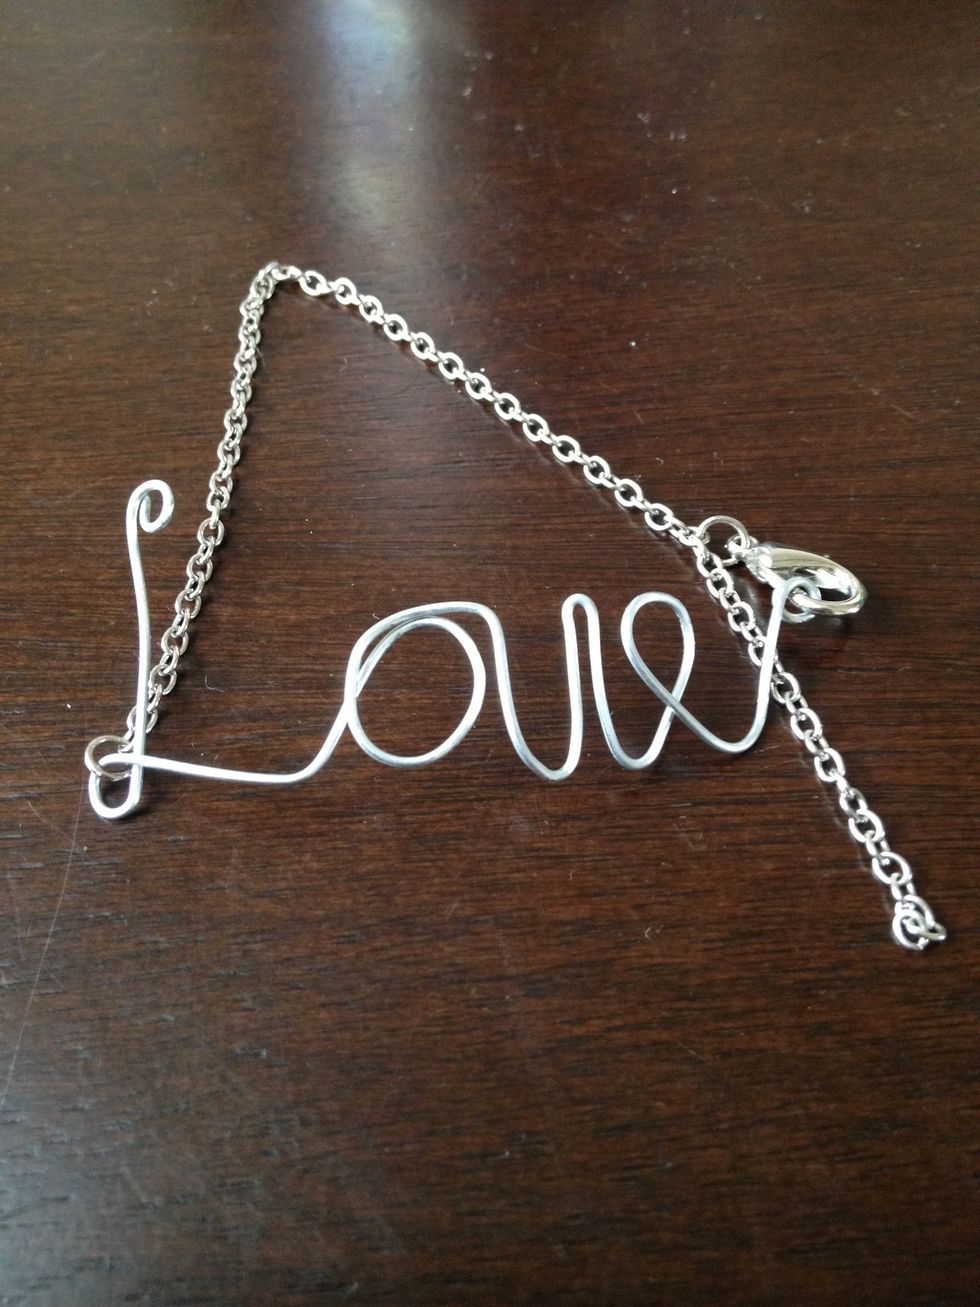
Tada isint it cute! But where not done yet. Using the same starting technique finish off the end with a loop.
Each one will be unique like your own handwriting.

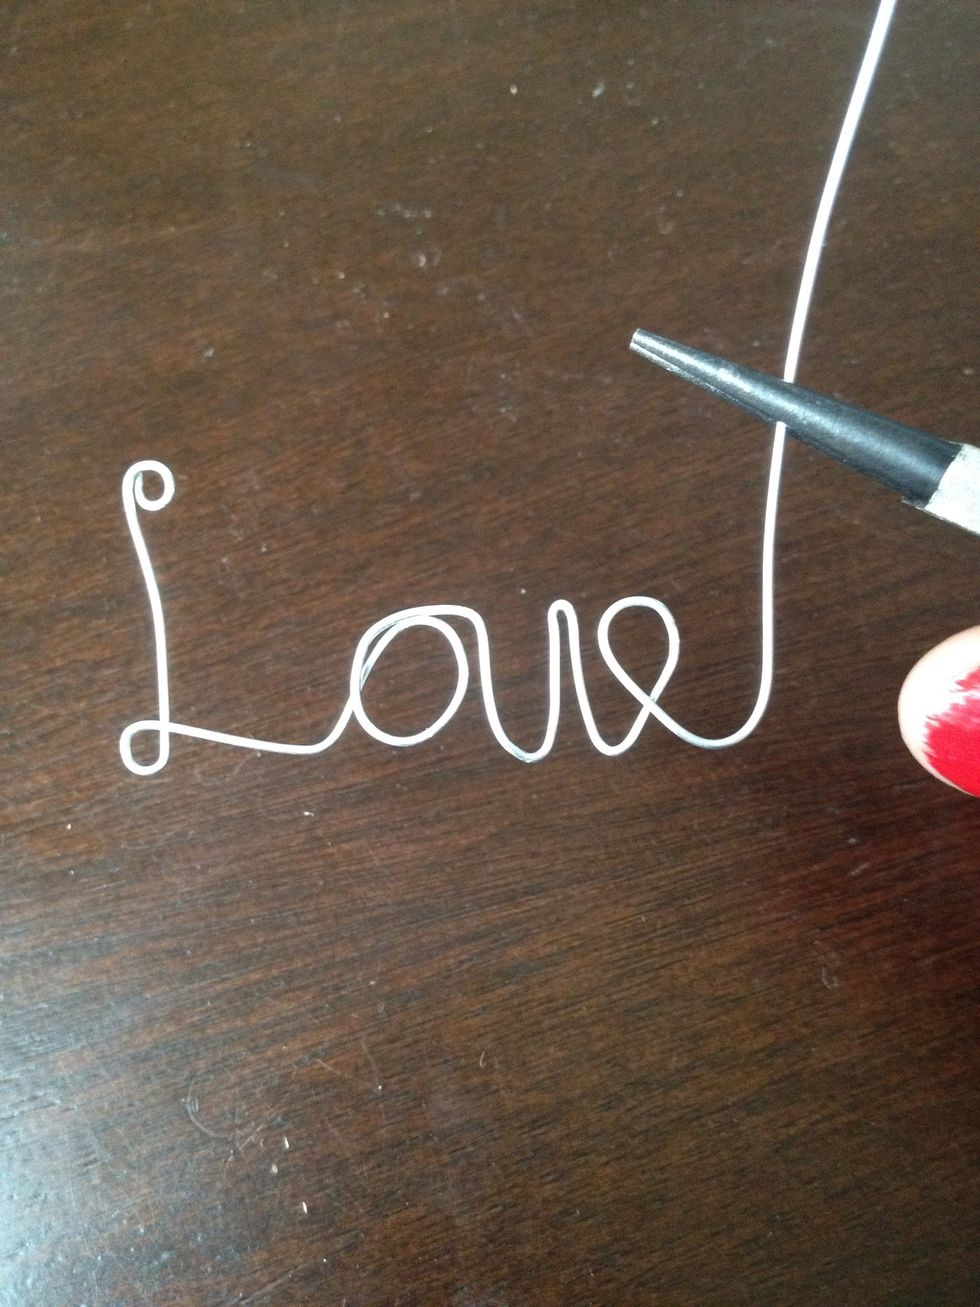
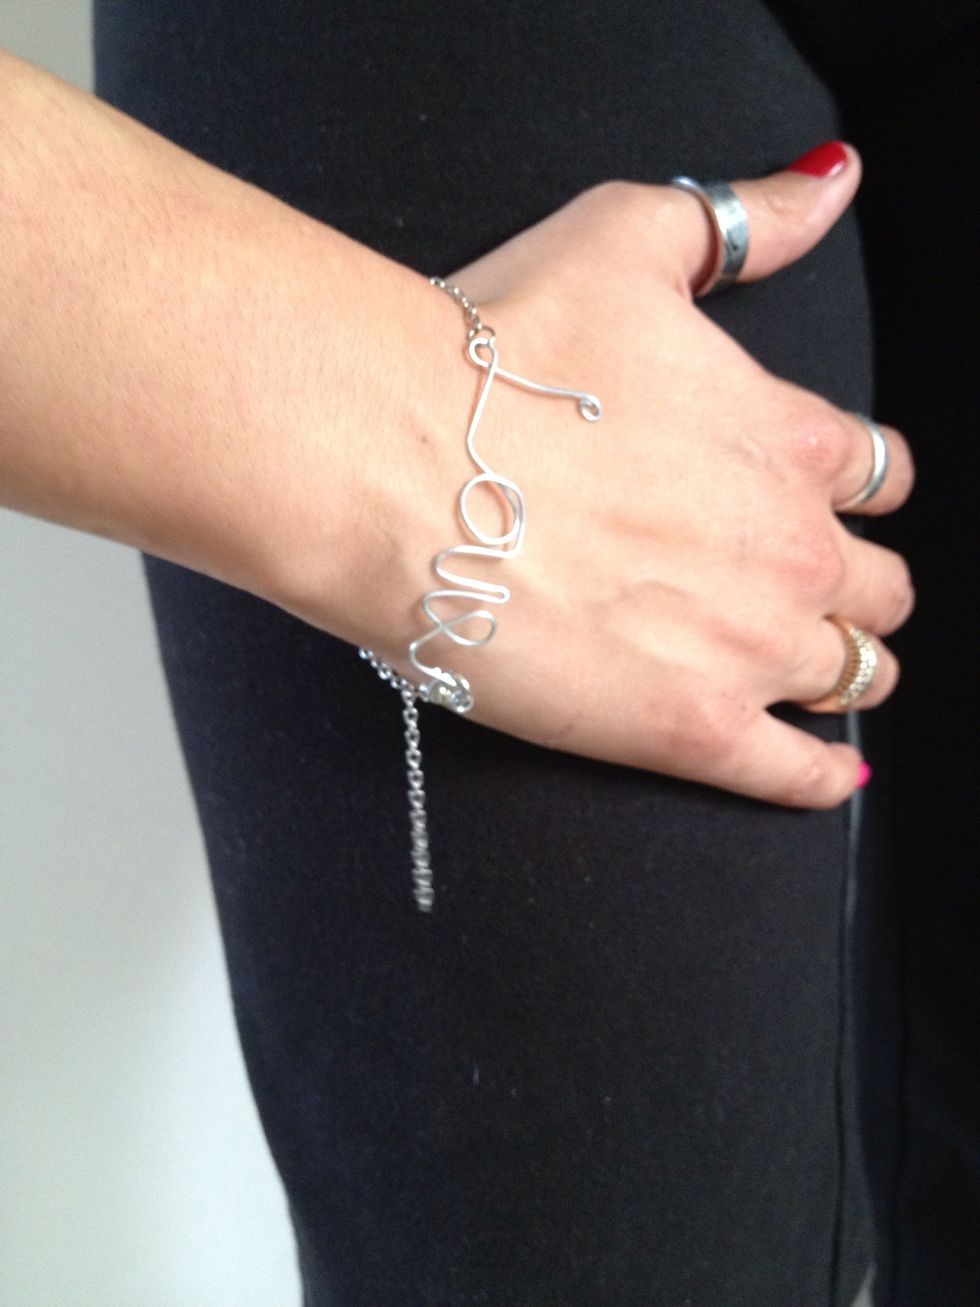
On the second loop of the L add a jump ring and chain. Measuring the chain put a jump ring and a crab claw clasp on it to clip on the E.
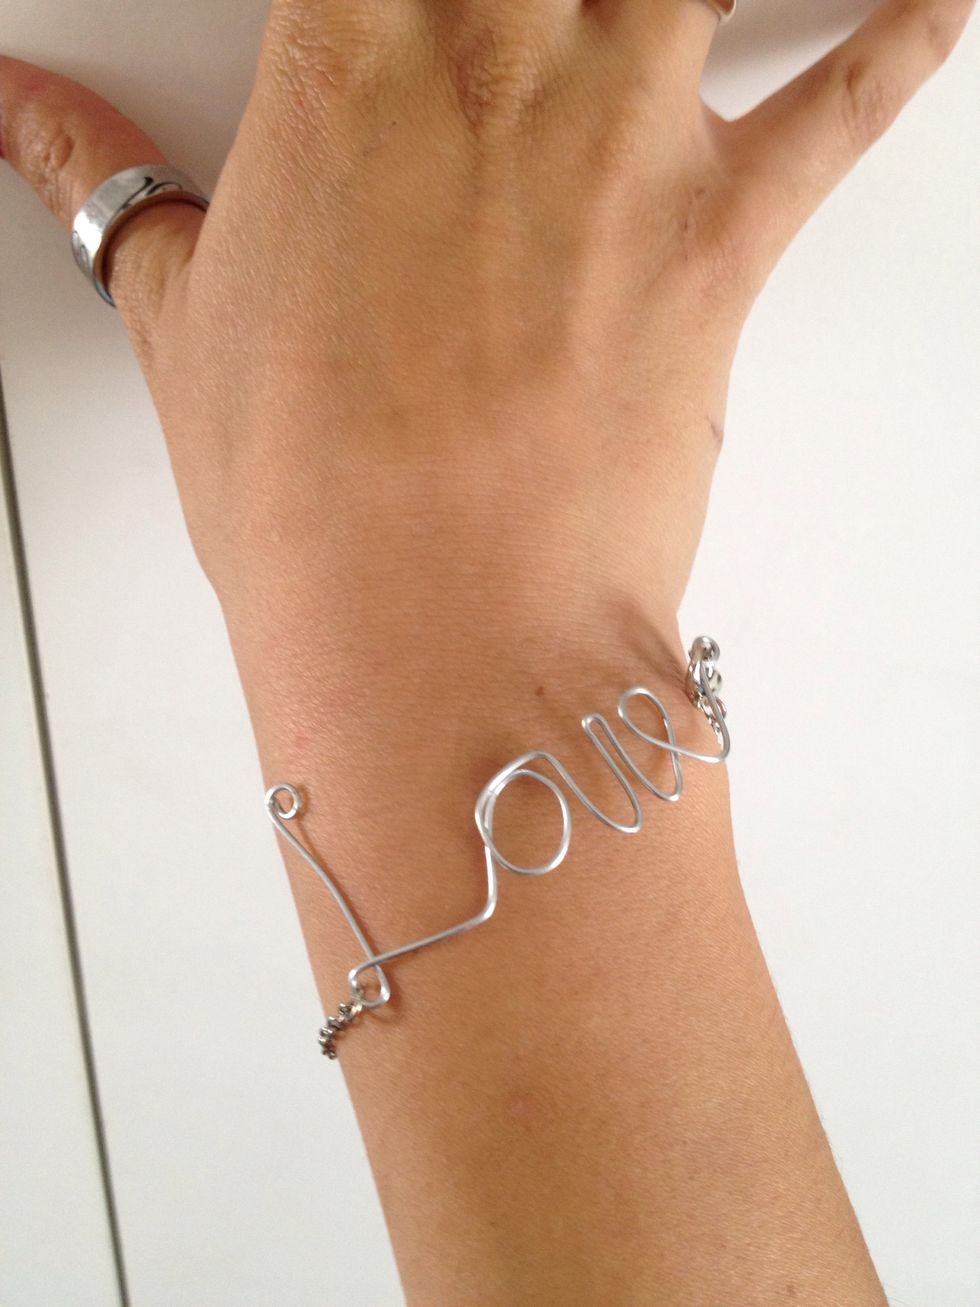
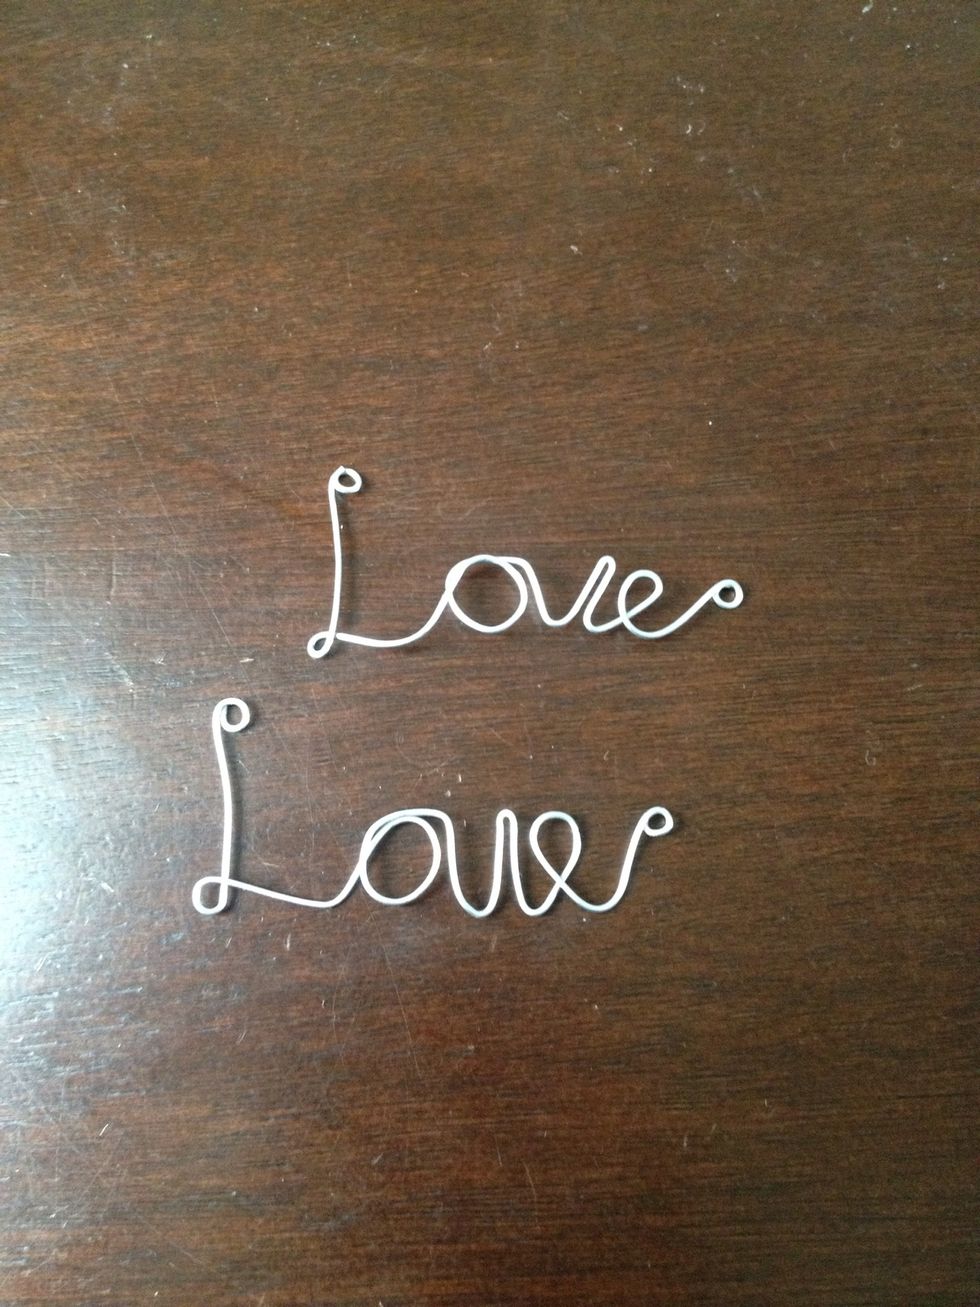
Wear and enjoy your wire jewelry.
Hope you enjoy.
Great for jewelry, scrapbooking or anything .