The Conversation (0)
Sign Up
Adhere lattice die cut with gel medium to 5x7 art board. (TIP: If you do not have a lattice die, you can simply adhere strips of card stock in a diagonal fashion to make your own lattice).

Brush on a coat of the Kona Art Anthology paint. Spritz with water, brush over board once, revealing this cool spotted texture. In the photo, the lower half has not been brushed yet.
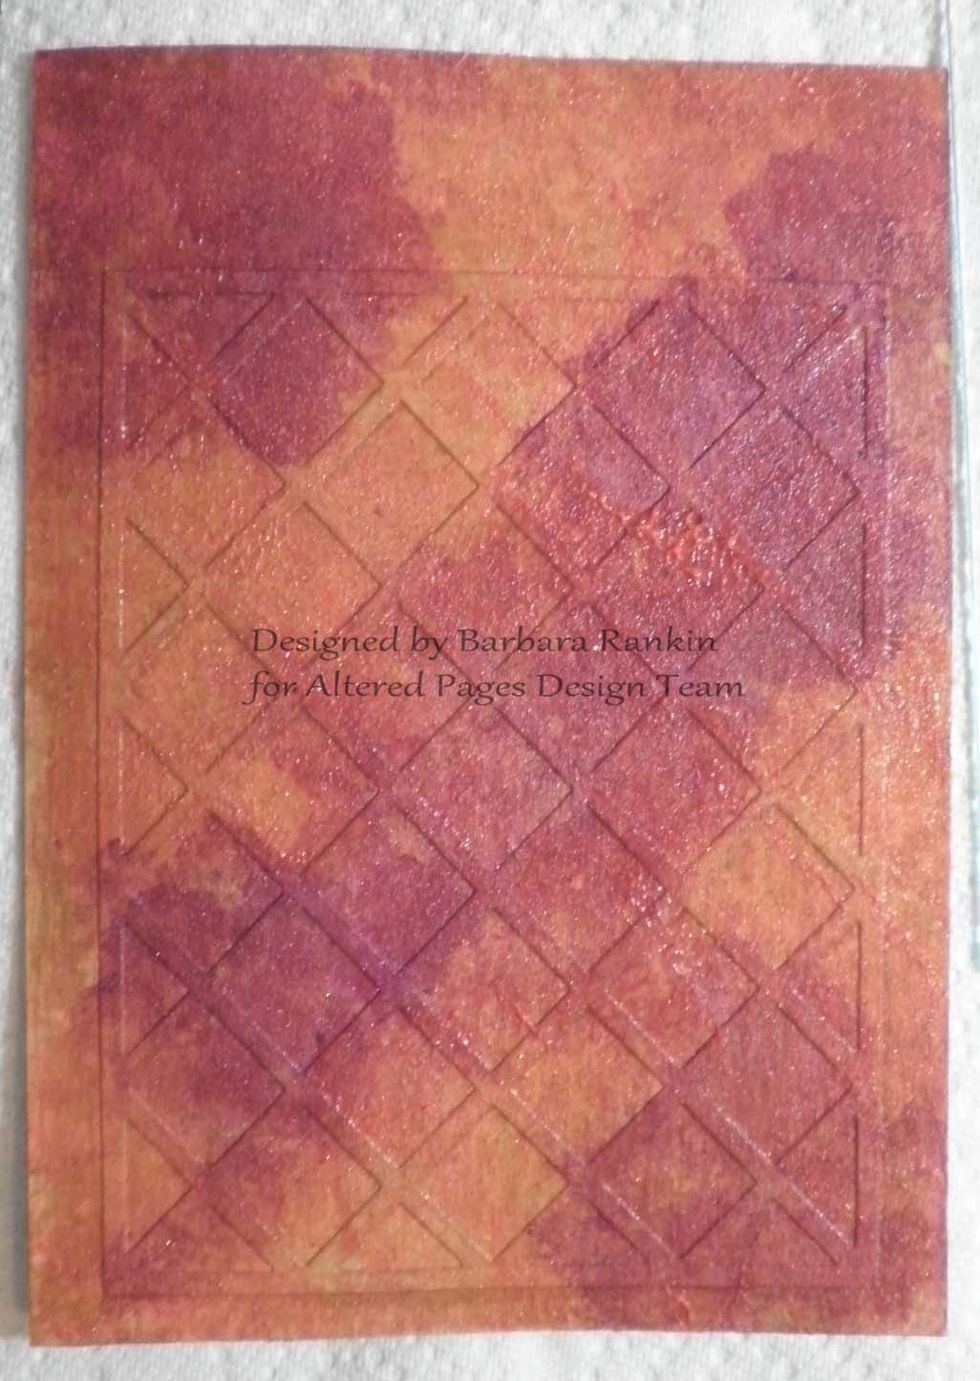
Sponge randomly Art Anthology Imperial and Coral Sorbet paints, mixing right on the canvas, as shown. Allow this coat to dry.
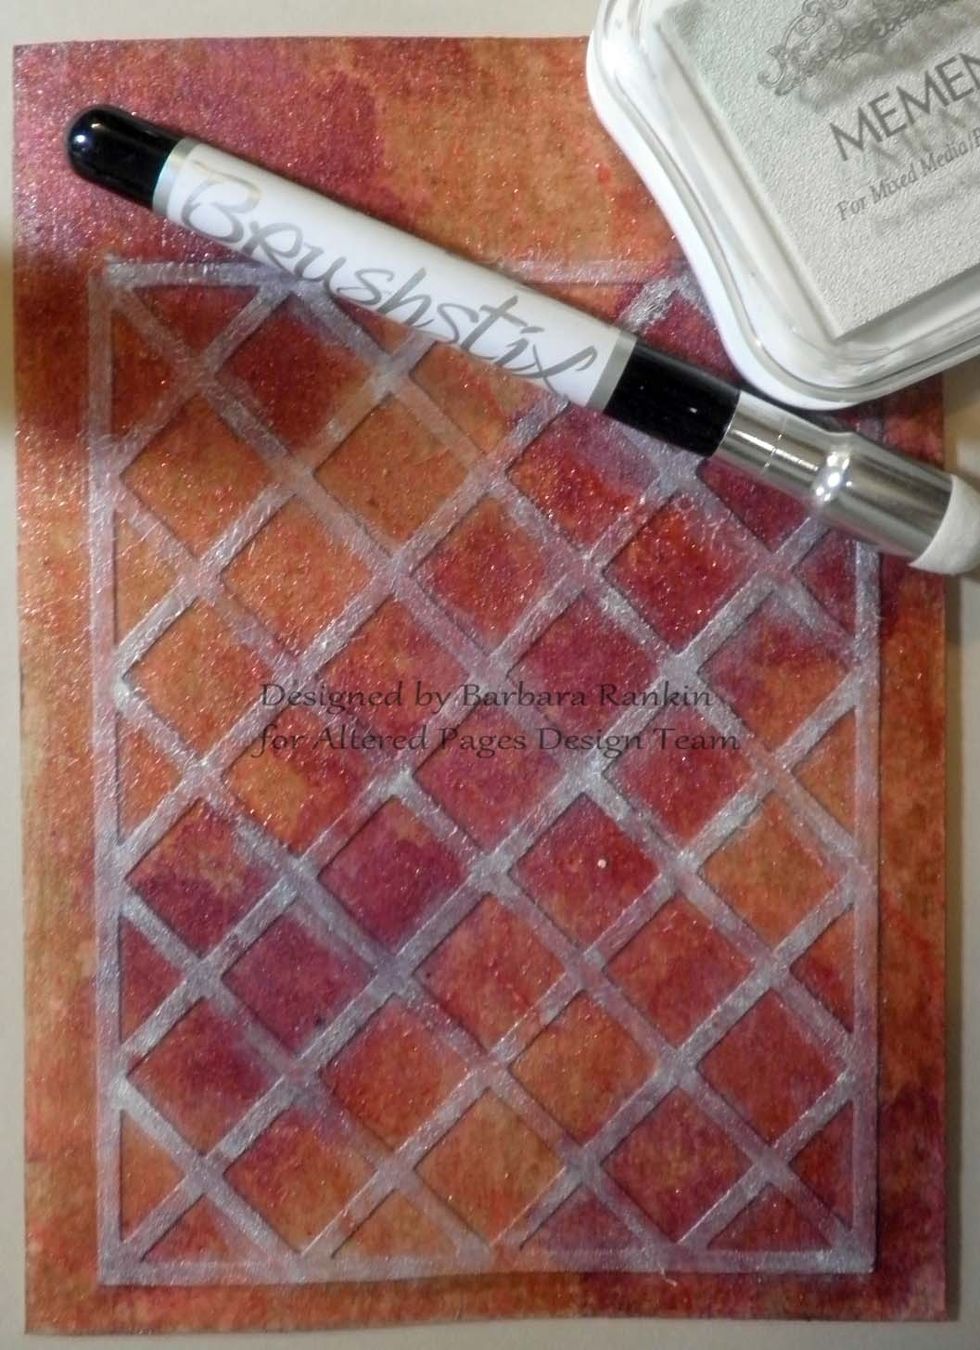
Use a Brushstix applicator with Memento white ink and apply to lattice to highlight it a bit.

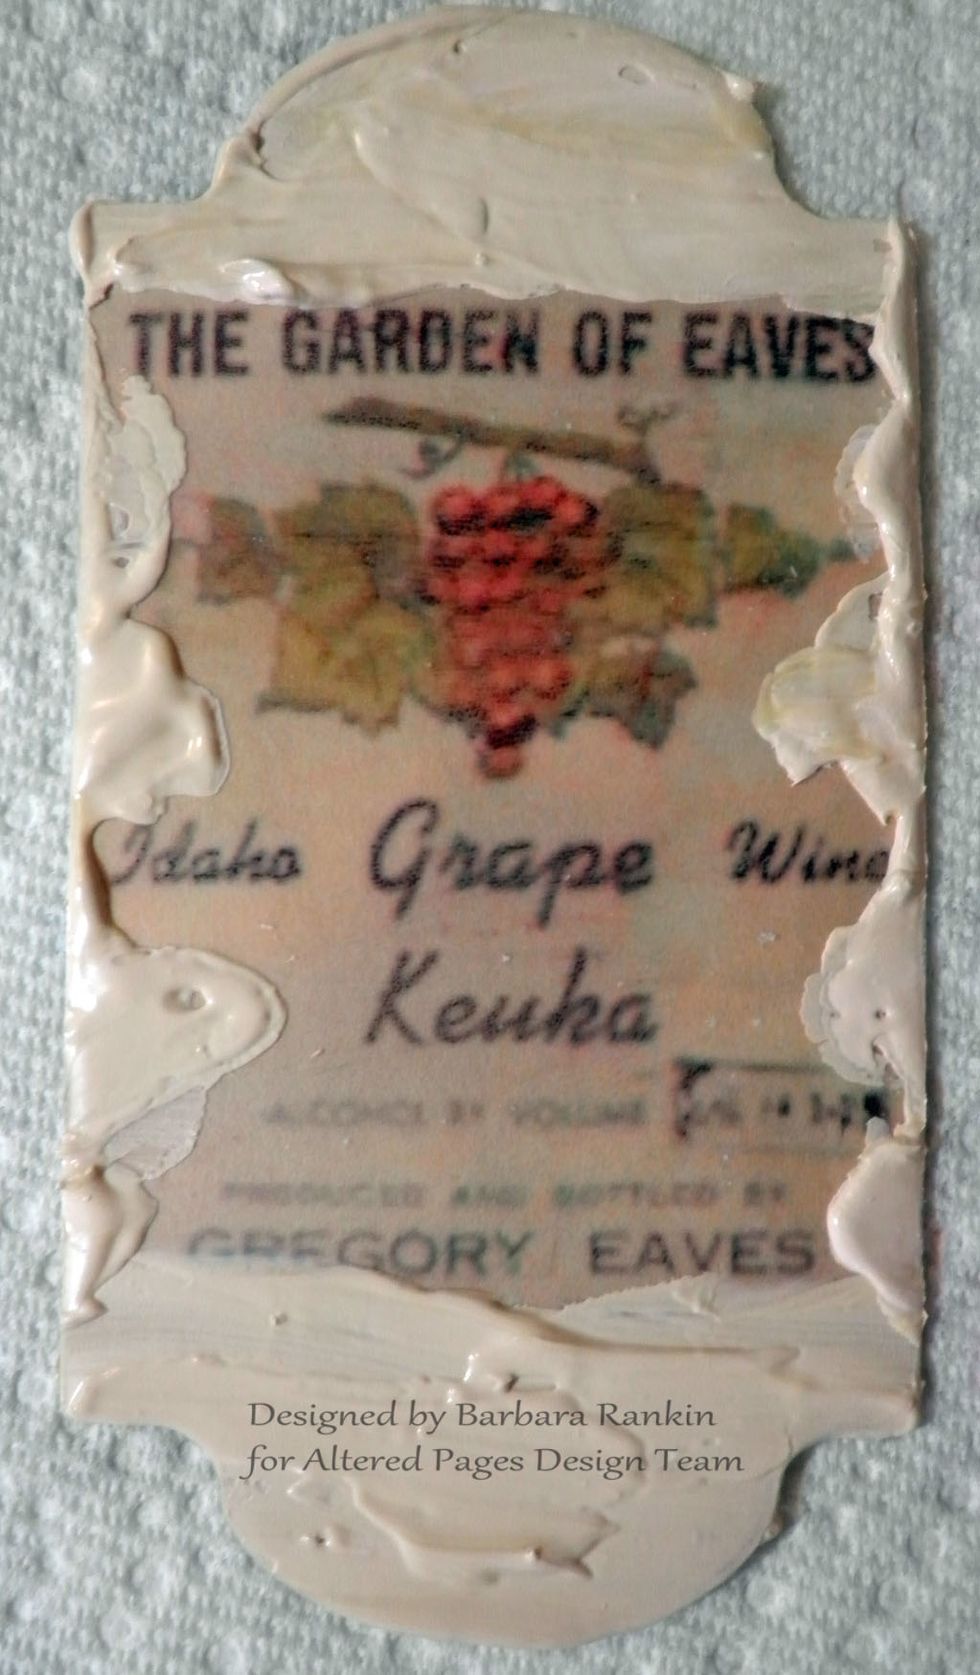
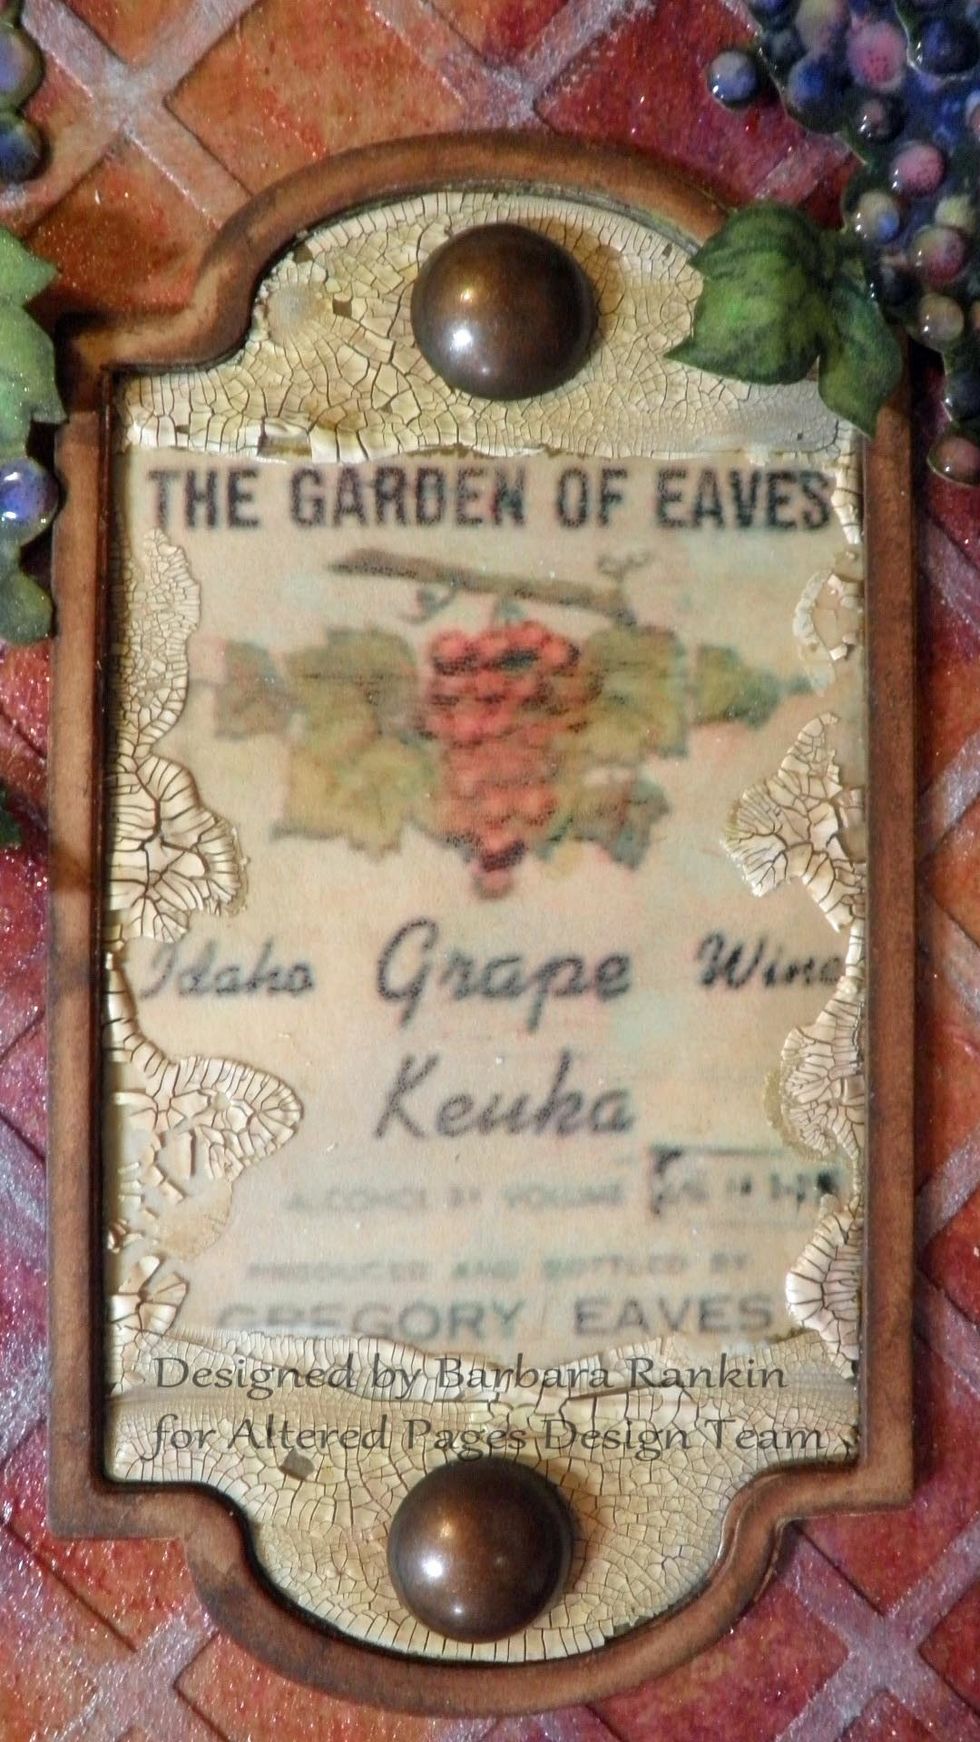
Complete instructions for how to use your Craft Attitude film are included inside the packaging. It is really easy to use.

Adhere to the tan card stock with glue stick.
Edge card stock frame with light colored distress crackle paint. This paint works better if allowed to air dry rather than trying to speed it along with a heat tool.

Add brown distress stain to get into those cracks so they show up really well. Wipe any excess off with a clean paper towel. Doesn't that look grungy?
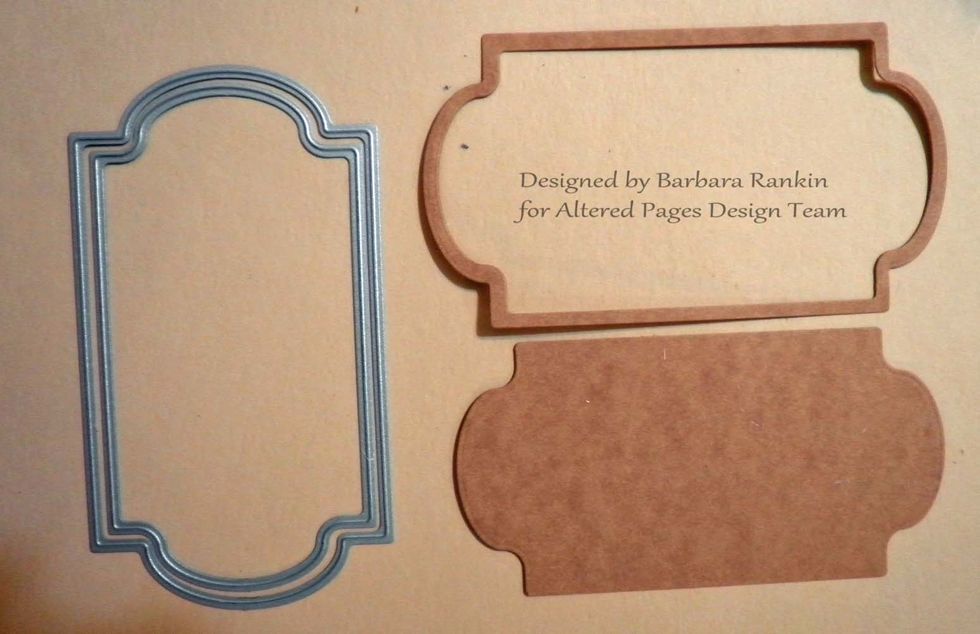
Using the next largest die, put the two dies together. Cut four layers of thin chipboard and one from a light brown card stock to make a frame. Save the center portions for another project.
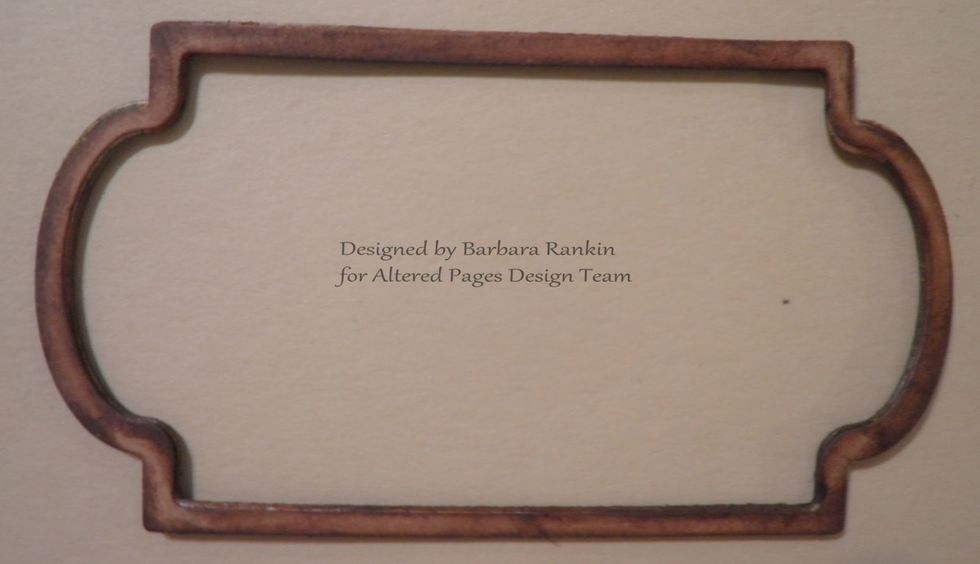
Adhere all frames together, ending with the card stock layer on top. Edge with Leather Mix'd Media ink.
Adhere both the center sign and frame to the canvas. I had these metal pieces in my stash and added them to the top and bottom.
Insert the canvas into a dollar store frame before proceeding further. This will allow you to determine where to add your remaining embellishments.
Die cut a pediment from chipboard and paint with the same light colored distress crackle paint. When dry, add brown distress ink to show the crackled effect. See next step.
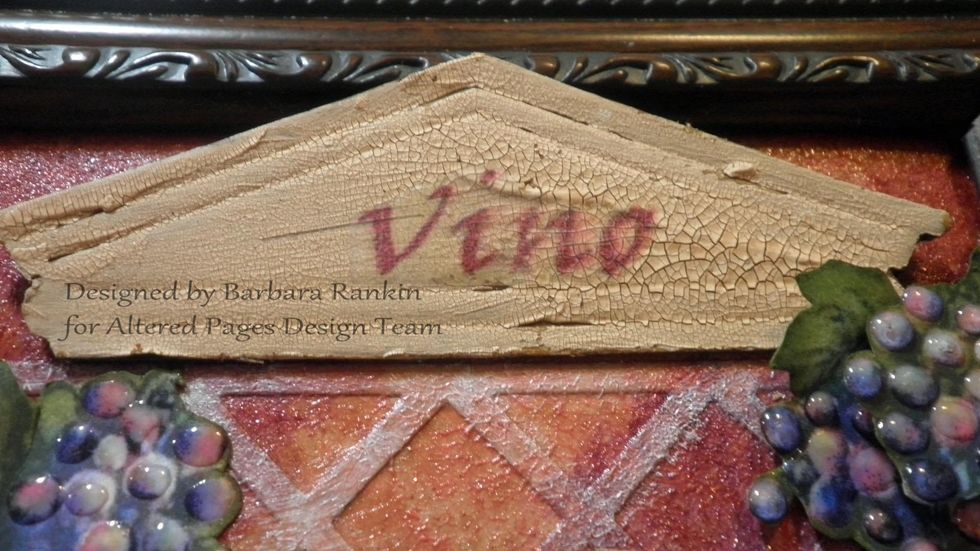
Print the Vino image in reverse onto Craft Attitude following manufacturer's directions. When the Craft Attitude dries, adhere it to the pediment, and adhere the pediment to the top of the frame.
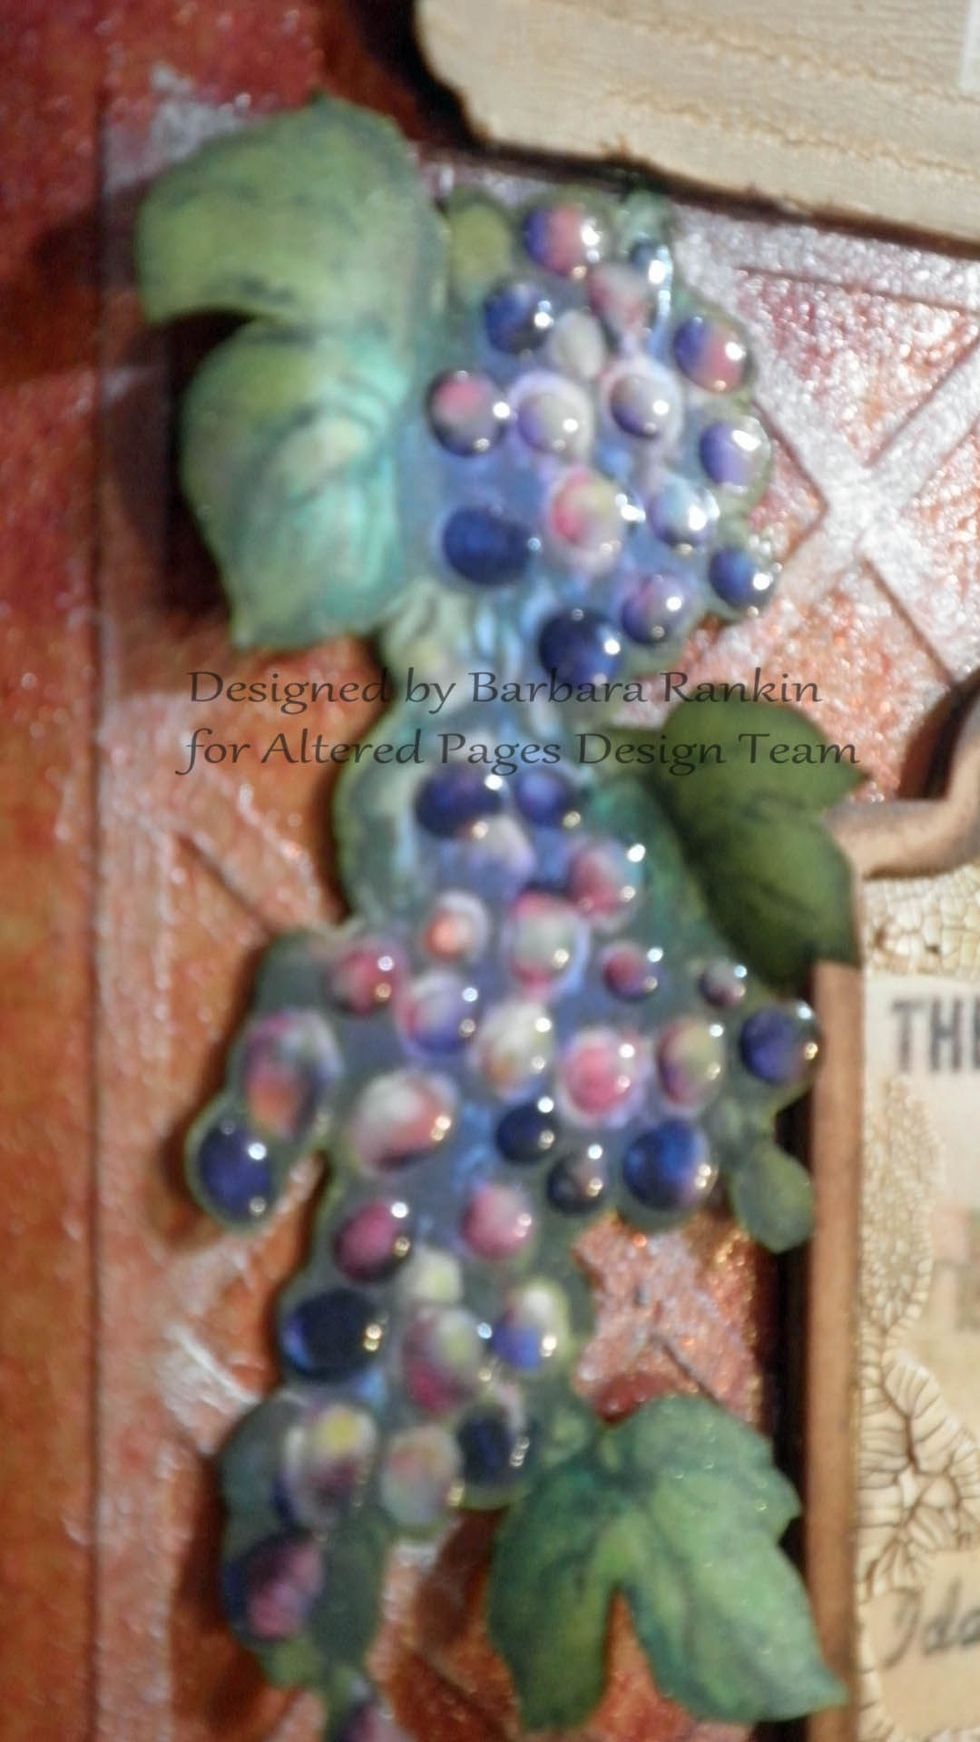
Print two smaller grape vine images from the Fruit of the Vine collage sheet, mirror imaging one of the vines. Fussy cut each, ink edges with green, add 3D Crystal Lacquer to the grapes and adhere.
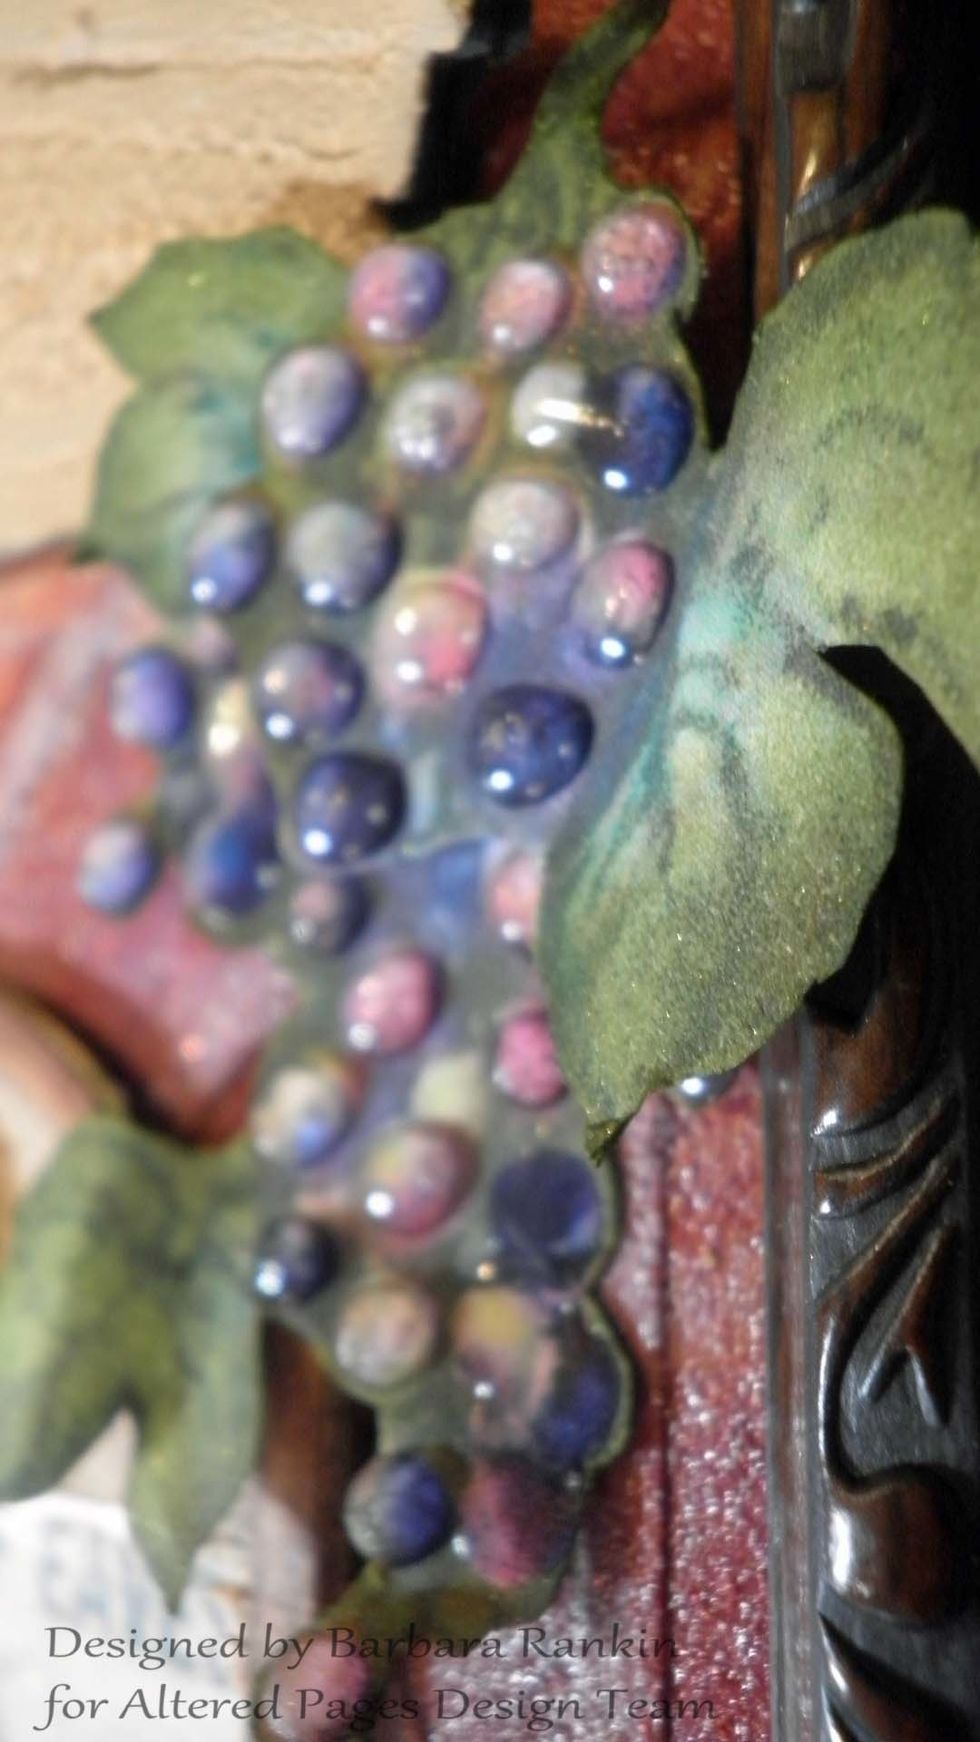
The grapes on the right side have been cut into two pieces so I could shorten the vine and give an even more 3D effect by layering one atop the other.
Crop and print two images of the bottle from the Jug of Wine collage sheet onto white card stock. Fussy cut both bottles and add 3D Crystal Lacquer. Allow to dry.

Adhere the bottles in the bottom left of the frame, as shown. The bottle on the left has been offset and foam dotted for dimension.
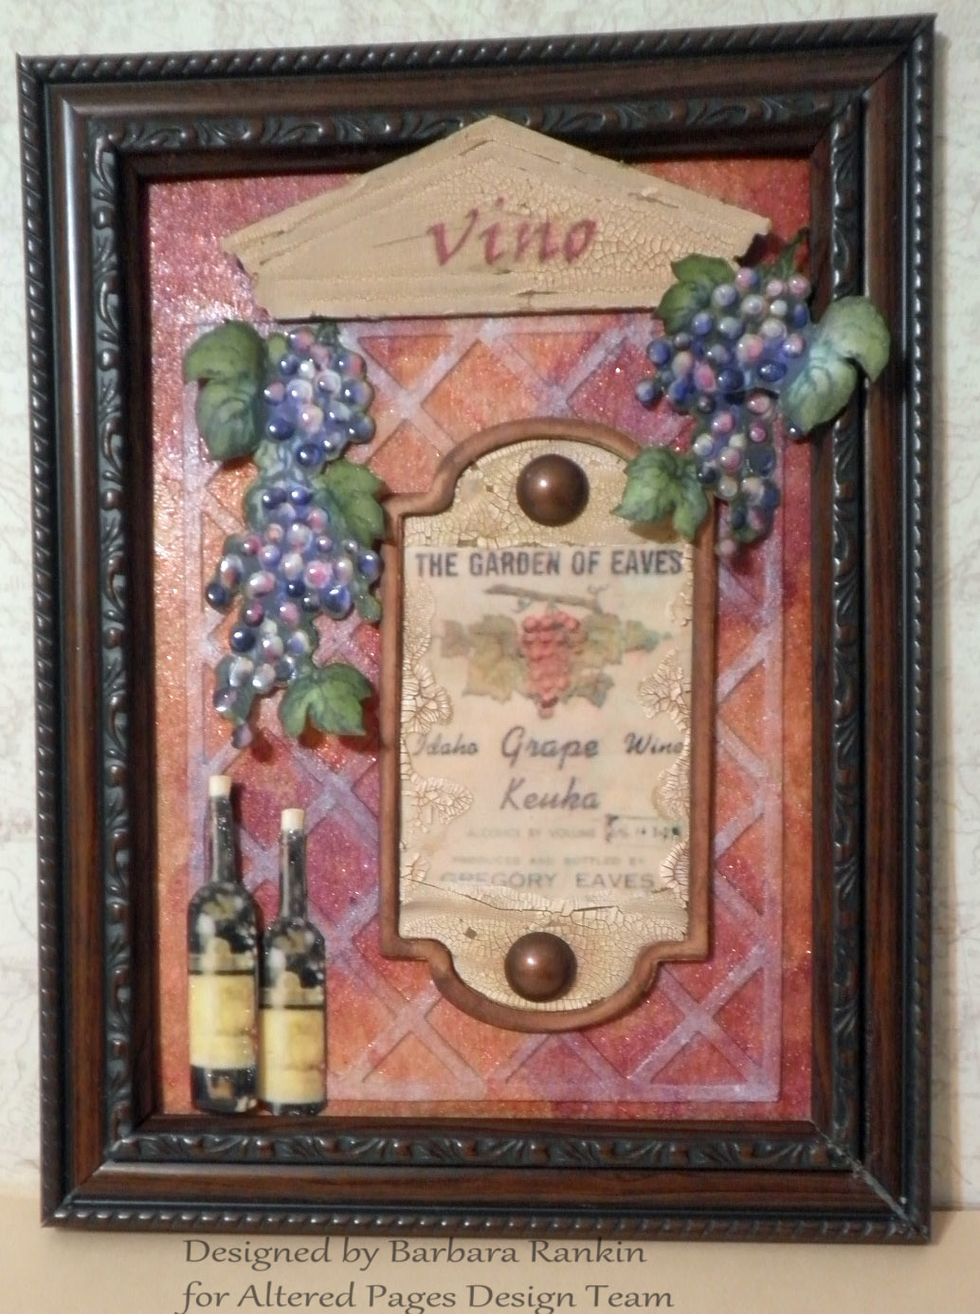
Now you have a beautiful Wine Lover's Plaque that can either be hung on the wall, or you can sit it on your table, fireplace mantel, or desk as a piece of home decor or give with a bottle of wine.
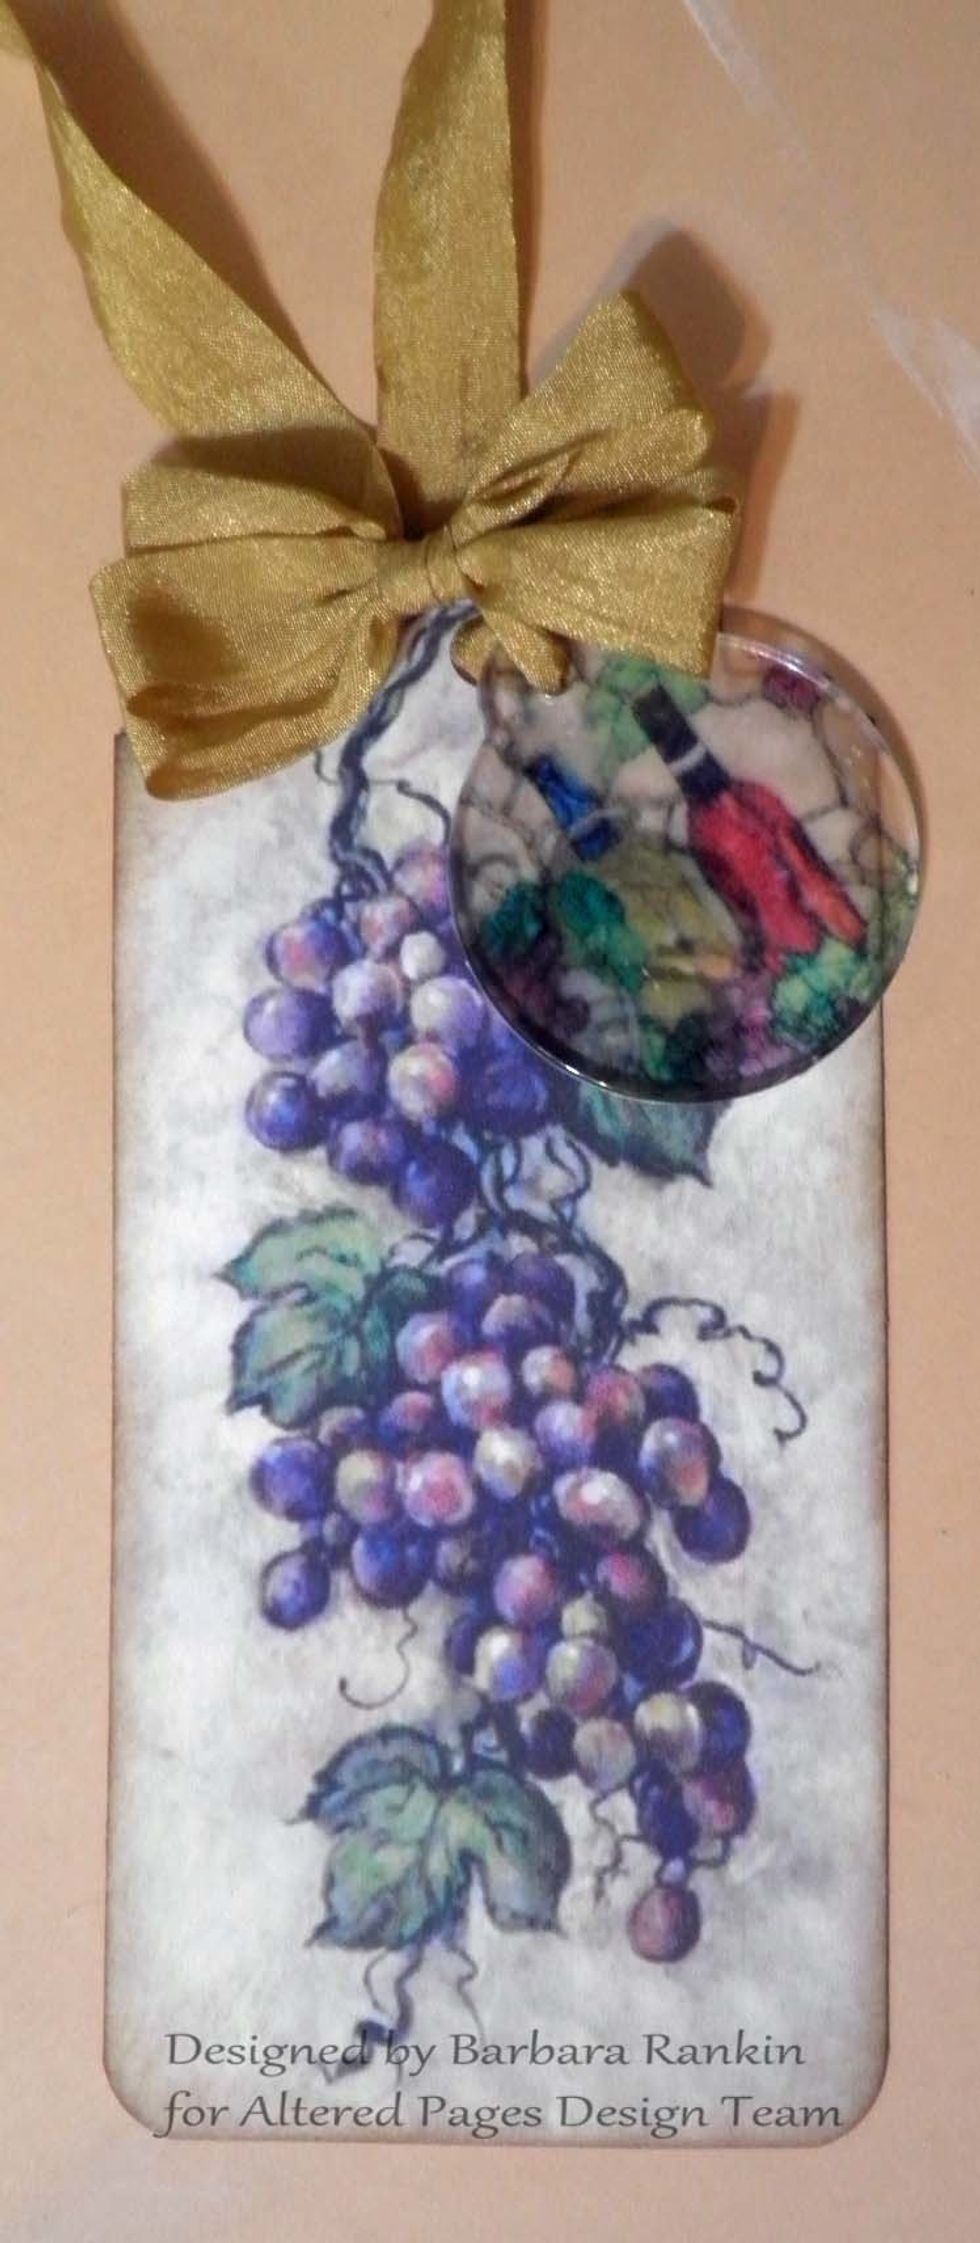
Want to learn how to make this lovely tag with acrylic tag charm. It is so quick and easy. Please visit http://alteredpages-artsociates.blogspot.com/2014/11/wine-lovers-wall-plaque-with-craft.html
Thanks for visiting, and if you would like to see more of my work, please visit me at http://blackholeartstudio.blogspot.com Happy Thanksgiving to everyone!!!!