The Conversation (0)
Sign Up
I got these plans from http://www.thedesignconfidential.com/2012/03/free-diy-furniture-plans-build-pb-inspired-holman-wine-glass-shelf. Please check out that site for more DIY's
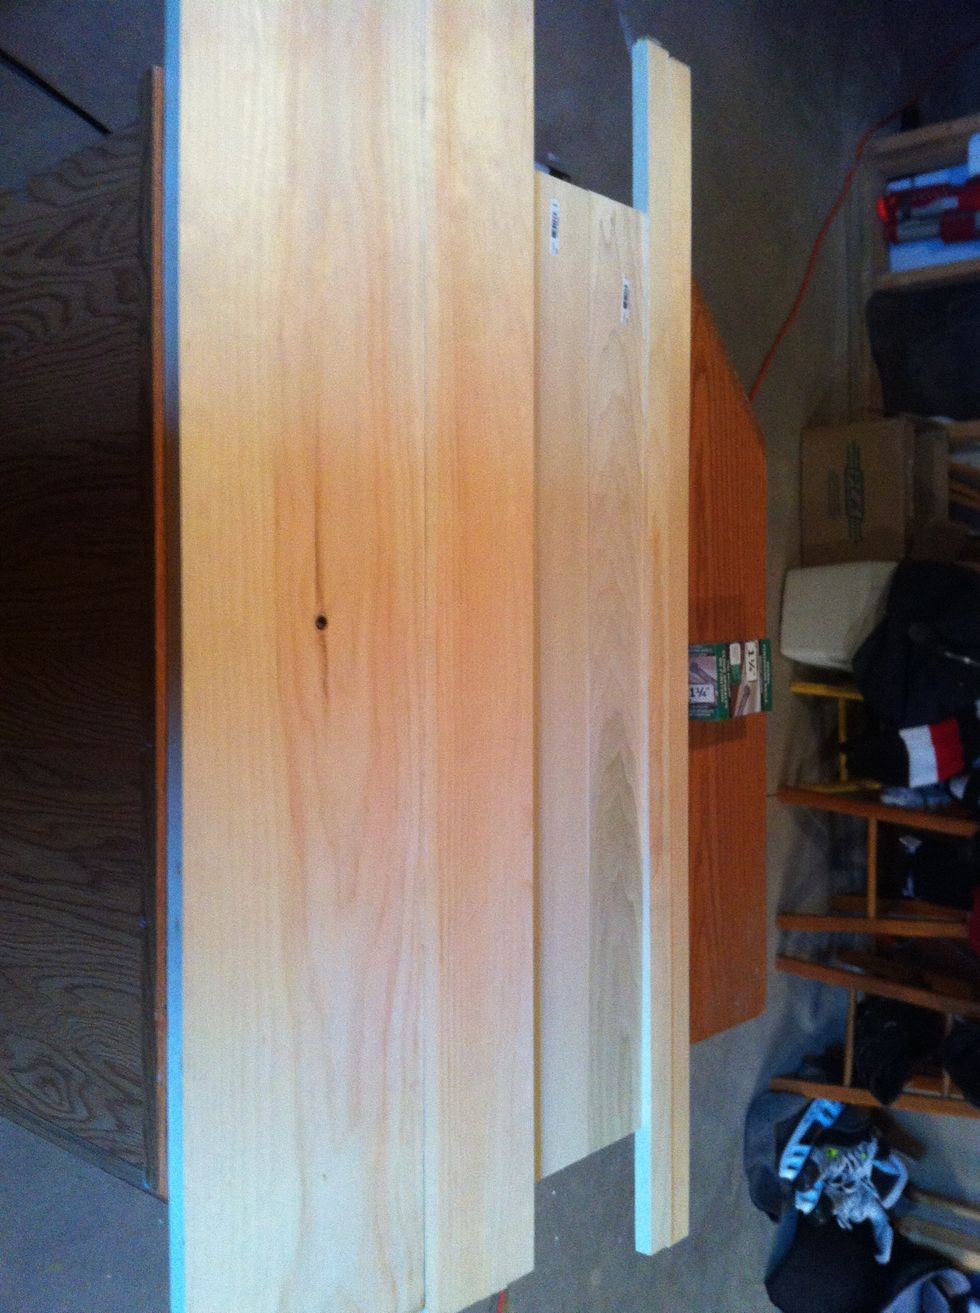
Wood before cutting!
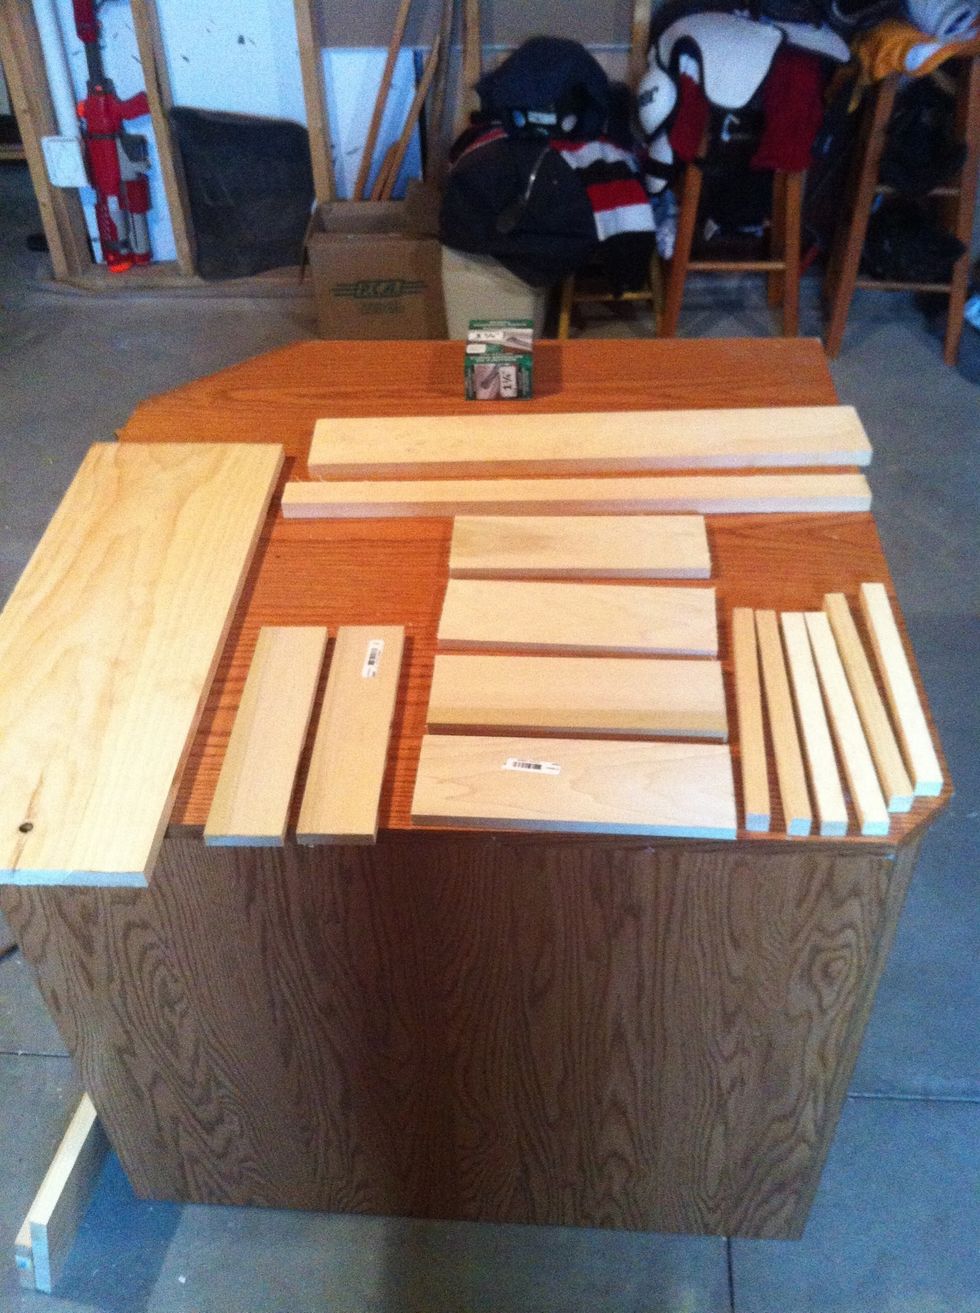
CUT LIST. 1 – 1x6 at 24”, cut down to 3-3/4” wide - Back 1 – 1x3 at 24”, cut down to 1-3/4” wide - Front
2 – ½” x 4” at 10”, cut to 2-1/2” wide – End Slides 4 – ½” x 4” at 10”, cut to 3-3/4” wide – Middle Slides 1 – 1x10 at 24” cut to 8-1/2” wide- Bottom 6 – ¾” x ¾” at 10” - Supports

Attach the front to the base with wood glue and nails.
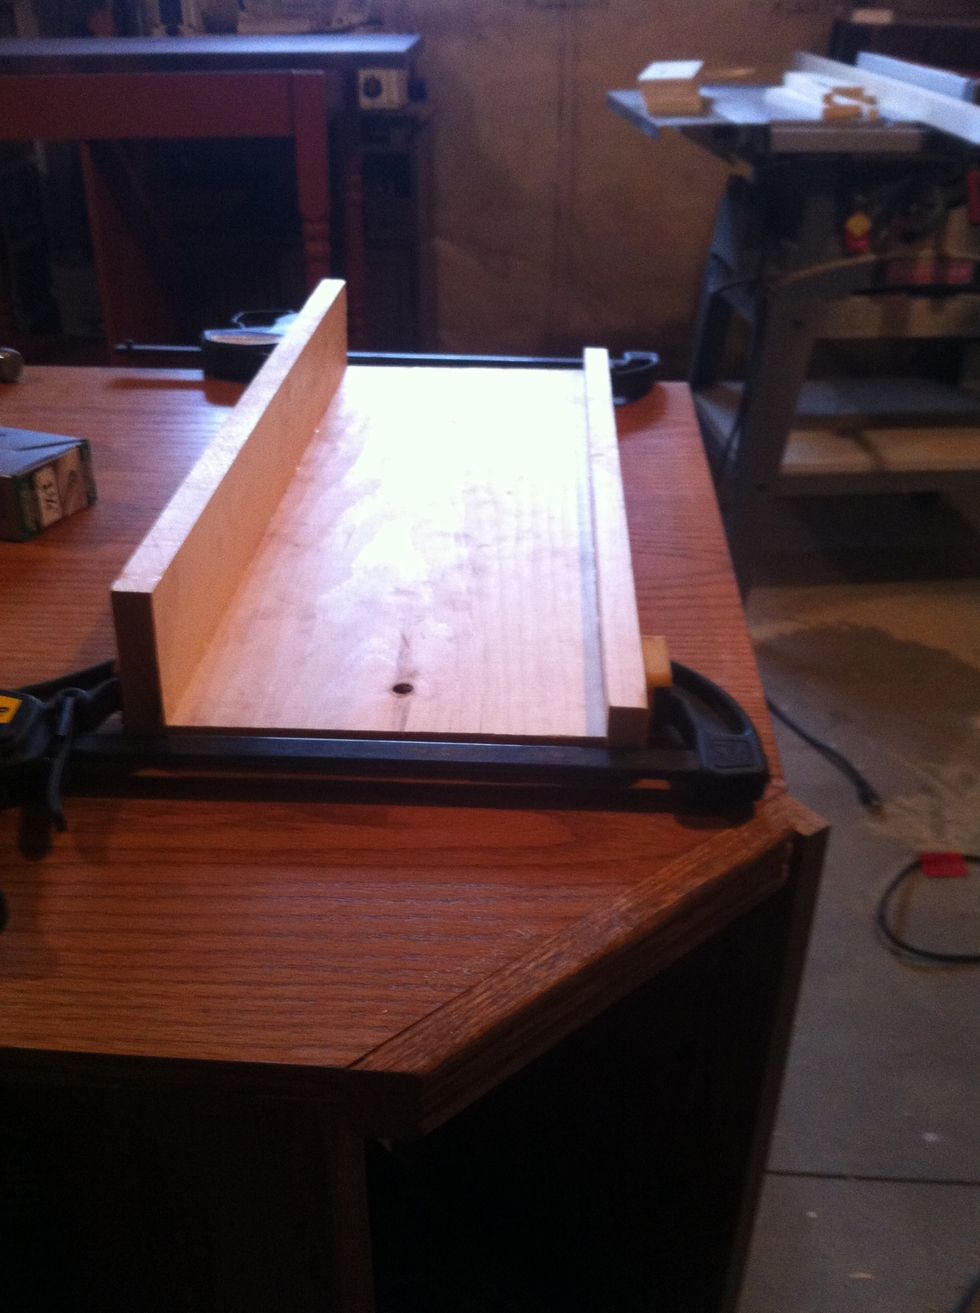
Do the same with the rear panel. Clamp and let the glue dry (about 25 min)

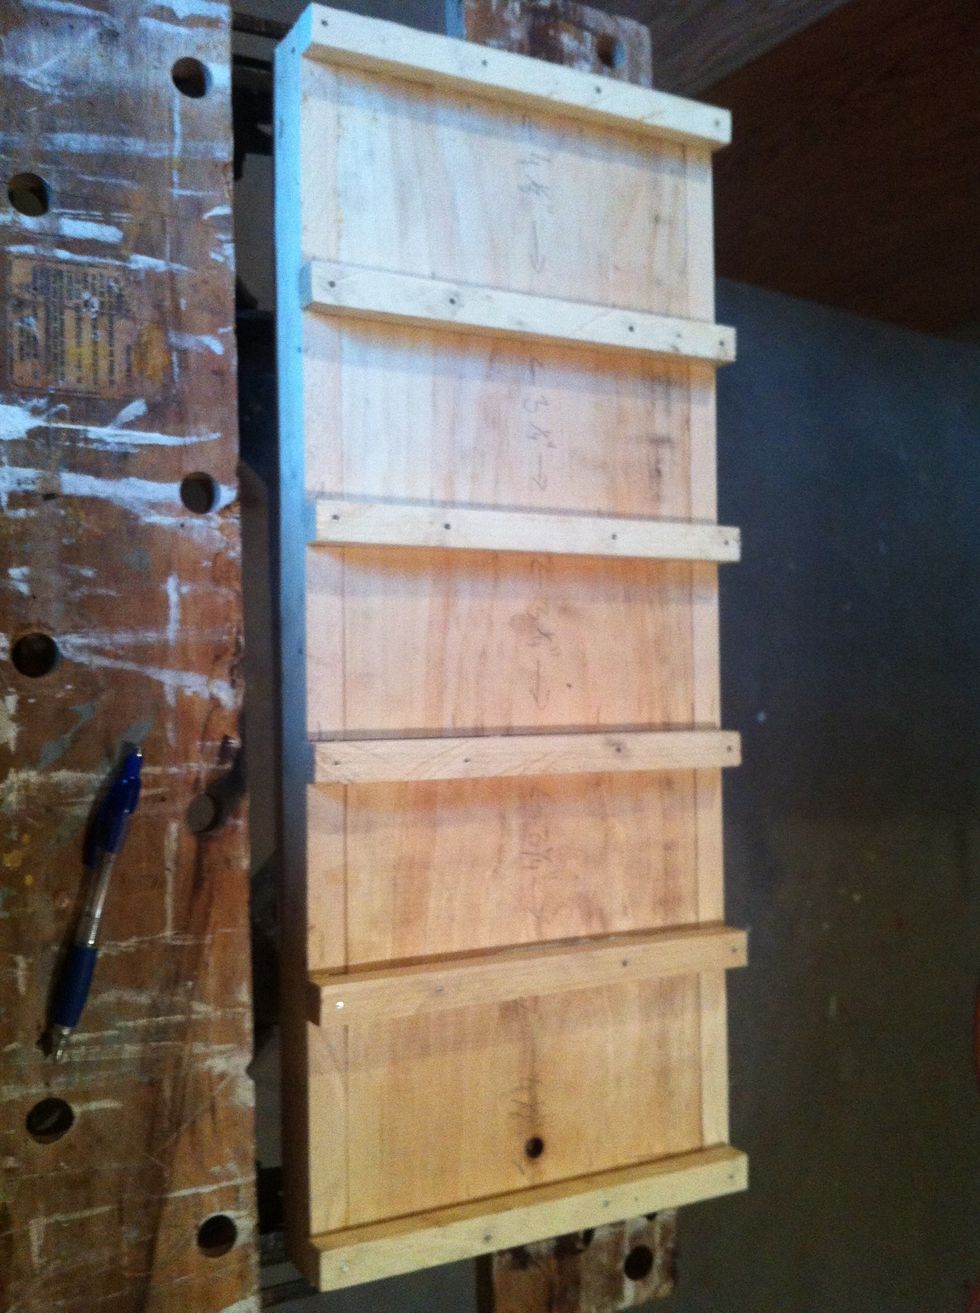
Attach at both ends the 3/4" dowels. Again use glue and nails.
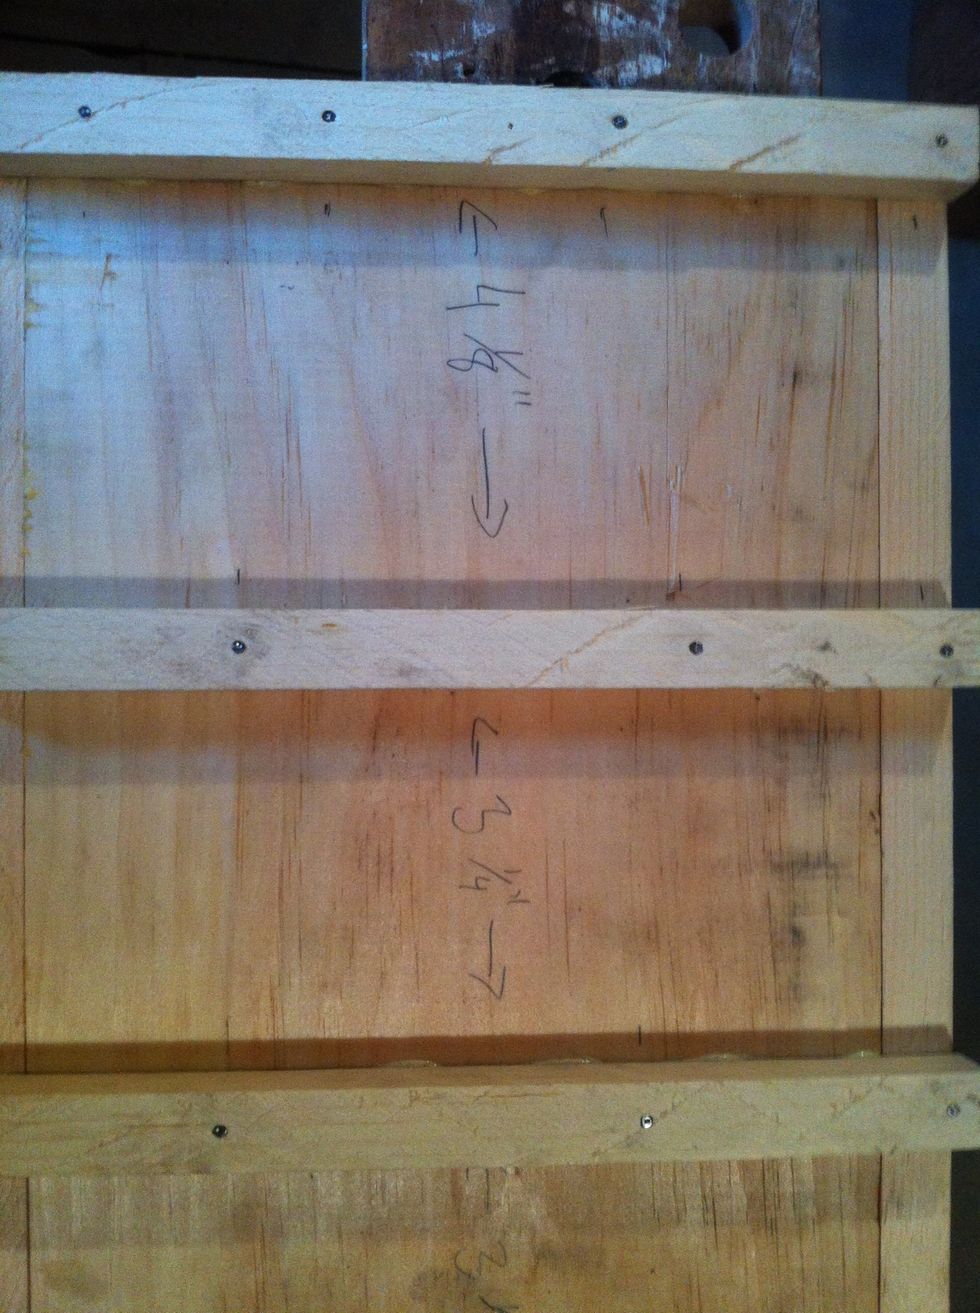
Between the first and second dowels you will want to leave 4 1/8". The rest of the spaces should be 3 1/4" apart.
Use your square here to make sure everything is perfect.
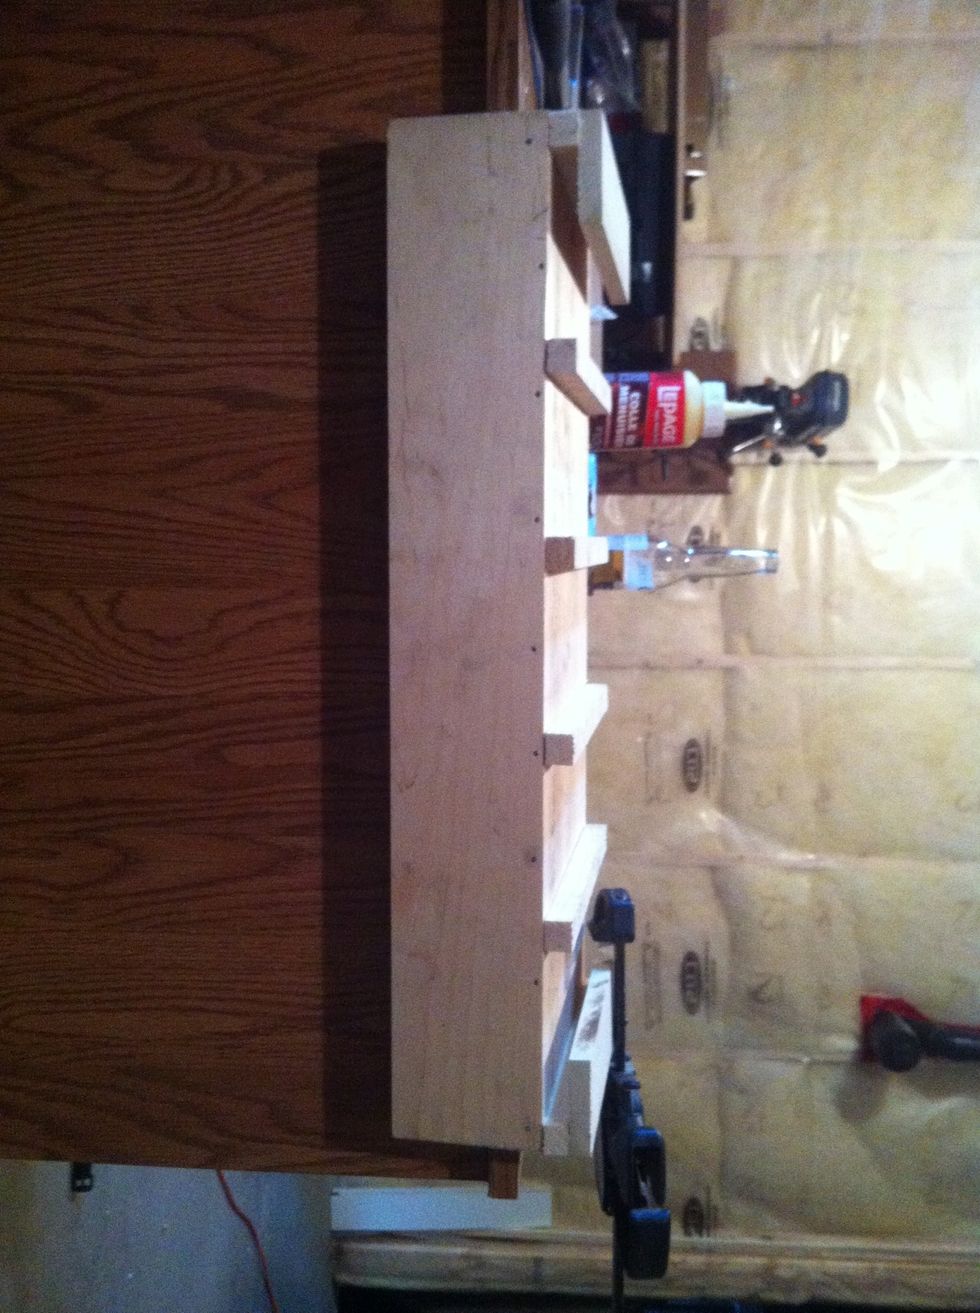
Attach the 2 1/2" wide pieces to the ends.
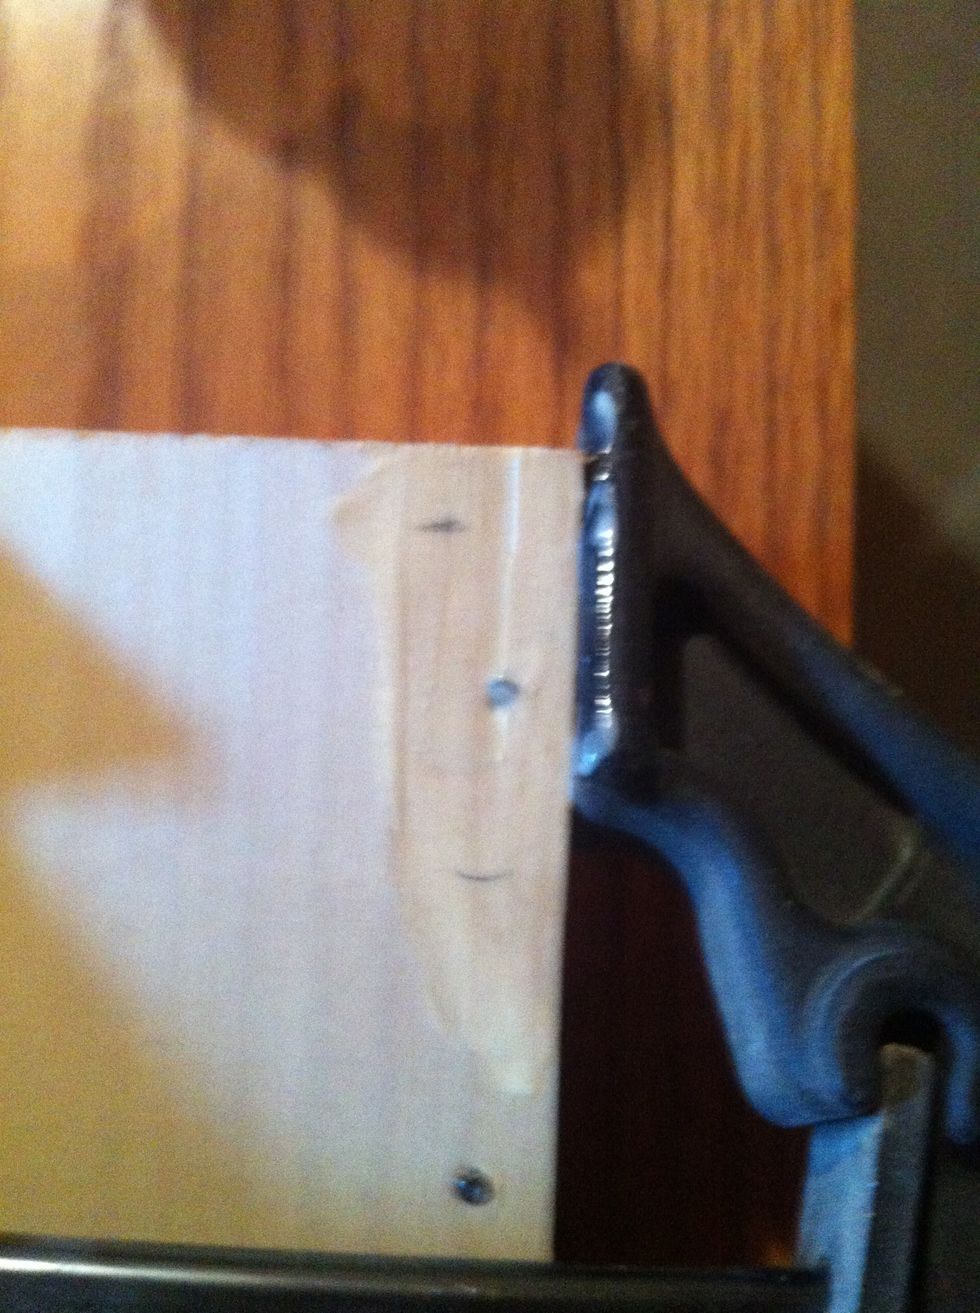
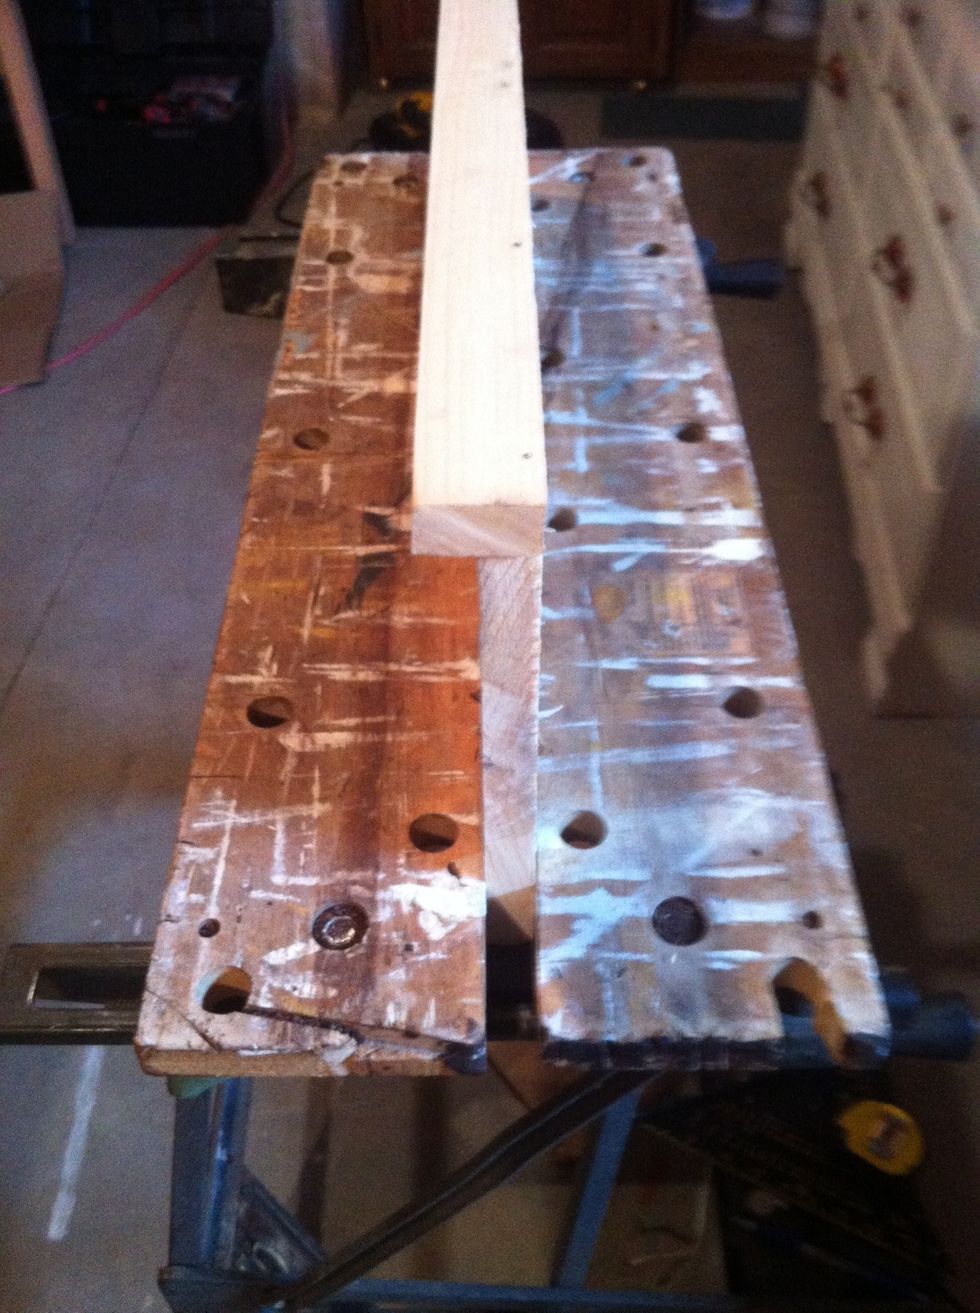
Oh no my wood split! It's ok just use wood glue and clamp together. Everything will look smooth after sanding later on.

Then attach the 3 3/4" pieces keeping everything centered!
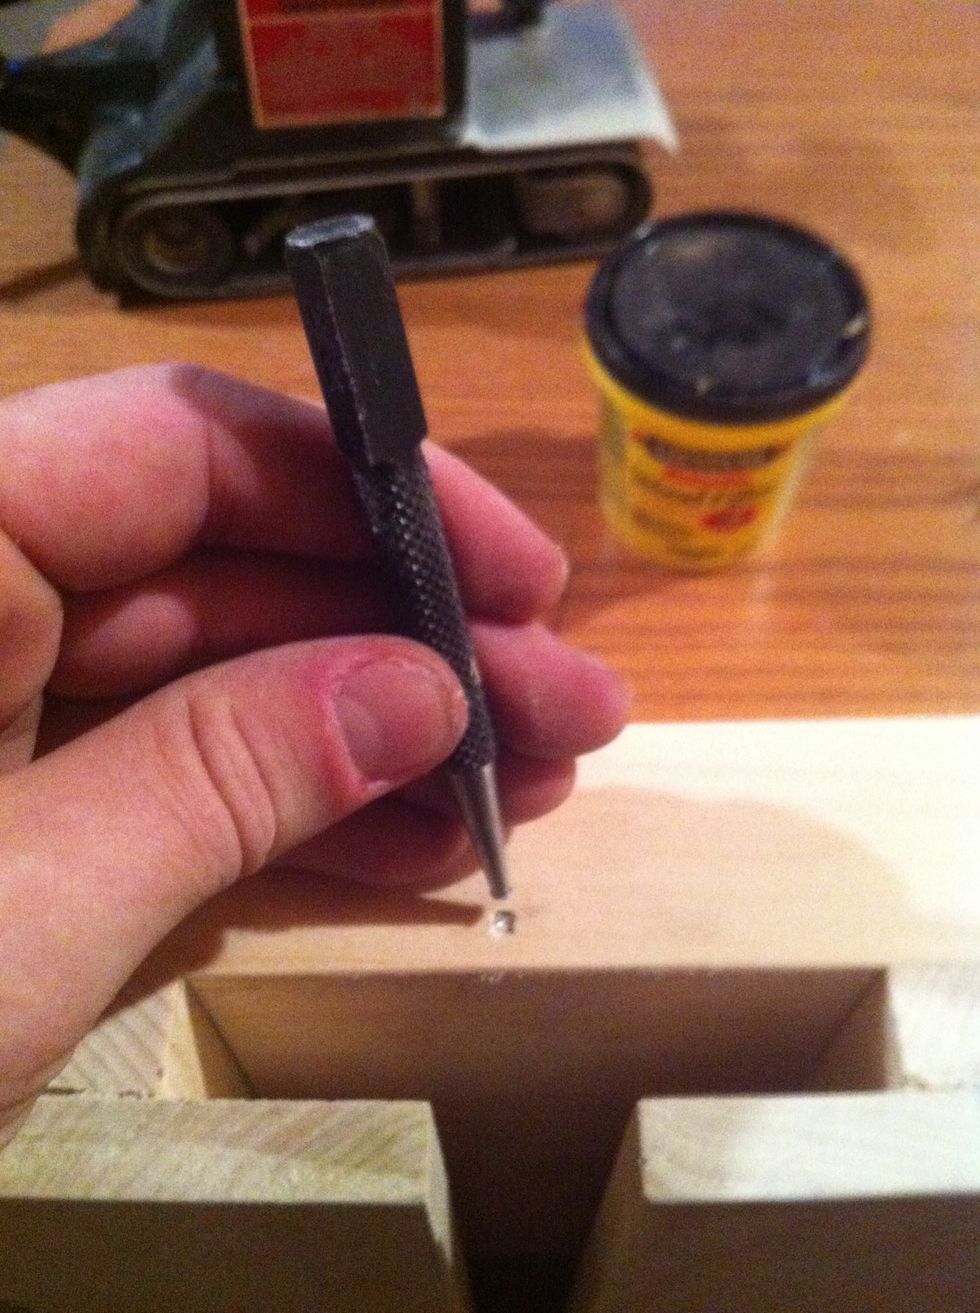
Great tool to hammer the nails Into the wood.
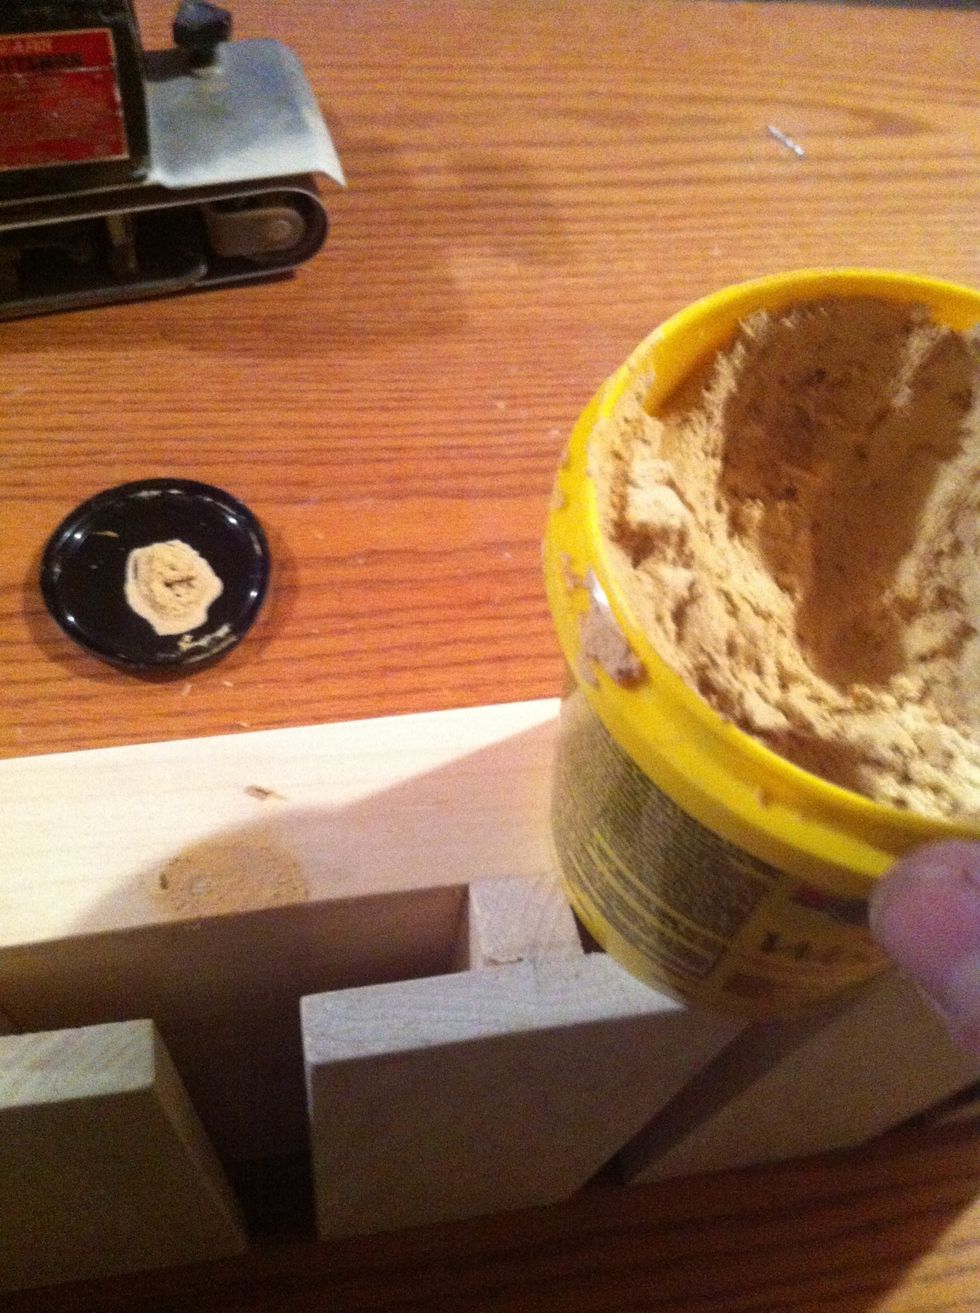
Use the wood filler in all the nail holes. I also use the wood filler for any gaps that may have occurred.
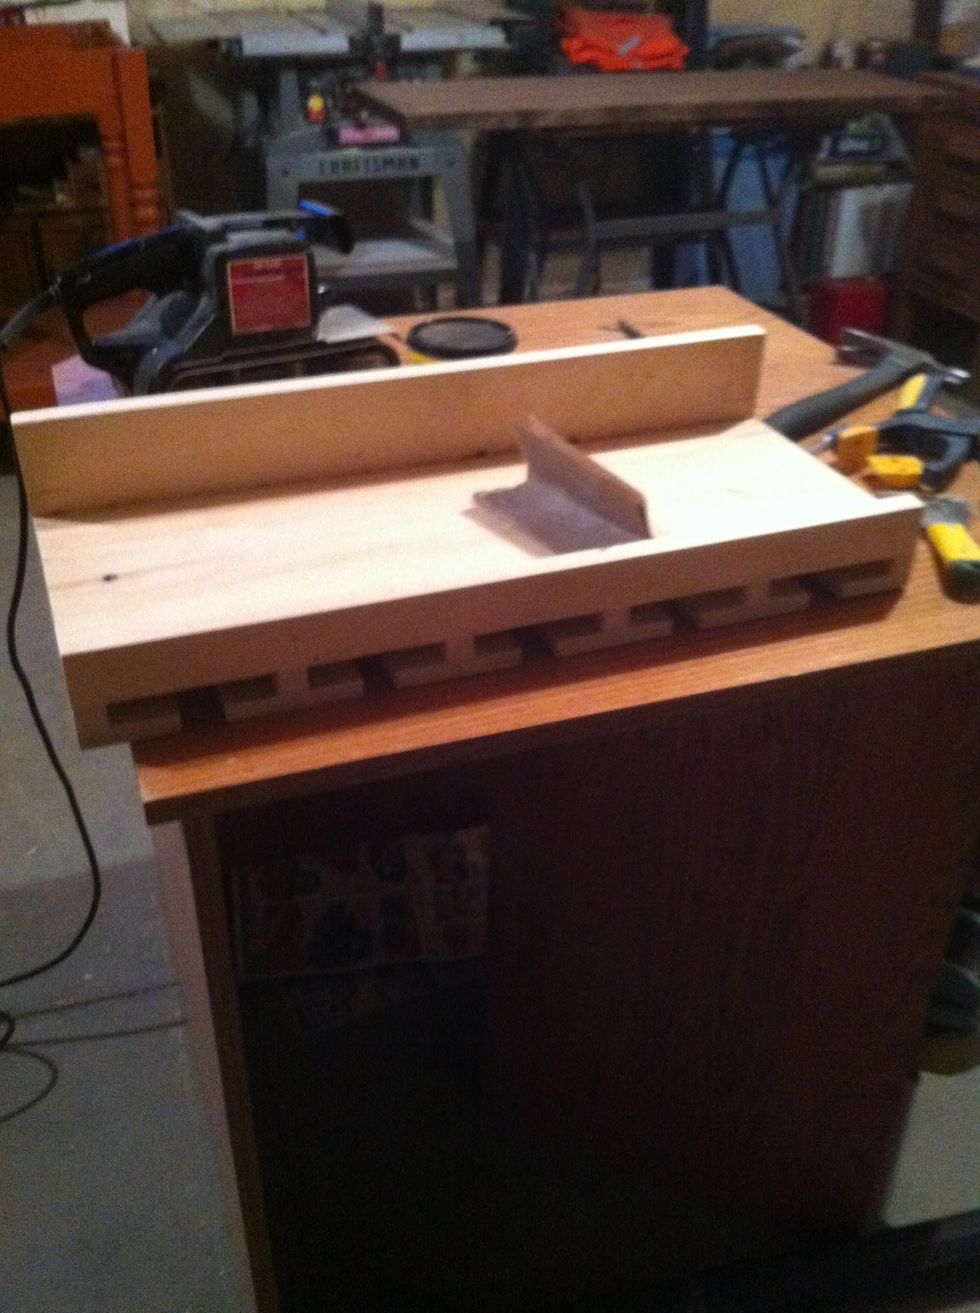
Time to sand!
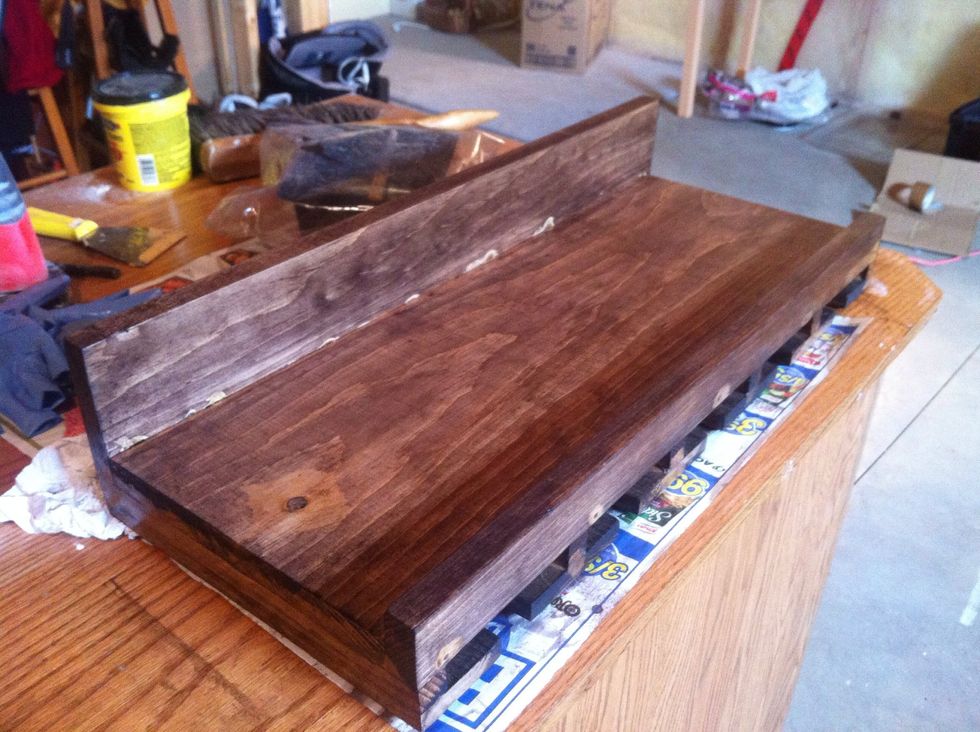
Stain it or paint it. I suggest doing this prior to assembly. It was a pain to stain the bottom part.