The Conversation (0)
Sign Up
First we will remove the bottoms in the wine bottles. This can be done in various ways, here is one method.

Fill a sink with ice cold water
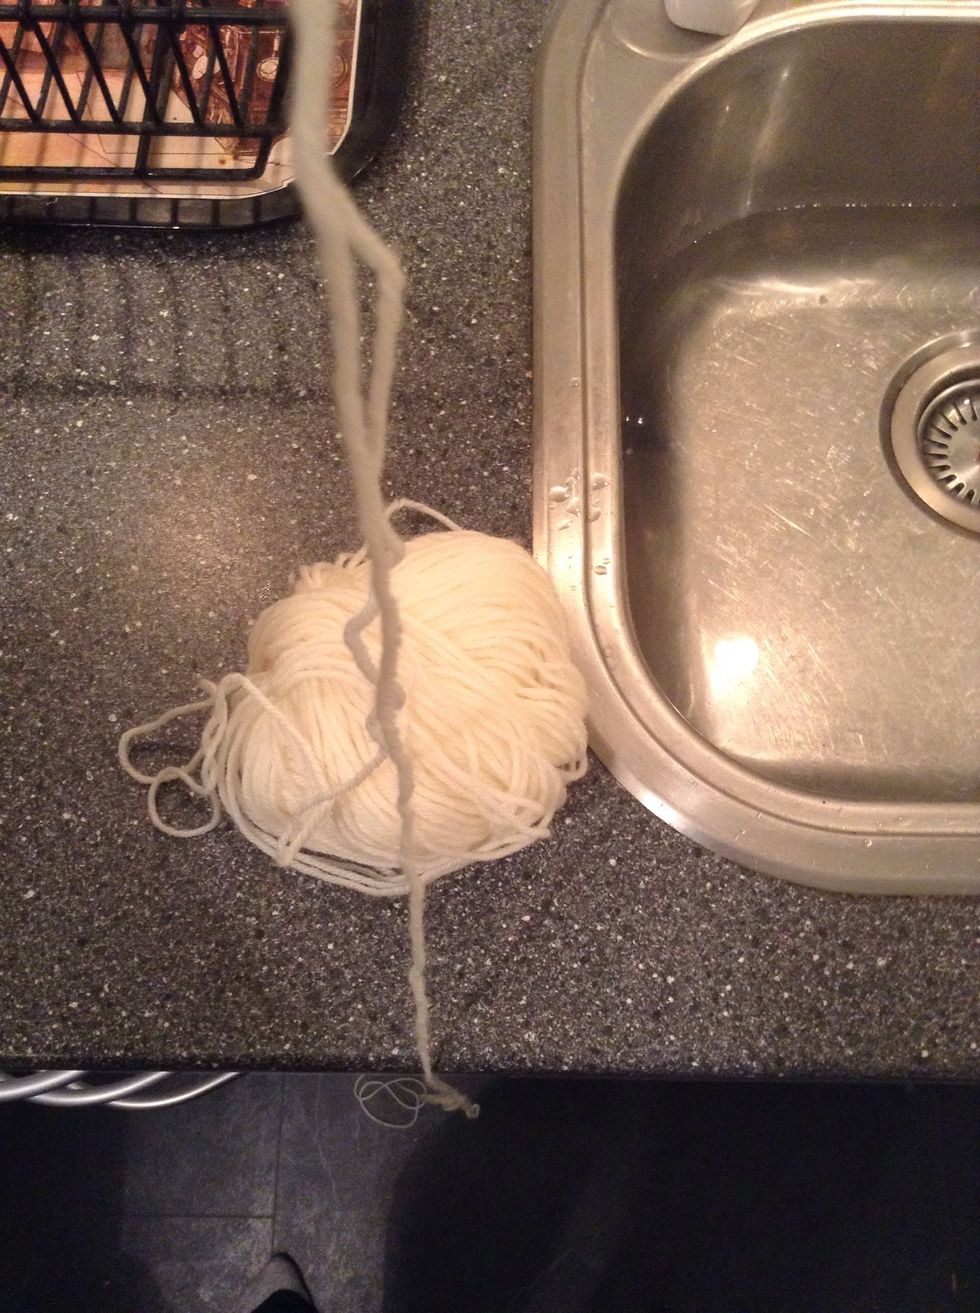
Cut about 1 meter cotton string
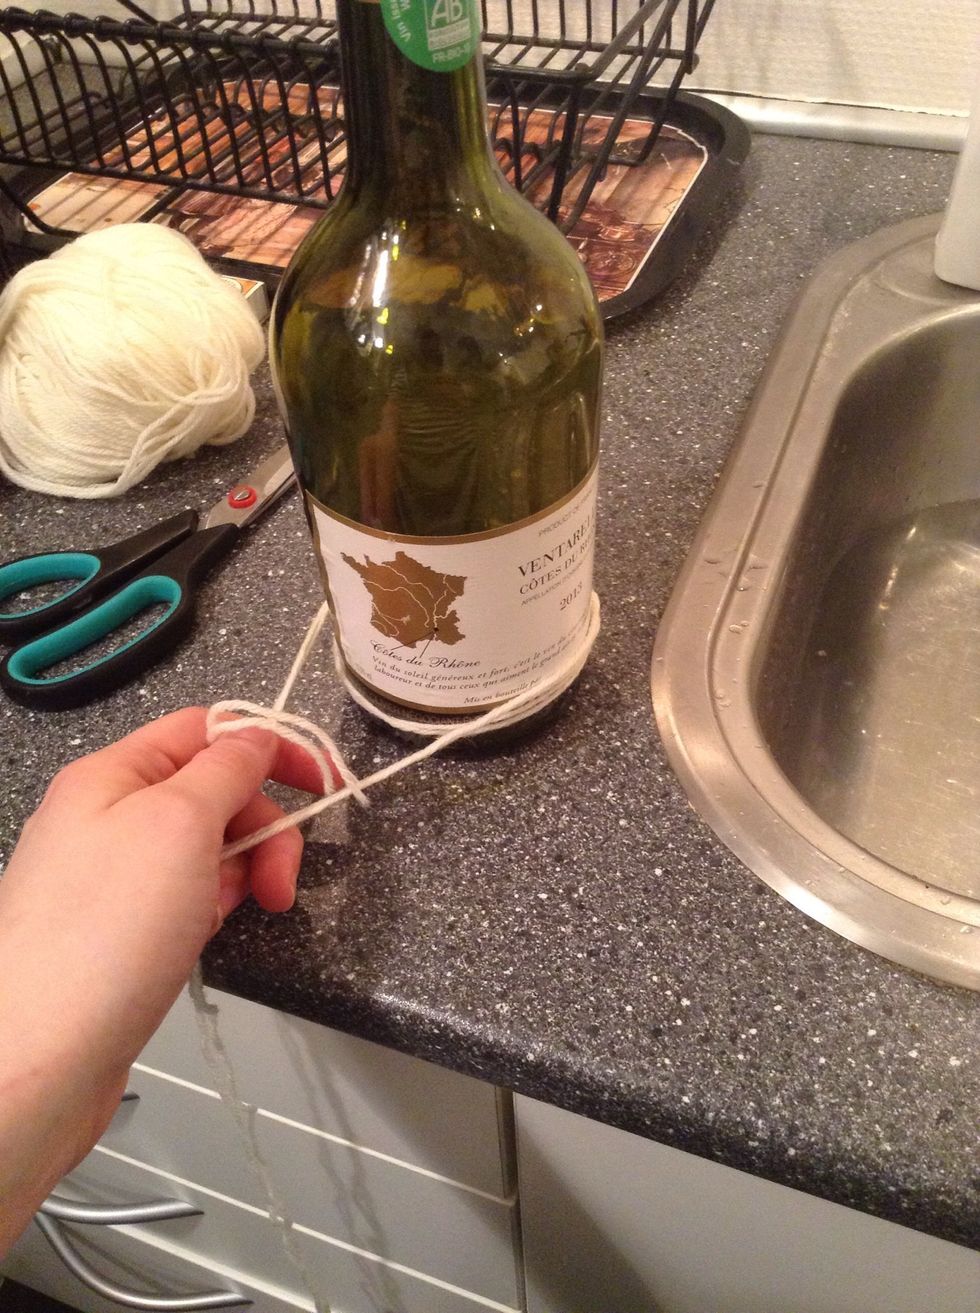
Wrap it around the lower end of the bottle
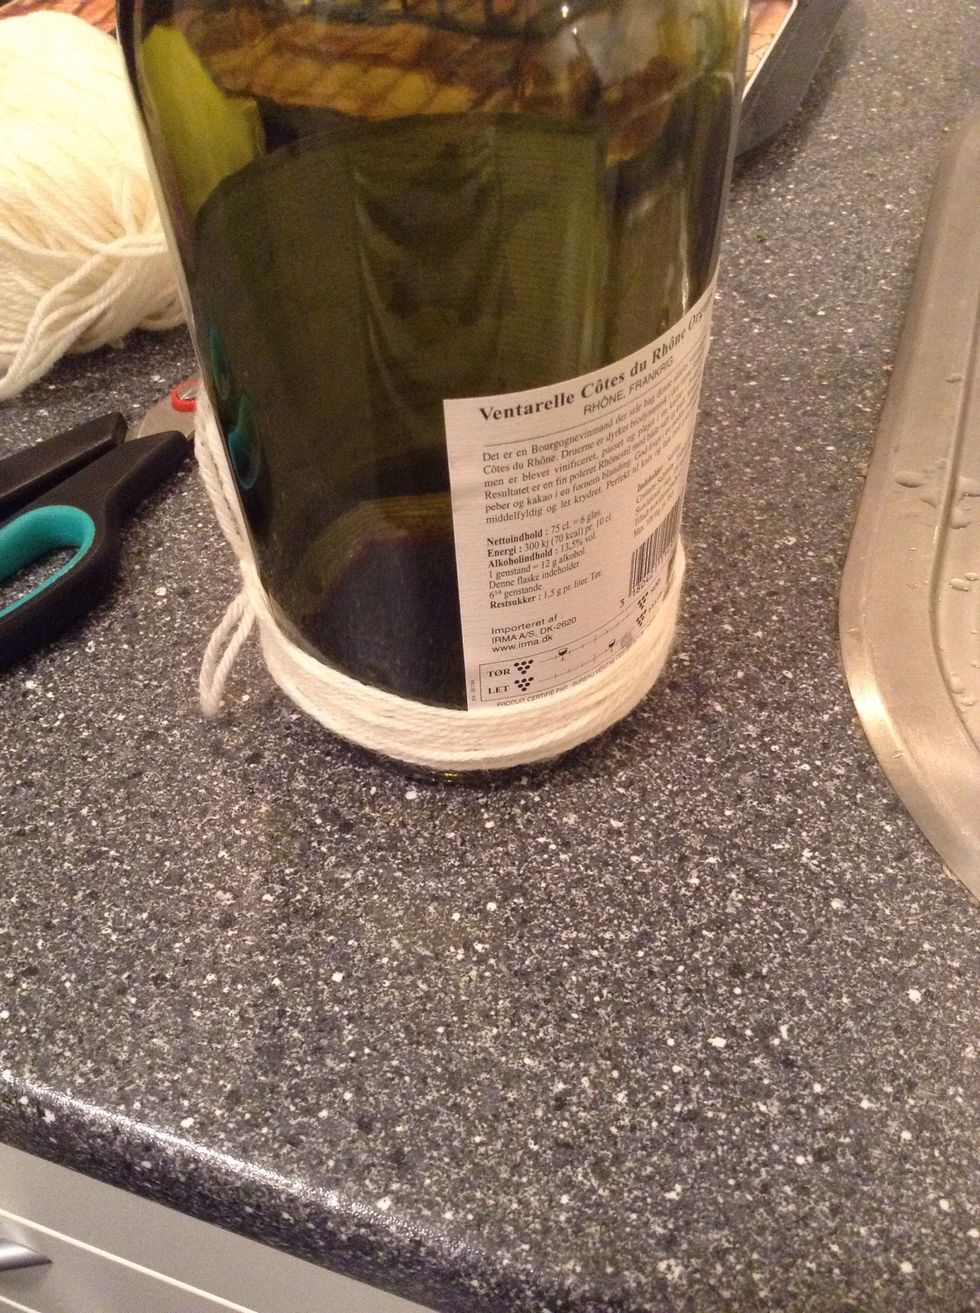
Tie a knot, then remove it from the bottle
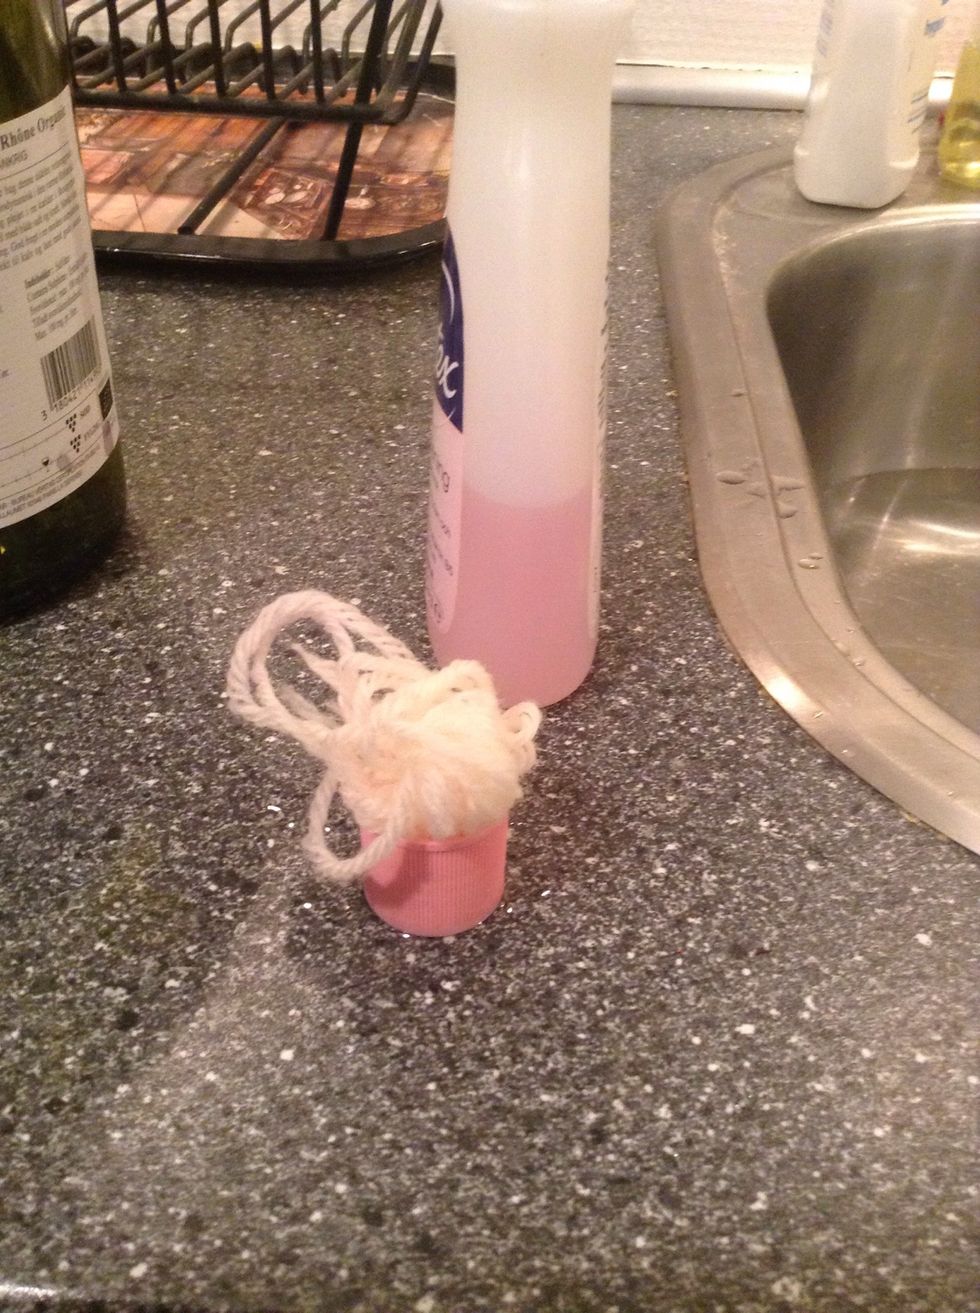
Get you acetone (nail polish 😬) you will need about a full bottlecap. Soak the string in it
Put the soaked cotton string back on the bottle
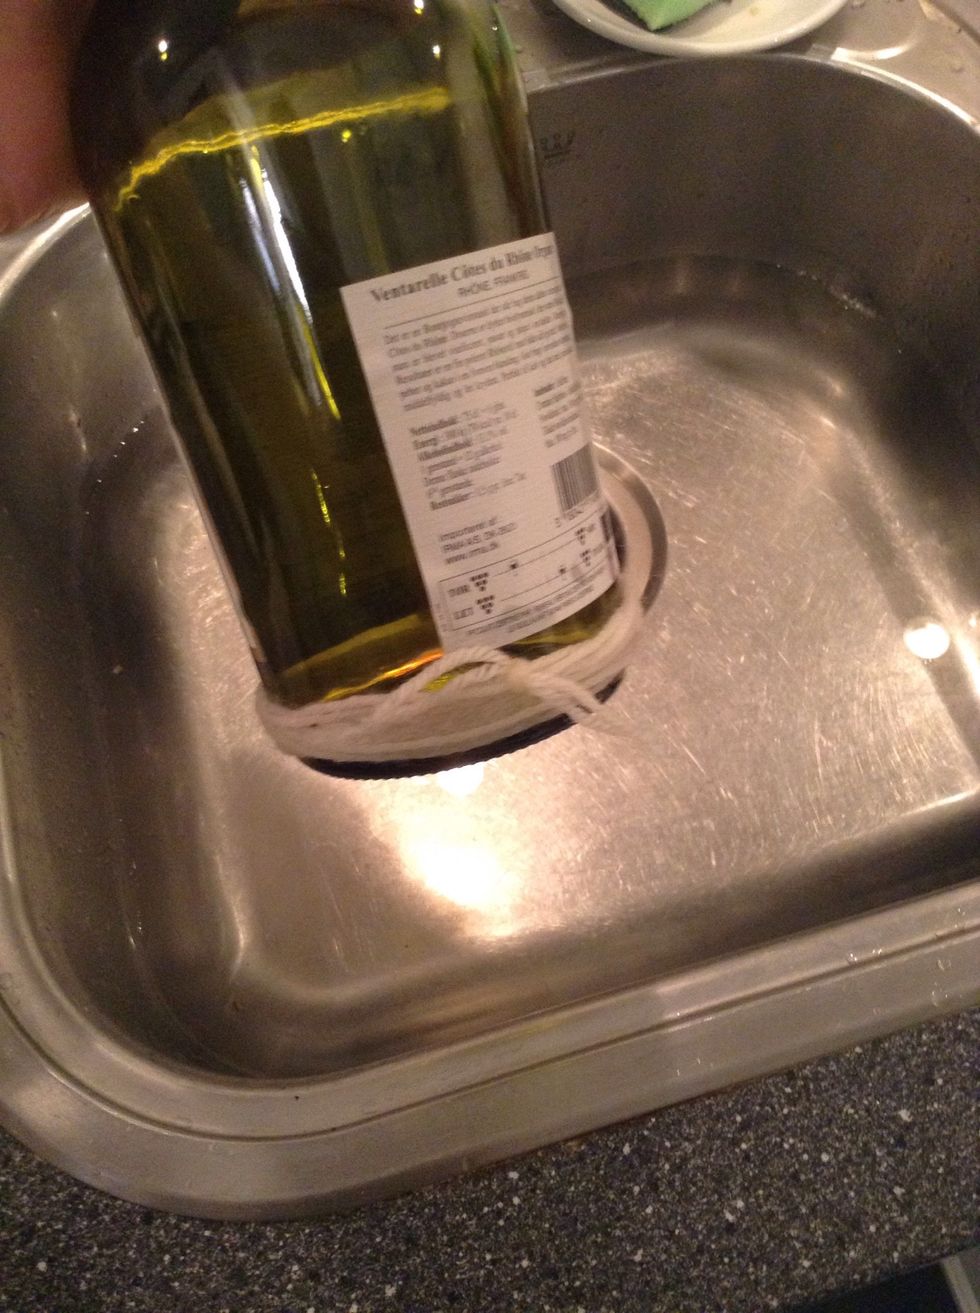
Fire hazard! Wear security glasses! Set fire to the cotton, spin the bottle steady around in a slightly upward angle. Keep going until the fire is small and blue. Then quickly dip it in the water.
Note: some types of bottles might leave cracks, others simply won't pop. The shown example needed a punch in order to release the bottom.
Basically what happens is the bottom of the bottle is warmed up, next it is shocked by being dipped in the ice cold water, which causes the bottom to pop
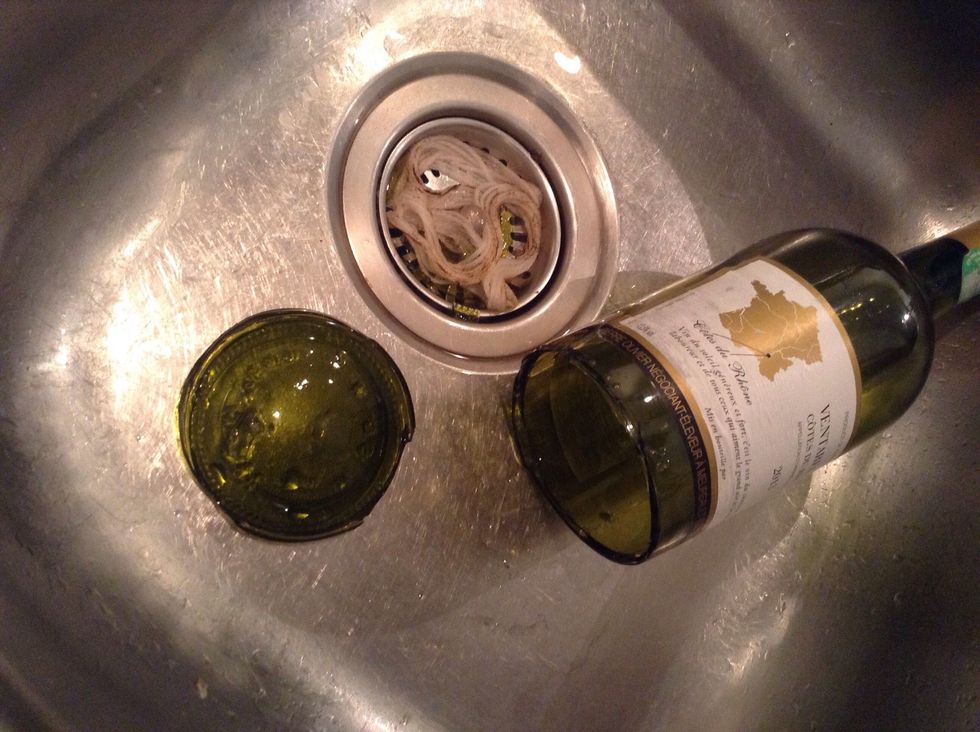
The cut is not very clean (not sharp though), but I like the roughness. If you don't like it you ought to use a glass cutter instead.
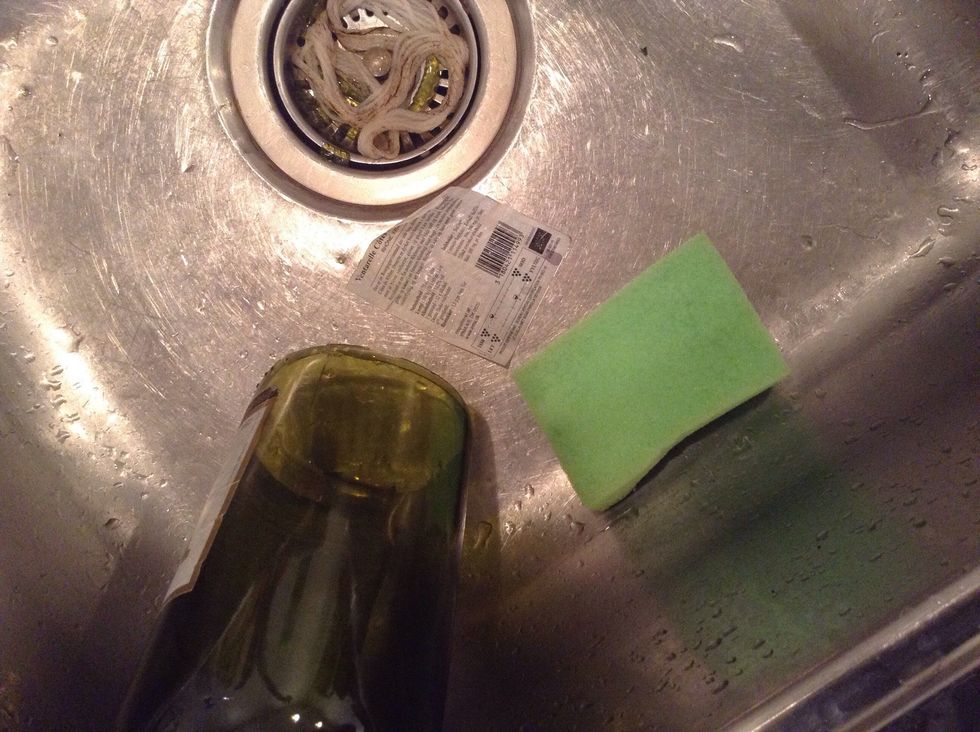
To remove a label, soak it in warm water and scrub it of. It should come of easily. I kept some of the labels on
Now for the lamp part. Cut the cable in five equal lengths. Then connect it as follows
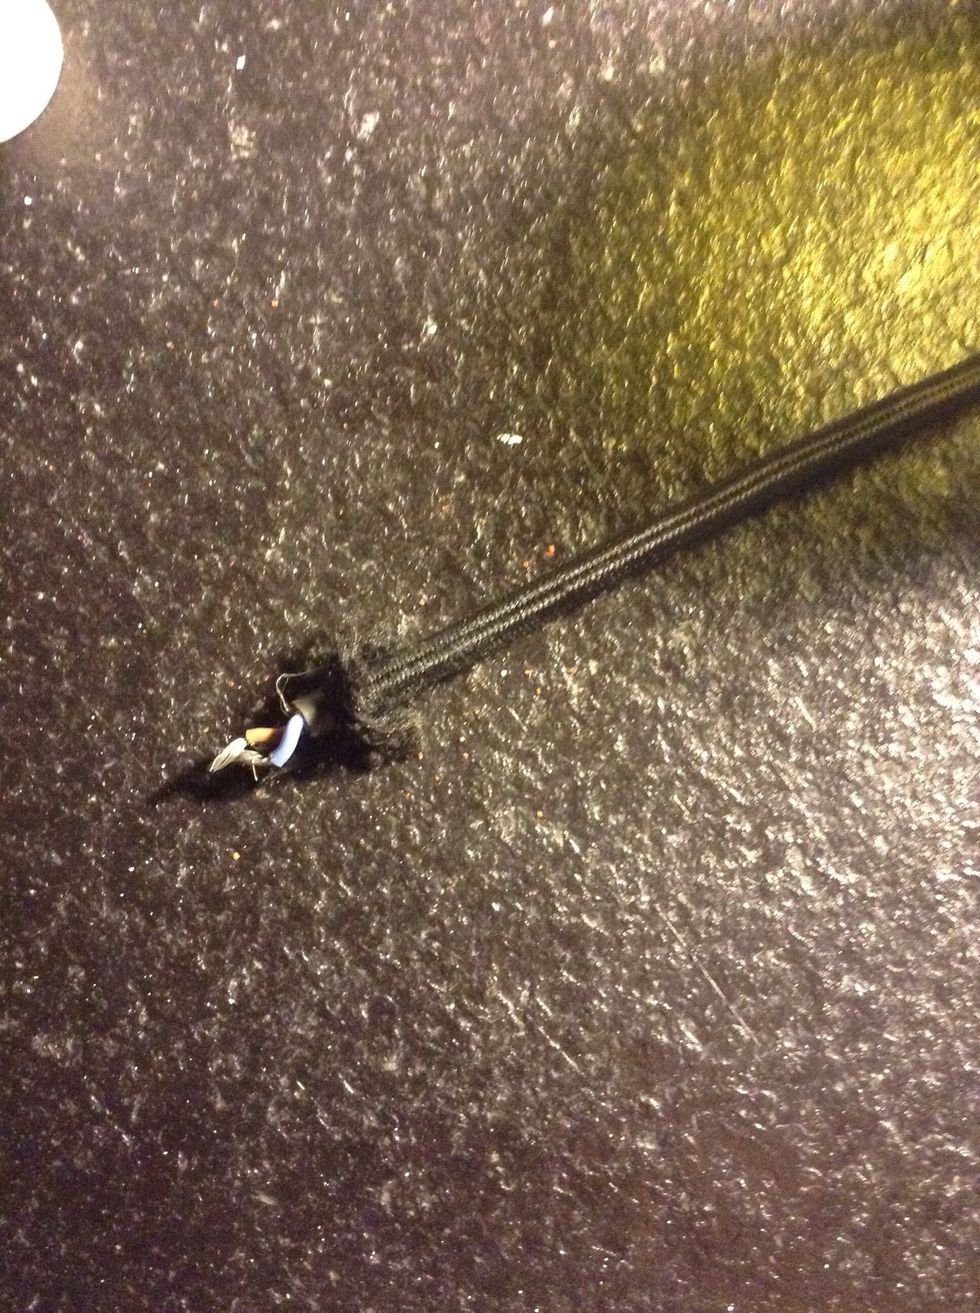
Strip about 1 inch of the cable. Next strip the wires
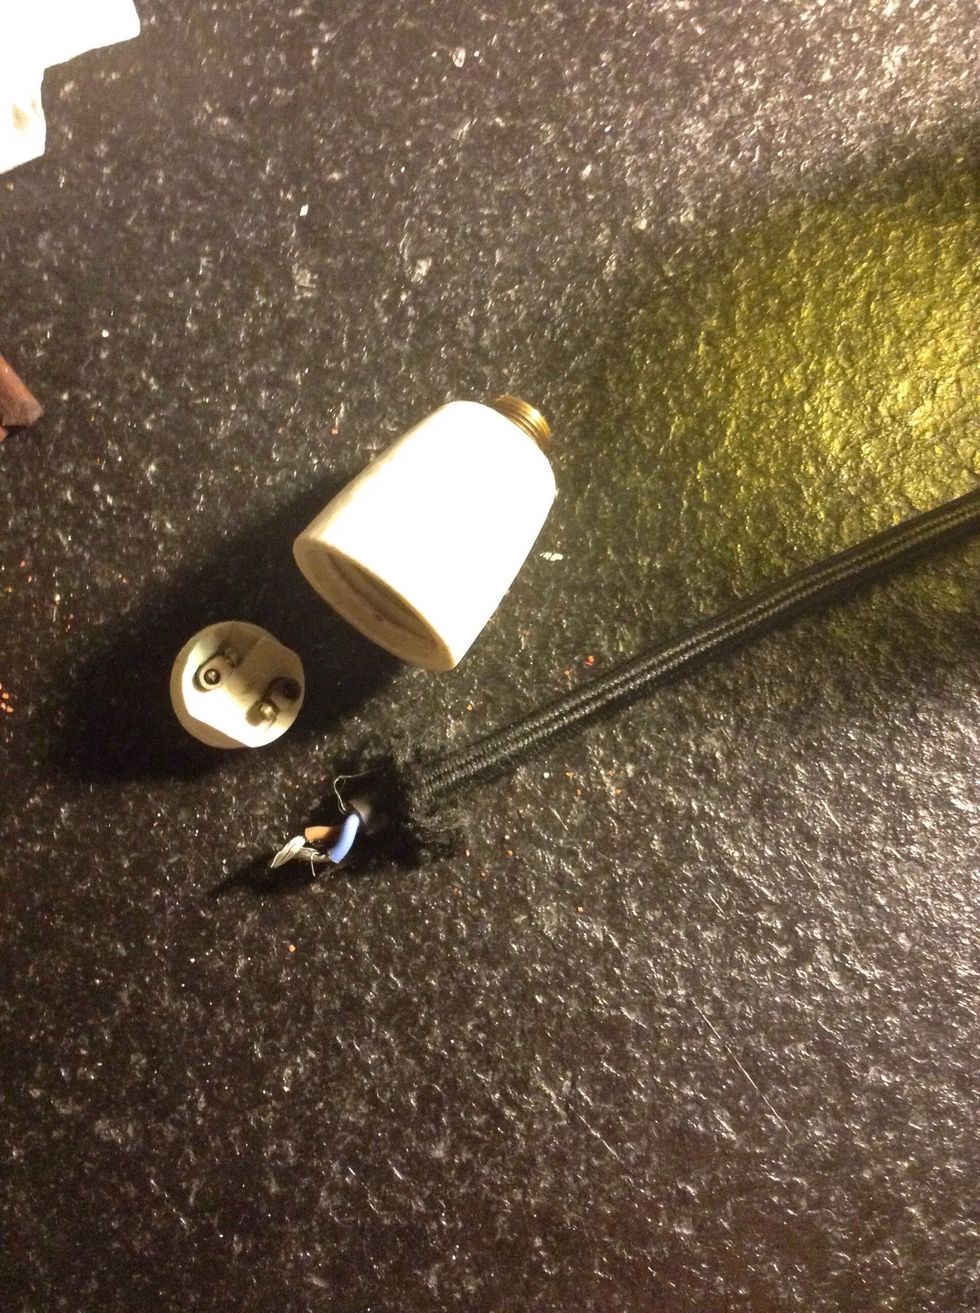
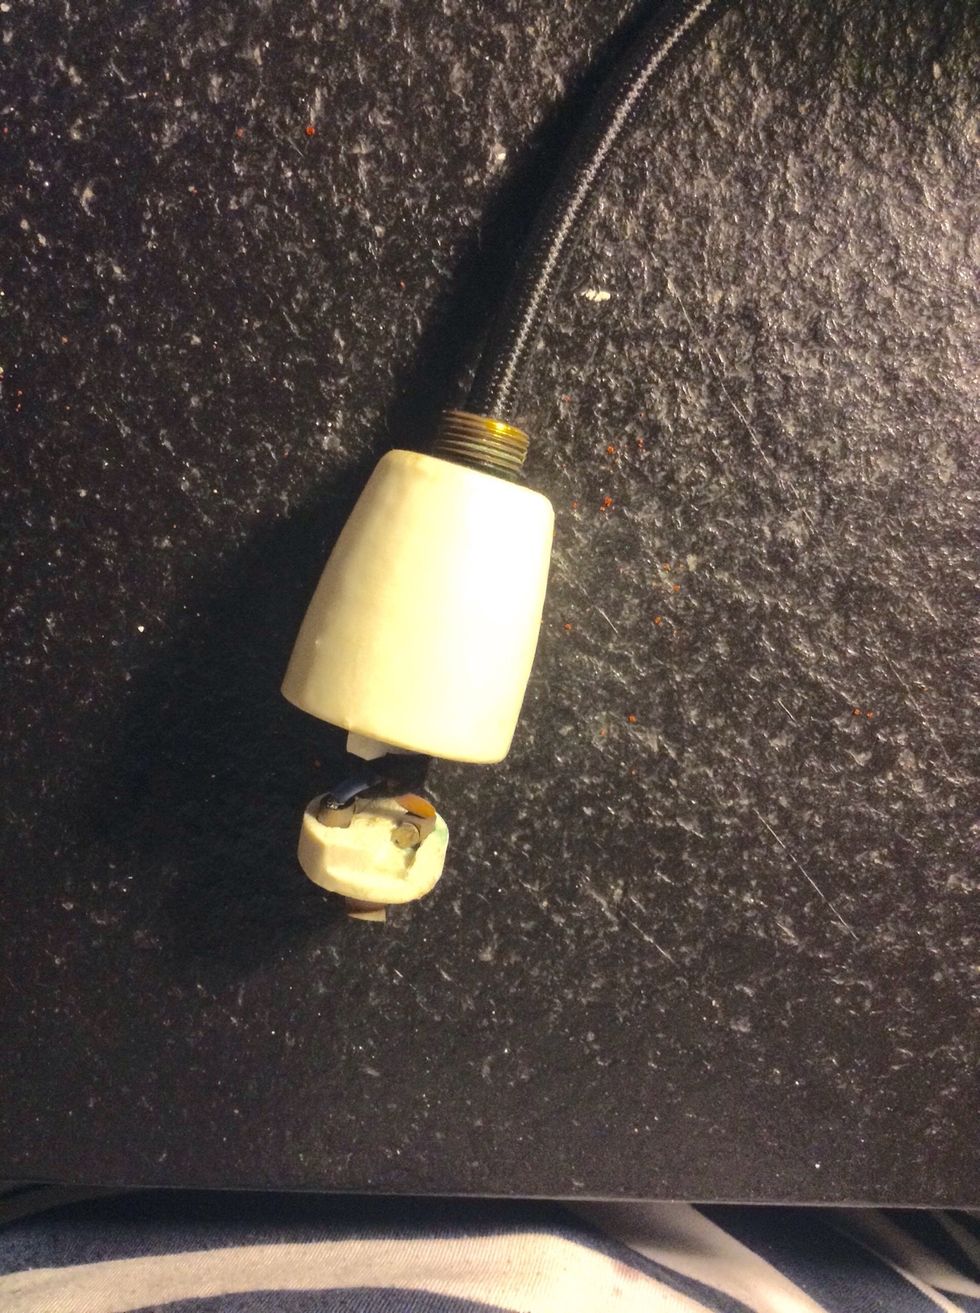
Separate the lamp socket
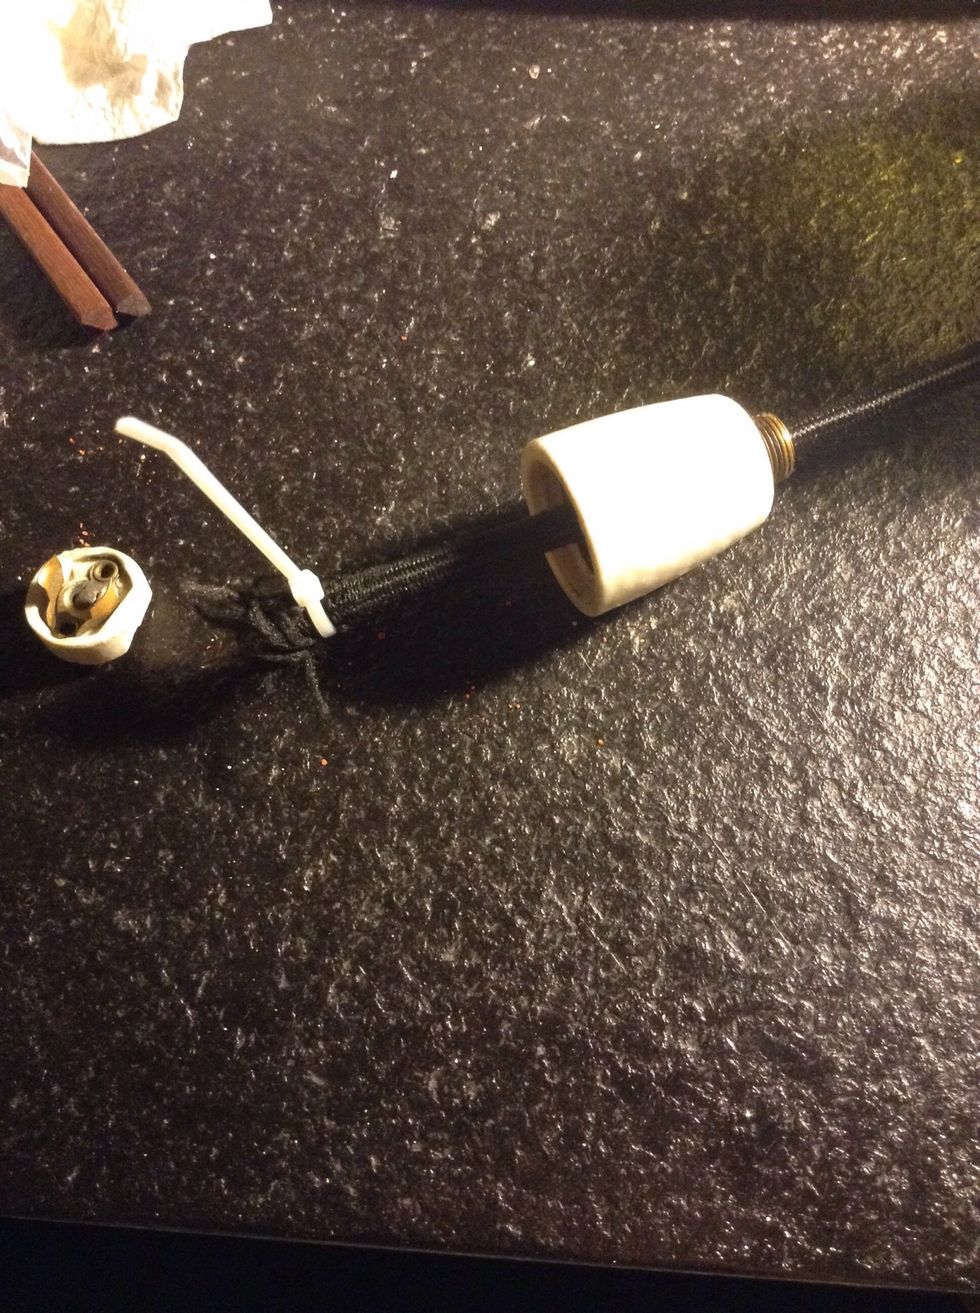
Put the cable through the socket like this. Zip tie the cloth-isolation or it will go berzerk
Brown wire in L1, blue wire in N. If there are no letters, just remember the brown wire should go in the terminal connected to the bottom piece of metal
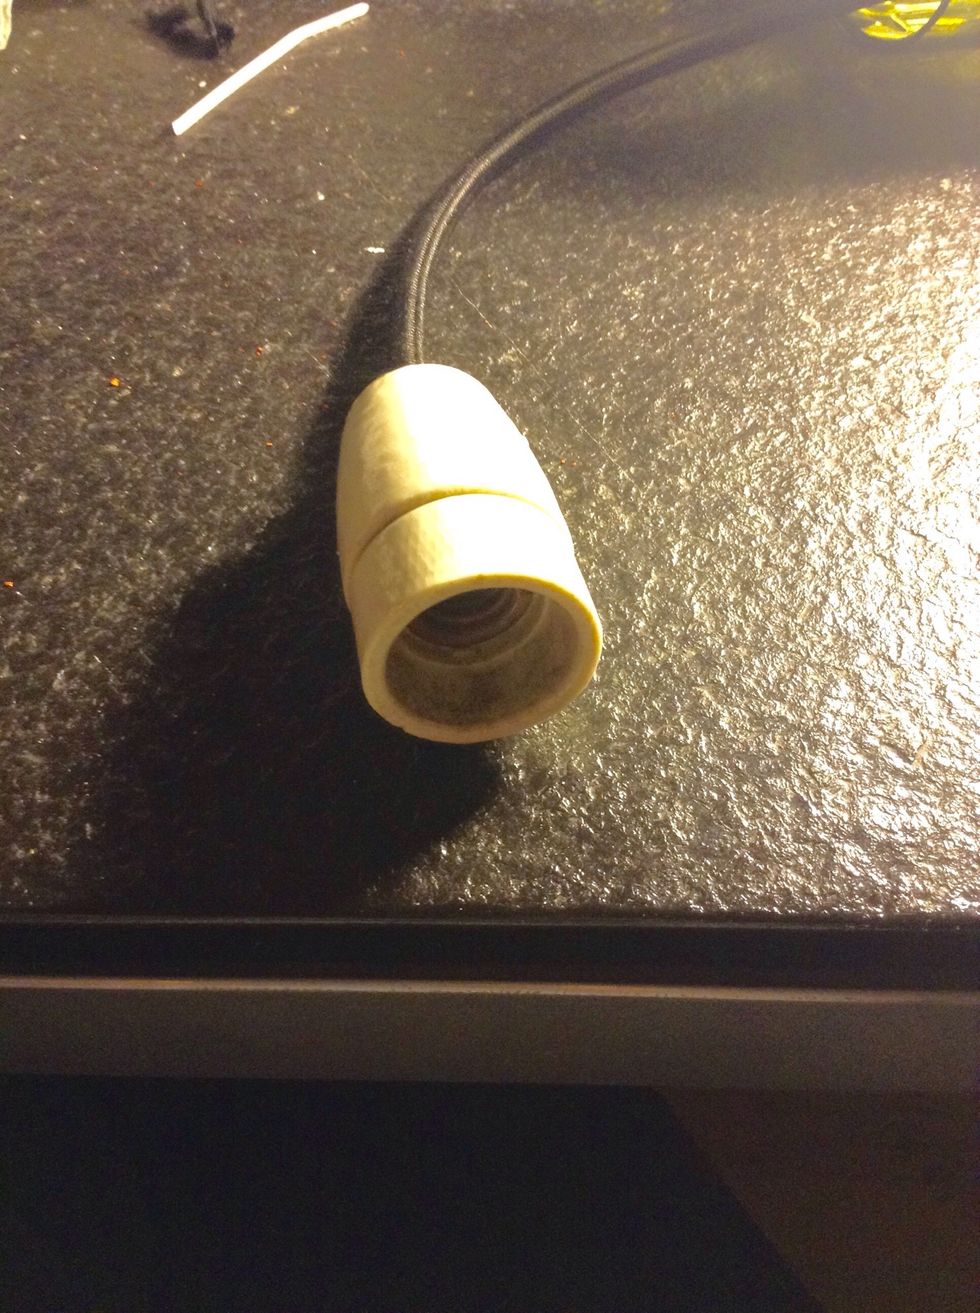
Tuck it in and screw the socket in place
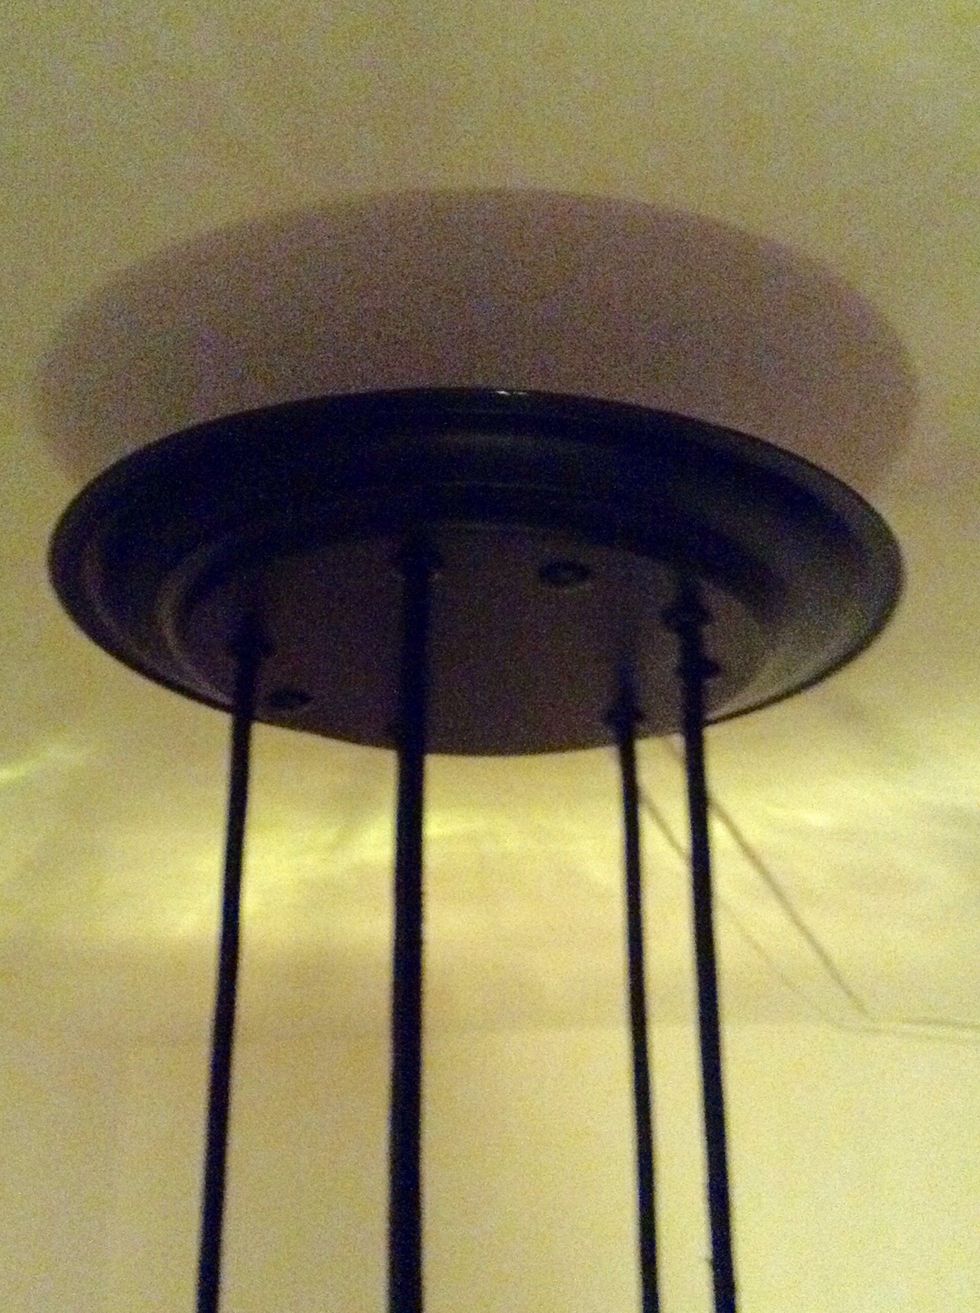
You will need a base for the lamp. I used an old metal dish, spray painted it, drilled five holes in it for the cords and three for the bolts
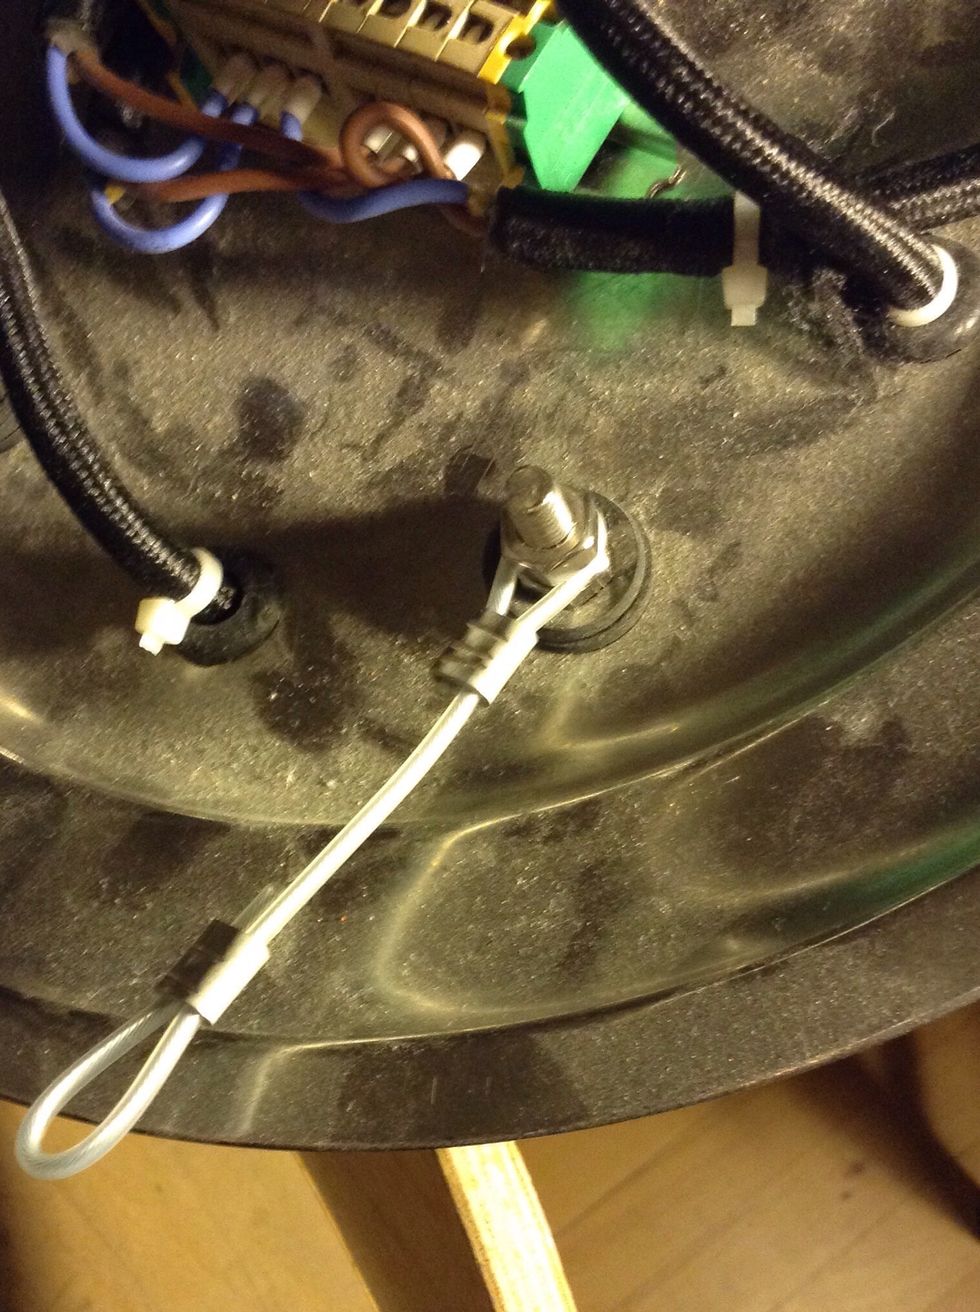
Place rubber rings in the holes for the cords, zip tie the cords in place. Next, fasten the bolts with washers+nuts, add wire with loops then another nut.
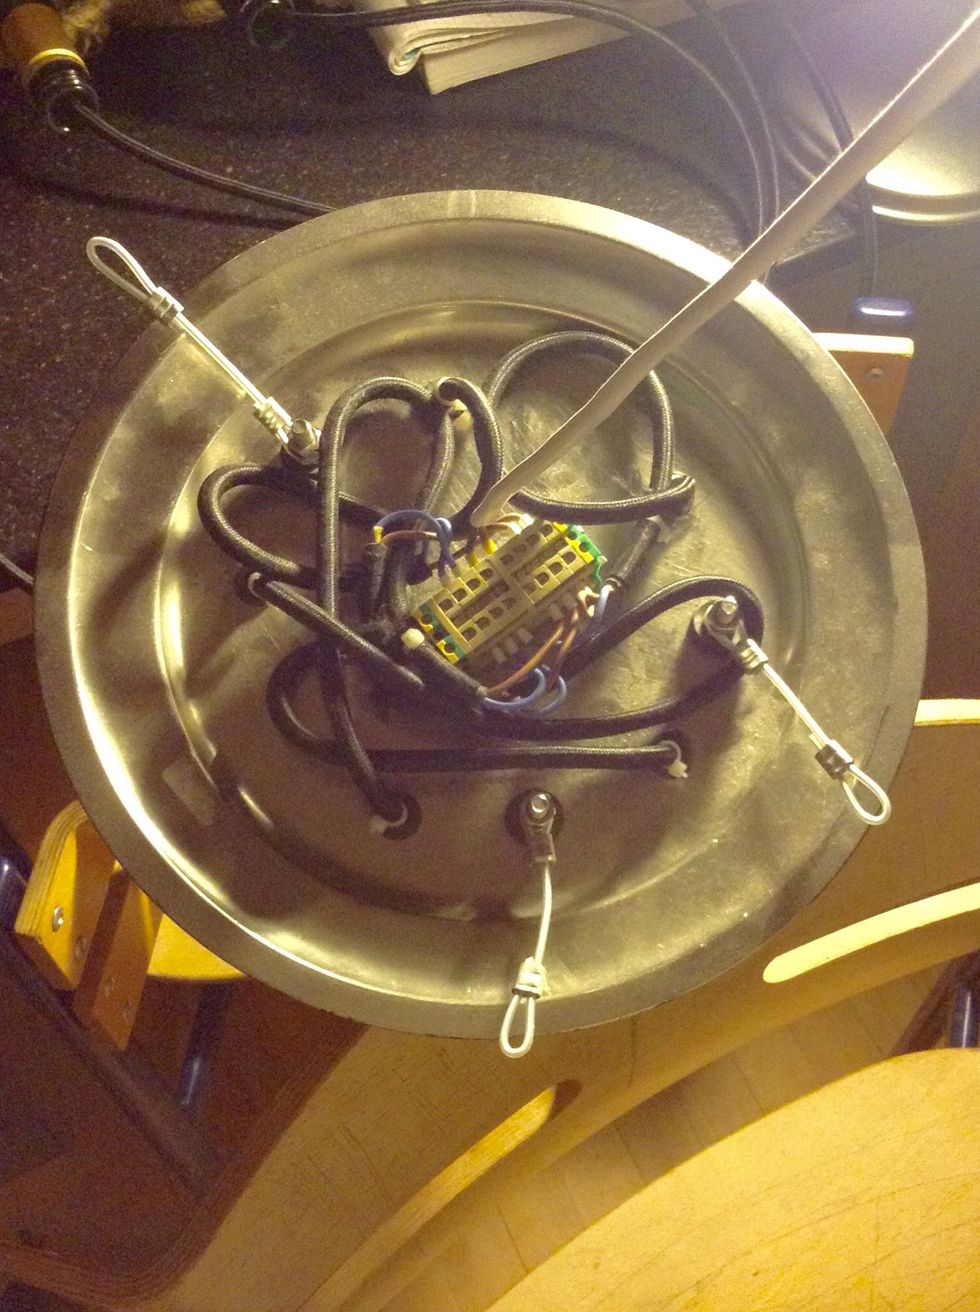
Three pieces of wire should be enough for holding the base in balance.
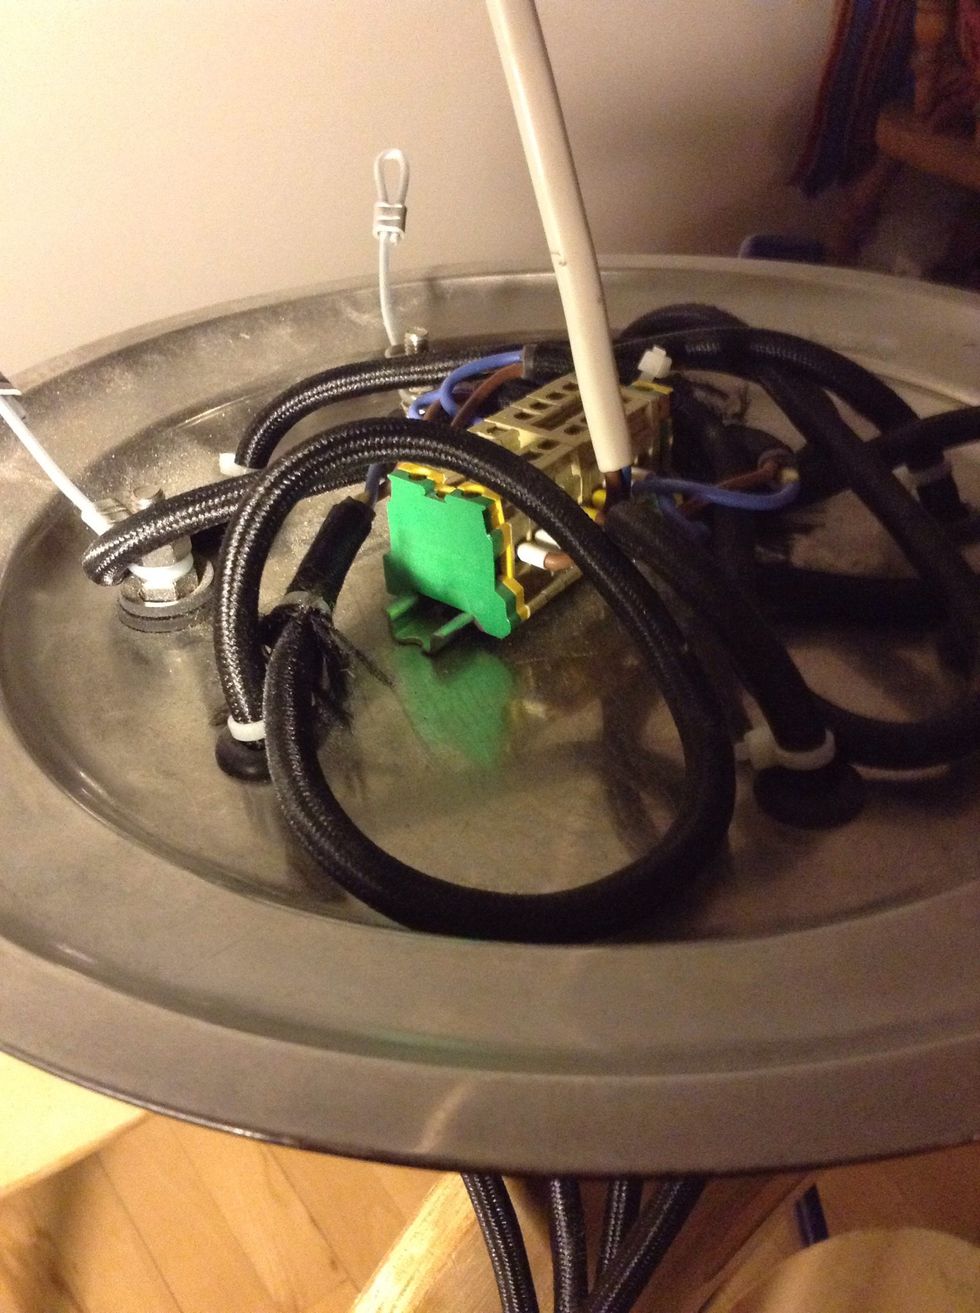
I used mini terminal blocks to connect the wires. They are placed on a small rail which is attached to the base. Note: You can also connect everything in wire connectors.
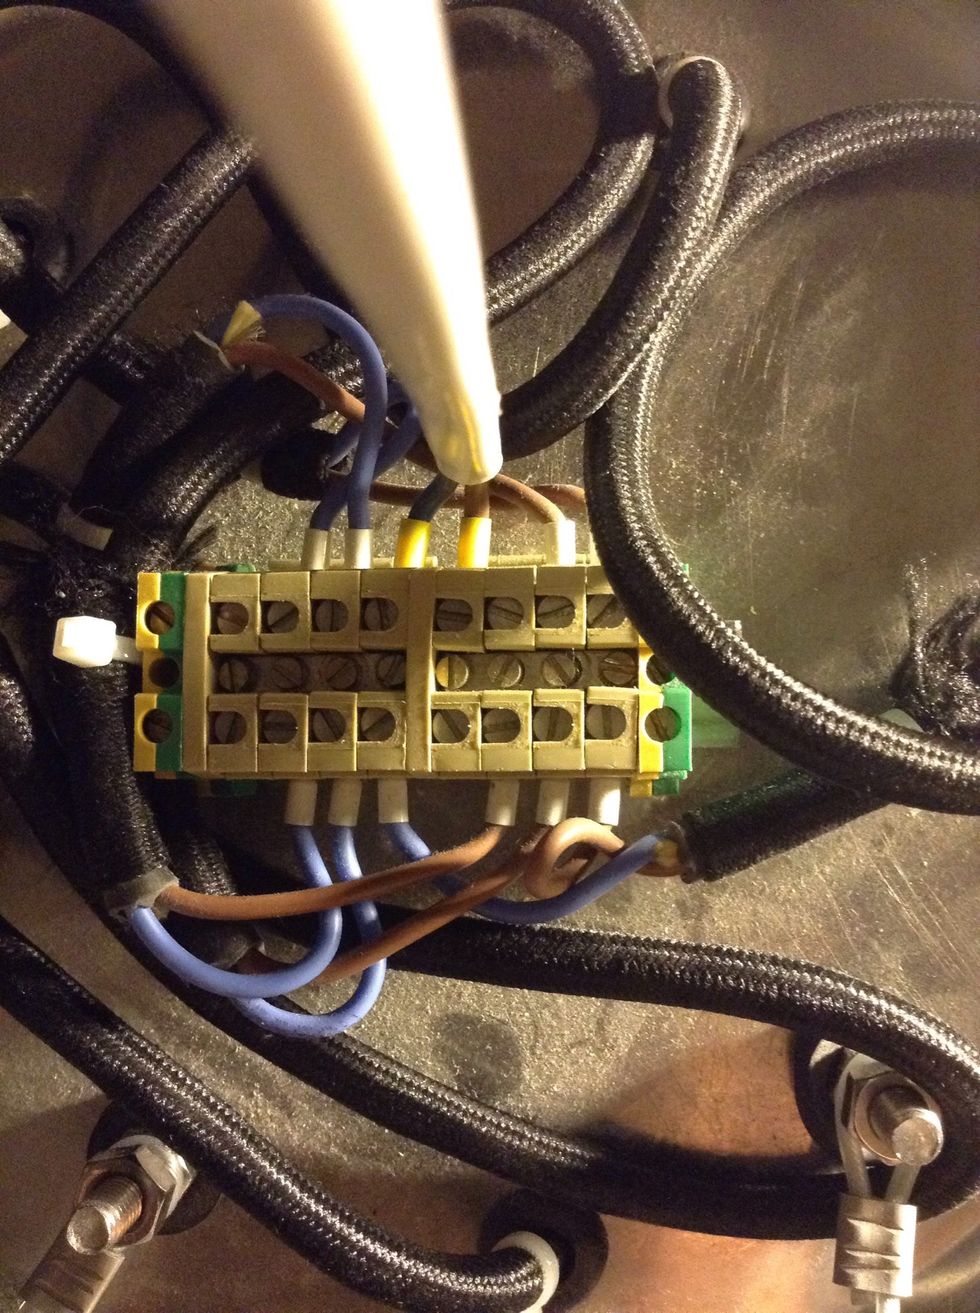
Green/yellow terminals are for earth, so the base won't be electrified. 4 terminals are connected with a bridge for N, same goes for the remaining 4 for L1
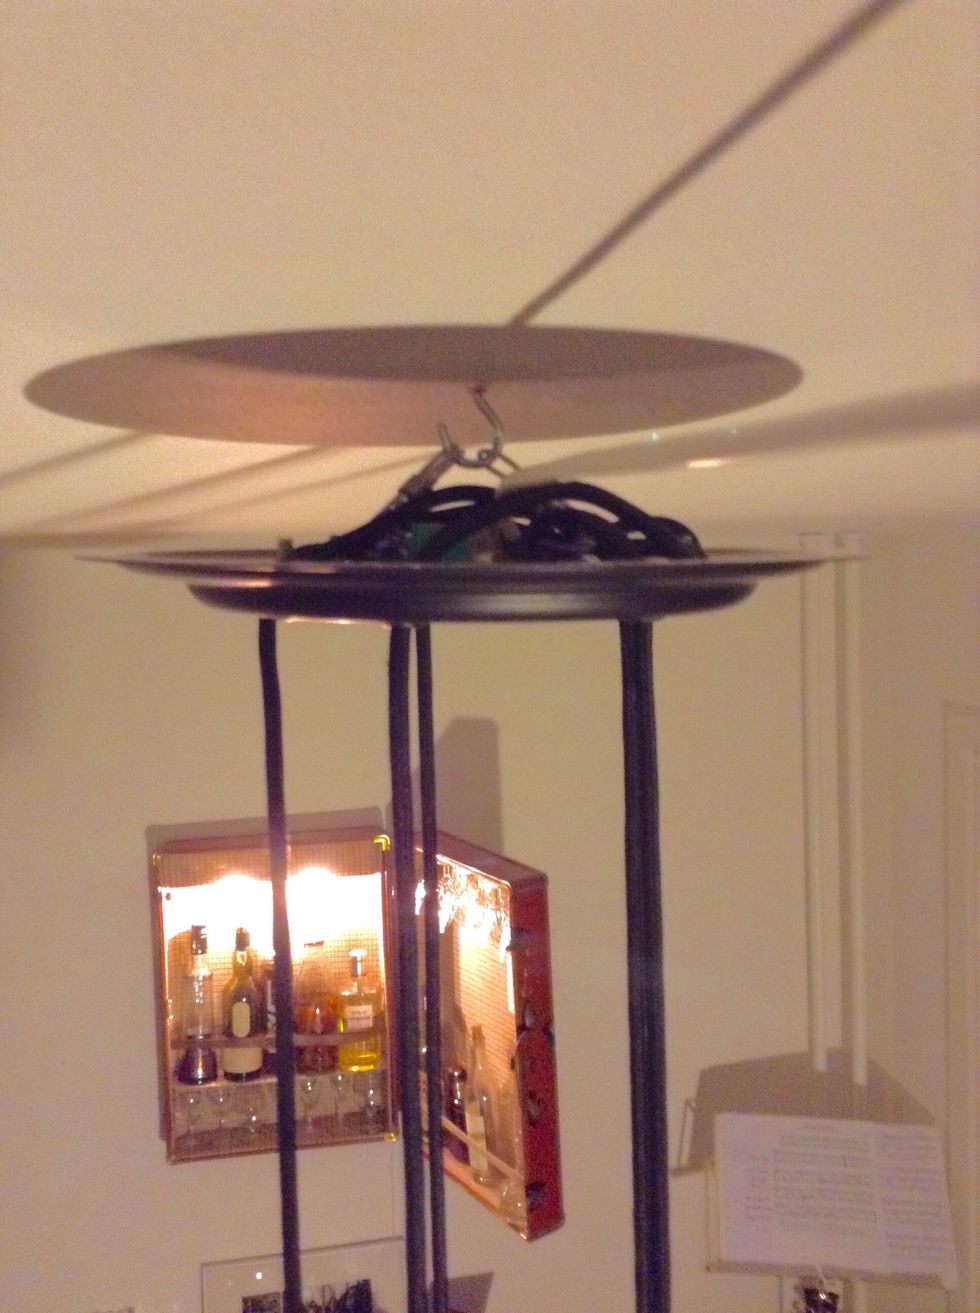
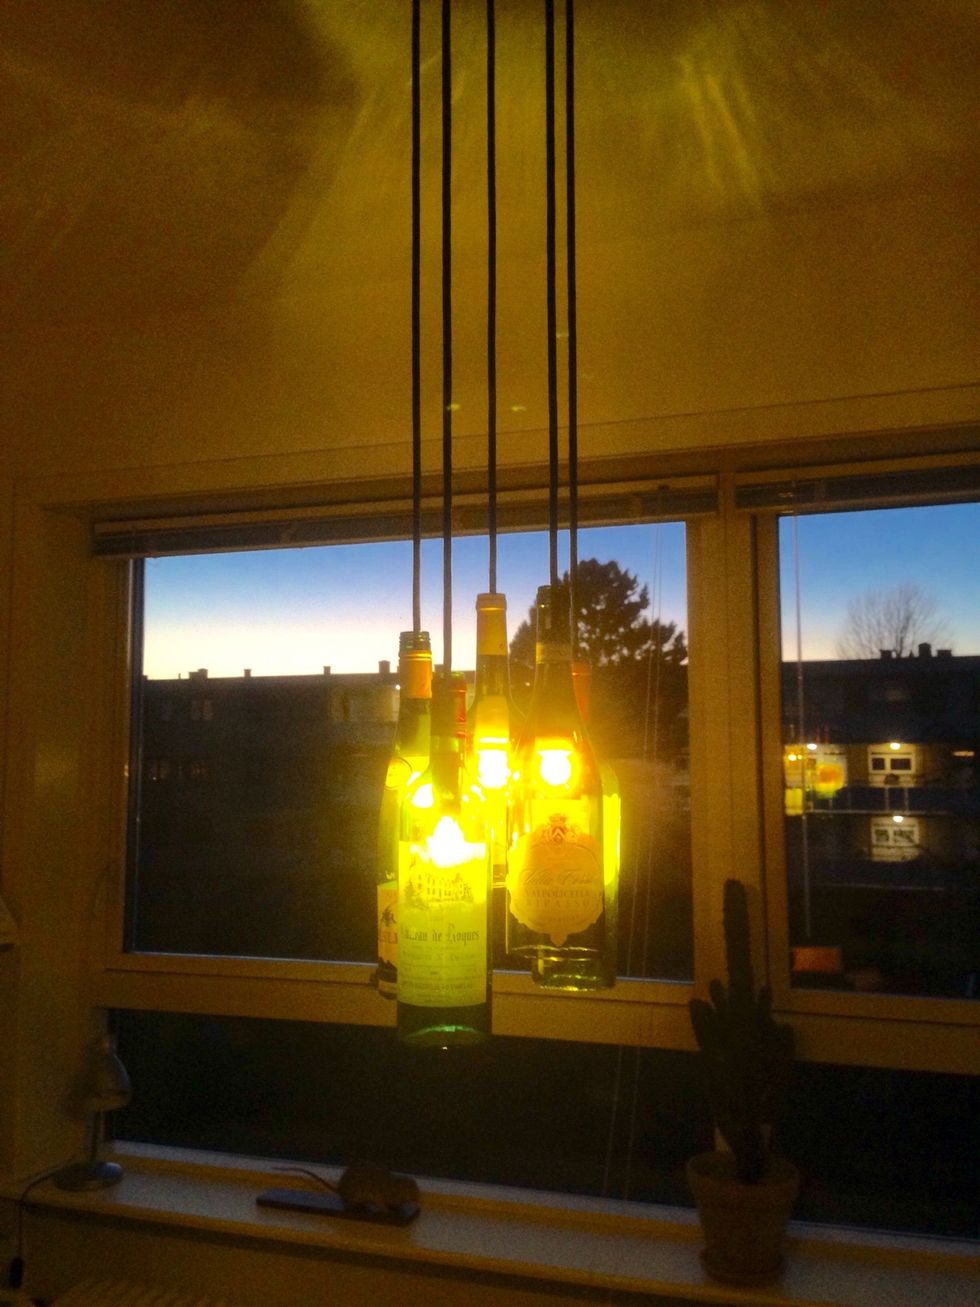
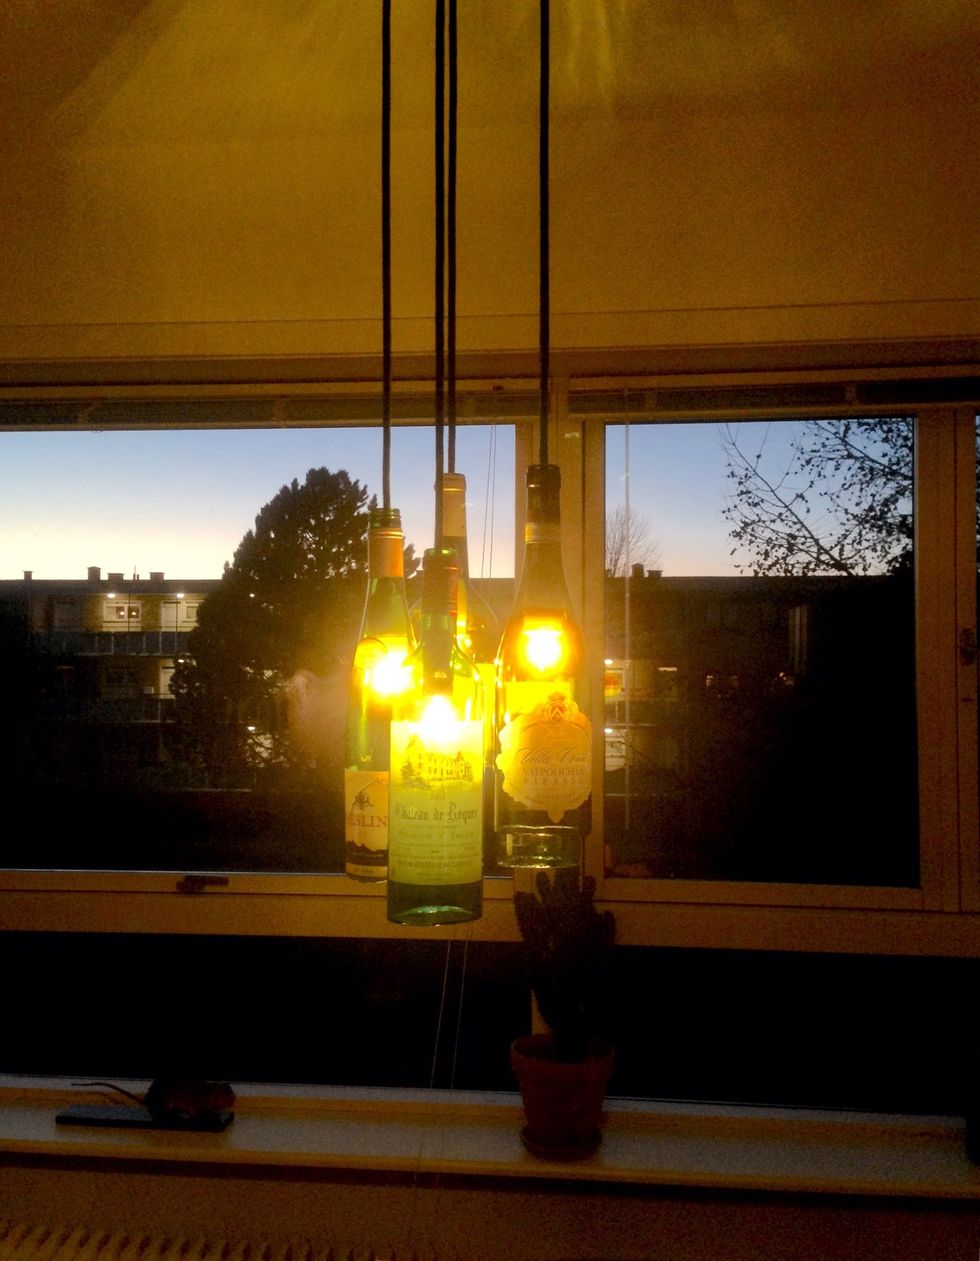
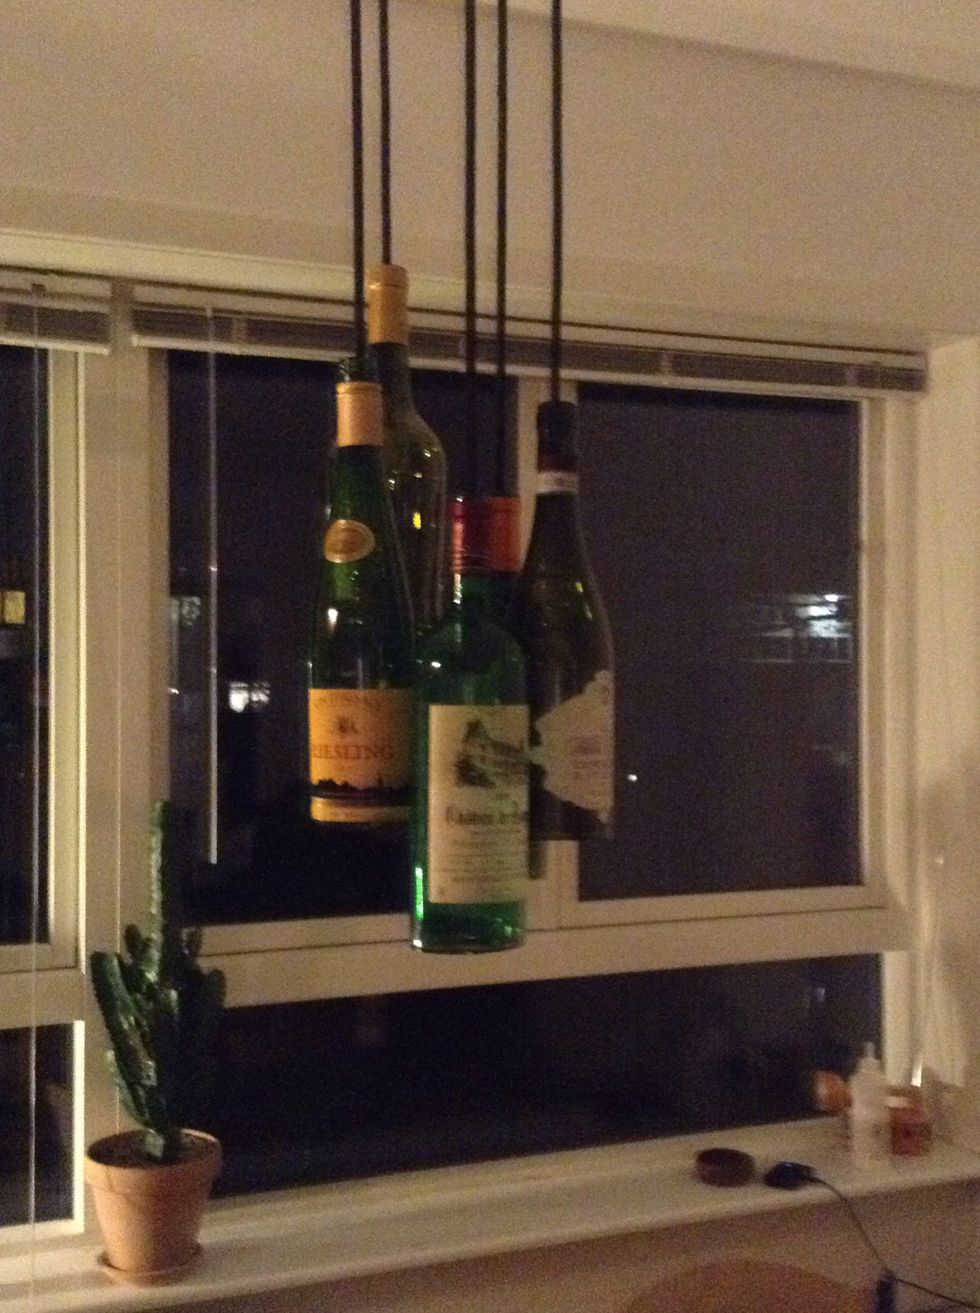
Hang it from the ceiling. Adjust the length of the cords so the bottles look harmonic
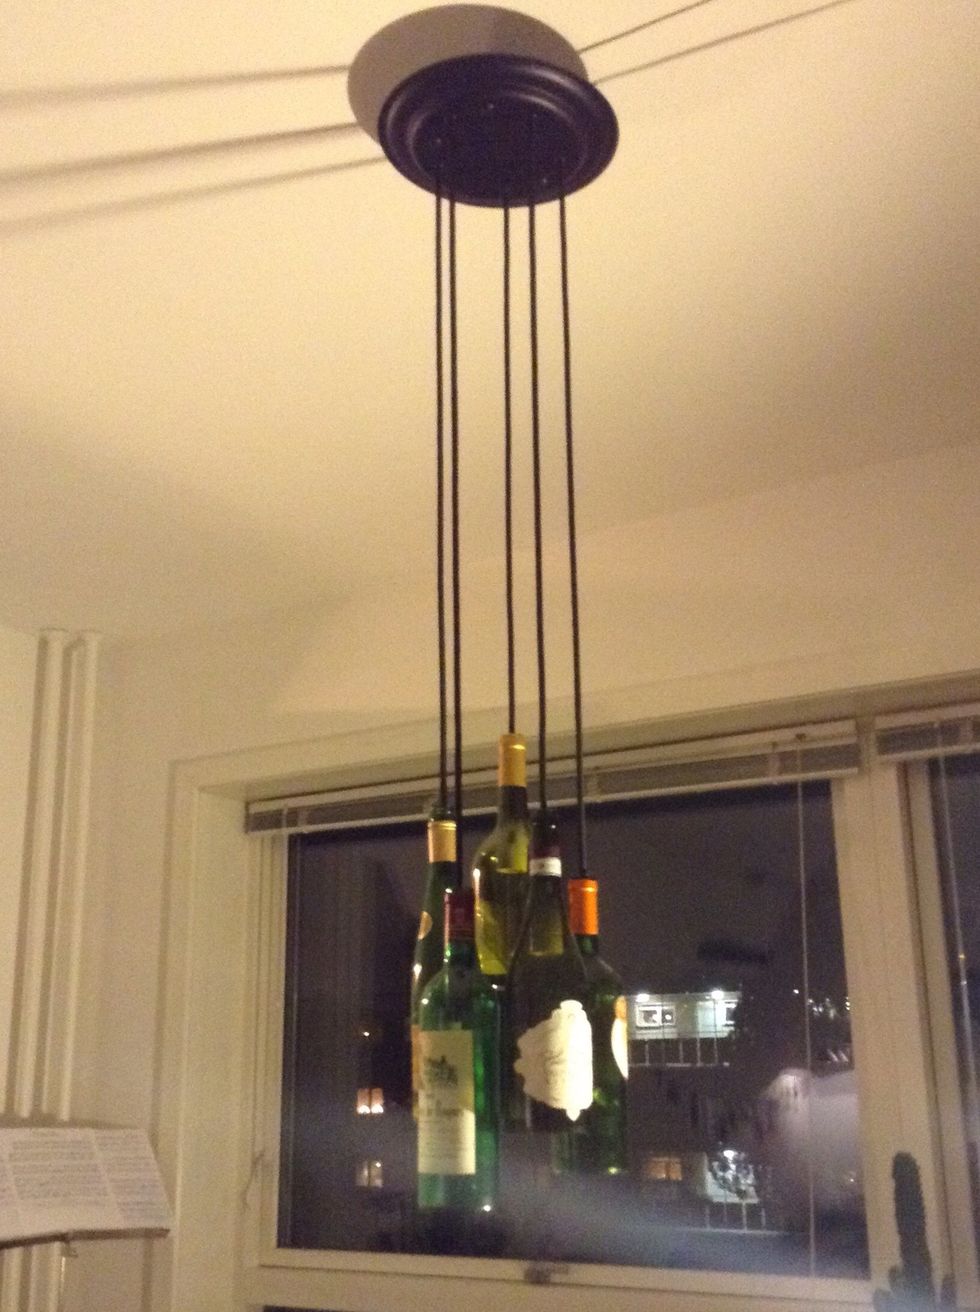
Something like this 👍🏾
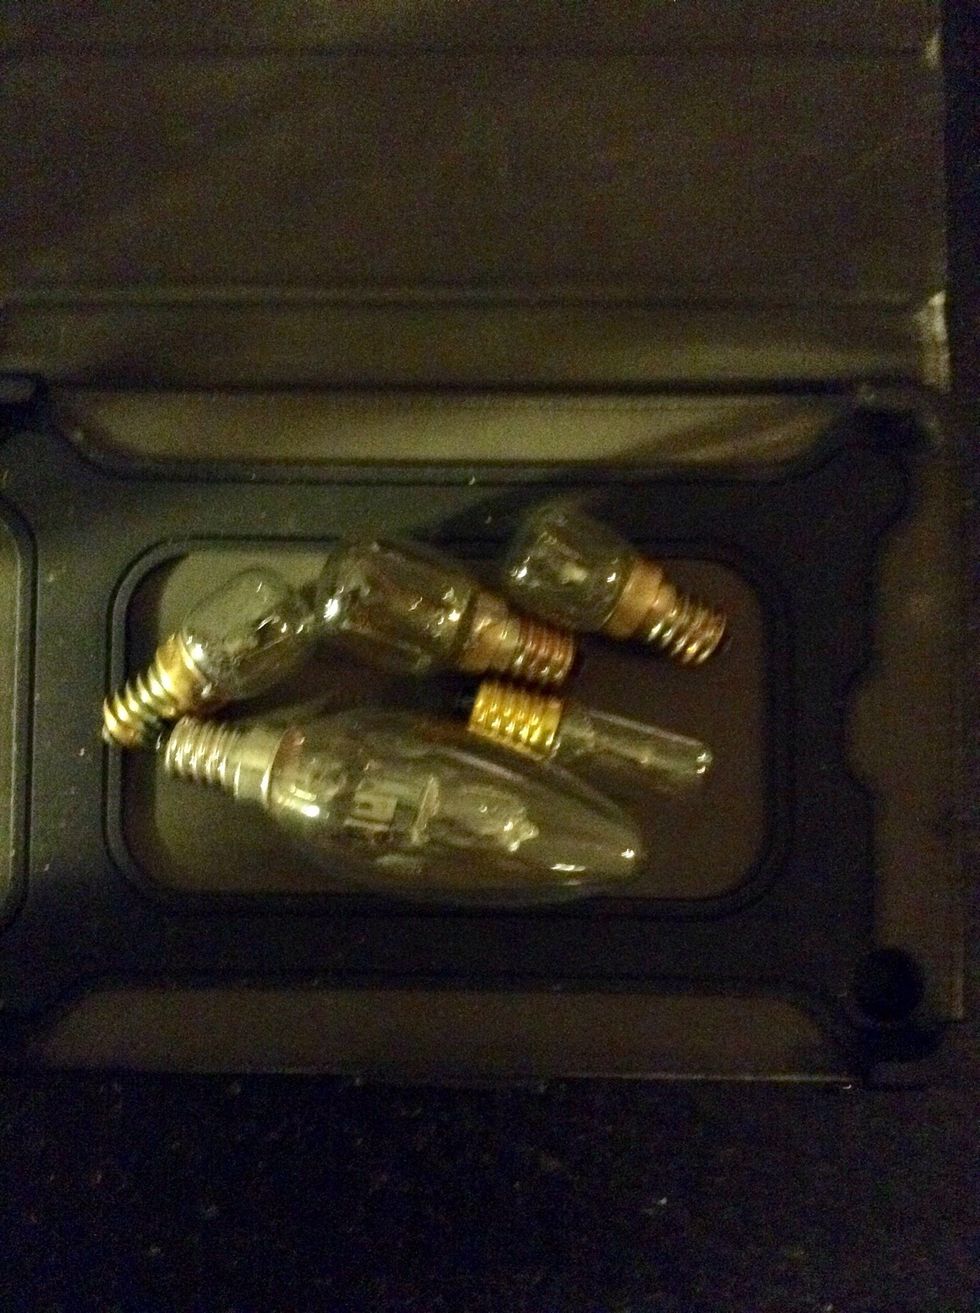
Add light bulbs. Be cautious with the watts, the light should be comfy to look at. I used different sized bulbs, it adds to the charm
Finished product