The Conversation (0)
Sign Up
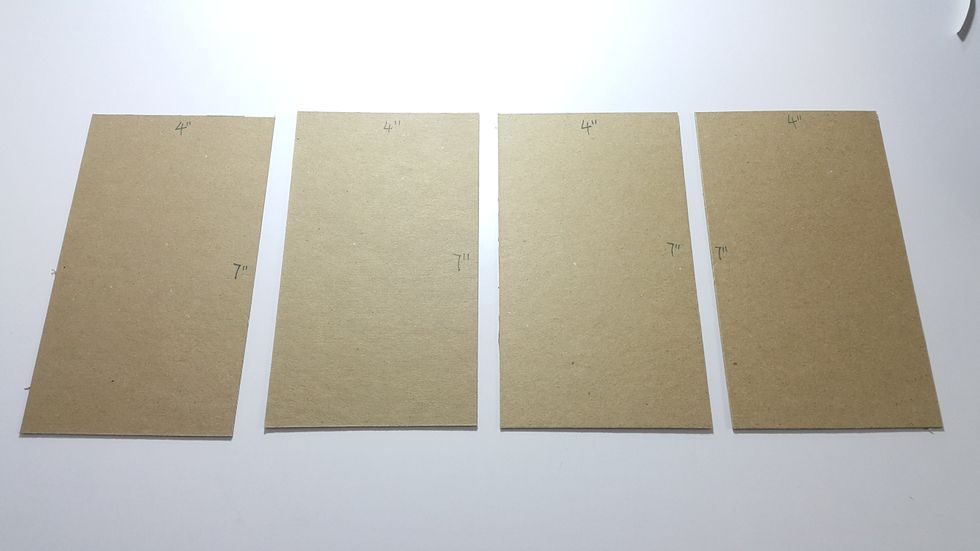
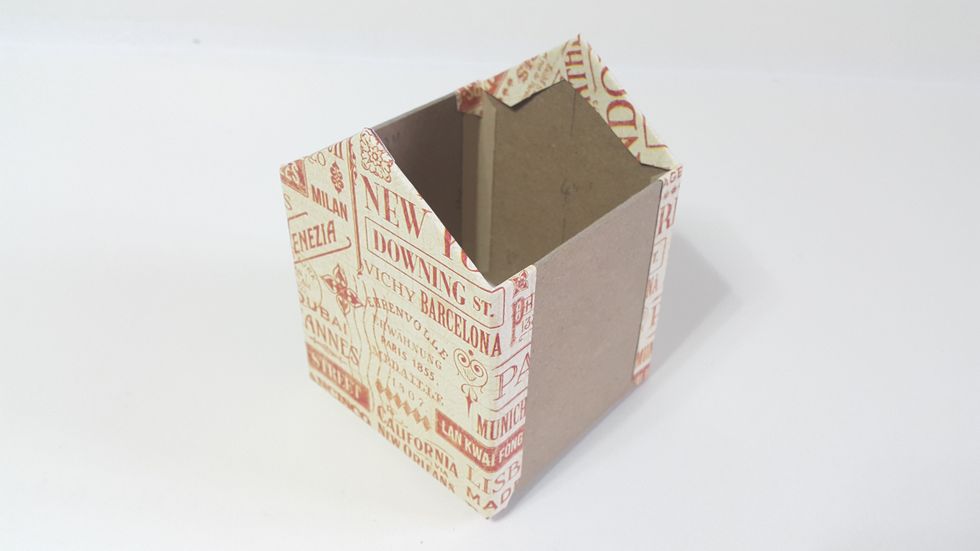
Cut chipboard 4pcs 4"(W)x7"(H), use connecting strips to form into tower shape.
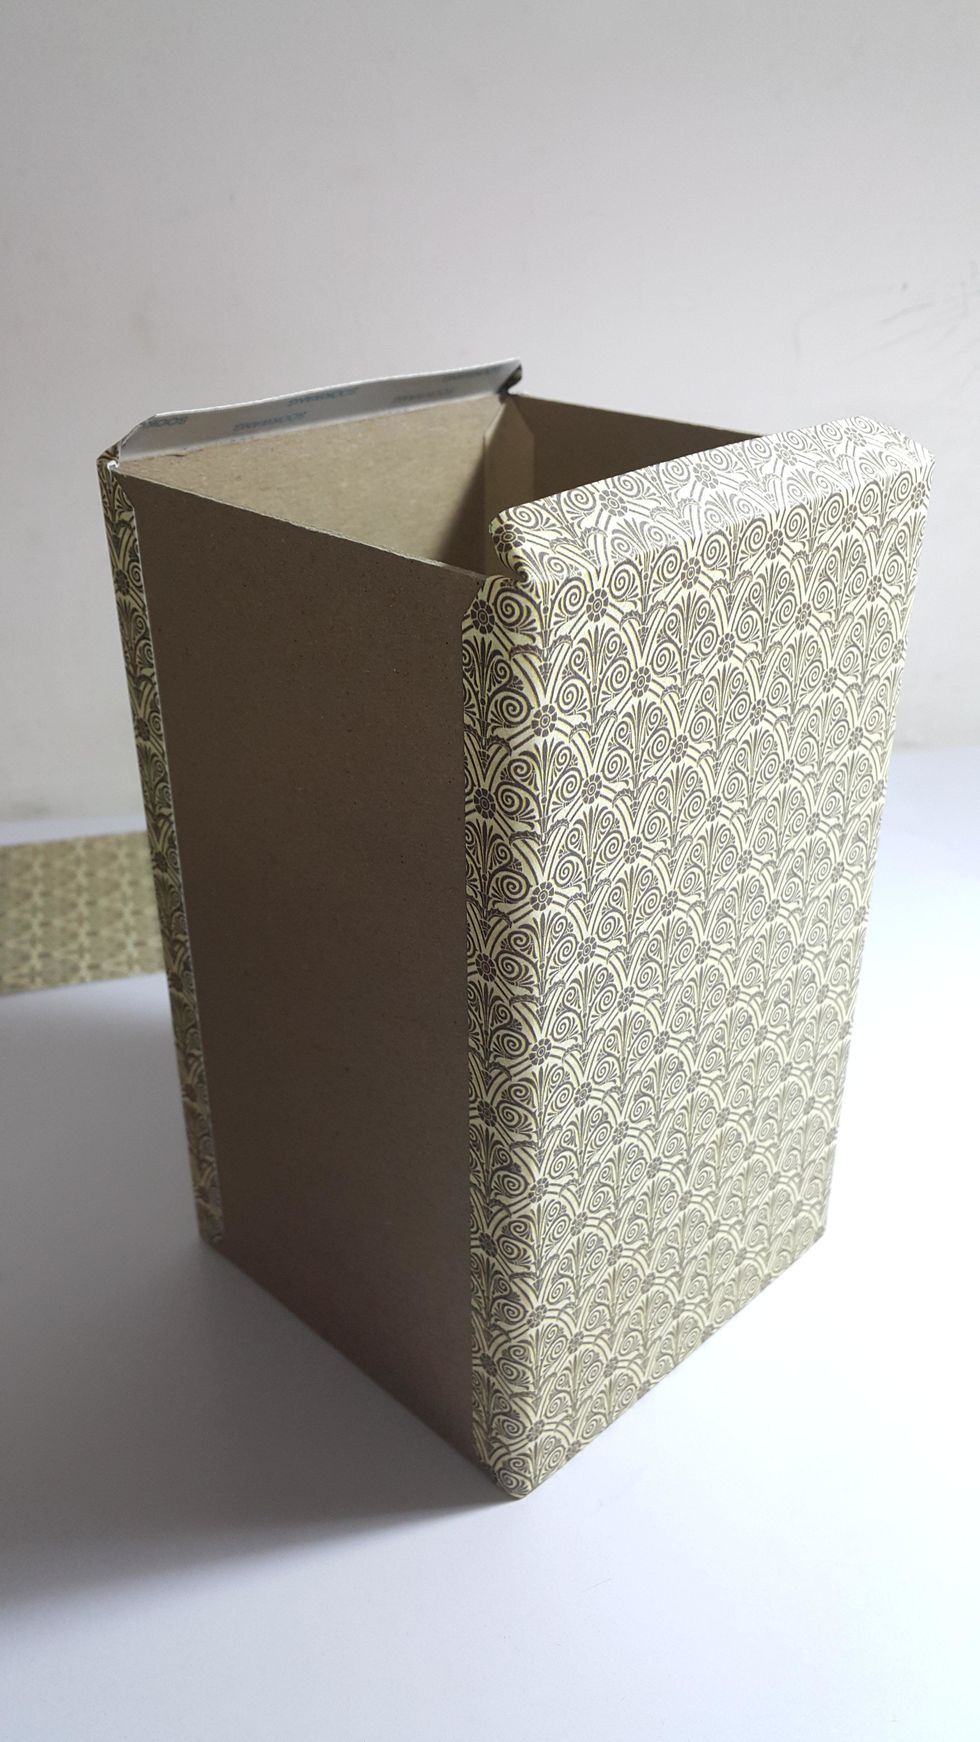
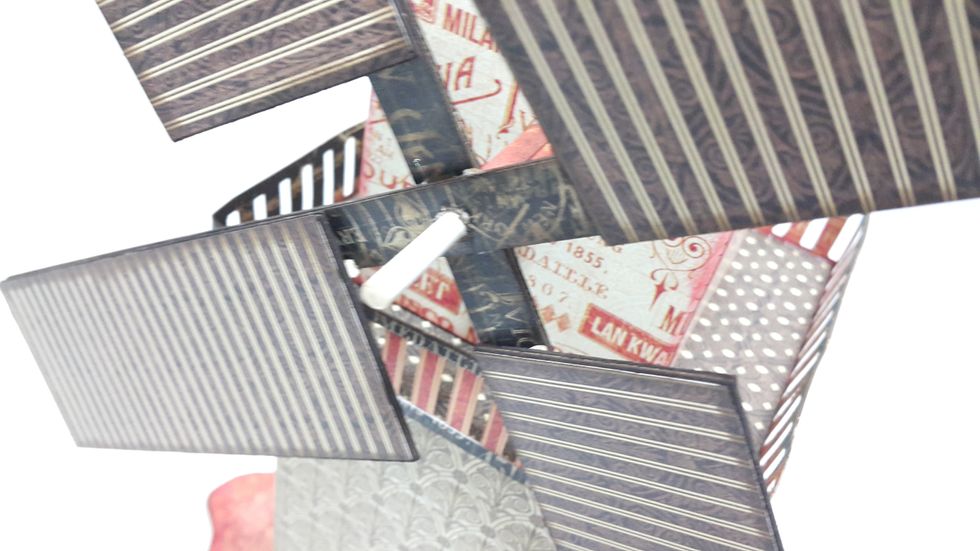
Cut paper 2pcs 5"(W)x8"(H) to cover the front and the back, left the top half inch for connecting with top part of the tower.
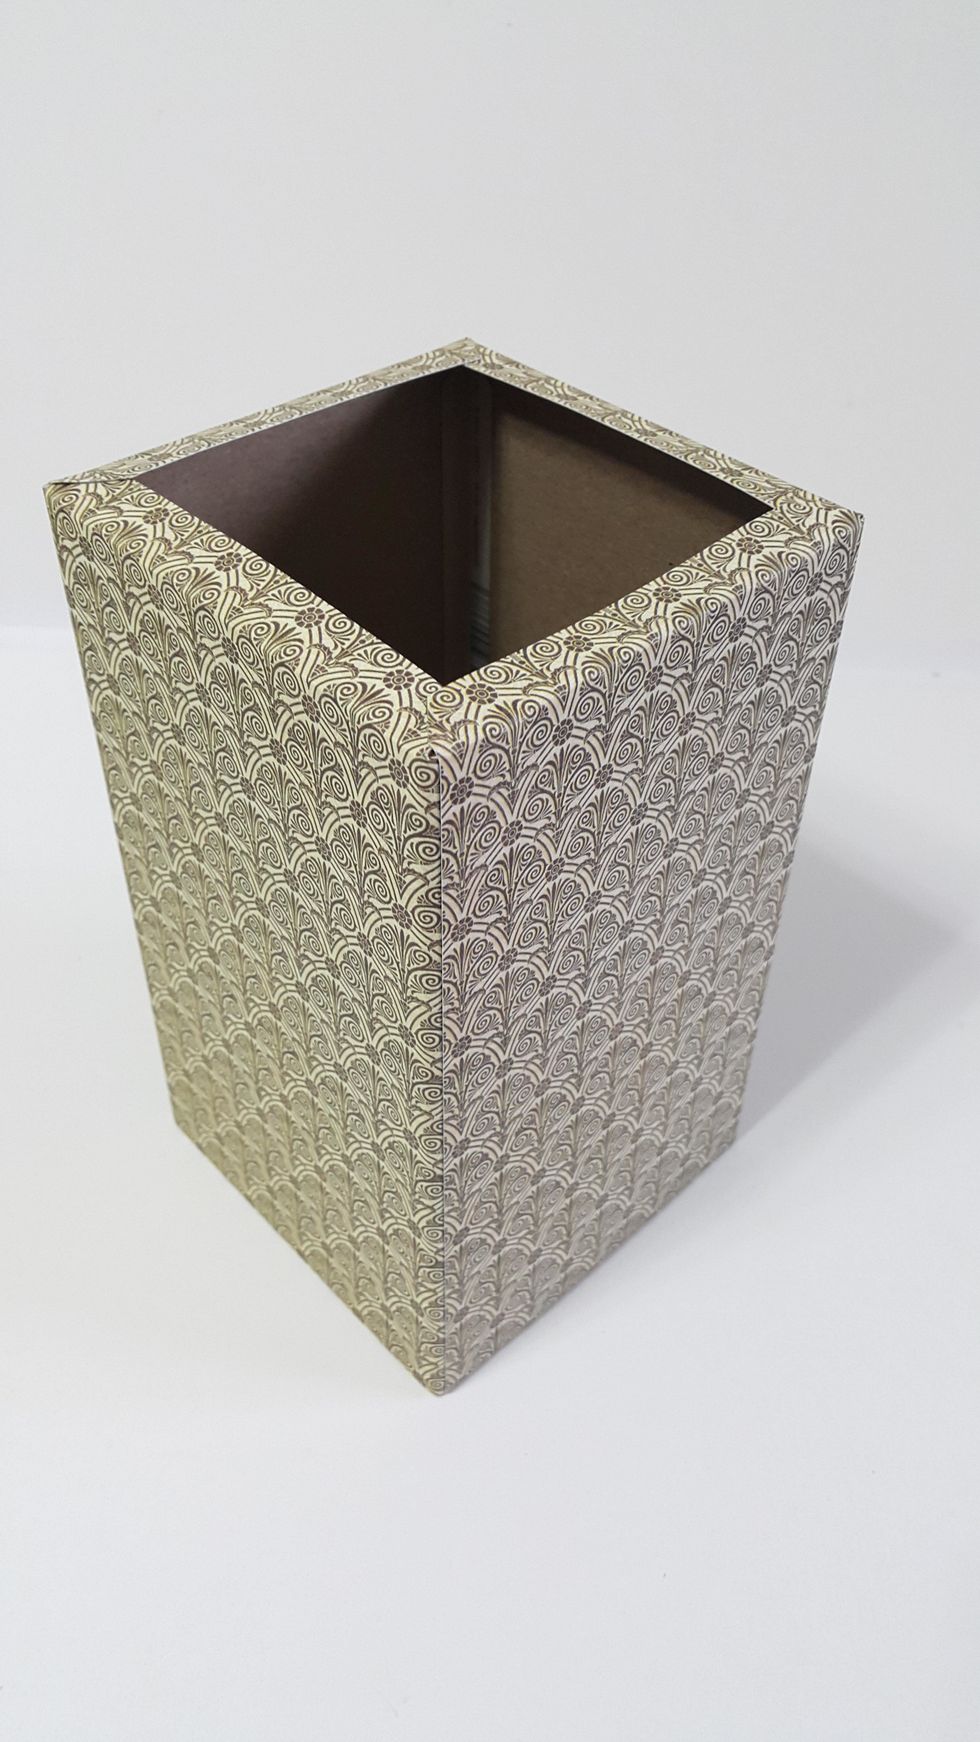
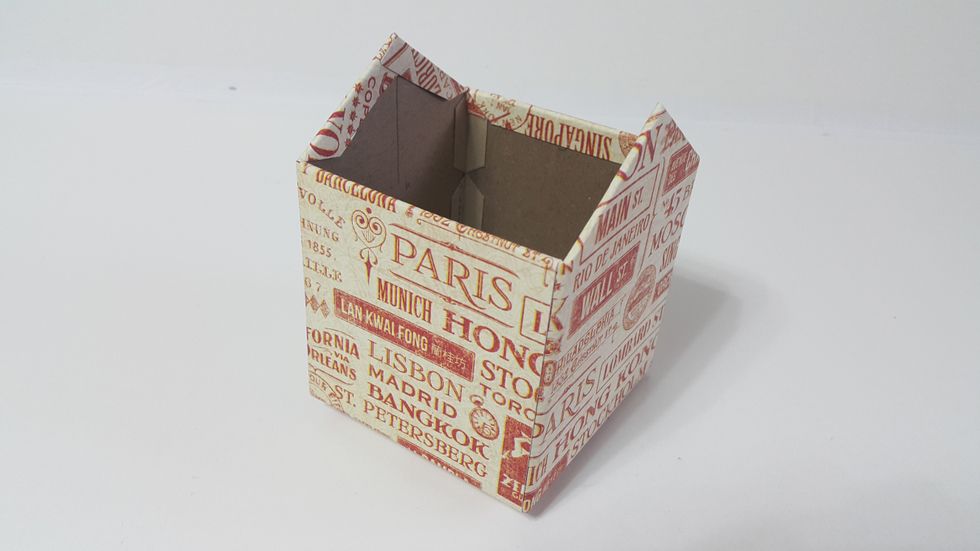
Cut paper 2pcs 4"(W)x8(H) to cover the sides, left the top half inch for connecting as well, apply ink on the edges if desired.
For the balcony, cut chipboard 1pc 5"x5", cover both sides with papers of the same size, apply ink on edges if desired.
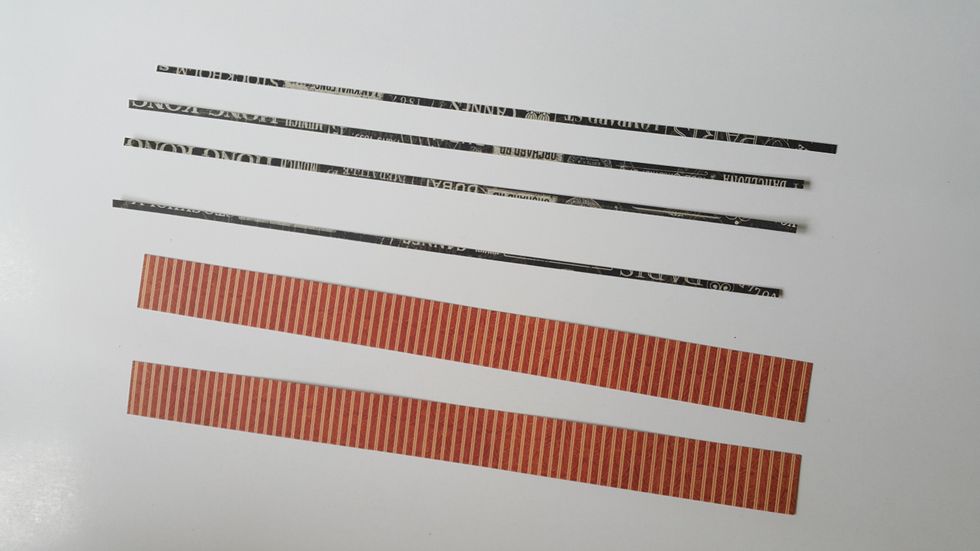
Cut 2 strips 1" and 4 strips 1/8" from papers.
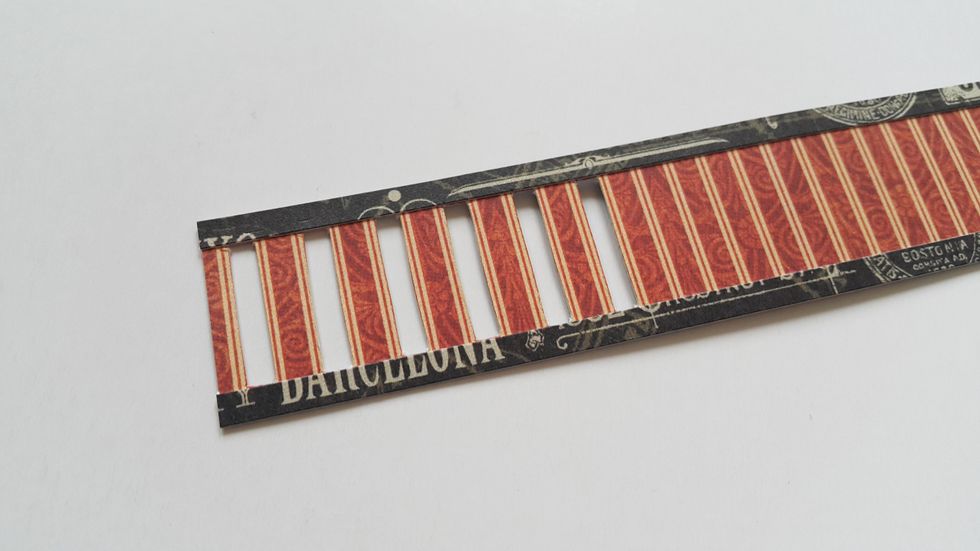
Adhere the narrow strips on the top and bottom of the wider one, cut out alternate strip patterns to make it like a fence, apply ink on edges.

Adhere the fence onto the 5" square chipboard piece.
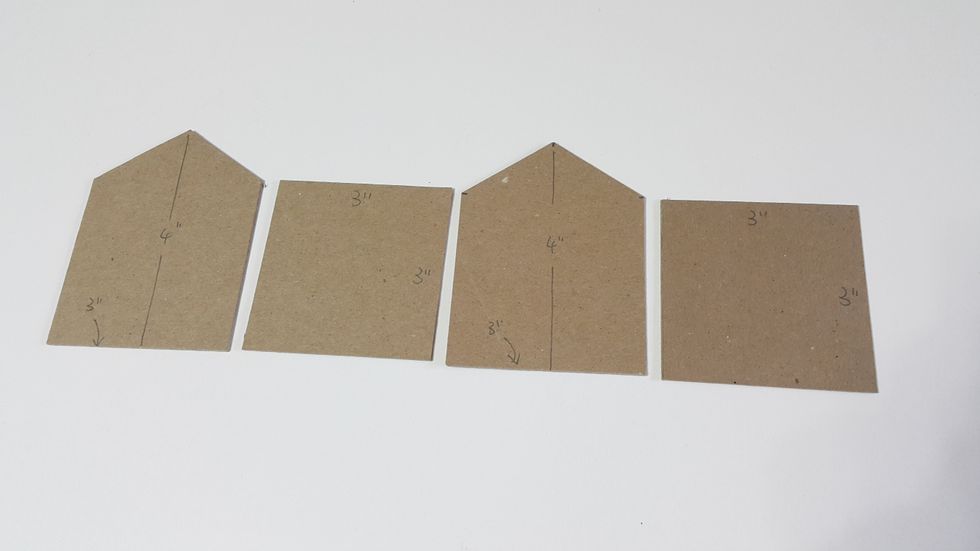
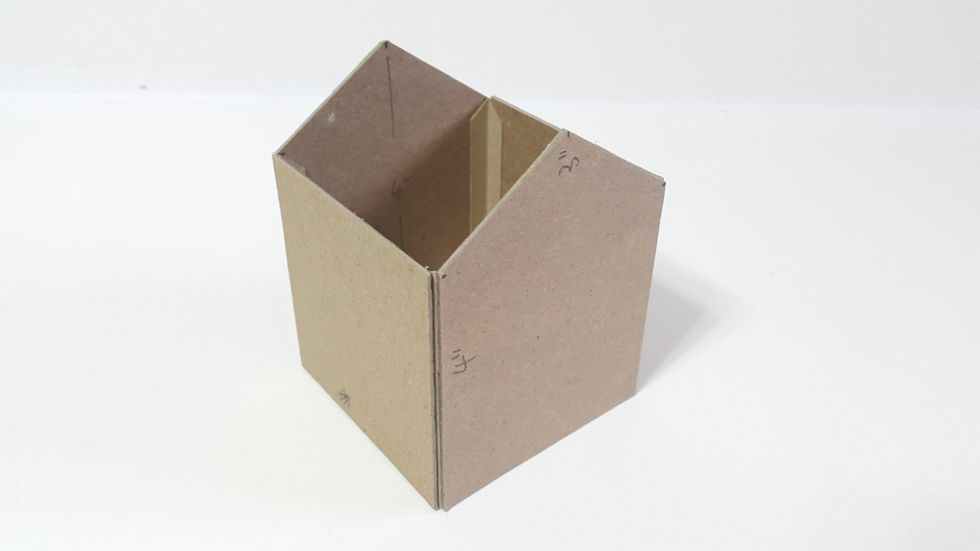
For the upper part of the tower, cut 2pcs of chipboard 3"x3", then cut 2pcs of 4"(H)x3"(W) chipboard, cut a triangle top from 1" by the sided as shown.
Cover the front and back using papers of 4"(W)x5"(H), trim and fold the excess, left the bottom half inch for connecting.
Cover the sides with papers of 3"(W)x4"(H), left the bottom half inch for connecting.
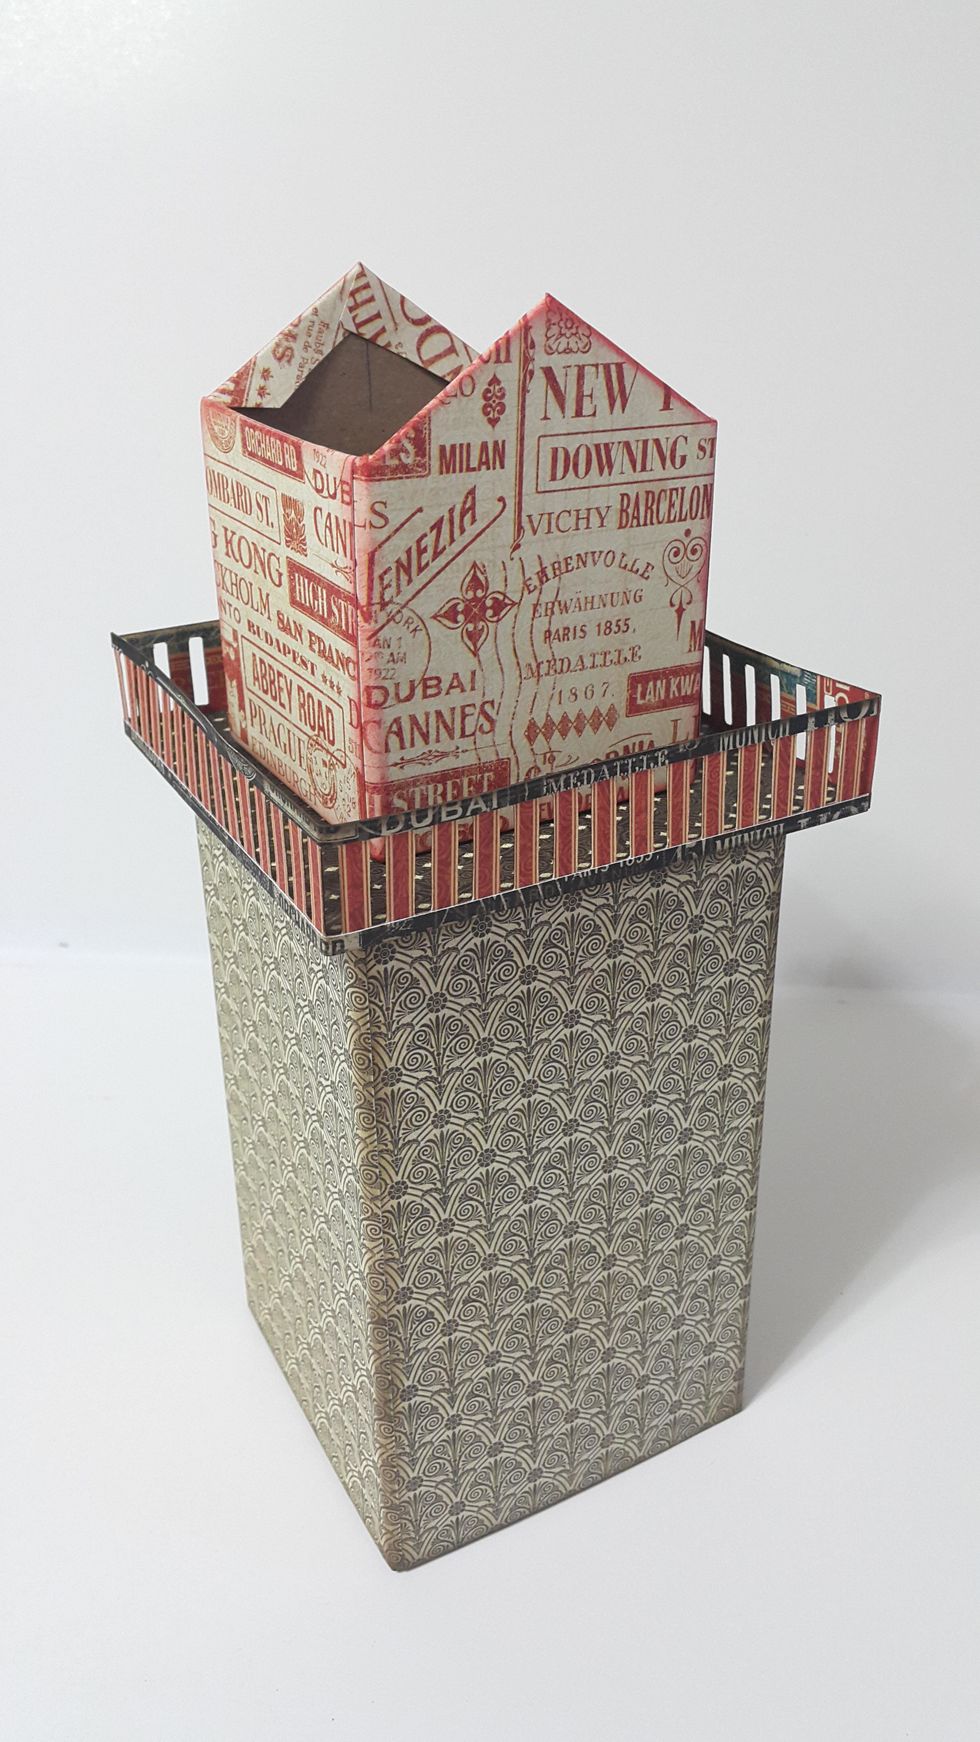
Adhere all parts together, then cut papers with the same size of the chipboard, plus one more 3"x3" to cover the insides of this upper tower.
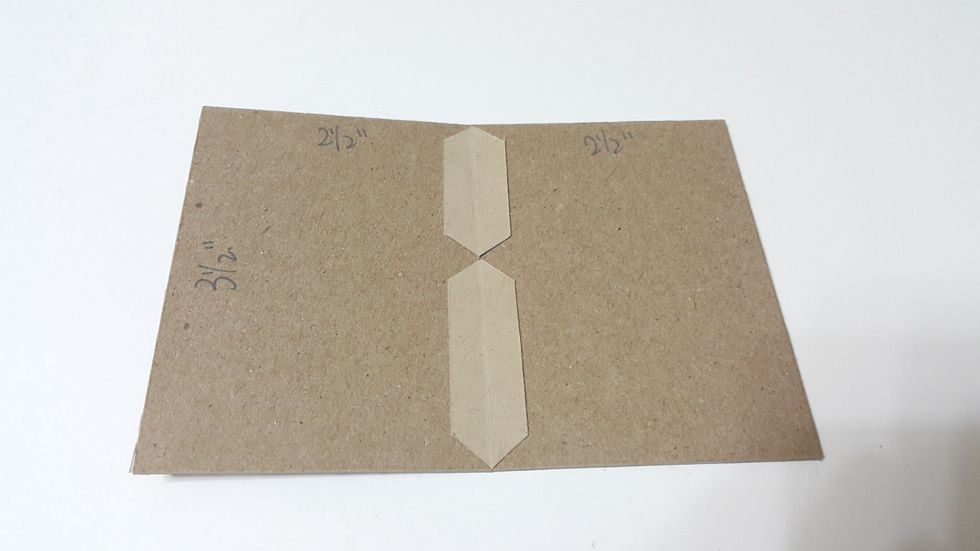
For the roof, cut chipboard 2pcs 3-1/2"(W)x2-1/2"(H) and connect with connecting strips.
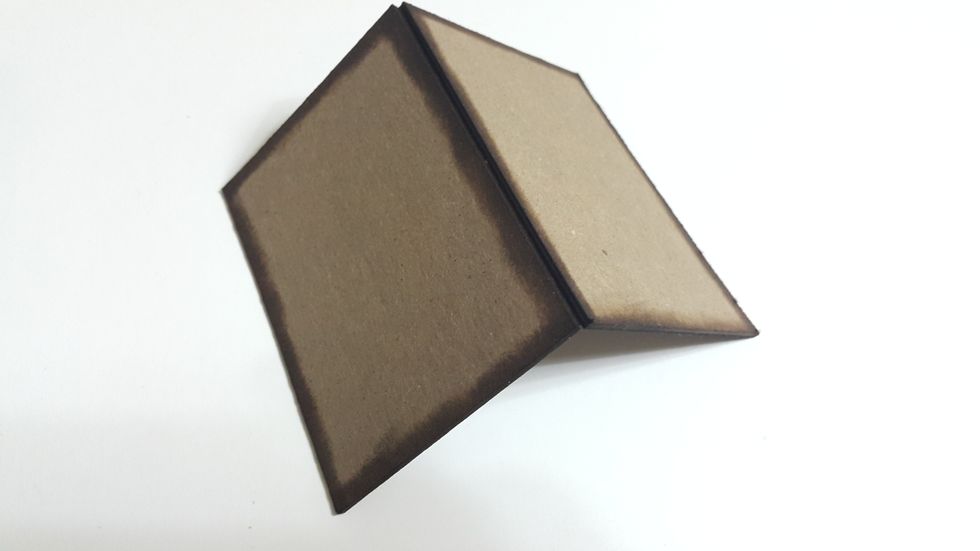
Ink the edges with brown colors.
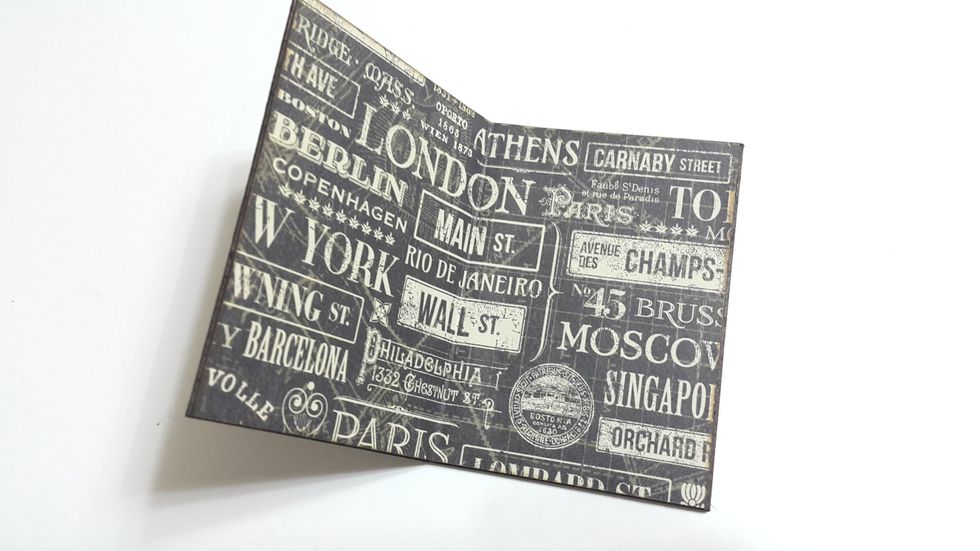
Cover the inside with papers 3-1/2"(W)x5"(L).
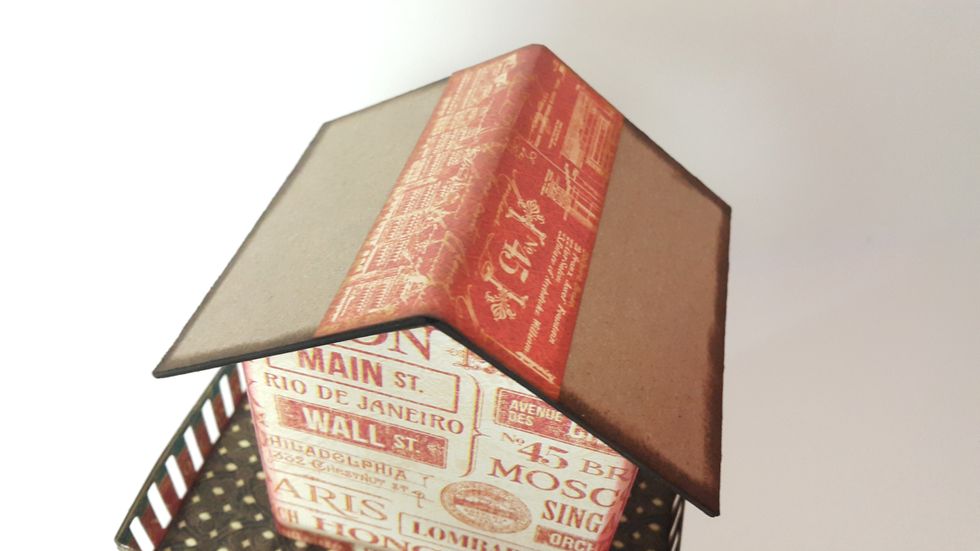
Cover the top of the roof with 2"(L)x3-1/2"(W) paper, you have to put it on the tower to fix the angle.
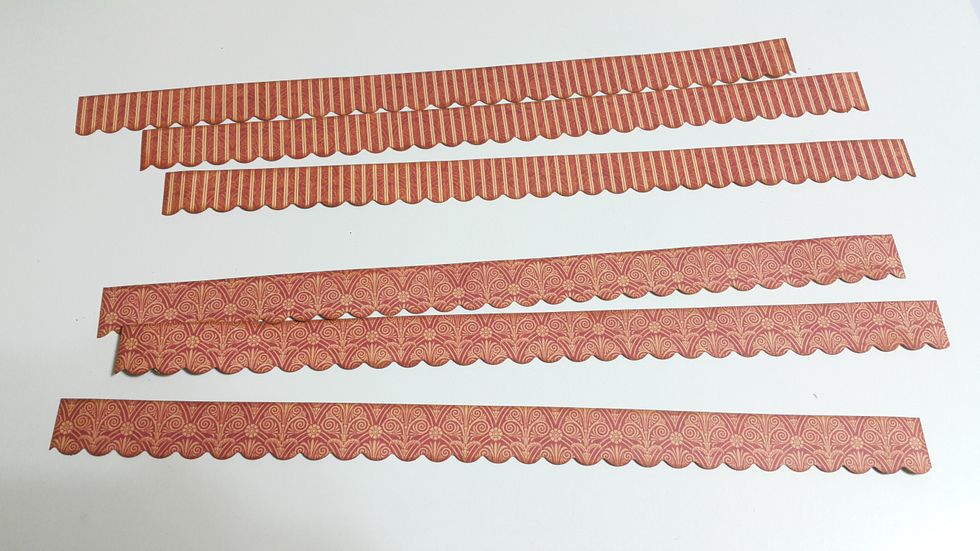
Cut 1" strips of papers with 3-1/2" width, punch or cut by scissors the edges, ink if desired.

Adhere the strips on the roof until satisfied.
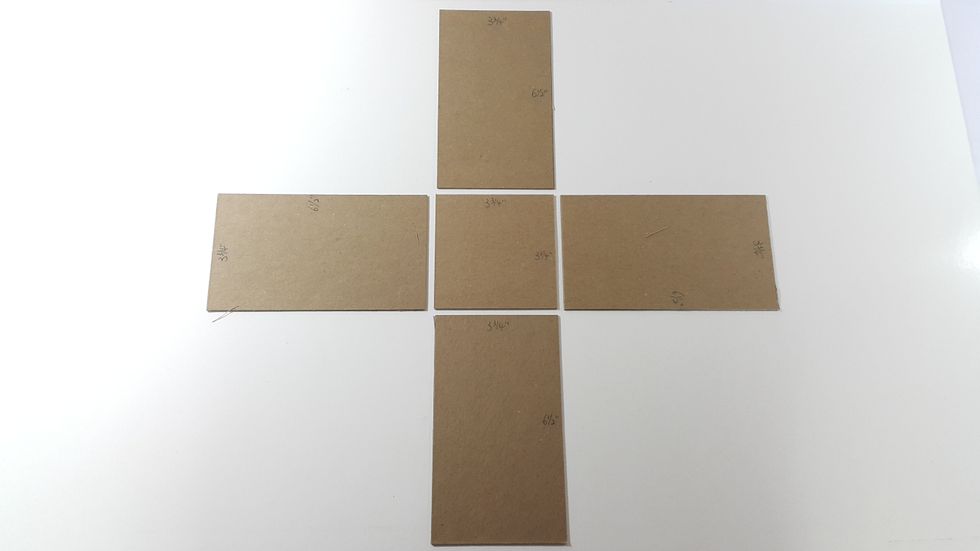
For the explosive album, cut chipboard 4pcs 3-3/4"(W)x6-1/2"(H) and 1pc 3-3/4"x3-3/4" for album cover.
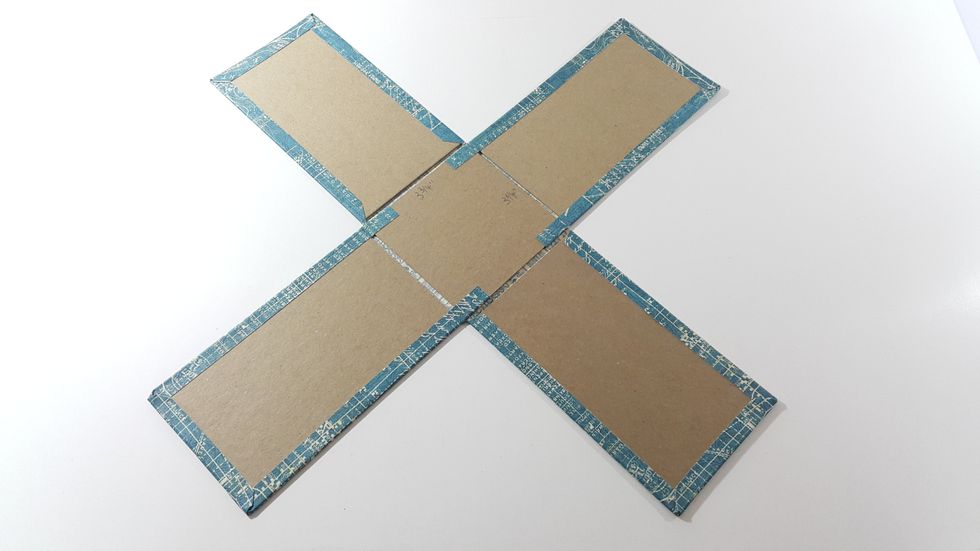
Cut paper 4pcs 8"x4-3/4"(W) to cover the outside.
Cover the base with 3-3/4" square paper.
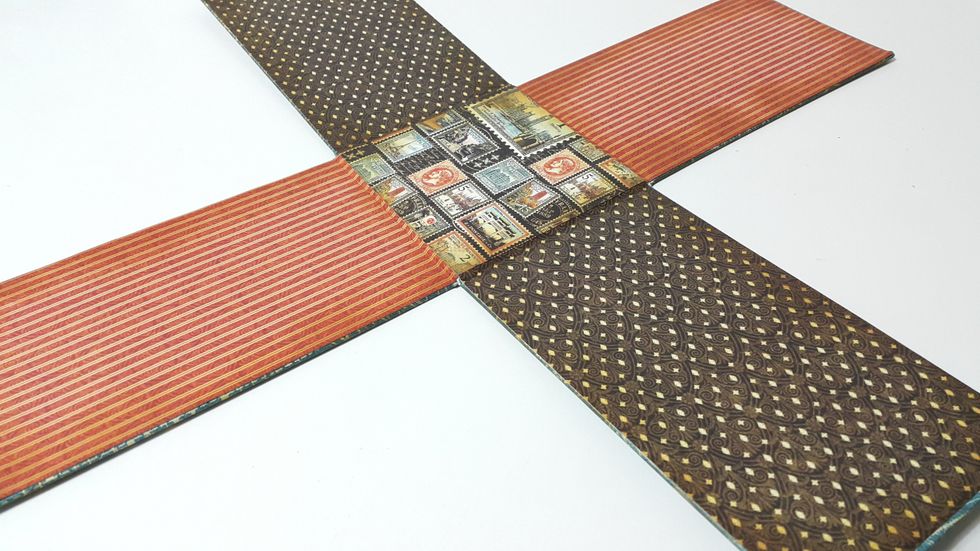
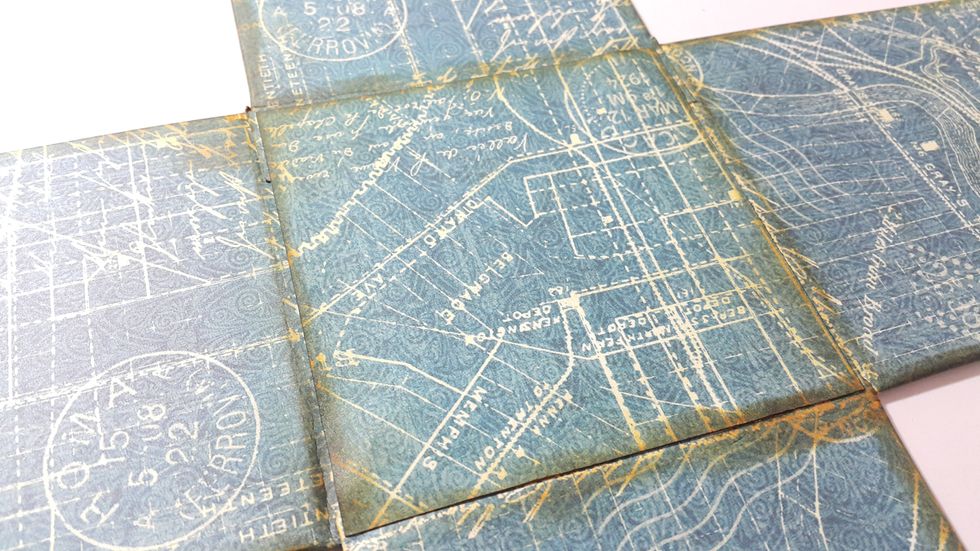
Cover the inside with 4pcs 3-3/4"x7" and 1pc of 3-3/4" square papers.
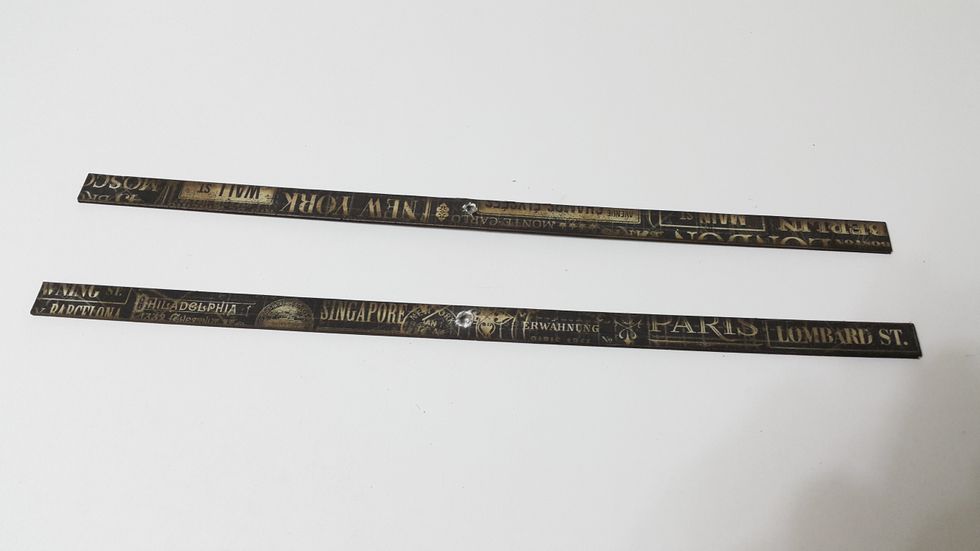
Cut chipboard 2pcs of 1/2"(W)x12"(L), cover with paper of the same size (front and back), ink the edges if desired. Punch holes in the middle.
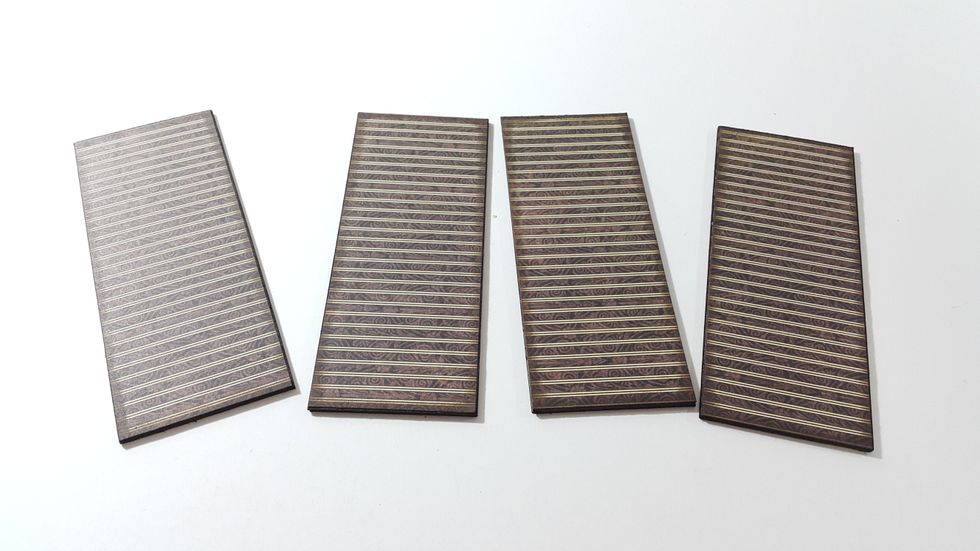

Adhere a sandwich of the 12" chipboard, bamboo sticks and the 5" chipboard on each end, finish all four to form the windmill flags, beware of the directions.
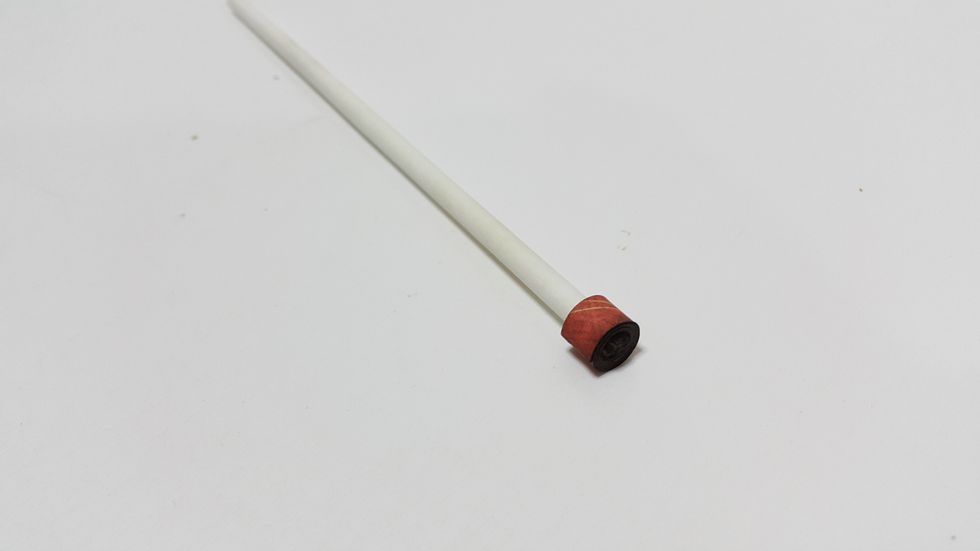
Cut a strip of paper 4"x1/4", adhere on one of the end of a candy stick (around 5-1/2" long).
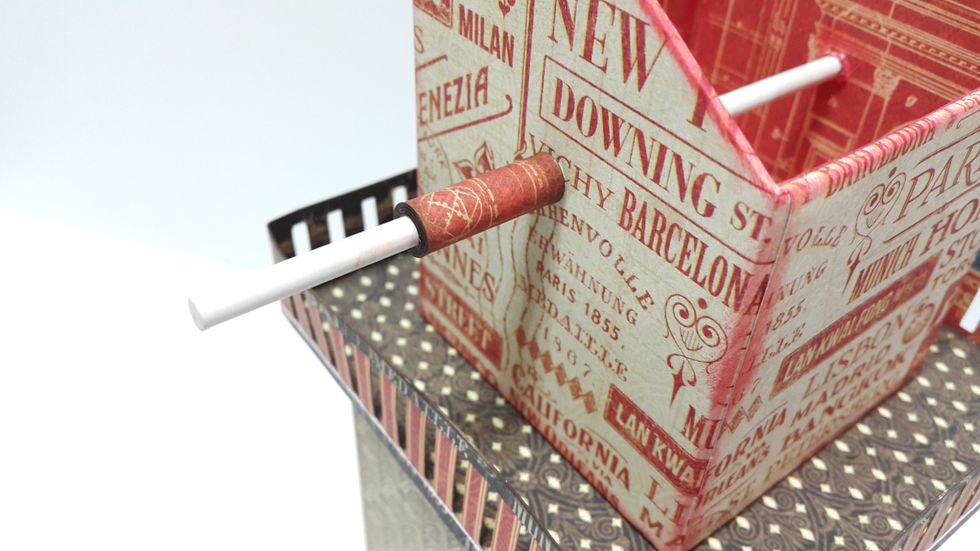
Punch holes on the top tower, put the candy stick through, close the end with another 4"x1" paper as shown.
Put the windmill flags through the candy stick and adhere, cut the excess of the stick, adhere a decorative chipboard or other embellishment in the middle to secure.
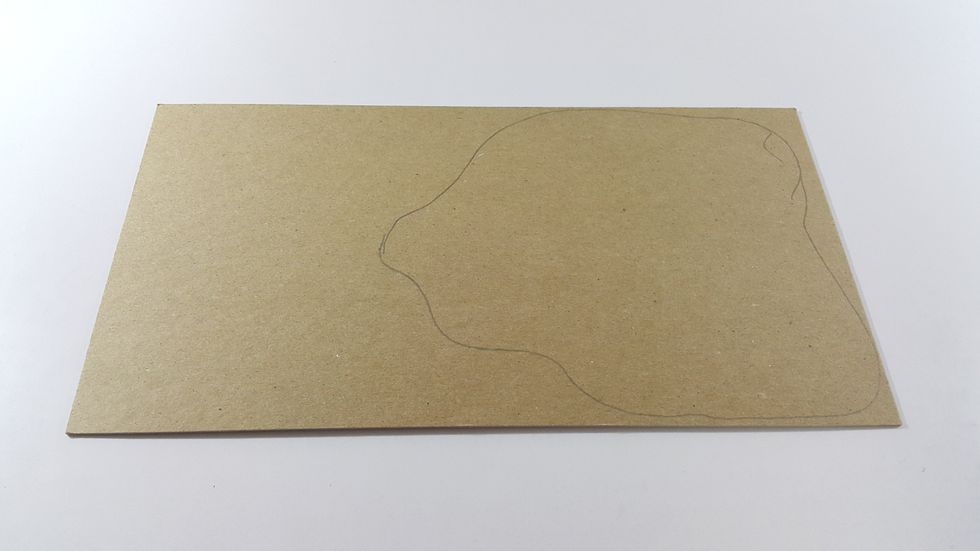
Hand draw a irregular shape on chipboard as platform for the tower, hand cut it out and adhere on paper and trim. After all these steps, you can start decorate your project.
Love how the dried decorative flowers matched on this project.
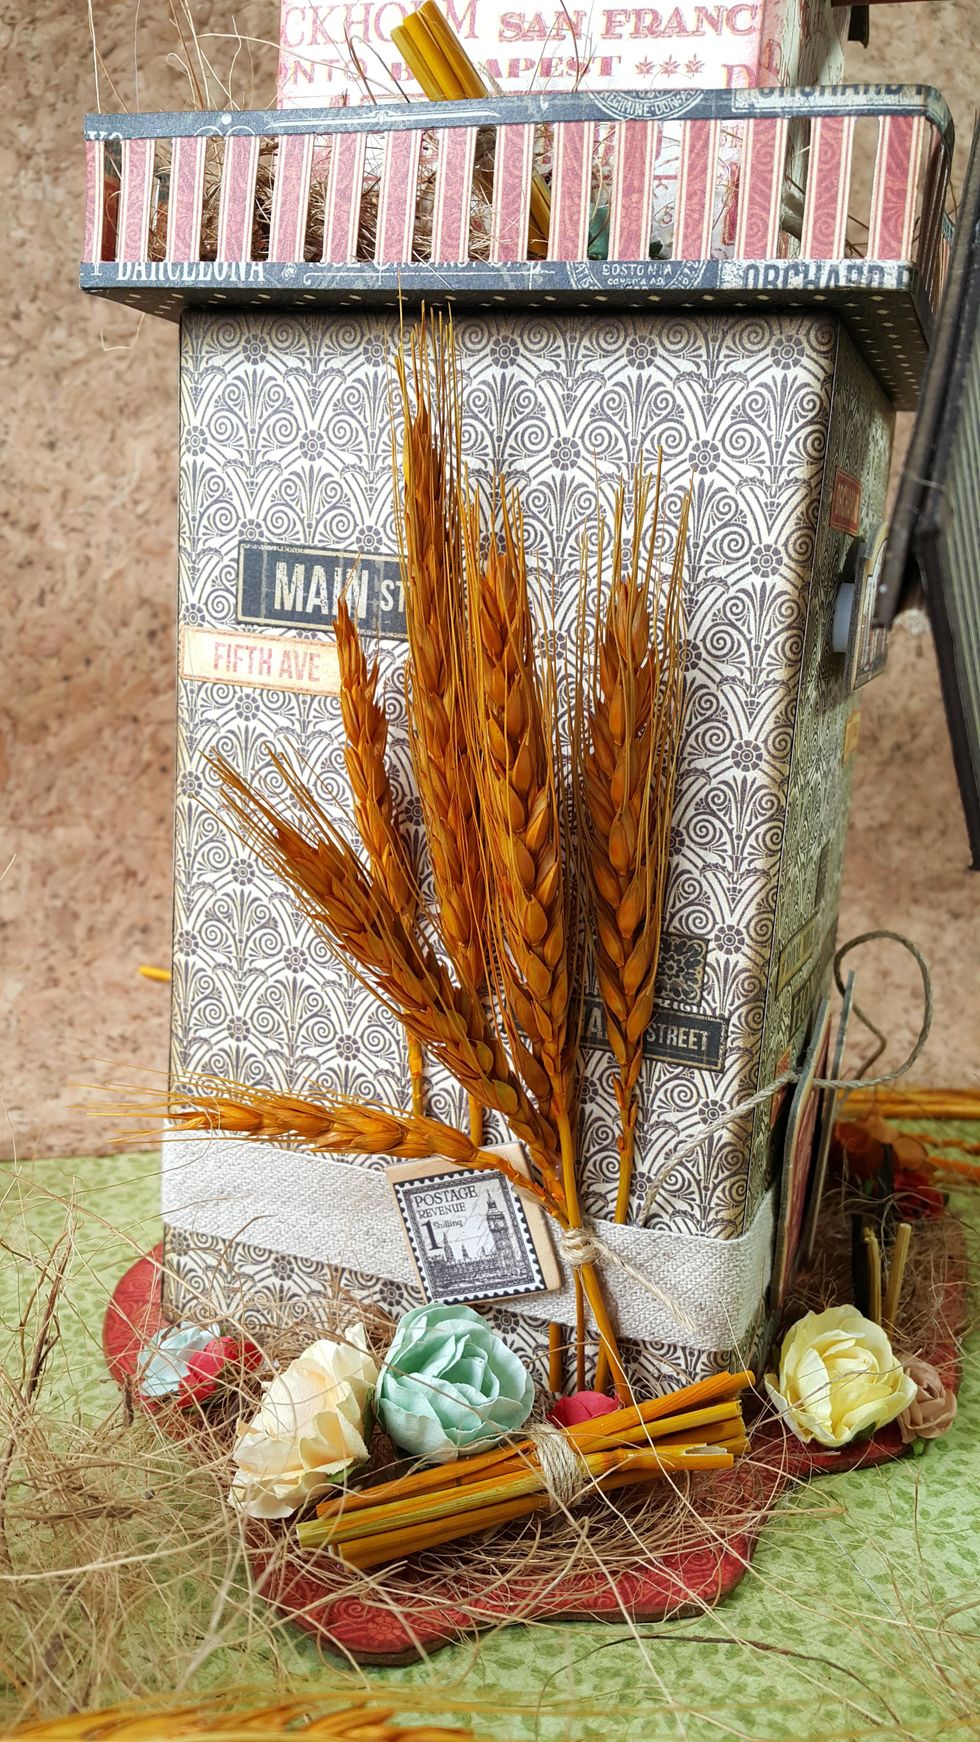
Dried wheat I think is one of the essential for windmill scene.
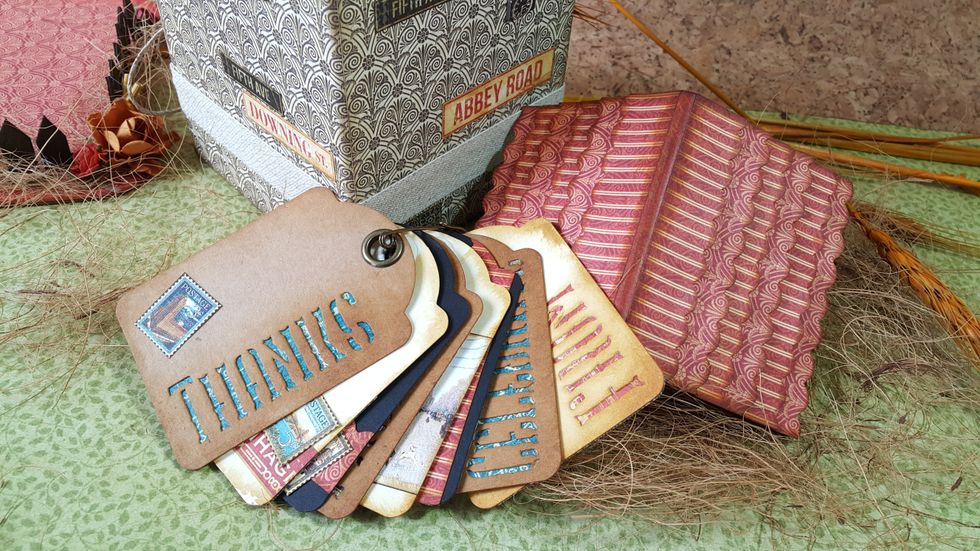
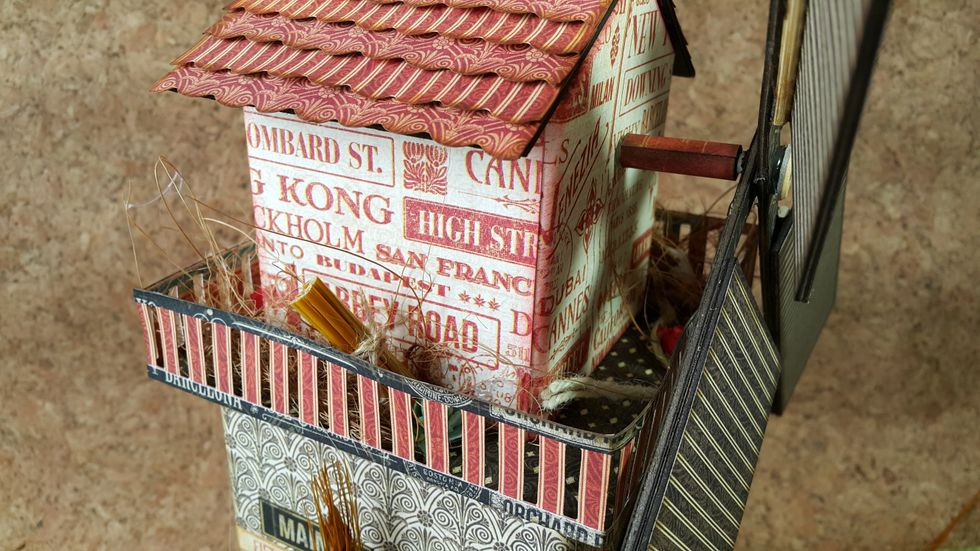
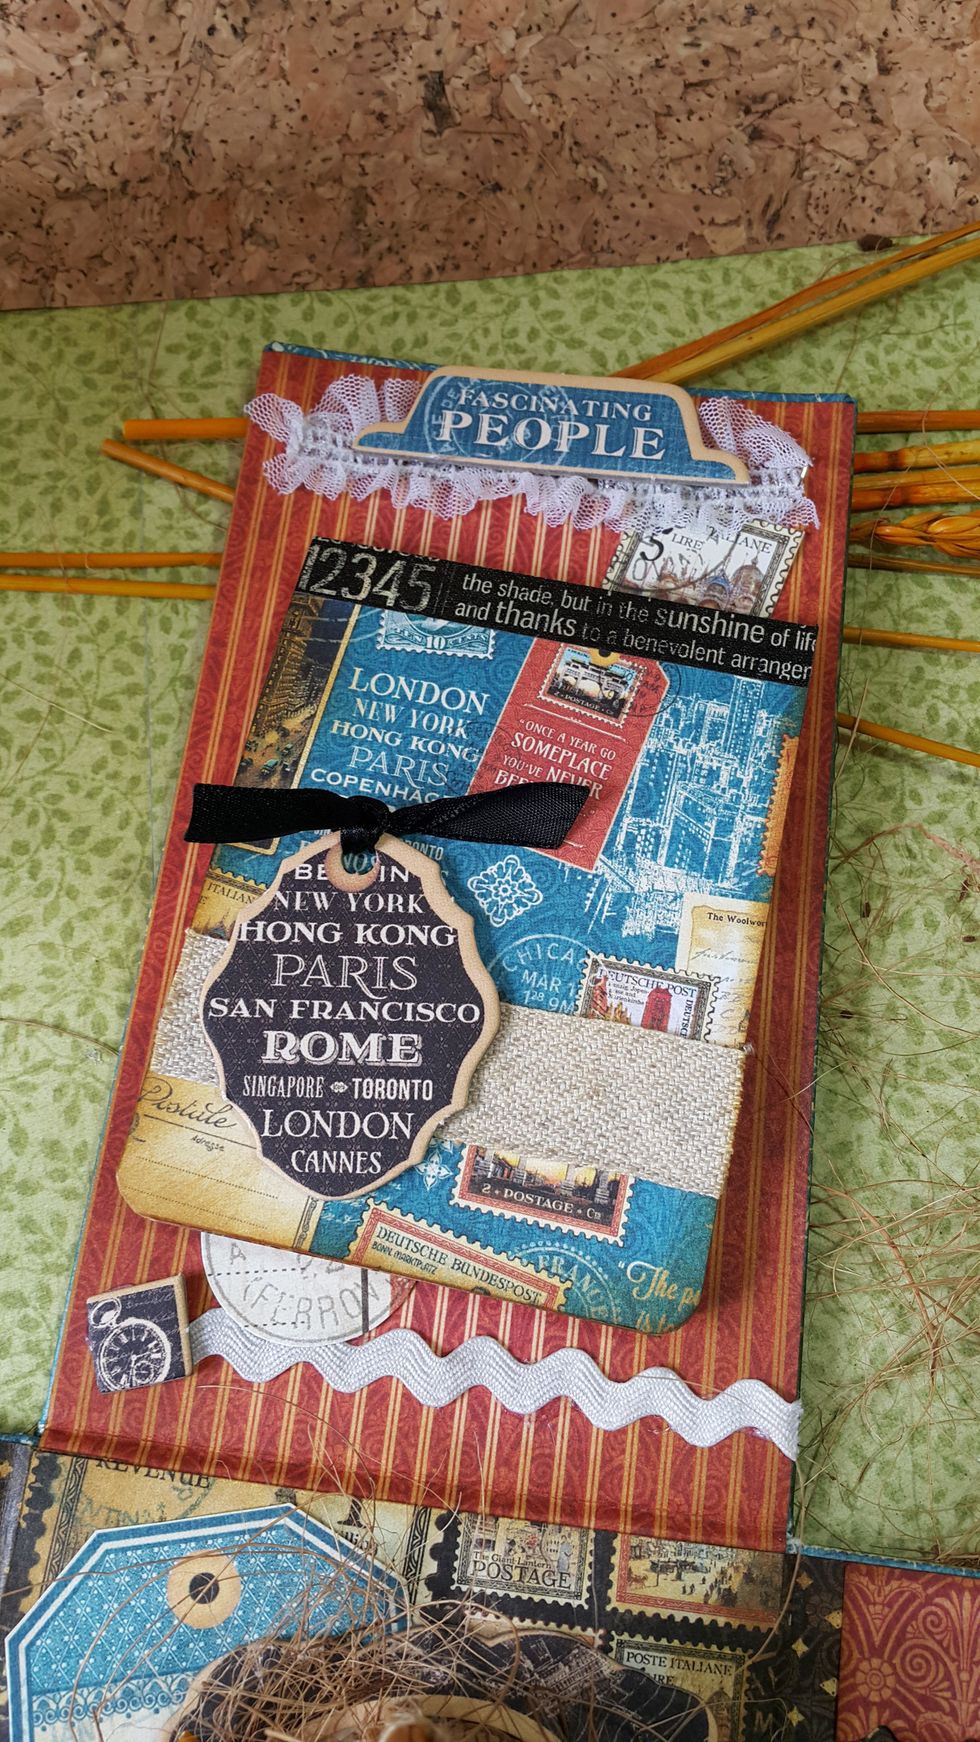
I put ATC tags in the top tower, how cool is the colors.
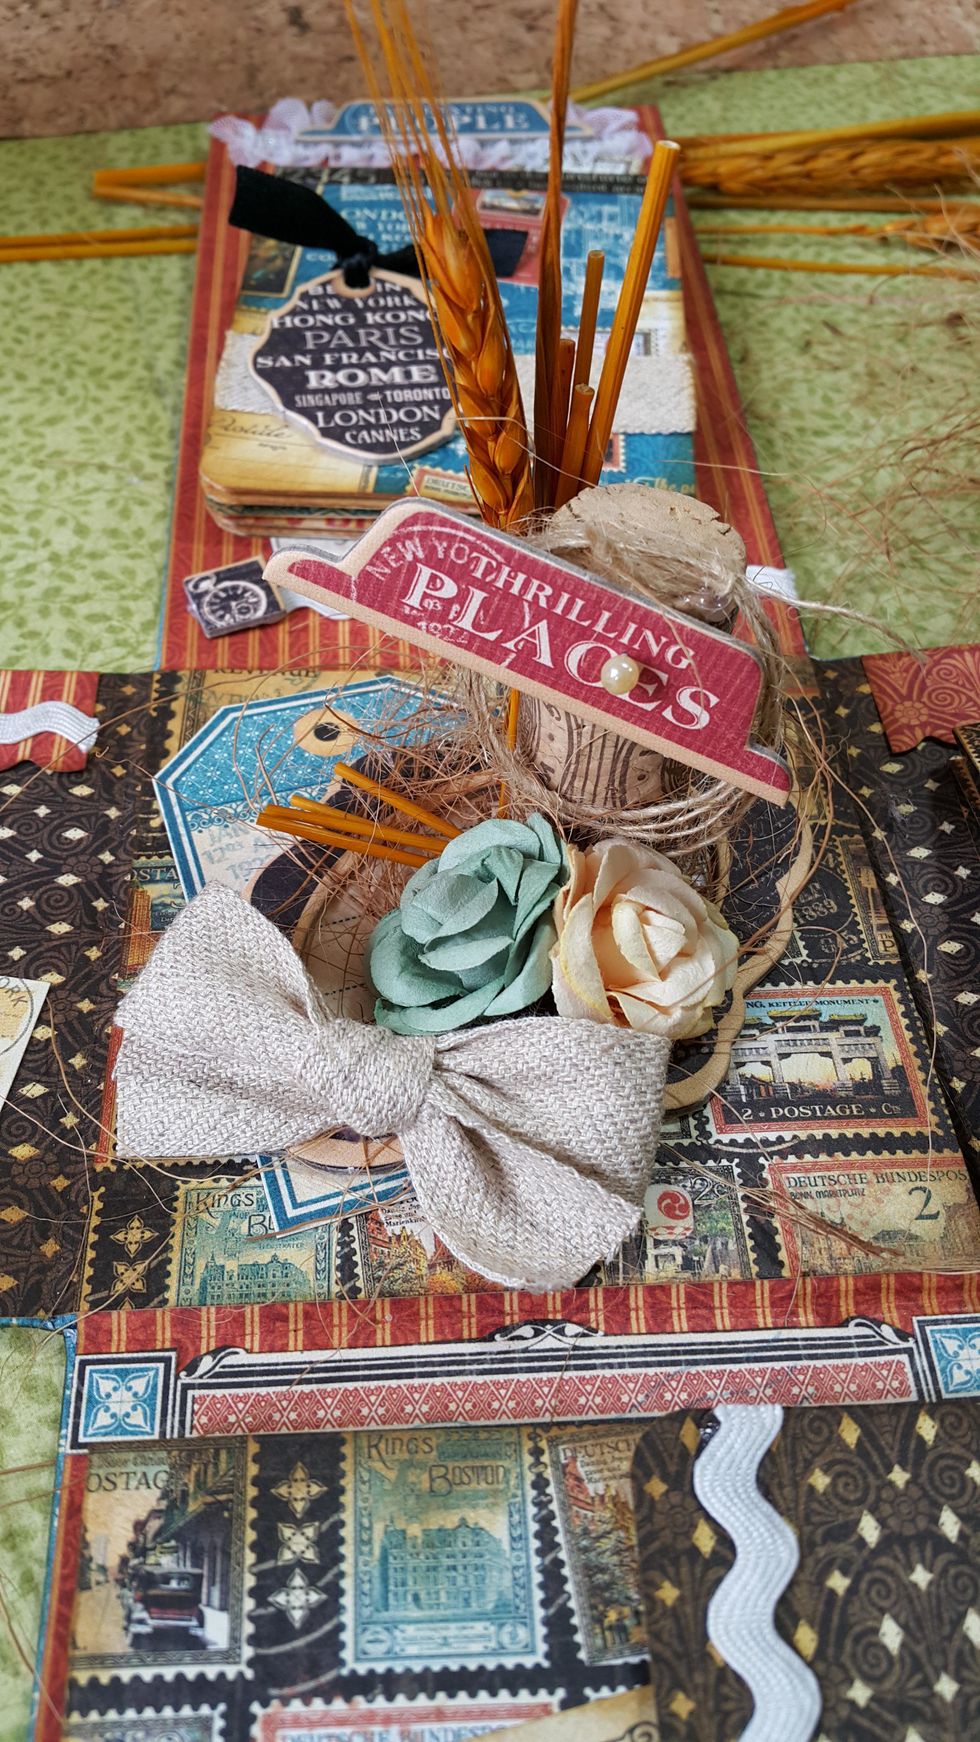
Wine cork as a street sign.
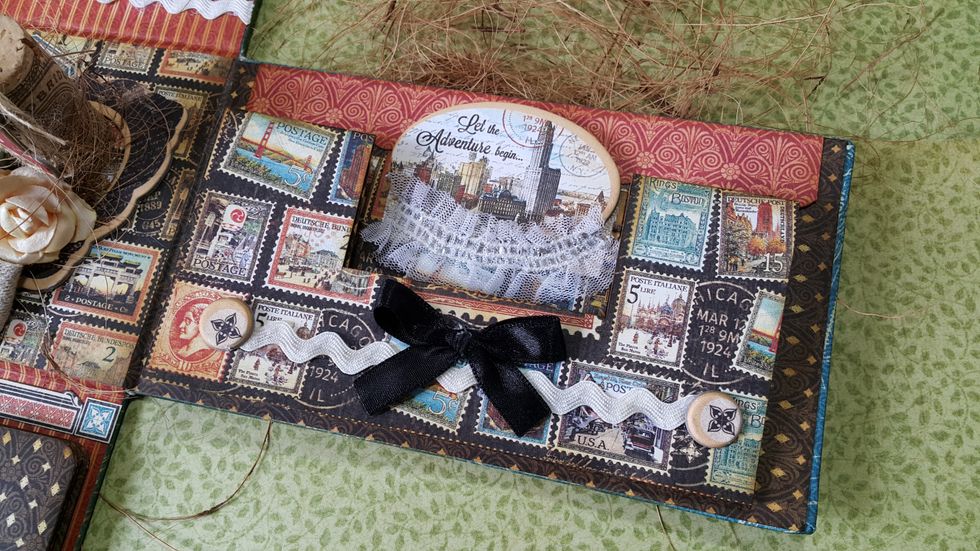
An accordion album down here.
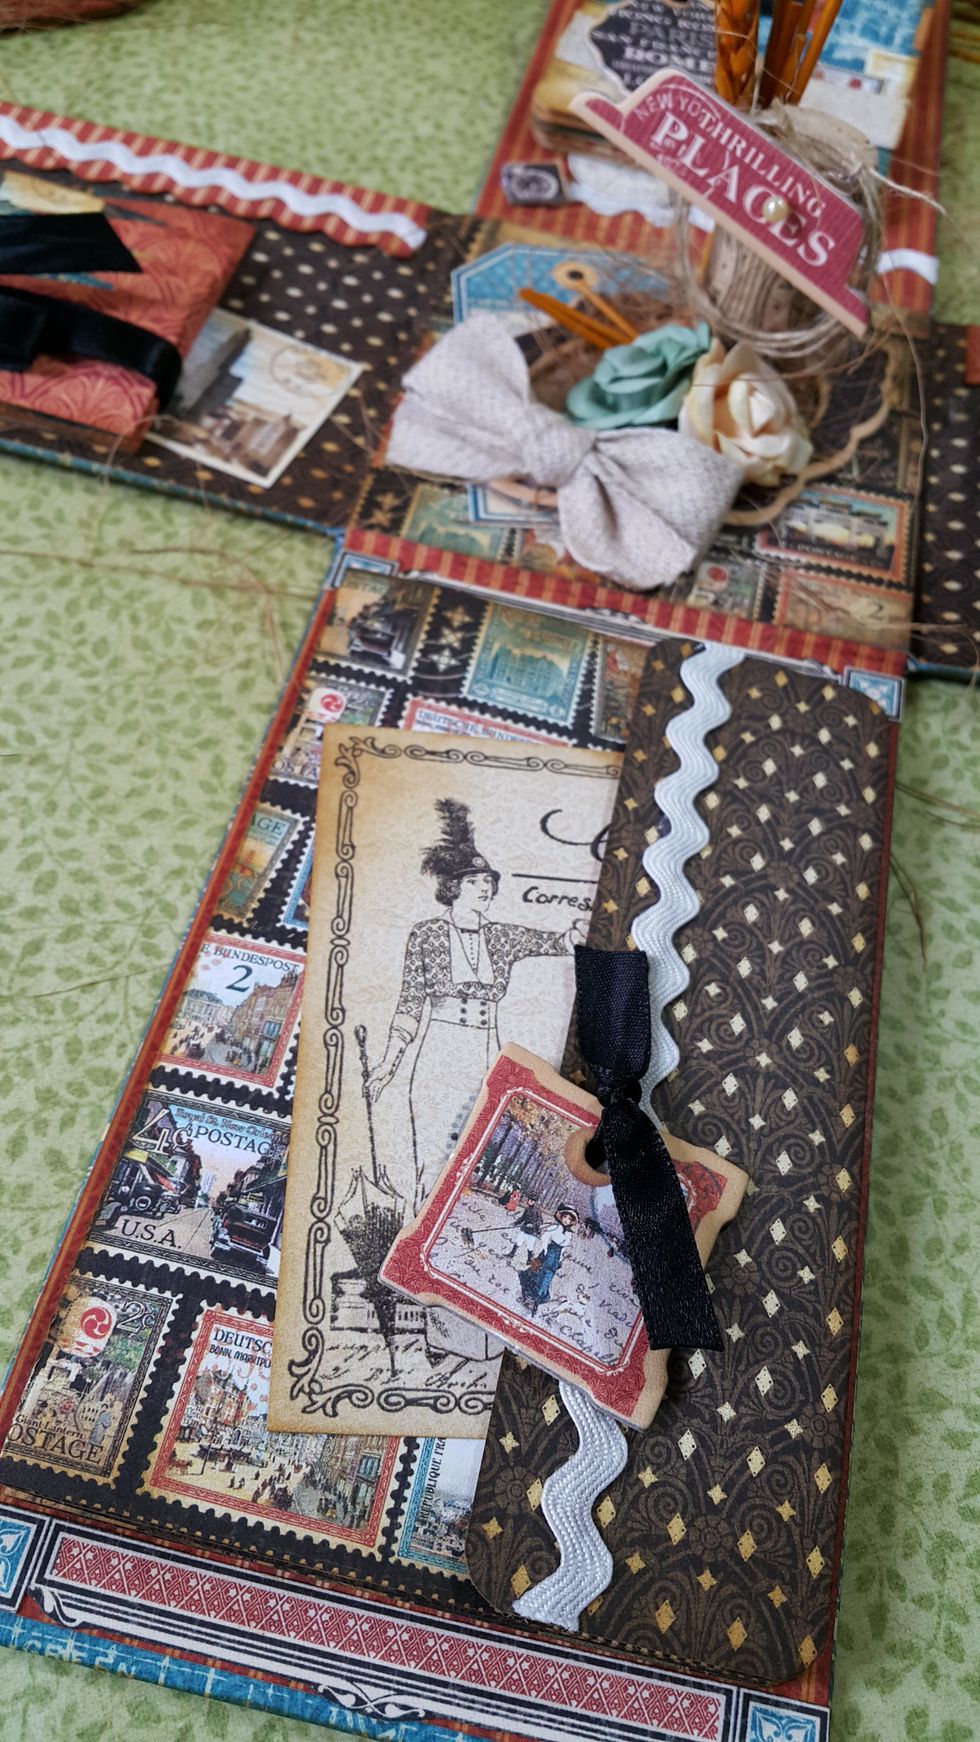
Here a tri-fold album.

Here on the left side I made a zig-zag min album.
On the top part of the explosive album, I put a simple but nice flip pages mini album, love especially the chipboard tag with "Hong Kong". Hope you like it and enjoy!!!