The Conversation (0)
Sign Up
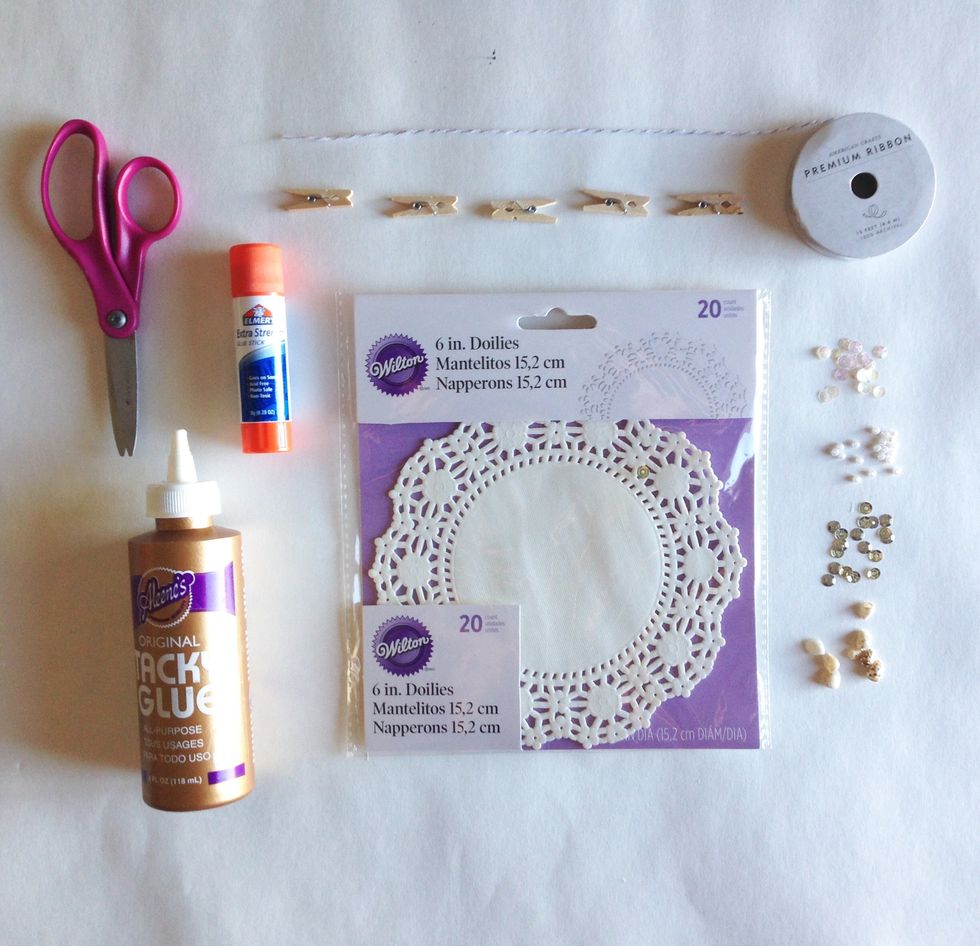
Gather your materials.
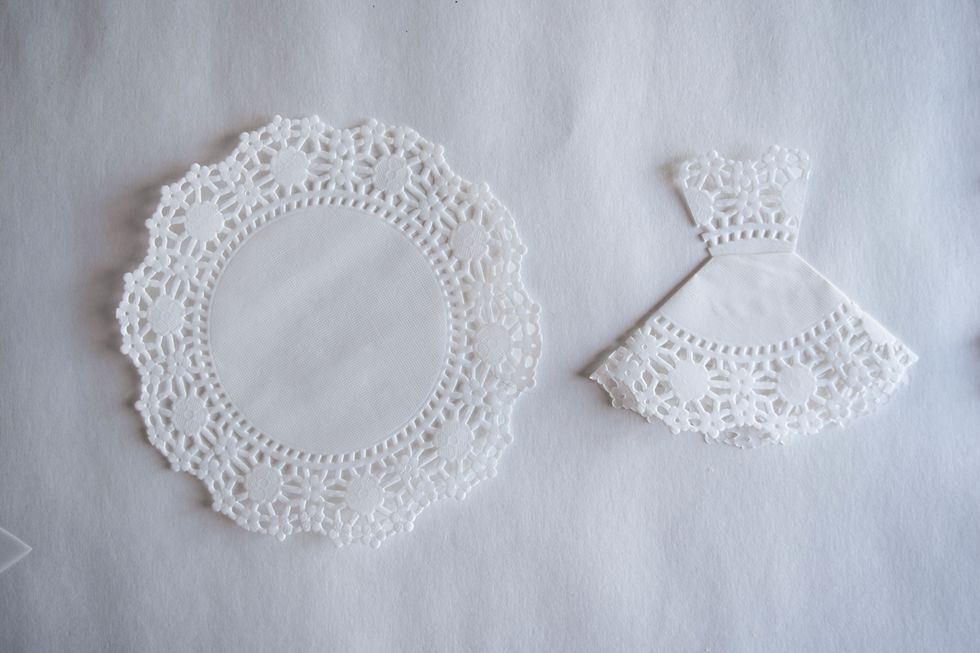
One 6 inch doily makes one wedding dress.
Before using a doily, make a test piece using scrap paper to experiment with different sizes and dress shapes.

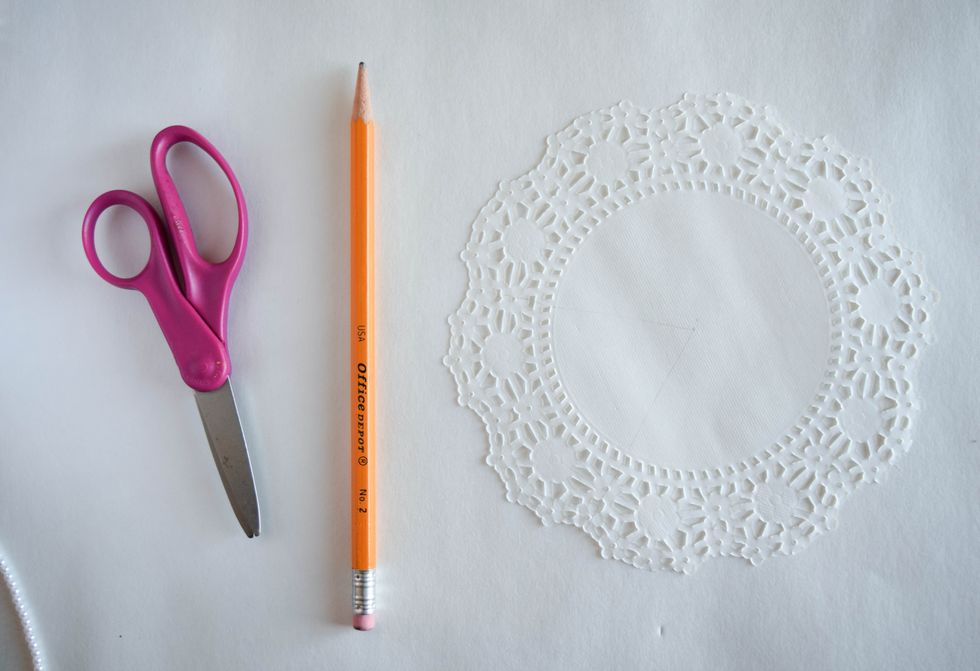
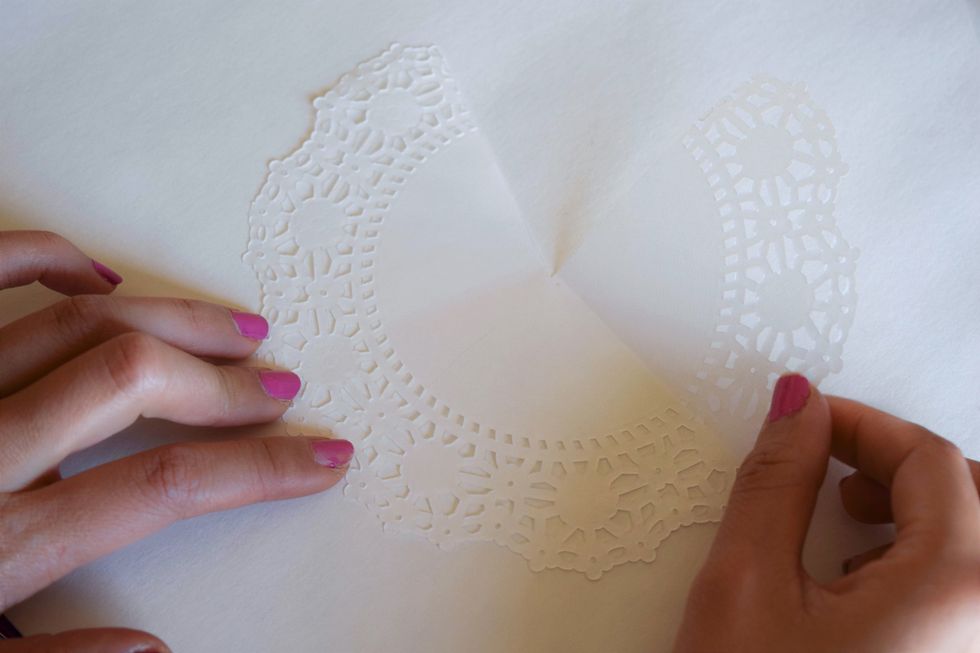
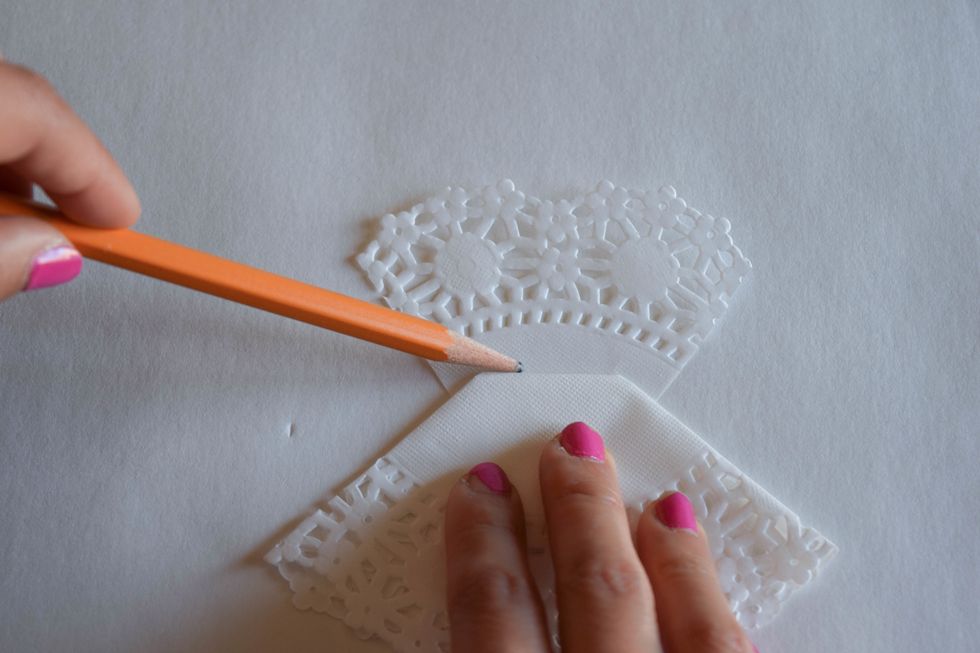
Use a pencil to mark the center of the doily. Starting from the center point draw one line to the bottom of the doily and one to the left so you mark roughly 1/4 of the doily.

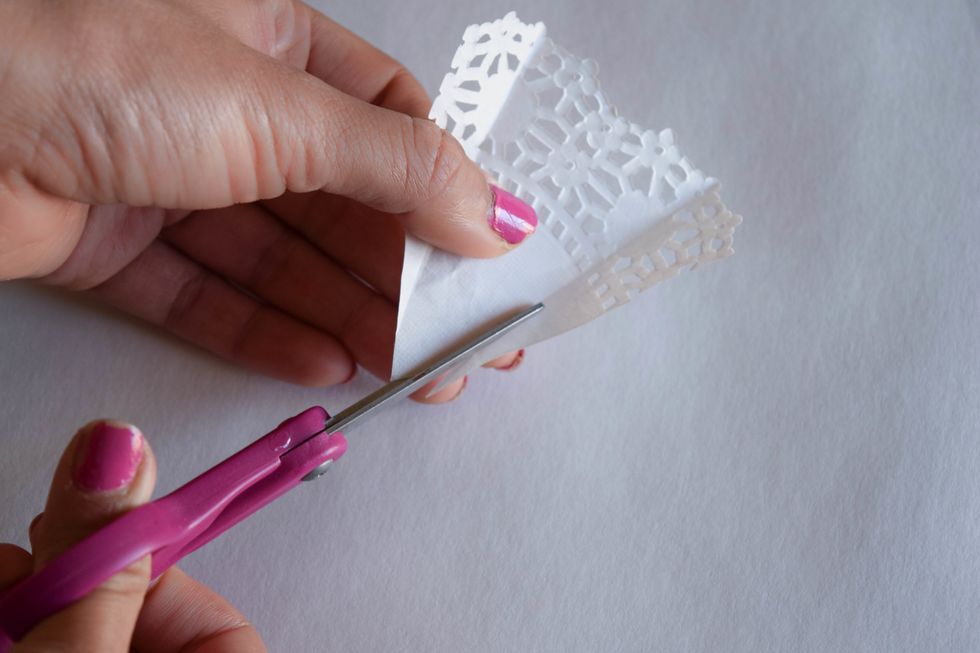
Use scissors to cut along the pencil lines you drew.
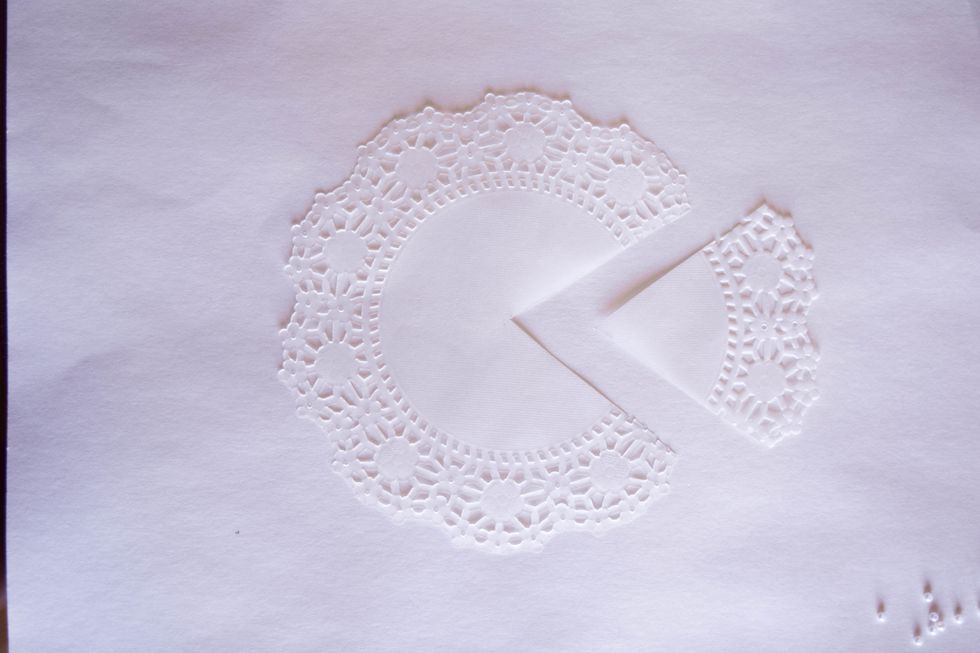
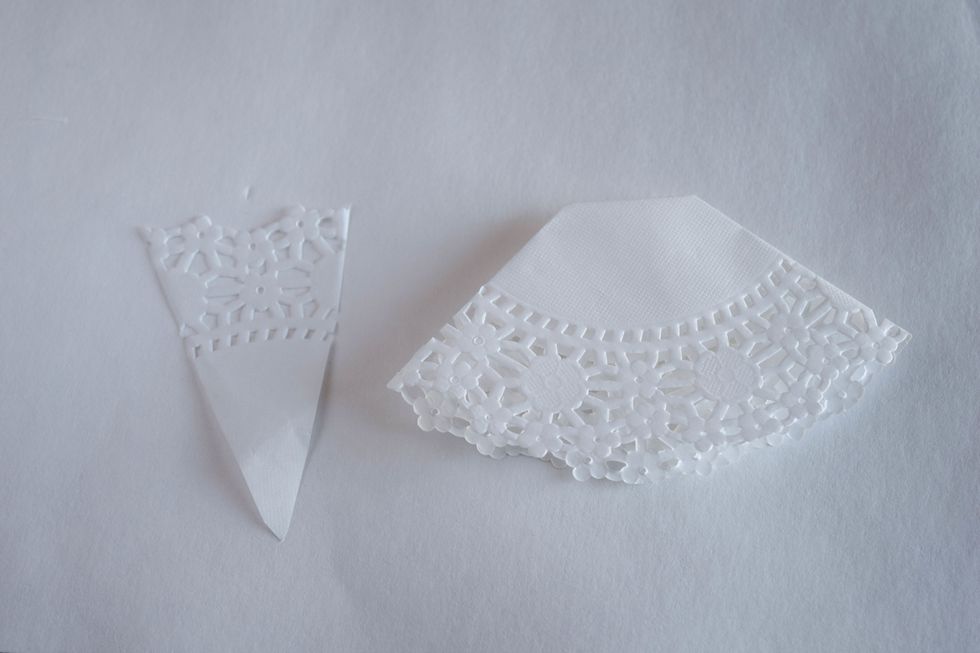
You will use the larger piece for the skirt part of the dress and the smaller piece for the bodice of the dress. Make sure the back side of the doily is facing up (toward you)!
Fold the right side of the doily to the left so the bottom edges line up. You'll end up with a half-circle shape.
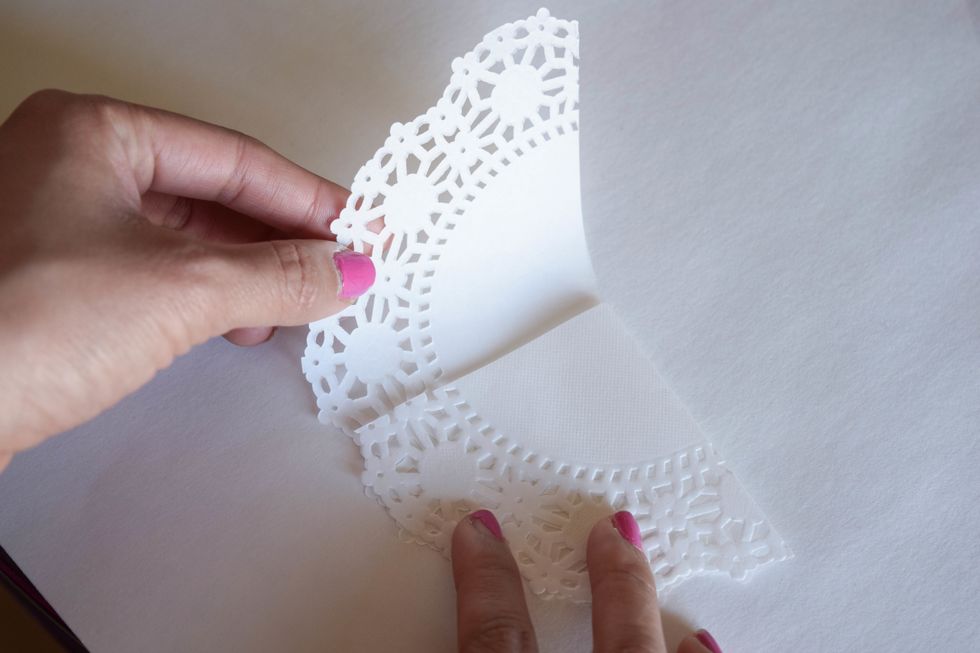
Fold the top left part of the doily down and over the part you just folded. You'll end up with a triangular shape with a rounded bottom.
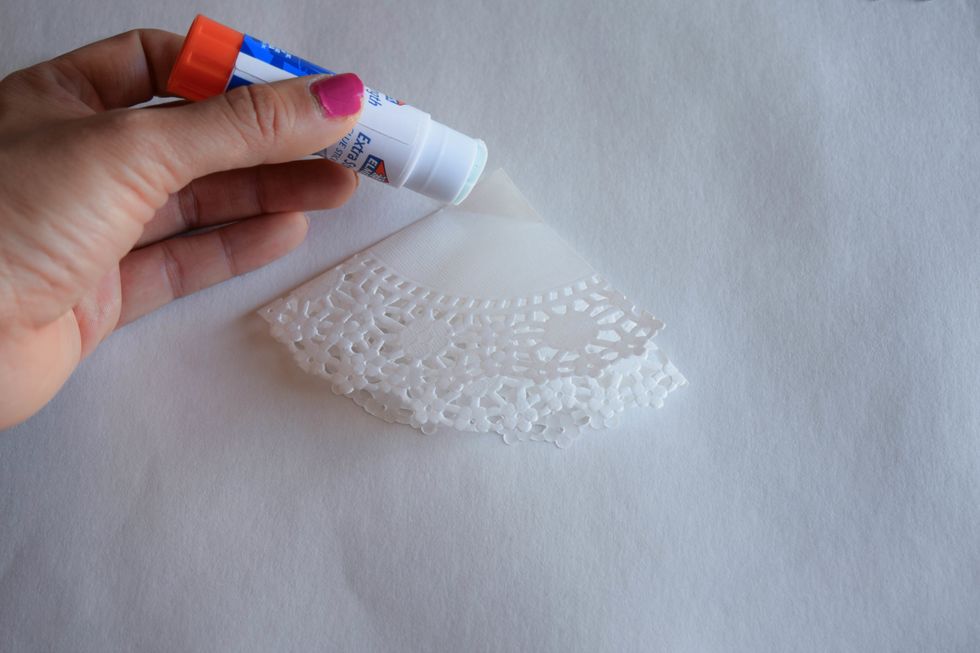
Use glue stick to secure the layers you just folded.
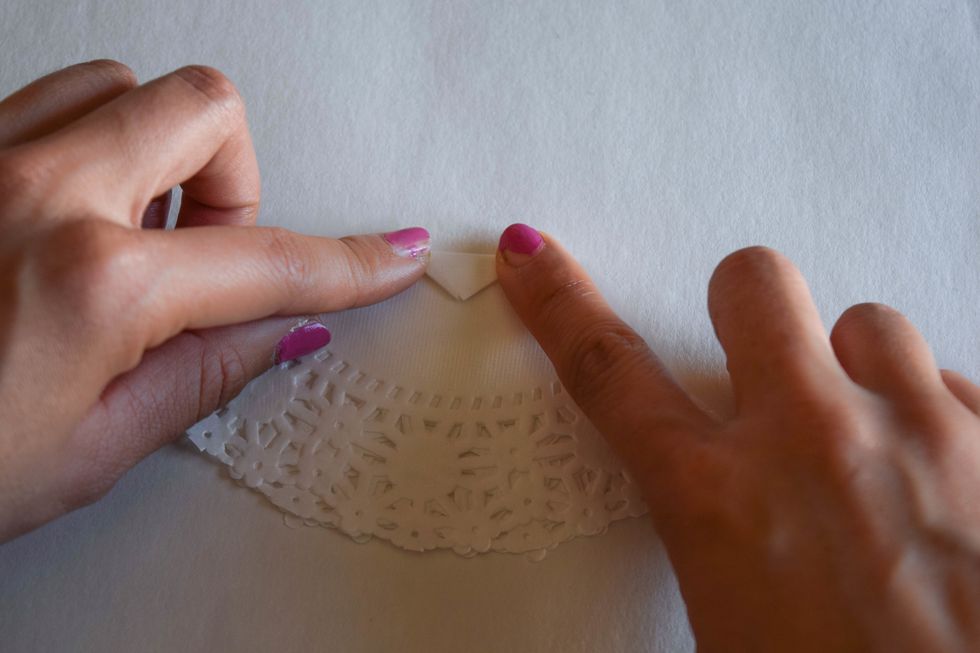
Fold down the top tip of the doily and glue that down. The resulting horizontal line will form the waist of the dress. This is the back of your skirt.
You'll see that the bodice of your dress is larger than the waist of the skirt. Note how much to trim off the sides of the bodice so it aligns with the waist line of the skirt.
To make the top of your dress, draw lines with pencil or fold the smaller piece of doily inward and cut along the designated lines.
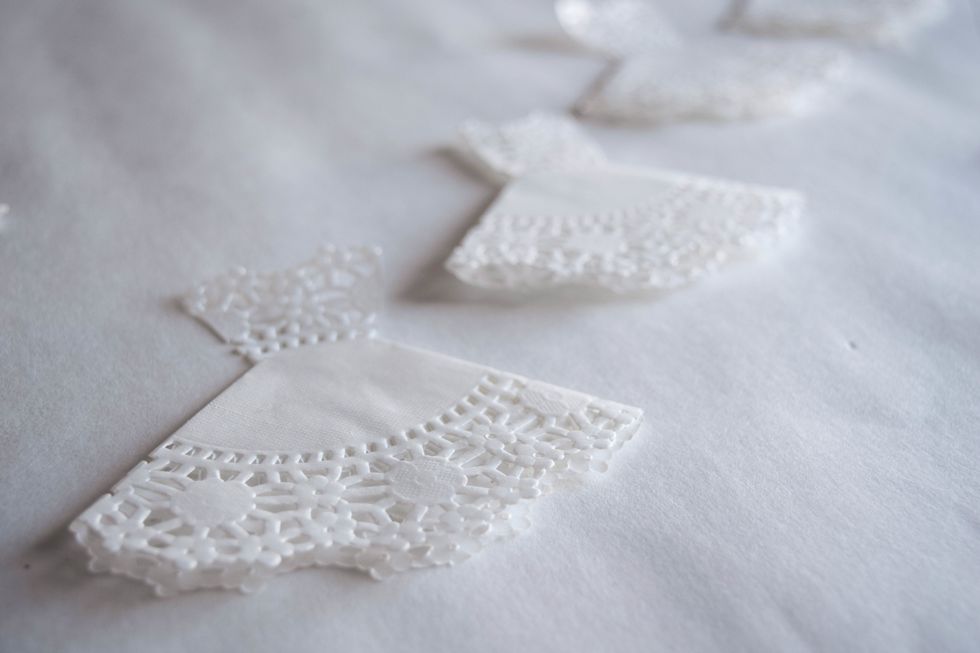
You should end up with shapes like these when you look at your pieces front side up. But have the back sides up for the next step!

Use glue stick to glue the bottom of the bodice to the top of the skirt. You can also cut off the bottom pointy tip of the bodice before gluing it down. (This is the back of your dress)
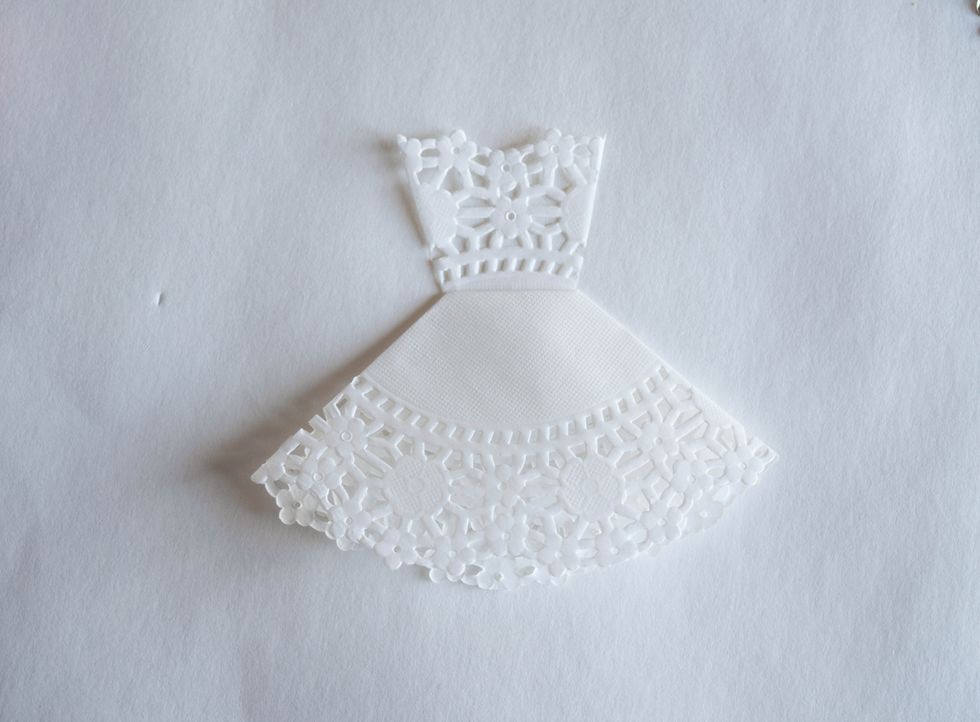
Flip the dress over and you've finished making one dress!
Repeat the process to make as many dresses as you want for your garland.
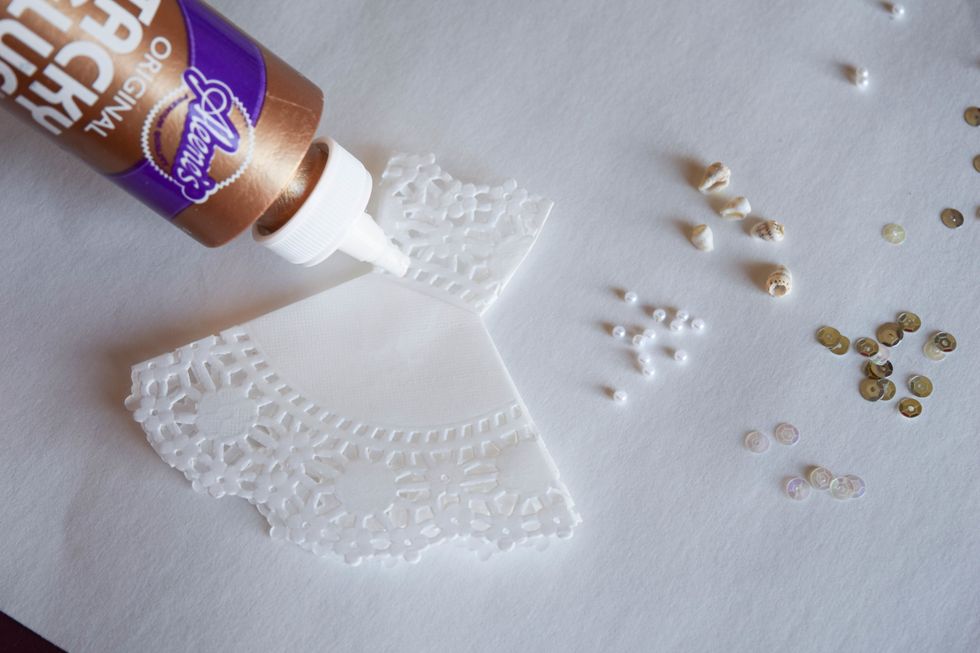
Apply a thin line of Tacky glue to areas on the dress where you want some extra sparkle and add your embellishments.
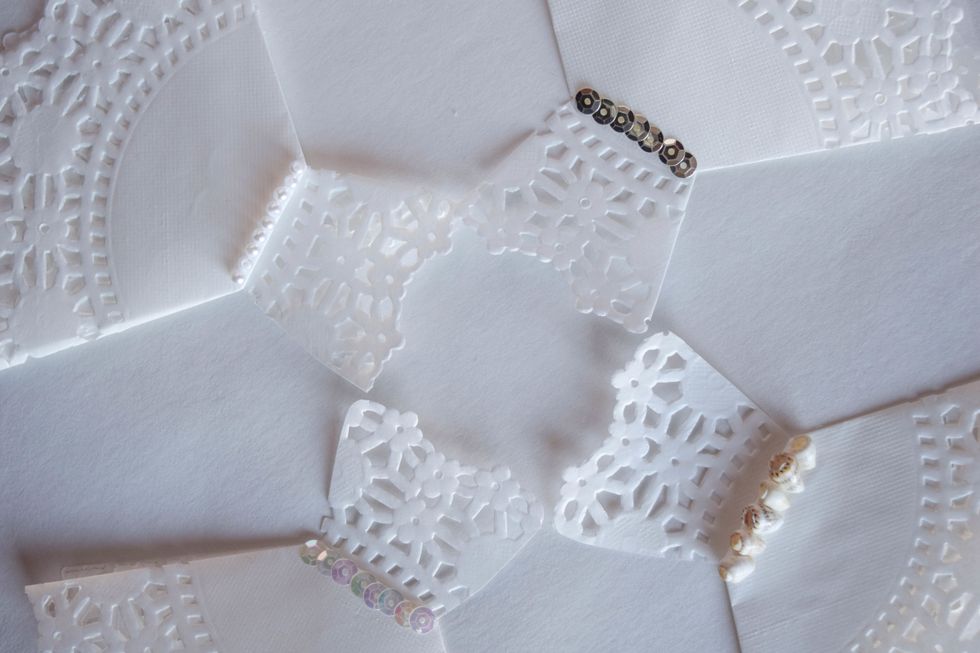
I chose to use mini pearls, seashells, and sequins, but the possibilities are endless!
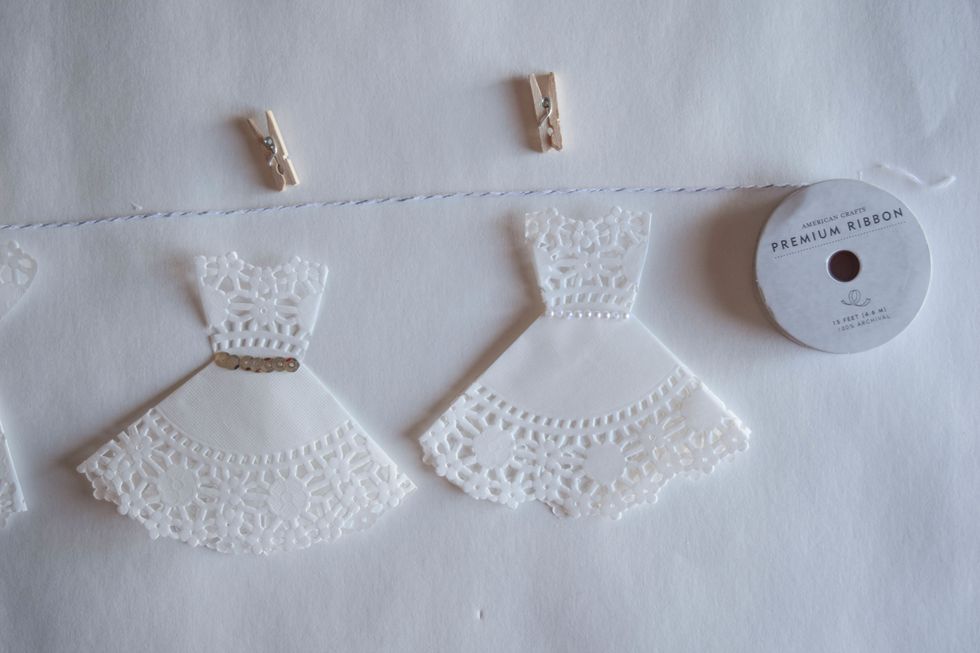
Use mini clothespins to clip the doily dresses to twine. You can even decorate the clothespins!
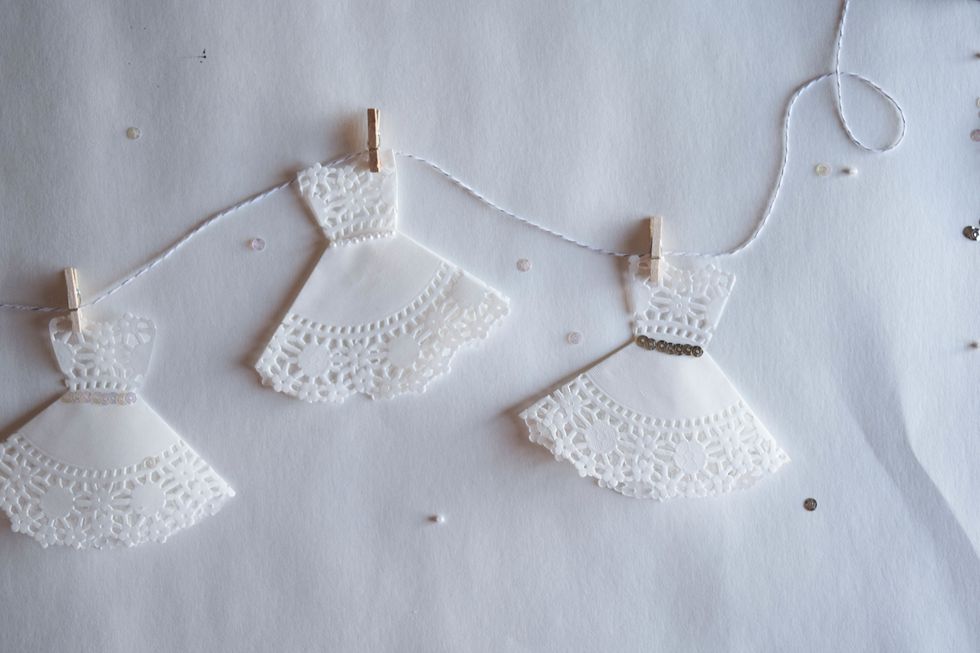
Finally, use tape to hang your completed doily wedding dress garland :) http://www.brit.co/category/weddings/diy-weddings/