Make a Wedding Book Card
63
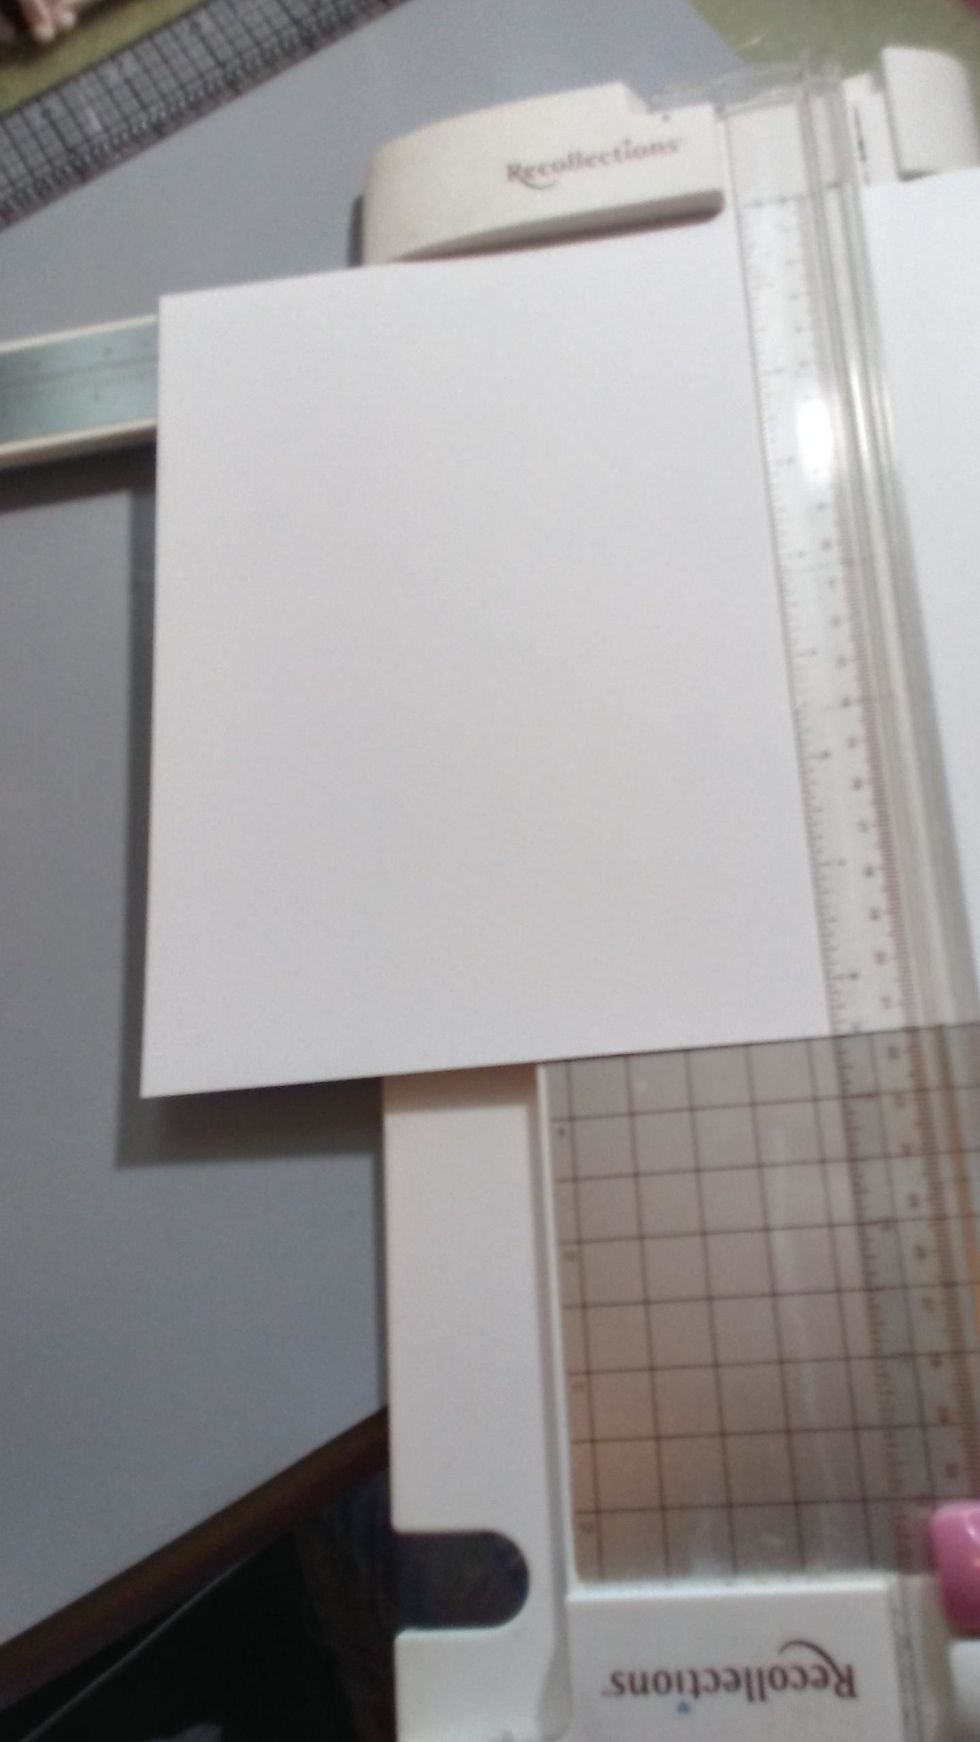
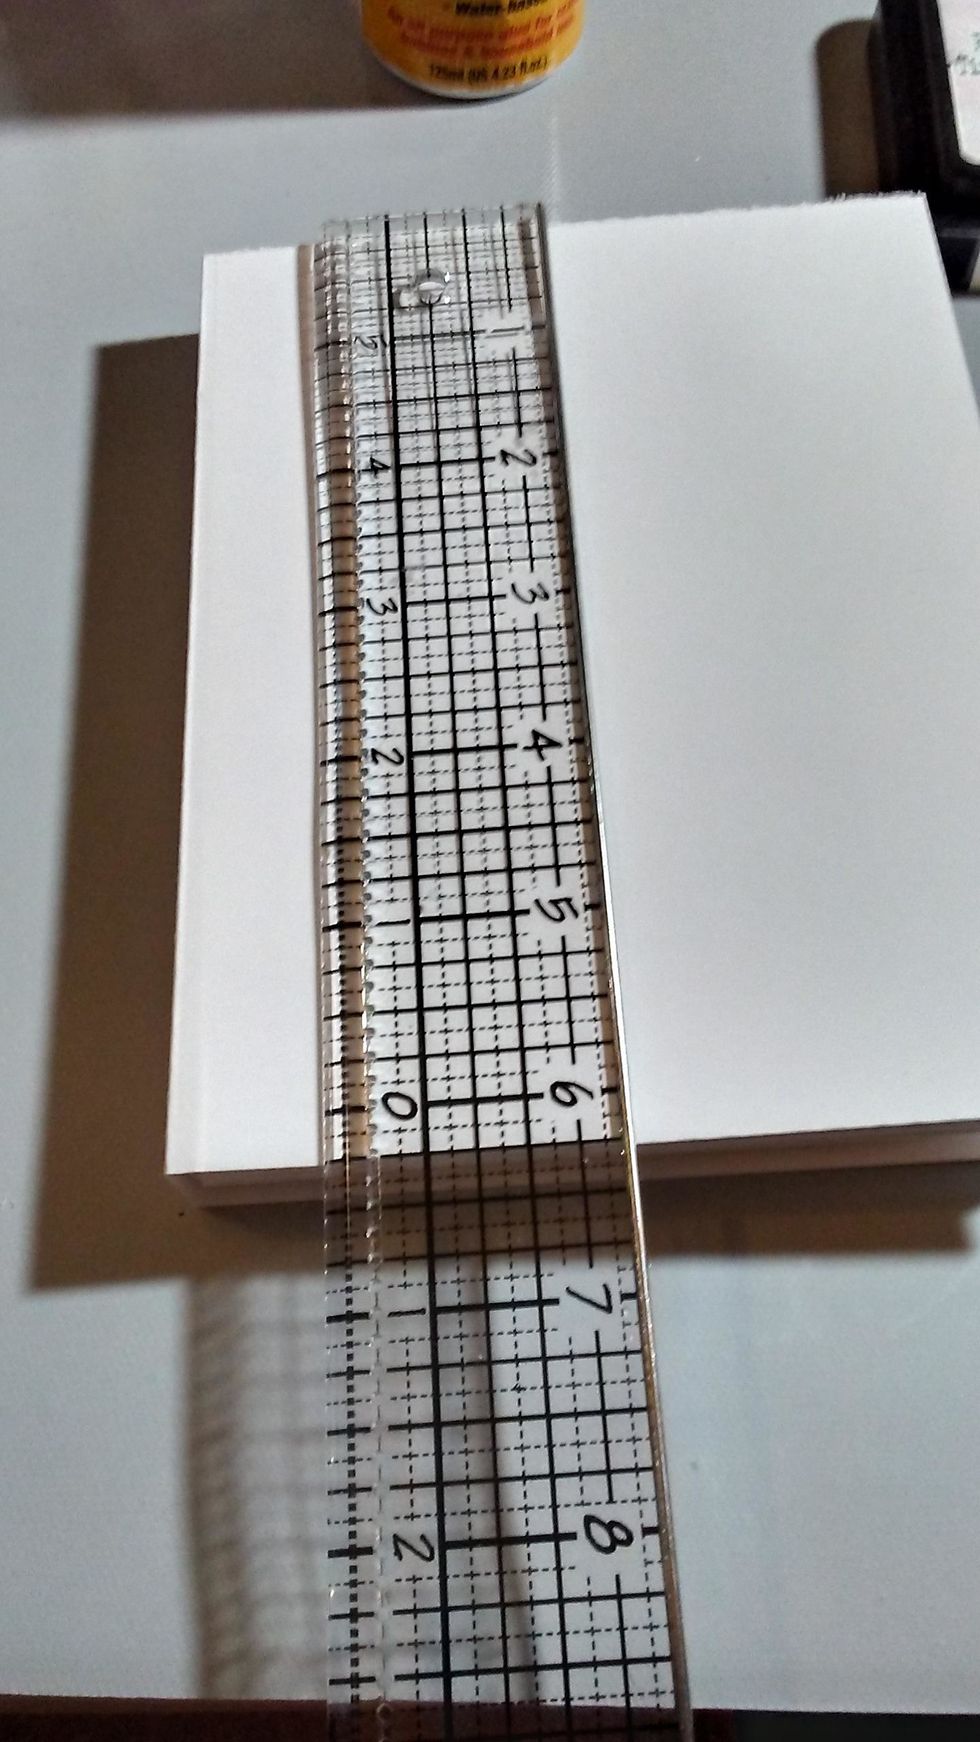
Cut watercolor cardstock paper (2) 8 X 4.5 & (2) 8 X 6

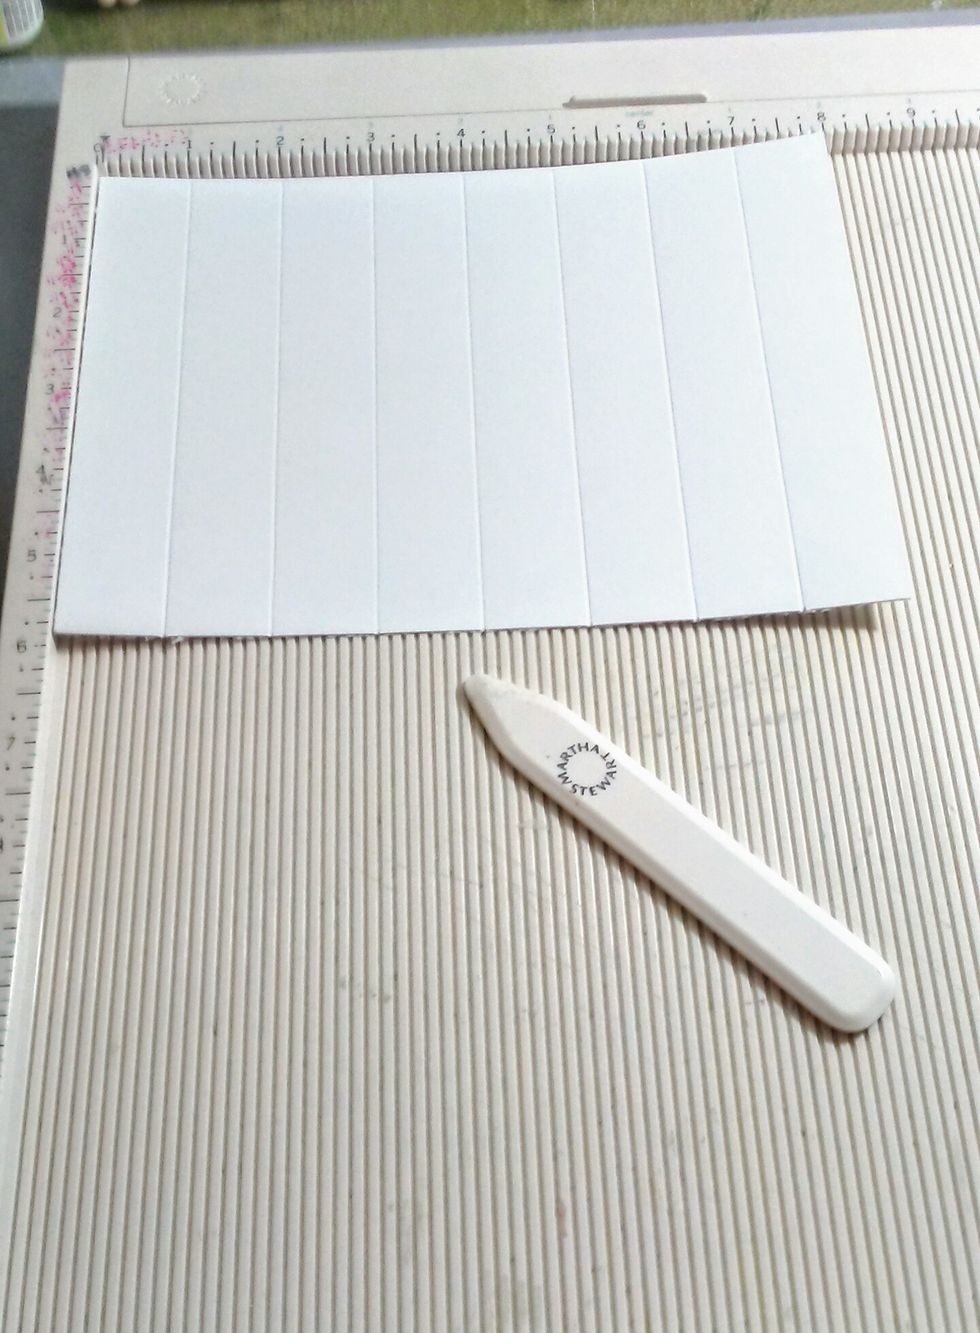
Score all 4 pieces of paper @ 1inch on scoreboard

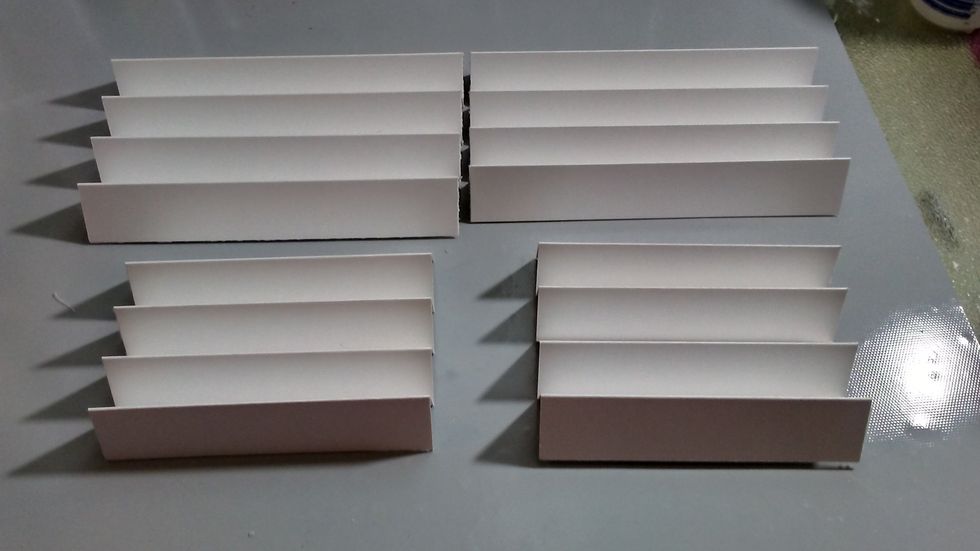
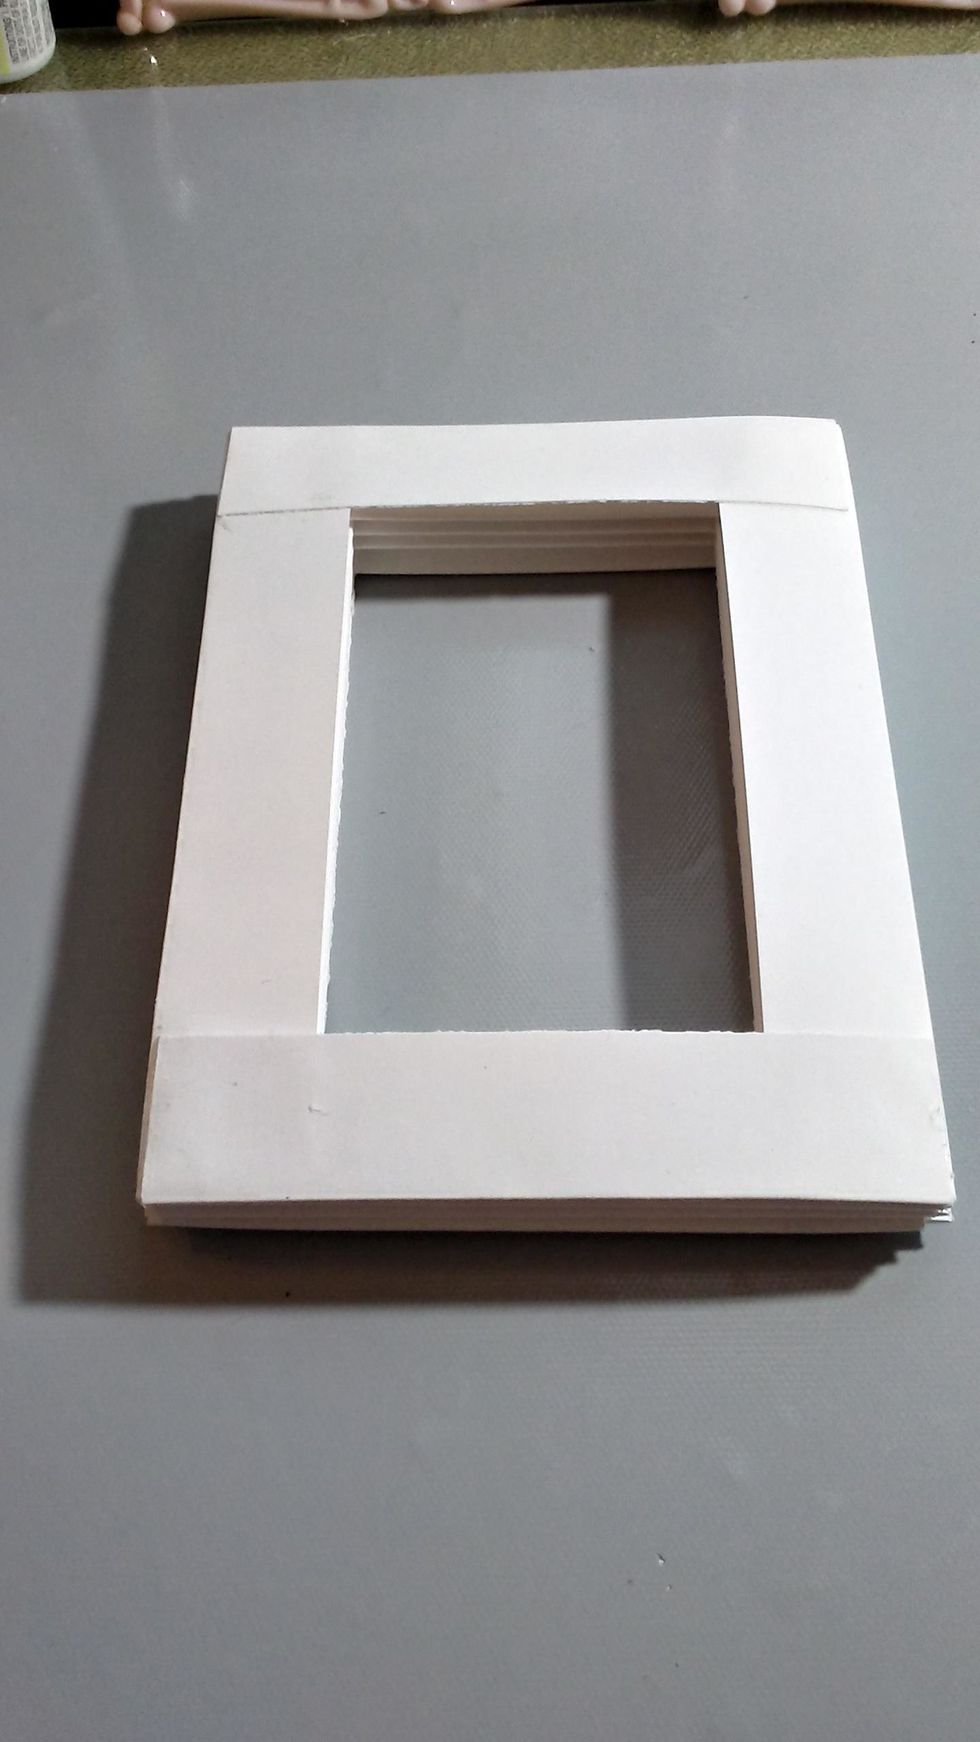
Once finished scoring, fold and crease well using bone folder . Pieces should look like this

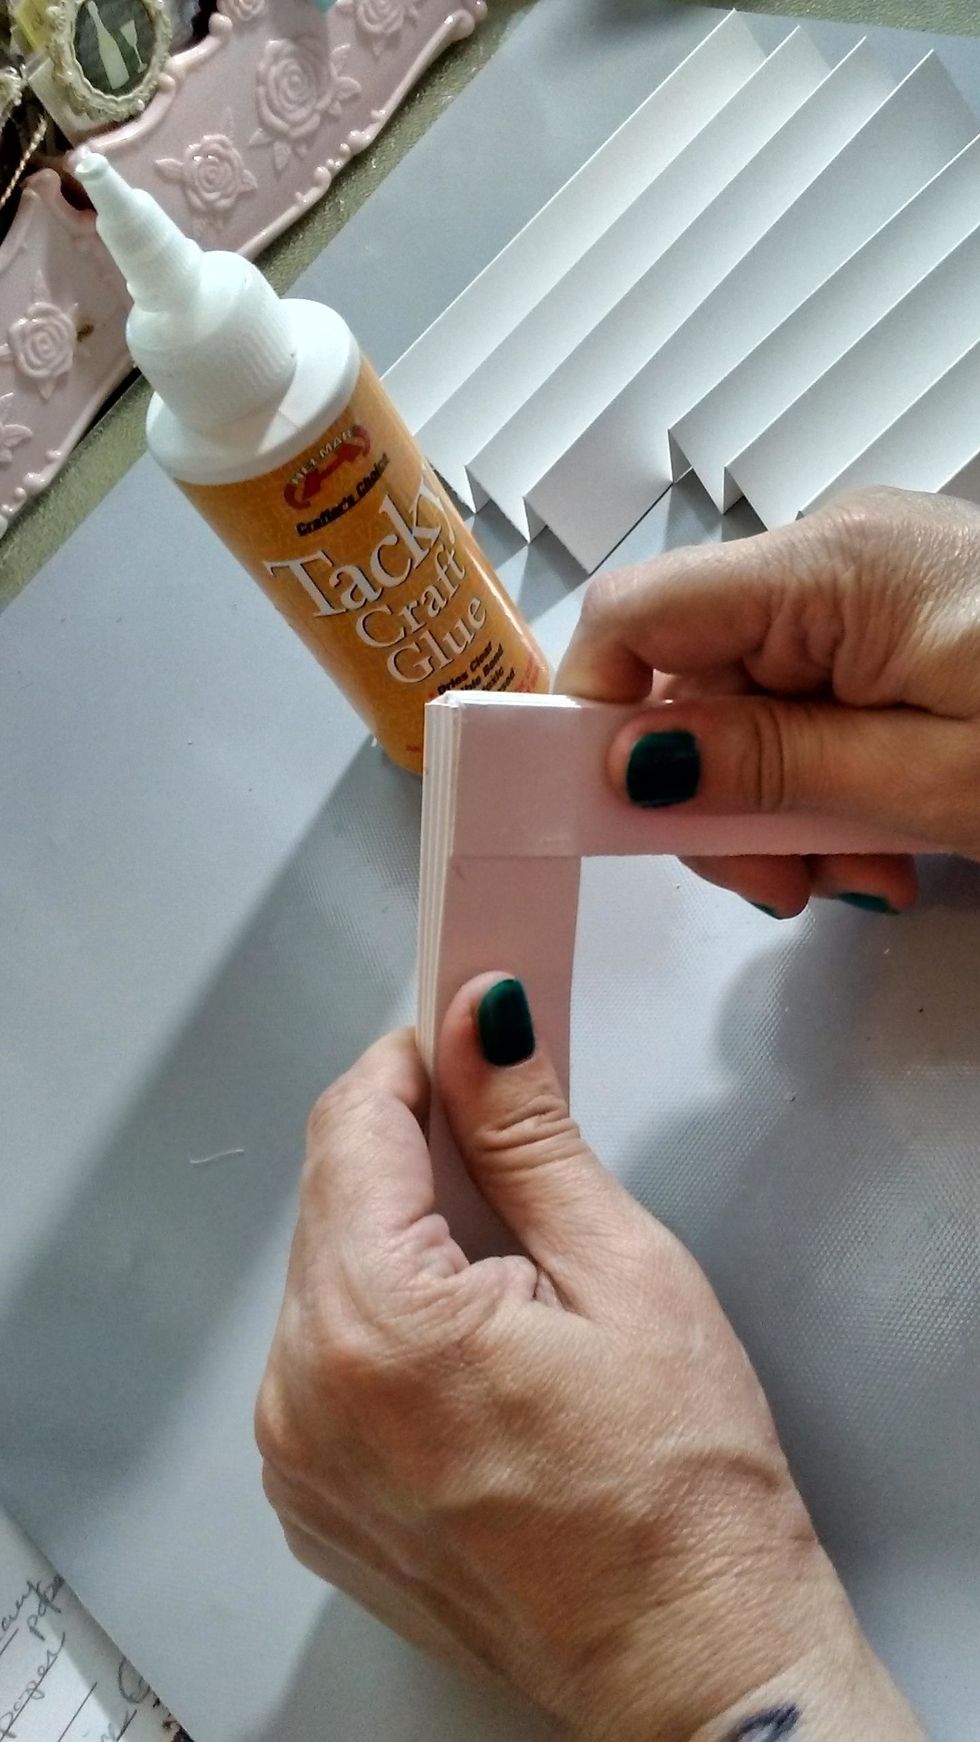
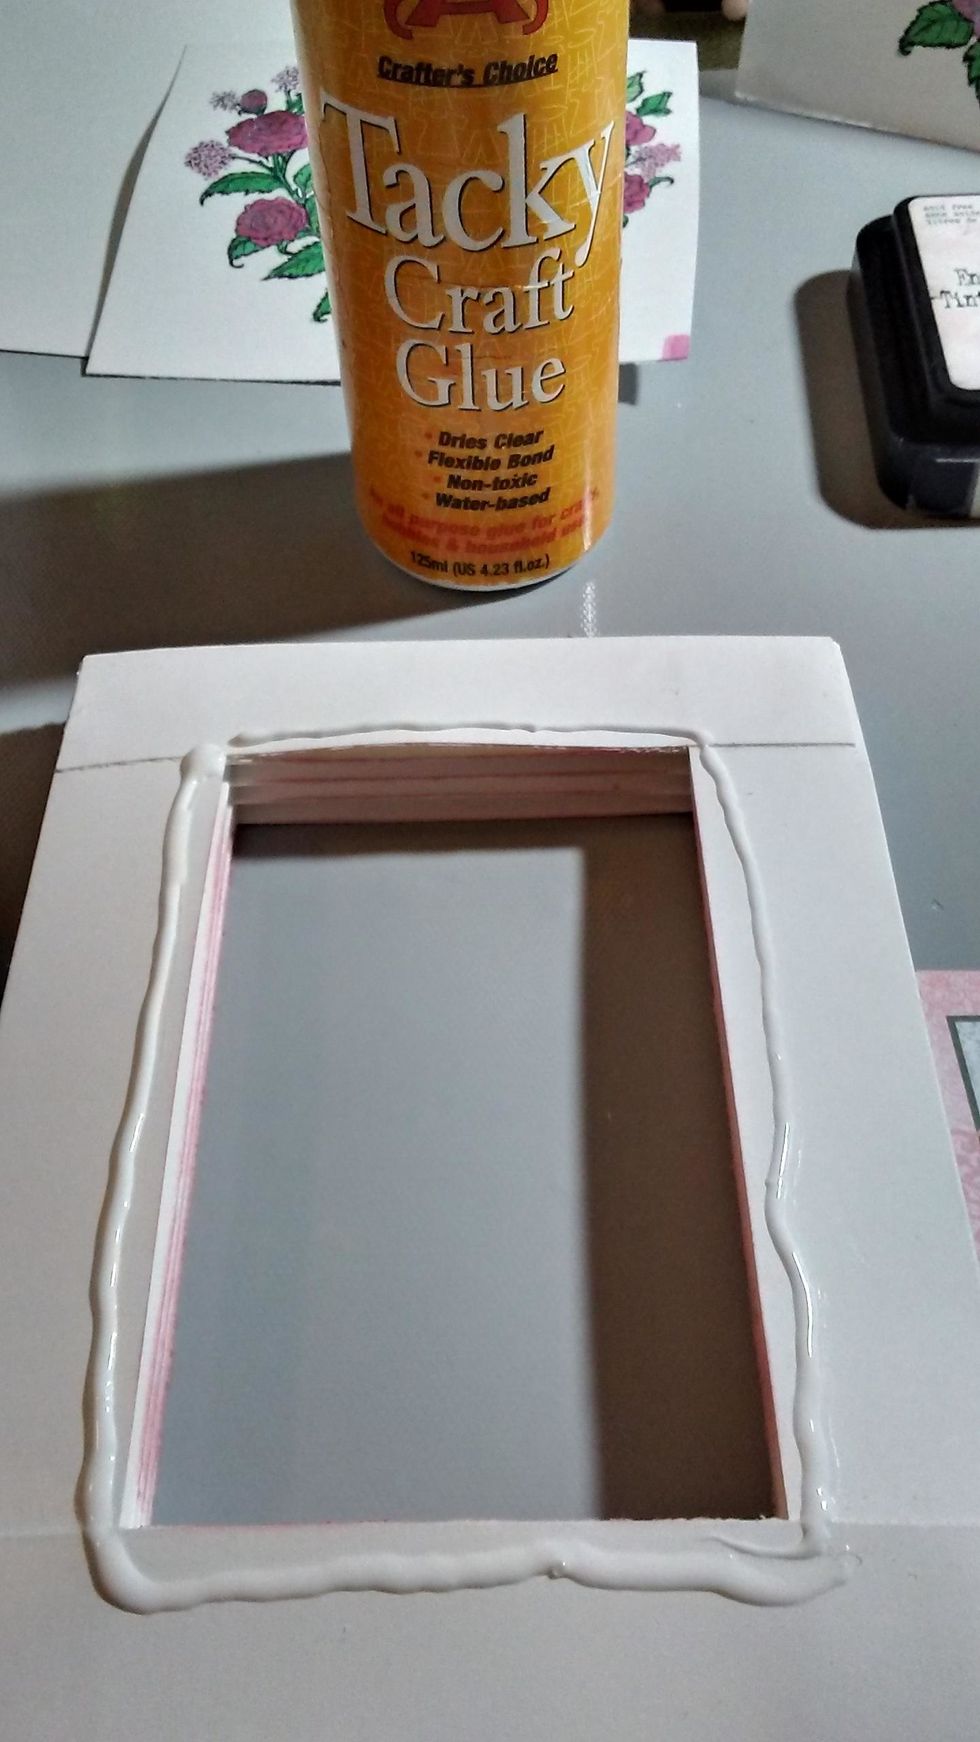
Using wet adhesive to adhere pieces together. I used Helmar Tacky Craft Glue.
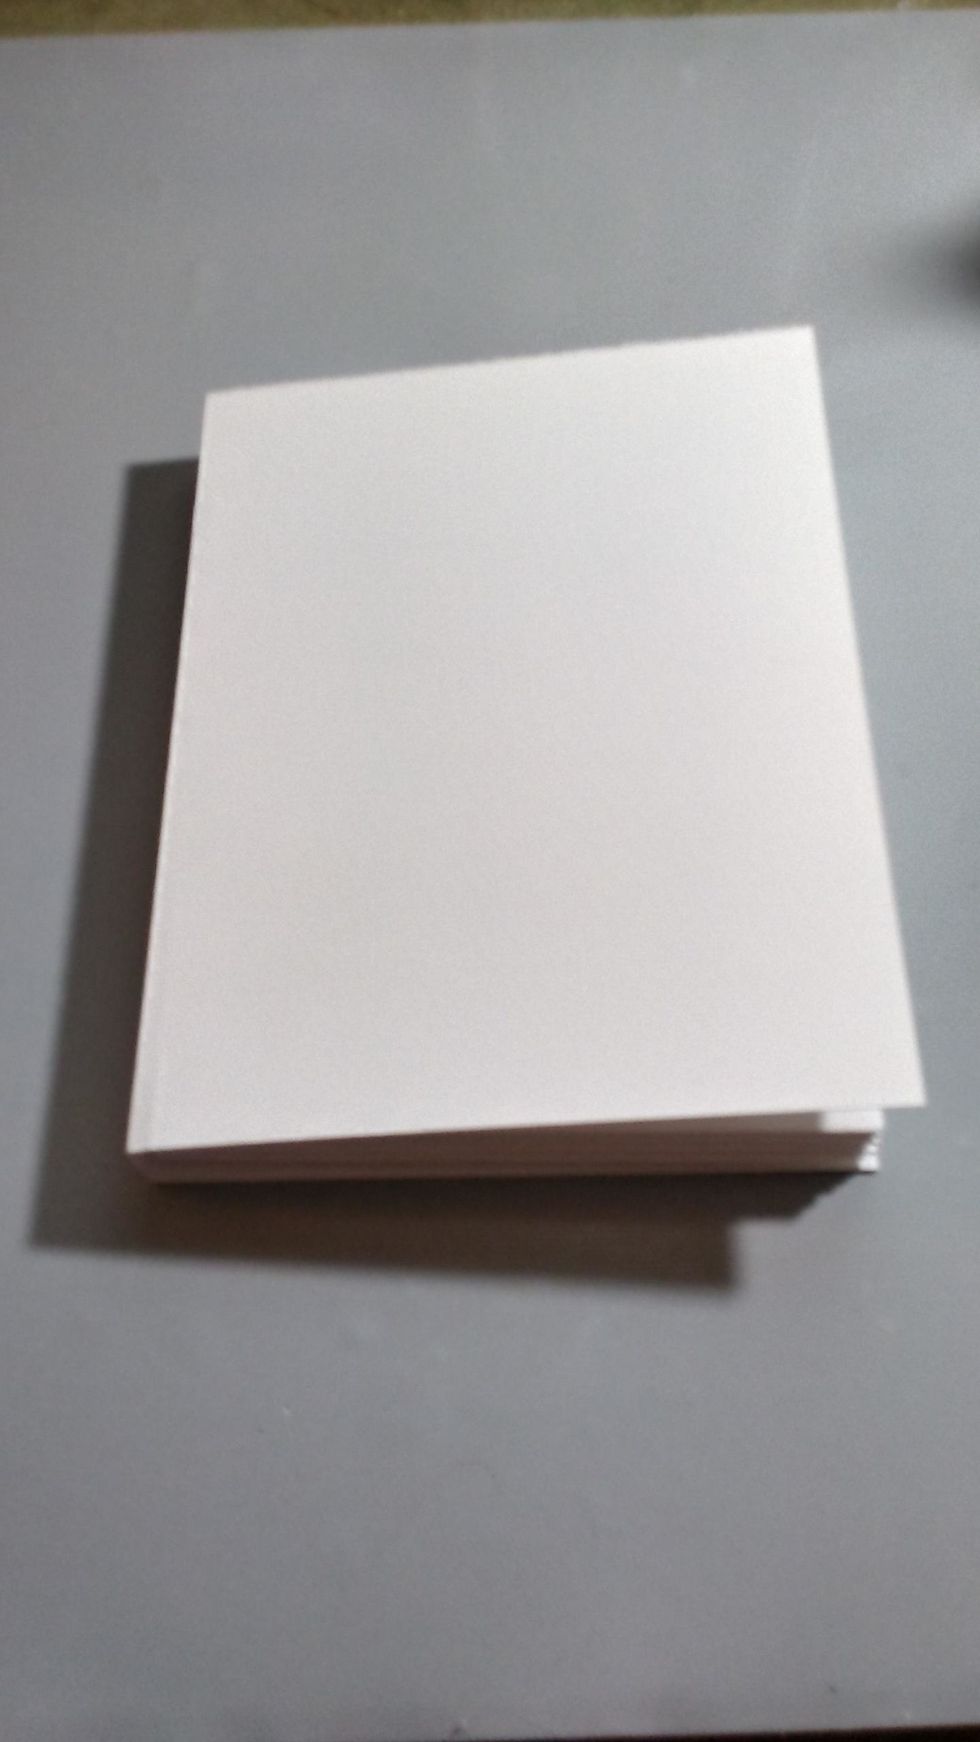
Your result should look like this
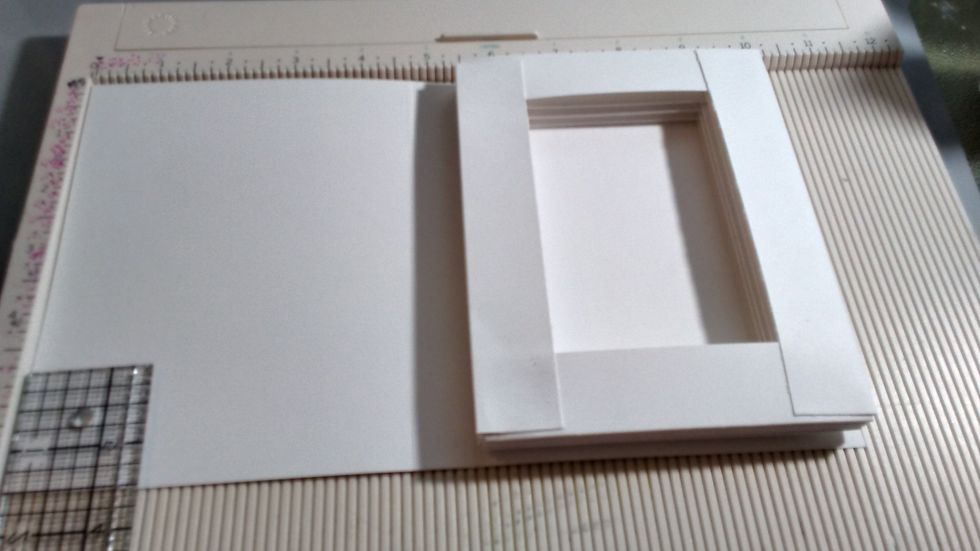
Cut another piece of paper , I cut only the height which should be 6 3/4 . I placed my piece and scored where my spine should be, this will be your cover. I trimmed off excess of my 8.5 X 11 paper.
This is how it should look but you won't adhere it together just yet
You will then measure the outer covers as well as the spine . I measured 1/8 in. all around each end for a border. I then chose the design paper
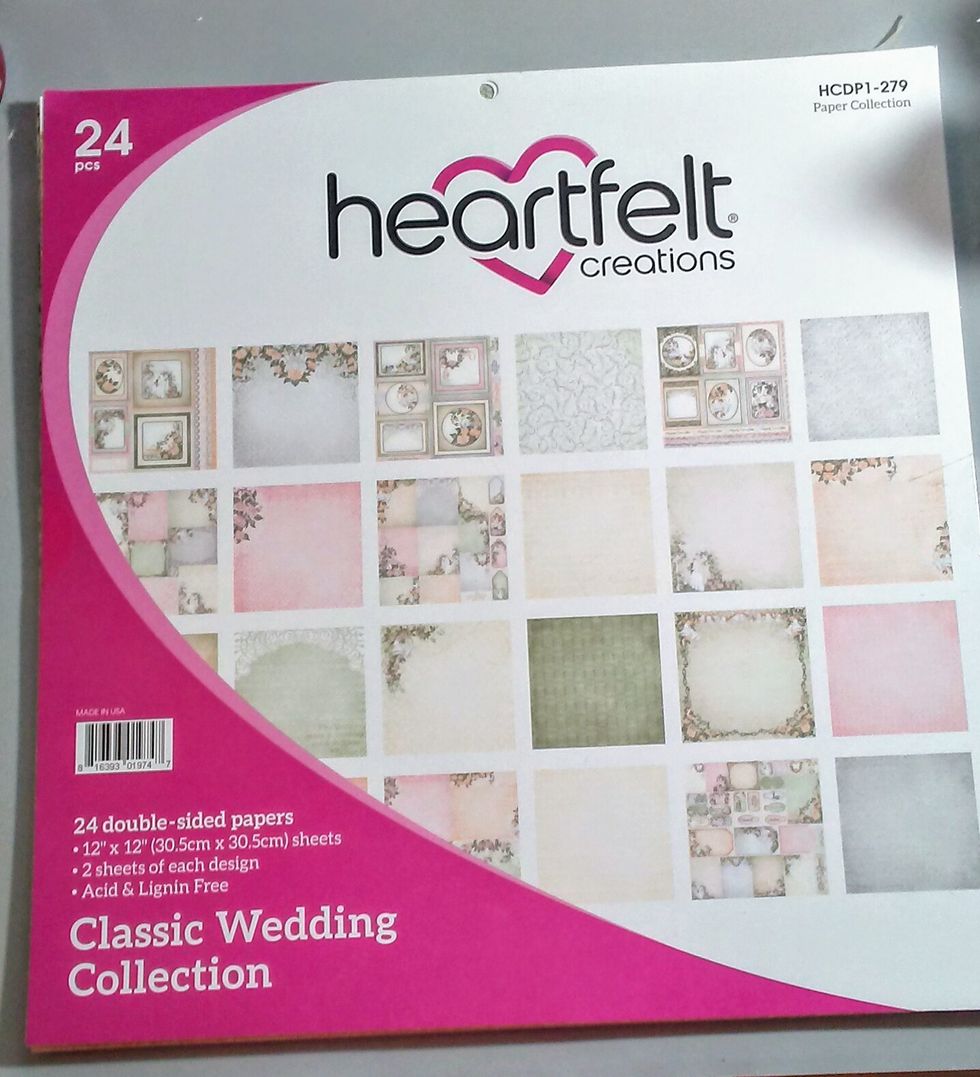
I used the Heartfelt Creations "Classic Wedding Collection" paper pad.

This paper pad has a variety of tags, and images. I measured out one of these. ** I ended up using a different image after all.
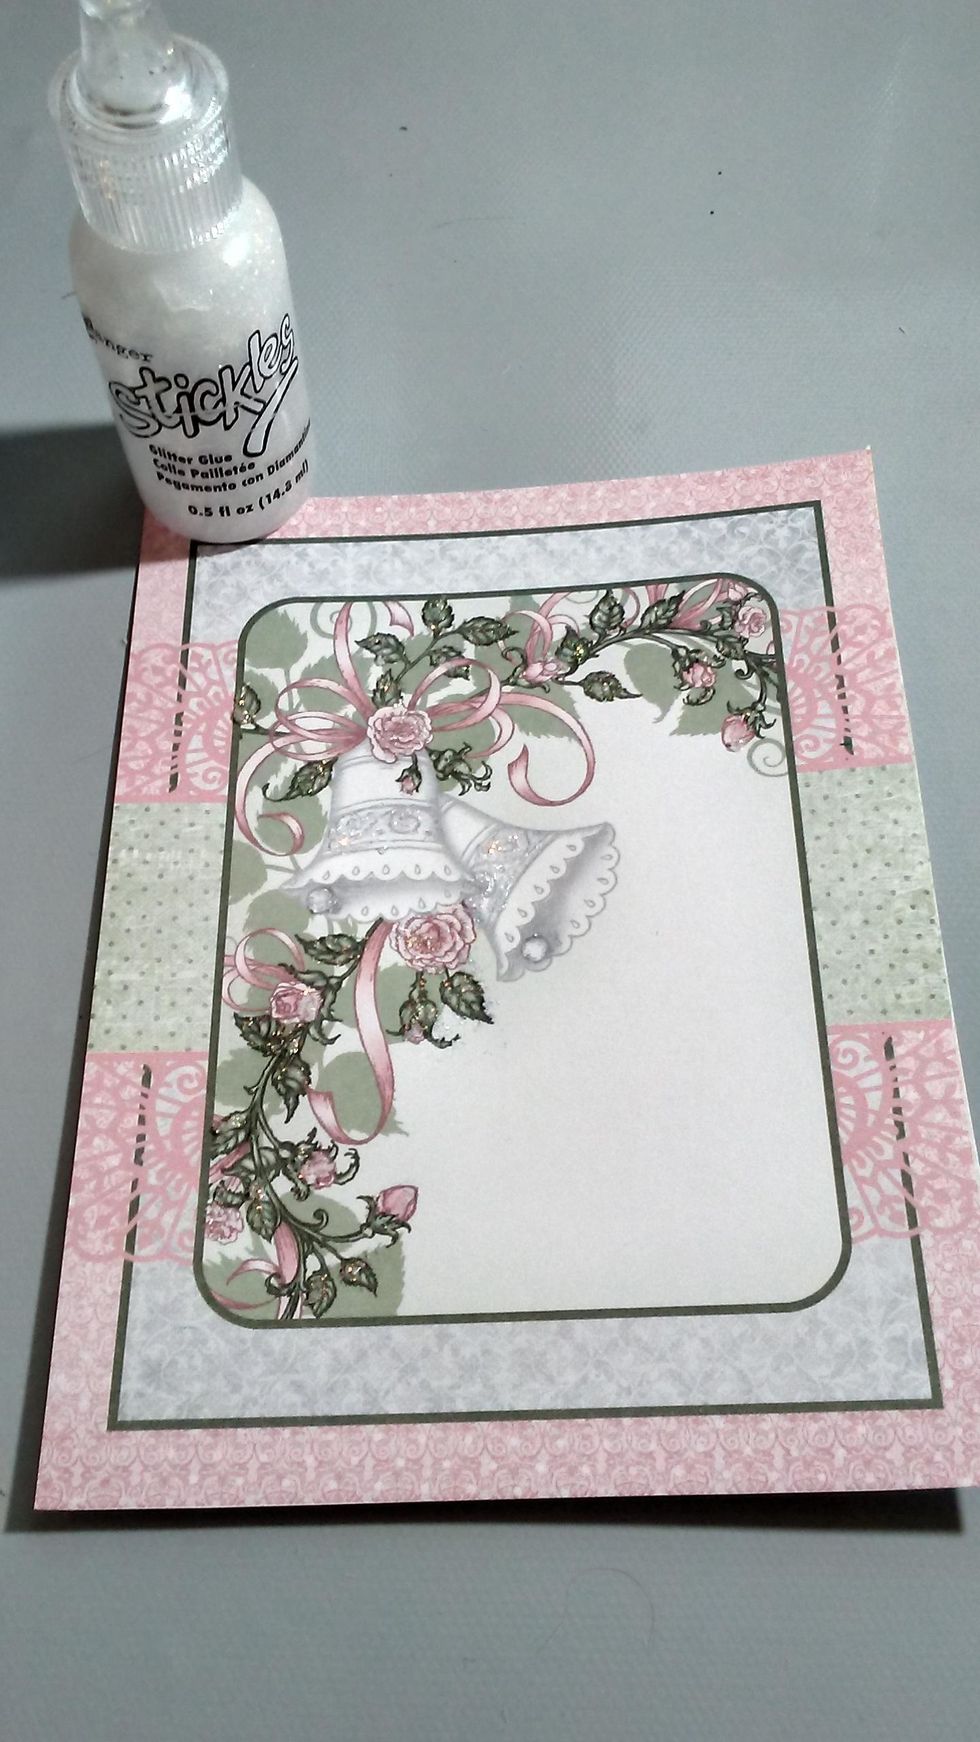
I love using these Ranger Stickles for some shimmer. I applied it on all of the flowers, leaves and the design area of the bell and the center.
I used Helmar Tacky Craft Glue to adhere the image that I had applied the Ranger Stickles to. Then adhered that part to the cover
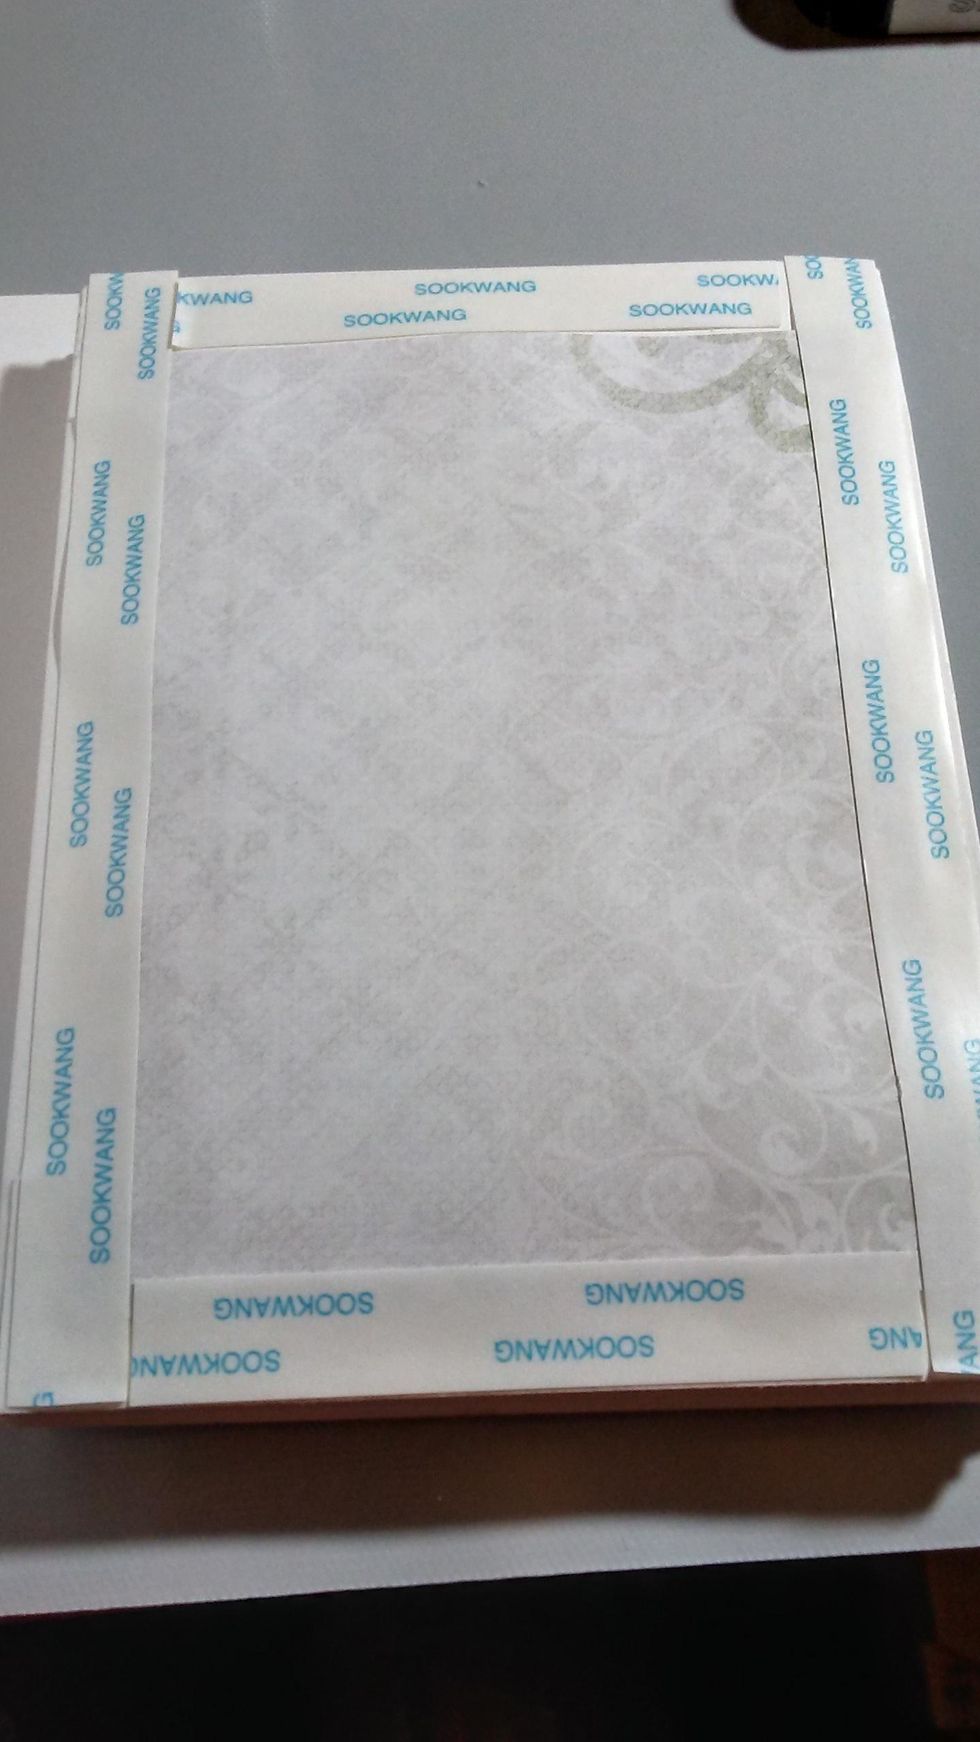
I picked out a sheet from the paper pad for the cover of my "book". I used Score tape on this part. I added some on the spine as well as the back and front covers. **Lost some other pics of this step
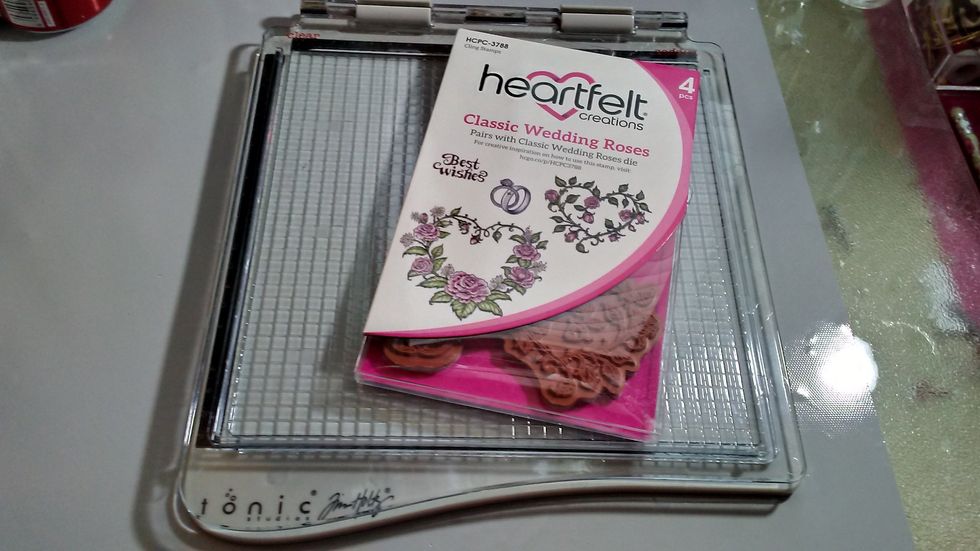
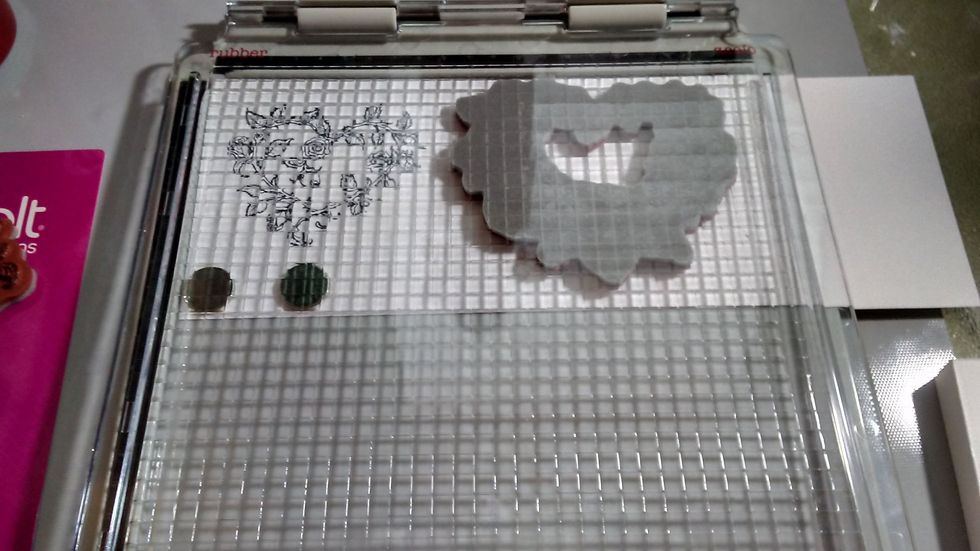
This where I start my embellishing part. I used my Tim Holtz Stamp Platform. These are the stamps i used from Heartfelt Creations.
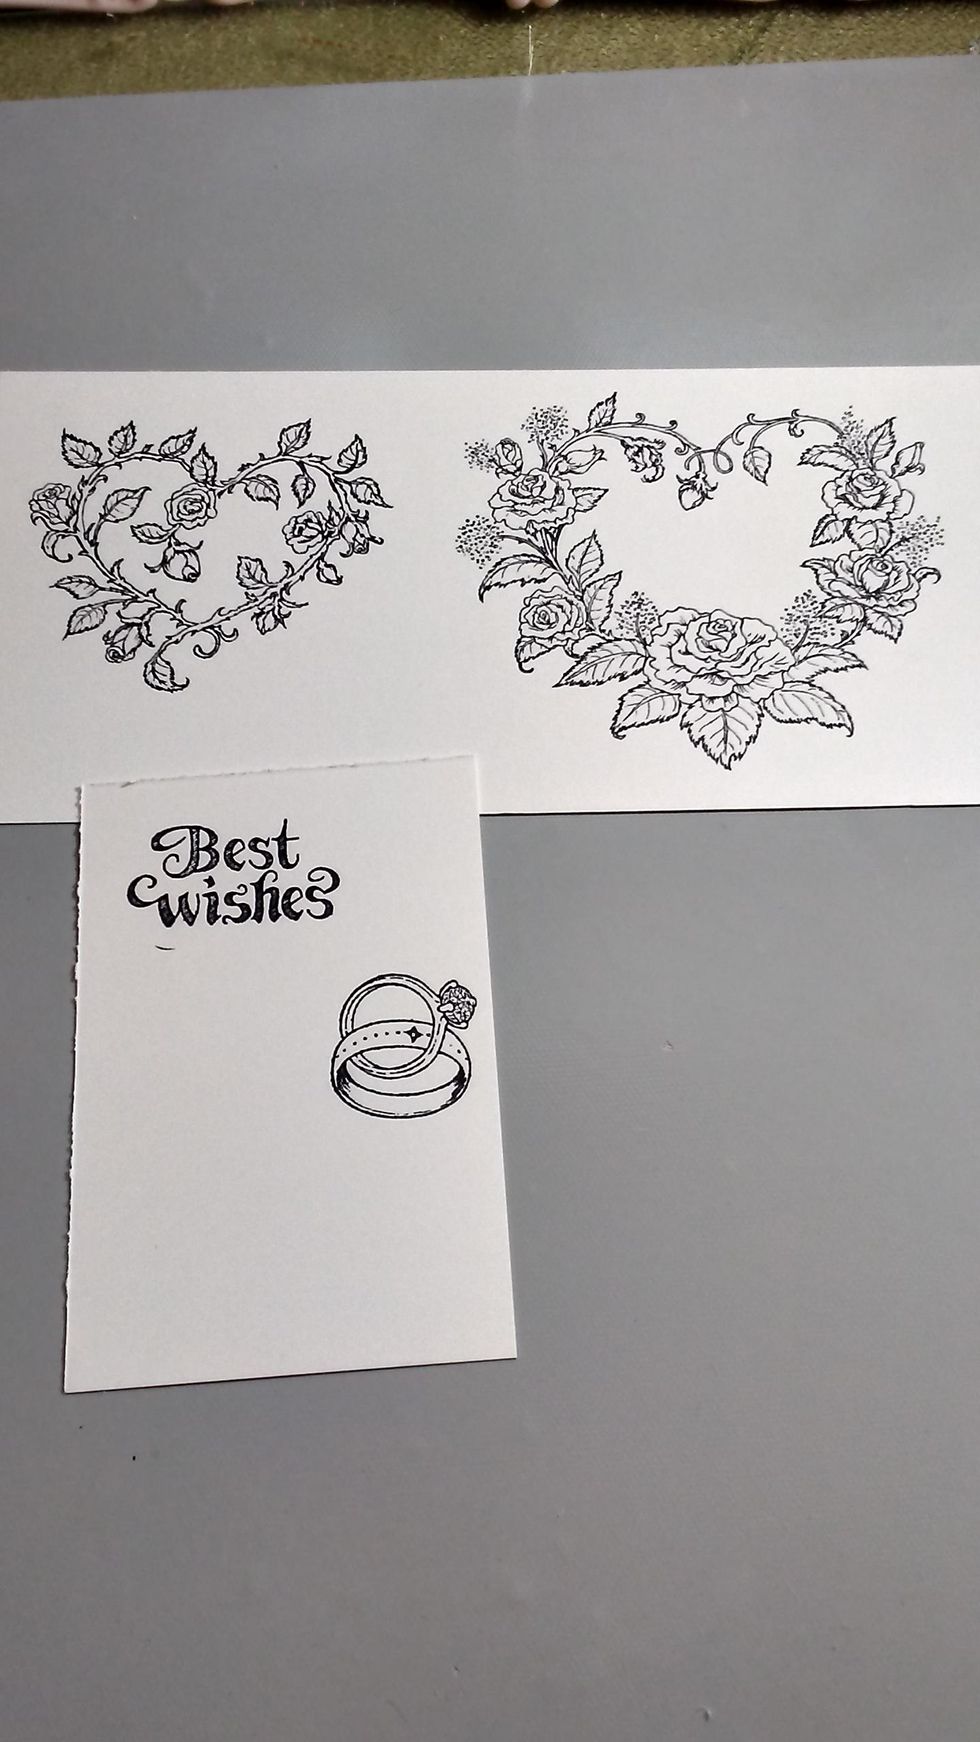
I stamped out these Heartfelt Creations stamps using my Stamp Platform, I used Black Archival Ink for stamping.
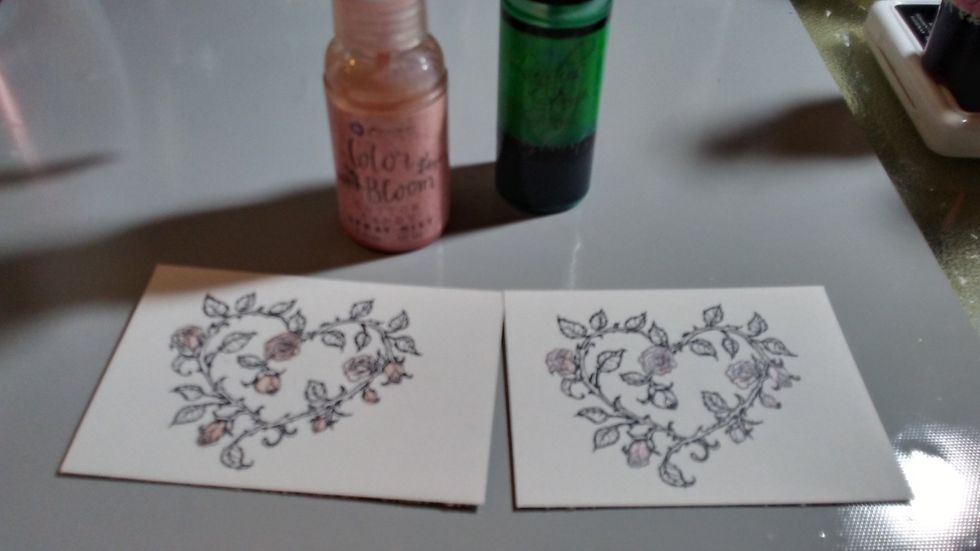
I ended using the smaller hearts and the ring on my project. I used Lindy's spray and Prima Color Bloom spray to color my stamped images. I used a Jane Davenport Waterbrush I purchased @ Michaels
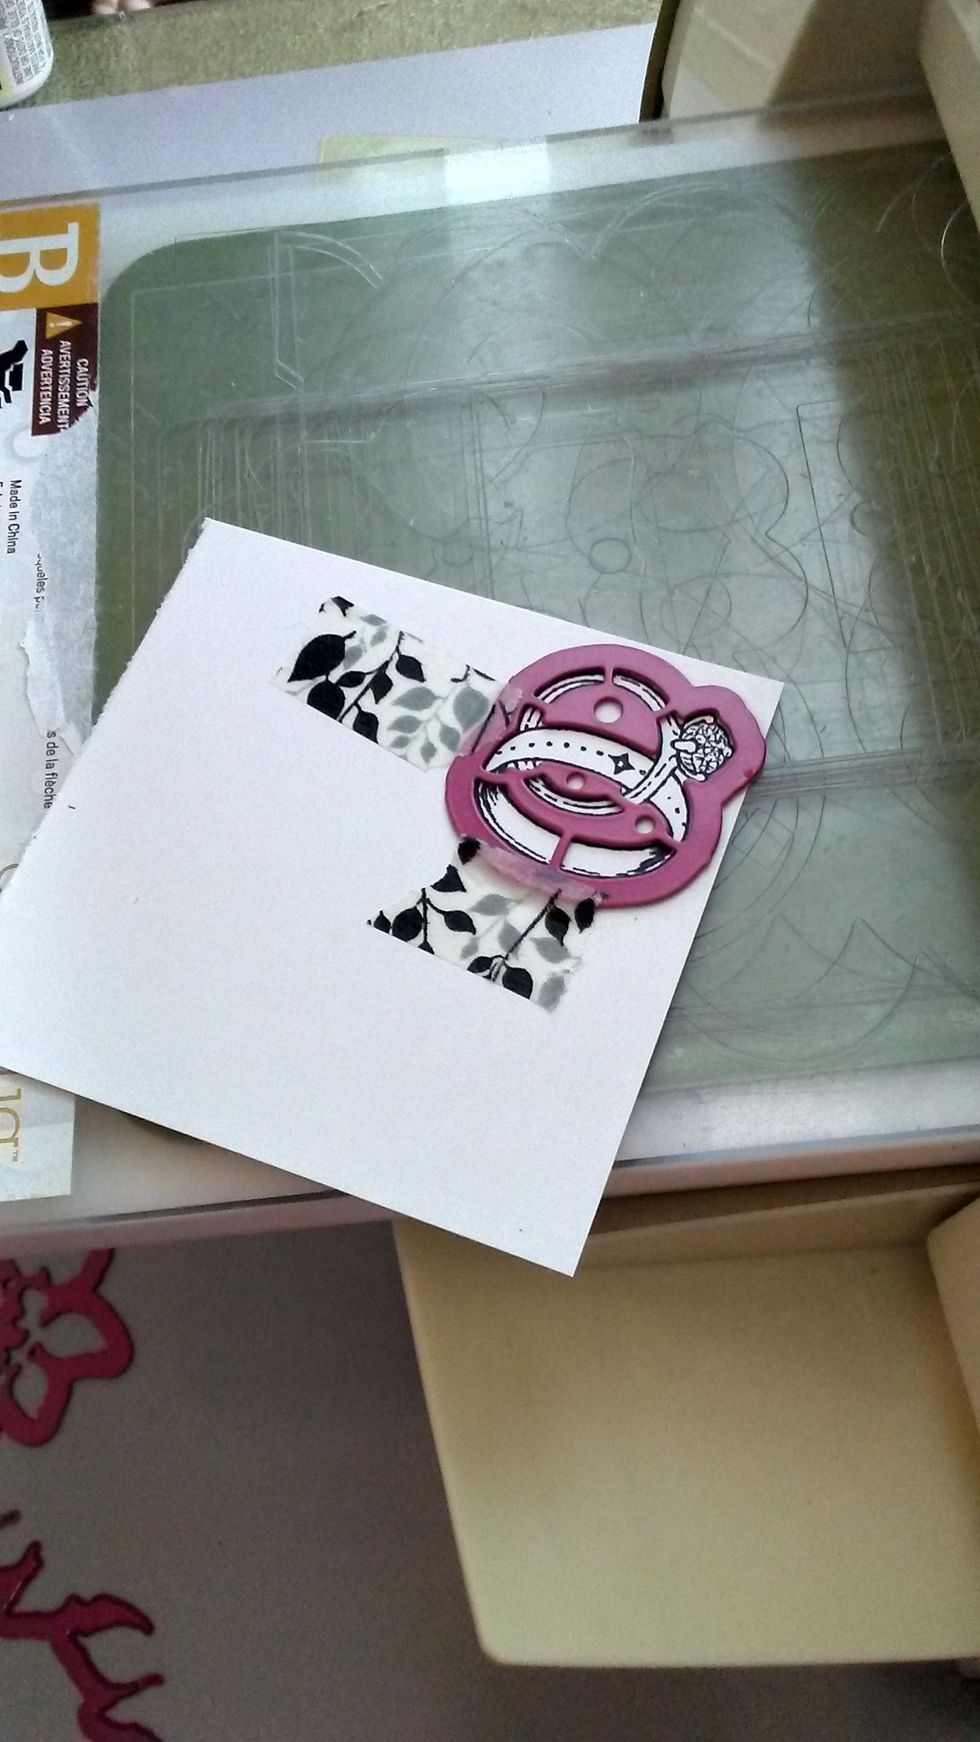
After I had colored the images I used my Teresa Collins Cuttlebug to die cut the stamped images. *Optional- I add small pieces of washi tape to hold die in place while running thru machine.
As noted before I lost images of some steps. They were where I added some laces on the inside and outside of my book card. Here I'm playing around to see where I want my images.
Here I used this wet adhesive from Recollections to adhere my hearts. I like the fine tip of this glue for smaller areas such as this. Also used Helmar Tacky Craft Glue for greeting *not pictured here
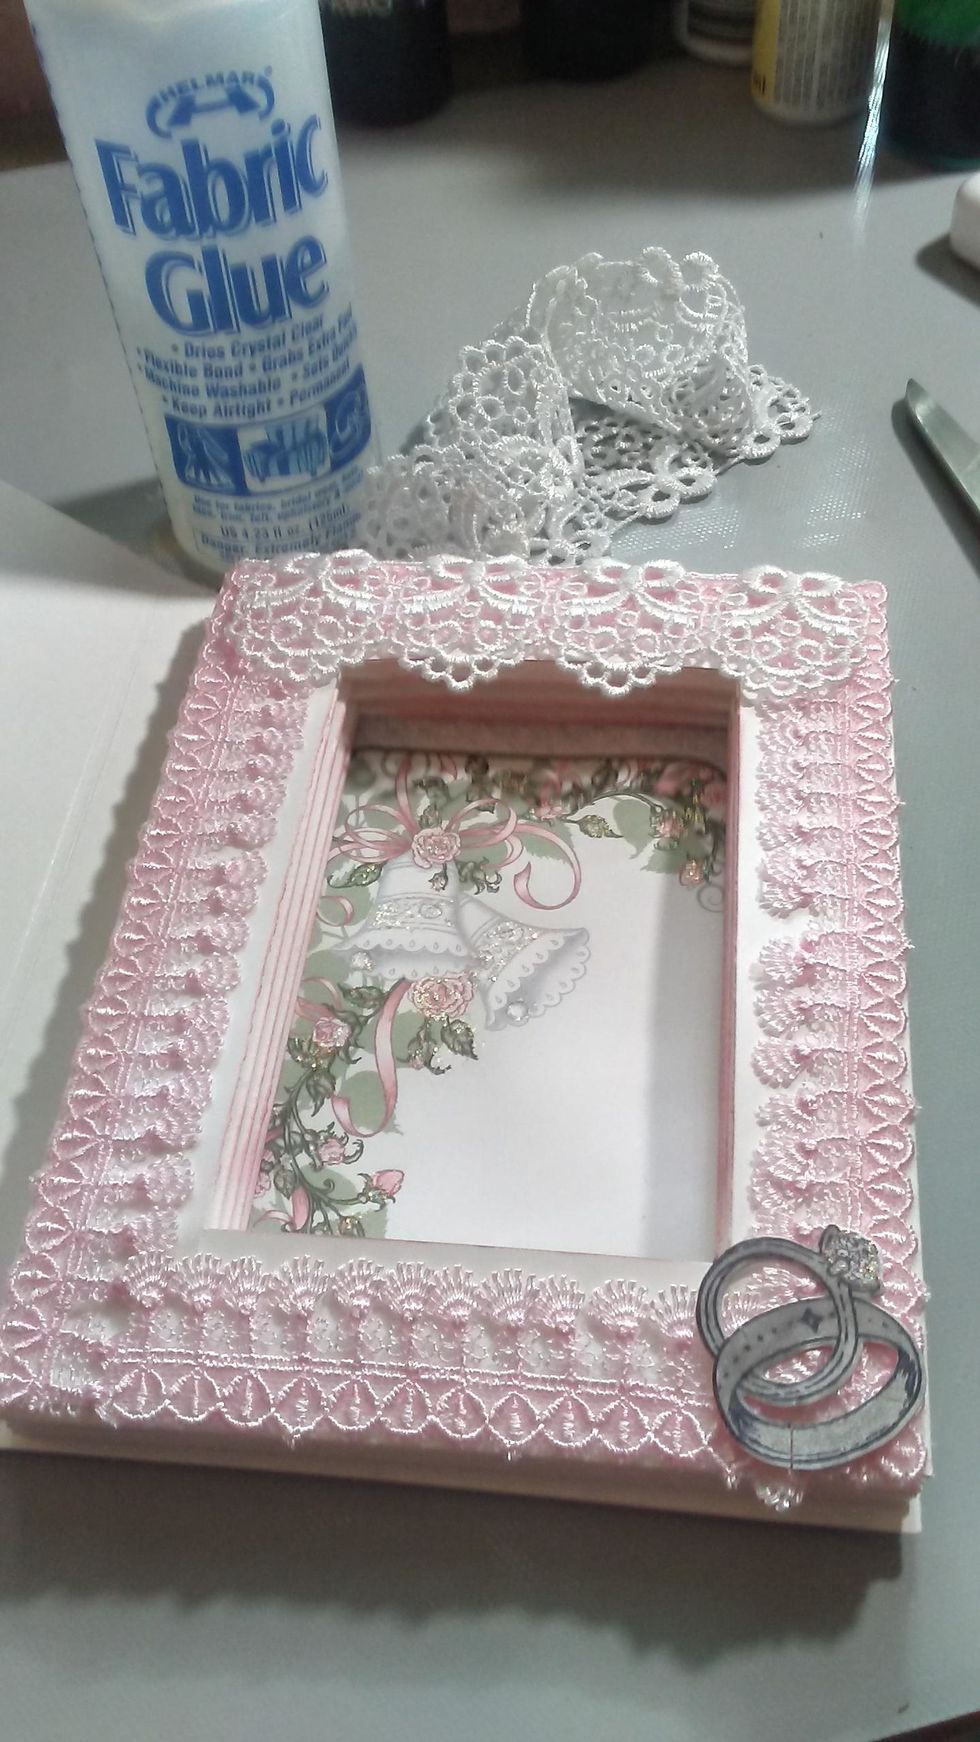
Found my pics! Here is the inside when I added paper and laces and the wedding rings die cut. I used a light gray spectrum noir marker to color it. I used Helmar Fabric Glue to glue the laces on it.
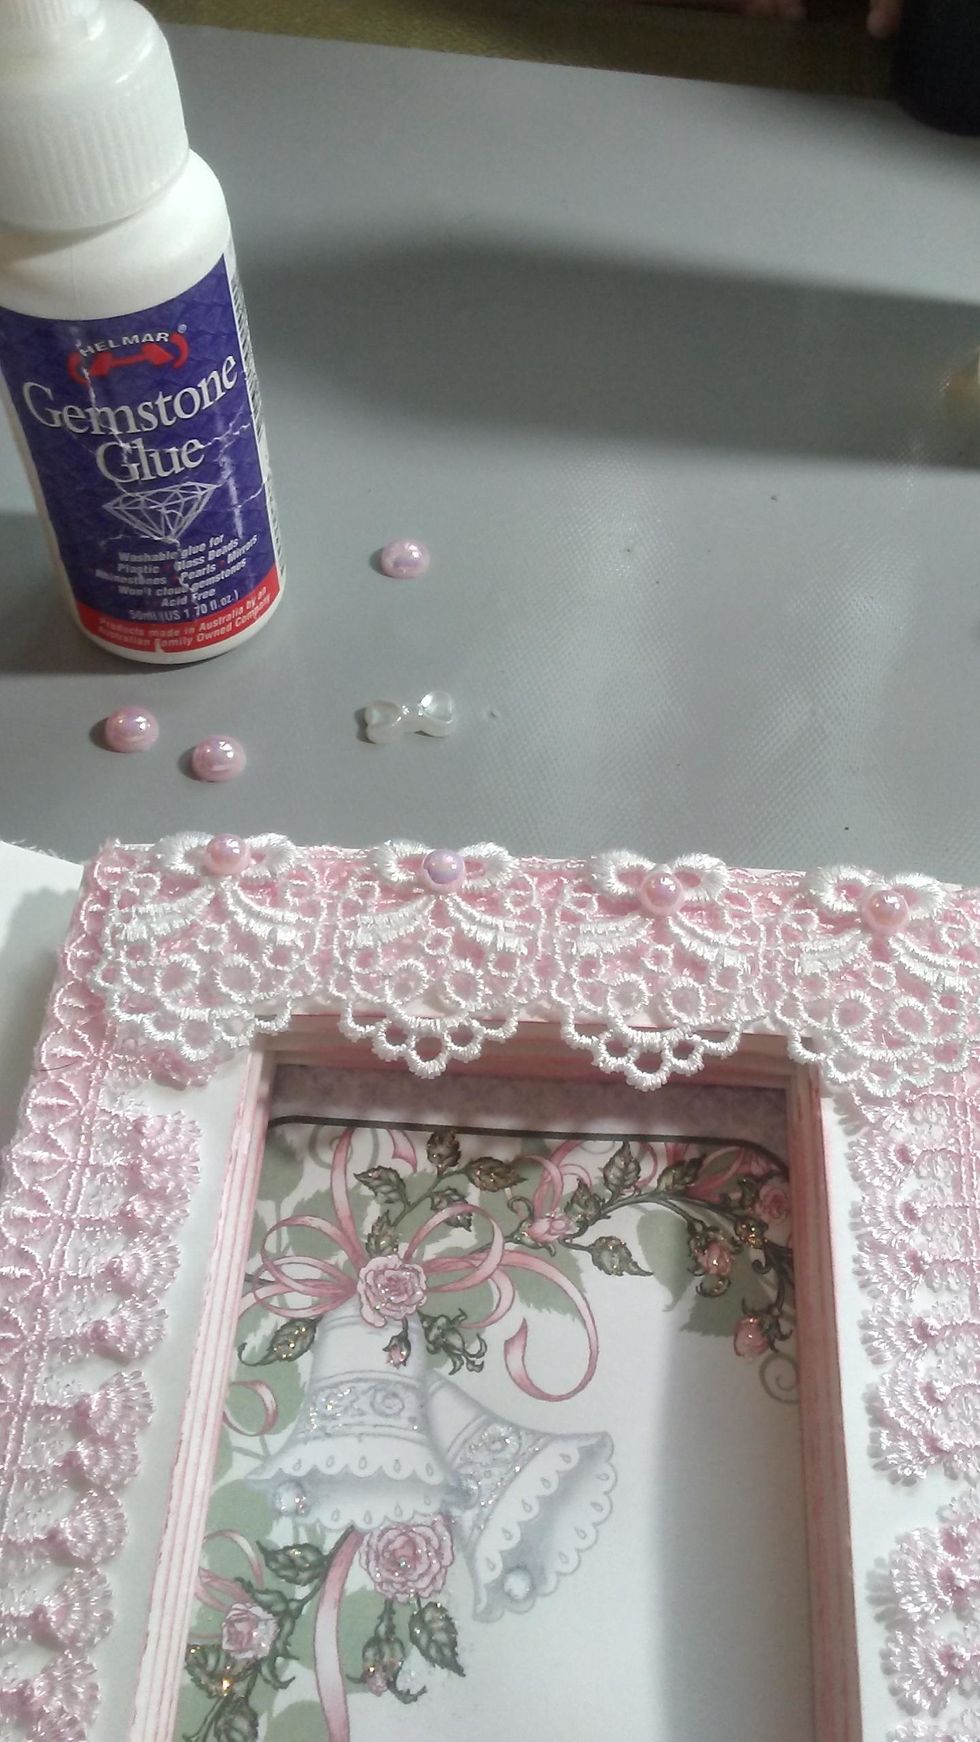
Lastly I added these flatback pink/iridescent pearls and a small bow resin as well. I used Helmar Gemstone Glue to adhere them to my project. *Pics on final steps
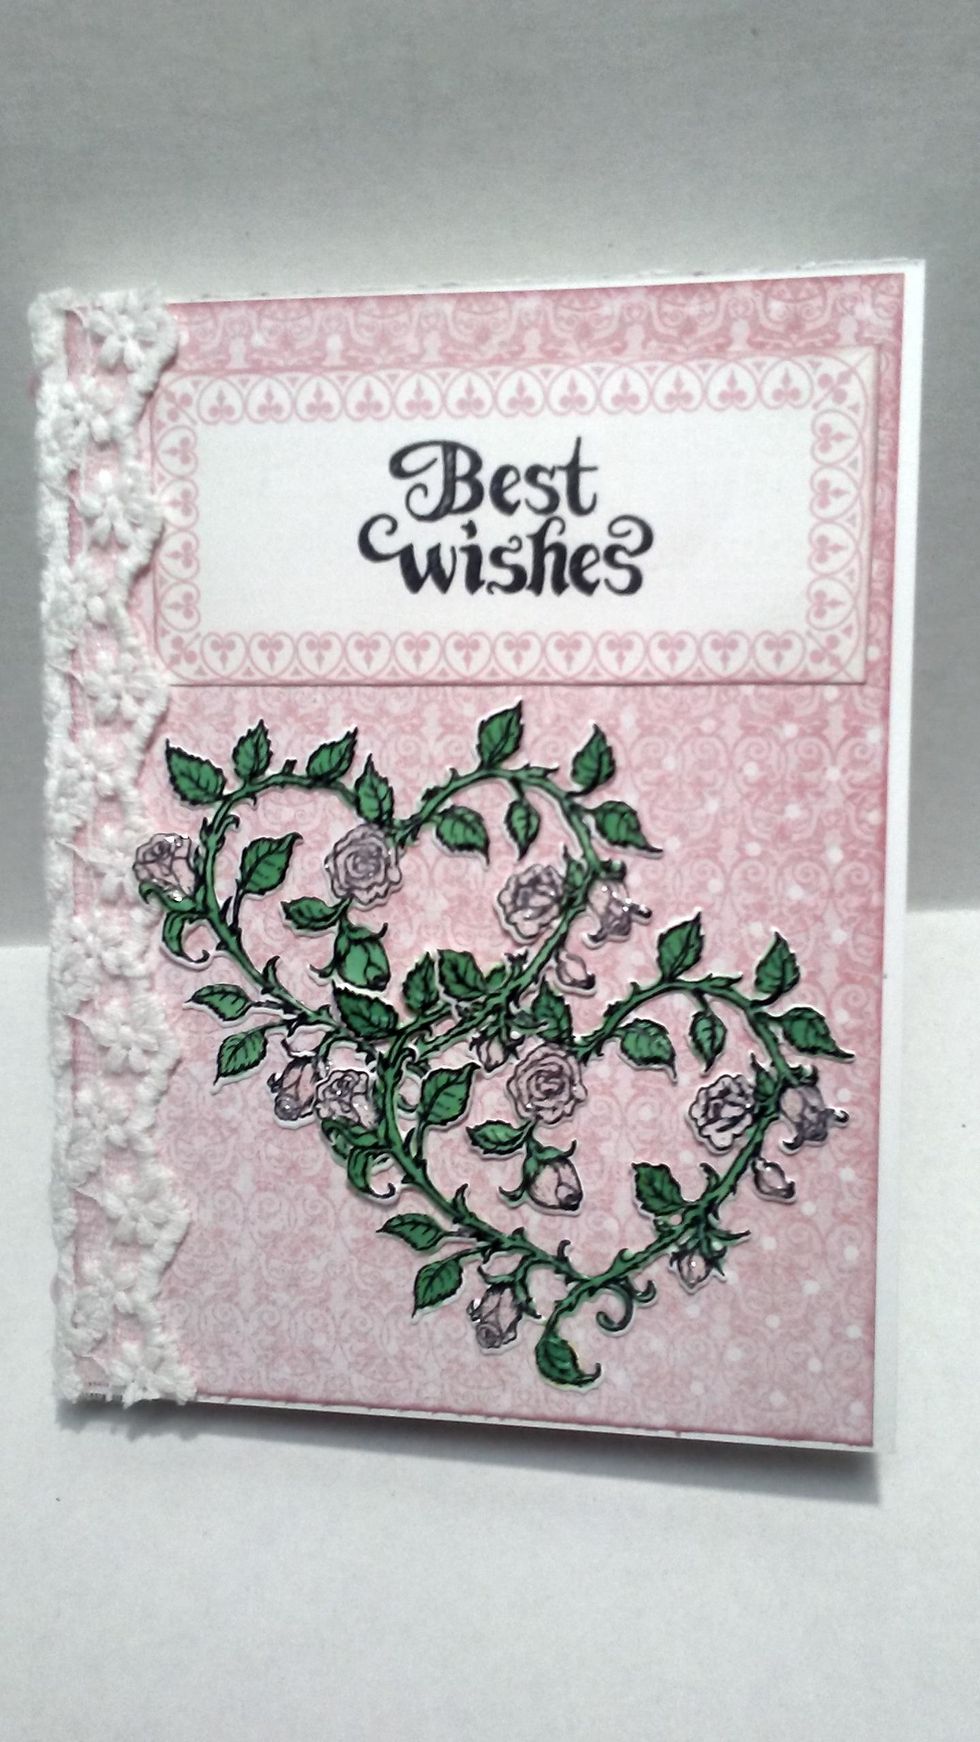
**Finished front cover**
**Finished Spine**
**Finished inner area**
- Watercolor paper (recommended)
- Heartfelt Creations Classic Wedding Paper Pad
- Paper Trimmer
- Martha Stewart Score Board w/ bone folder
- Helmar Tacky Glue
- Lindy's Spray
- Prima Bloom Spay
- Ranger Stickles
- Score tape
- Stamp Platform
- Heartfelt Creations Stamp/Die Set
- Die Cut Machine
- Helmar Gemstone adhesive
- Flat back pears/bow resin
- *Optional -Washi Tape