The Conversation (0)
Sign Up
To make this album I used Chicken wire with Butterflies Chipboard Book from Sin City Stamps.

I also used floral patterned paper from Graciellie Design and also leather textured and metallic cardstock.
I used the chipboard book's cover to mark and cut pages of the same size for the album.
I cut four pages from patterned paper.
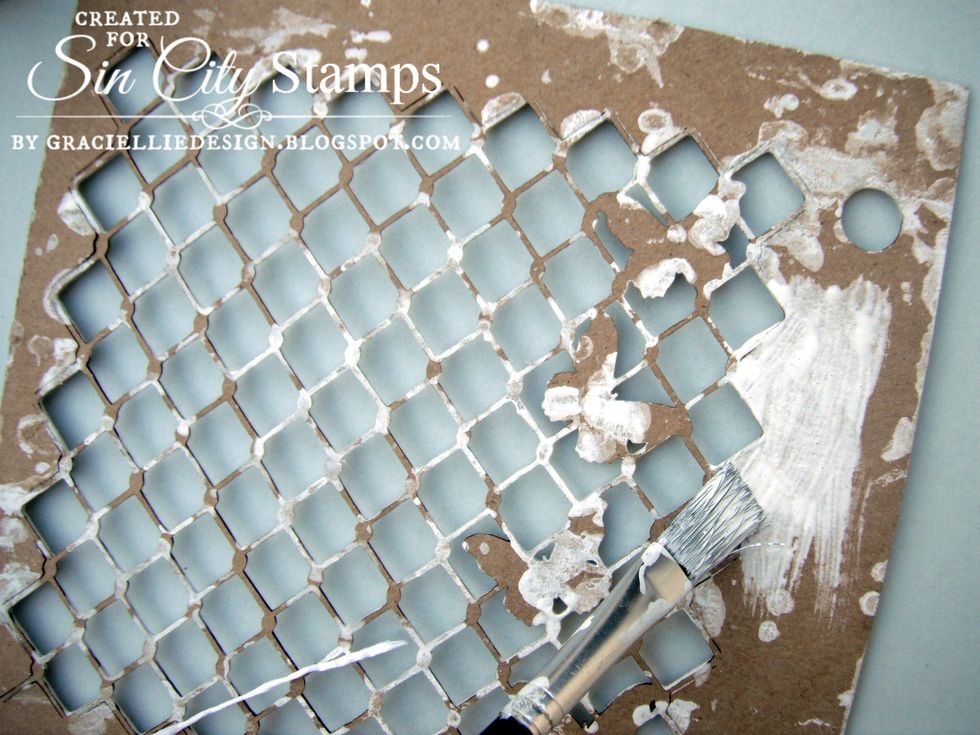
Then I prepared the covers painting them with white poster paint.
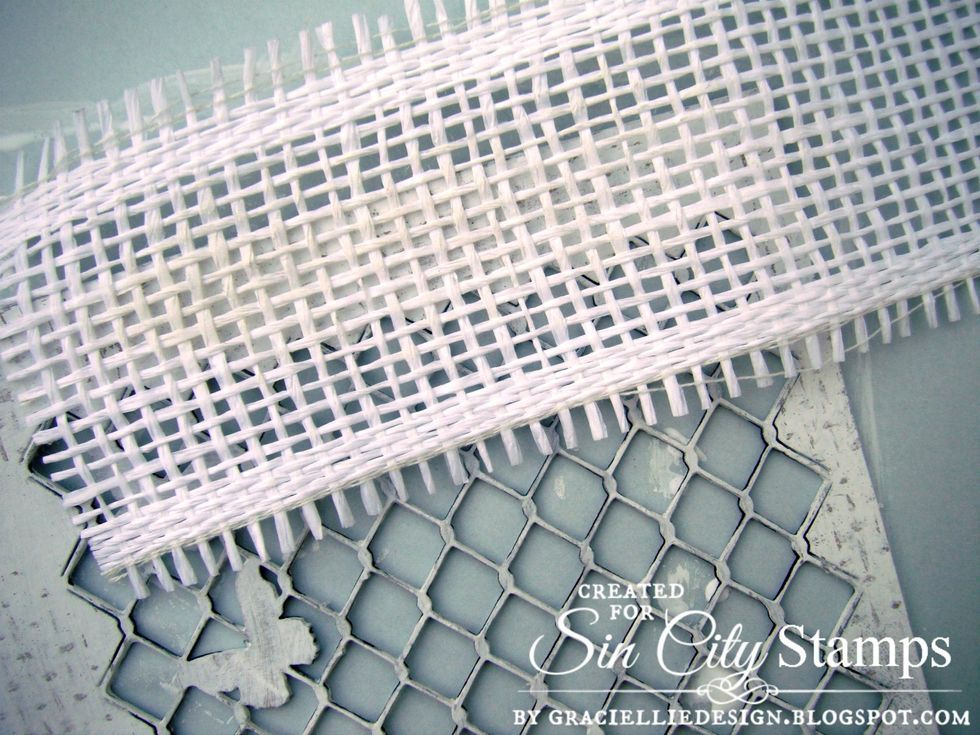
When I finished the third coat of paint, before it dried, I pressed down a piece of burlap ribbon to pick up some of the paint.

This technique gives the chipboard cover a vintage, worn furniture look and it also adds a lot of texture to it.
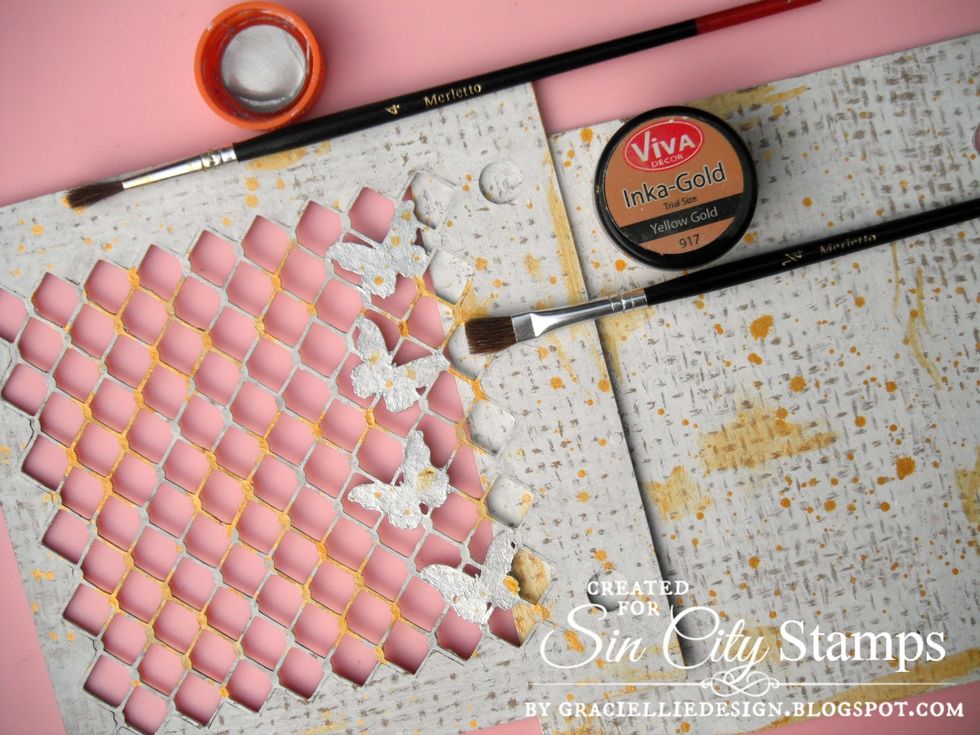
When the white paint dried, I colored the butterflies on the cover with metallic silver acrylic paint. Next I splashed the covers with drops of Inka-Gold water in Yellow Gold with the help of a brush.
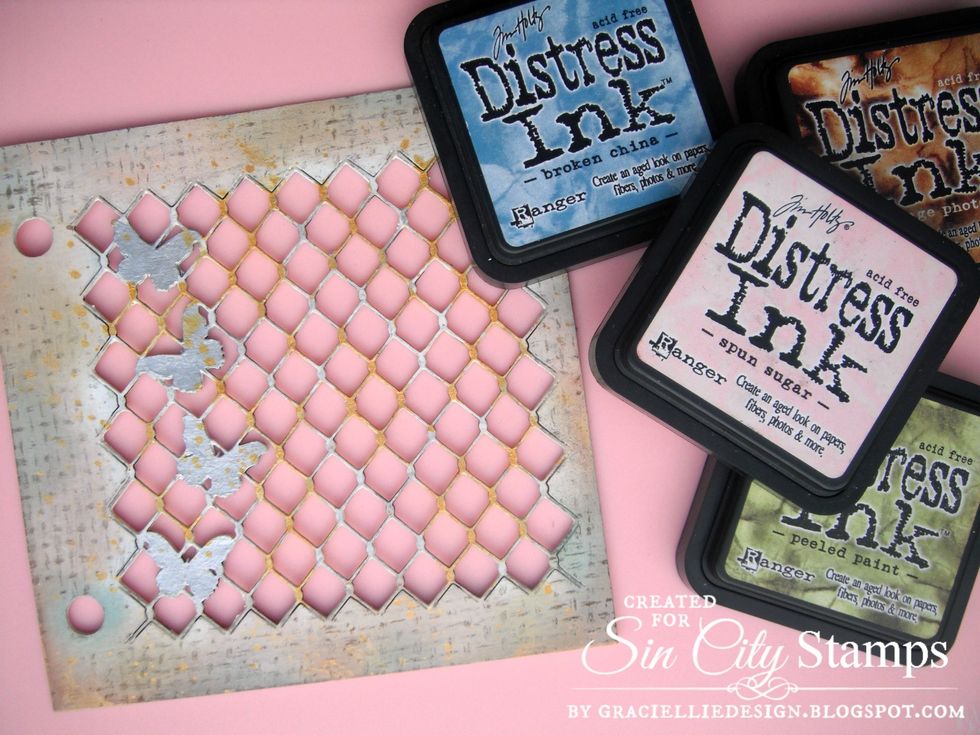
Once dried I sponged the covers with Distress Inks in Old Paper, Vintage Photo, Spun Sugar, Broken China, Peeled Paint and Worn Lipstick.
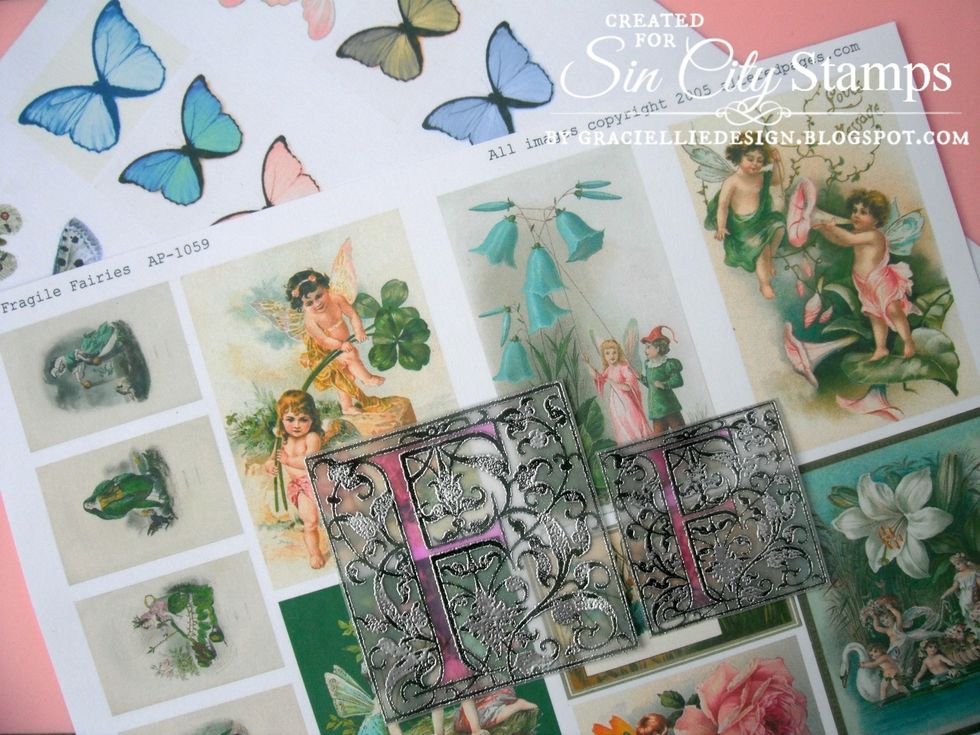
Next I prepared the (digital) images from Altered Pages. I printed Fragile Fairies and Fairy Wings on linen cardstock. Alphabet F was printed on vellum & heat embossed in silver before the ink dried.
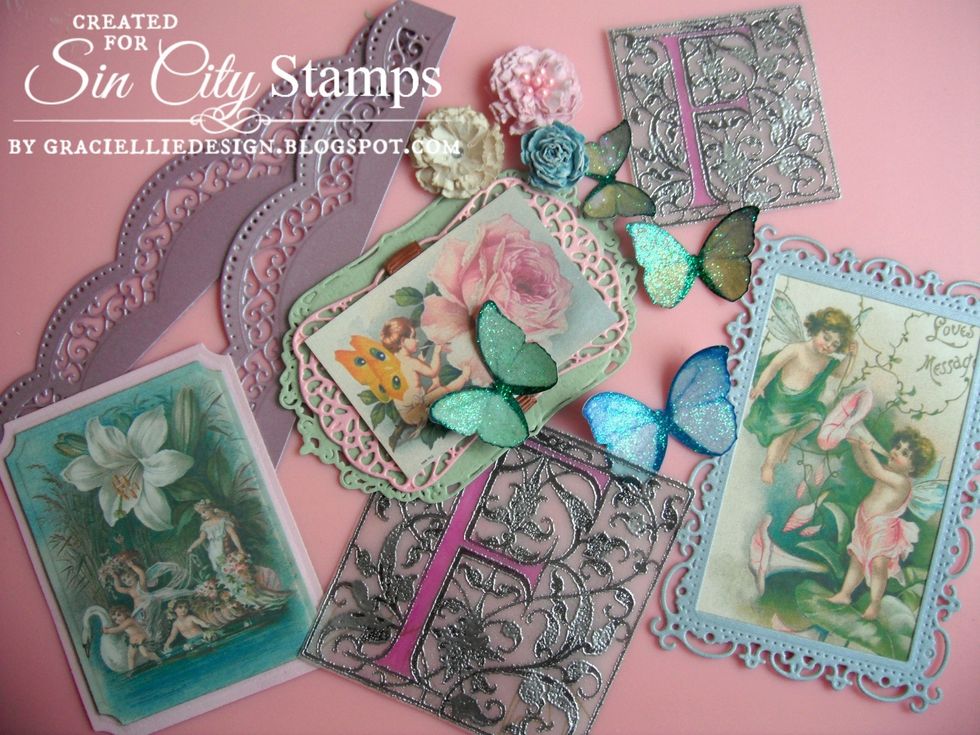
I prepared the fairy images mounting them on die cut labels. I fuzzy cut the butterflies and added glitter glue to them. I also made many vintage handmade flowers and die cut some borders.

Other elements used were butterfly stamps, masks and a library card.
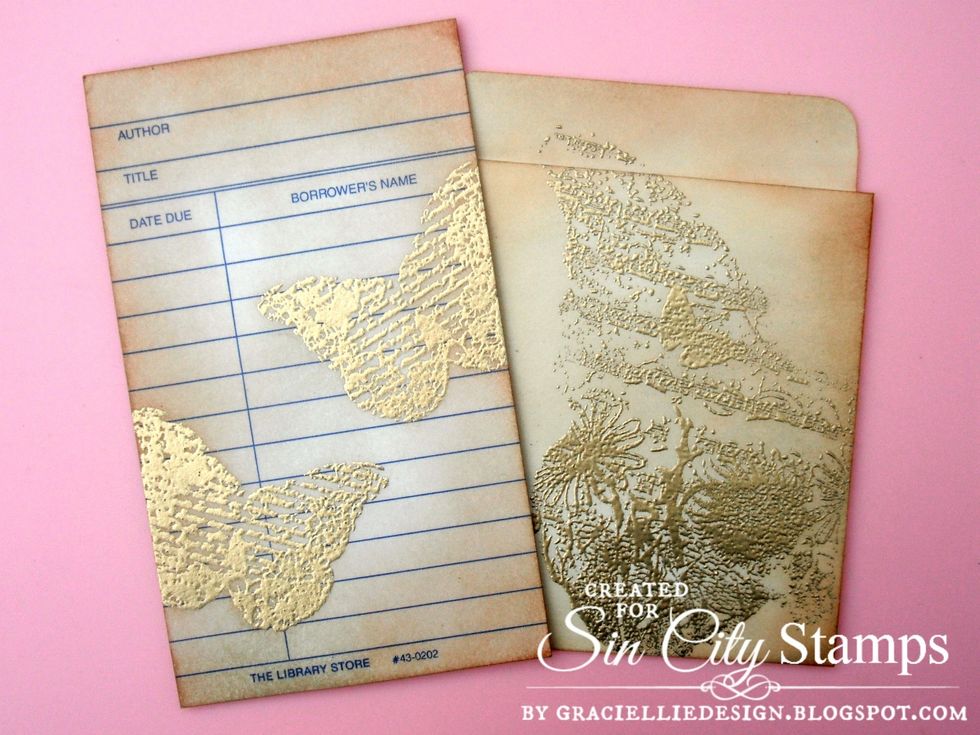
I stamped and heat embossed in gold some butterflies to the library card and to it's envelope. Afterwards I sponged both of them with Distress Inks in Old Paper and Vintage Photo.
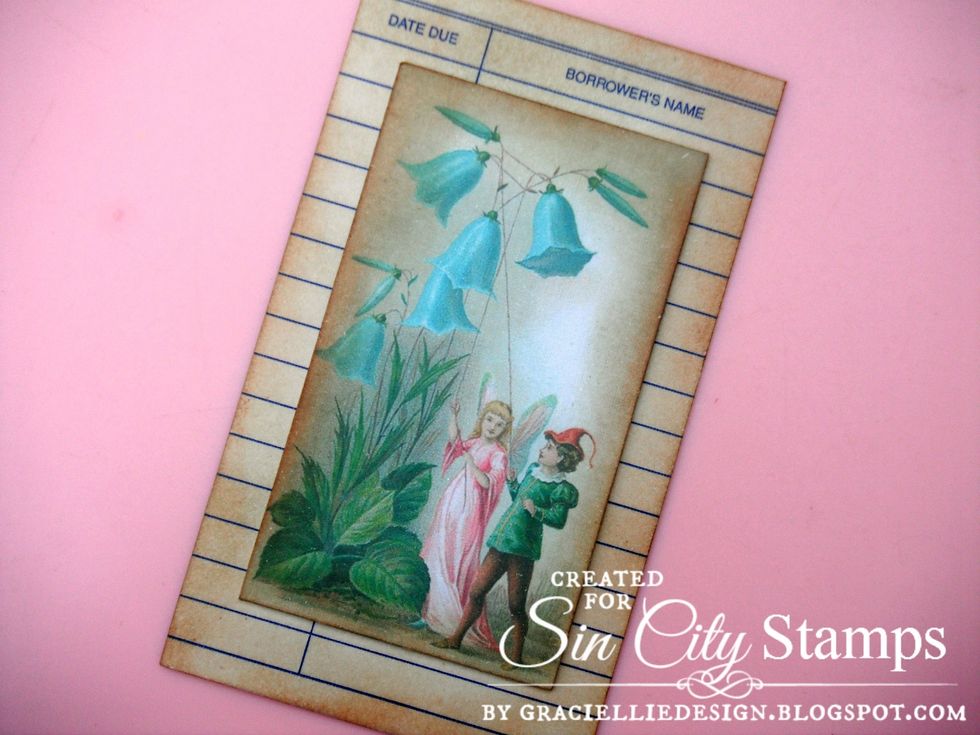
I added a fairy image to the back of the library card too.

I used the Chicken Wire with Butterflies Mask to stencil a die cut label with homemade paste.
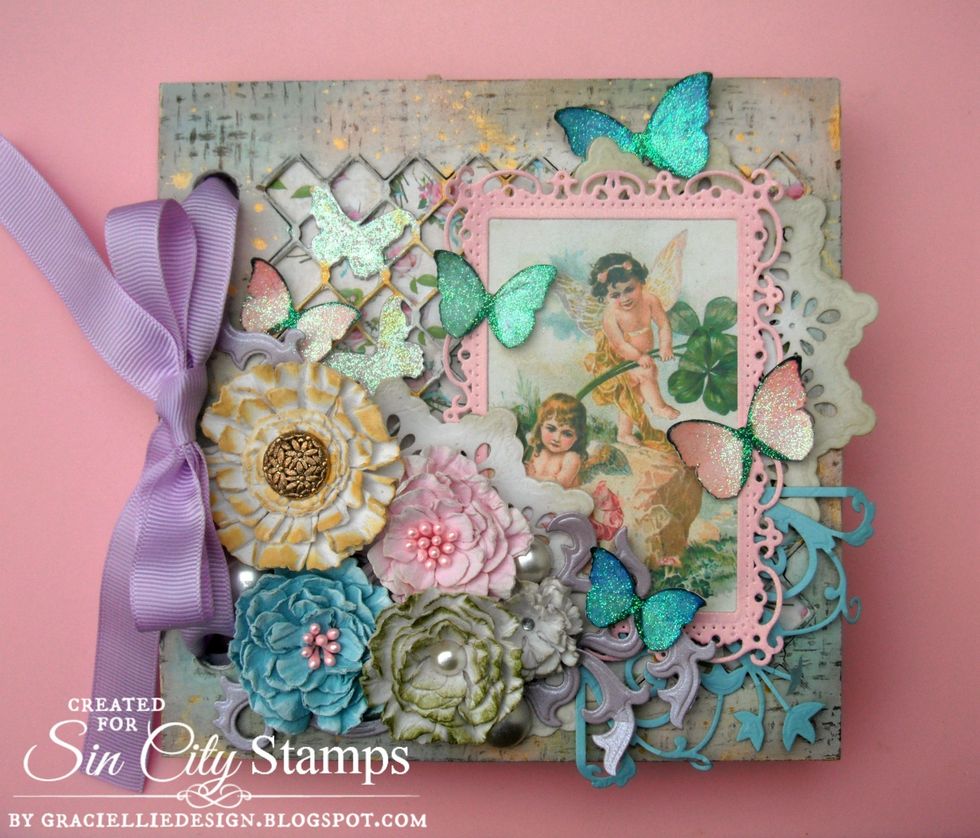
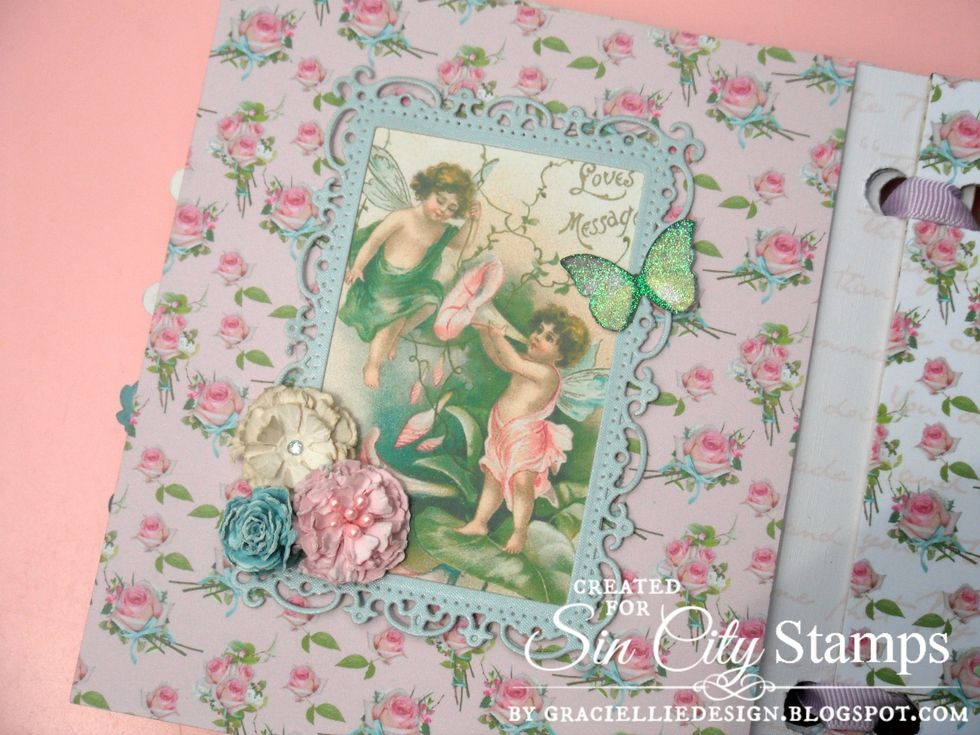
Once all the elements were ready, I started embellishing my front cover with handmade flowers, fuzzy cut butterflies, a framed fairy image and die cuts.
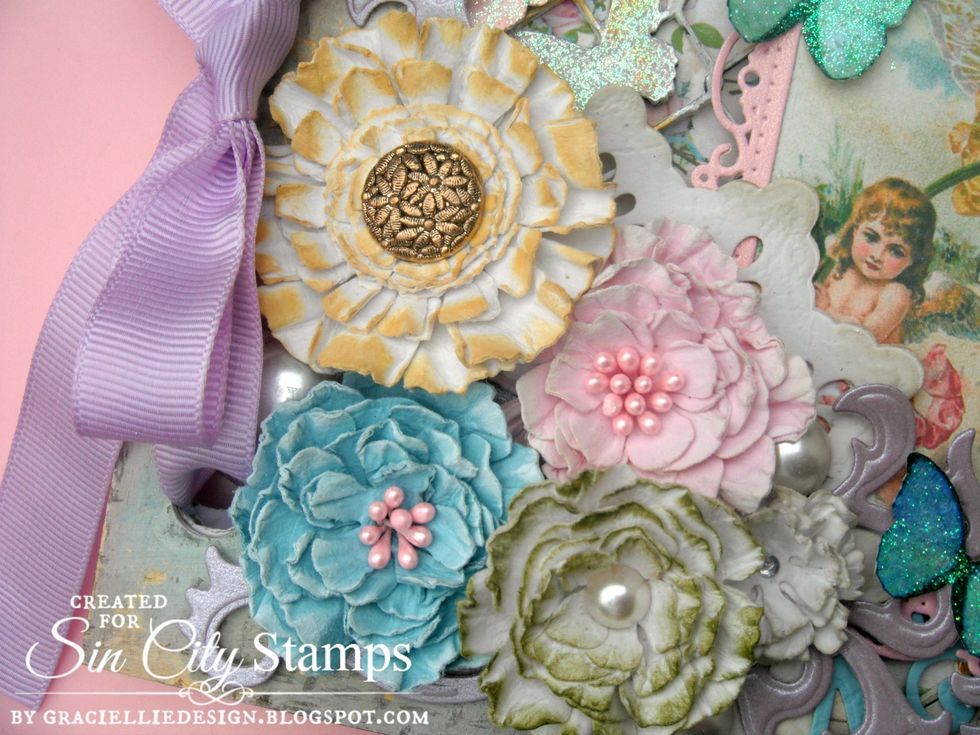
The vintage handmade flowers bouquet was added on the lower left corner, together with die cuts and pearls.

A framed fairy image is the focal point and it's surrounded by butterflies and dies.

The result is a lovely vintage/shabby chic cover with lots of detail.

The first album's page was adhered to the cover from the inside and some of it's pattern shows through the chicken wire.
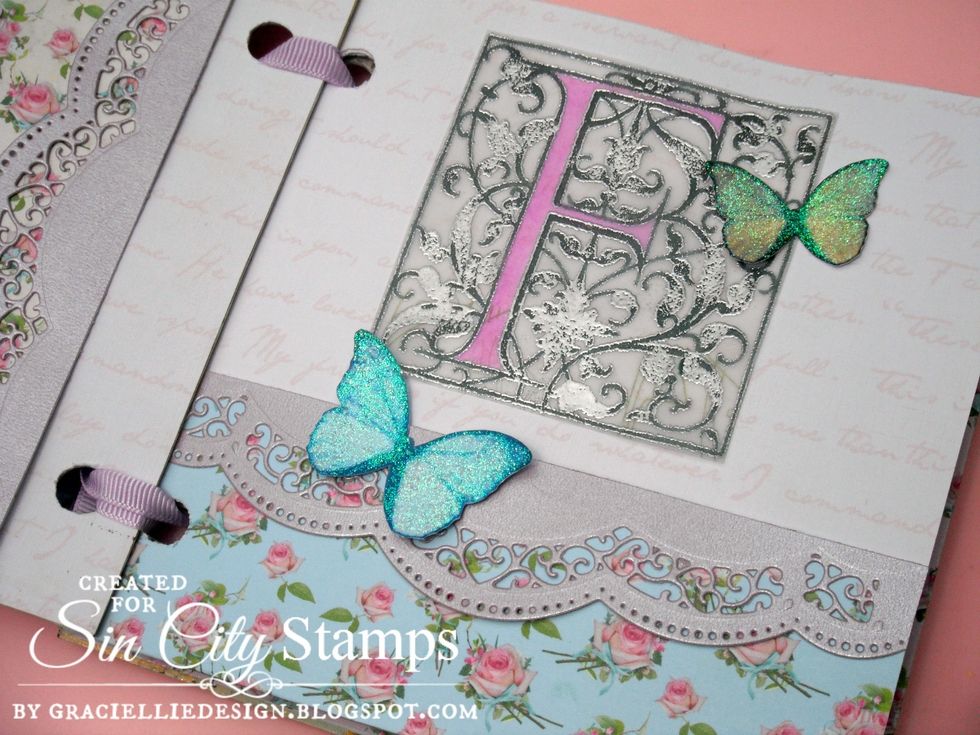
Inside I decorated the pages with more butterflies, die cut borders & printed elements such as this vellum letter. I added color to the letter with an alcohol marker. This page also has a nice pocket.
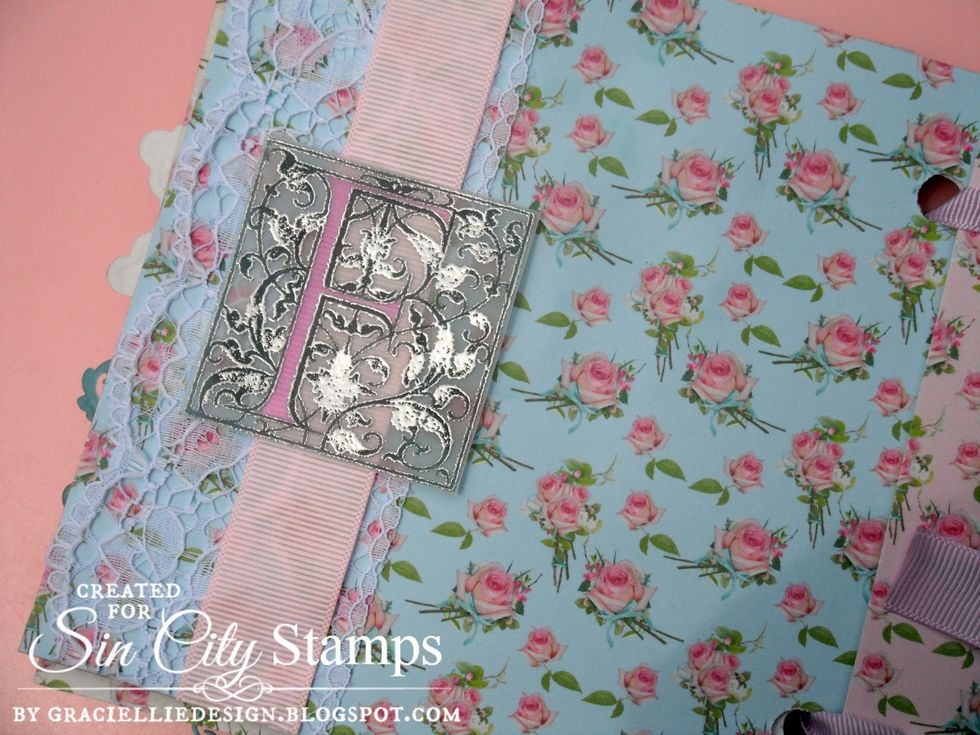
The smallest vellum letter, also colored with an alcohol marker, was used to decorate a lace and ribbon border on this page.

The stenciled label was decorated with ribbon and added as a frame for pictures.
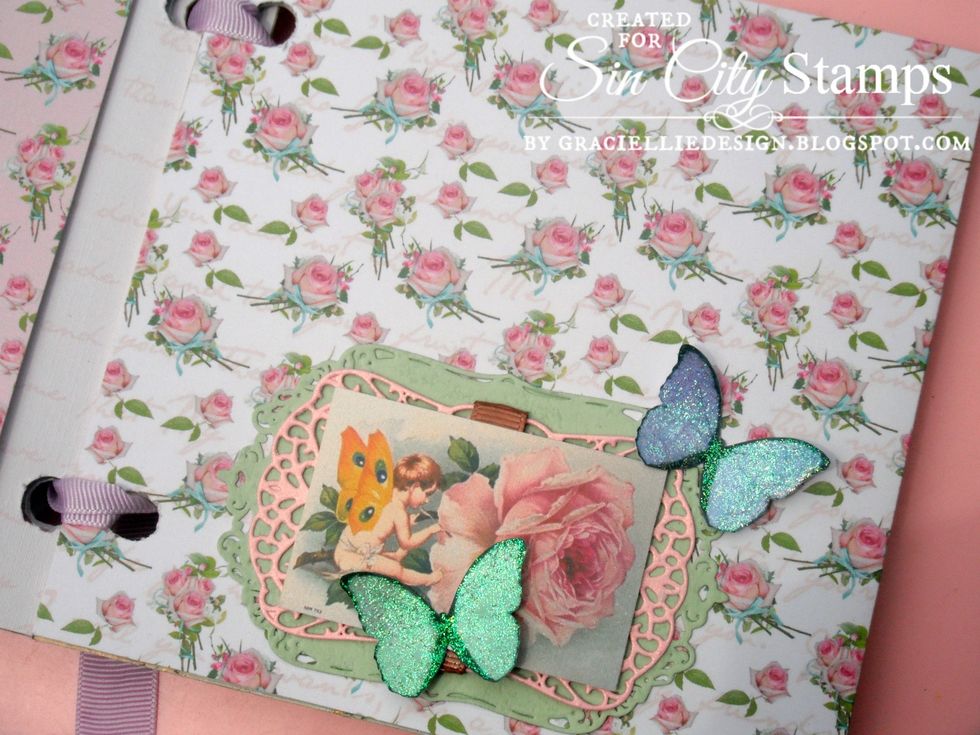
This lovely fairy image was also framed and embellished with small handmade flowers and a butterfly.

Most of the pages were double folded giving extra space to add photos or more elements.
For the final page I added a small framed fairy image and a couple of butterflies...
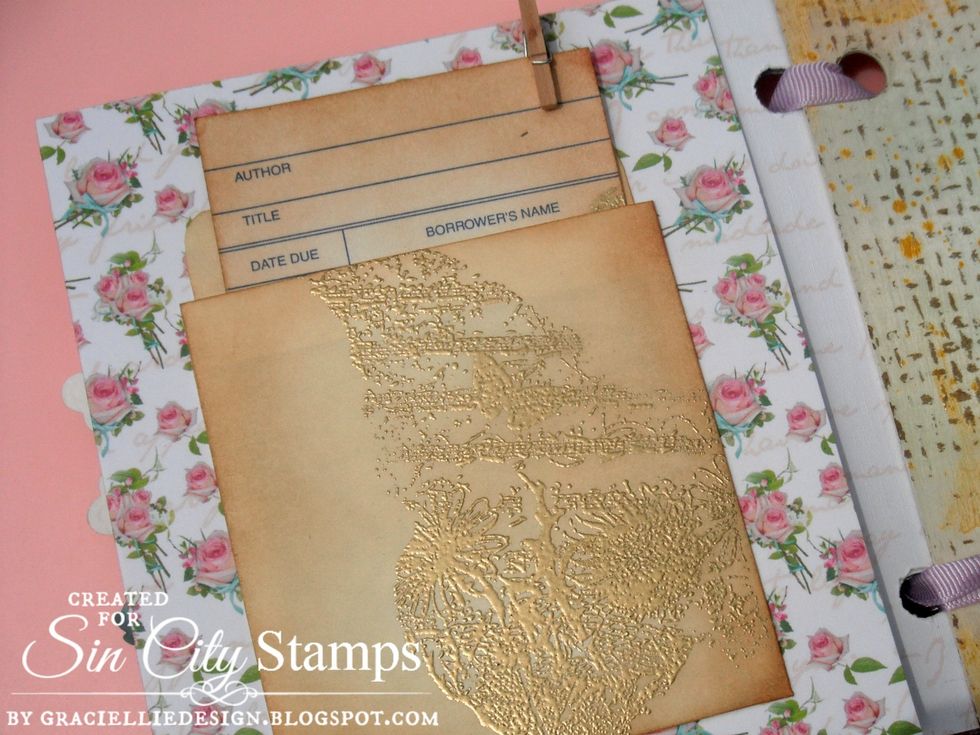
And adhered the library card and envelope on the back with a little wood pin, that matches it nicely. +Visit the official post here: http://sincity-stamps.blogspot.com/2014/08/vintage-fairy-album.html