The Conversation (0)
Sign Up
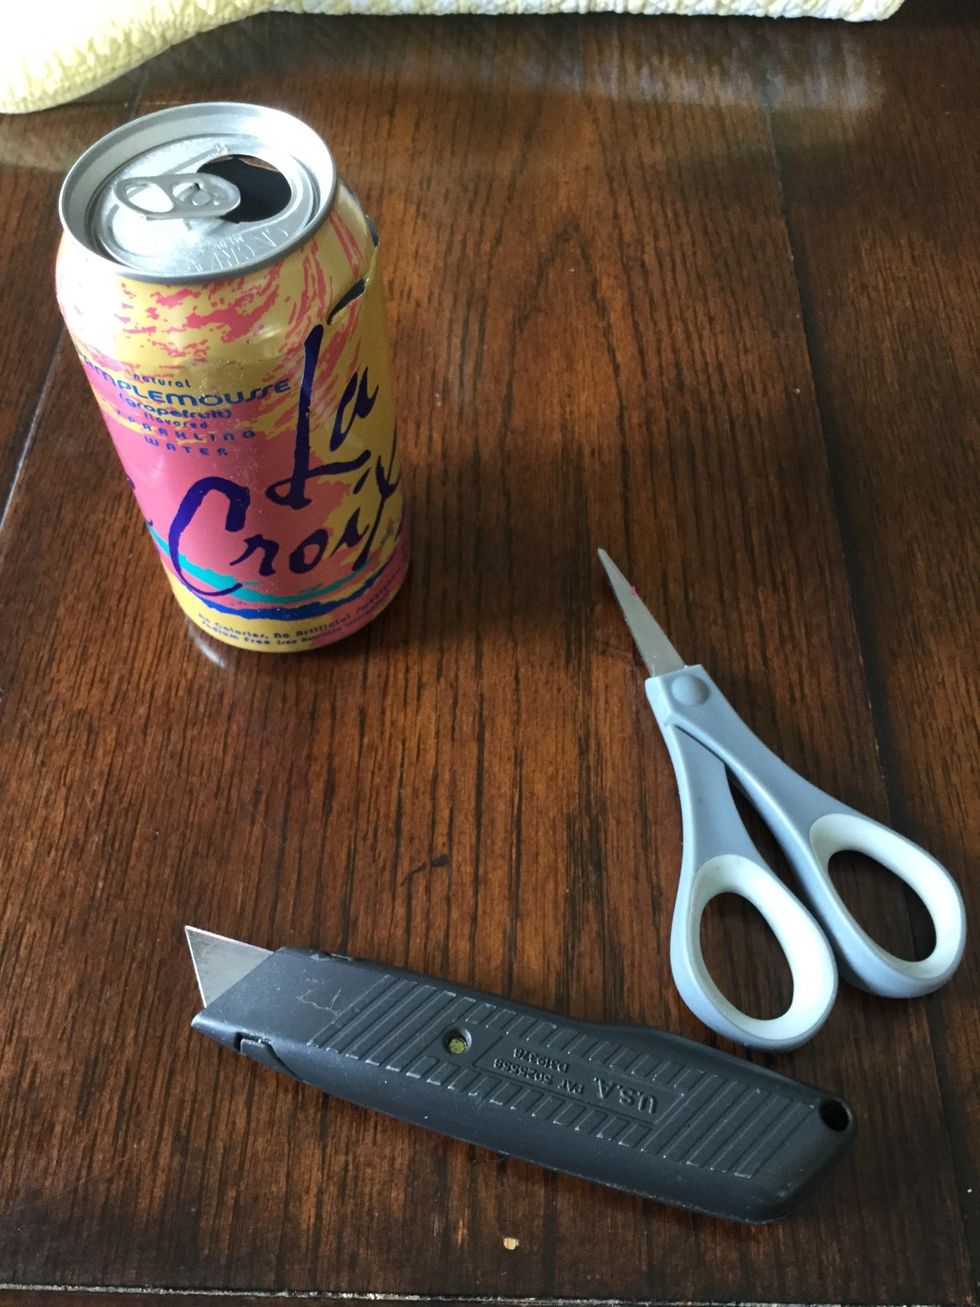
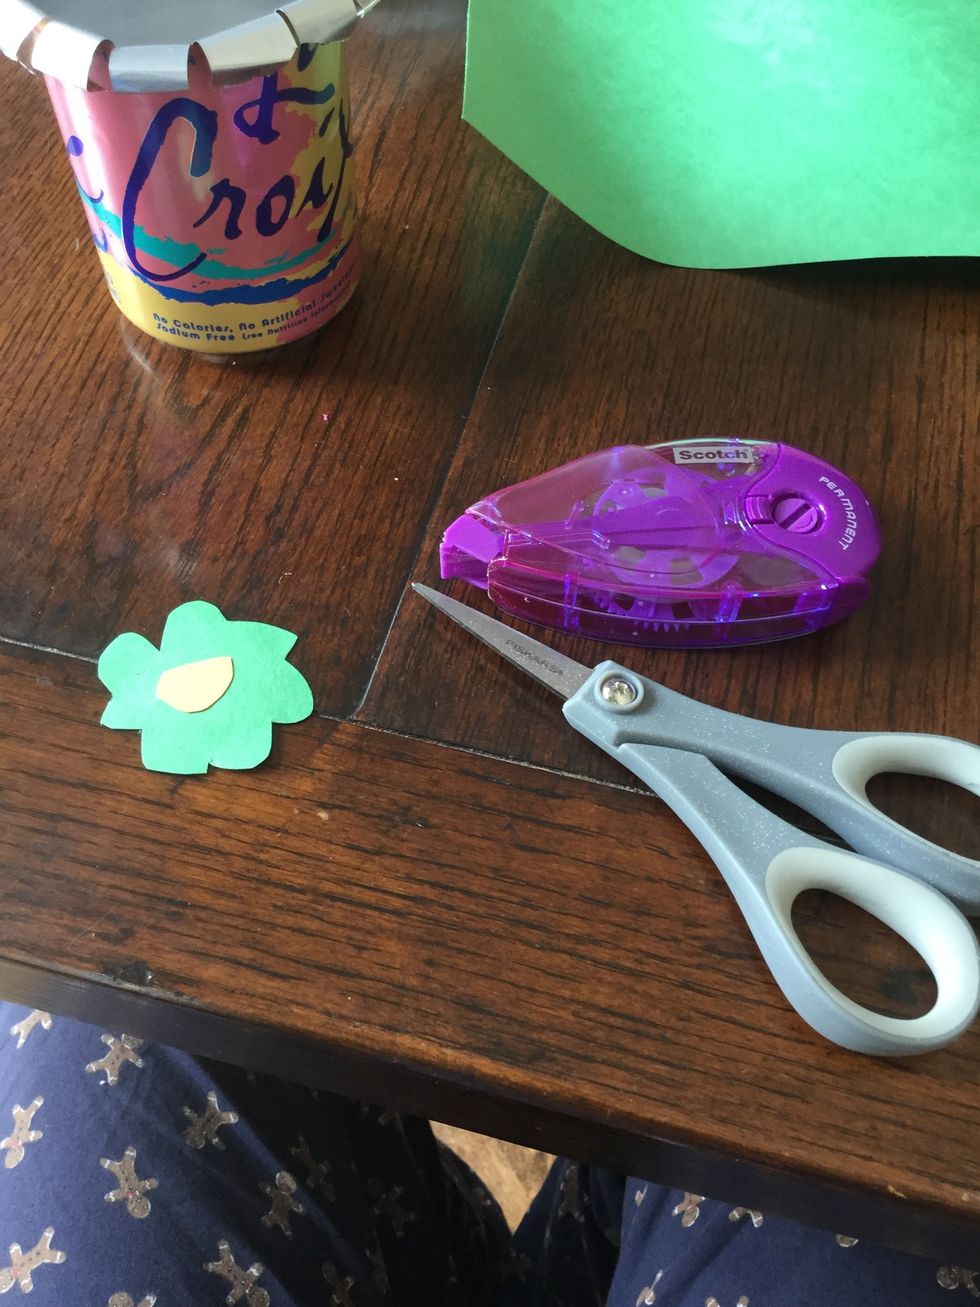
Gather your supplies
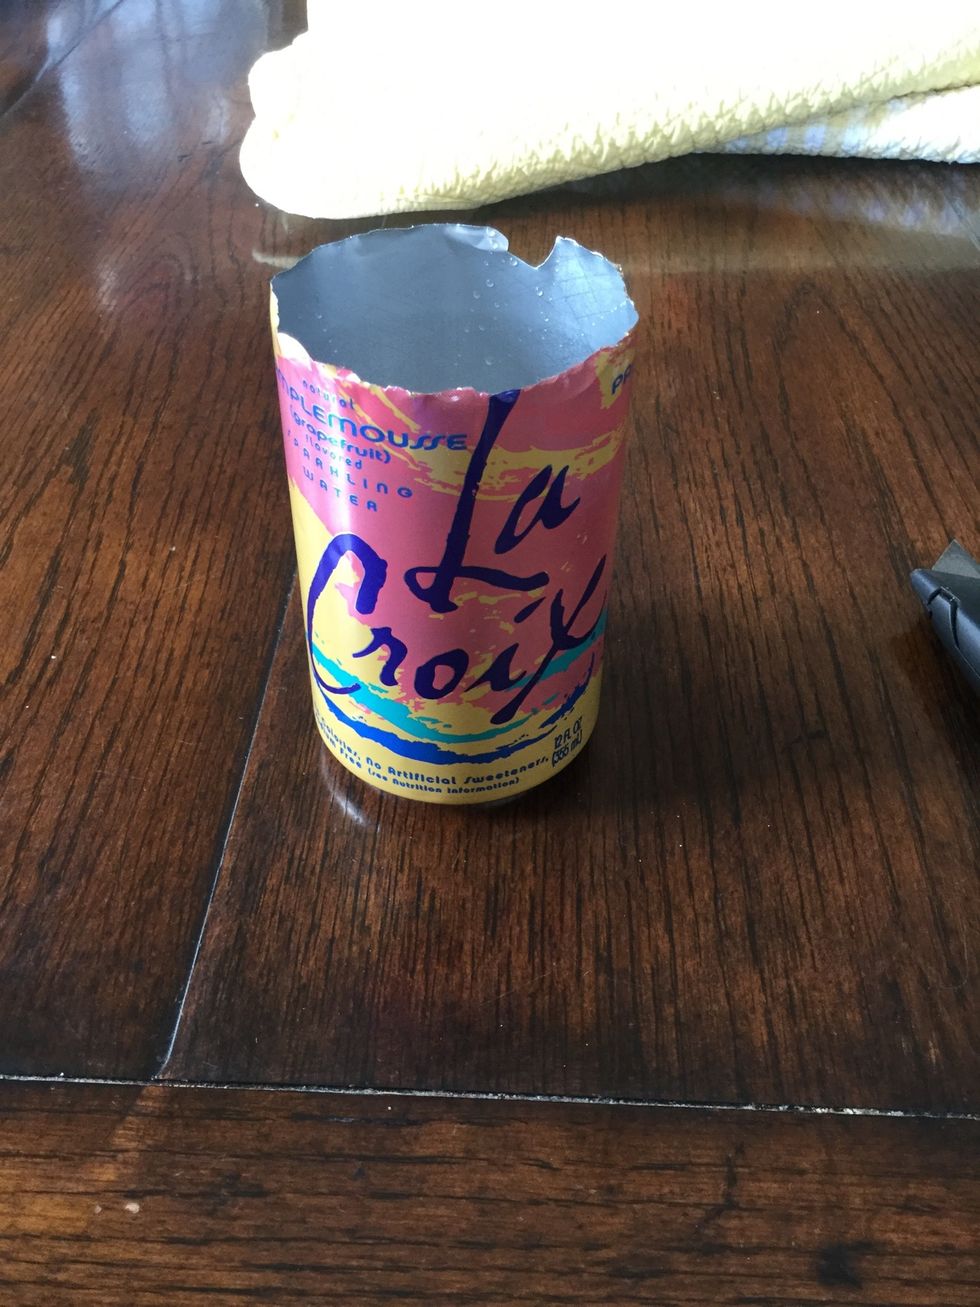
This is how it should look when you finish
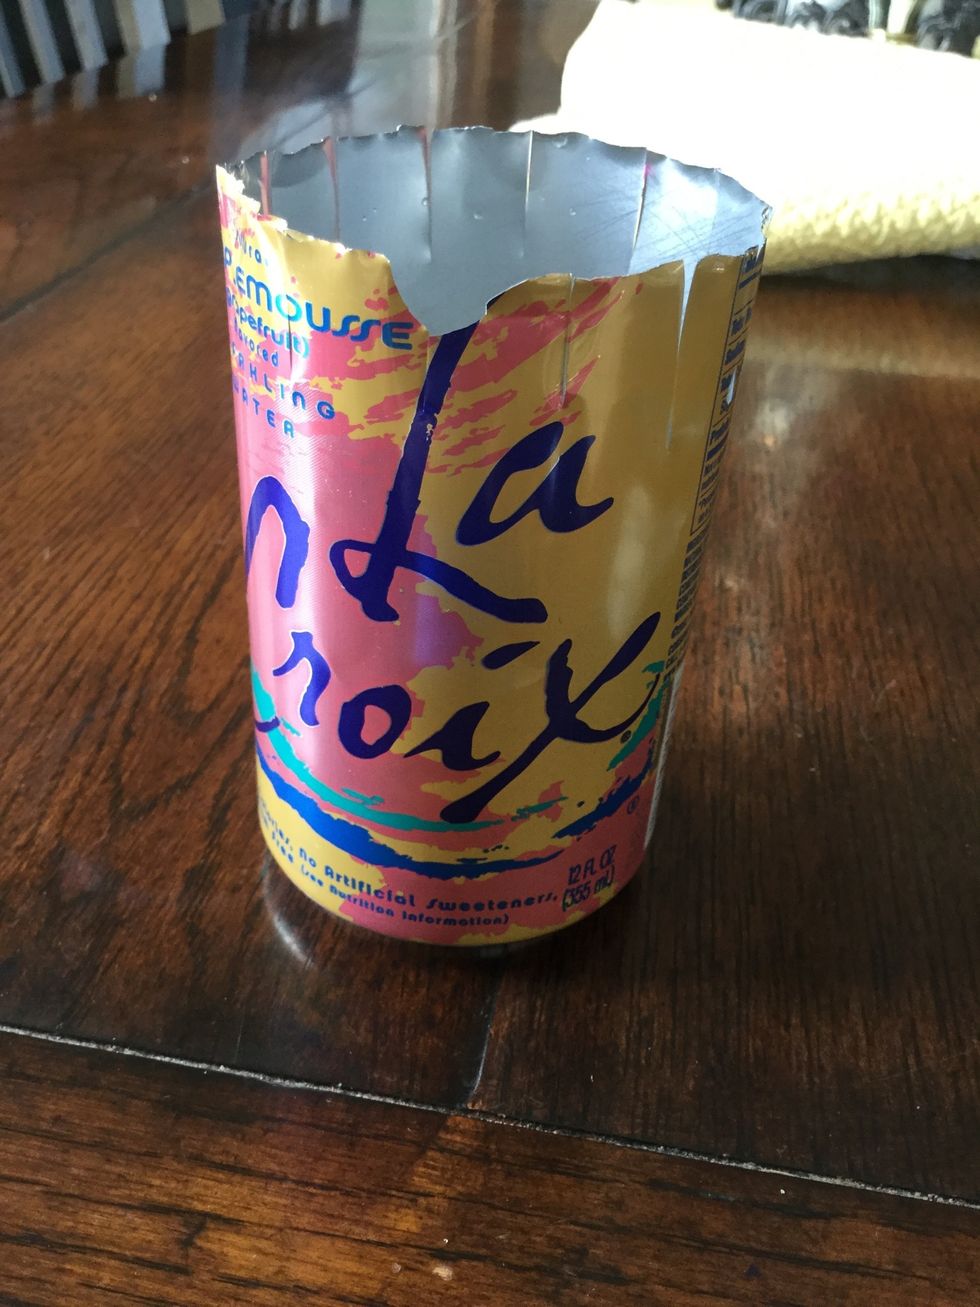
Next make small cuts all around the cans top. The farther down you go the shorter the can will end up. Again, be careful!
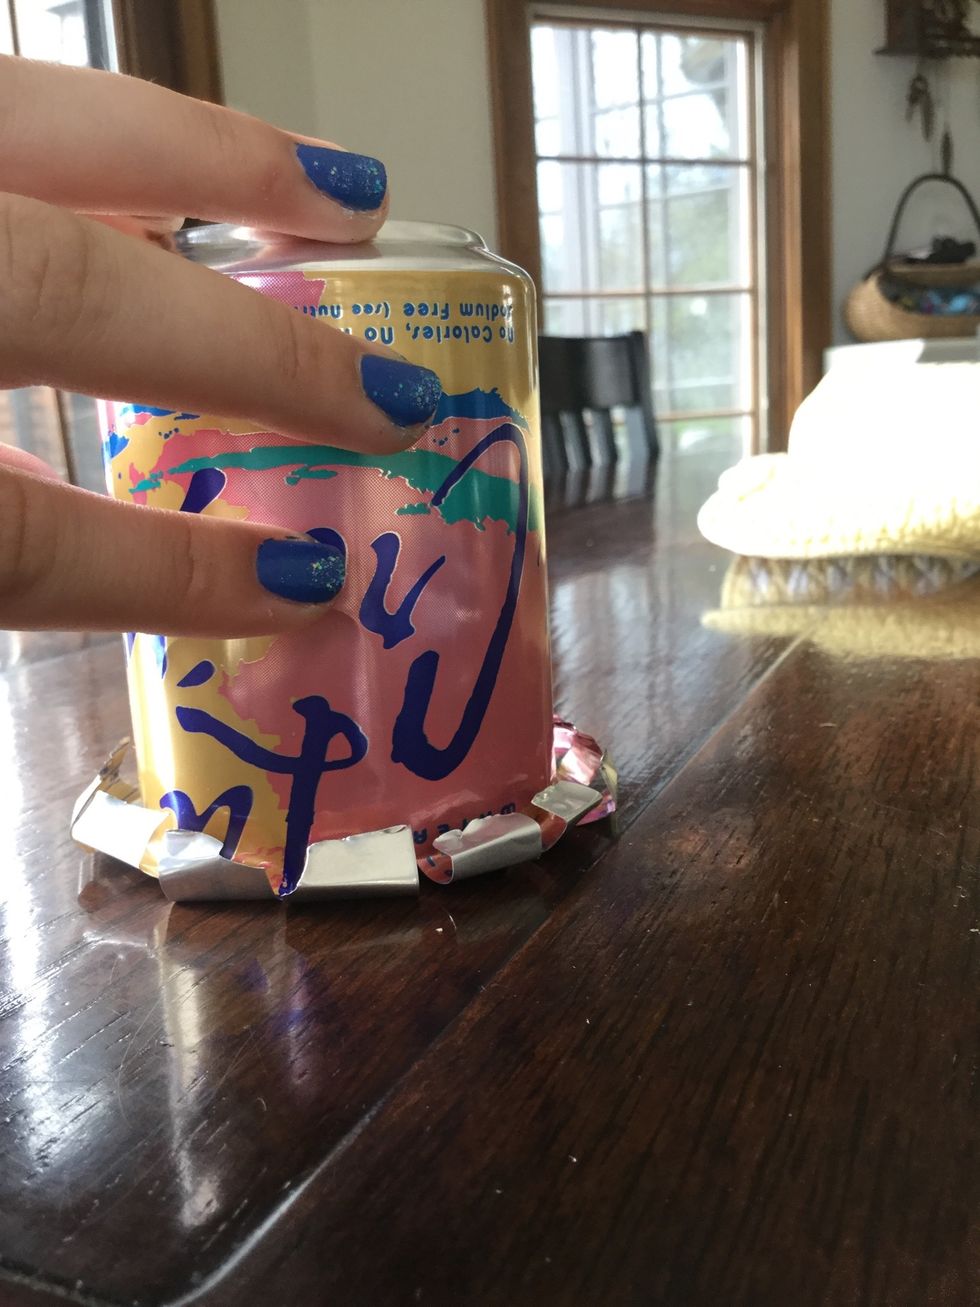
Flatten out the top by pushing down on a flat surface. This will make the top neater and less sharp. Then dry the can out with paper towel or tissue.
Next if you want to you can make paper flowers to put in the vase, or you can put pencils, kitchen utensils, etc. inside.
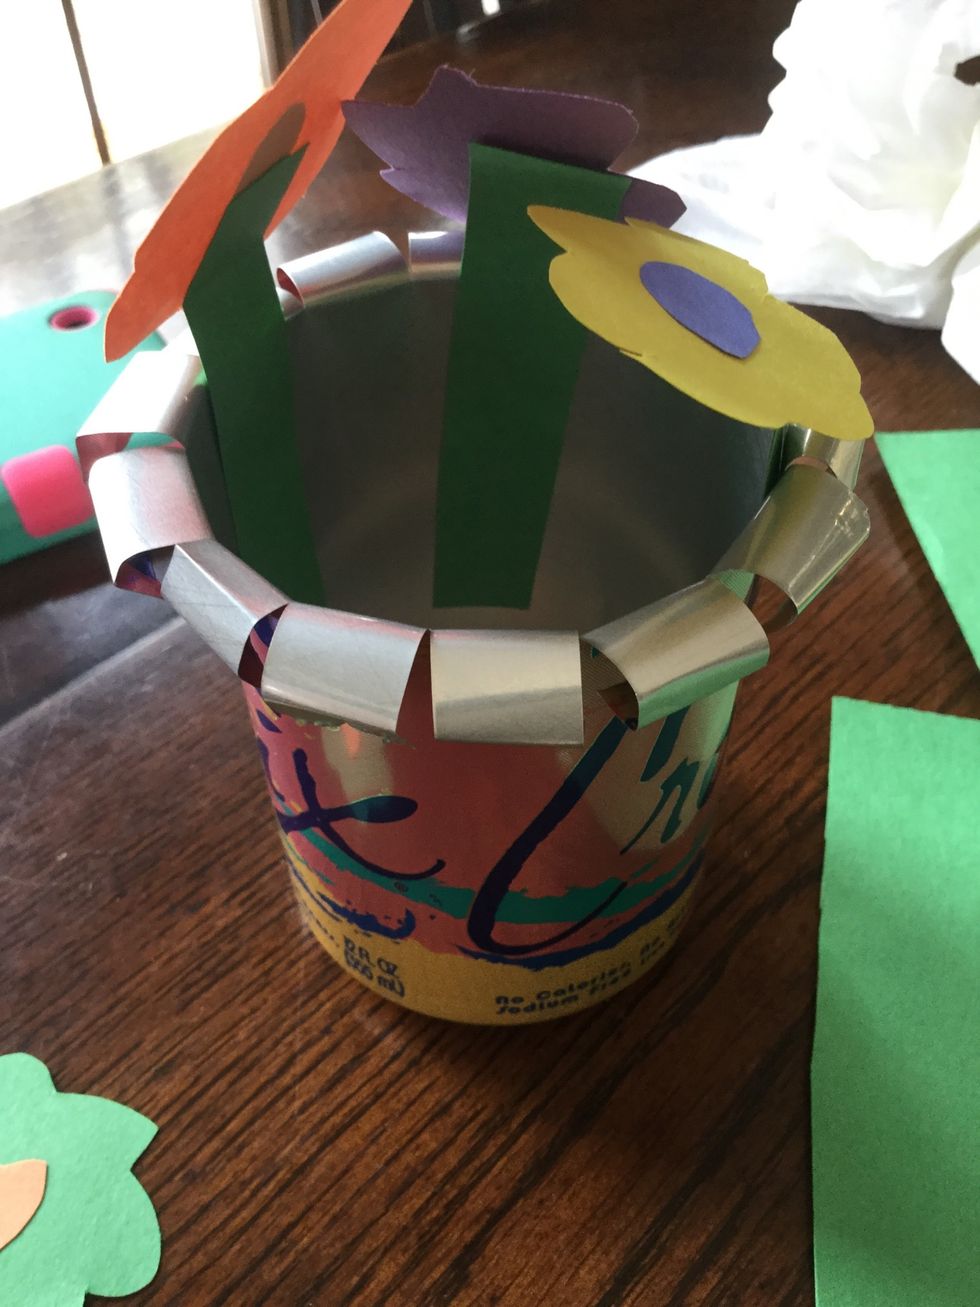
Since I did not have pipe cleaners, I used double sided tape to tape the flowers to the edges of the can. Bending them in different directions will allow them to cover the entire opening.
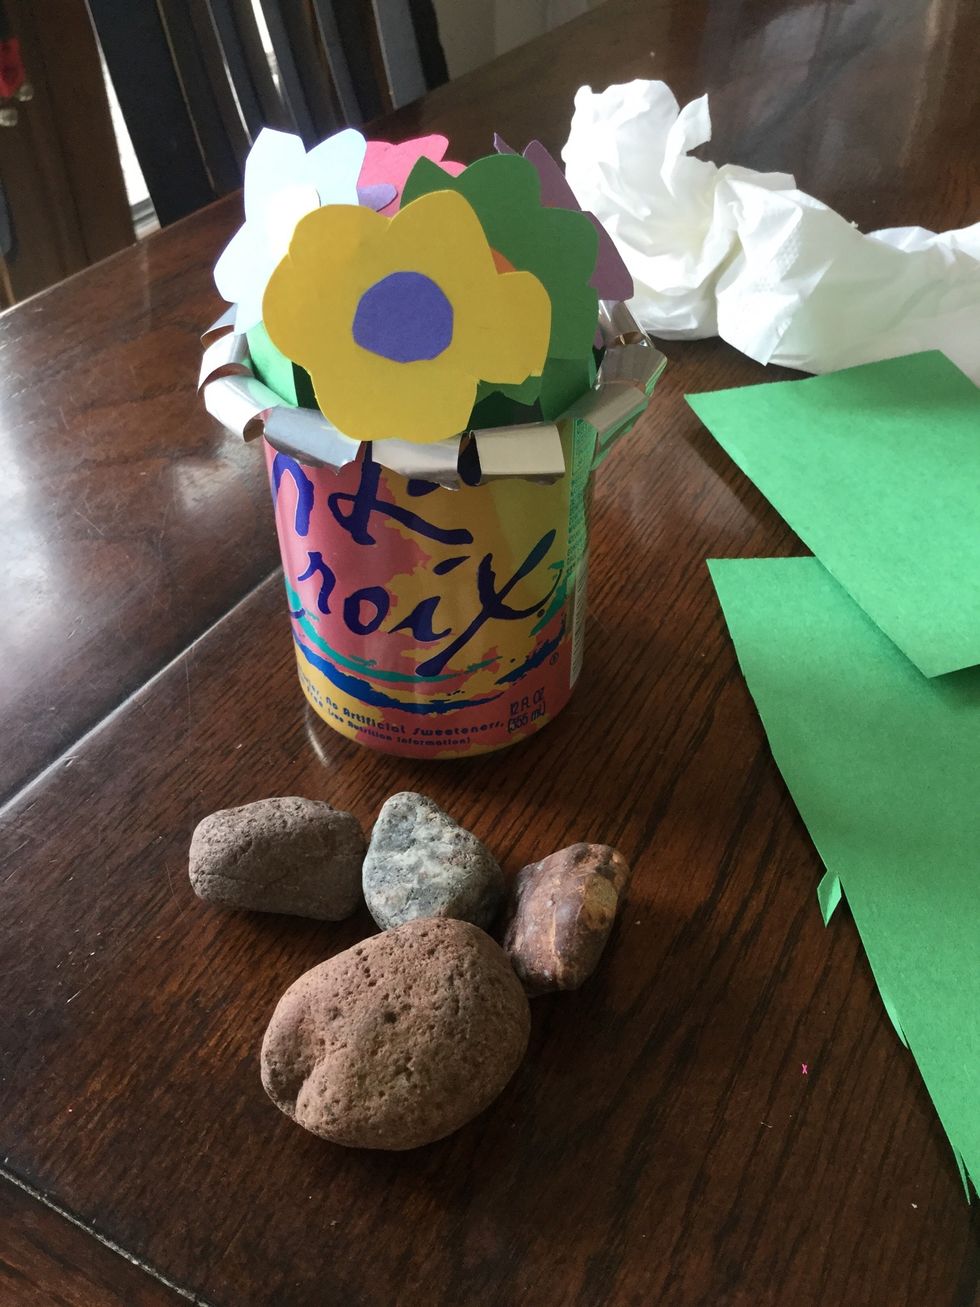
You can put rocks on the bottom to make sure it doesn't fall over
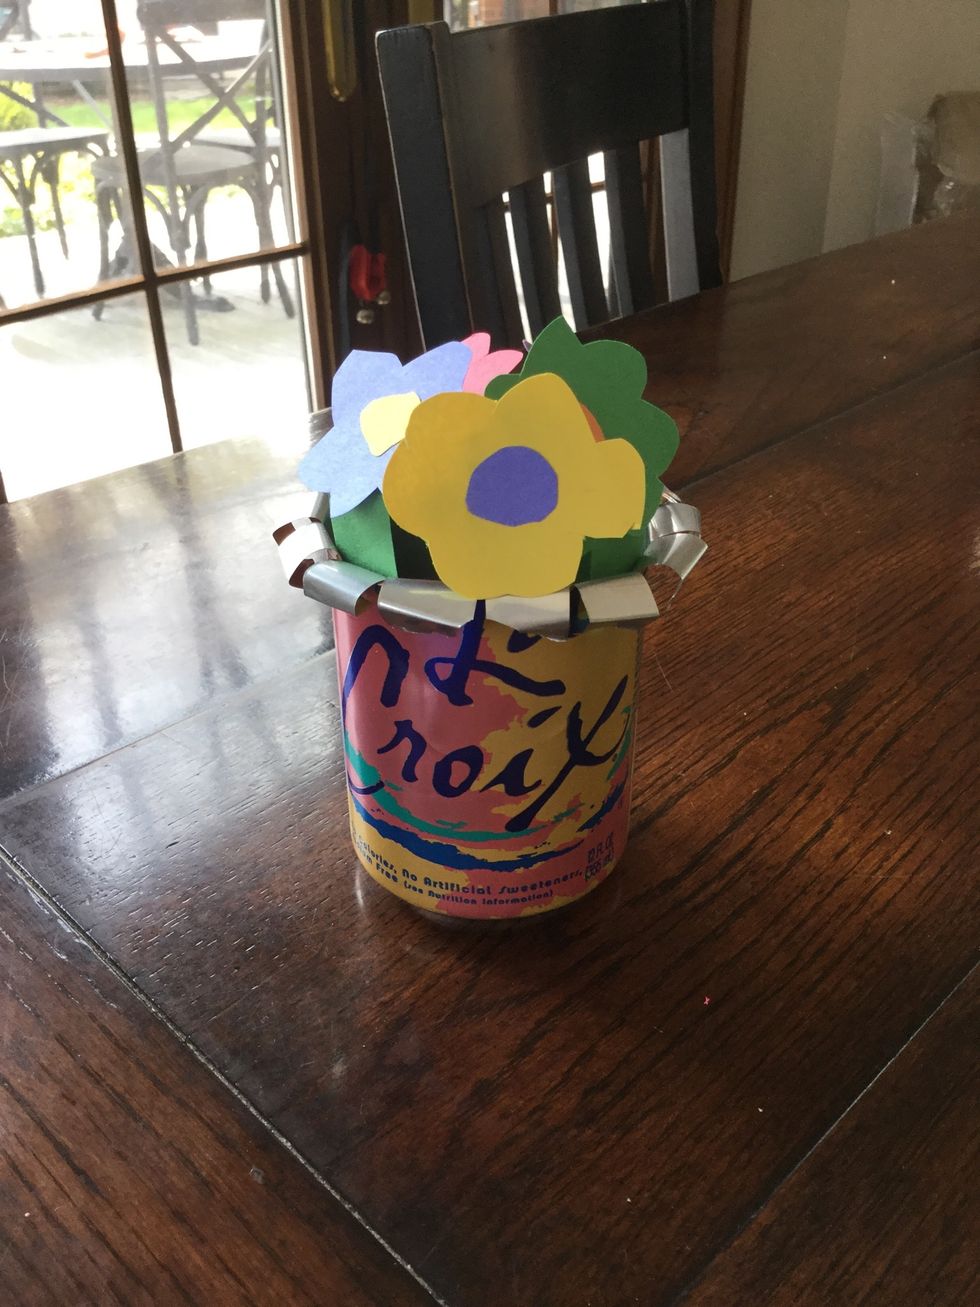
Yay! The finished product