The Conversation (0)
Sign Up
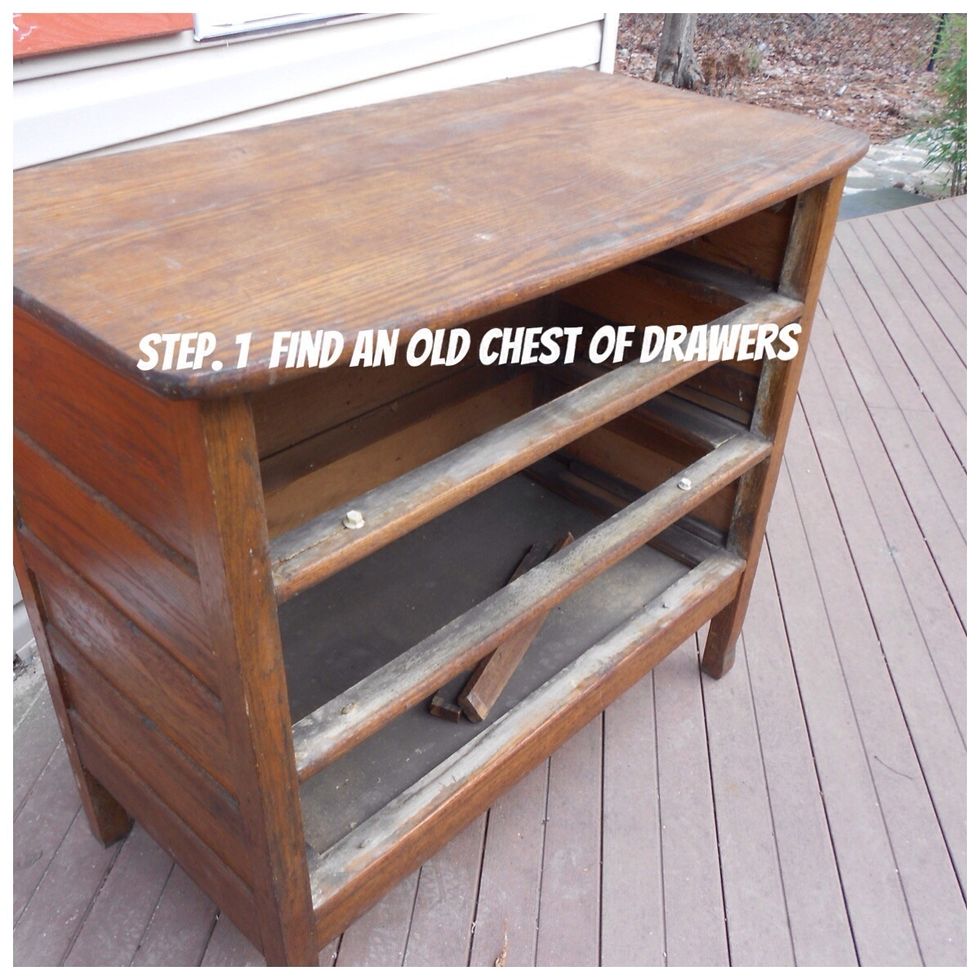
You can find cabinets at thrift shops, used furniture stores, yard sales, and the trash. Don't overlook old or damaged pieces. With a little work they make beautiful vanities.
The first step is to give the cabinet a complete inspection to determine what work will be required to make it functional.
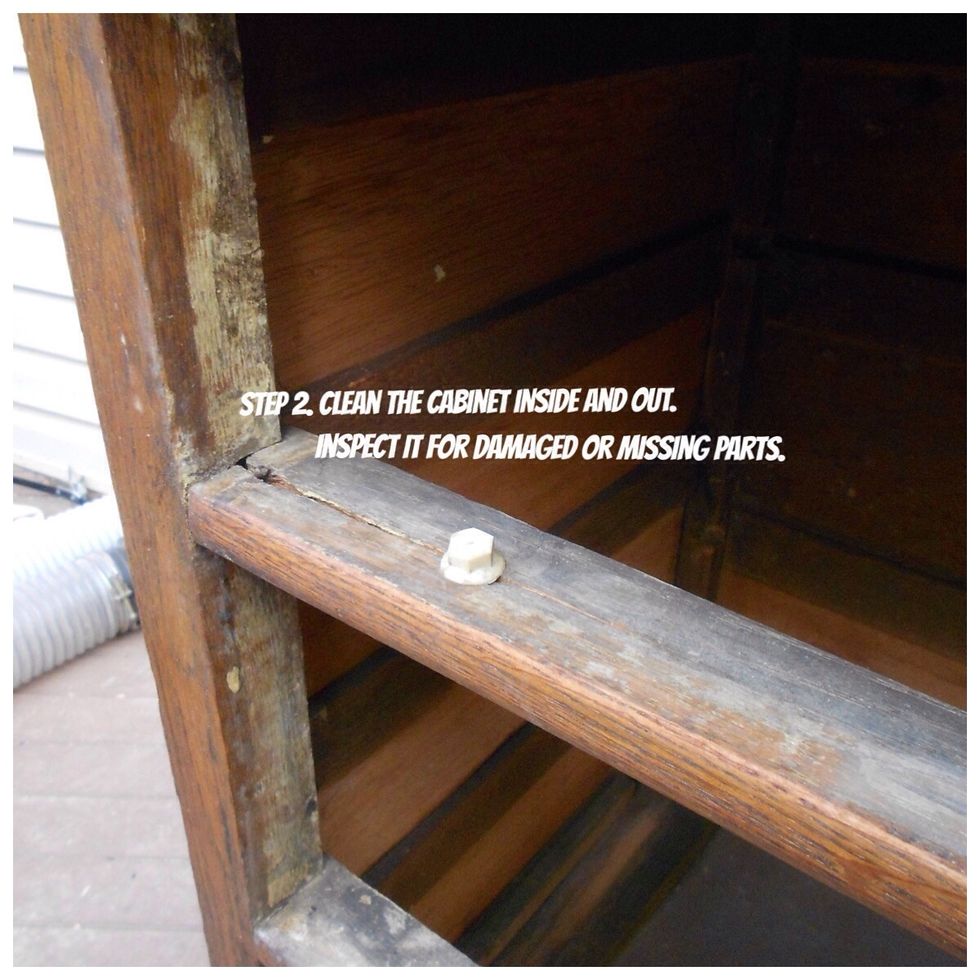
This cabinet had a tough life. It had a lot of dirt and mold, missing drawer slides, and a split rail. It also had a split in the top. None of these issues were major.
Clean the cabinet with soap and water, Orange Clean, or any mild cleaner. Be sure to read and follow the manufactures instructions. I used Orange Clean inside and out.
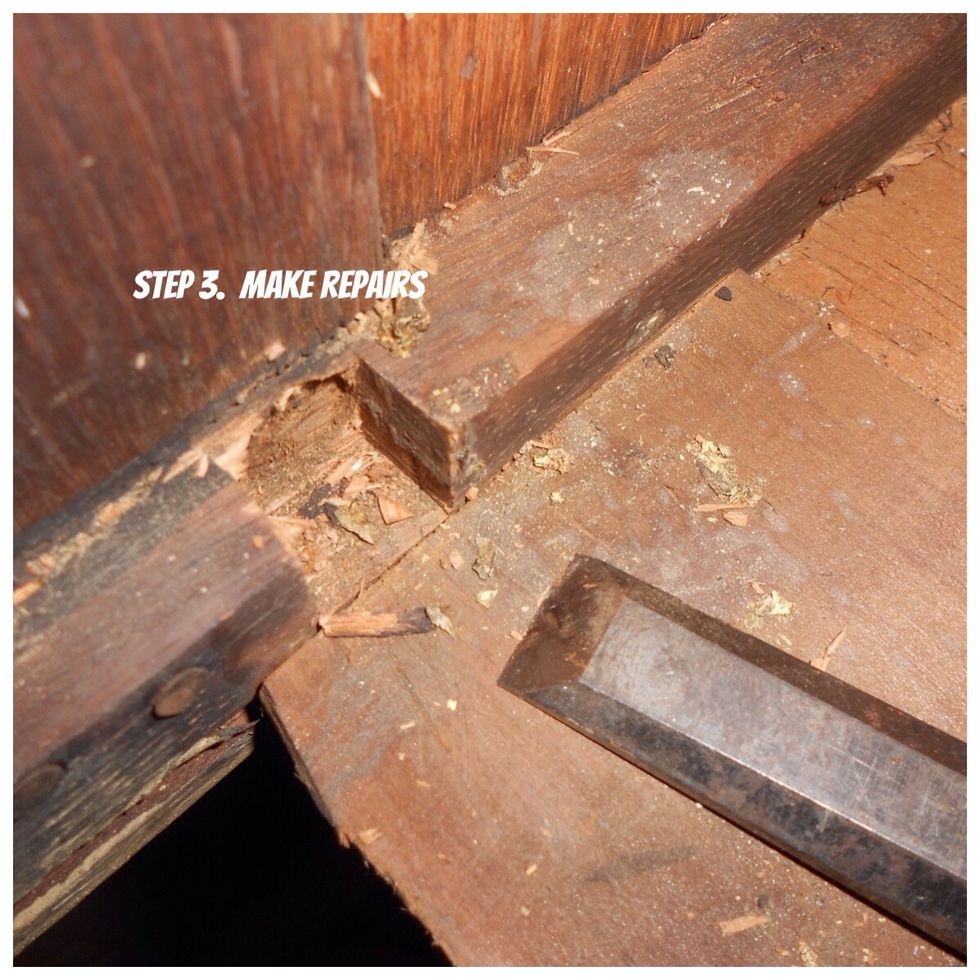
It's time to break out the tools"
Once the cabinet is clean, begin to address any issues from the top down and inside out. If at all possible, try to repair all broken parts and minimize the need for refinishing the entire piece.
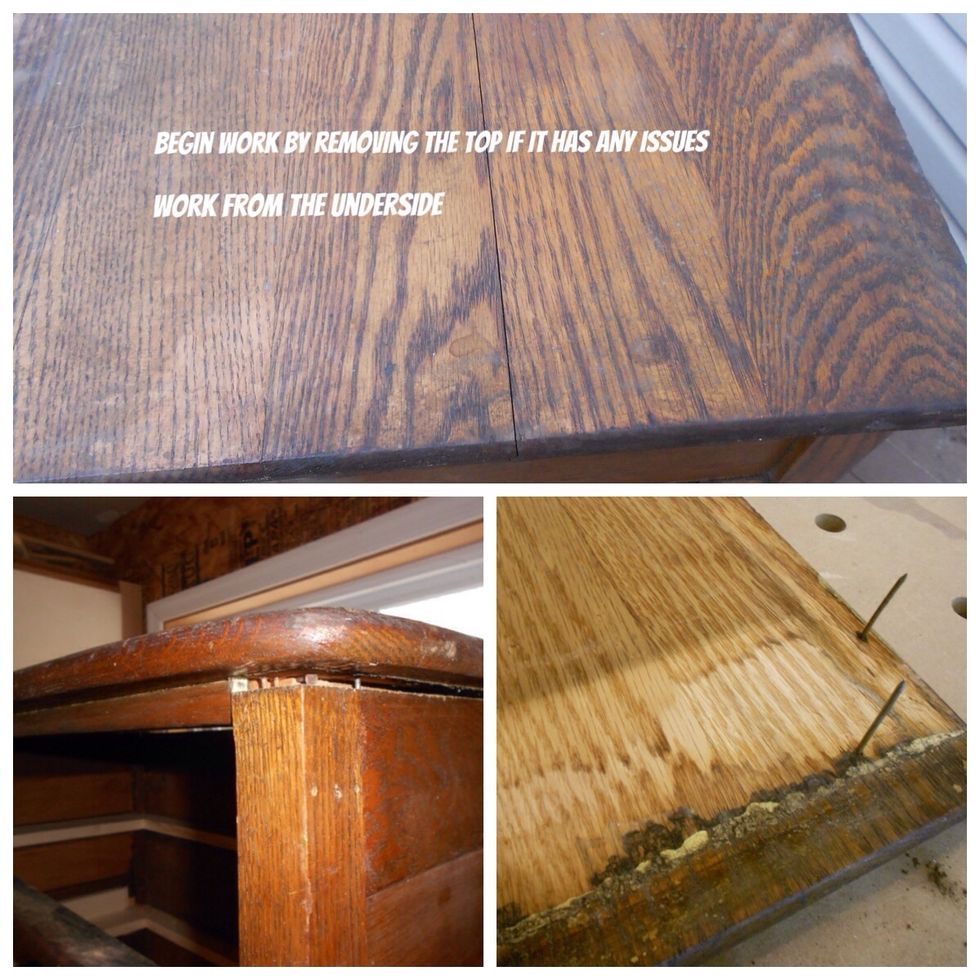
This cabinet had a major crack in the top and a loose top rail requiring that they be removed and re glued . If repairs to the top are needed loosen it from the bottom to avoid damaging the surface.

Use a scraper to clean old glue from joint surface. Apply a water proof glue to both mating surfaces spreading with a brush to minimize squeeze out. Use cauls when clamping to keep the top flat.
Clean off any glue squeeze out and lightly sand the surface with 220 grit sandpaper and set it aside.
Check the cabinet structure, interior, and drawers. If it needs to be tightened up, now is the time to do it.

Where parts are broken use glue and clamps to repair them. When they are missing you will have to make new ones.
Use the parts you remove to determine dimensions and as templates for making new ones.
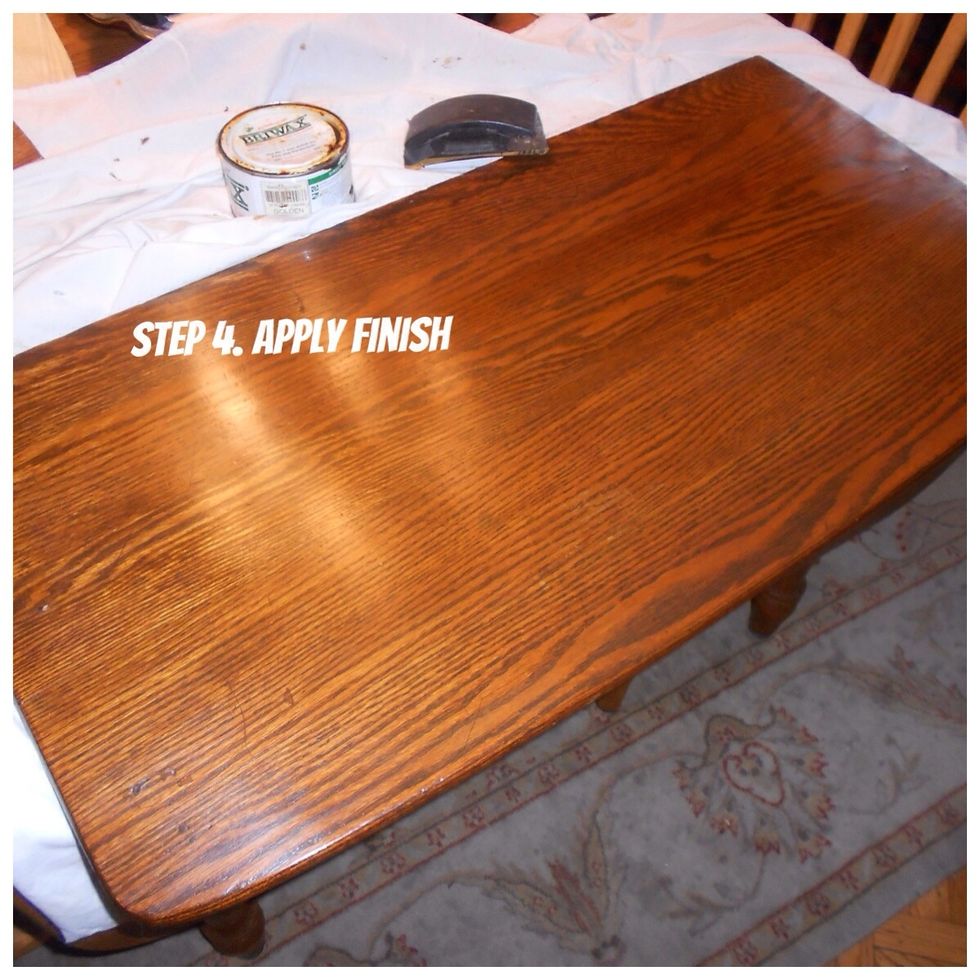
Finishing will make the difference between an average and an outstanding project. The finishing process can not be rushed. Time spent here will be time well spent
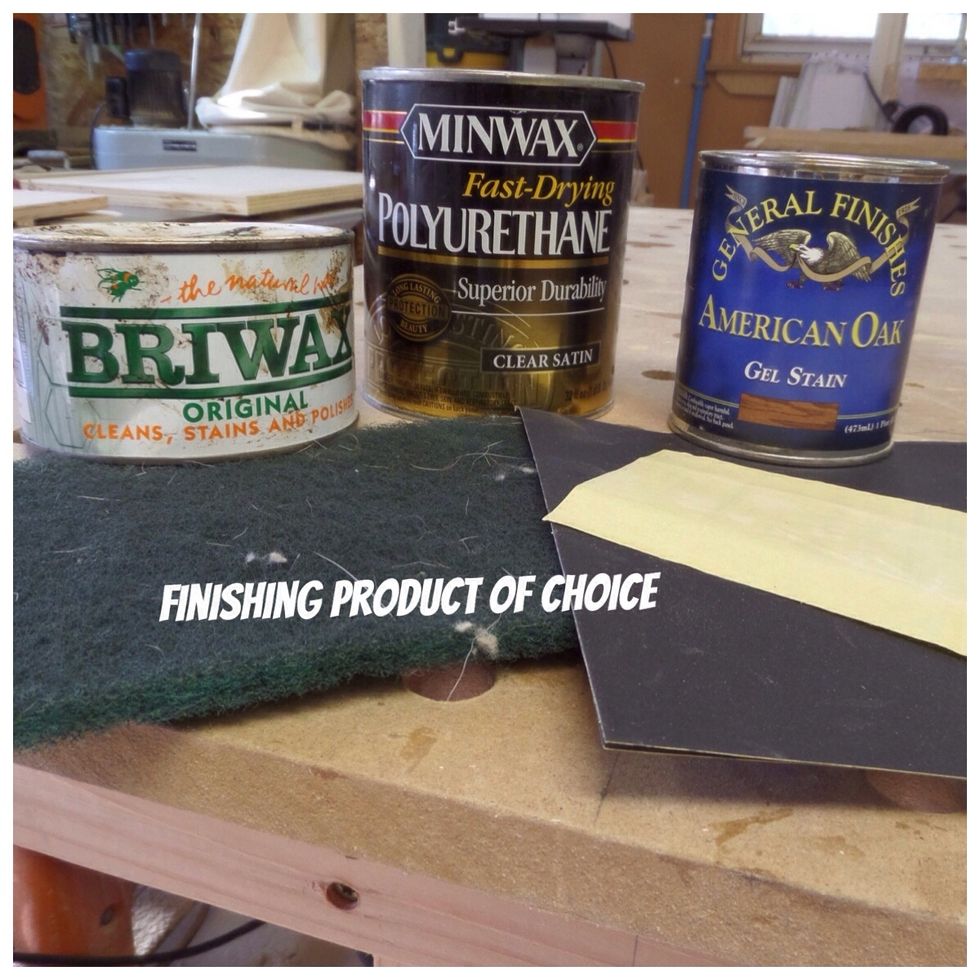
If there are no major stains or scratches and with the cabinet clean, using a Gel Stain, Polyurethane, and a good Stain Wax will result in a great finish.
If there are holes or chips these should be filled at this time. I have had success using a product called Quick Wood which is a colored epoxy product to repair holes. It is available at Woodcraft.
Scratches can be filled using a colored scratch filler. However, I have not had great success with it. I tend to leave the scratches to be filled with the Gel Stain.
Using 220 grit sand paper, lightly sand the entire cabinet starting with the top. Sand with the grain and use a soft sanding block. Once the top is finished, it's on to the drawer fronts.
Next come the rails, stiles, and sides. A tack cloth or a cloth soaked in alcohol is used to clean off all the dust created during sanding.
Gel Stain that closely matches the color of the cabinet is applied following the manufactures directions for applying the product. When the stain is dry, sand lightly with 220 grit paper.
Two coats of polyurethane are applied at this time following the manufactures directions. Sand with 220 grit sand paper between coats. A rich beautiful hand rub finish can be achieved by
applying a coat of Stain Wax with 400 grit sand paper and buffing with a soft cloth.
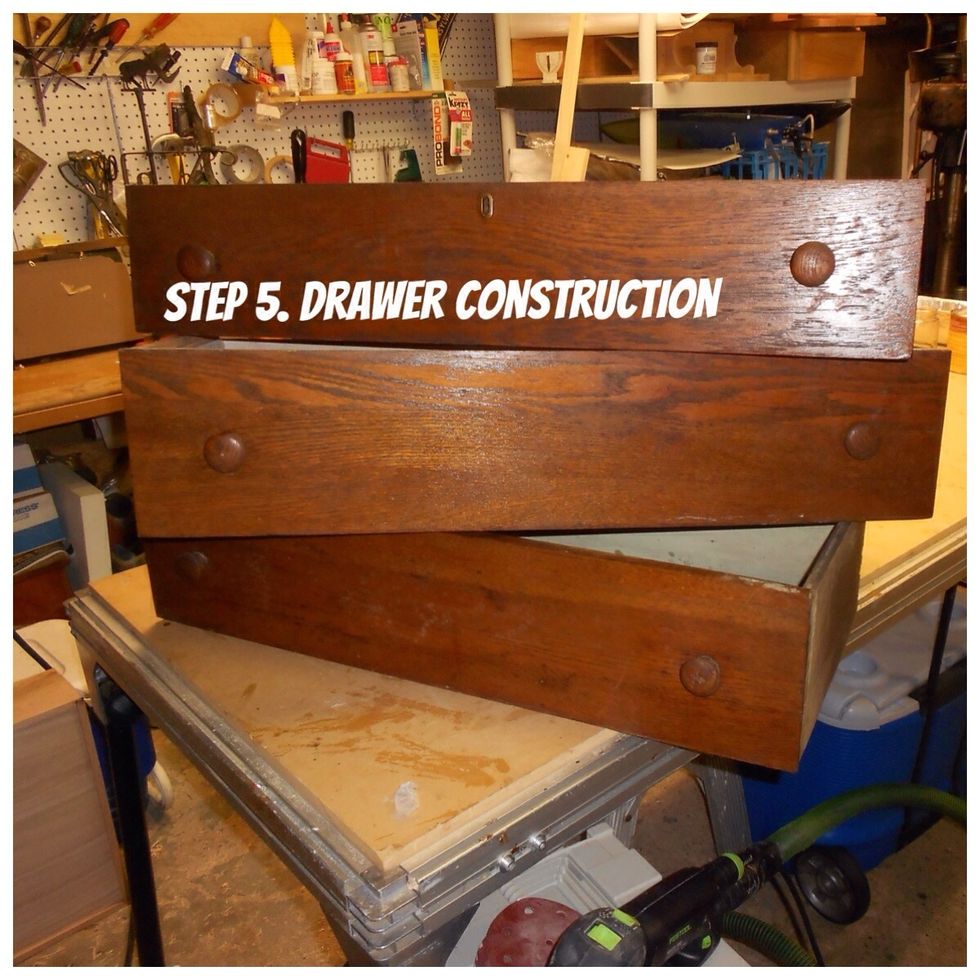
This step in the process involves some redesign of the cabinet . The drawers must accommodate the plumbing associated with a bathroom vanity. However, we still want them to function as drawers.
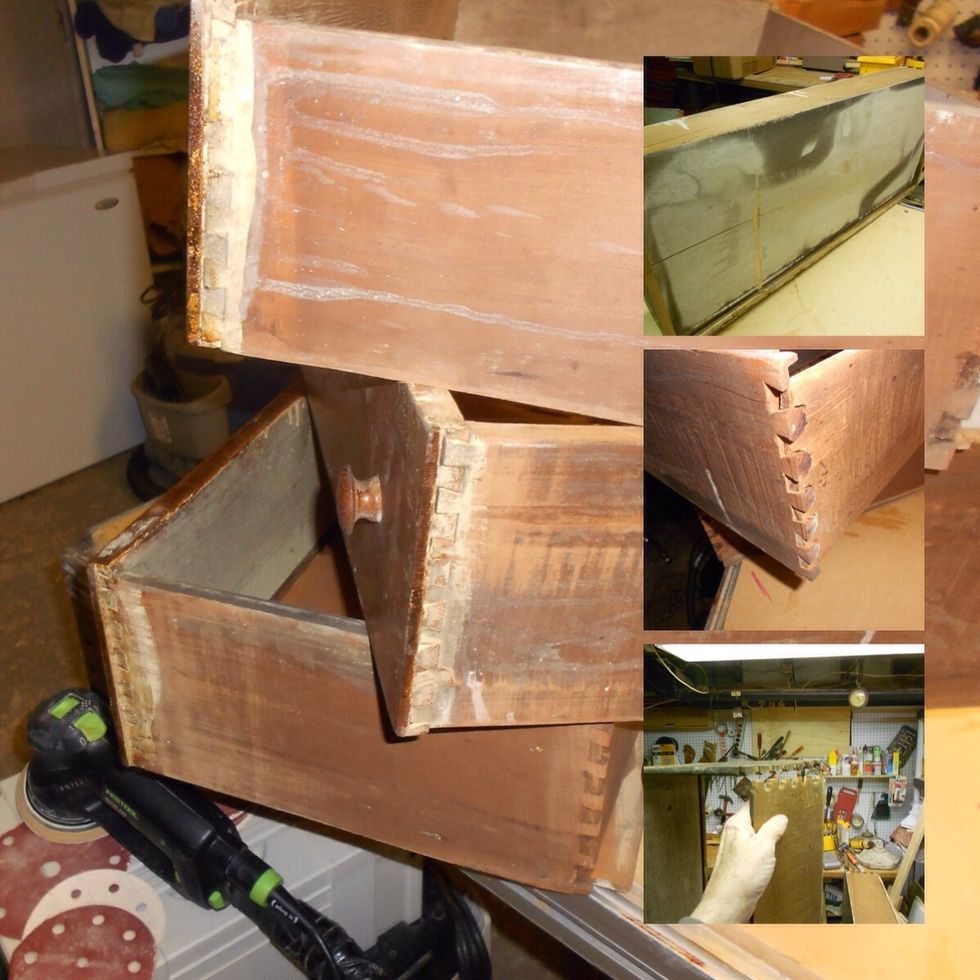
The drawers in this cabinet were not worth saving and since side mount drawer slides will be installed and the drawers themselves will be modified, only the fronts are needed.
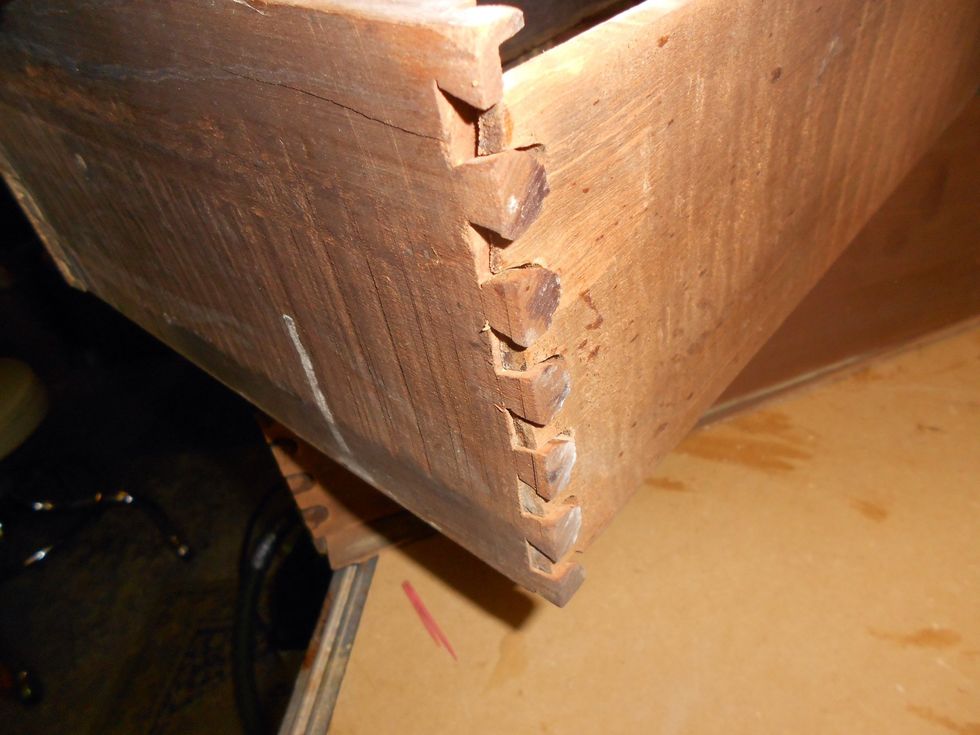
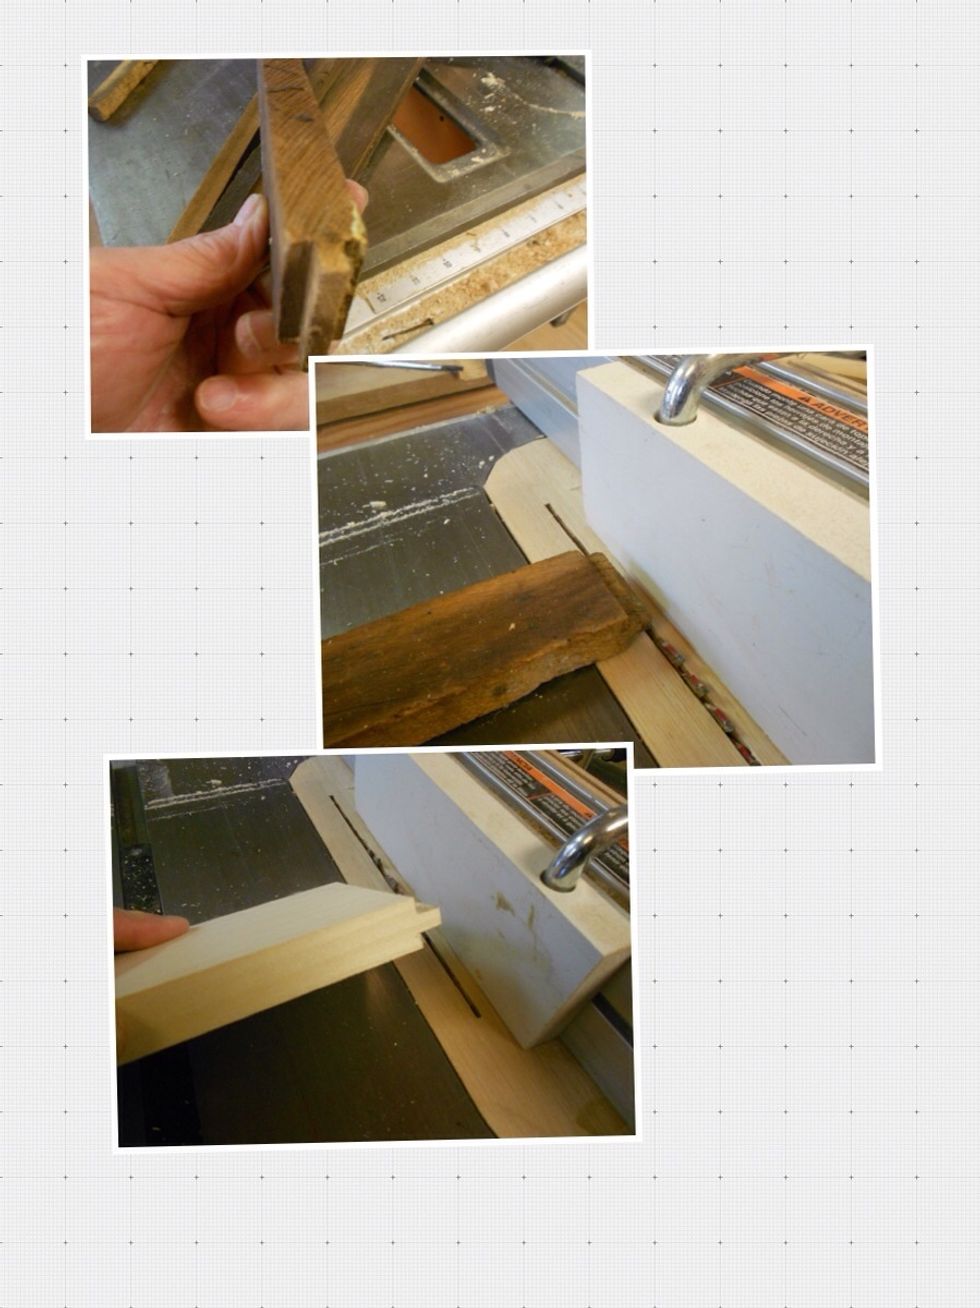
Loosen glue using a hair dryer or a heat gun. Then a little persuasion with a hammer or rubber mallet will complete the process of dismantling the drawer.
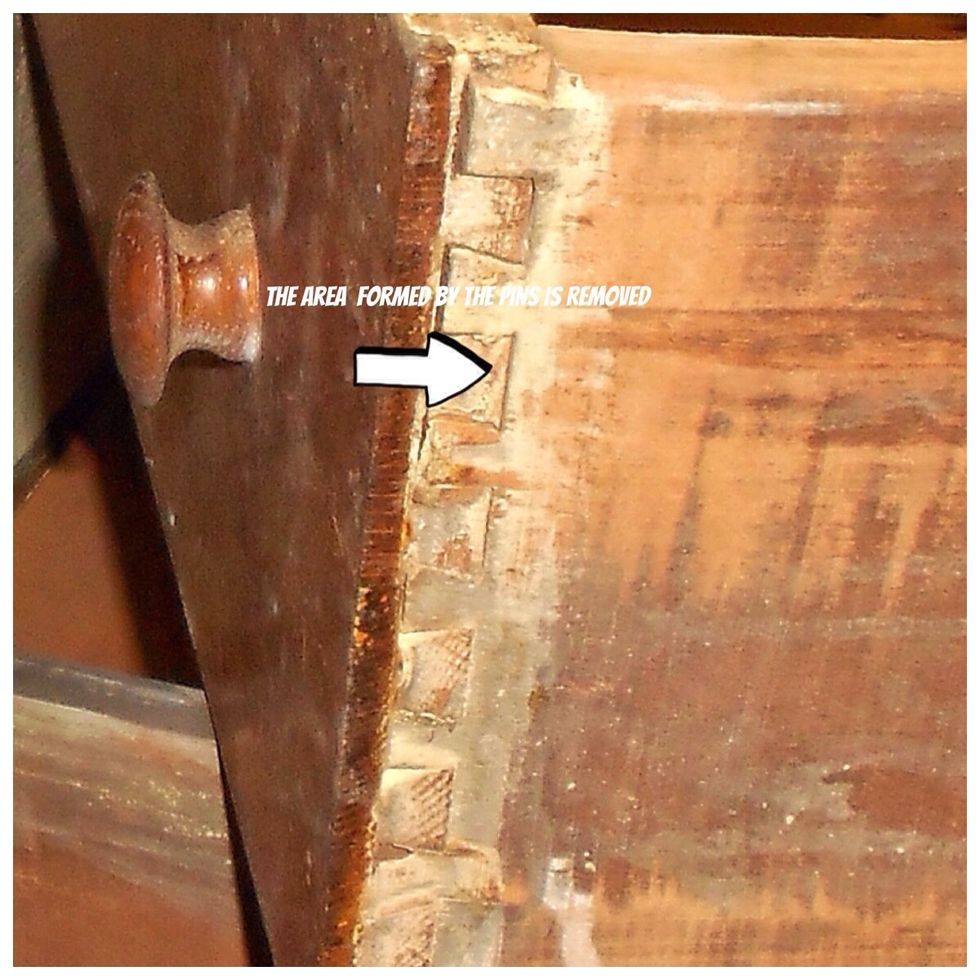
After separating the box from the front,the area formed by the pins is removed using a dado blade on the table saw or a 1/2 inch straight bit in a router. Fill the area with a 1/2"x1/2" piece of wood.
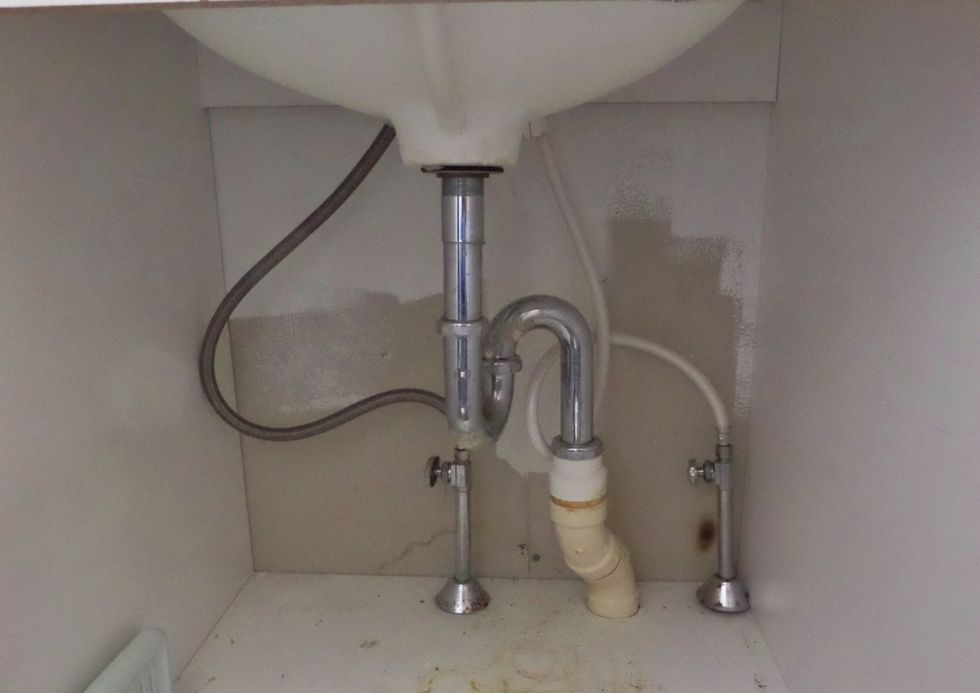
Establish where the supply lines and the drain line come through the wall. The size of the cabinet and the plumbing location is used to lay out the drawers.
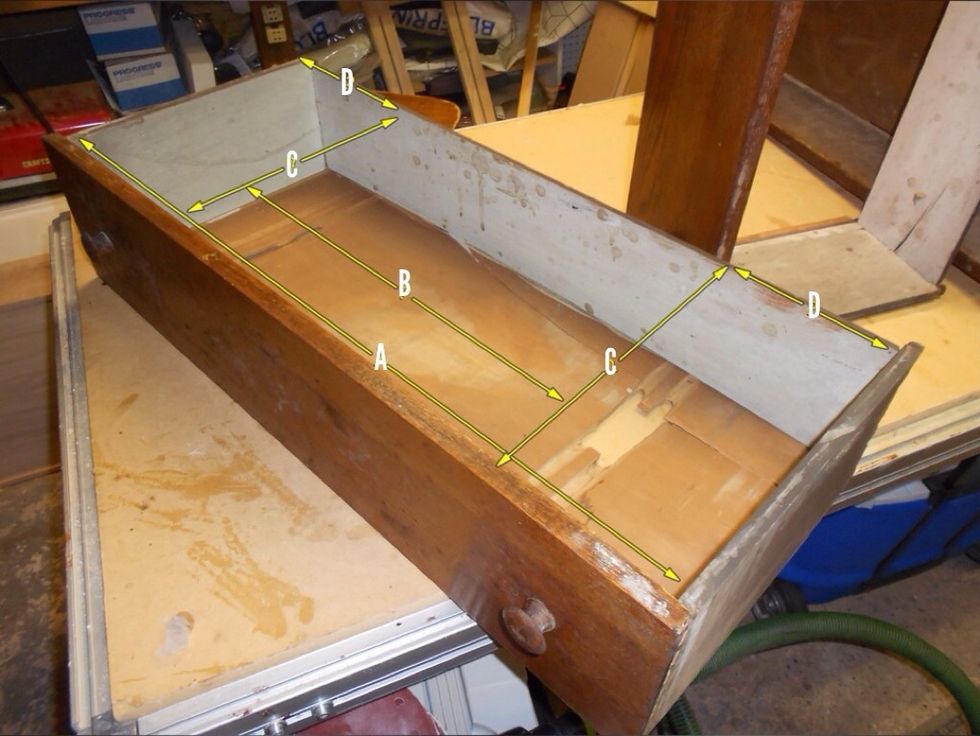
Determine the area between B, C, left and right. This is the open area in the drawers to accommodate the plumbing. The remaining area will be drawer space.
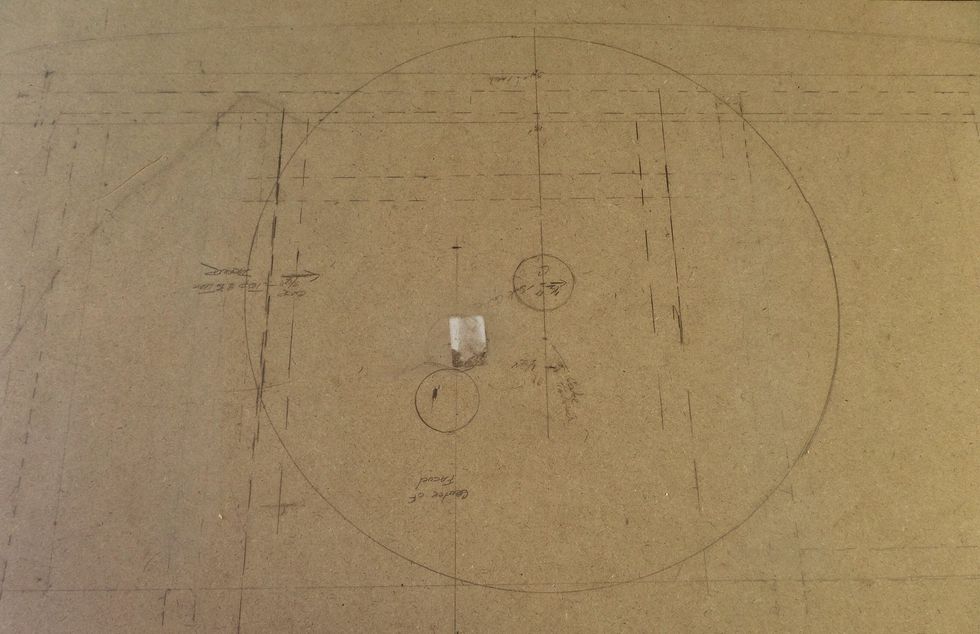
Using a 24"x 48" sheet of MDF, make a full size drawing of the cabinet with drawer layout and plumbing placement. The drawer interior sides will reflect exact dimensions of individual boxes.
Use the MDF templet to establish the dimensions of box parts. The total length of the drawer must be one inch less than the total drawer opening to accommodate the side mount drawer slides.
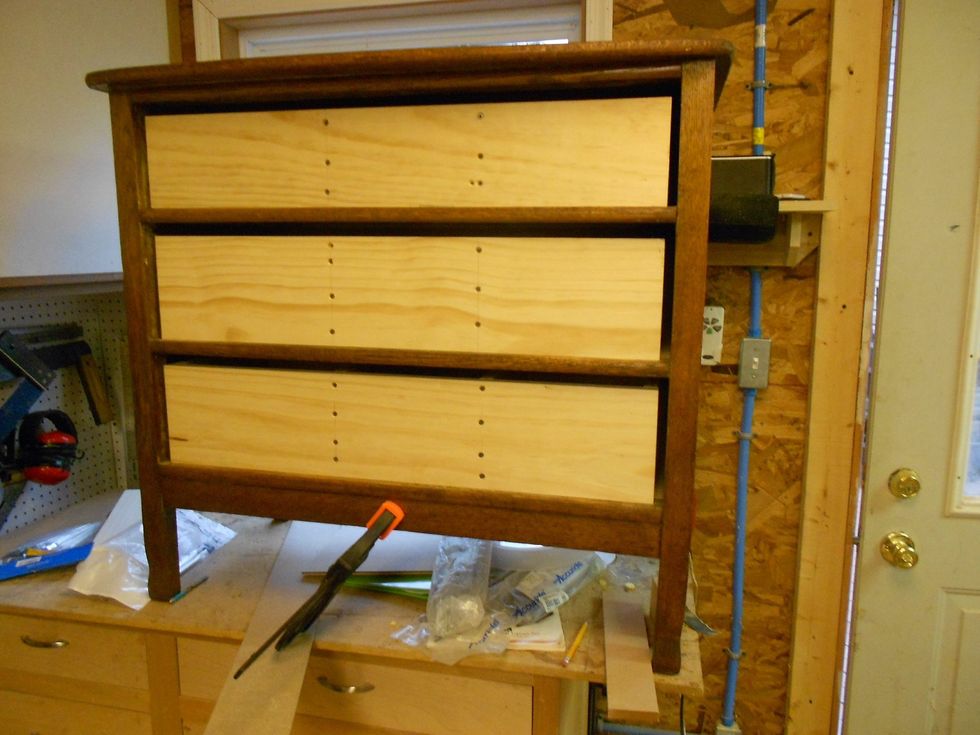
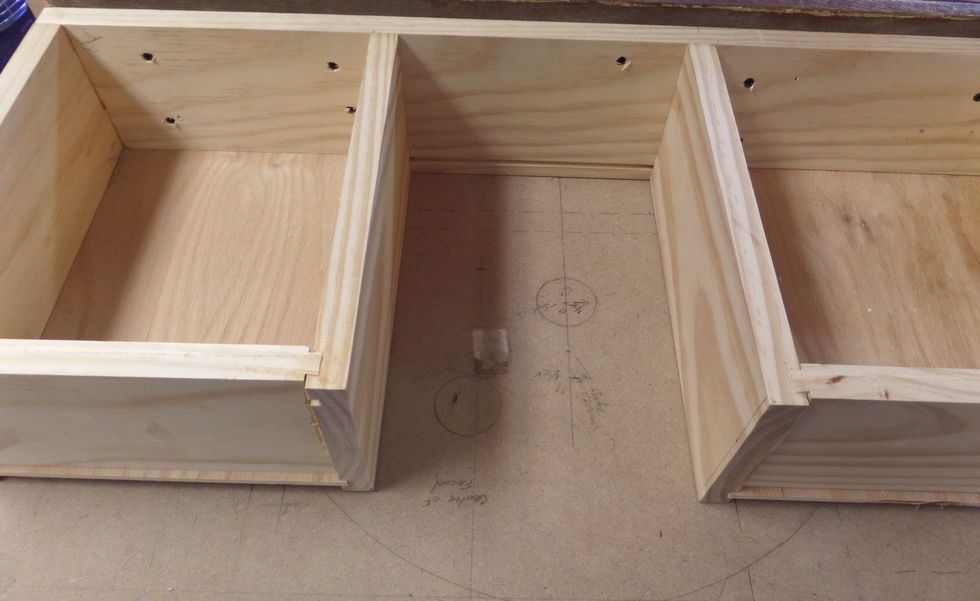
Attach the drawer slides following the manufactures directions. Attach the drawer fronts from the bottom drawer up using clamps to hold them in place and screwing from the inside.
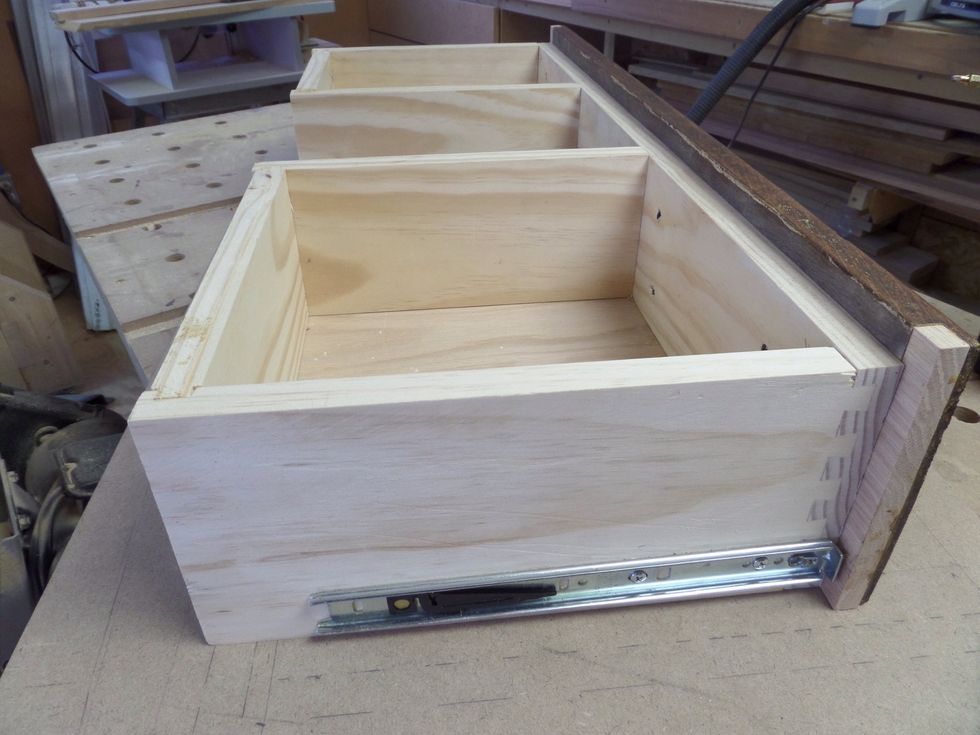
Completed drawer ready for knobs.
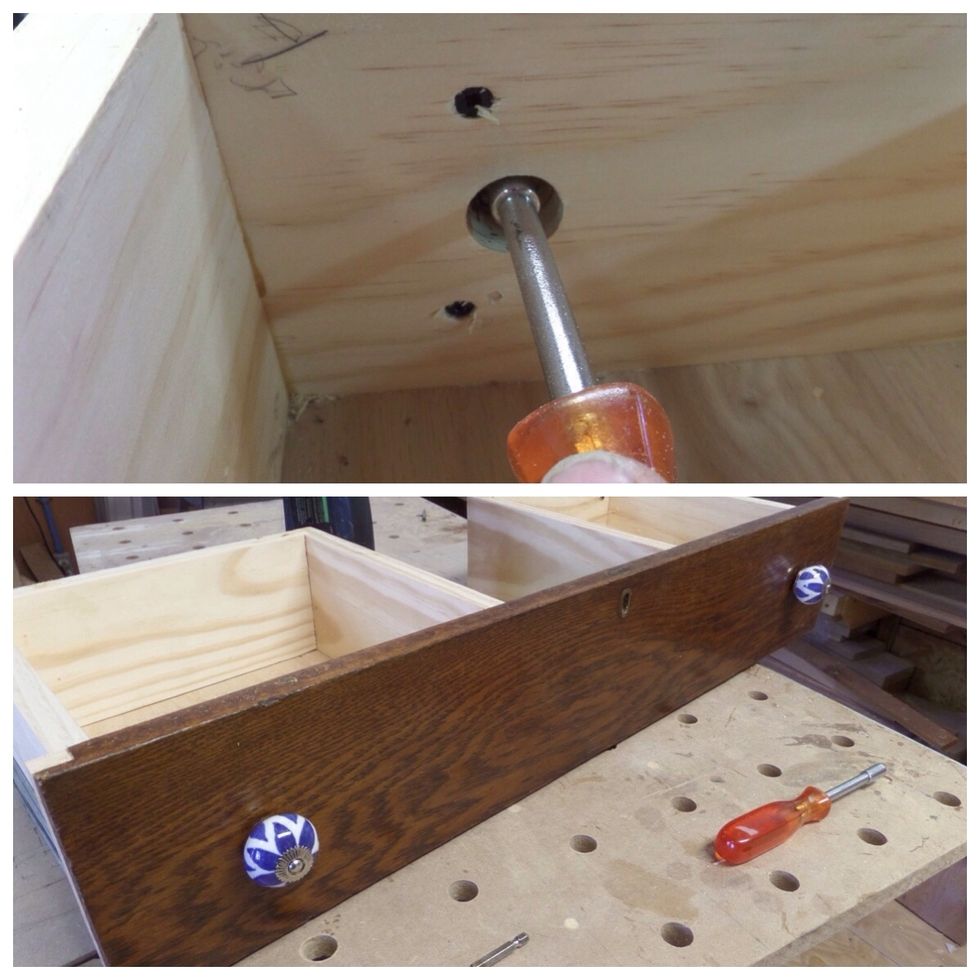
Apply the knobs to the drawers and stain the filler blocks on sides of drawer fronts.
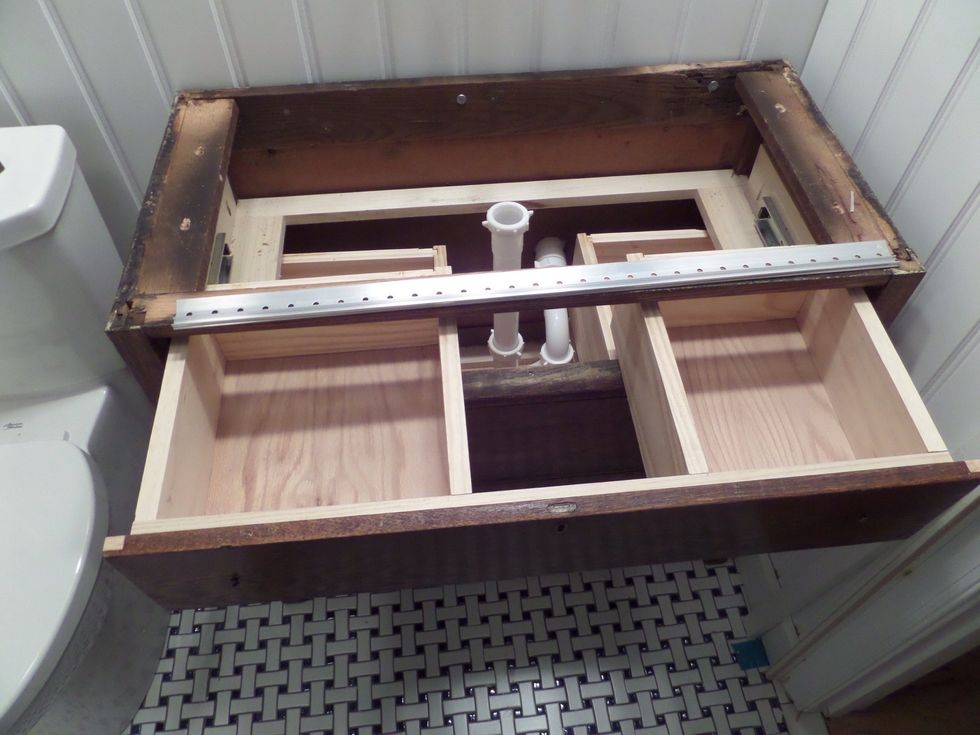
Fit the cabinet in place securing it to the wall and attach the top.

Set the vessel sink in place and following the manufacturers directions drill a hole through the top, install the stop, tail piece, and attach the sink to the top. Complete the plumbing connection.

Step back and admire the upcycled solid wood three drawer cabinet that is now a beautiful solid wood bathroom vanity with a vessel sink.
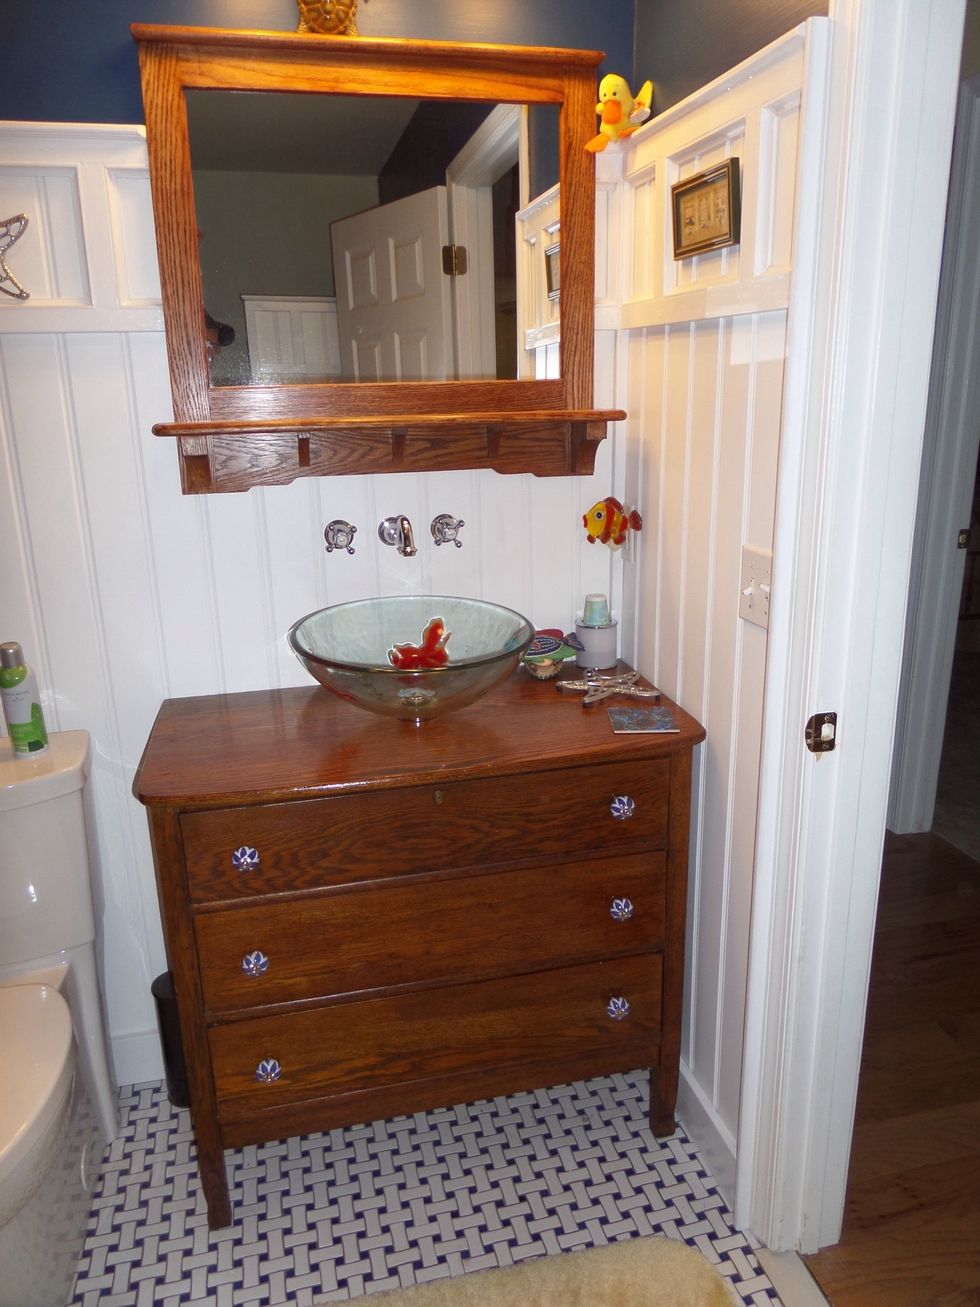
With all that experience, make a matching framed mirror.