The Conversation (0)
Sign Up
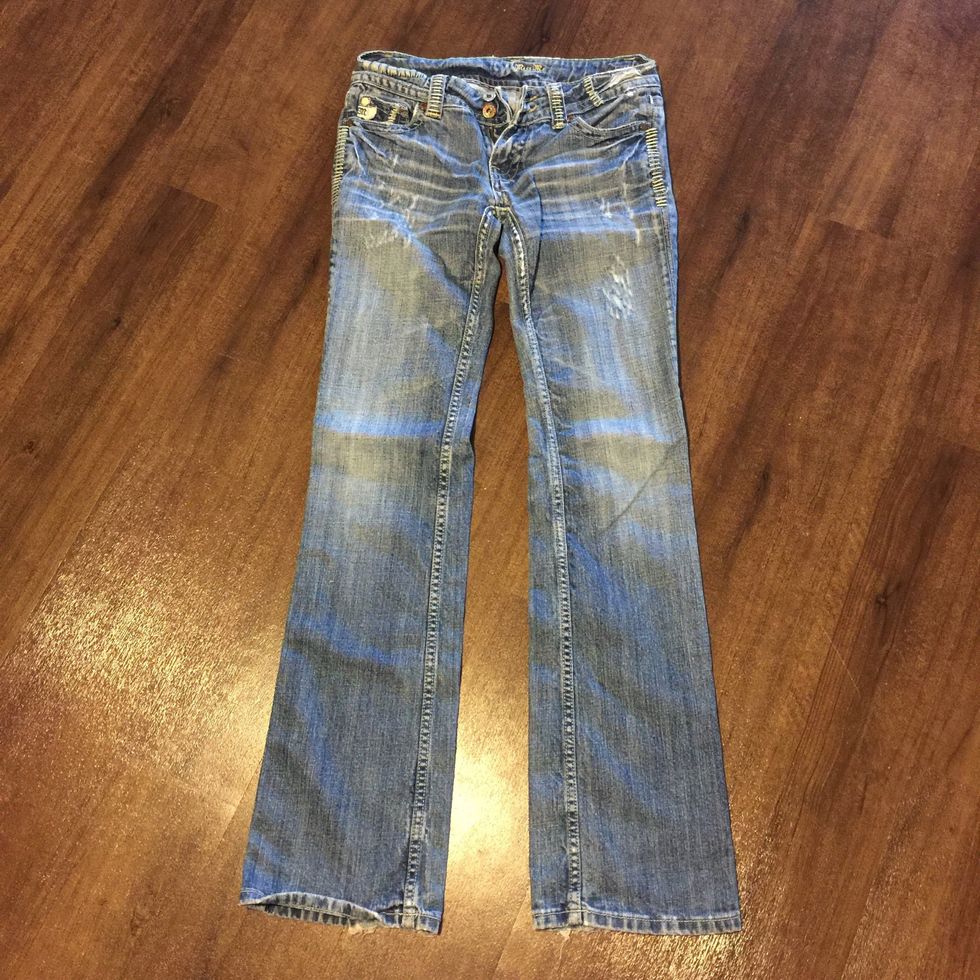
Grab a pair of jeans that you're willing to get rid of and lay on flat surface. Make sure the jeans are ironed out or smooth.
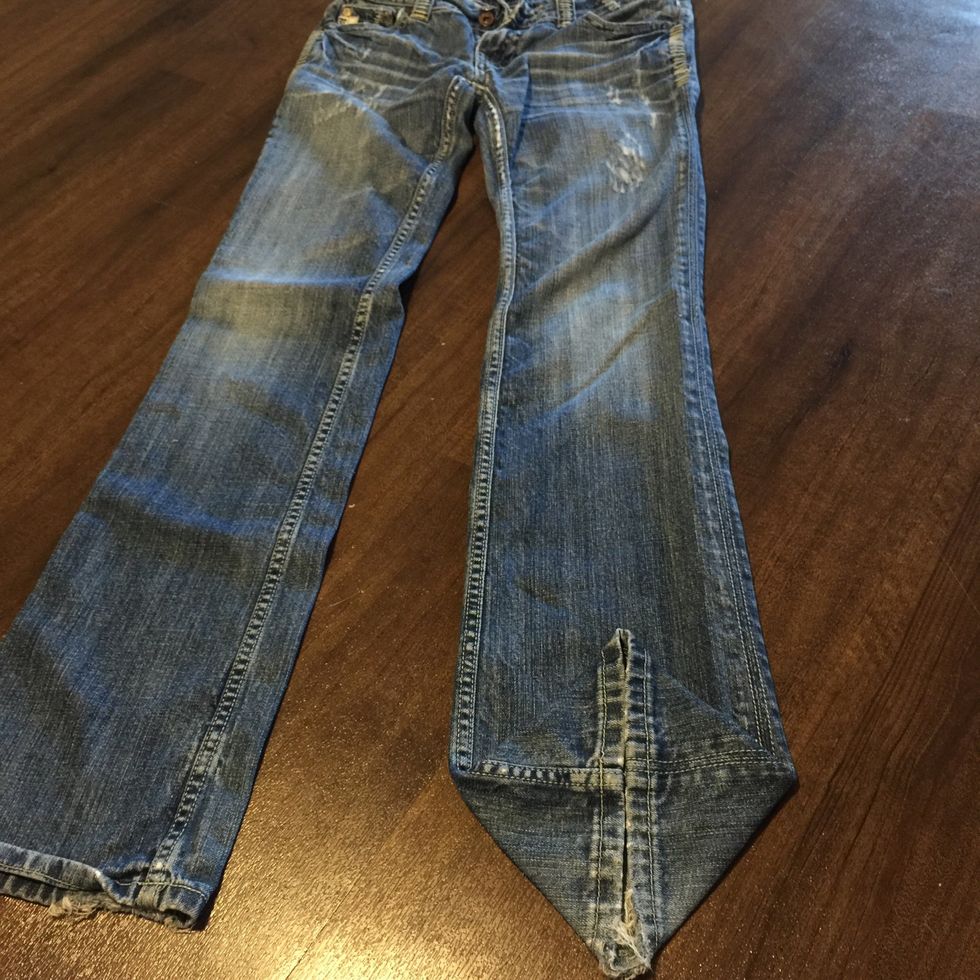
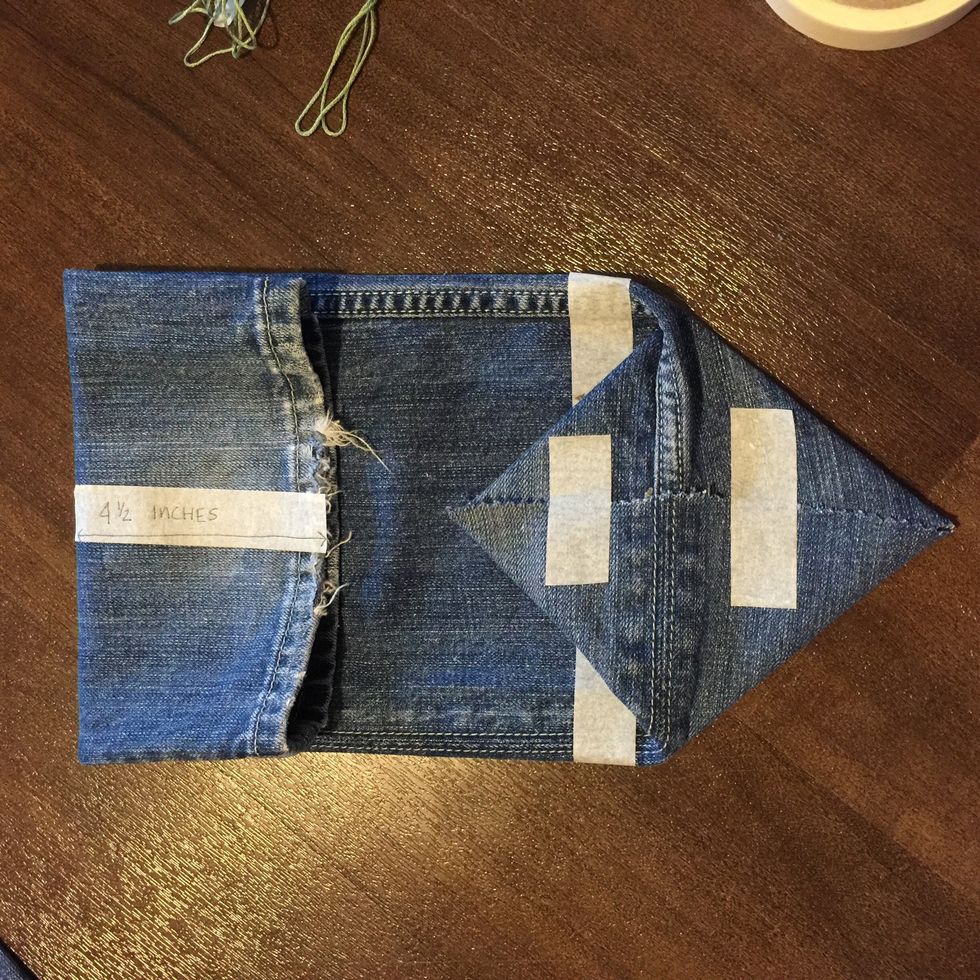
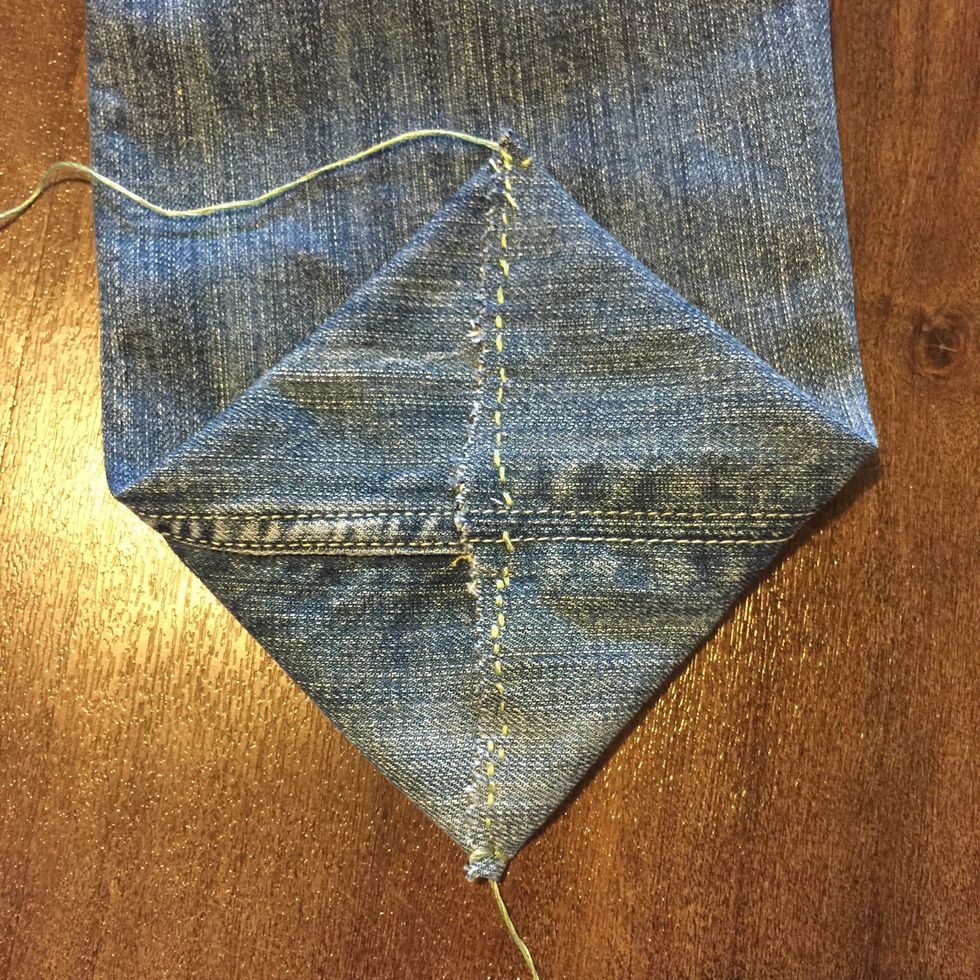
At the bottom of the pants, fold in sides towards the center.
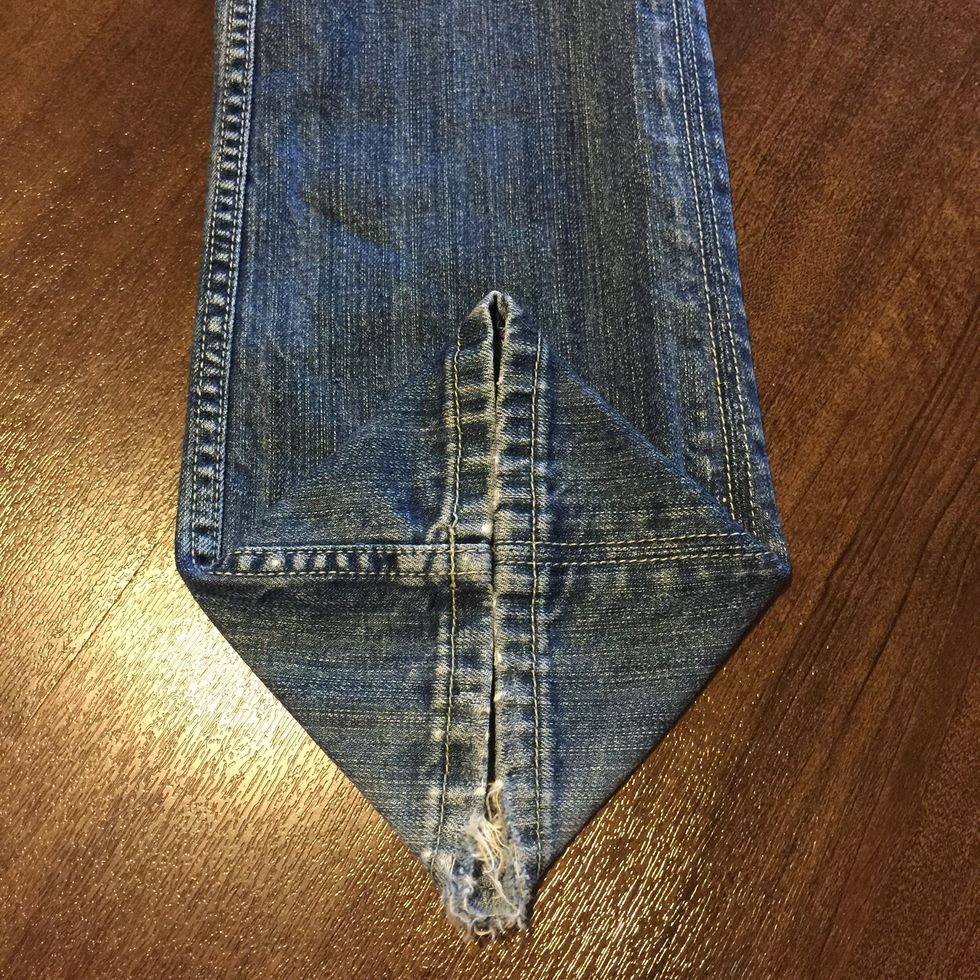
Here is a close up.
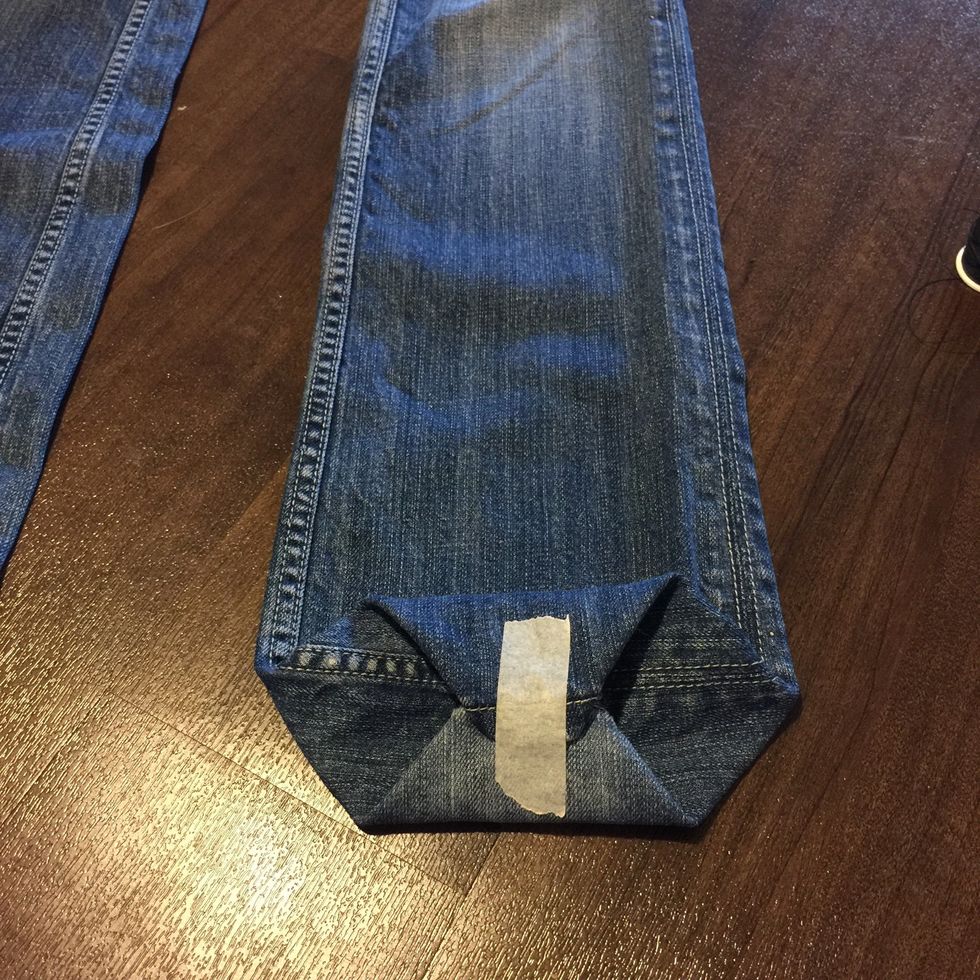
Fold the top and bottom points inwards toward the center. Tape or pin.
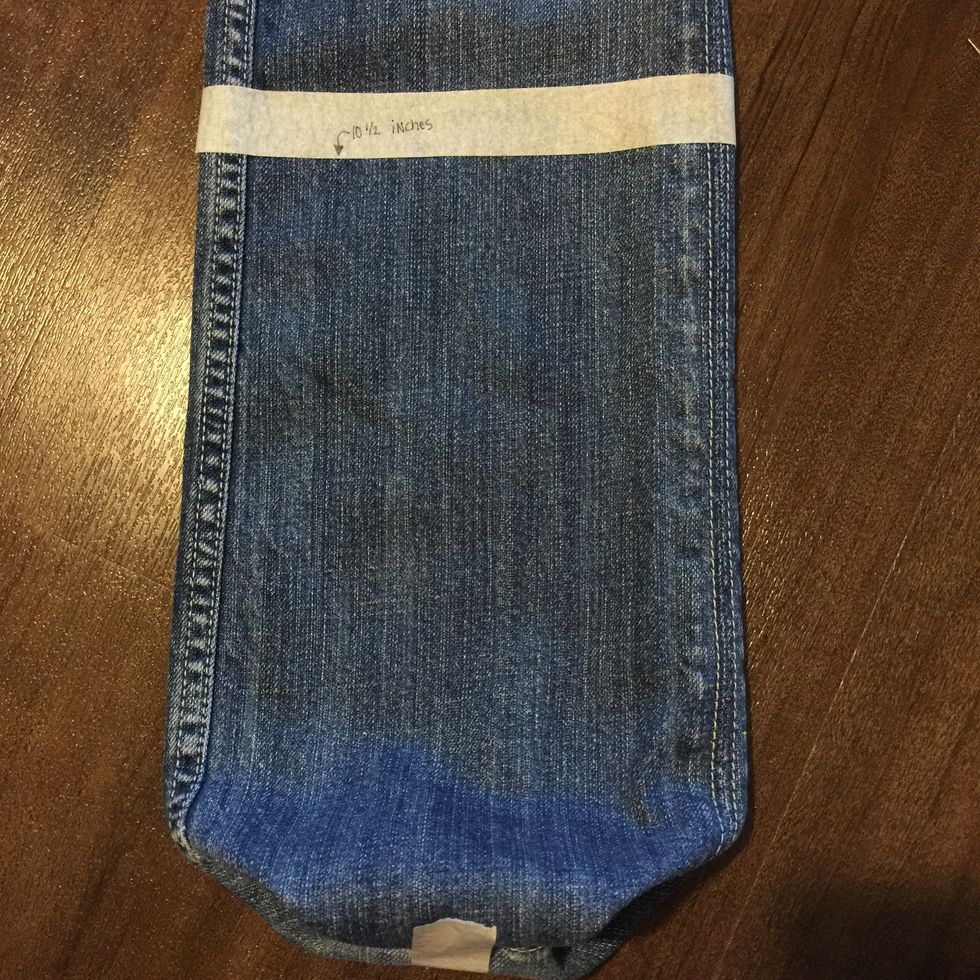
Measure how long or large you want your bag to be. I wanted mind to be at least 10 inches in height, with an additional few inches to flap over.
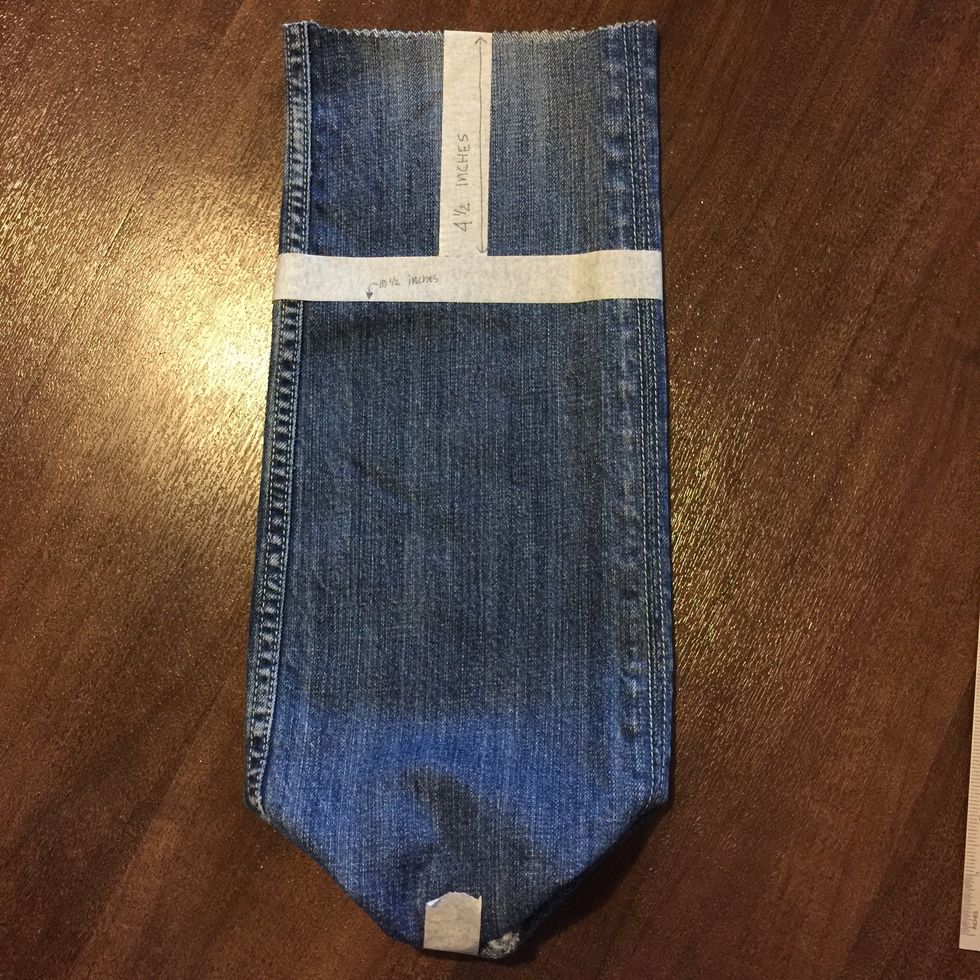
Here, I have measured out the additional 4.5 inches or so that I wanted to use as a flap for the bag. This makes it larger than a typical small brown paper bag. You can make smaller or larger.
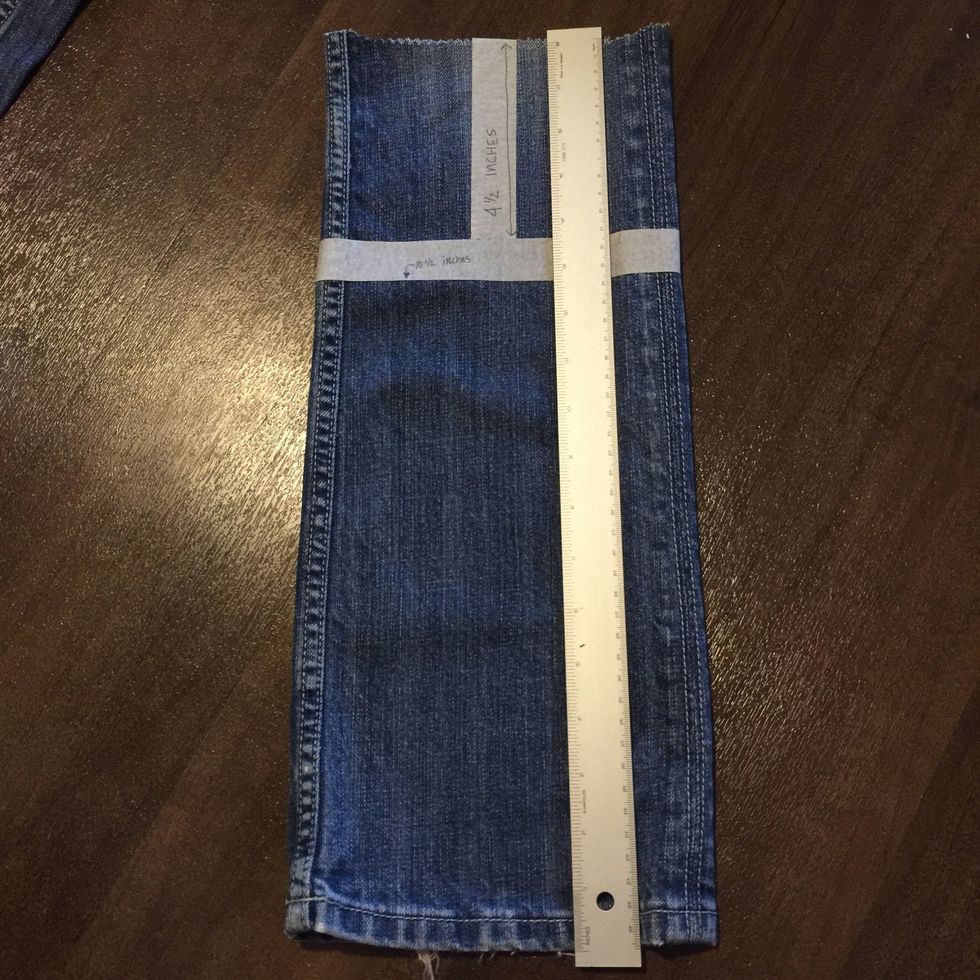
The length of my entire piece of fabric was about 18 inches. If you don't want a flap, you can omit 5 inches.
I decided to use the bottom of the pants as the top of my bag. So I turned the fabric around and with the cut side, I folded in the sides, like before.
Adjoin the sides by sewing across. Make sure knots are tied tight and secure and the sewing is very secure. Doesn't matter if its neat - it simply needs to be secure so it can hold weight in the bag.
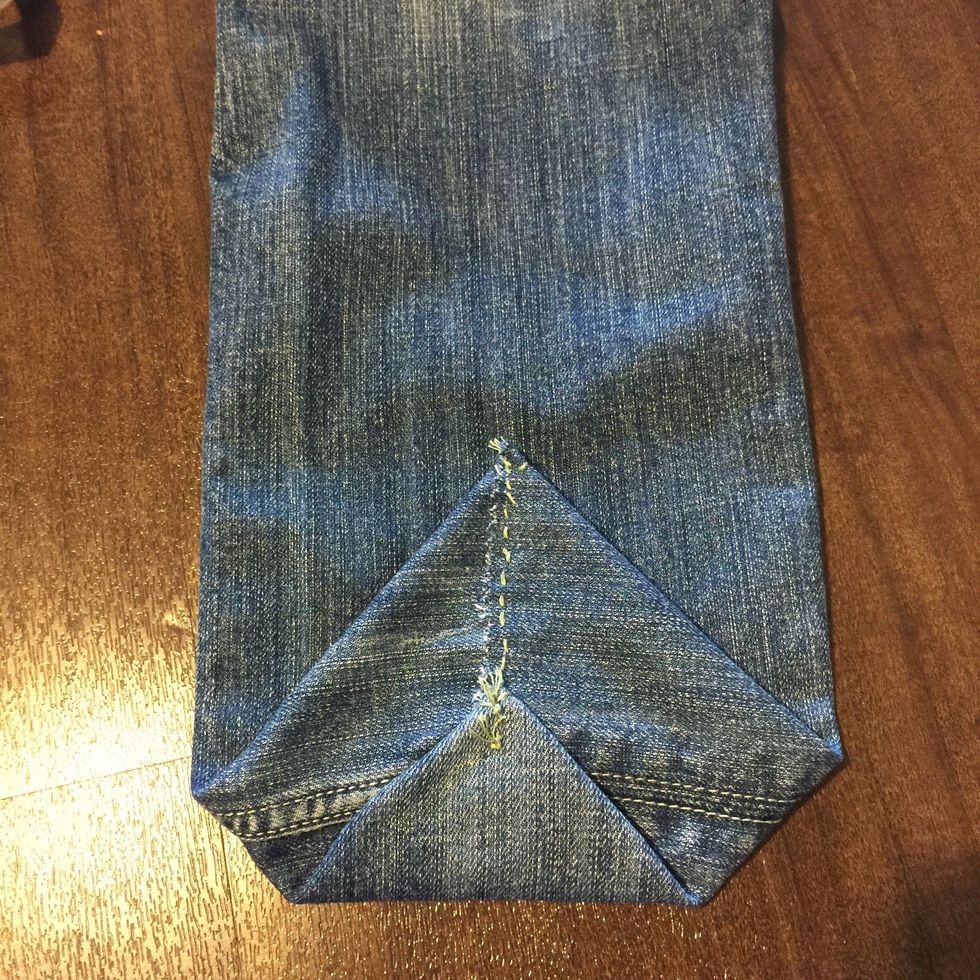
Next, sew the bottom or top point inwards to the center of the square.

Fold the remaining point in and sew into all the other pieces. Make sure it is very secure.

Yayyy! You're done with the hard part. Here is what your bag will look like now!
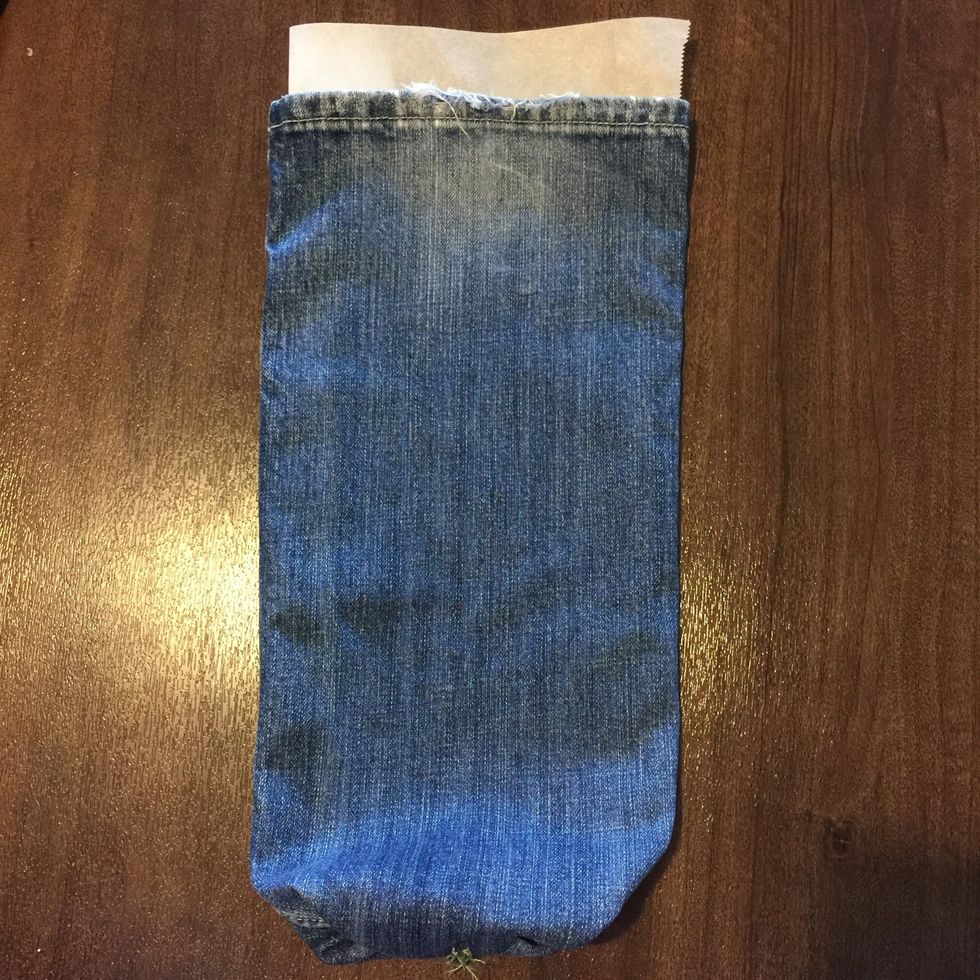
Use parchment paper to cover the insides so that once you start painting, it won't bleed through. Make sure entire length and width of pouch had parchment paper under it.

Onto the fun part! Grab your paint, paintbrushes, and get to decorating!!
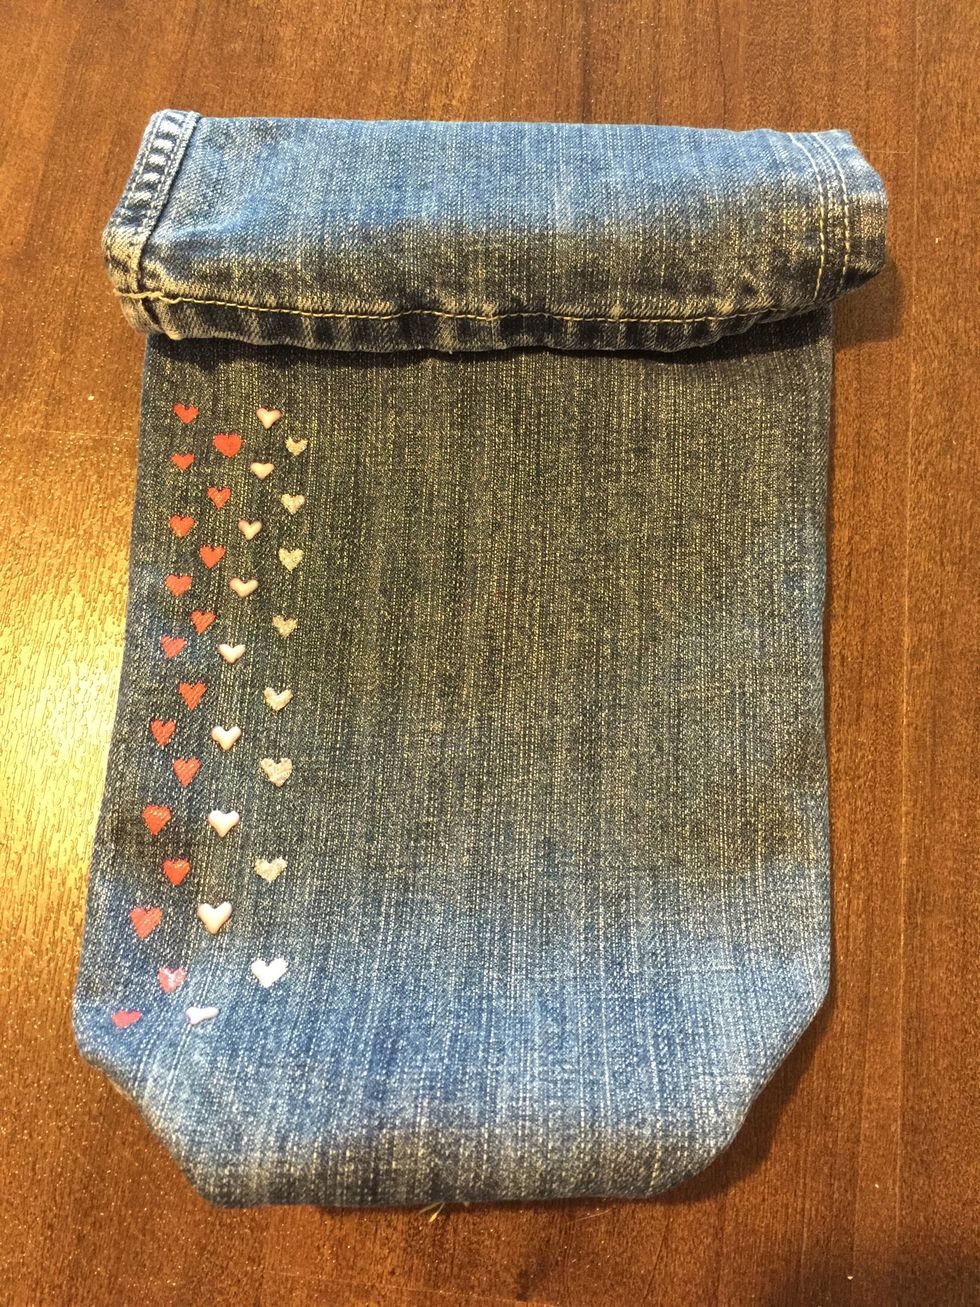
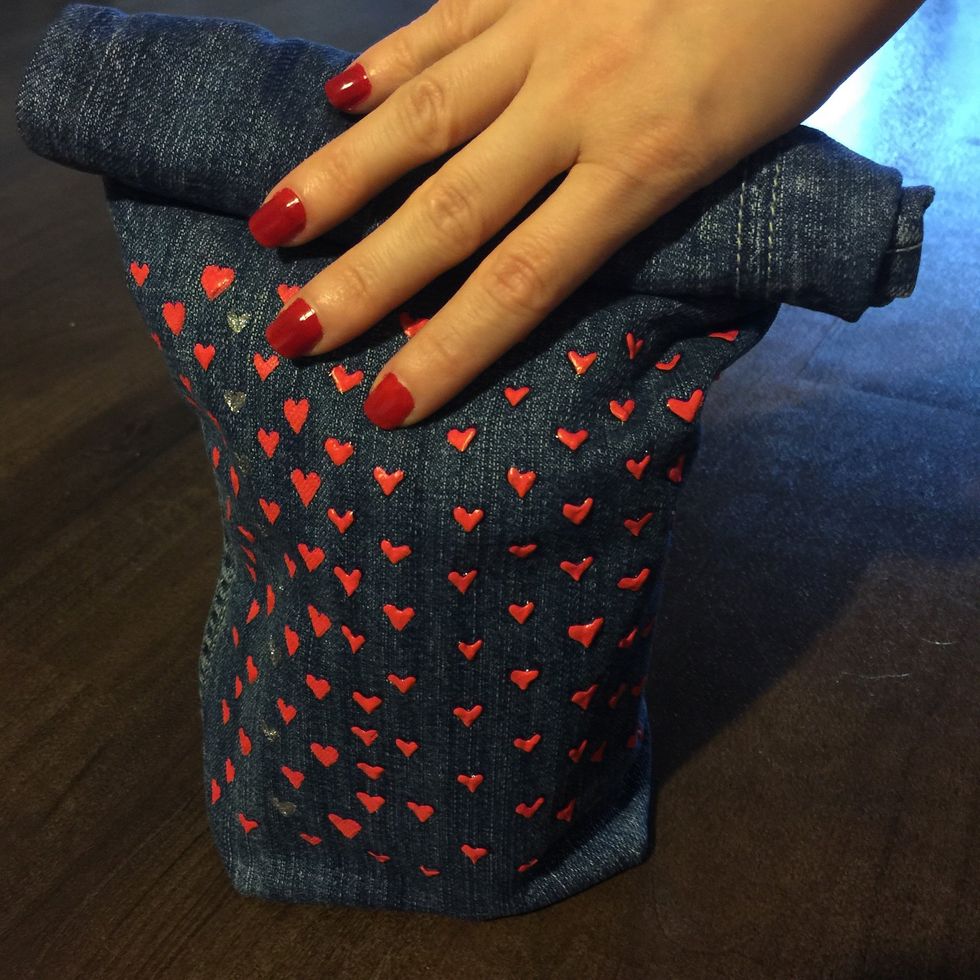
You can freehand or use stencils to paint on your bag.
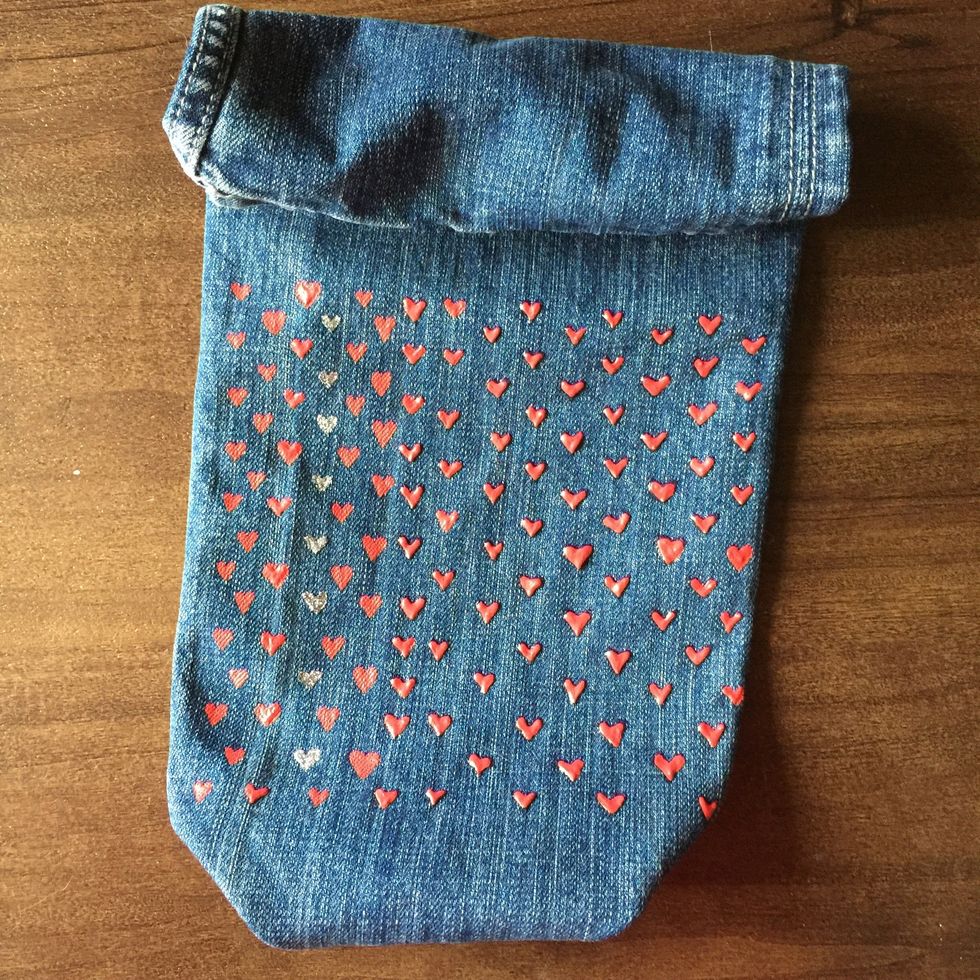
Here, you can see where I experimented using different colors, and flat paint versus puff paint! Get creative and customize it to your liking!

Let paint air dry.
Once you're done and the paint has dried: Stuff with goodies, fold over the flap, and grab on the way to school, work, picnics, or wherever else your bag may take you!
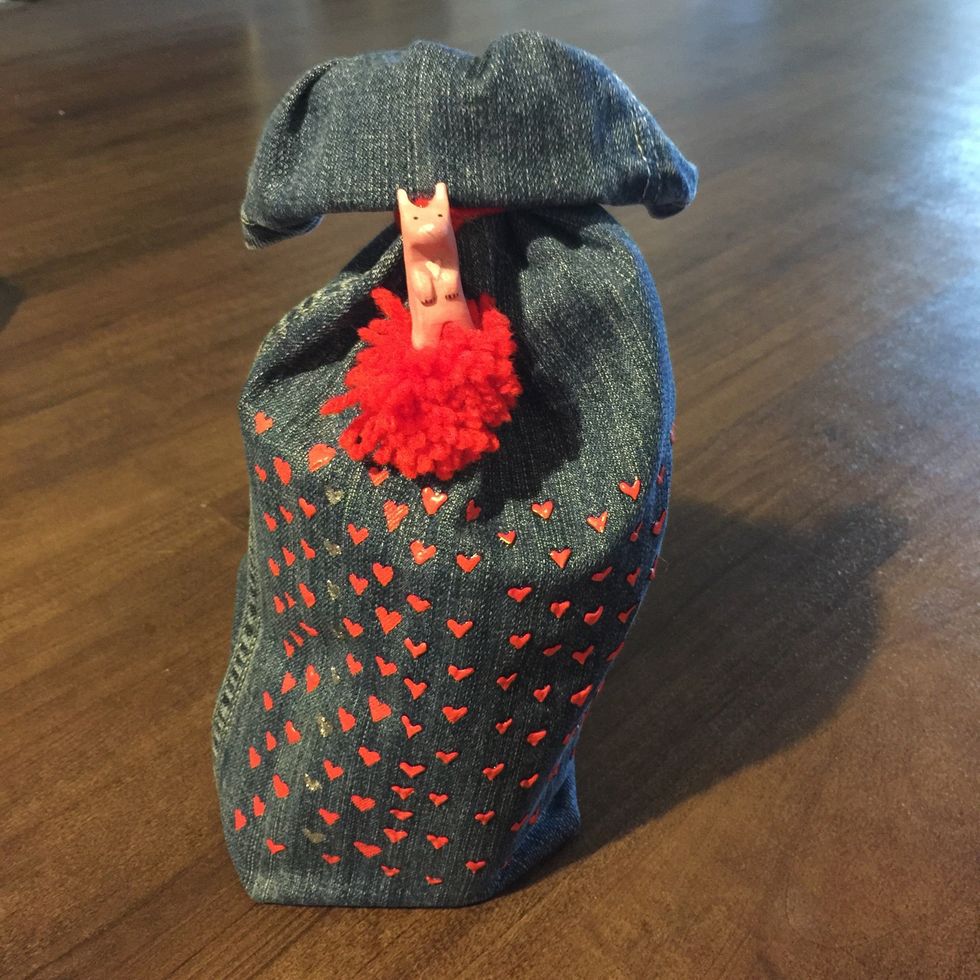
You can add an animal totem key chain or ribbon to make the pouch into a unique gift bag that can be reused and loved again and again!
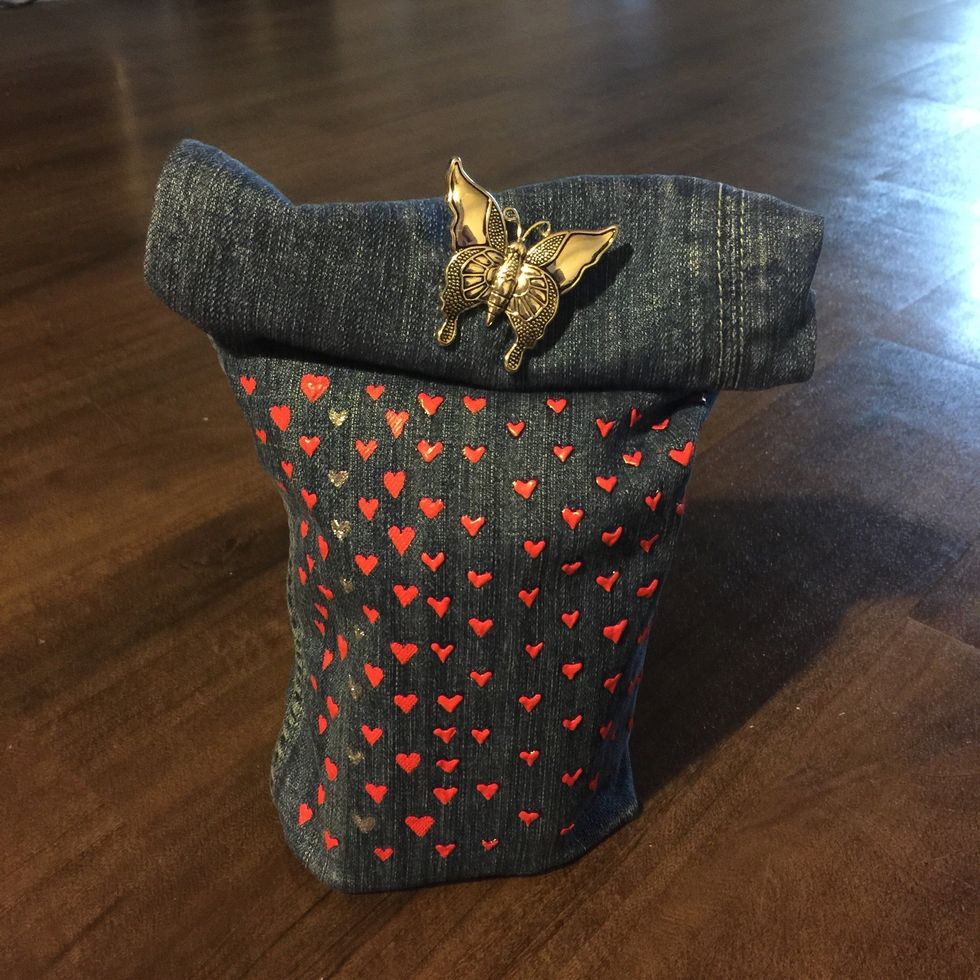
Customize with broaches and pins!
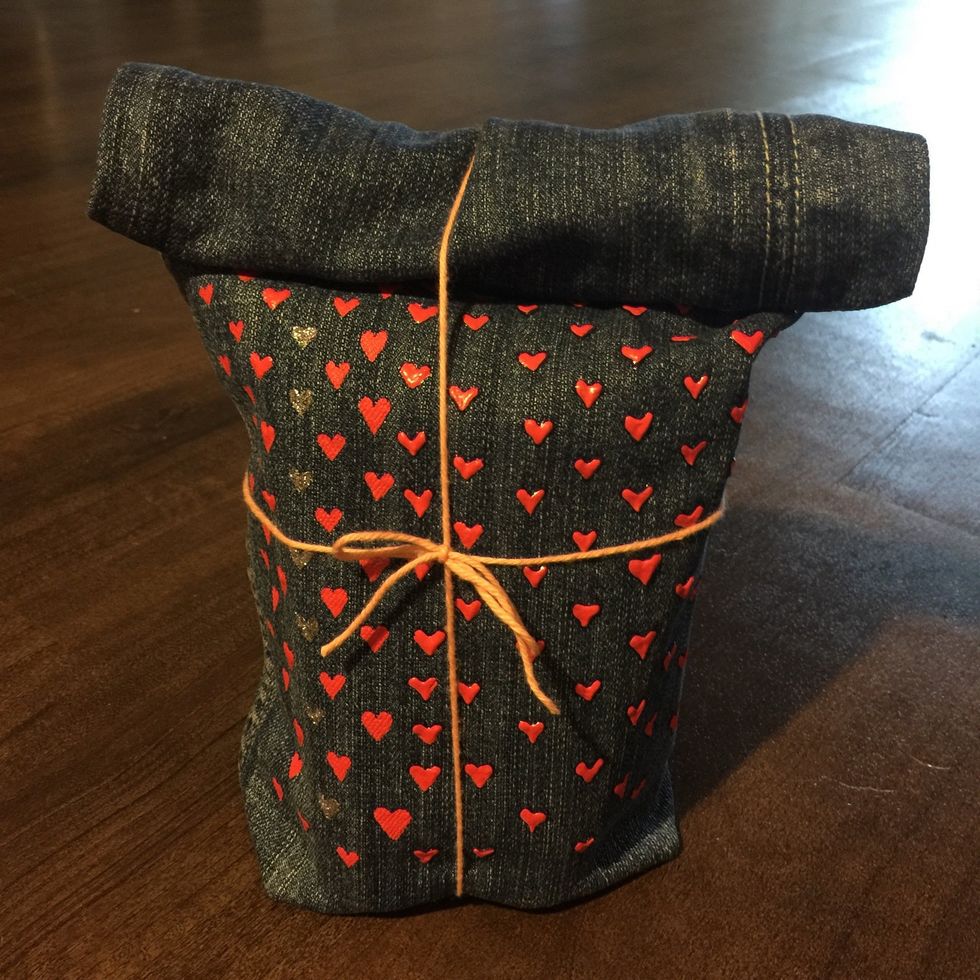
Package goodies and tie up with a string to deliver your next package! Everyone will enjoy reusing this bag and it can be loved again and again! Use it as a lunchbox, gift bag, or a clutch purse!