The Conversation (0)
Sign Up
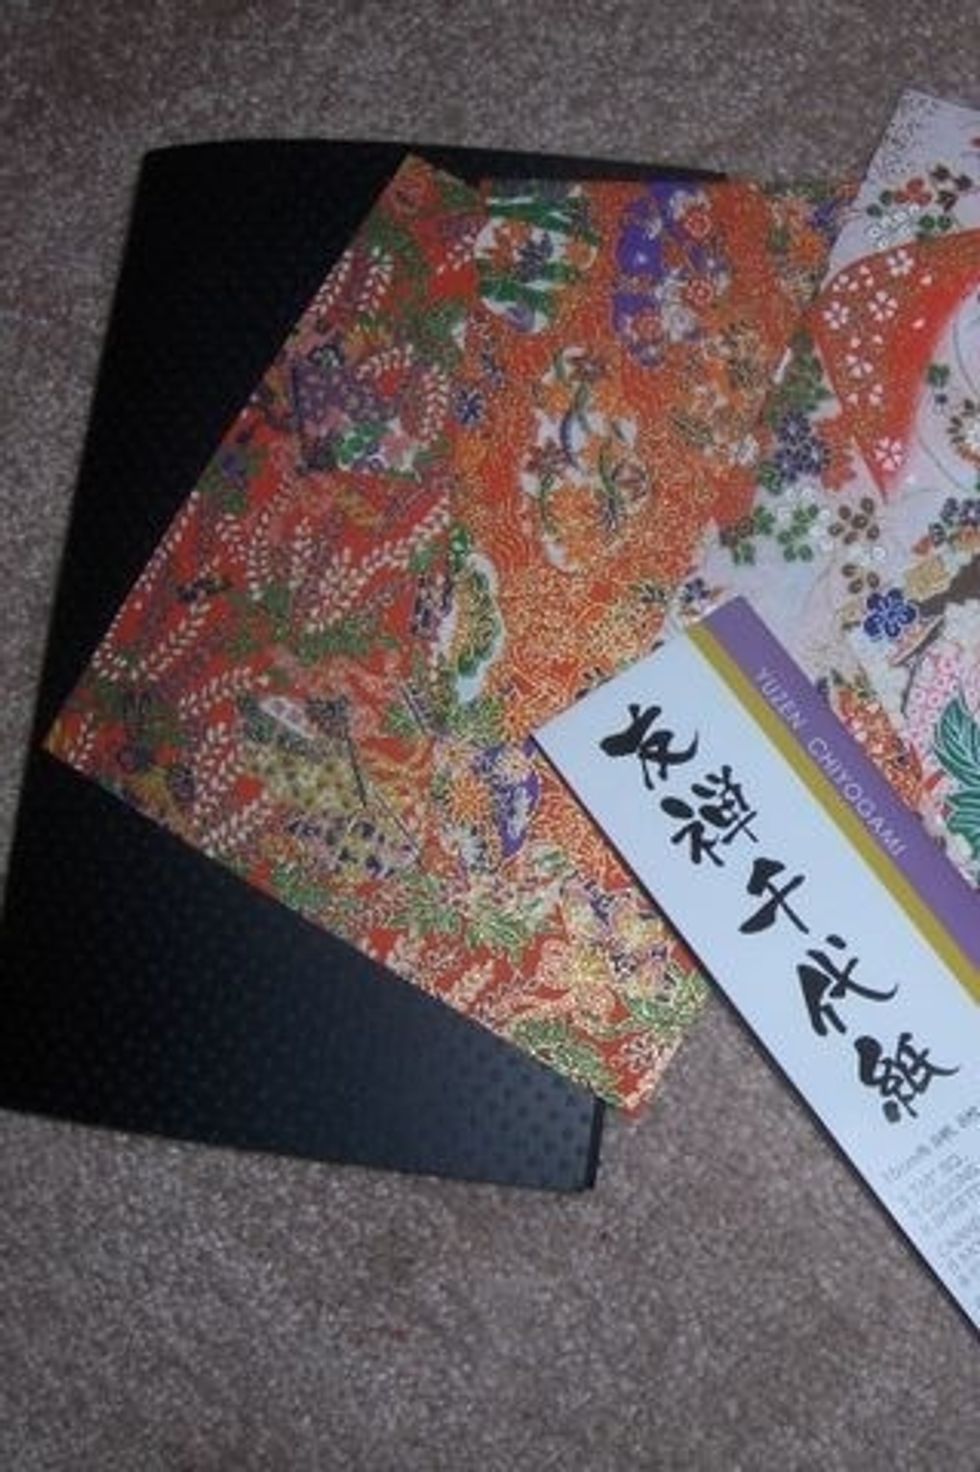
Gather your favorite colored paper- one sturdy sheet for the card itself, one for the inside of the card, and three or more sheets of origami paper for the hearts.
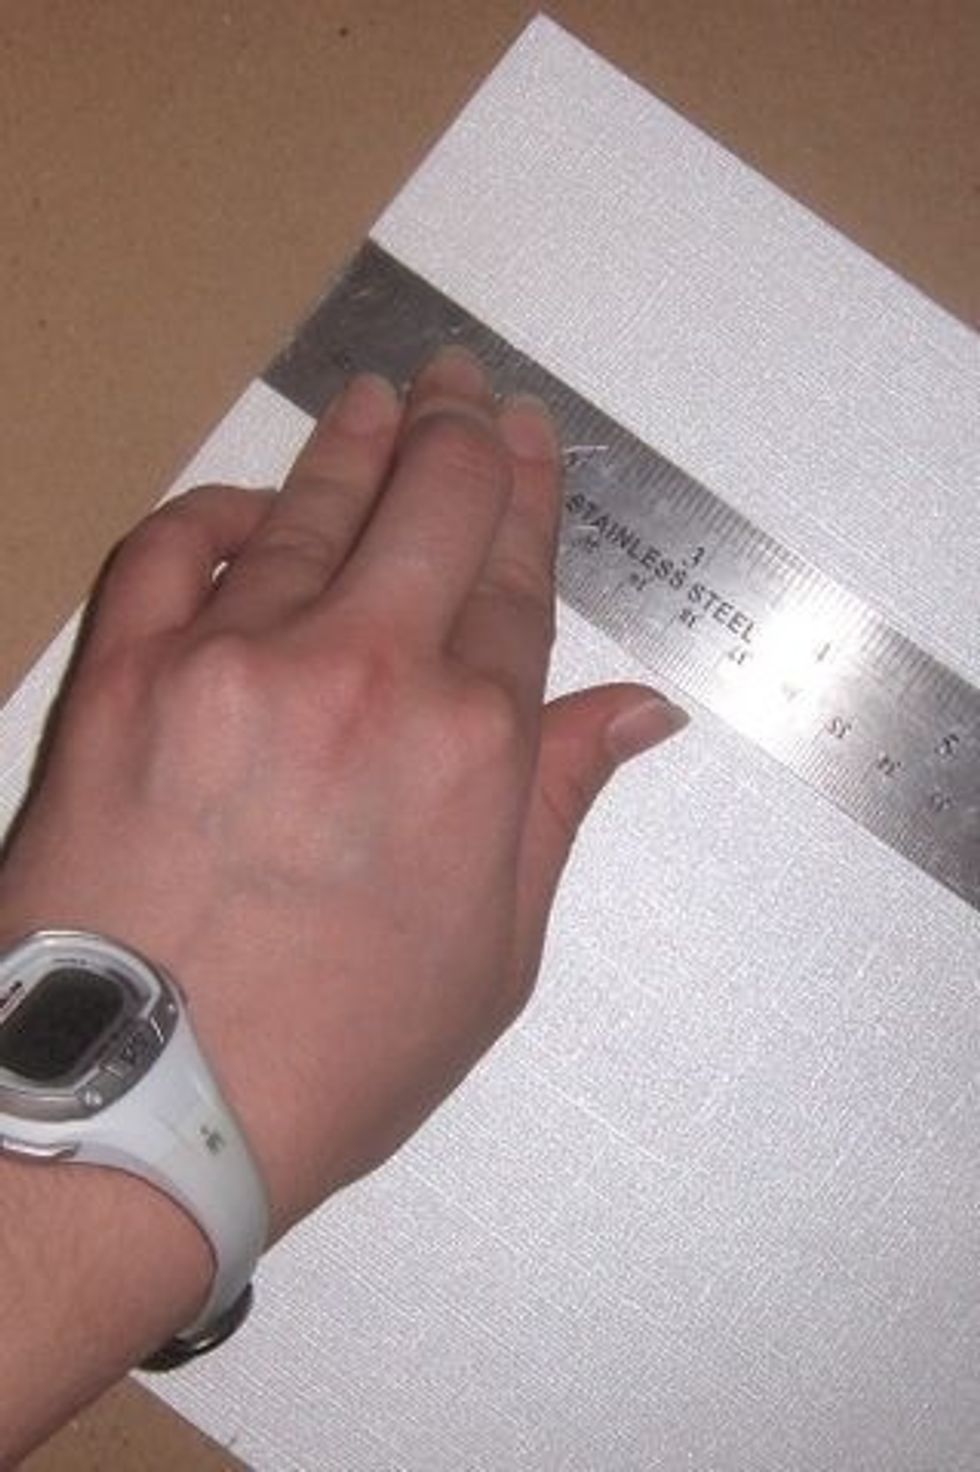
After folding your card stock in half, measure how much paper you want to line the inside with. Cut the liner paper to size with exacto knife against ruler; do this on a rubber mat or cardboard.
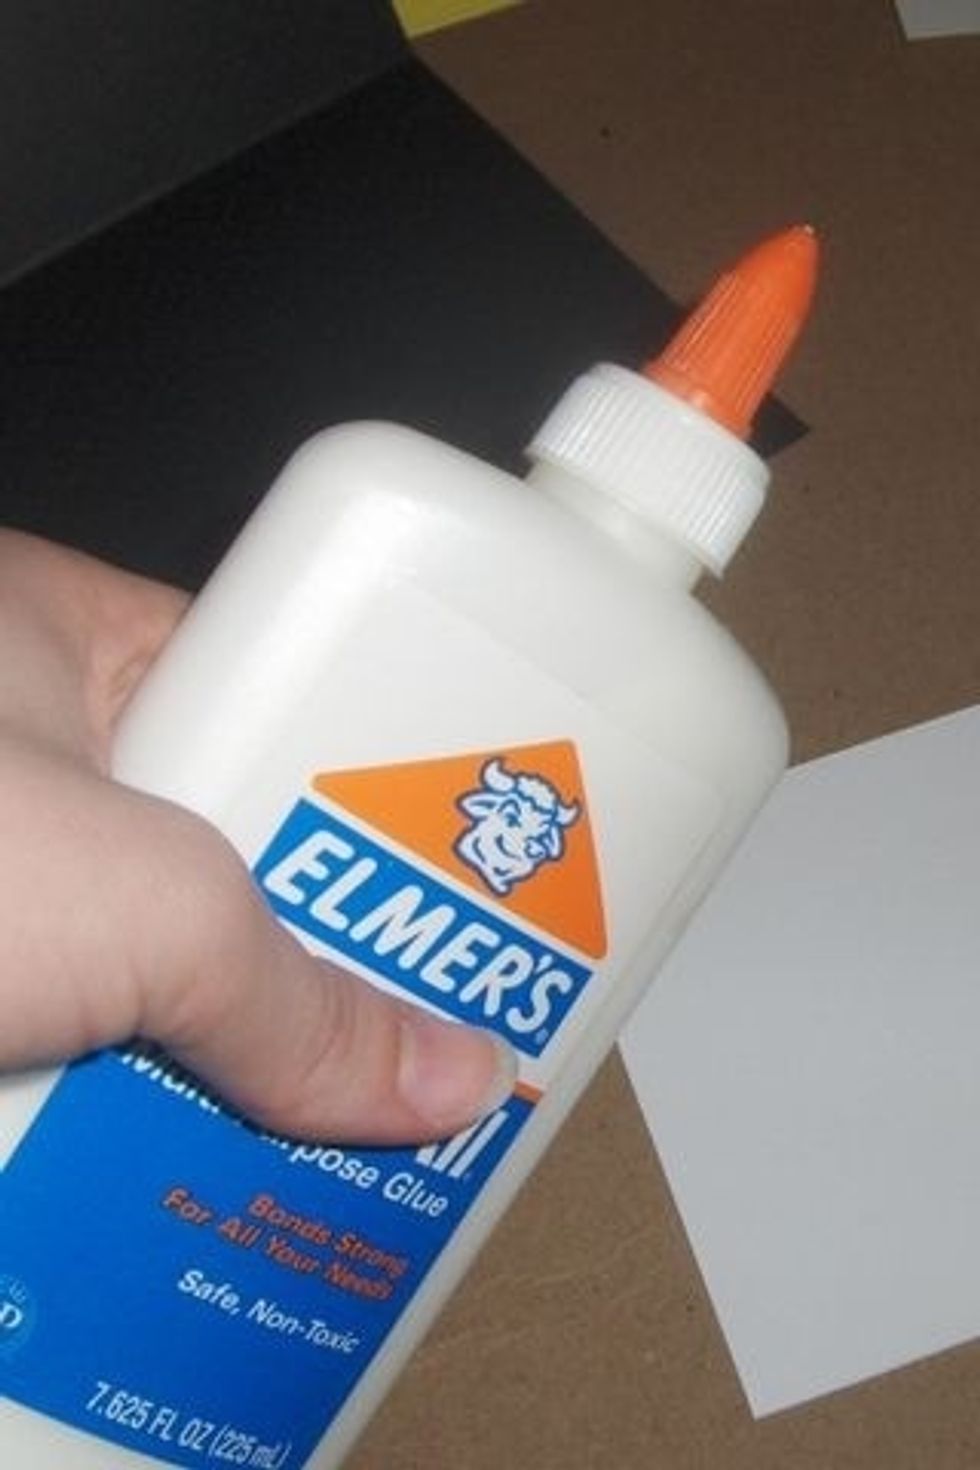
Glue down liner paper.
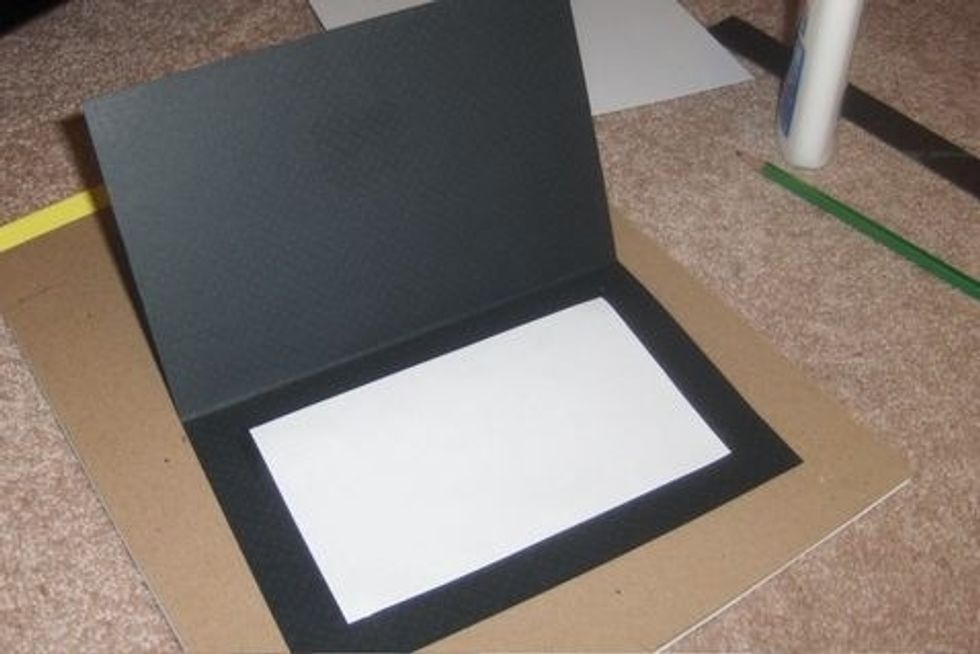

I like to place a heavy book over the card to make sure it lies flat. You may or may not need to do this- just go by whether or not the card is lying flat on its own.
Once the glue dries, decorate the inside of the card however you want. Try to write something personal- it IS a handmade v-day card! ;-)
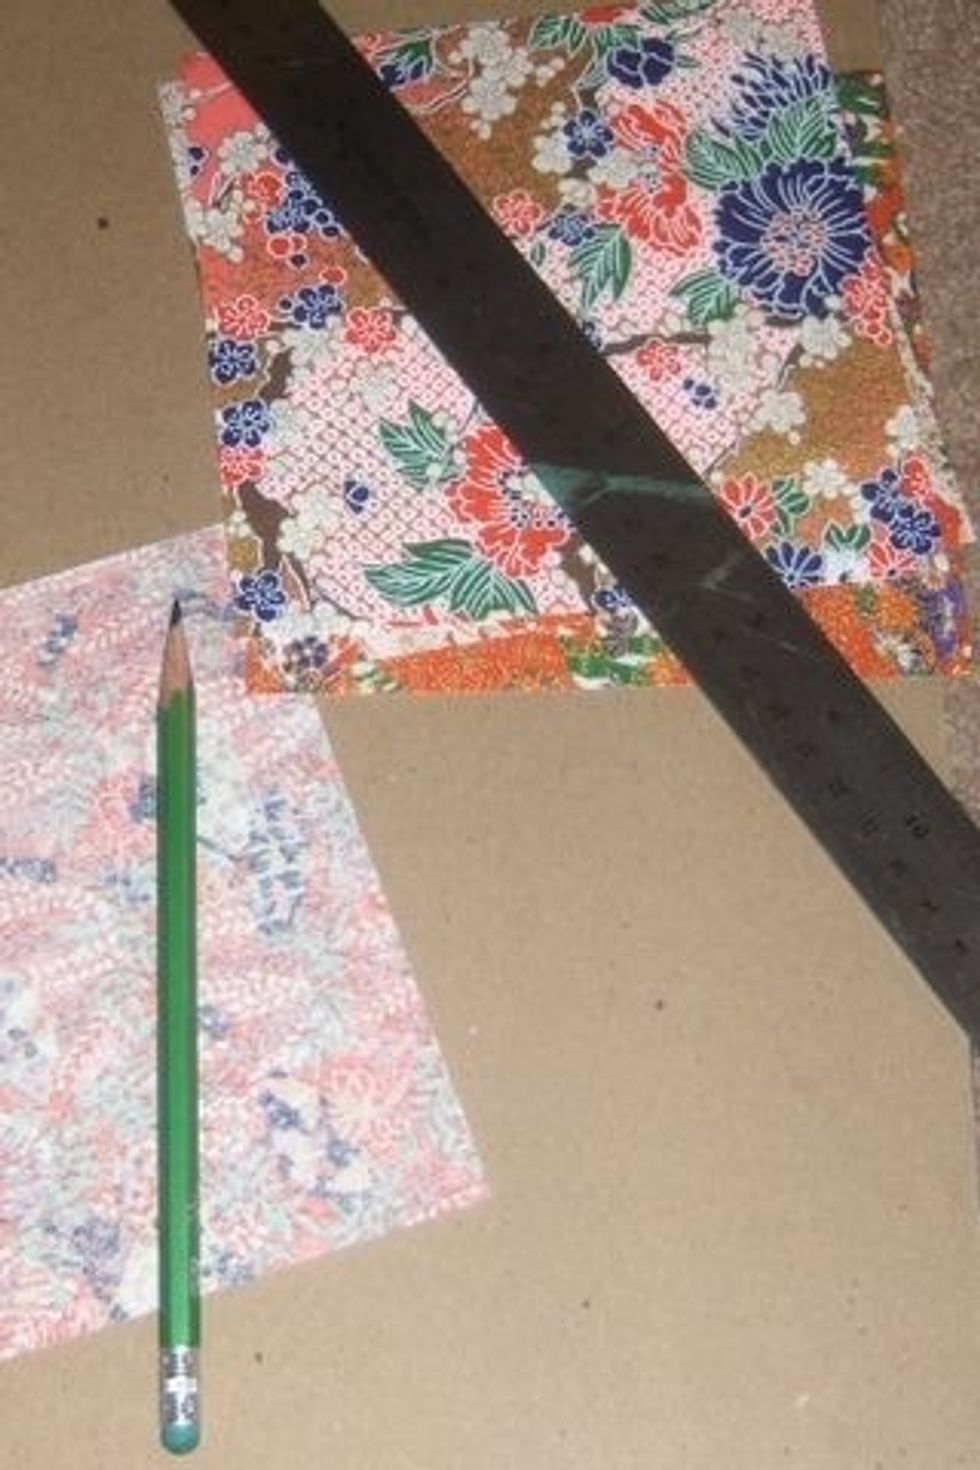
Now it's time to make some origami hearts! Gather your origami paper, pencil, ruler and exacto knife.
If you are not an origami expert, which I am not, you should try this out on a plain sheet of scrap paper just to get the hang of it. Origami paper isn't cheap- practice first!
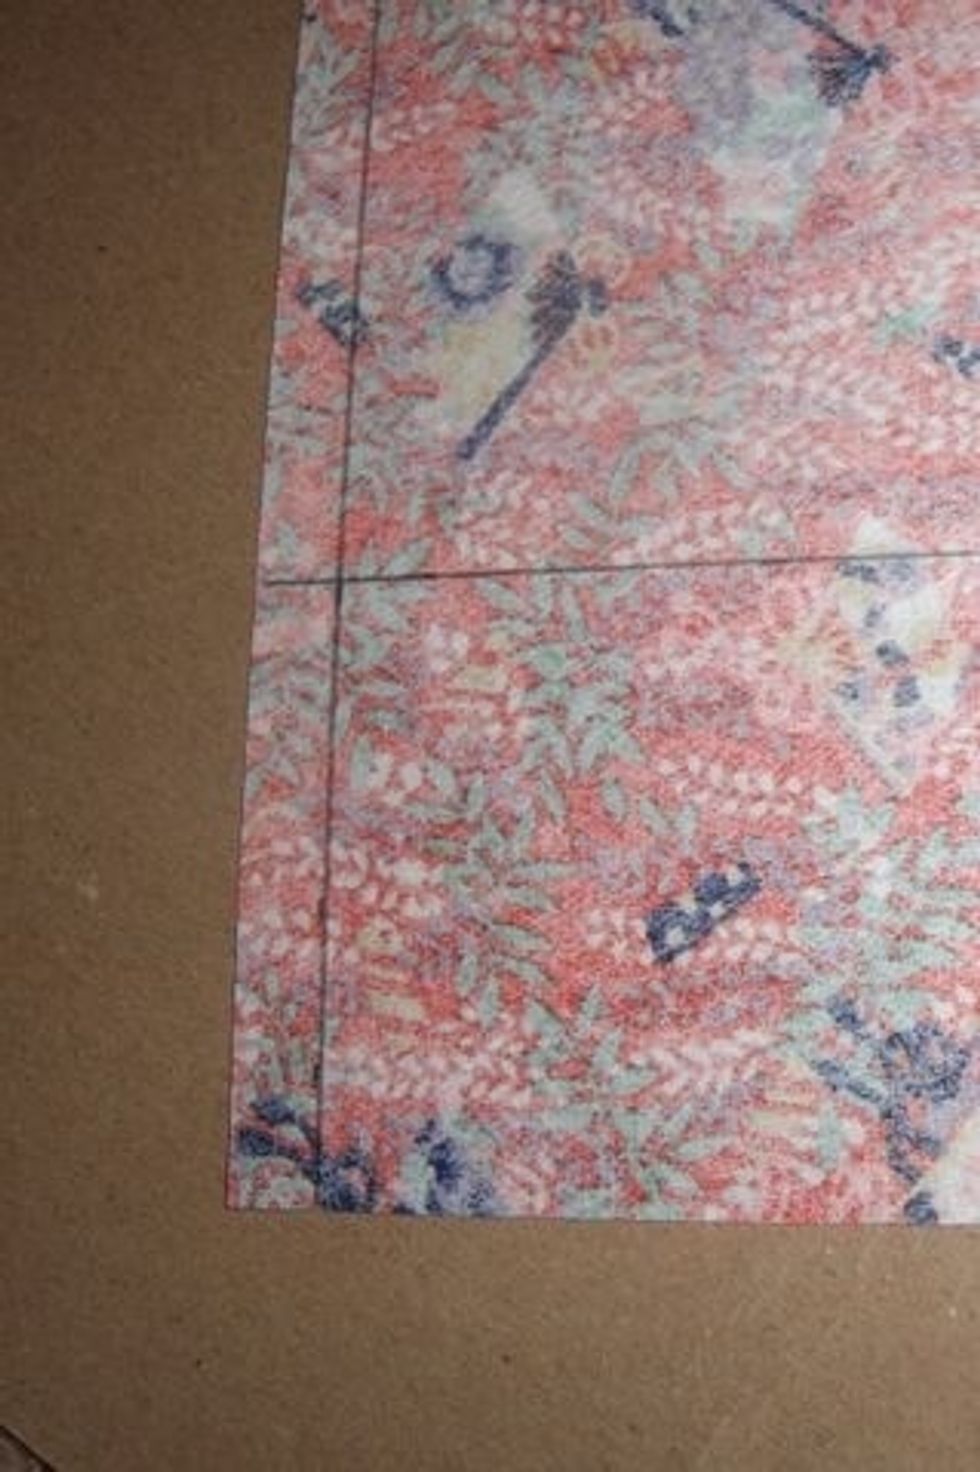
For this type of origami heart, the paper should be twice as long as it is wide- NOT square. If you are using standard origami paper, you will want to cut it to 2.75 by 5.5. Measure it out!
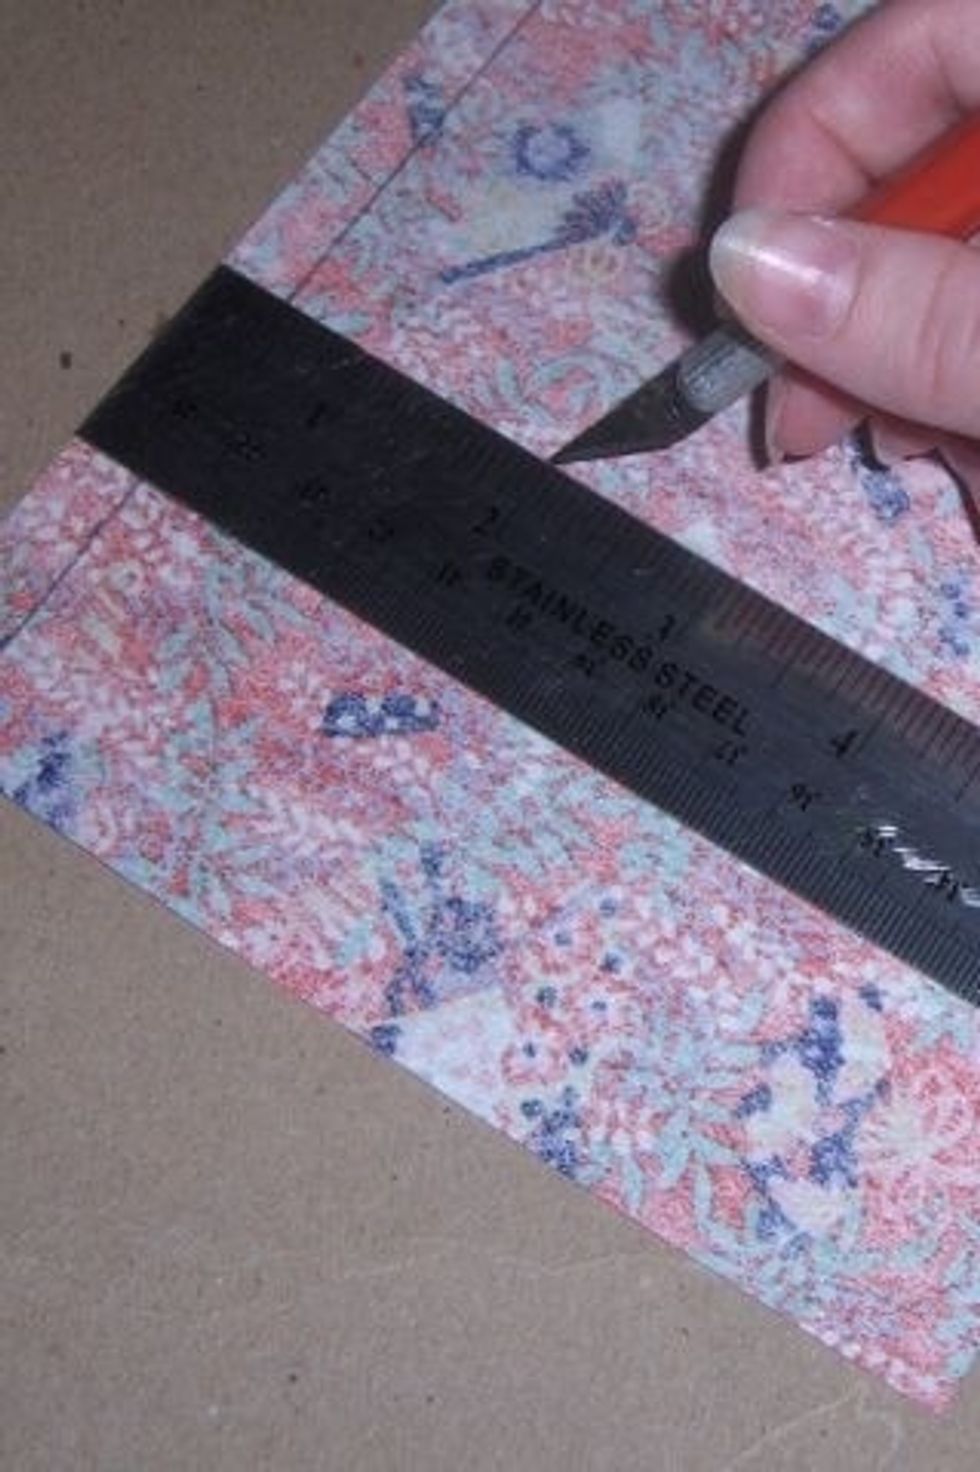
Carefully cut paper using ruler and exacto knife again for a clean, straight line and accuracy.
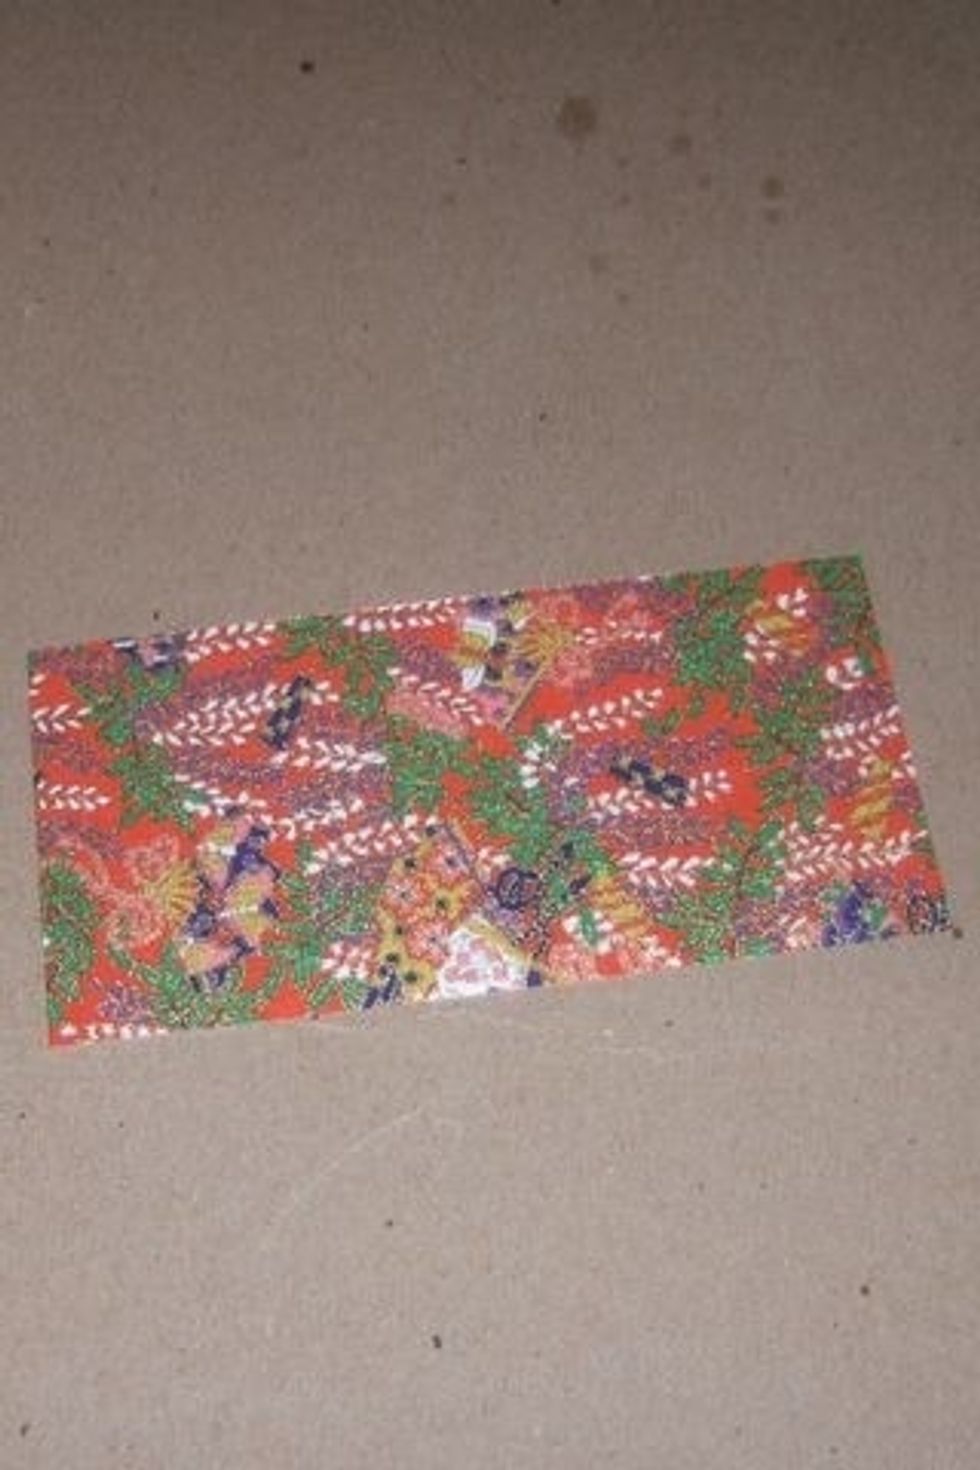

Flip paper good side down and fold in half.

Fold corner down to center fold and crease. Unfold.
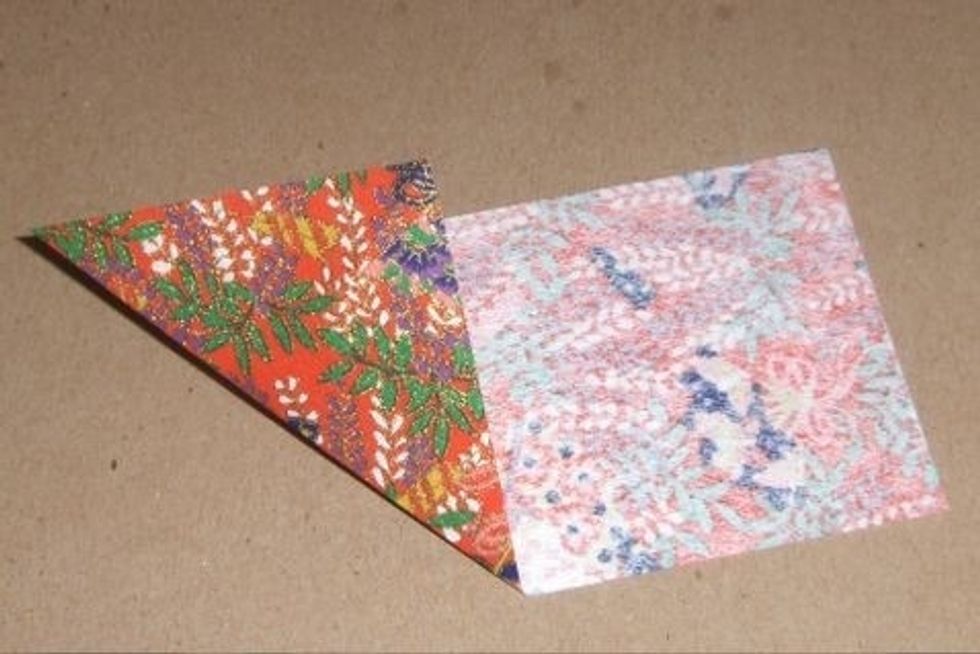
Repeat in opposite direction.

Repeat the last two steps on the other side. This is what it should look like.
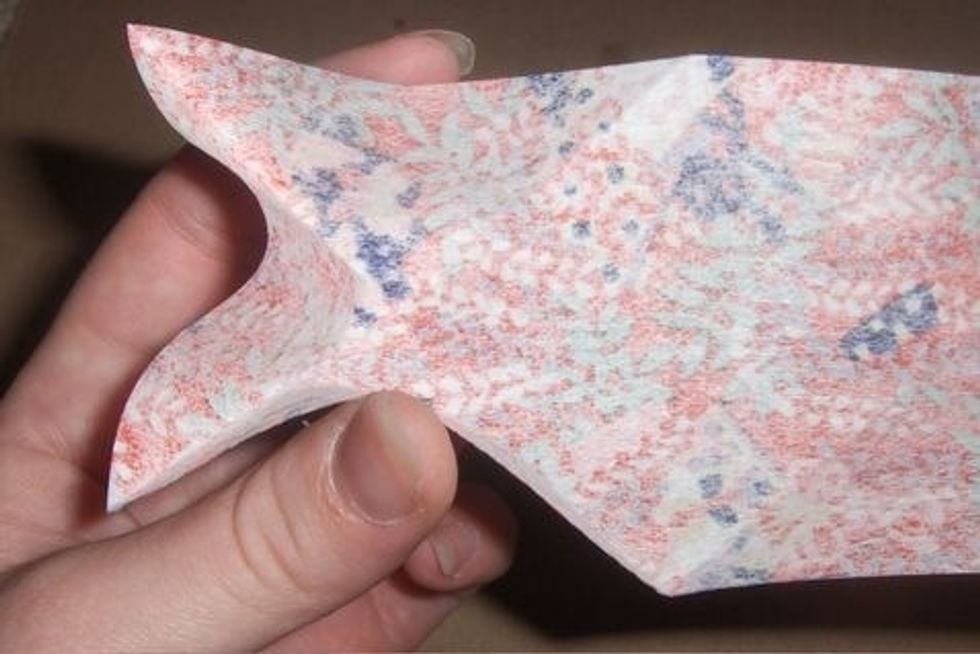
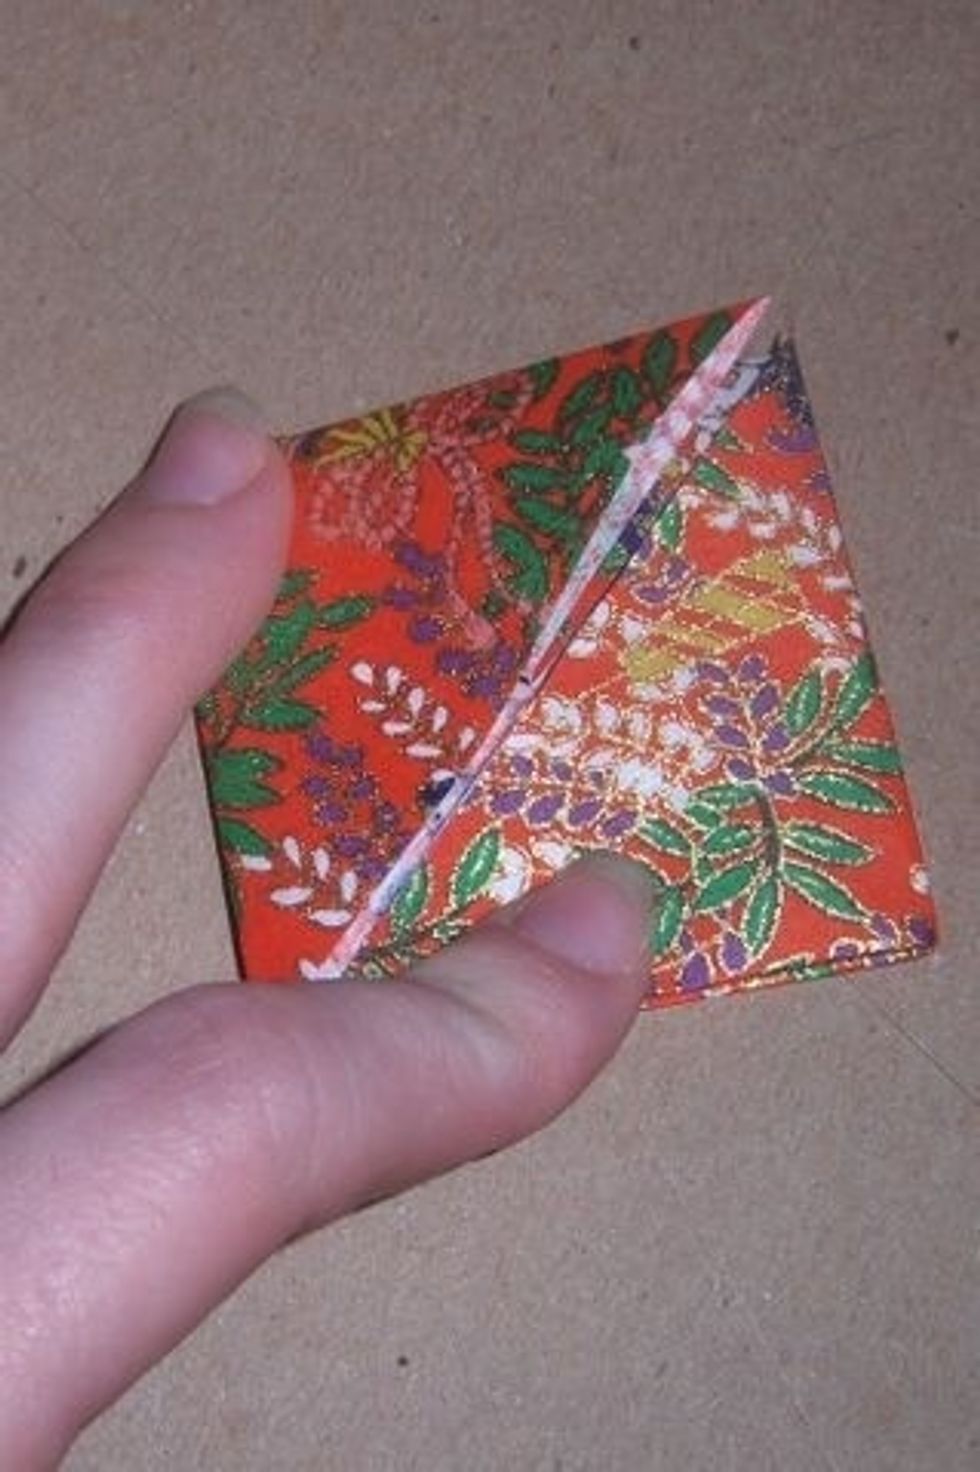
Gently squish between the folds on the left side, as shown.
Keep squishing!
Press the triangle down- the pictures are more useful than my explanations at this point!
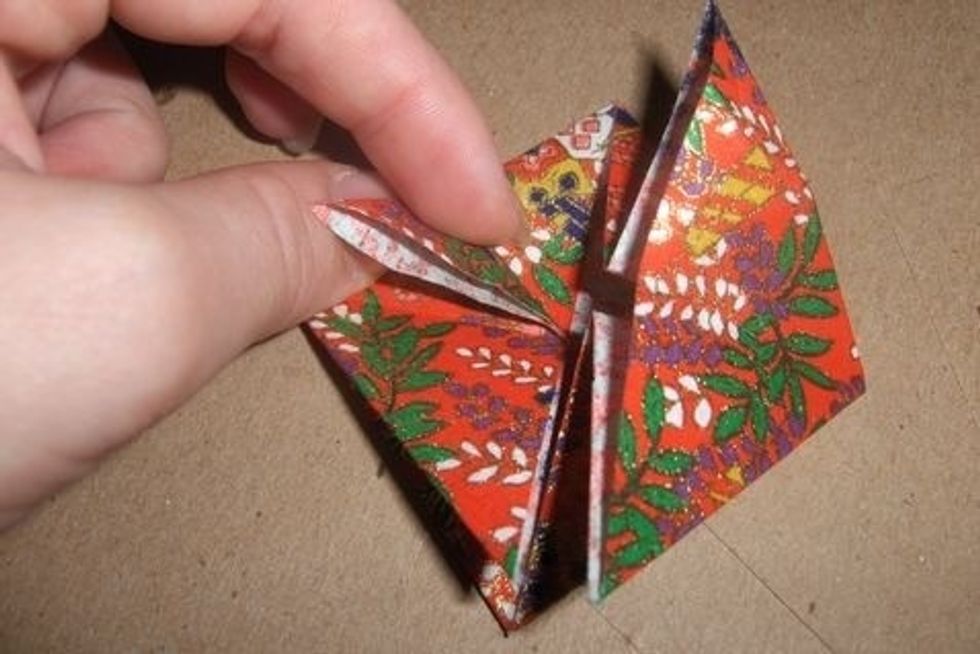
Repeat squishing on other side.
This is what it should look like.
Fold down the upper layer of the upper part of the diamond so that its point touches the left corner (see pics...)
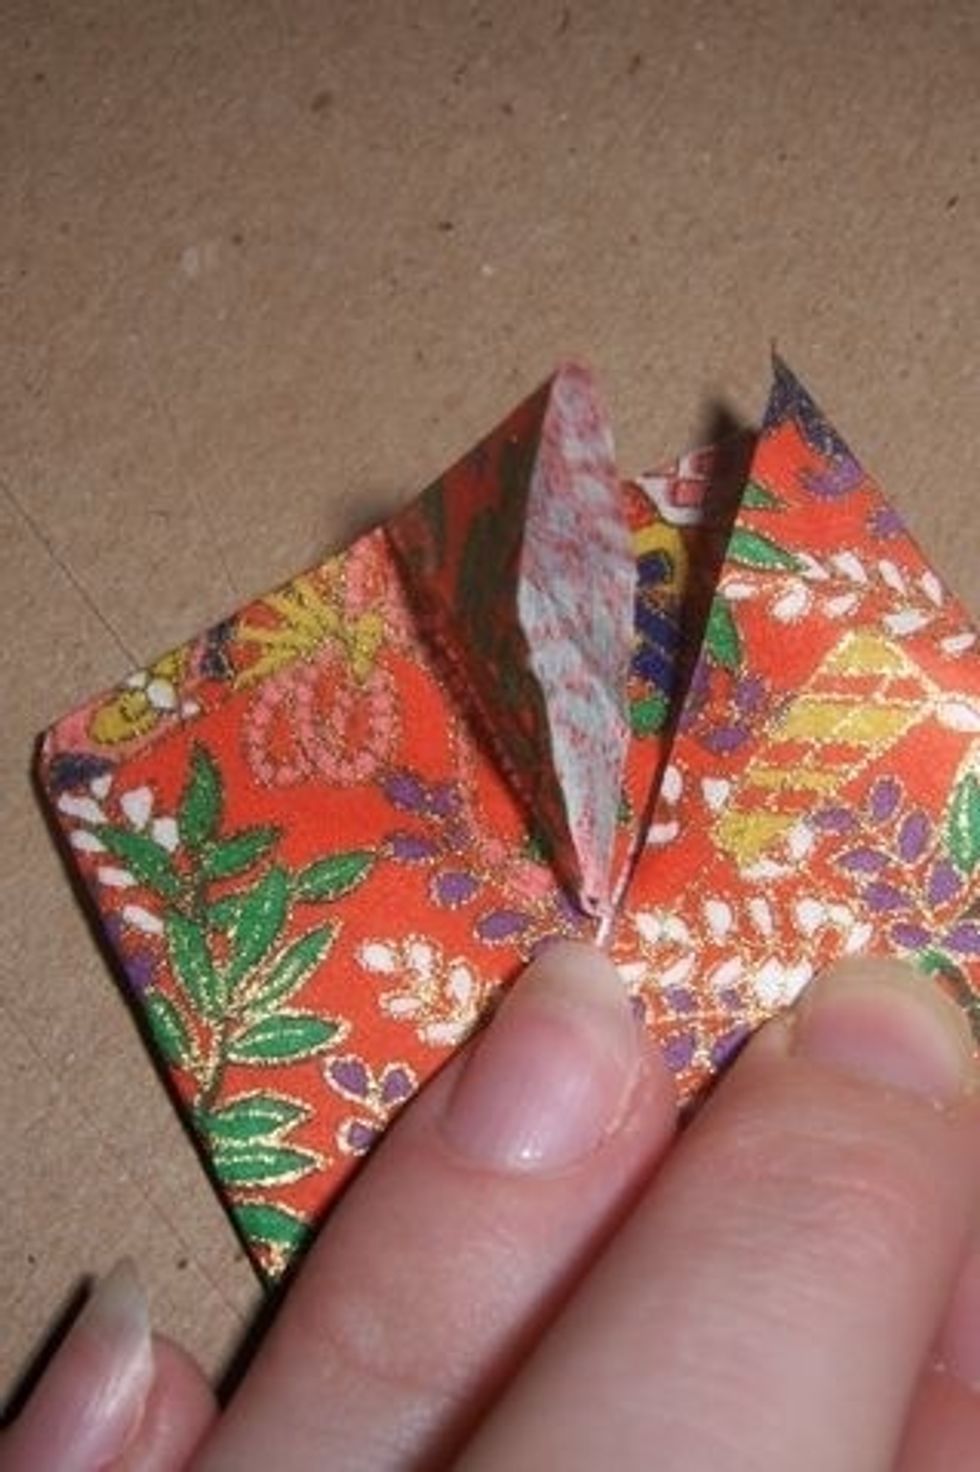
Unfold. You should have something like this.
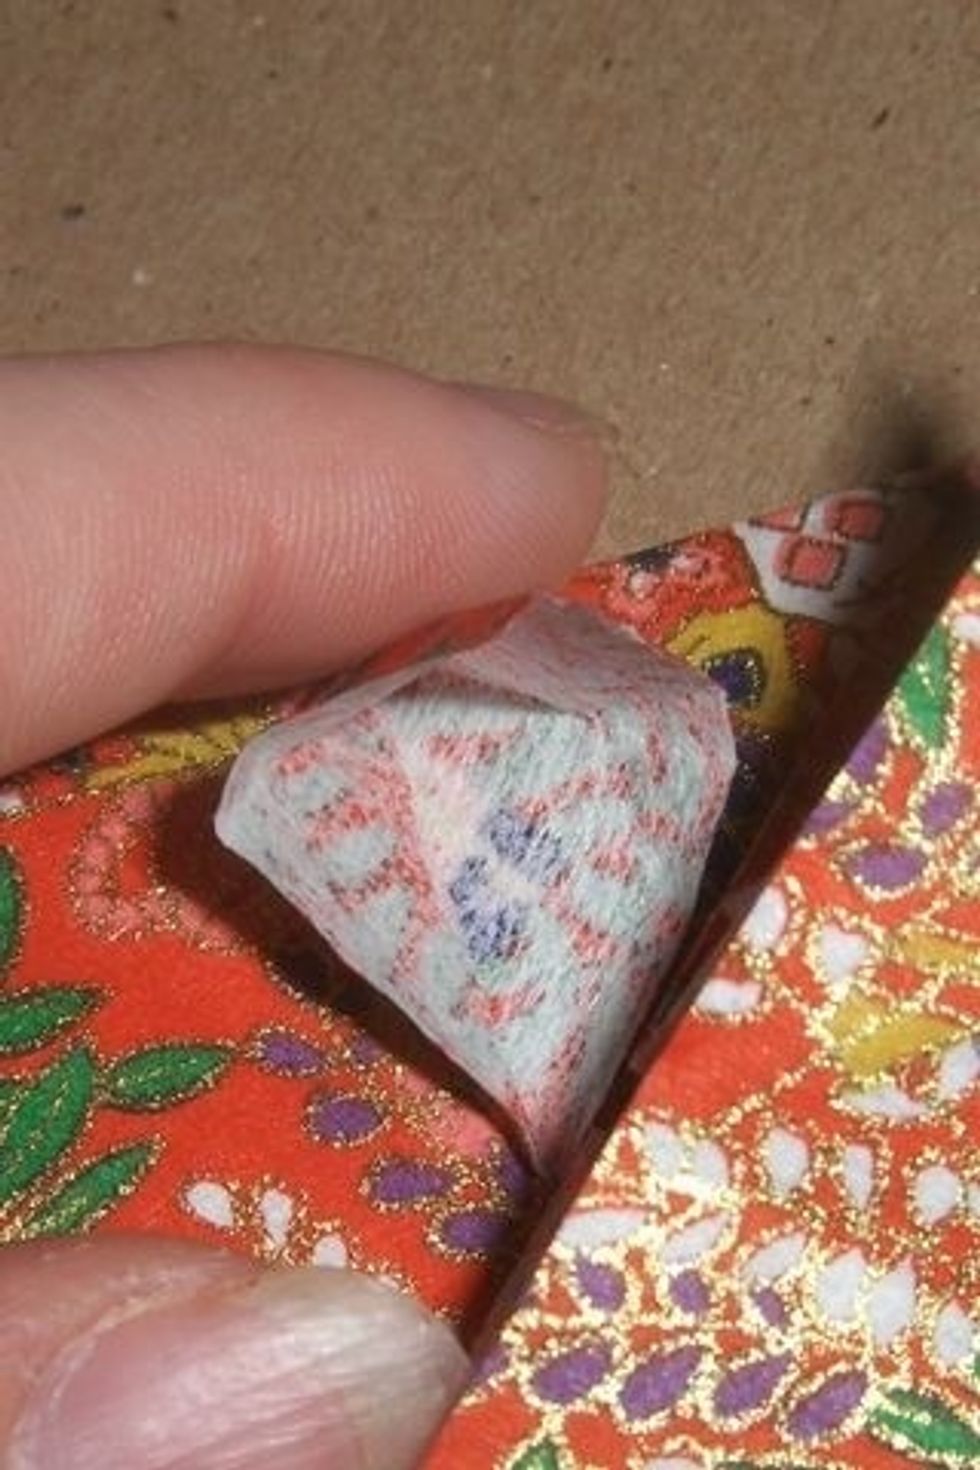
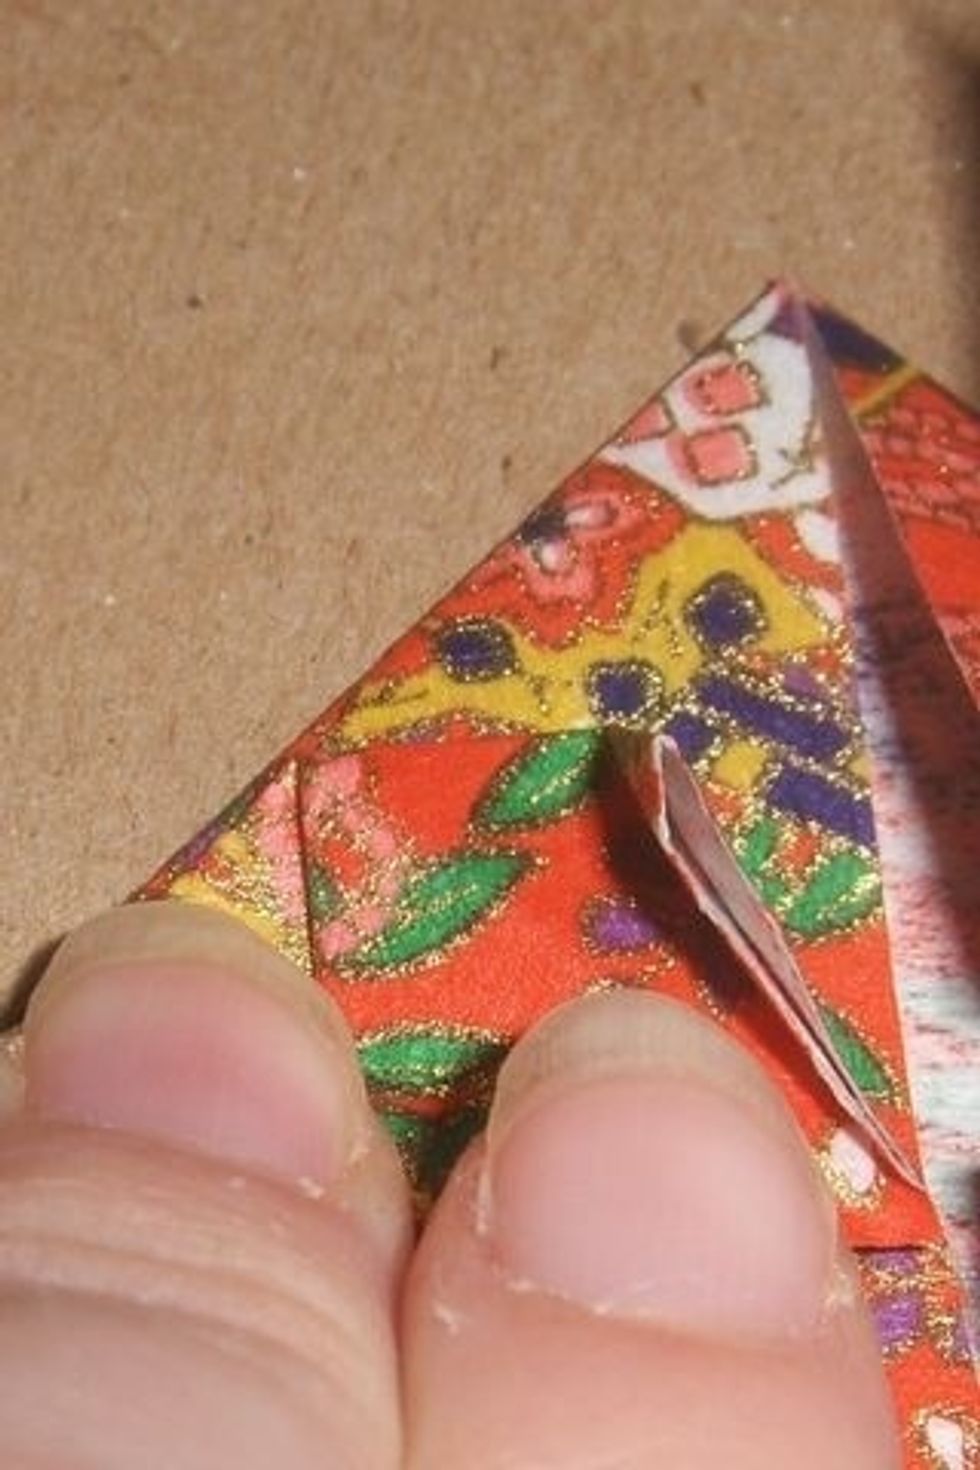
Squish the triangle you just folded out into a square.
This is what it should look like.
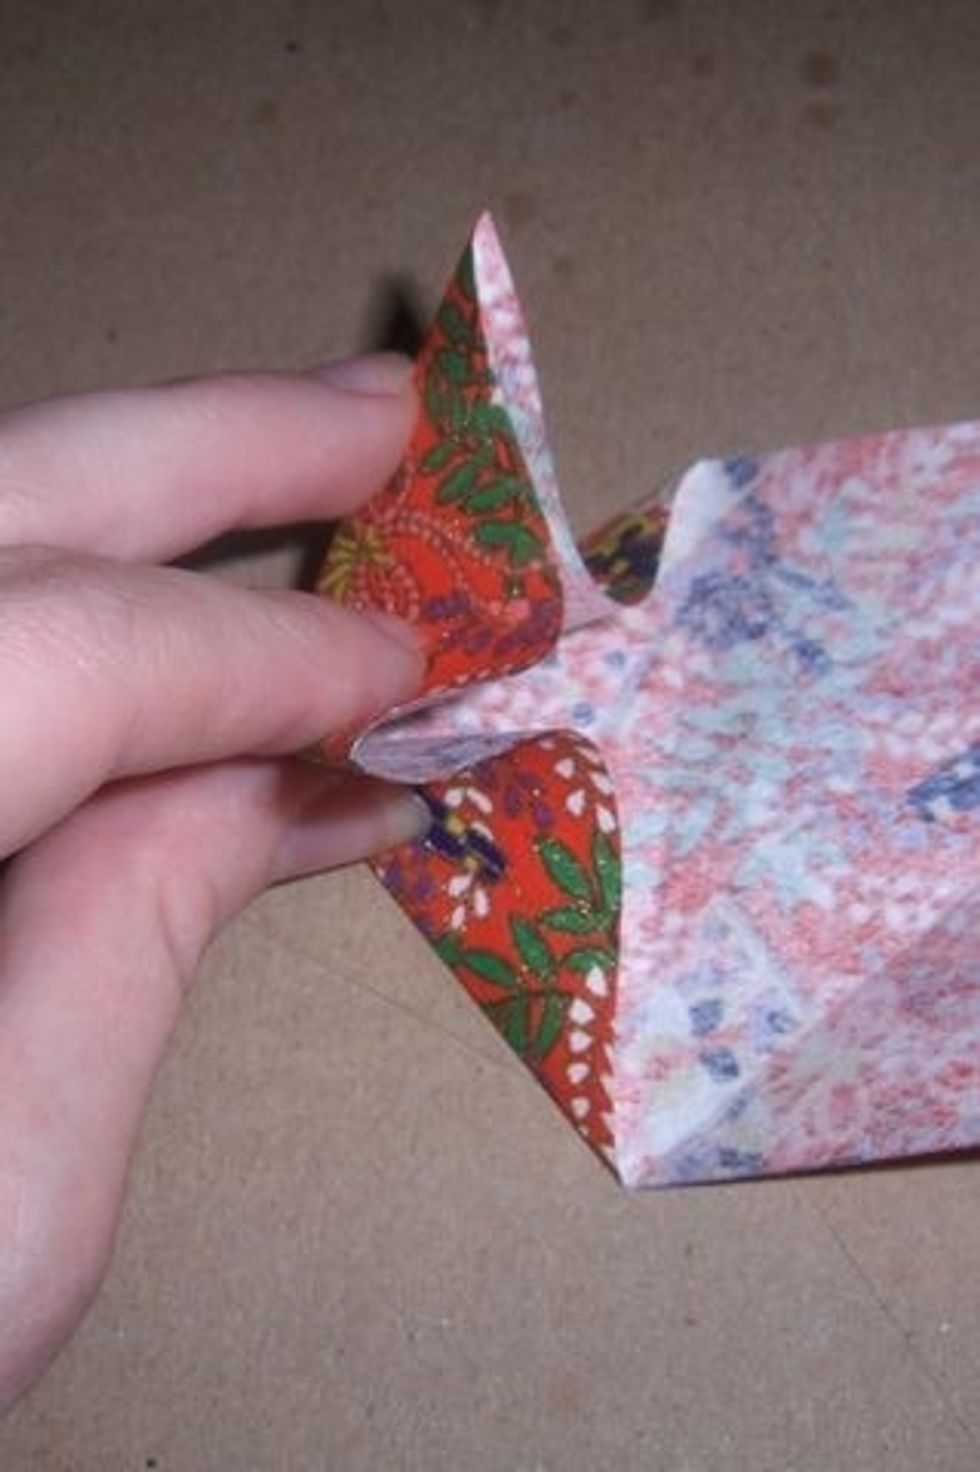
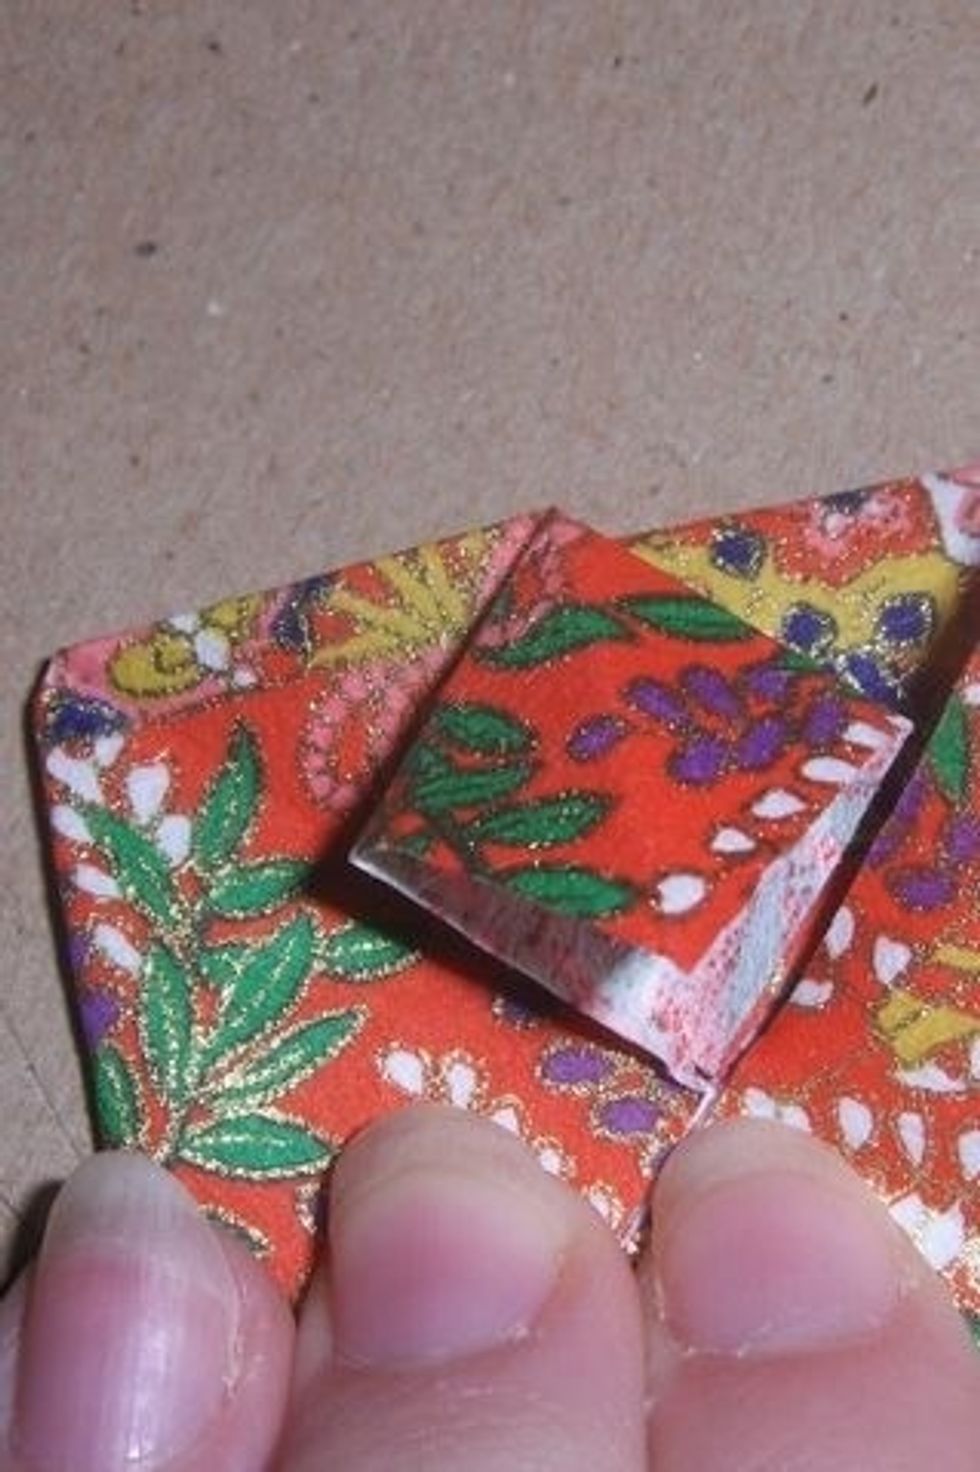
Fold over corner of the square you just made. Hope you have small fingers!
Repeat on other side. This is what it should look like.

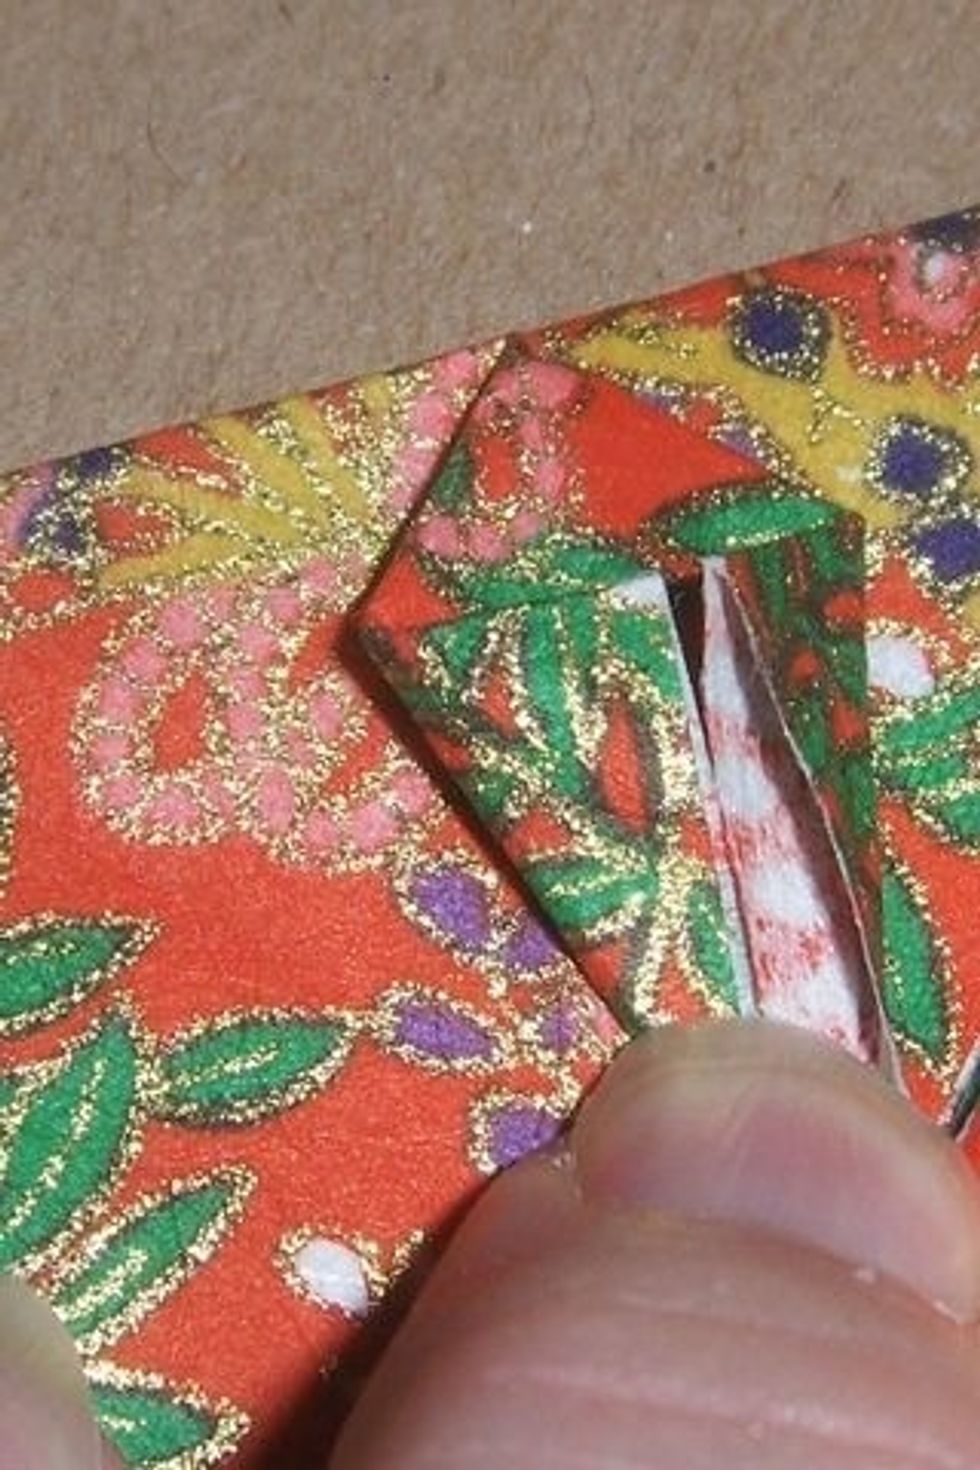
Squish again!
This is what it should look like after squishing.

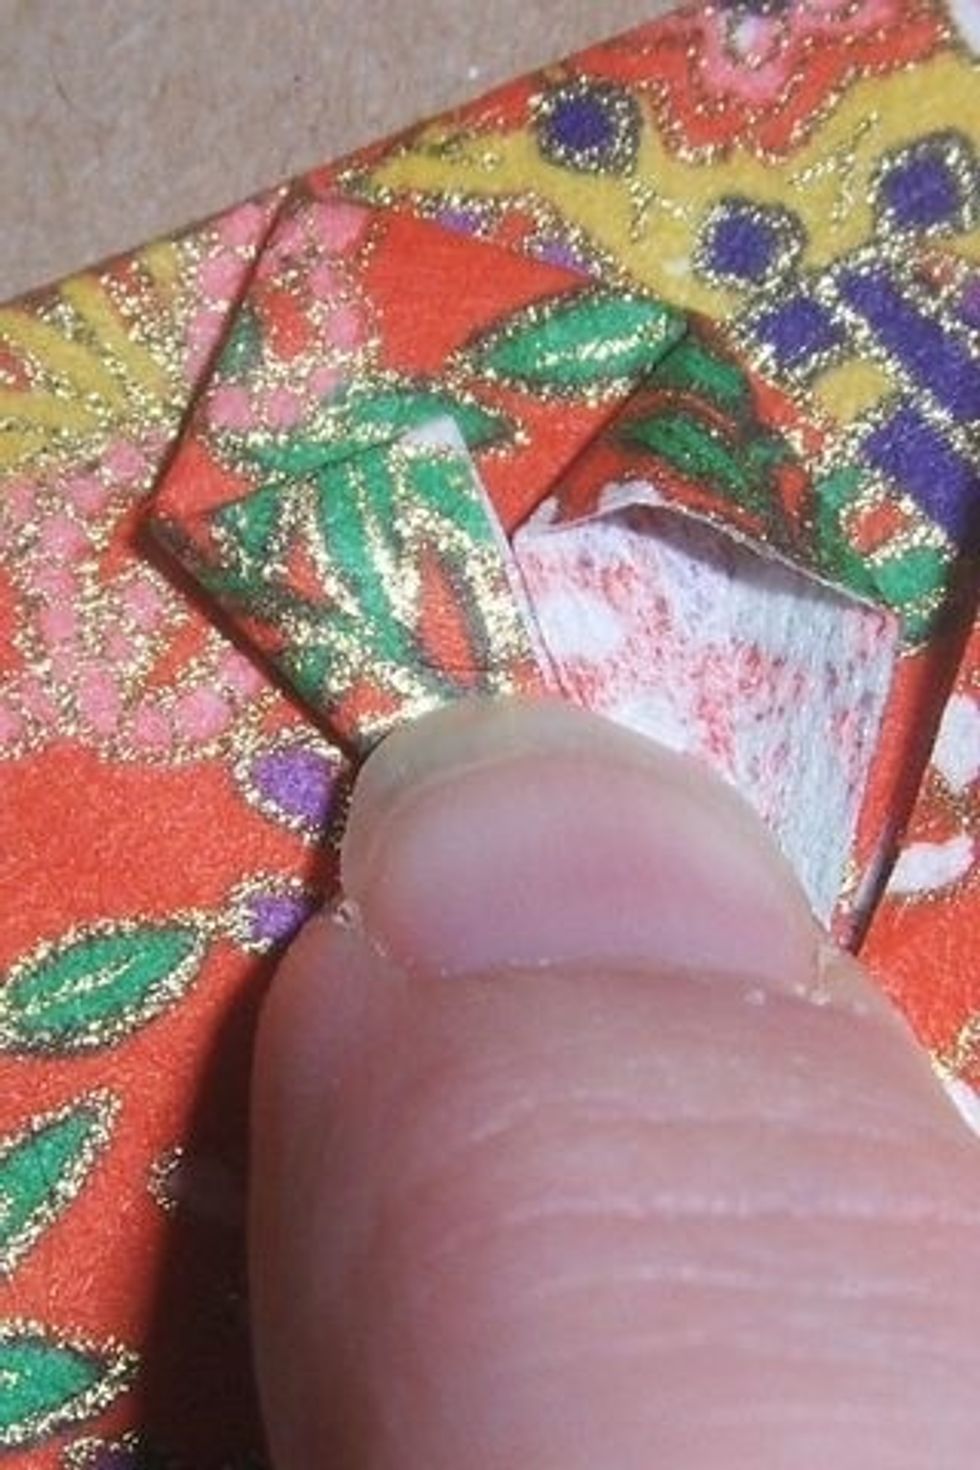
Repeat on other side.
Repeat steps 21-29 for the other three sections.
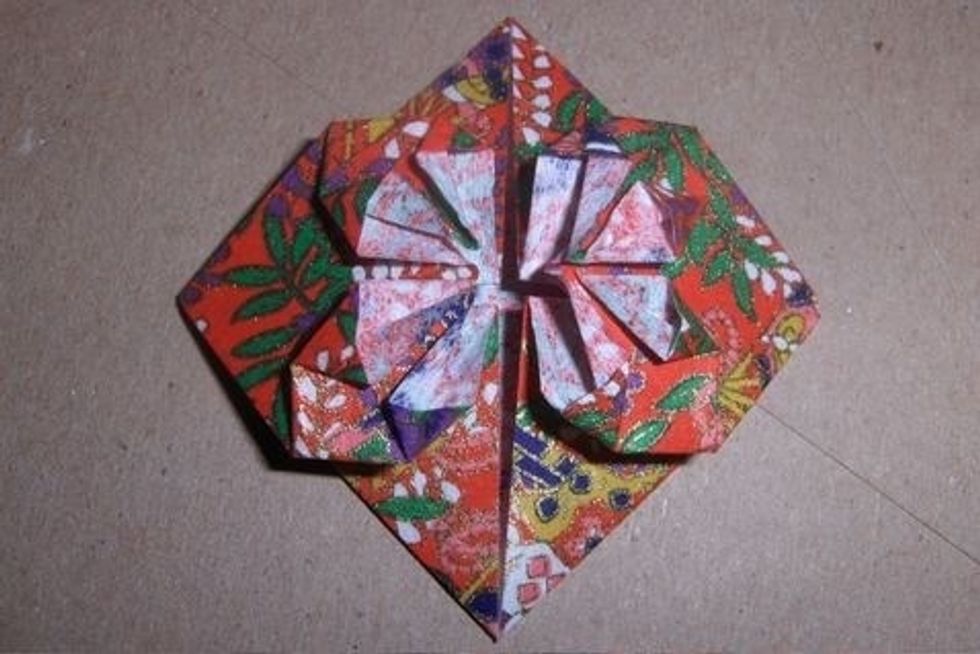
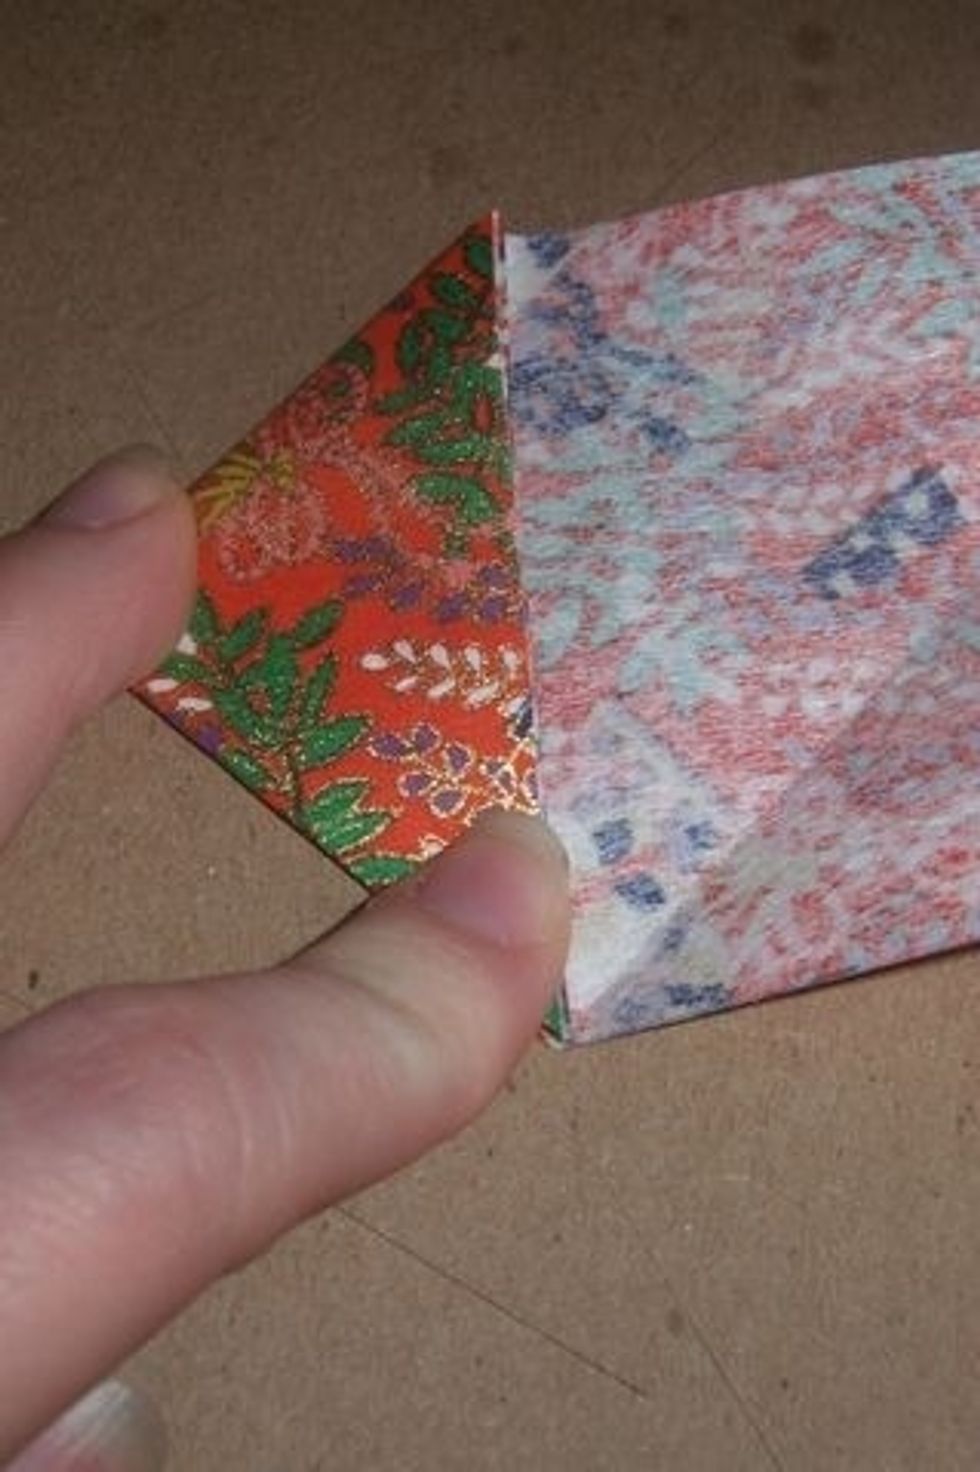
This is what it should look like. No more squishing, I promise!
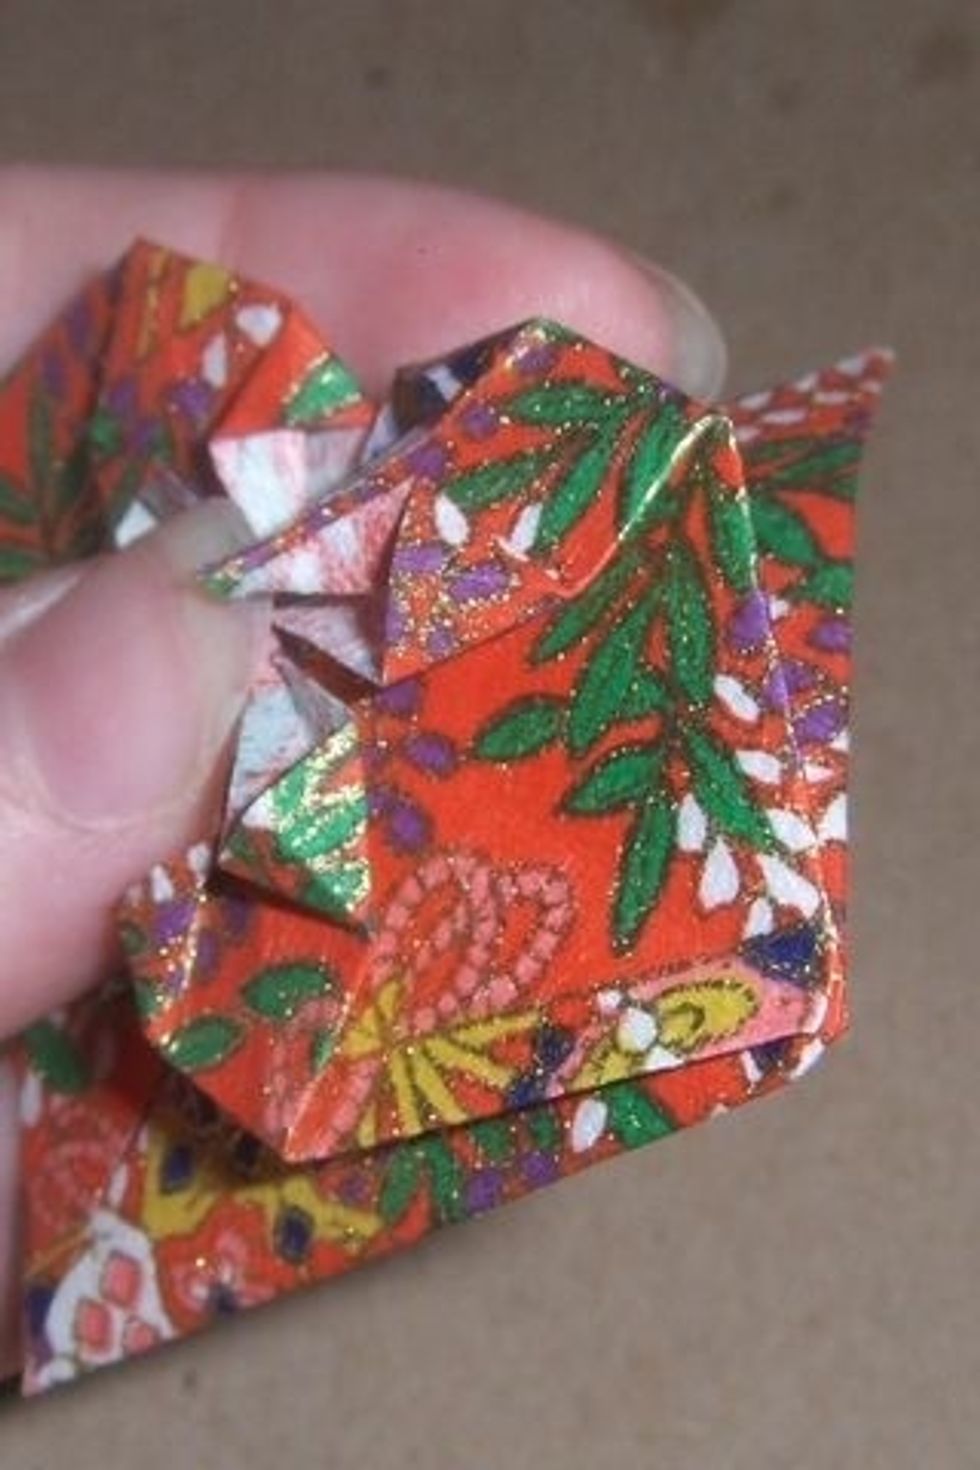
Fold back the top part of the diamond.
This is what it should look like.
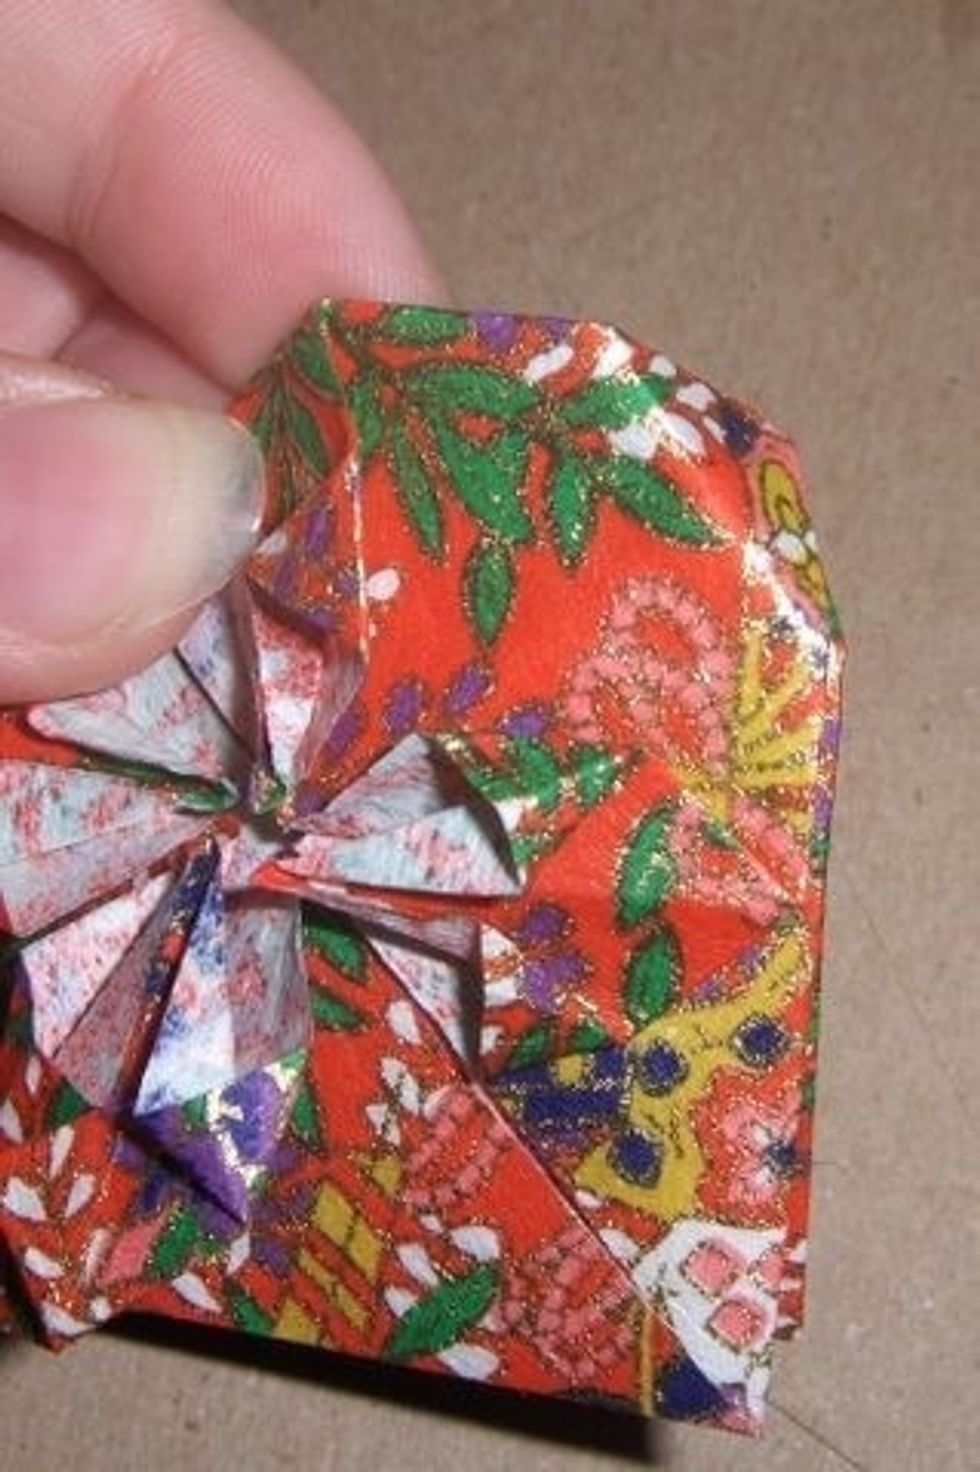
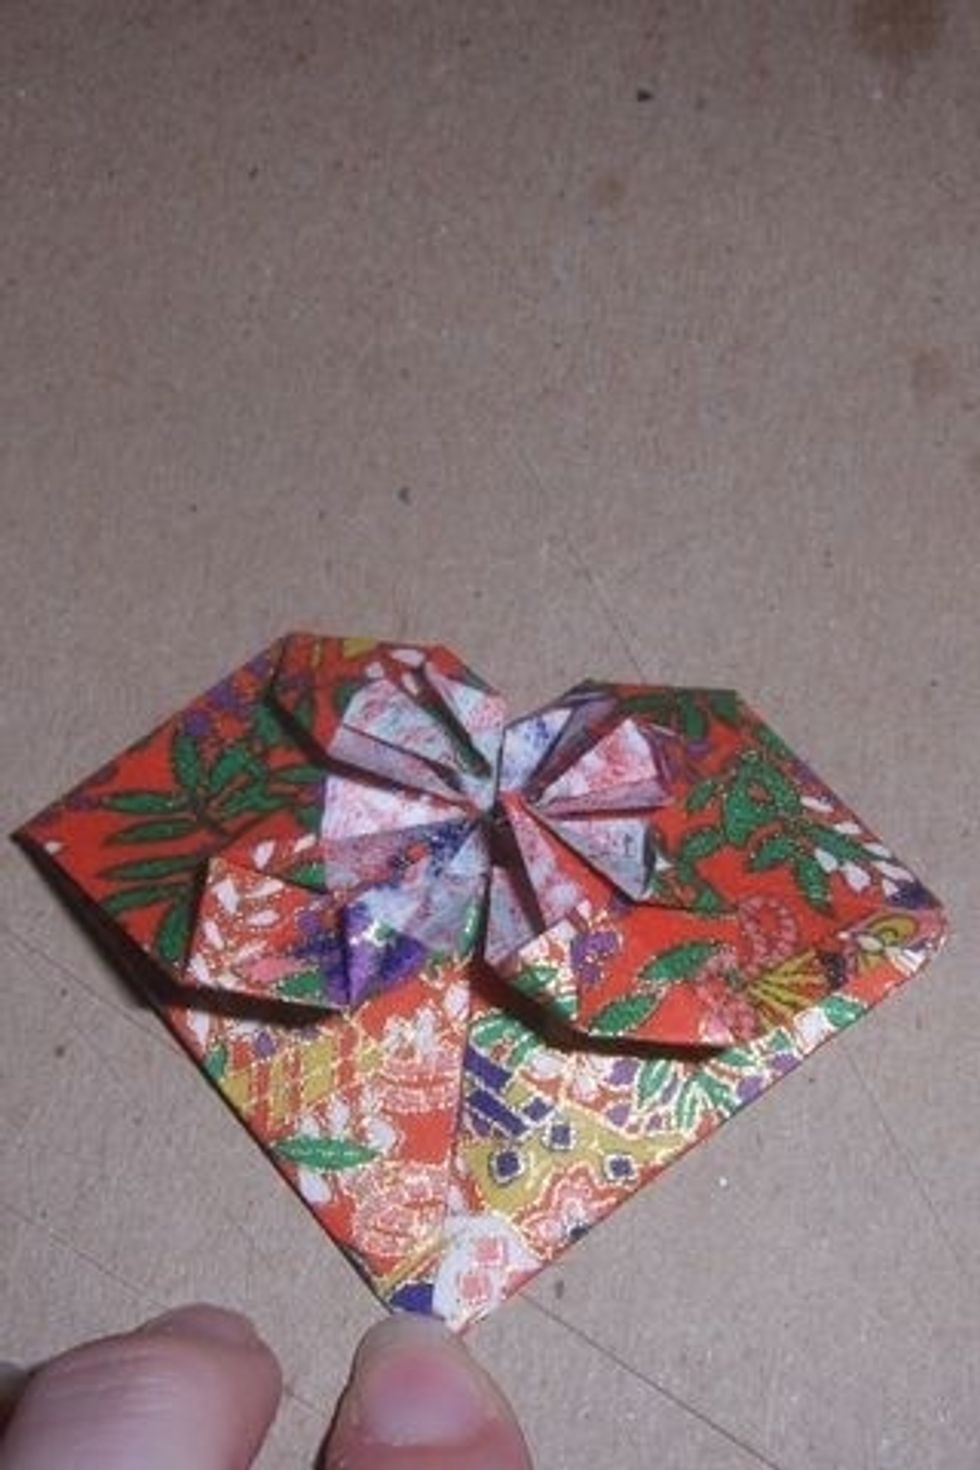
Fold over left and right corners to make desired heart shape.

Alas- the finished heart!
Make as many hearts as you want on your card, then come back to step 37.
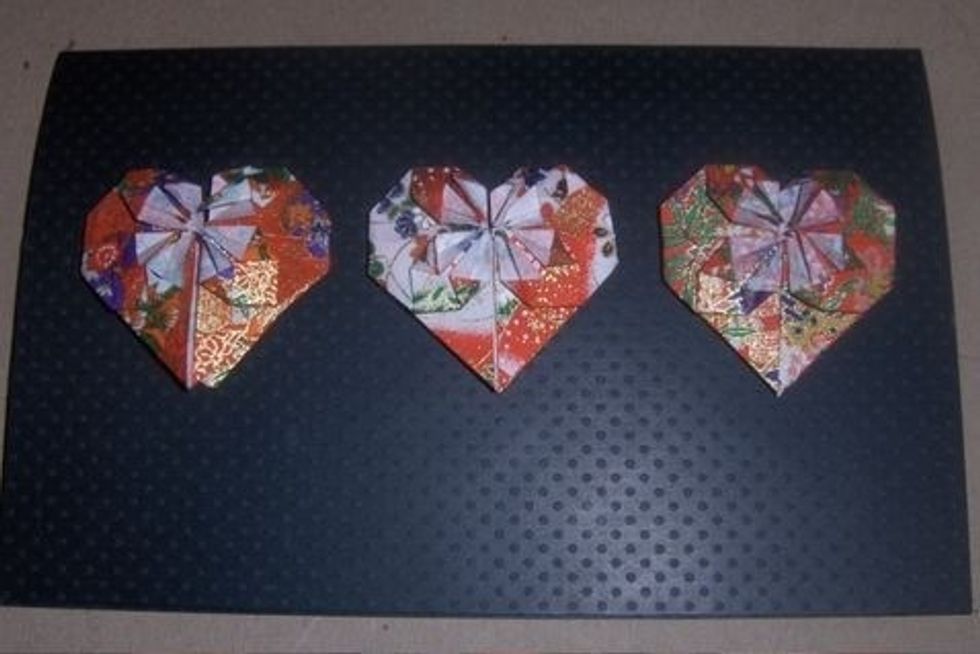
Arrange hearts to heart's desire <3
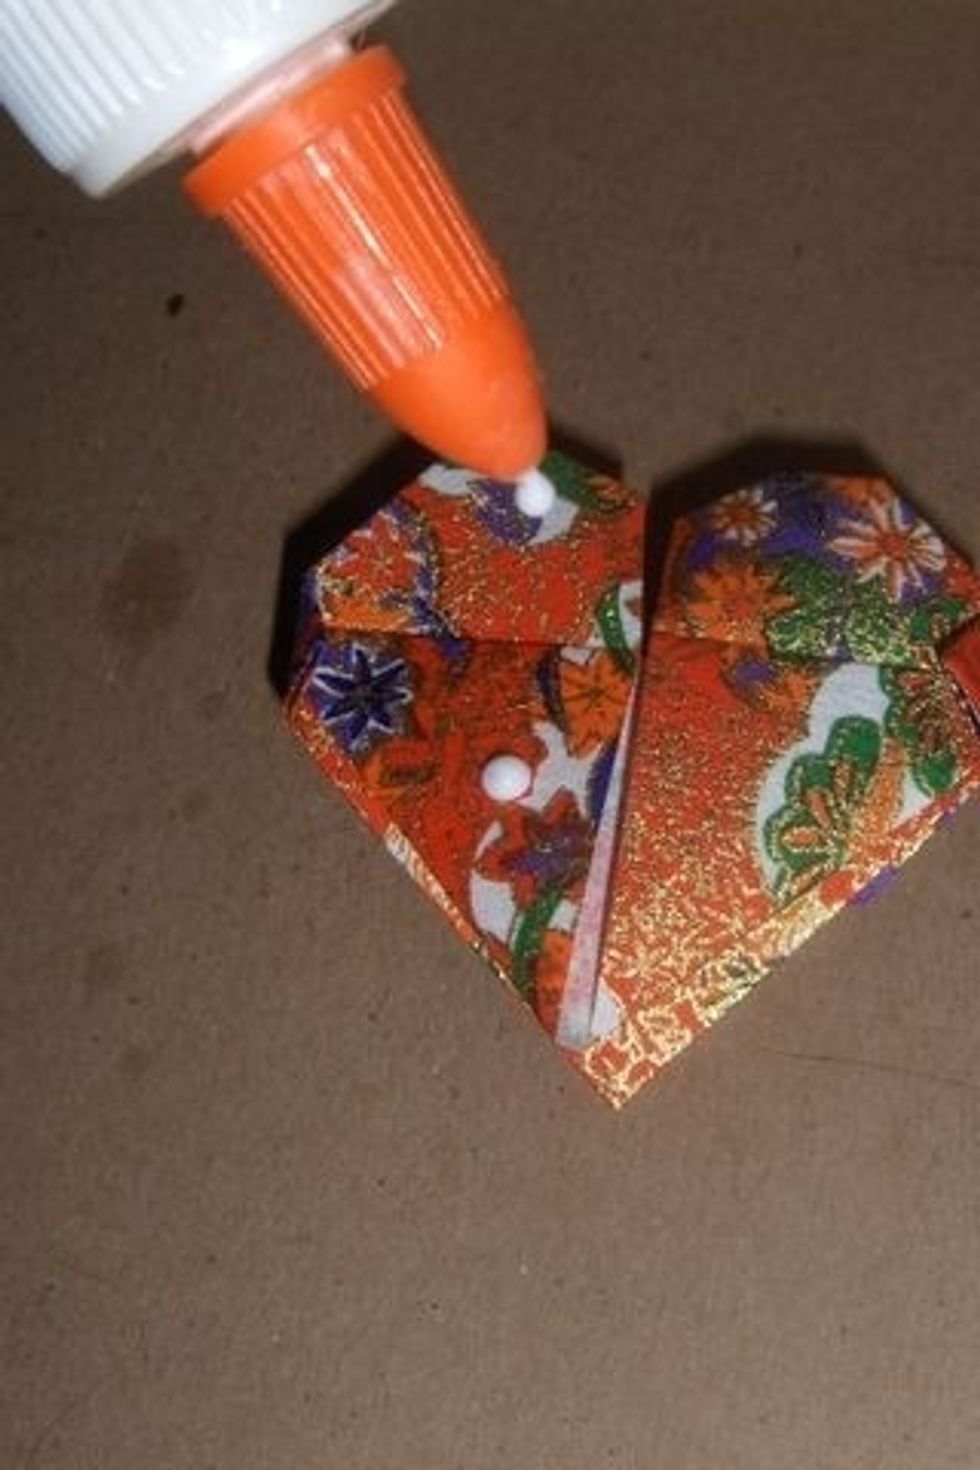
Glue hearts to front of card.

Place a book on top to help hearts glue better.
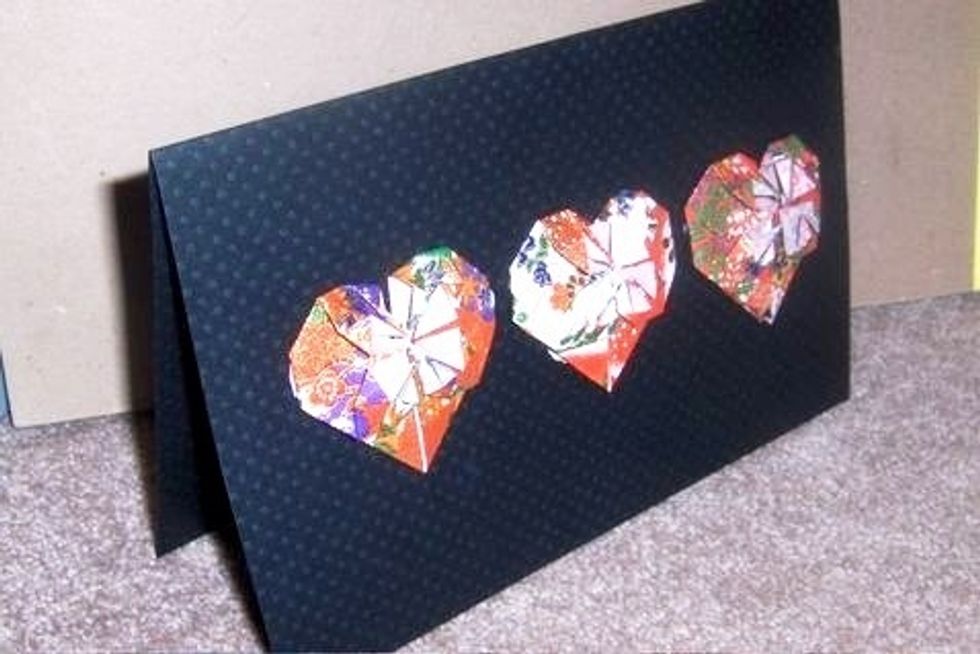
Done!