The Conversation (0)
Sign Up
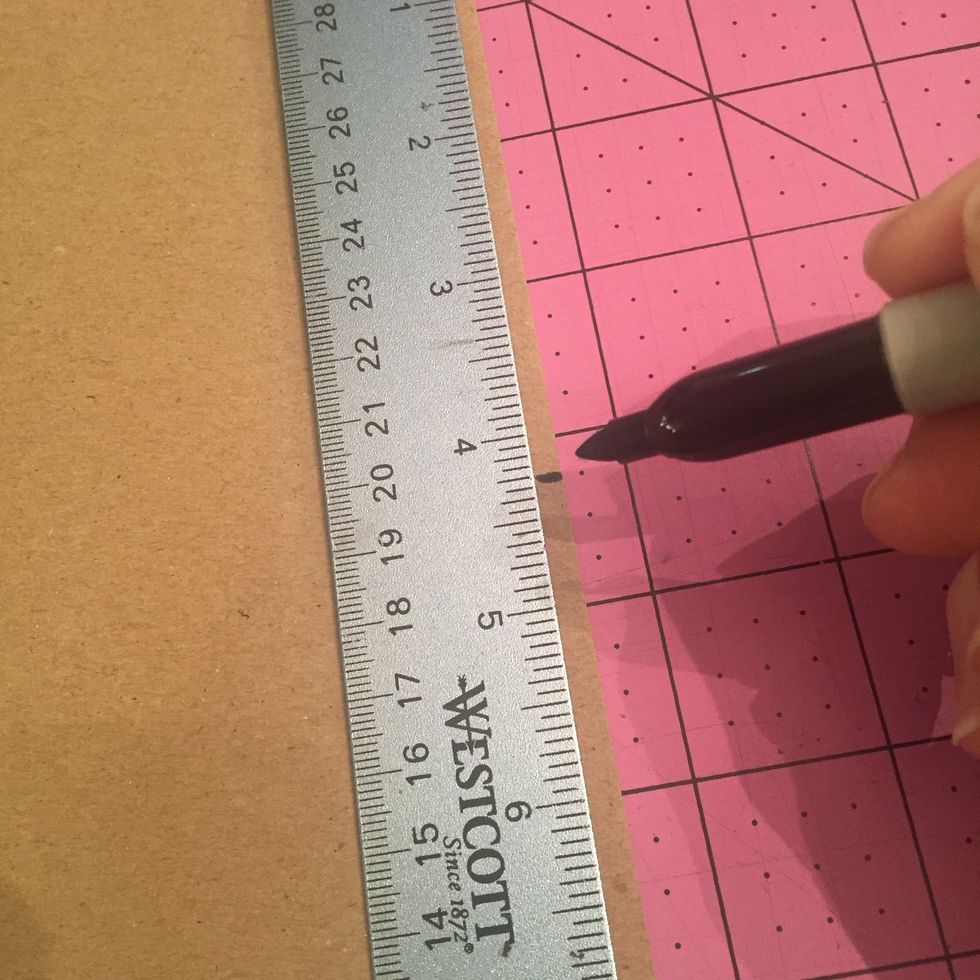
first measure to the middle of the 8.5 inch side of chipboard. Thats 4.25 and make a mark
Then with a ruler draw a line from top corner to the halfway mark you just made
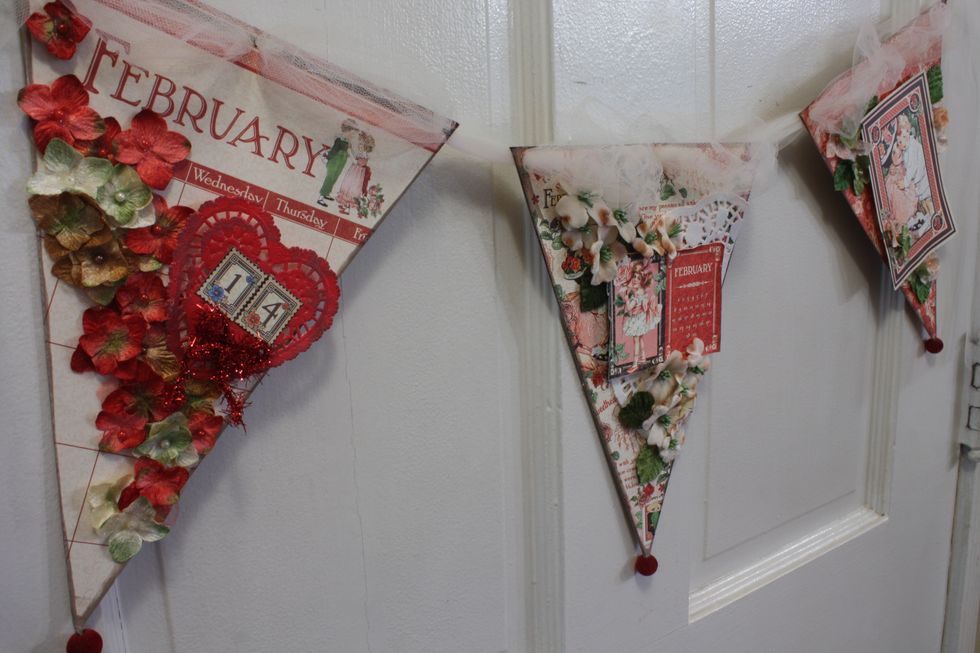
Cut out three. Three of this size will span a typical doorway nicely
**TIP, take the negatives, or cut away portion from chipboard to use as a template for where you want to line up the design- then trace out cutting lines
TIP** when making banners always use glue- not spray adhesive or tape runner- they do not stand up to the elements well- and your banner will get sun, heat, cold and movement so use glue!

Now punch some hole- this pic got cropped weird but I have a hole in each top corner, then two in the center- don't get too picky about evens as the tulle will hide any small differences

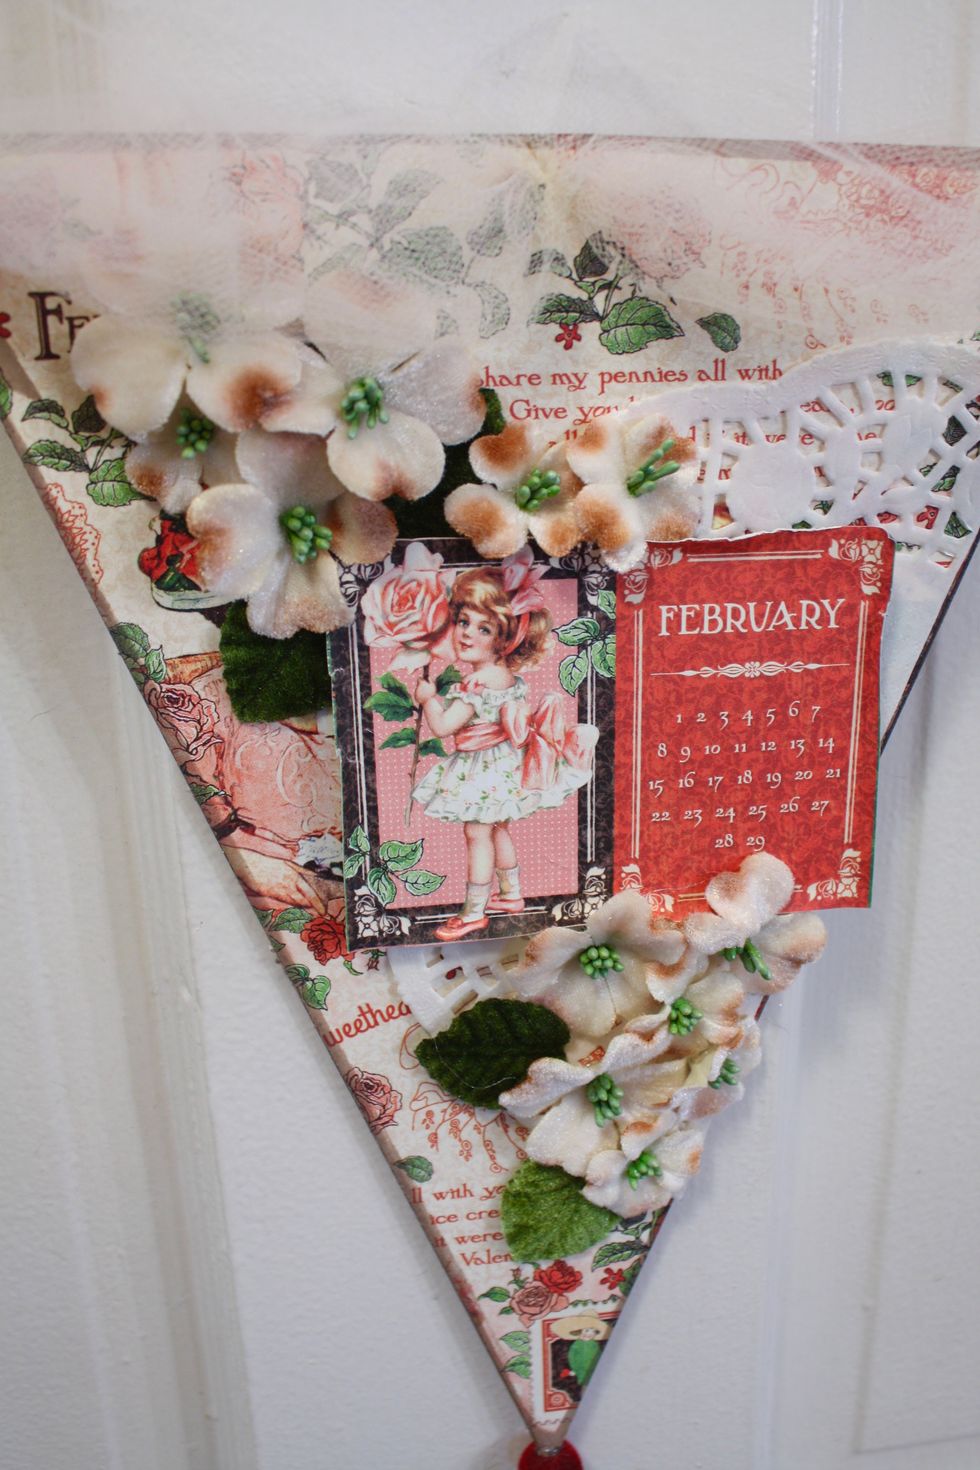
Next I ink the edges- I like a dark edge for banners that will hang on a light surface- make the banner stand out more
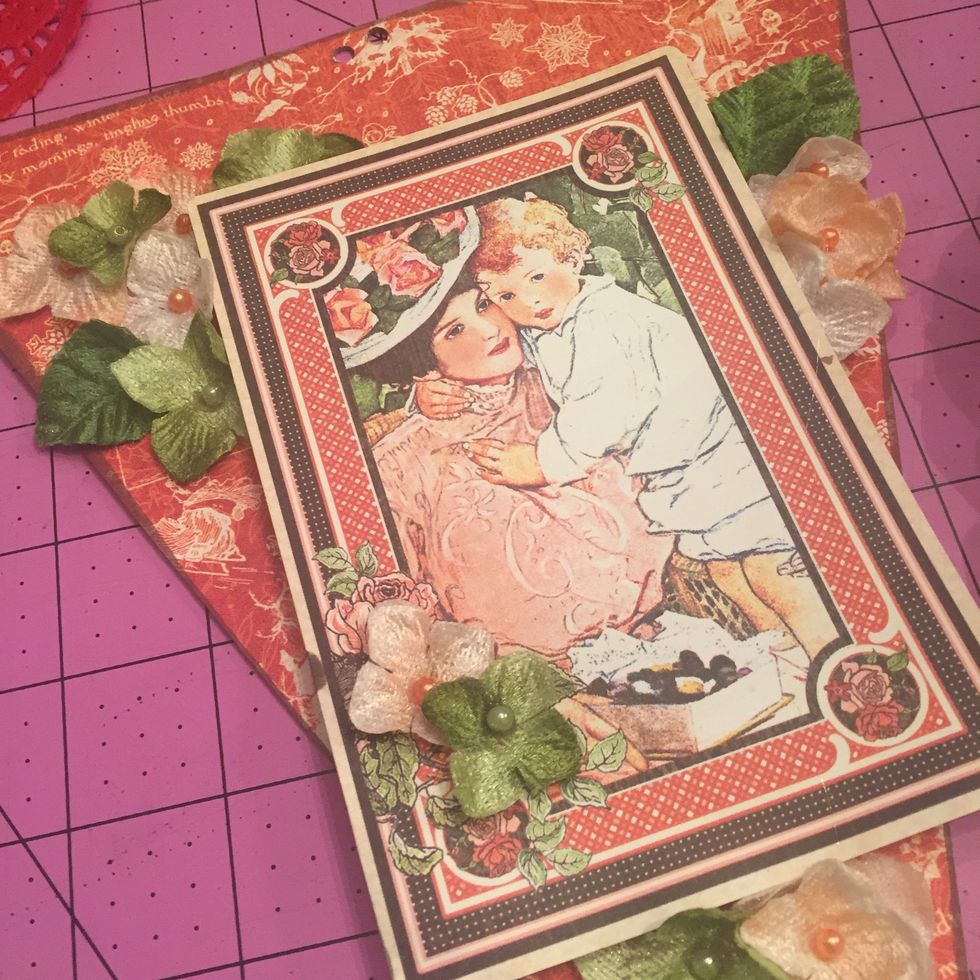
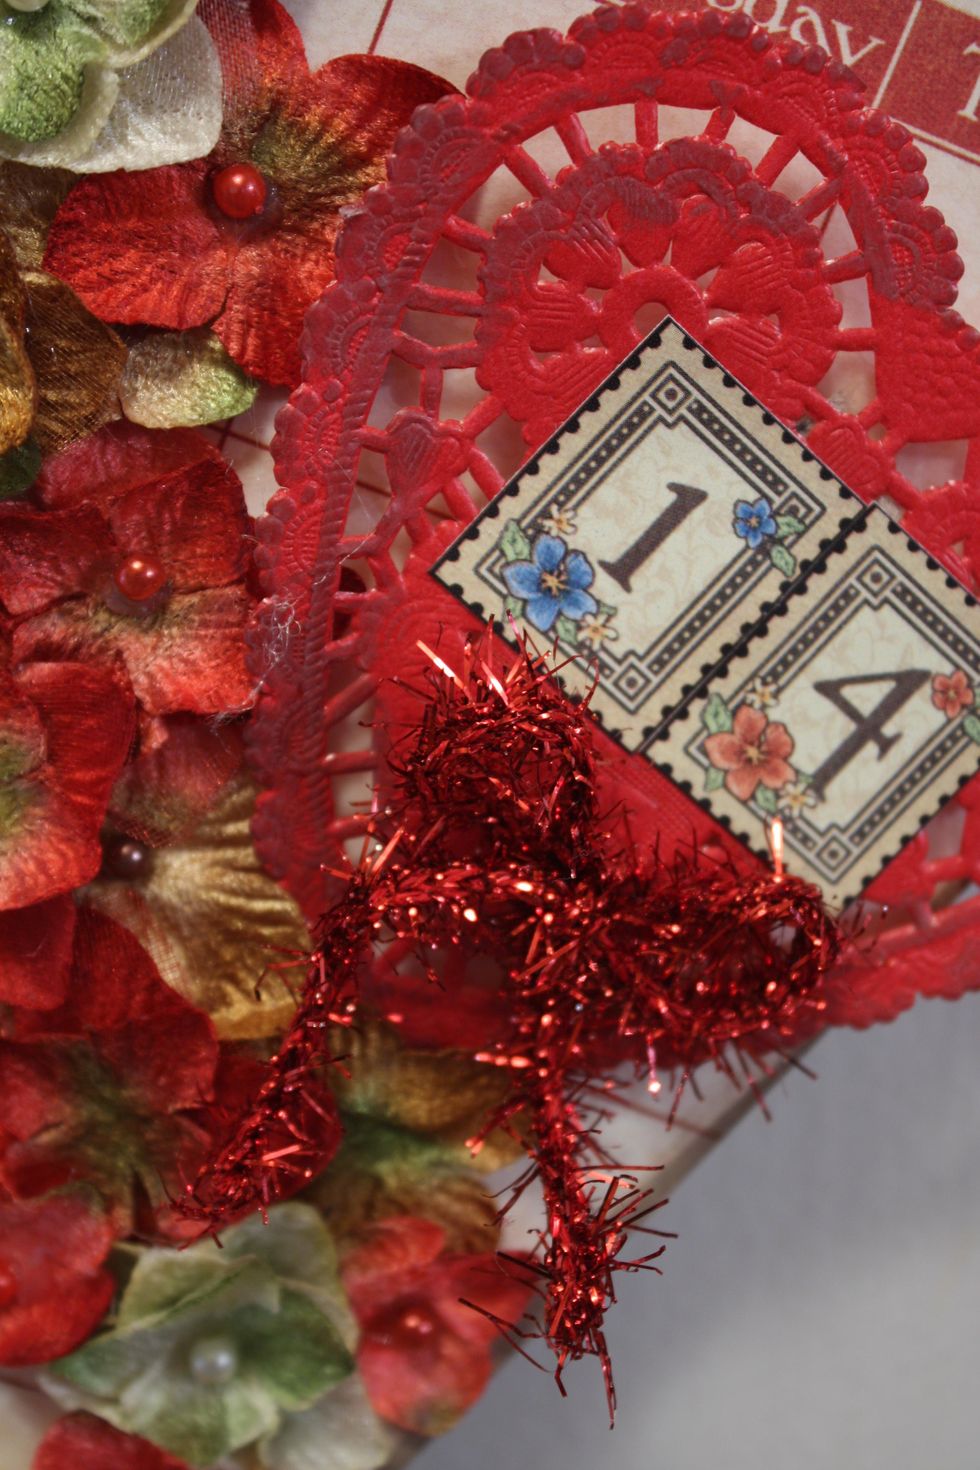
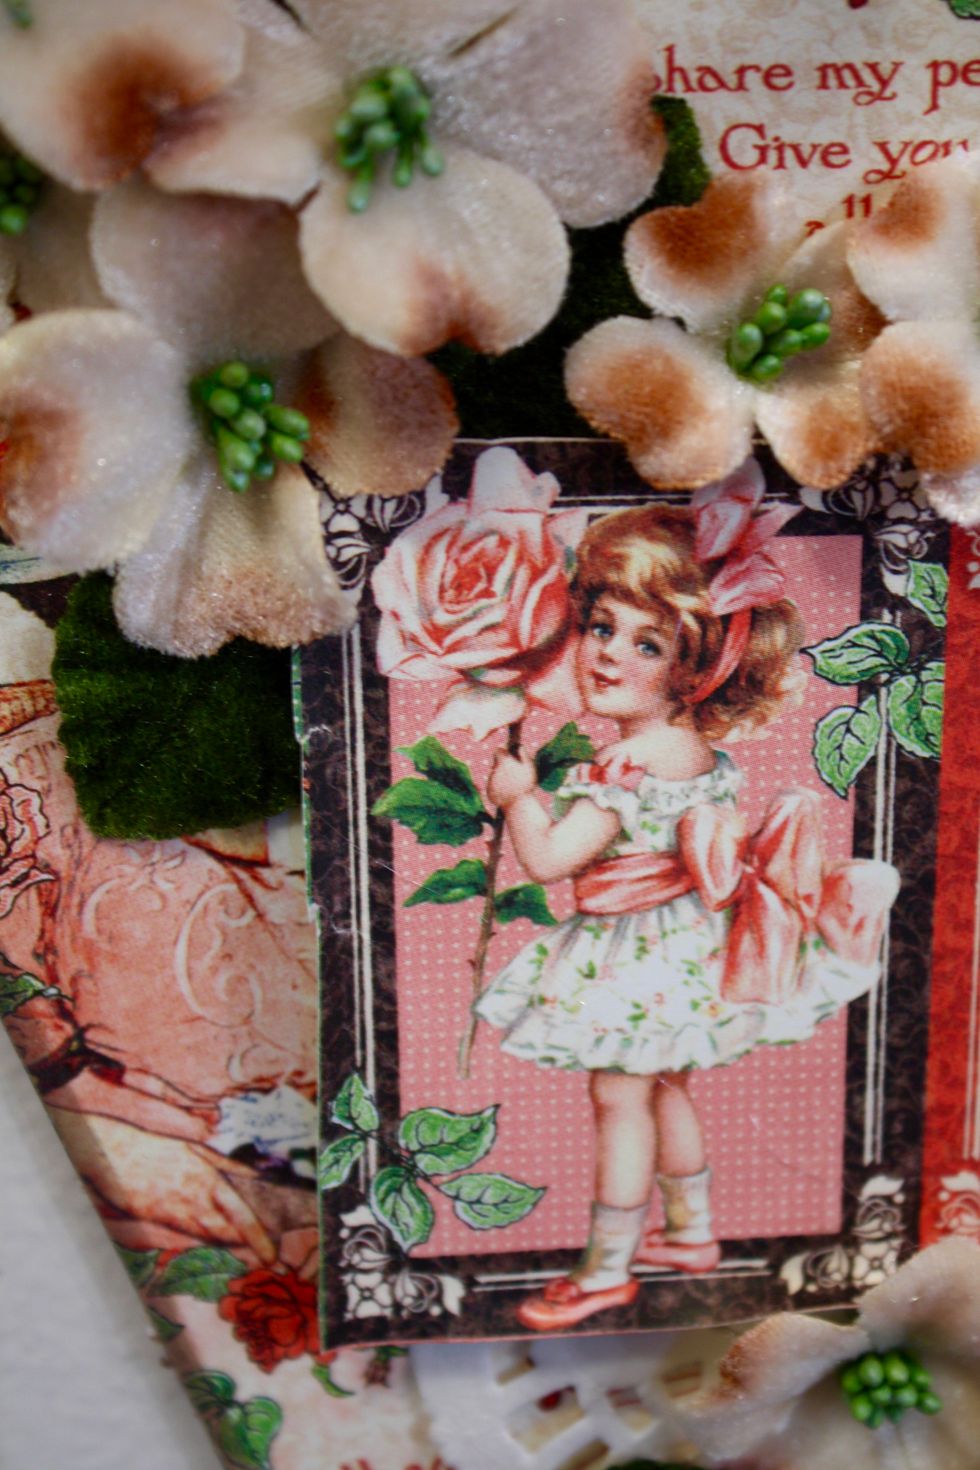
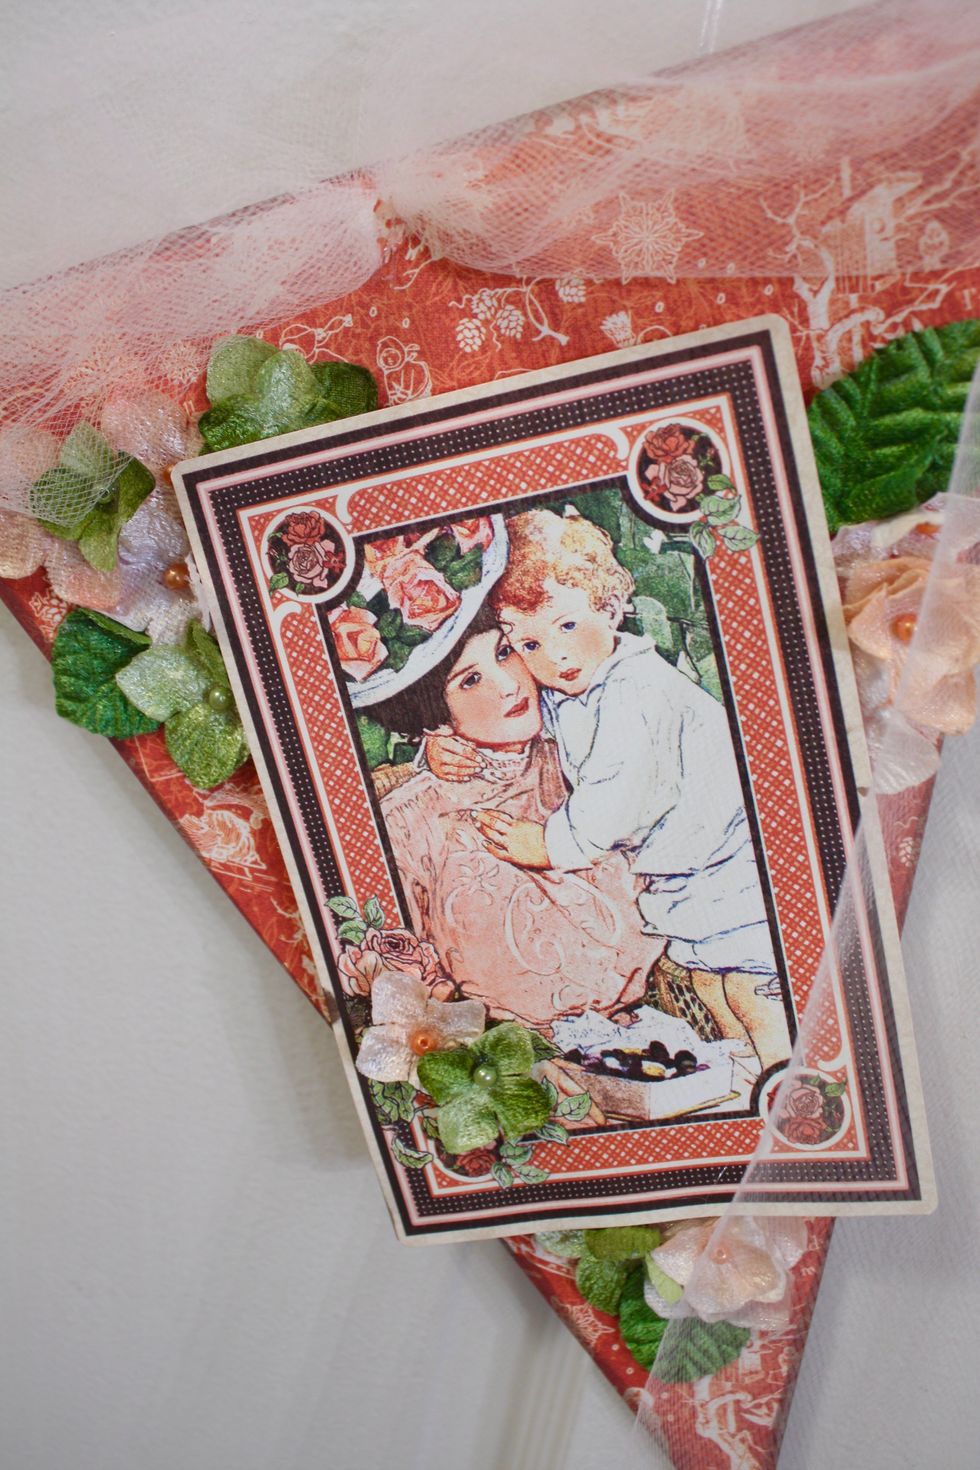
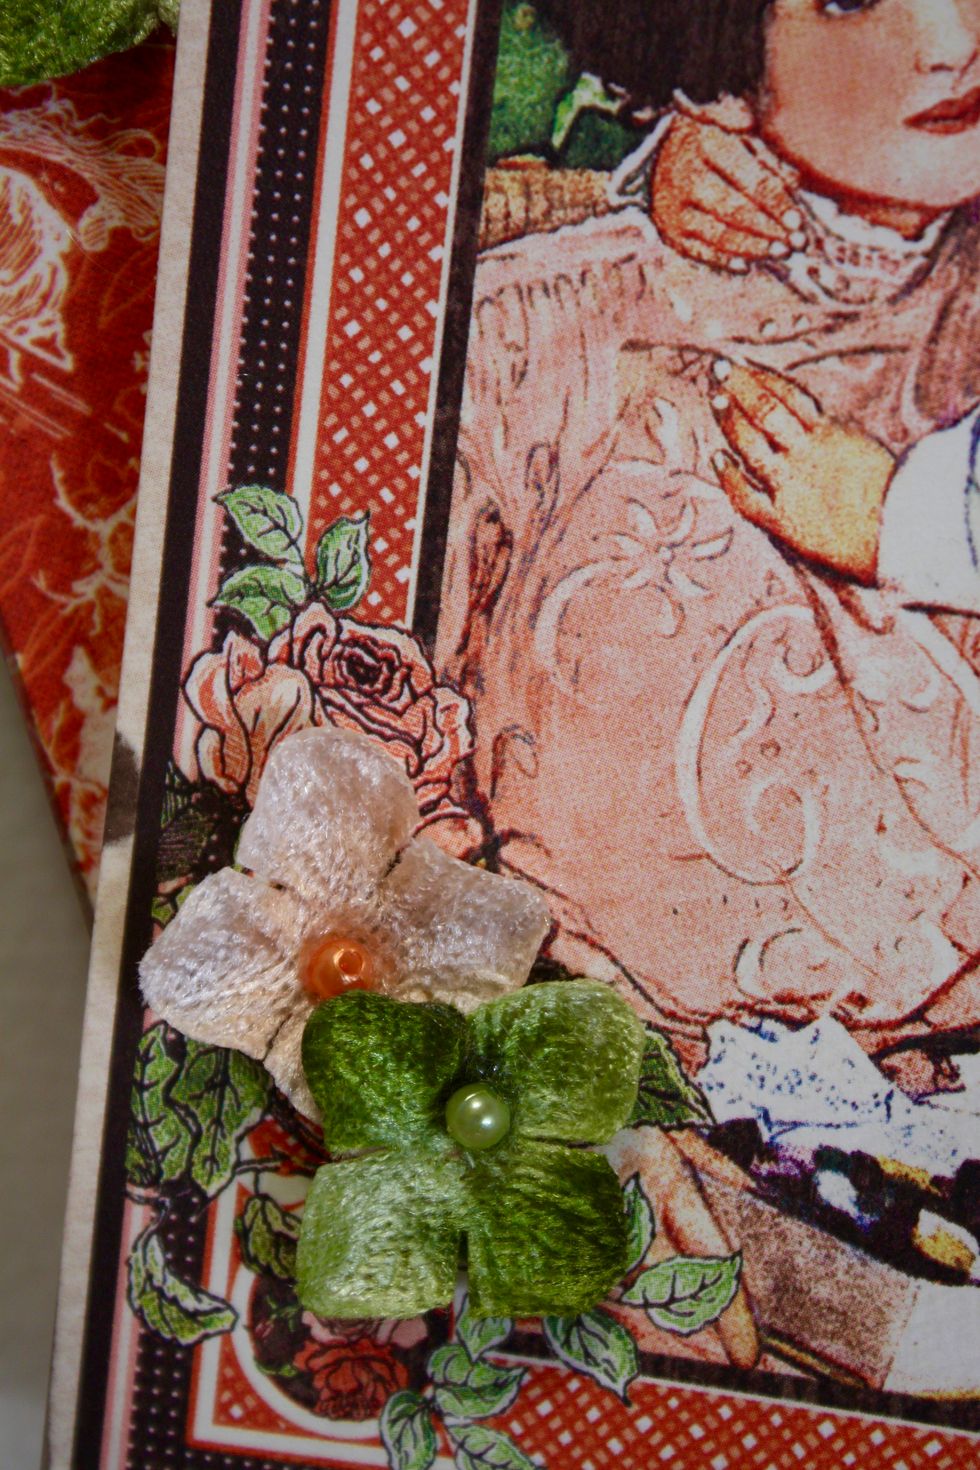
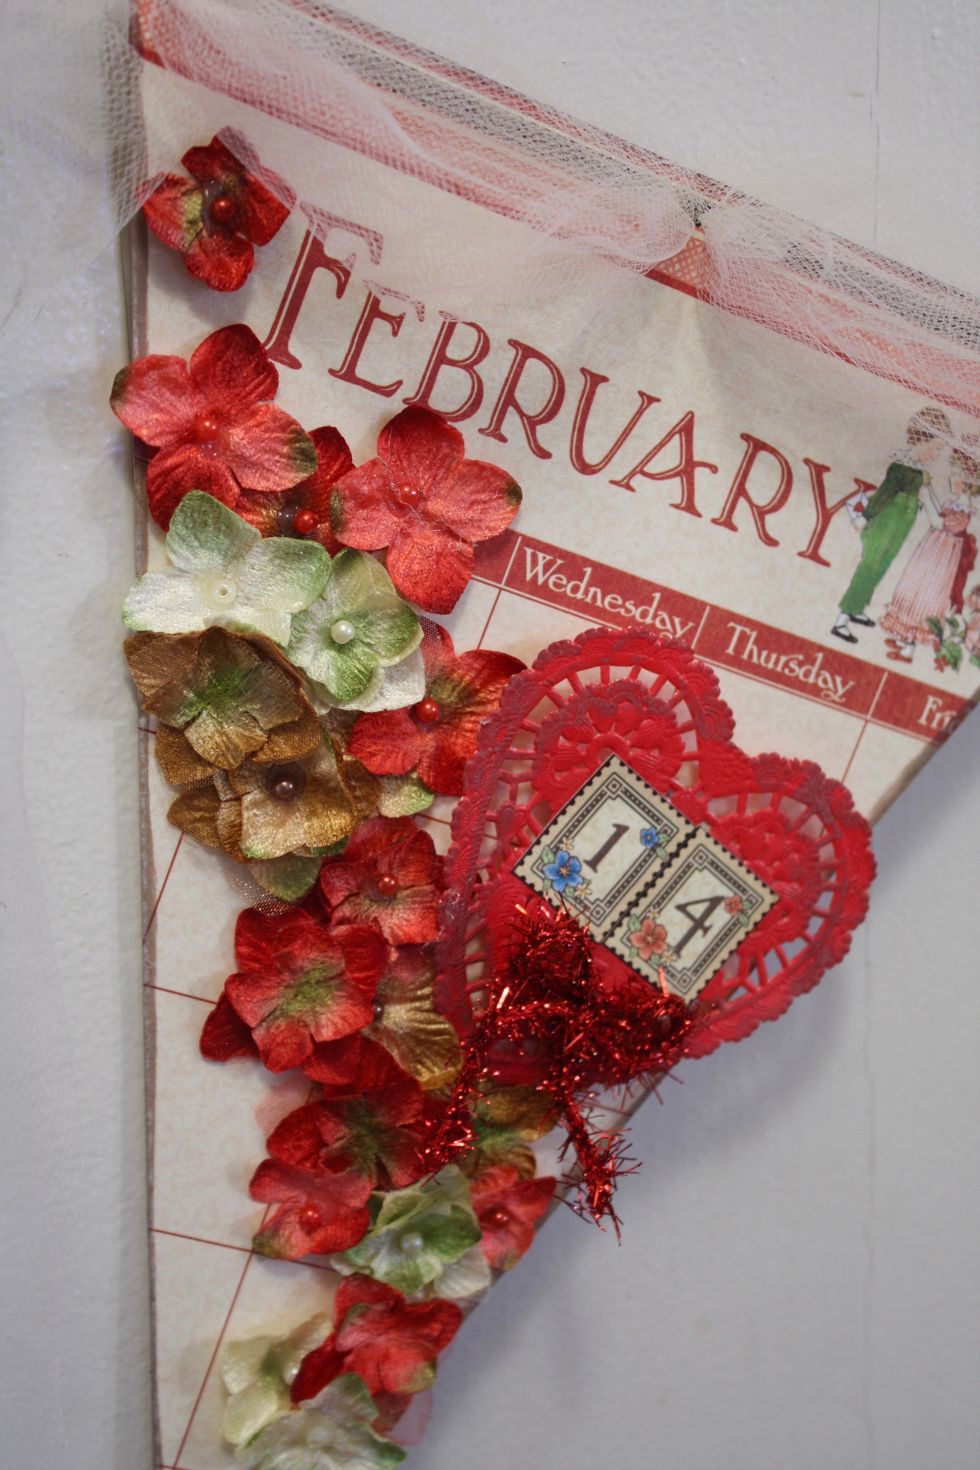
Now grab that Graphic 45 Paper, Petaloo Flowers and hot glue gun and go for it! I design in this order- Focal Piece, large flowers first, leaves, then small flowers and layers
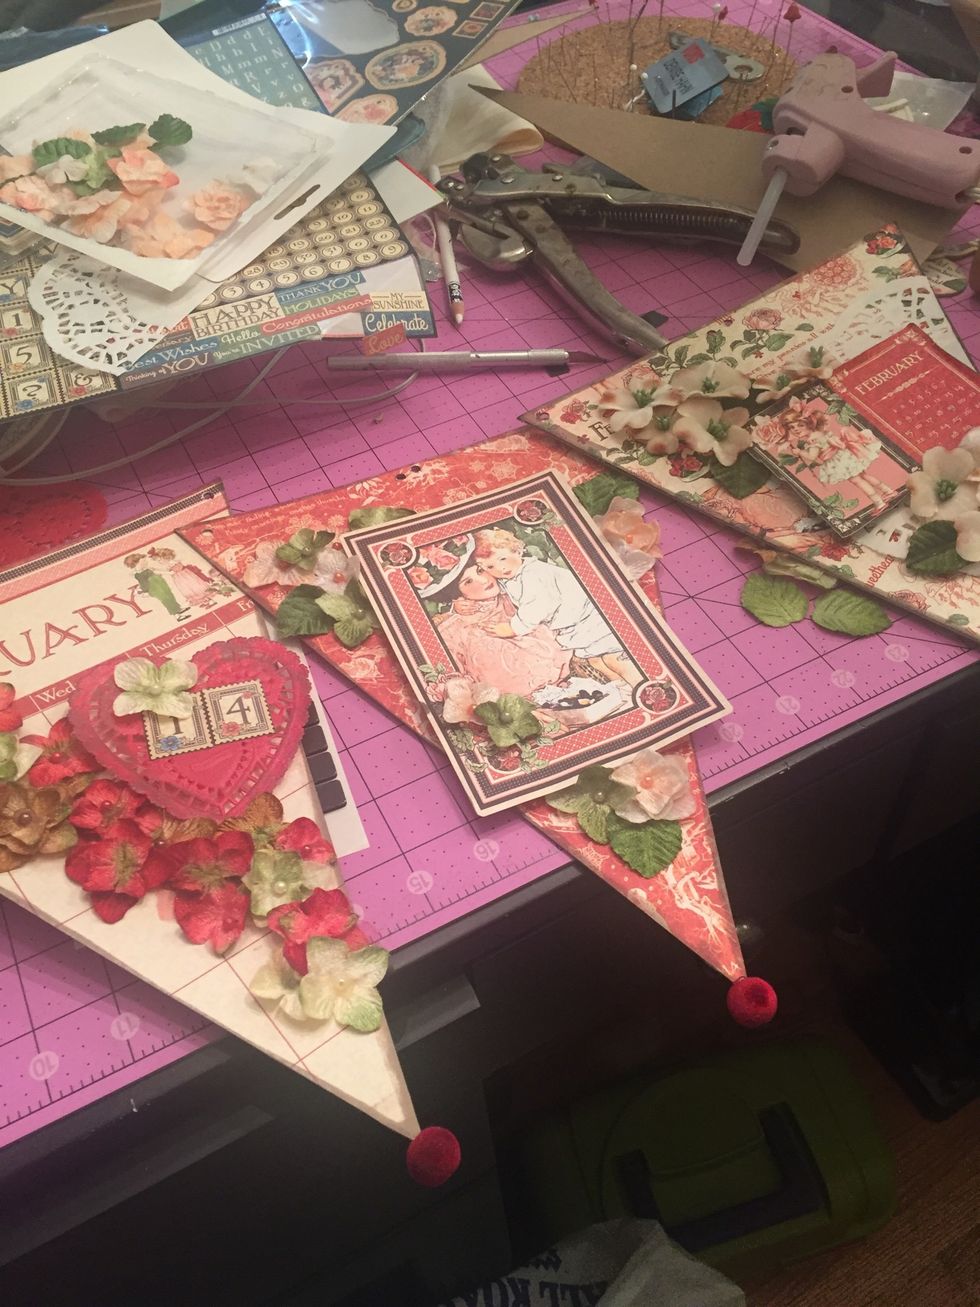
Since I made each pennant different I like to have a additional element to tie them together, so I glued on some velvet beads to the tips. *do this after you string them though- lesson learned!
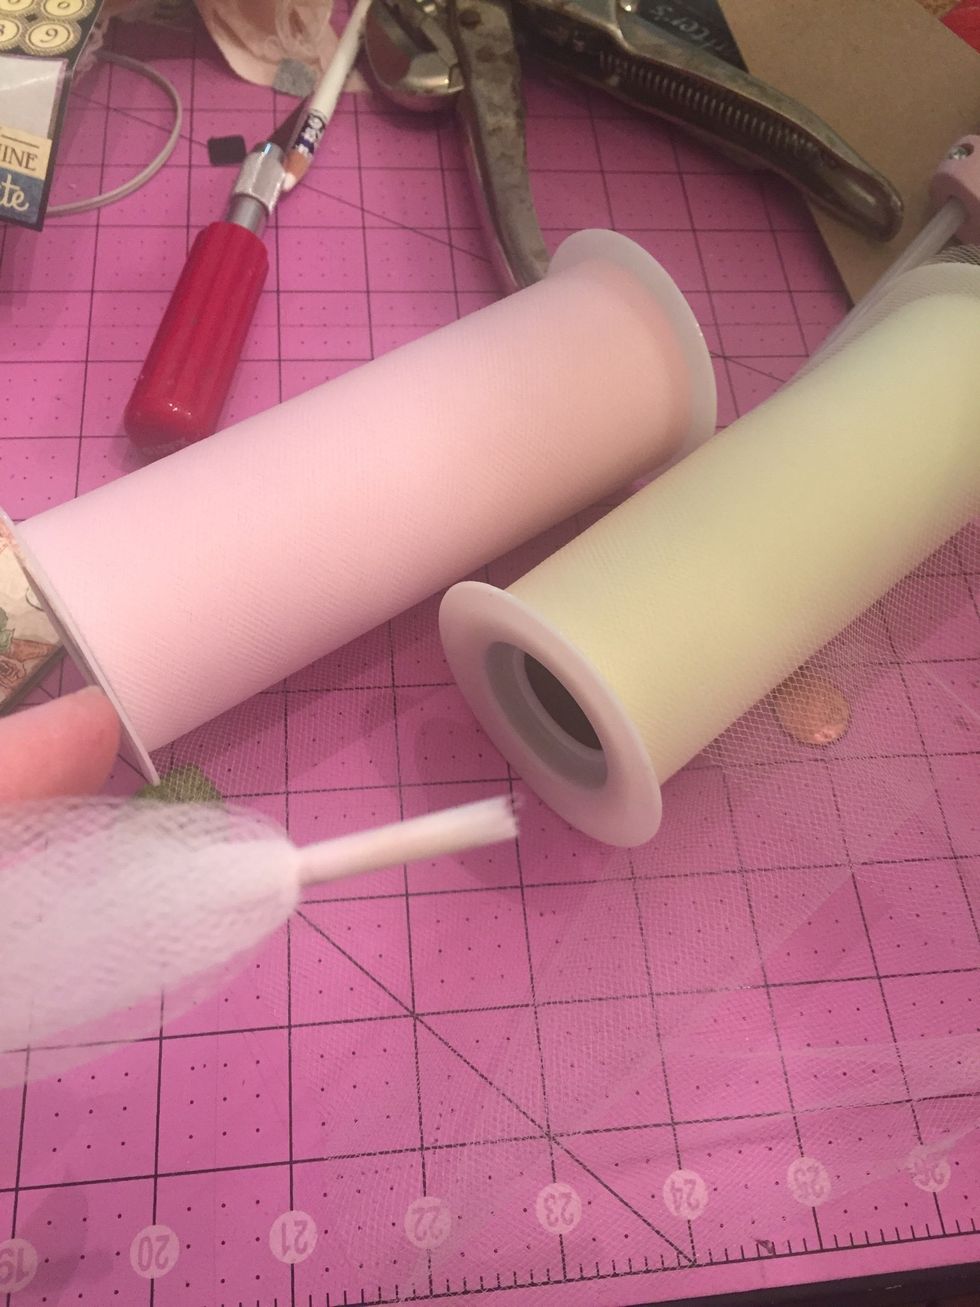
I chose two colors of 6in tulle. Put them together, wrap with tape on the end to help thread through the holes. If you don't have tulle, wired ribbon work great too
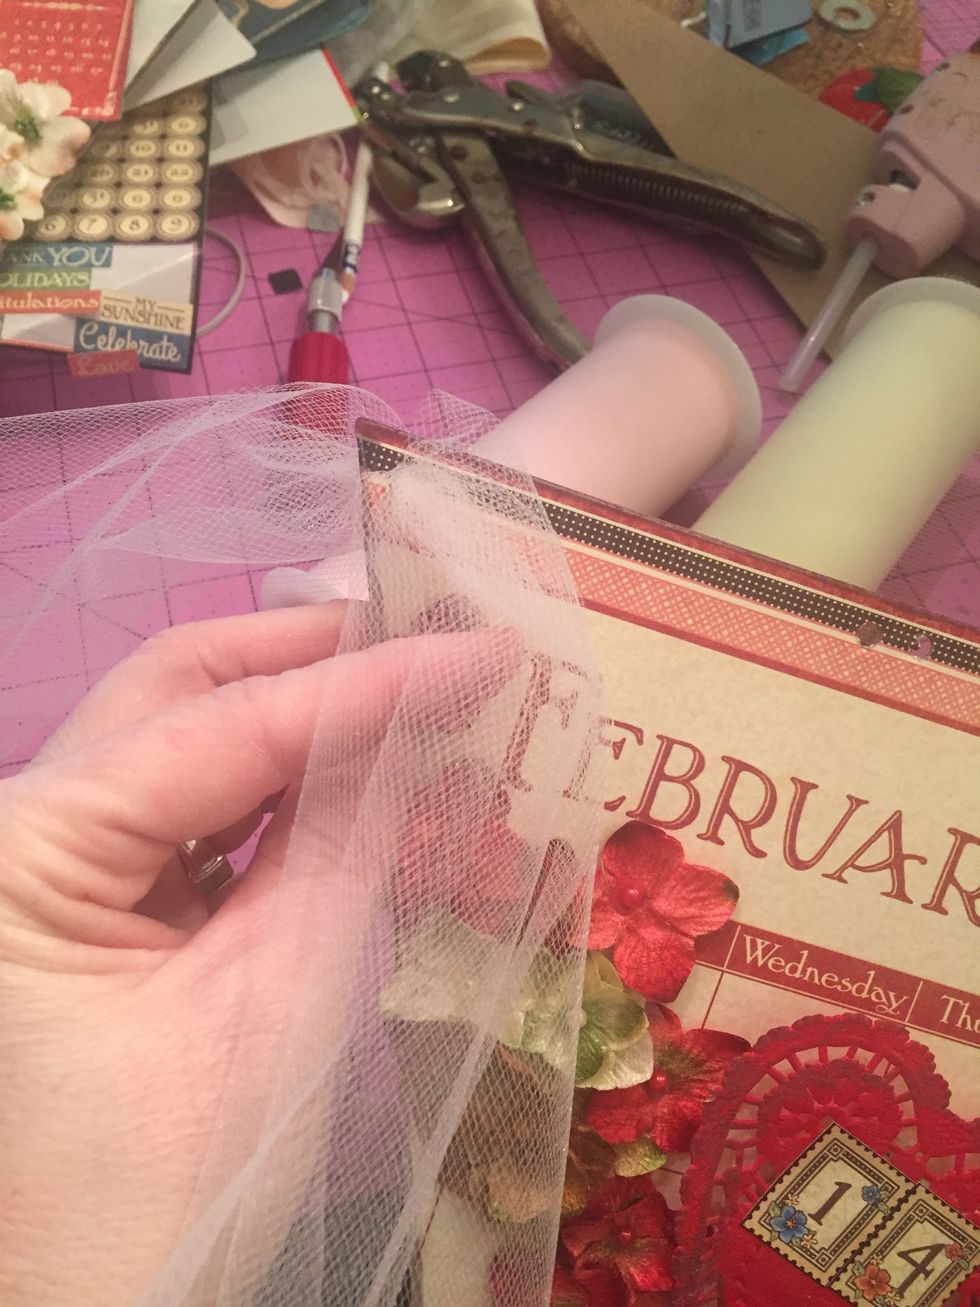
Start from the BACK and thread forward- pull all the way through so that only about 12in left on the end
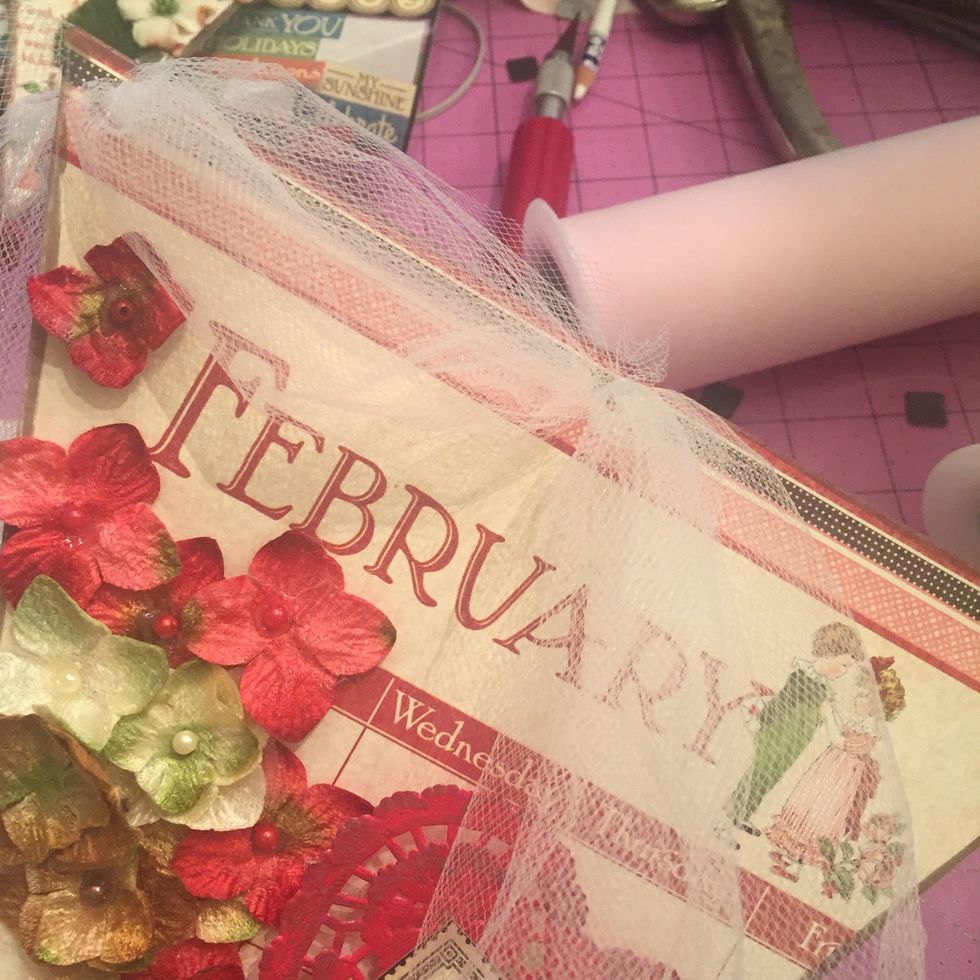
Bring down into the nearest center hole then back up through the other- make sure you pull a little extra out for that puffy look!
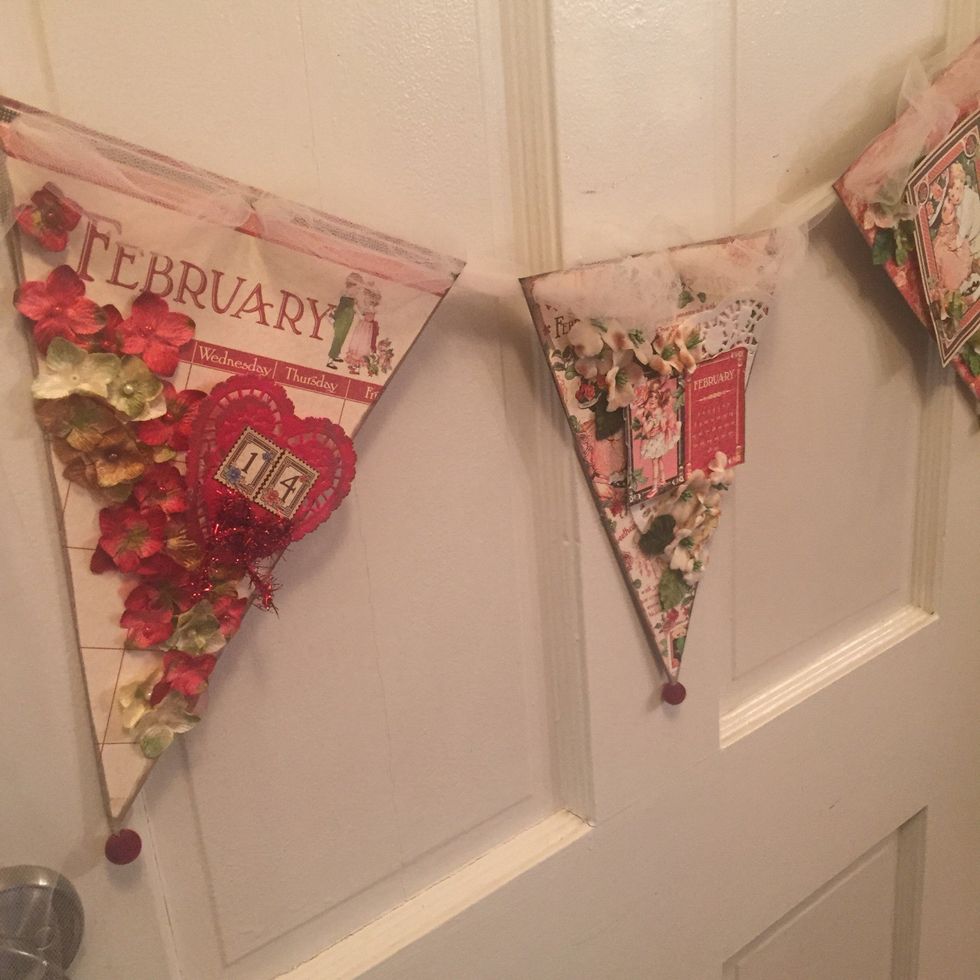
darn, at some point I will get a handle on Snapguide cropping! Ill add a few more pics to follow so you can see the design up close!
Thanks for viewing my guide! My blog inmyblueroom.blogspot.com I design for Petaloo - you can purchase their flowers at most online scrapbook retailers. Graphic45 available at most online retailers