The Conversation (0)
Sign Up
Helpful hints: -if your tape keeps un-sticking get a safety pin and stick it through the knot and then fasten it to your pants by your knee! -always hold the string you're tying the knot on tight!
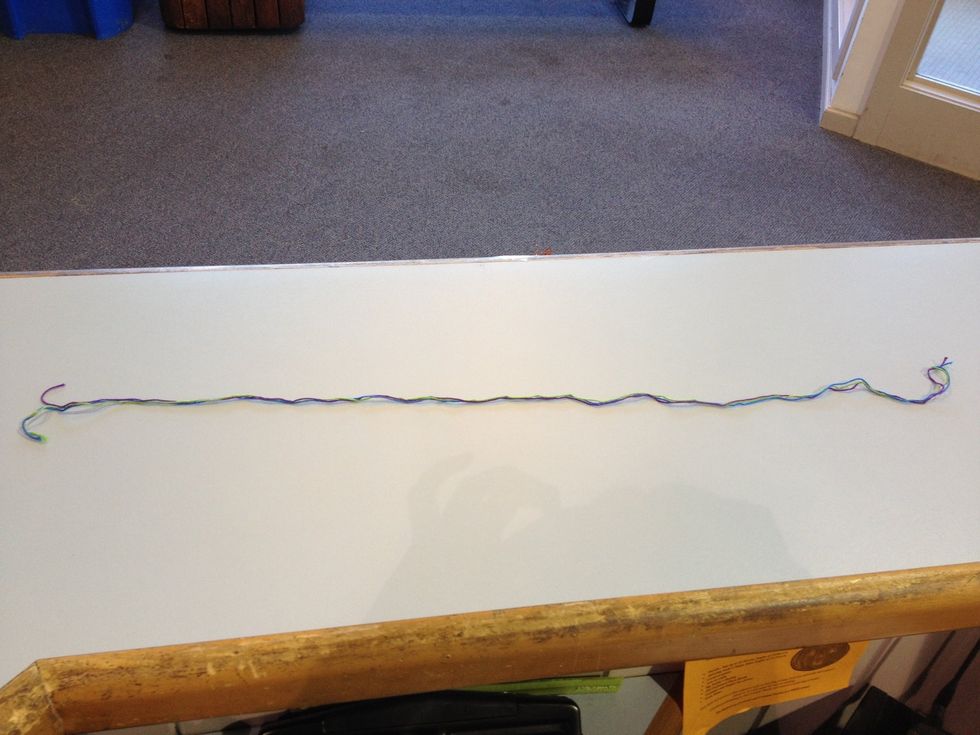
First you're going to have to cut however many strings you want. Cut one long string of each color, make sure they're about the length of one of your arms (You'd rather it be too long then too short!)
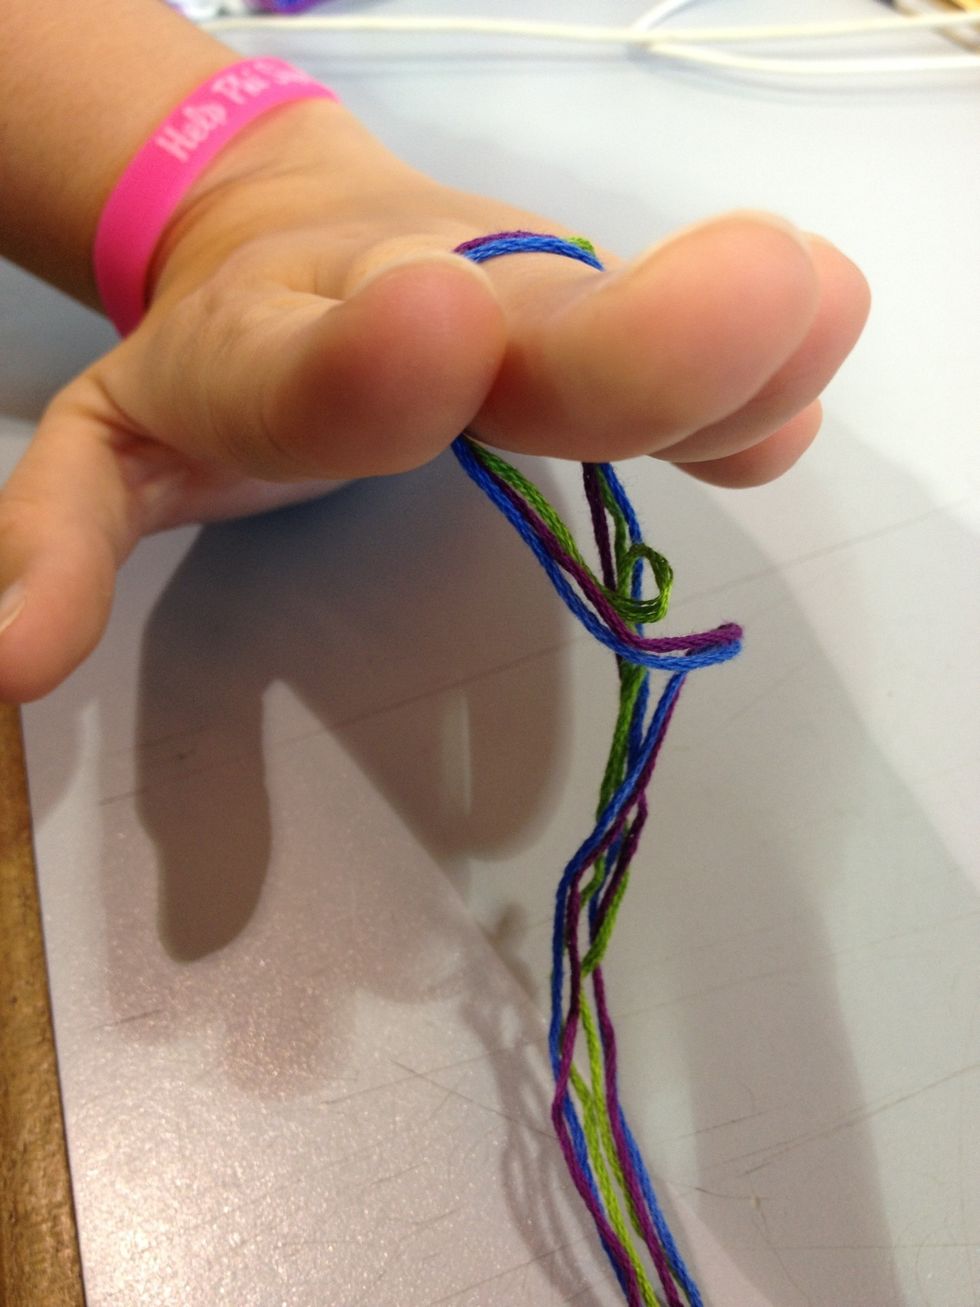
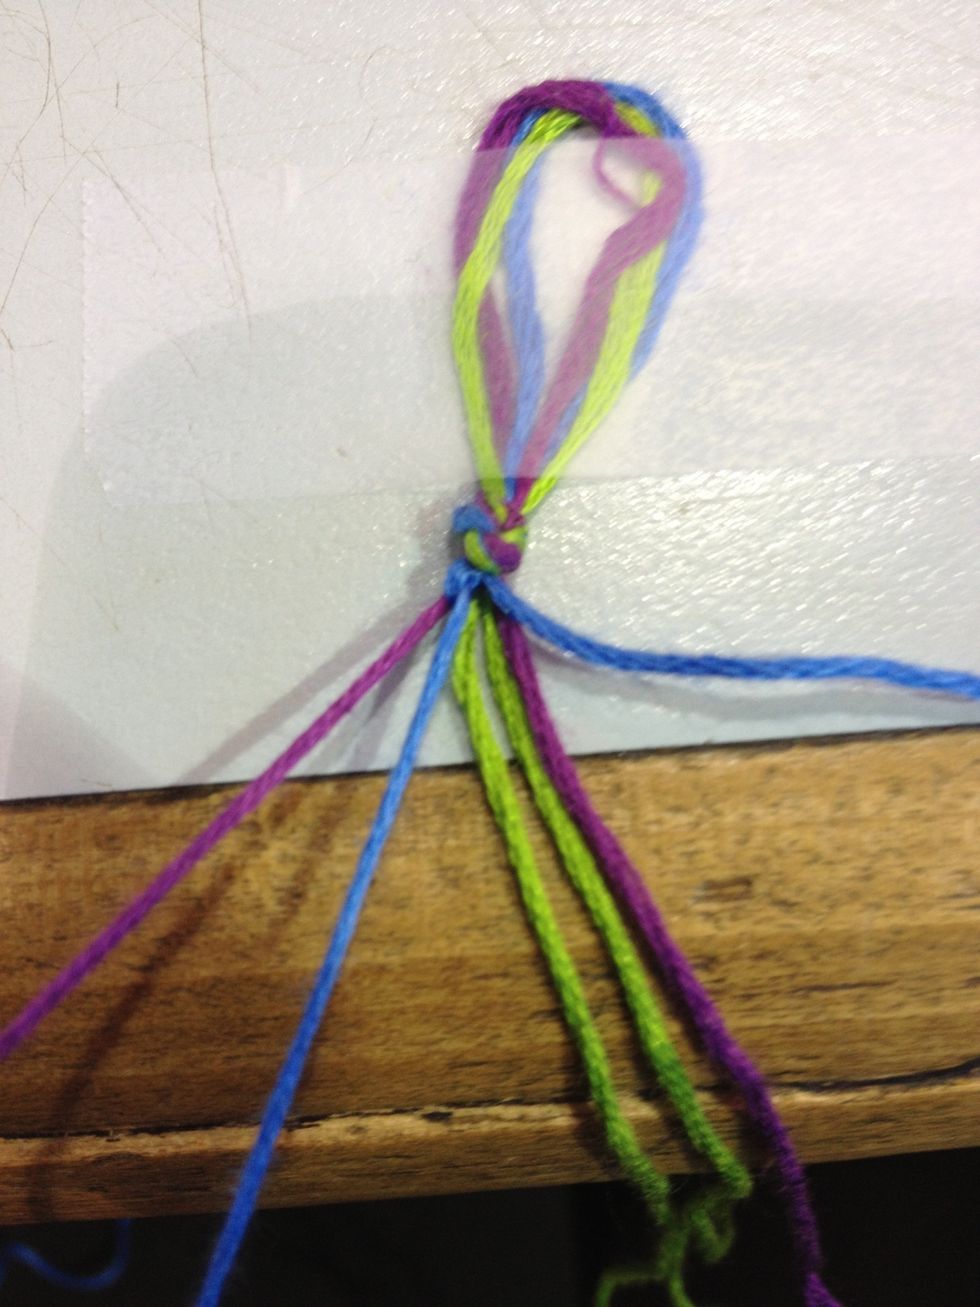
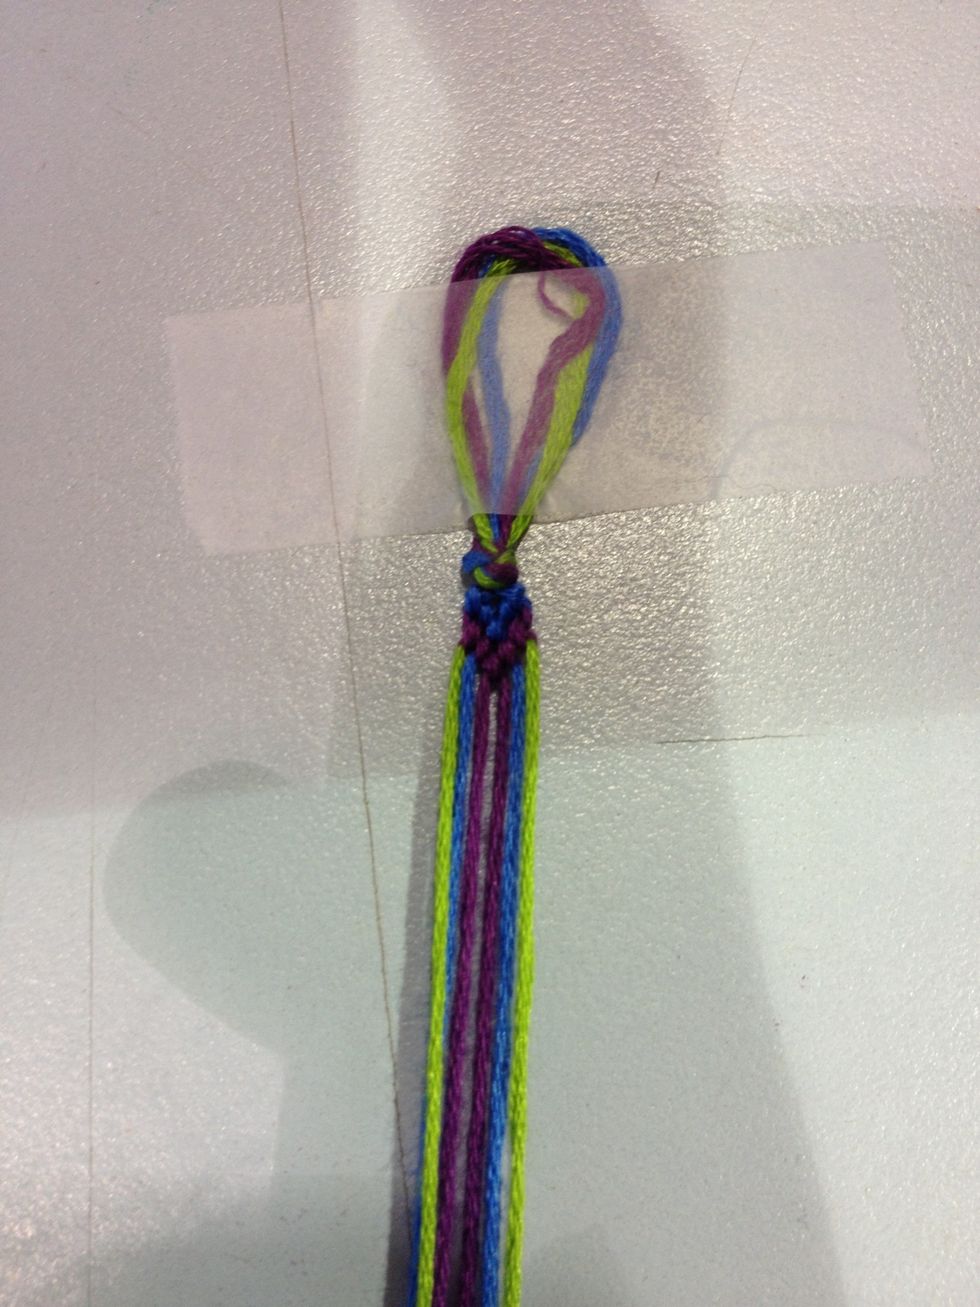
Fold strings in half, I normally loop around middle finger. We're tying the knot on top. This is how I do it, you can do it however you want
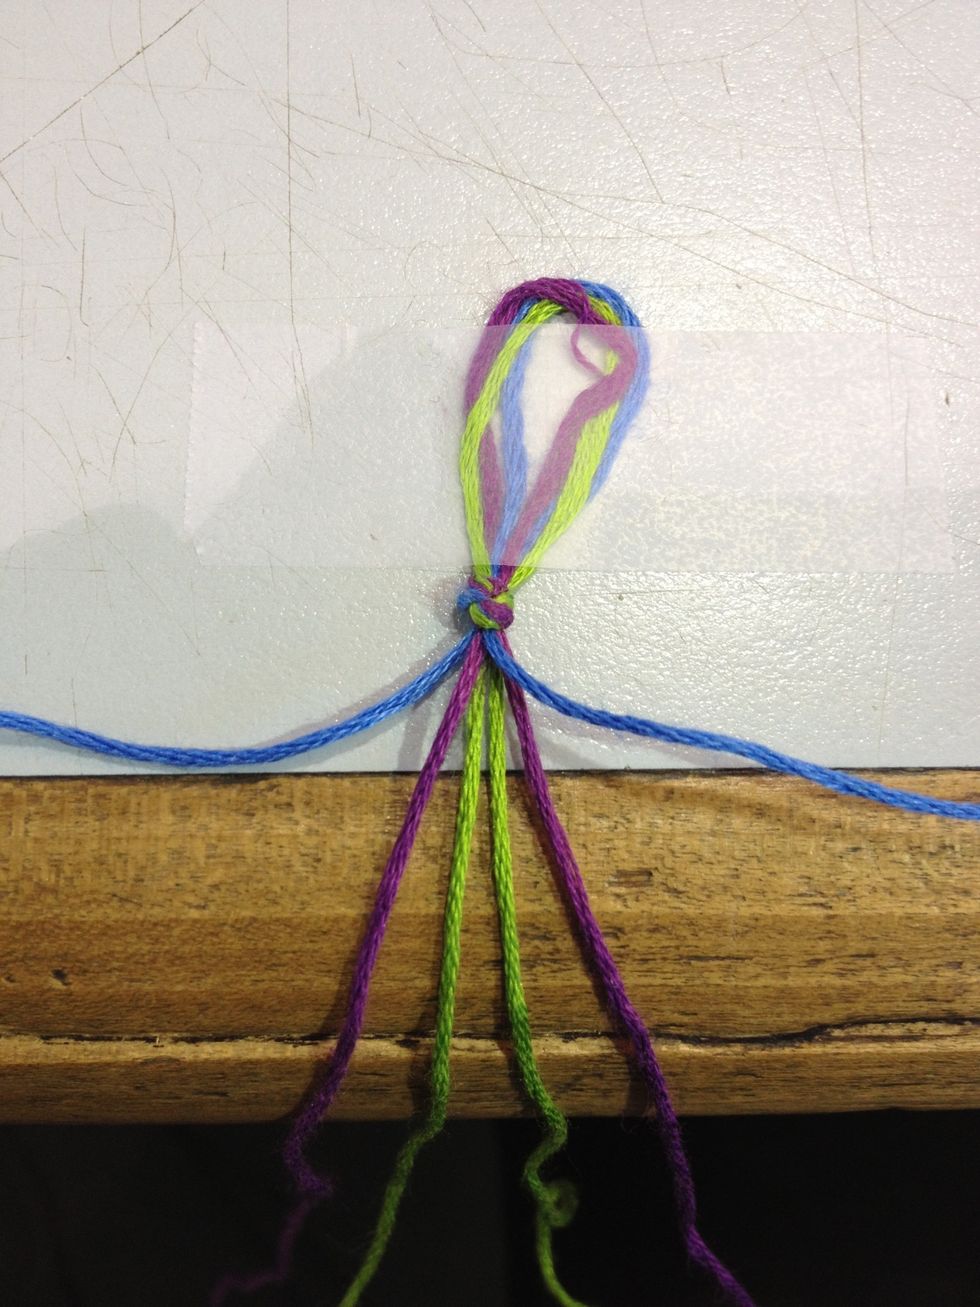
Next either tape your loop to a table or your leg and spread the colors out. One of each color should be on either side and two of the same color go in the middle. The sides should be mirror images.

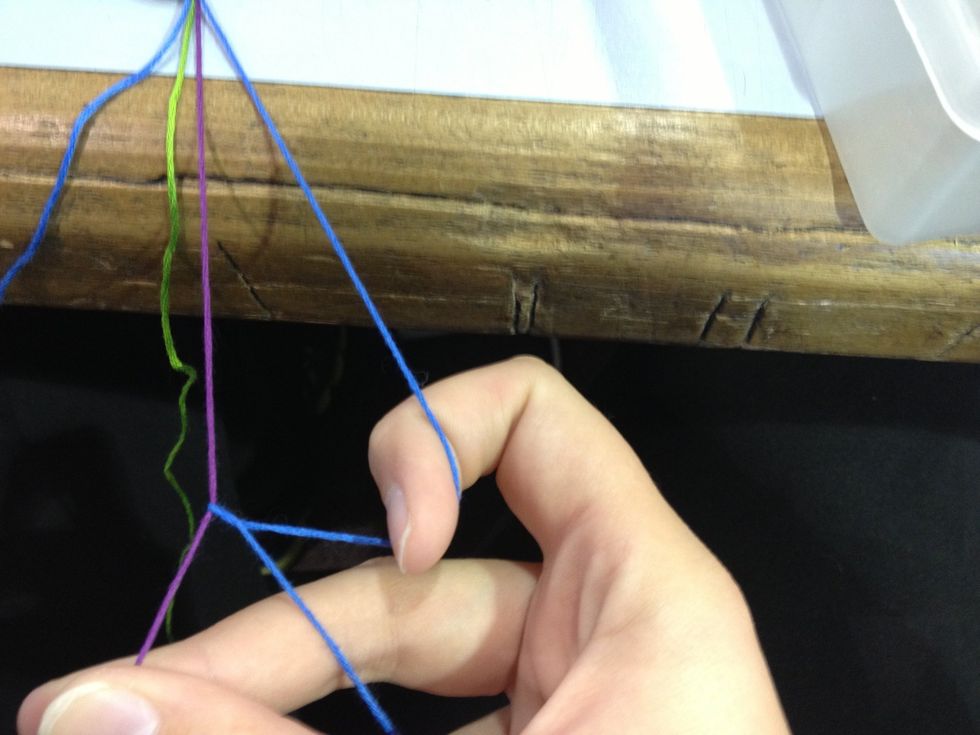
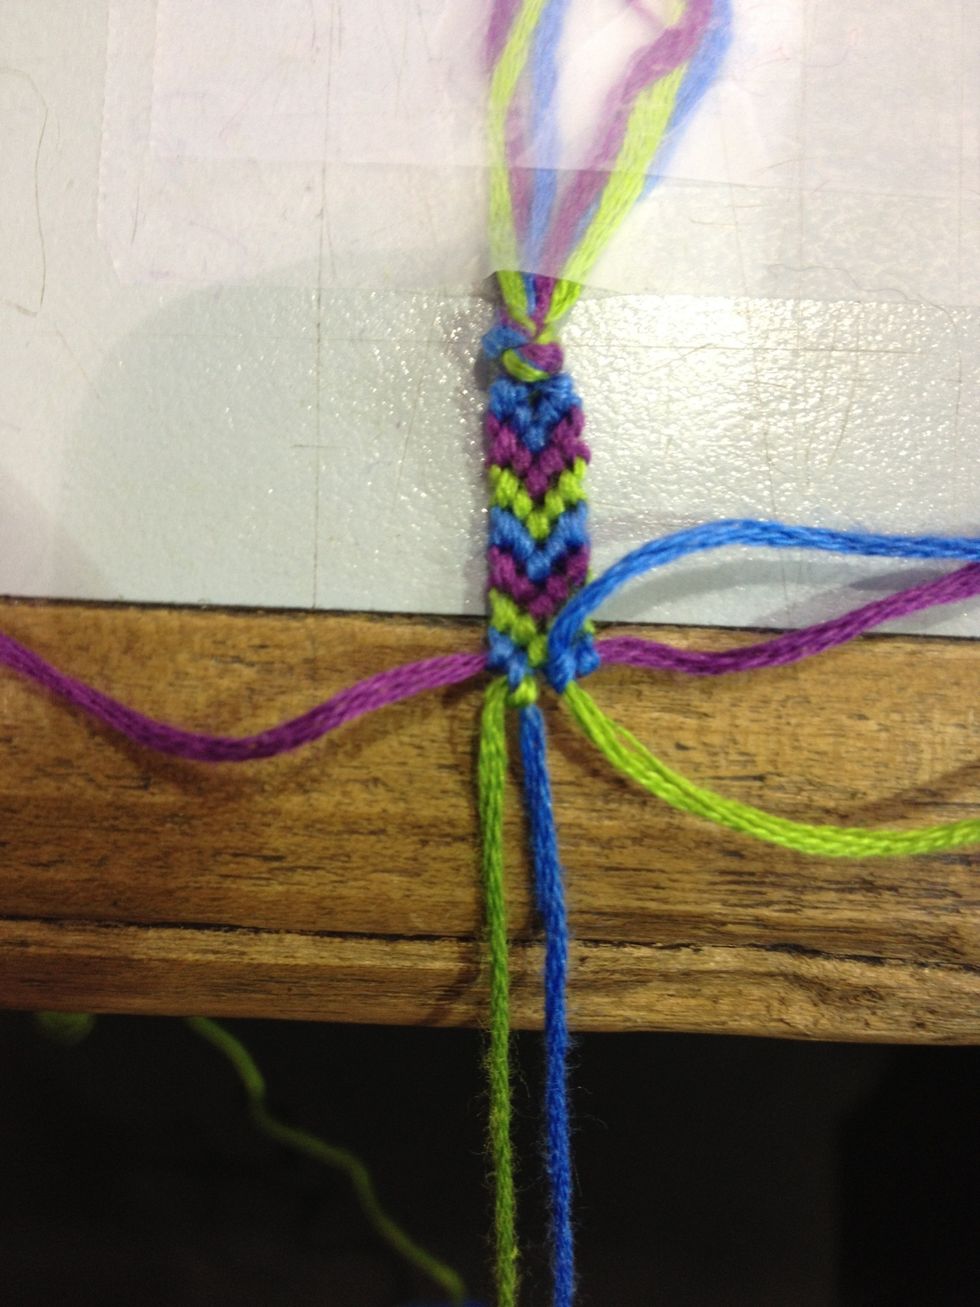
I always start on the left hand side but you can start on the right. If you start on the left: make a 4 by taking the outside string and place it over the string next to it.
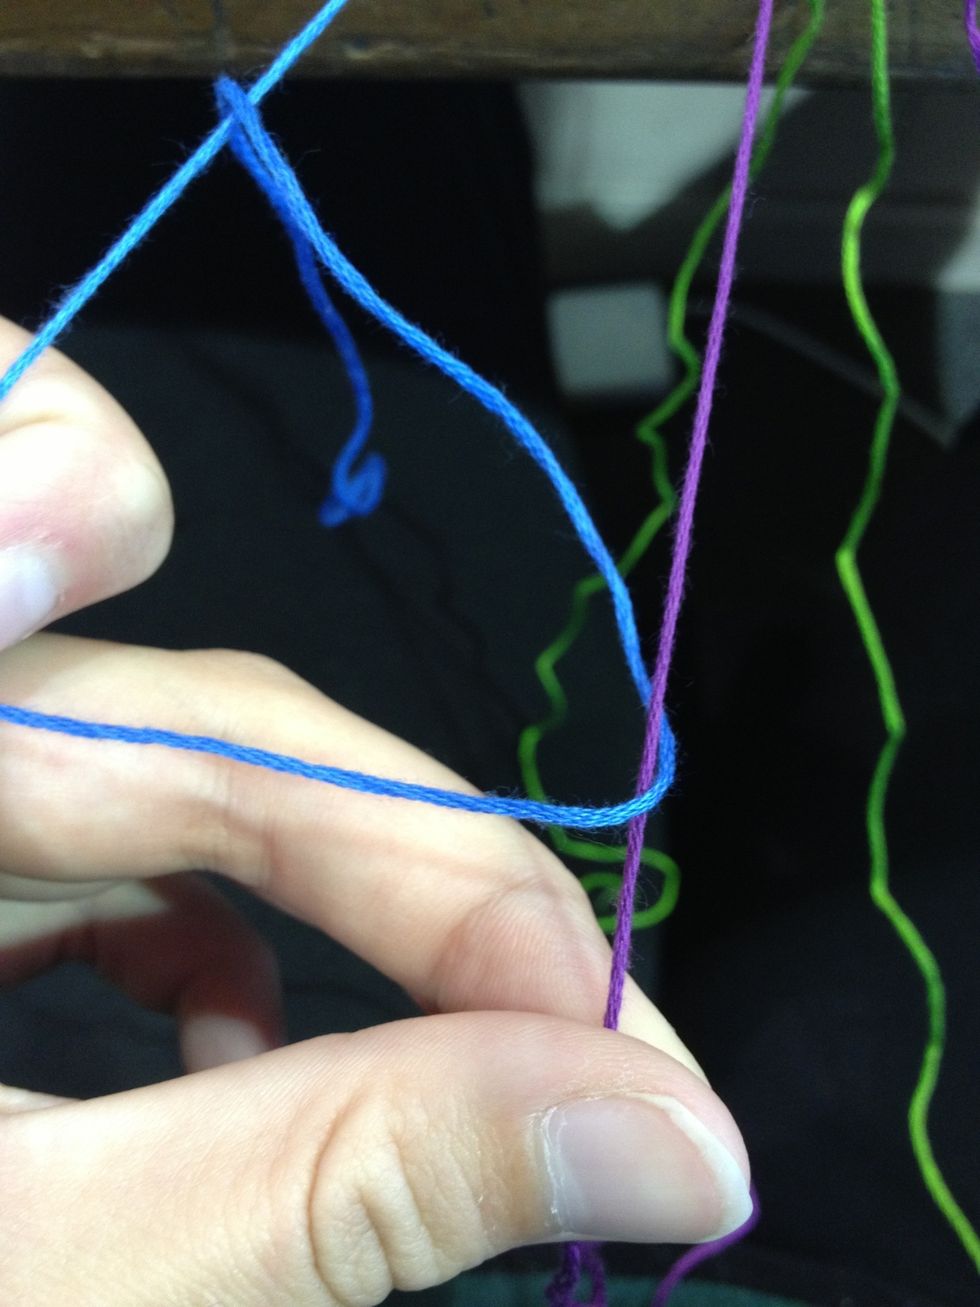
Pull the end of the outside string through the loop and pull tight! I like to make my knots really tight but it's your preference. You make two knots like this per string. Remember: OVER AND THROUGH!
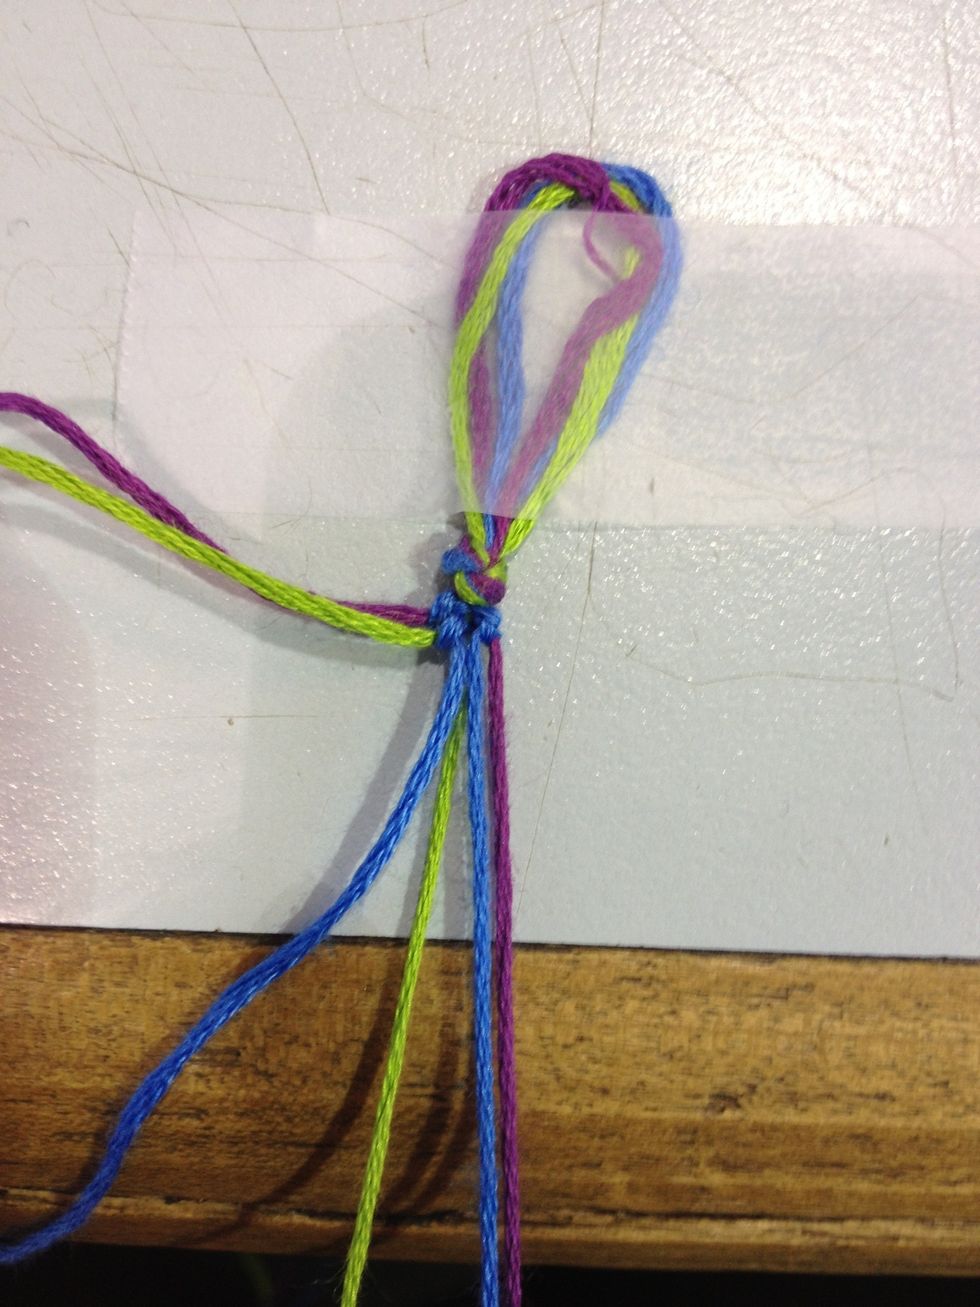
It should look like this! Now take the string you just tied the knots on (so for me it'd be the purple one) and put it aside and move on to the next one. Repeat the previous steps!
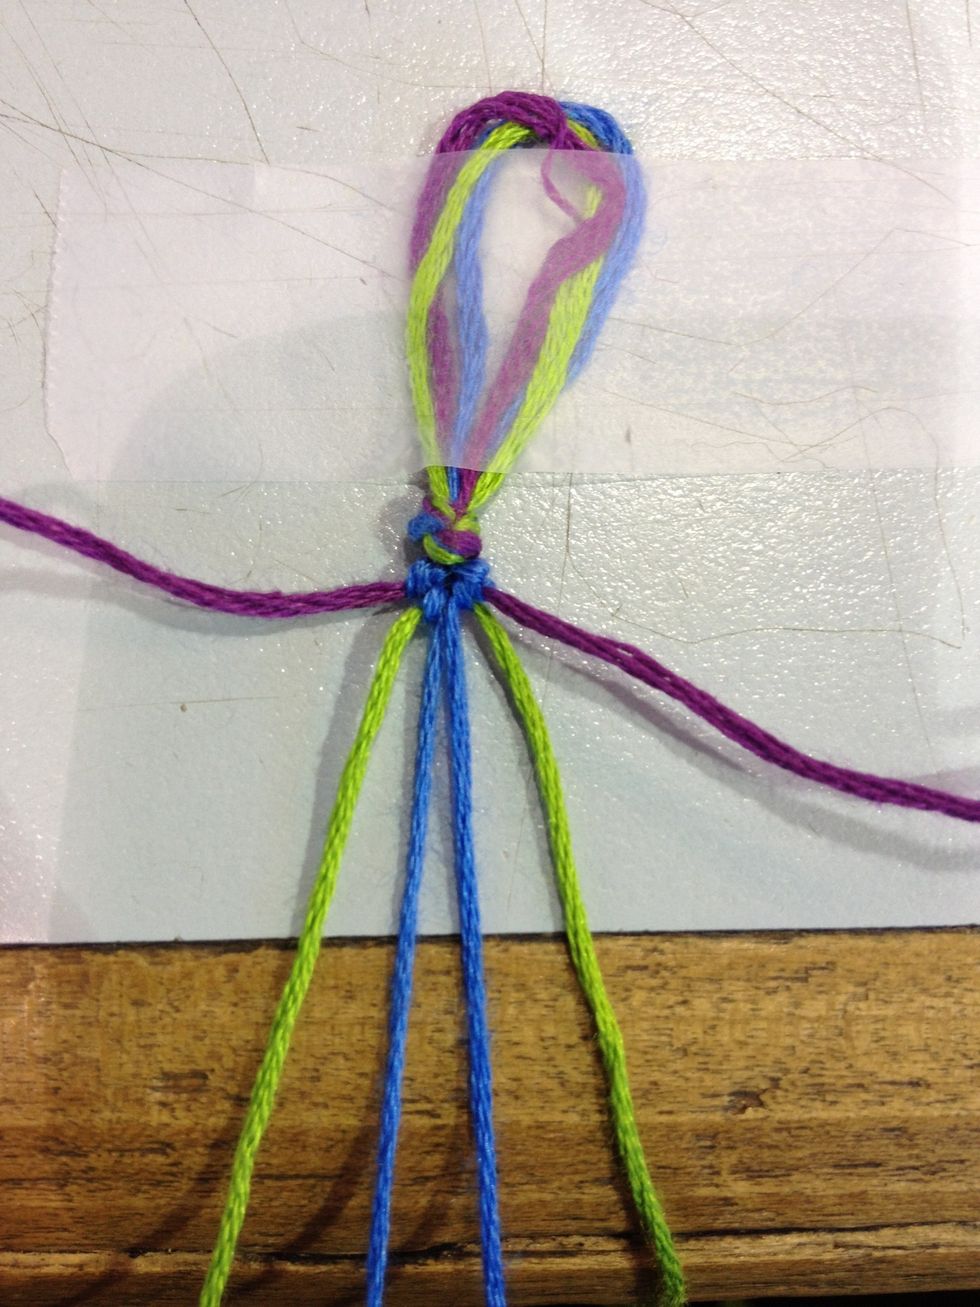
For the right side of the V you're going to make a backwards 4. Remember you want to go over the string next to it and through the hole: over and through!
Make 2 knots just like before! Now move on to the next string so for me I'd put the purple aside and move on to the green.
Now you're onto the middle. You take either string and tie the 2 knots but make sure you tie the knots with the same string. I tend to take the right hand side and do the backward 4
Voila! Just keep repeating those steps over and over until it's long enough!
Note how the green is poking through the blue, this shouldn't be. Ok so if this happens to you just pull the string that's poking through tight until the other string fixes itself!
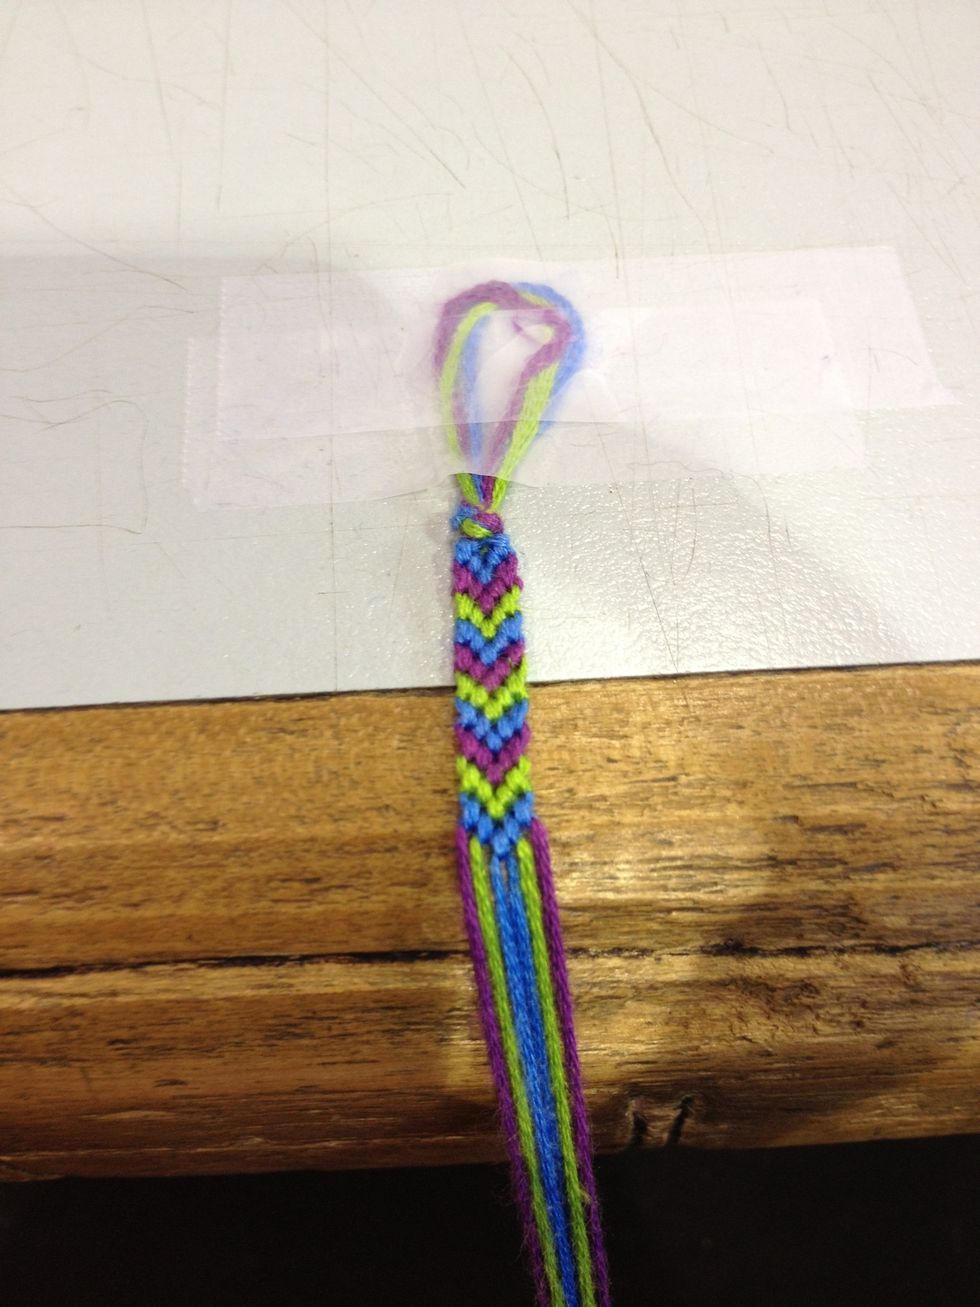
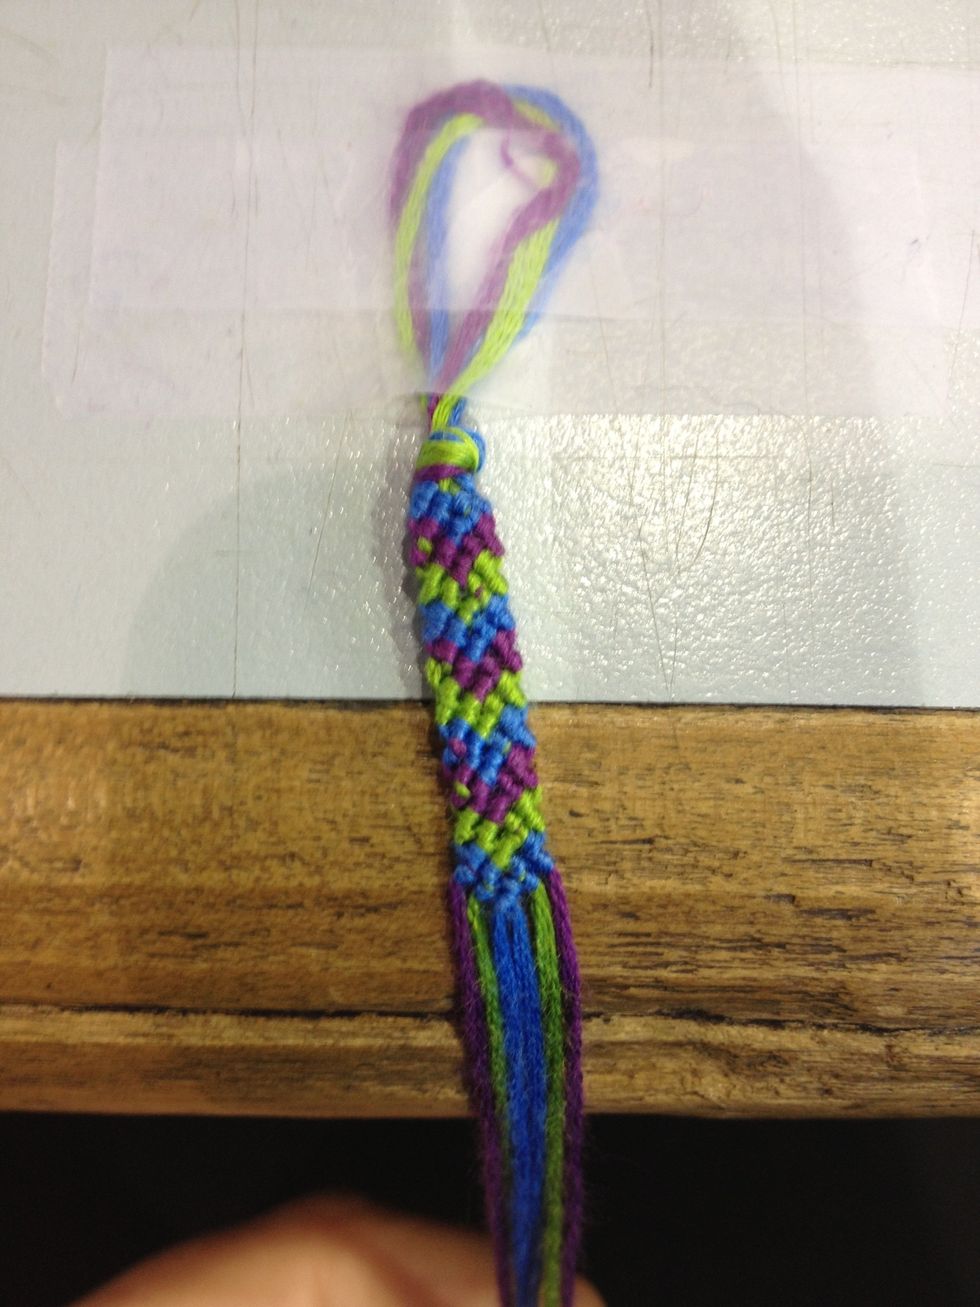
Ta-Da! This is how it should look if you've followed my directions. You can always untie a knot if it doesn't look like it's supposed to
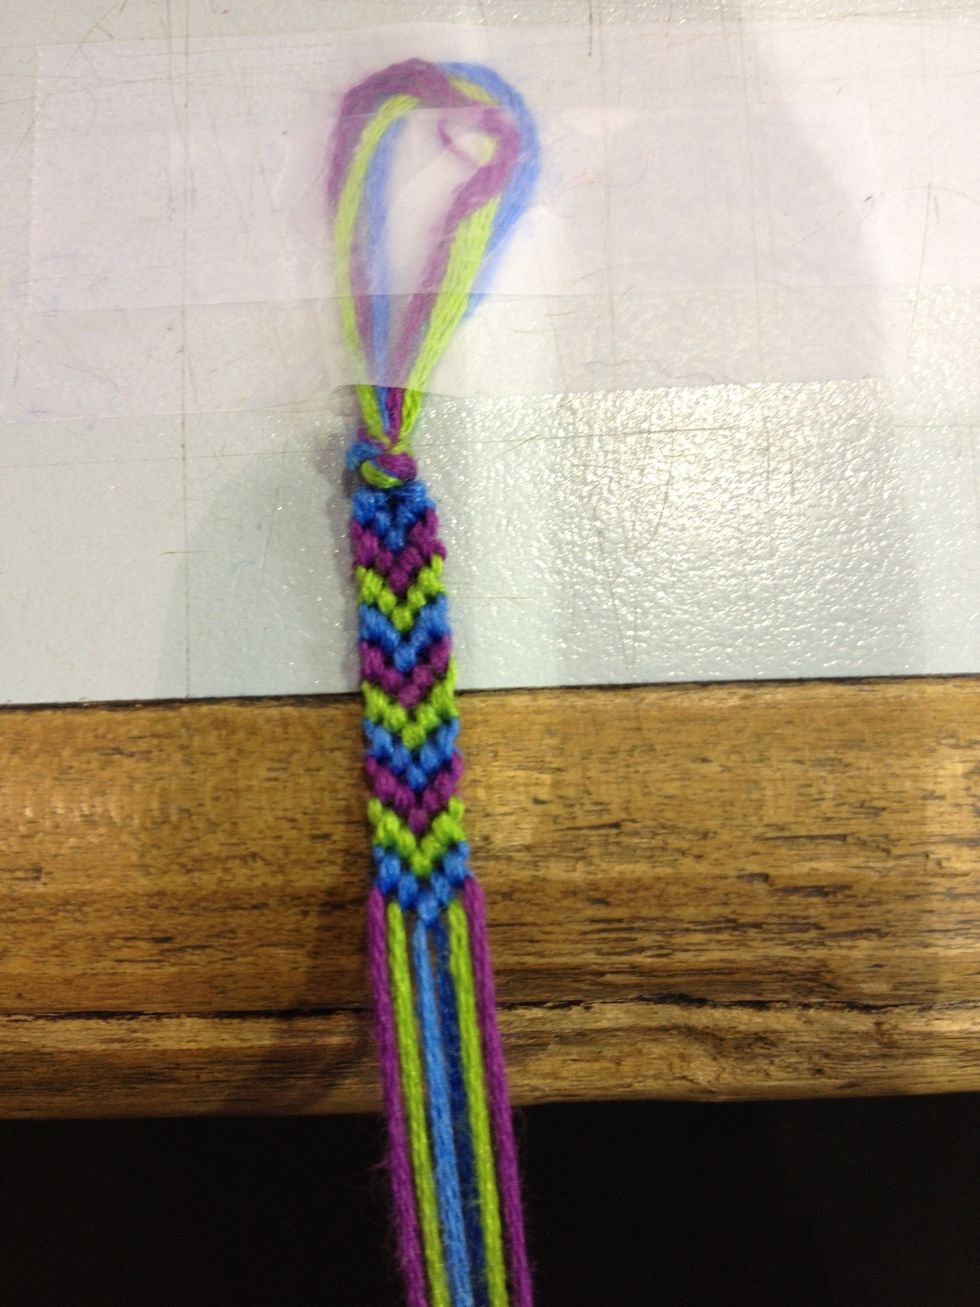
If you put the bracelet/anklet aside to work on for later, make sure you continue work with this side up! See next picture to see wrong side up!
I call this the ugly side. Not because it's ugly per say, just doesn't look as neat as the correct side :)
When it's long enough, take off the tape (or take off the safety pin) and have someone tie the bracelet on for you! I like to do a square knot (right over left, left over right) through the loop!