The Conversation (0)
Sign Up
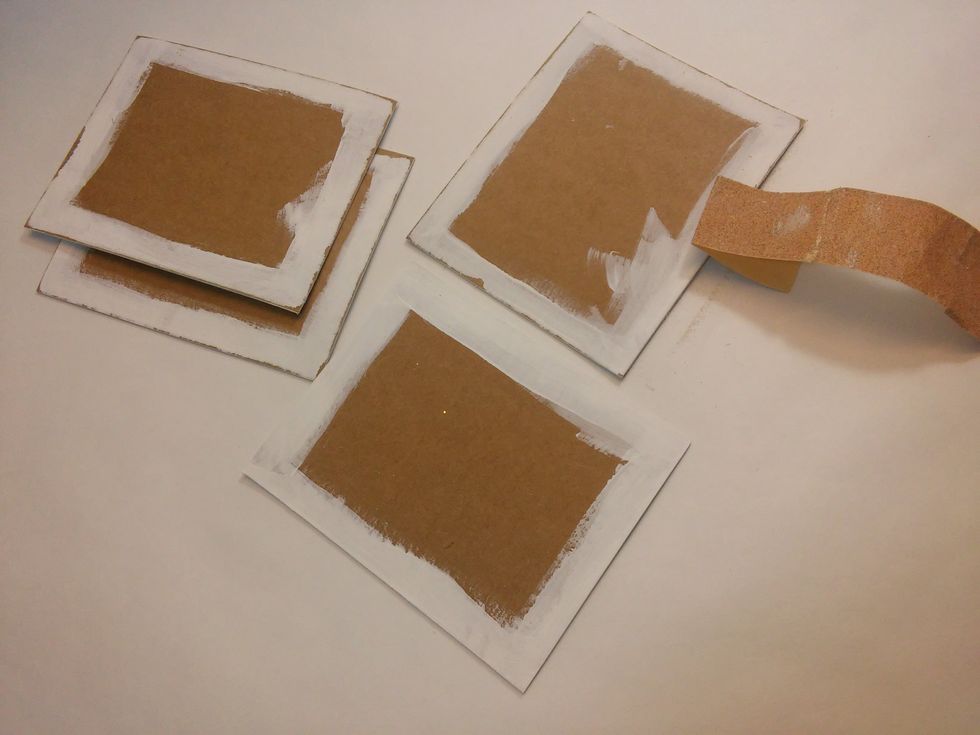
First I painted the edges of my chipboard pages with gesso. Then sanded a little on each edge, just to get the brown chipboard color to come back through.
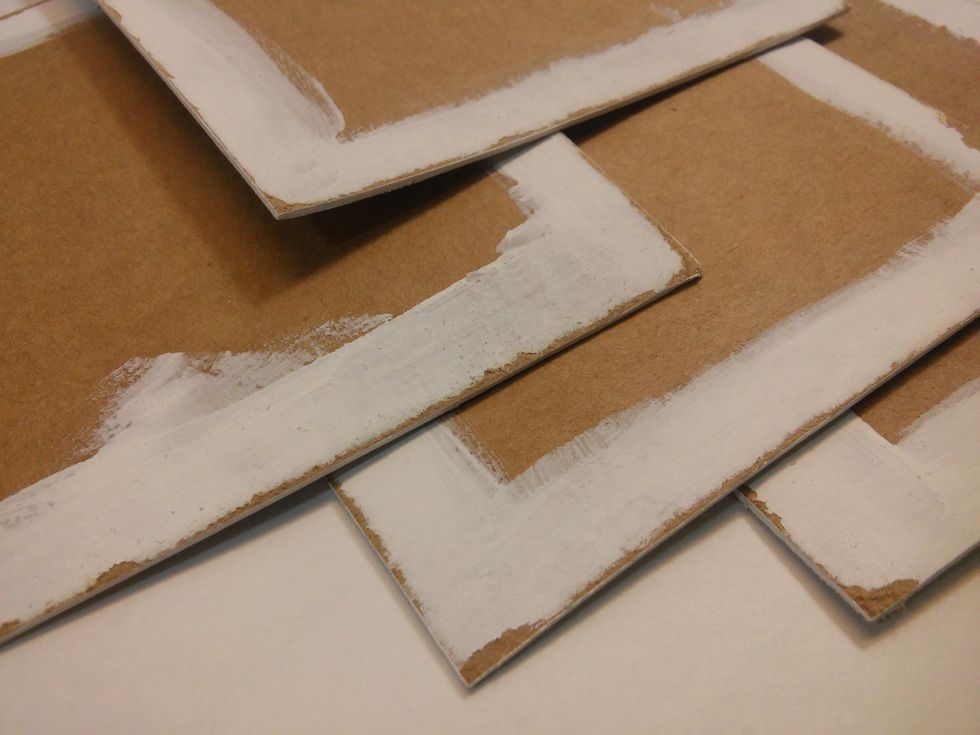
Love how this looks!
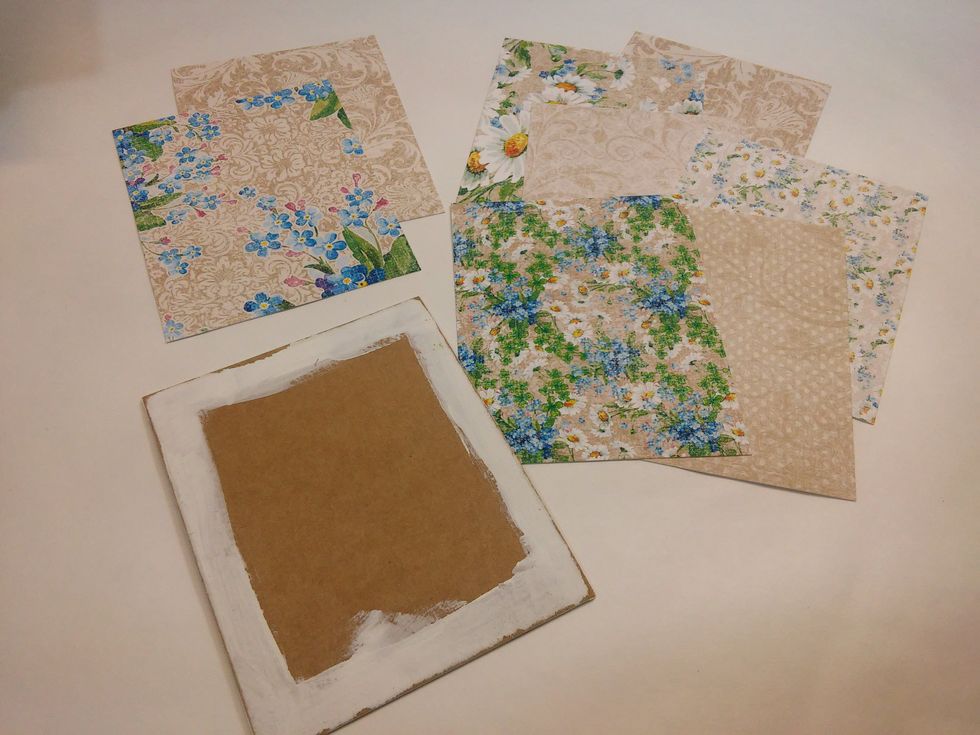
Next I chose and cut a few pieces of patterned paper for each page, leaving about 1/8 of an inch all around so the worn edges were visible.
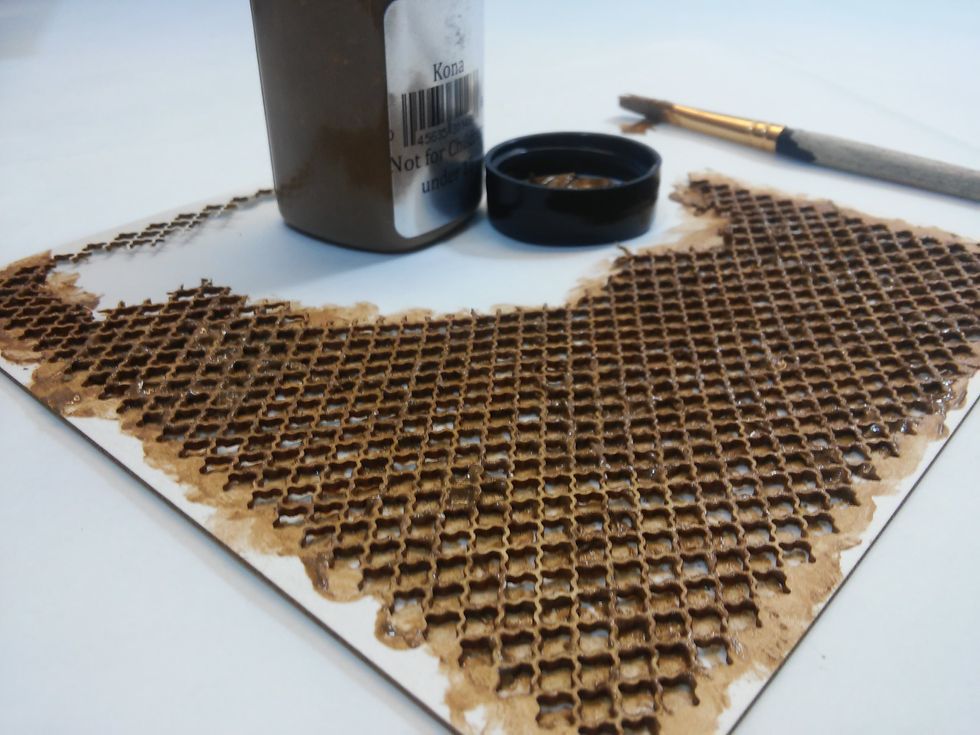
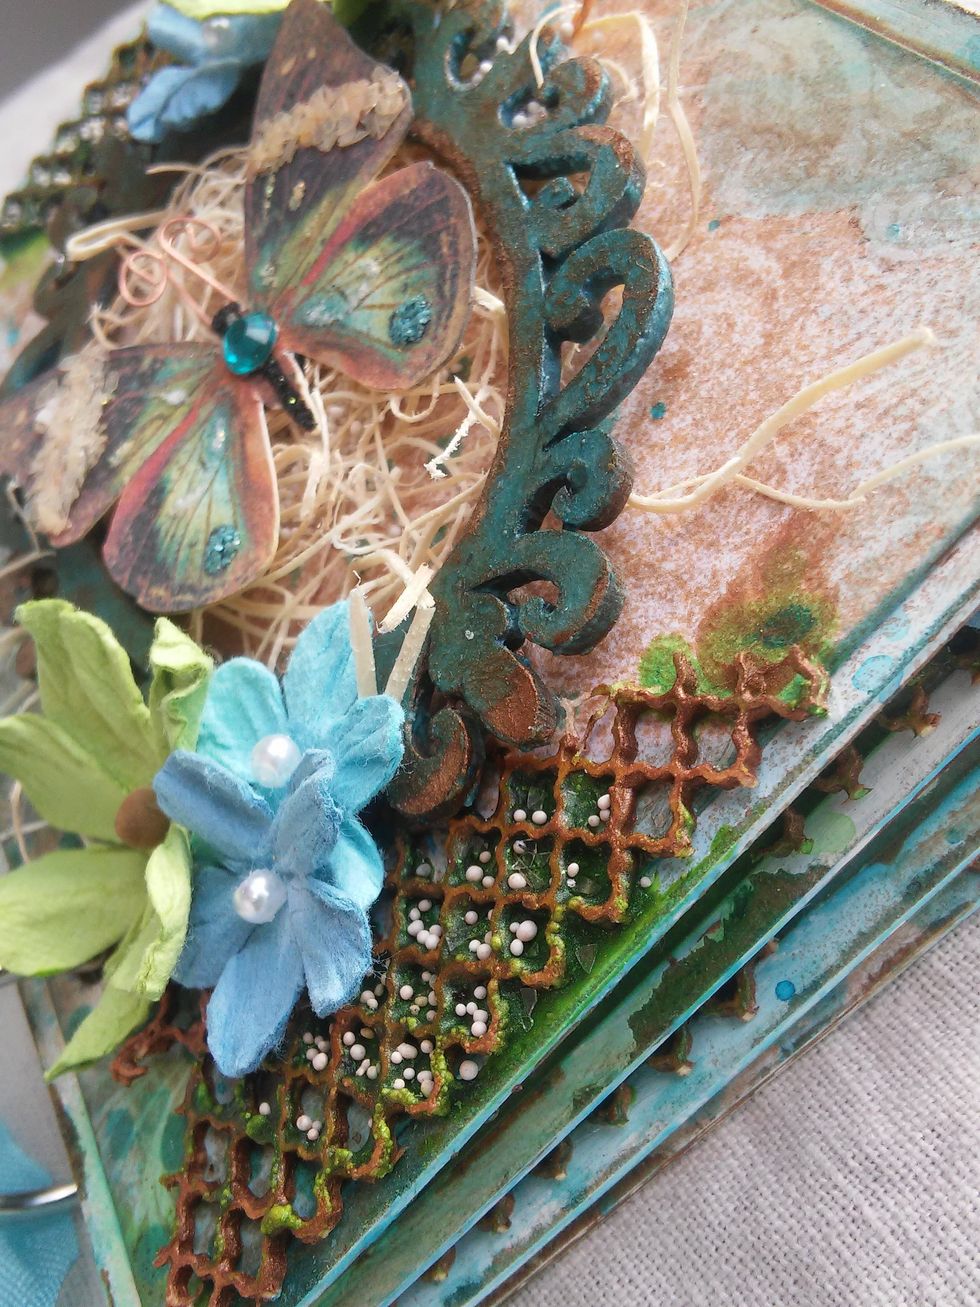
On some mesh chipboard, I put a heavy coat of Kona Dimensional paint and let it dry.

I love to ink the edges of my albums and papers with ink to give them a nice uniform worn look.

Next I used a sponge dauber to apply some Panache Minx Shimmering Inks to the very edge of the patterned papers.
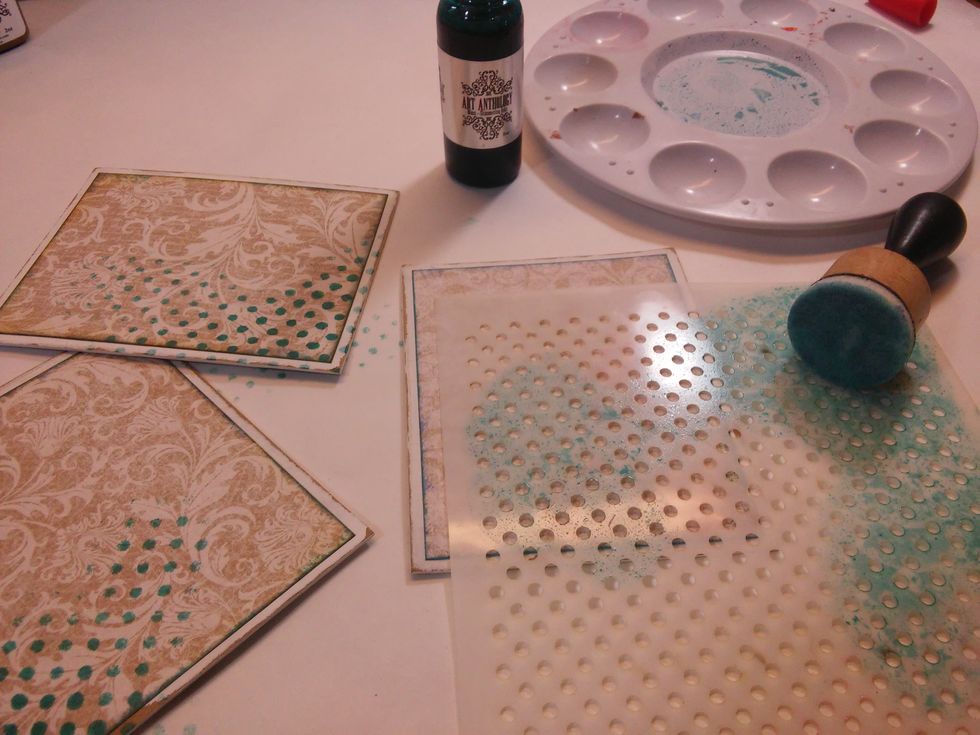
And used the Stencil to add a little interest to the pages.
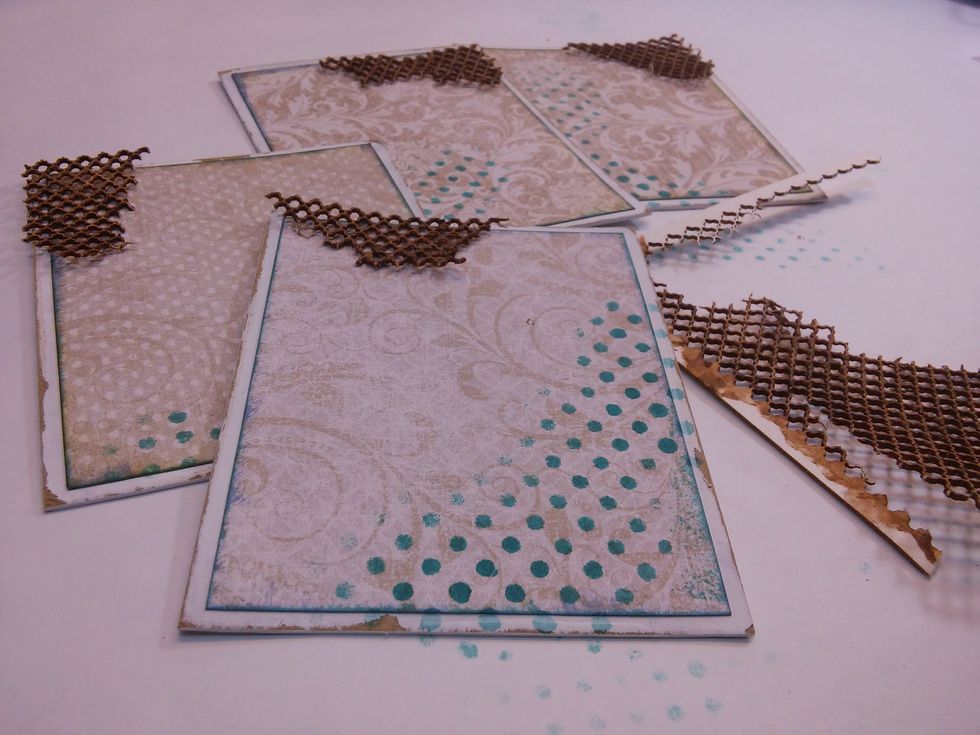
Now I've torn pieces of the chipboard mesh to adorn a corner or two on the pages. :)
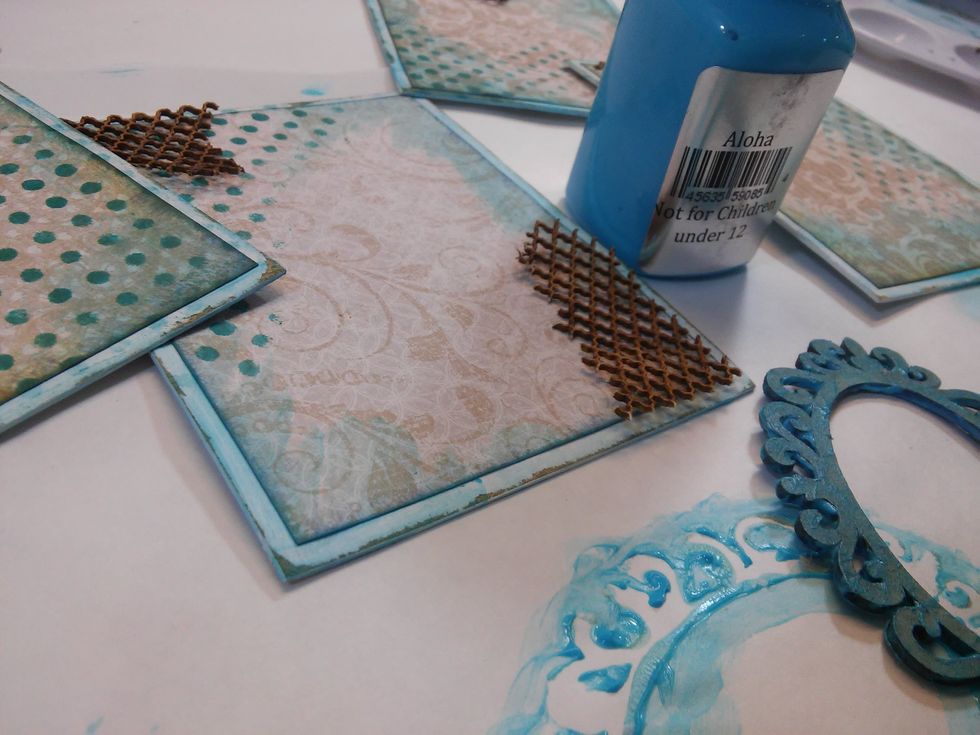
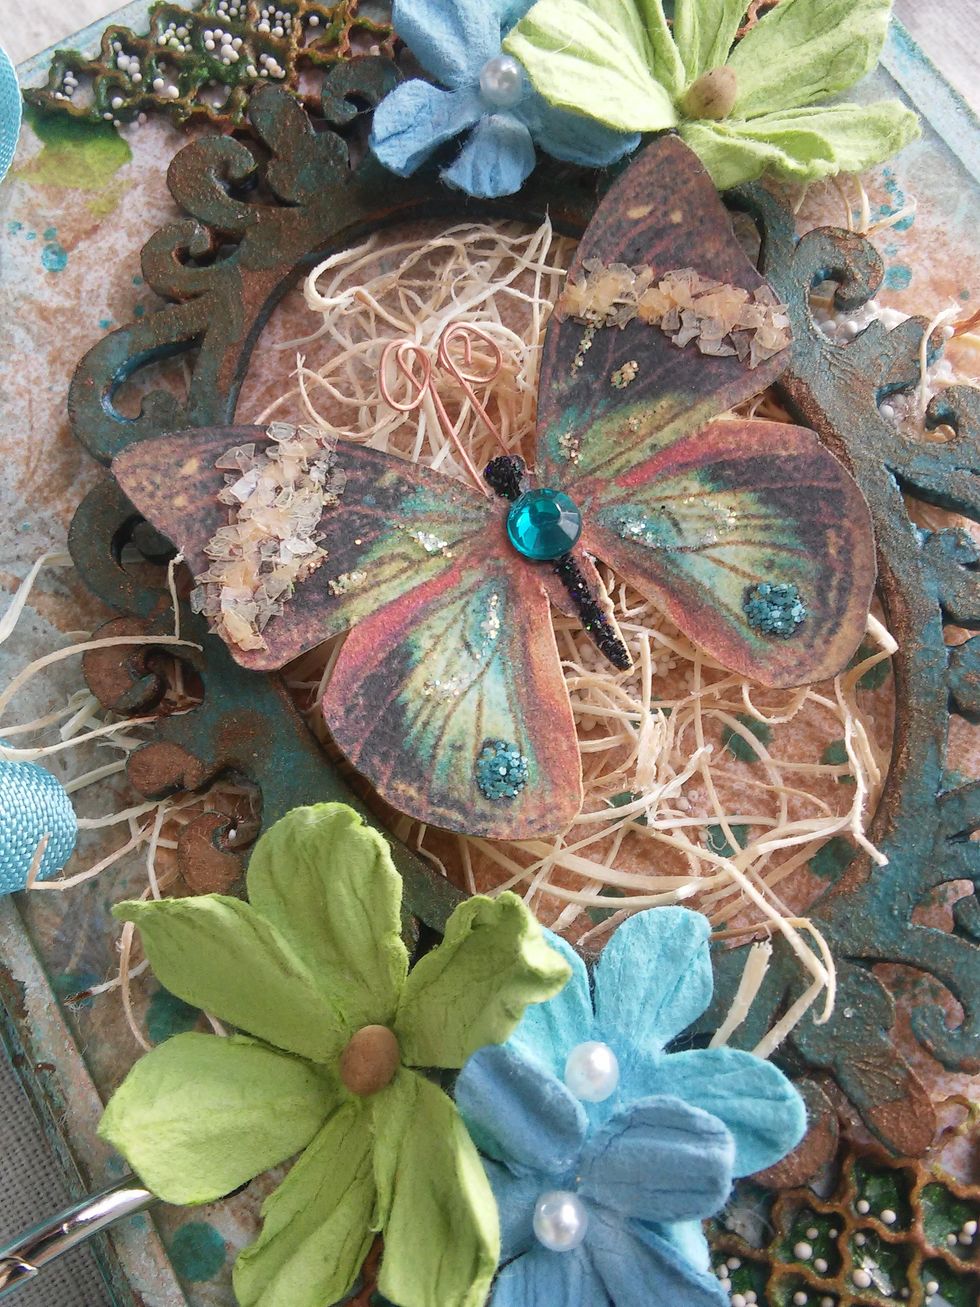
Using the tip of my finger a used Aloha Velvet Paint to just barely turn the color on the page edges. With a paint brush I also painted a chipboard scroll oval frame that with adorn the front cover.
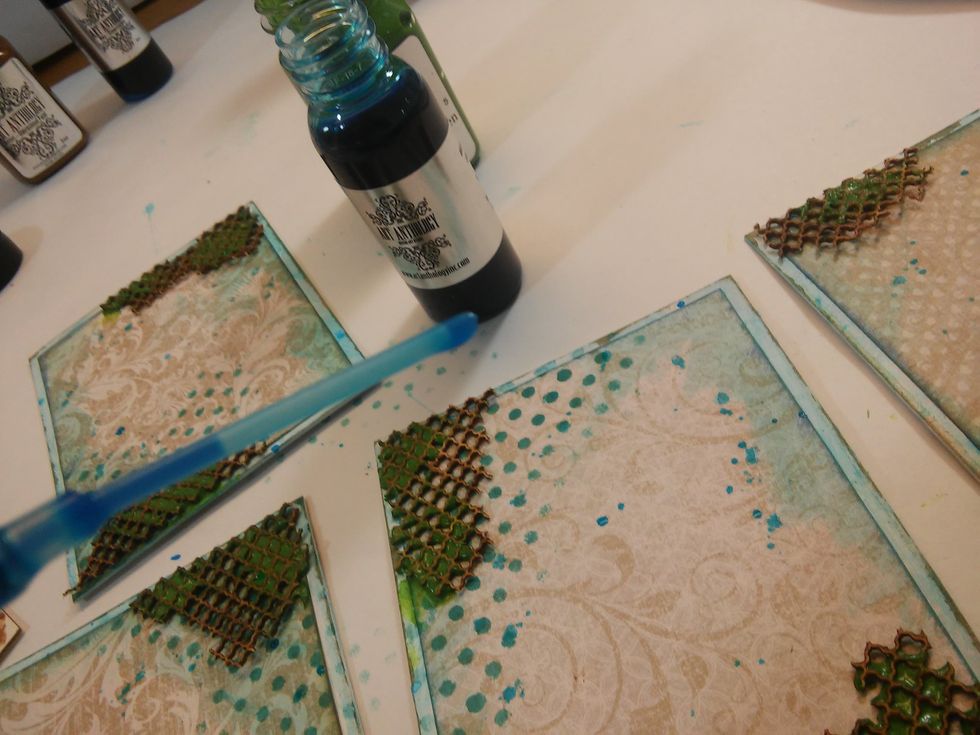
Now I used the inner straw on my Siesta Key Spray for a few flicks of color. Then w/ just the tip of my finger again, I rubbed some Shamrock Paint into the areas of mesh. It looks kind of mossy. :)
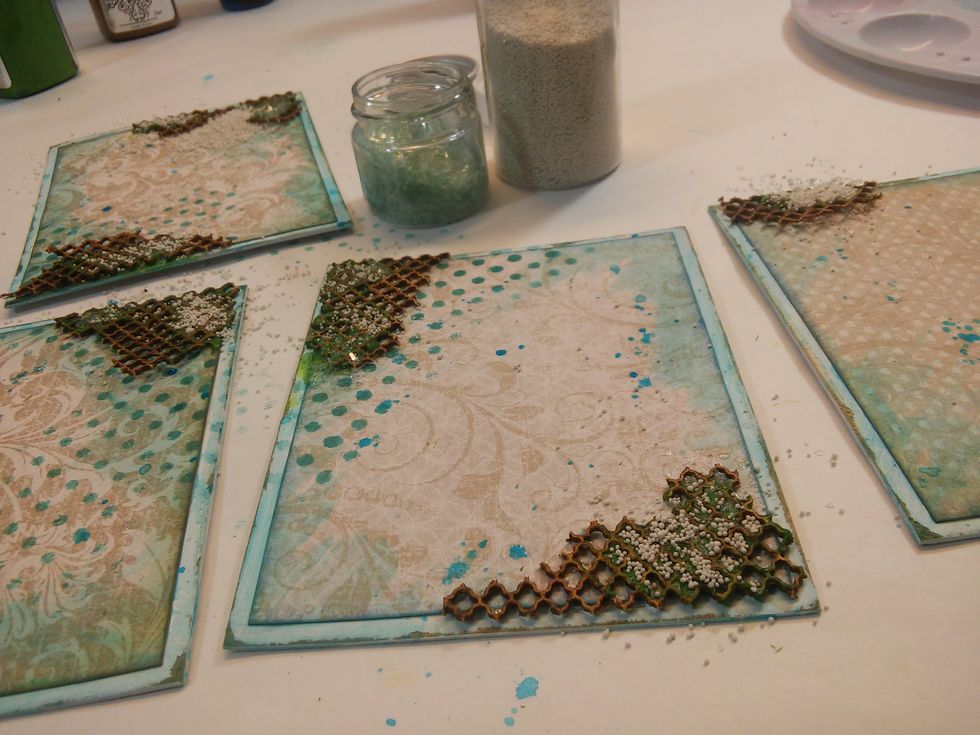
Now while the Shamrock paint is still wet, I put a dusting of glass glitter and micro beads in some of the mesh, trying not to cover all the paint.
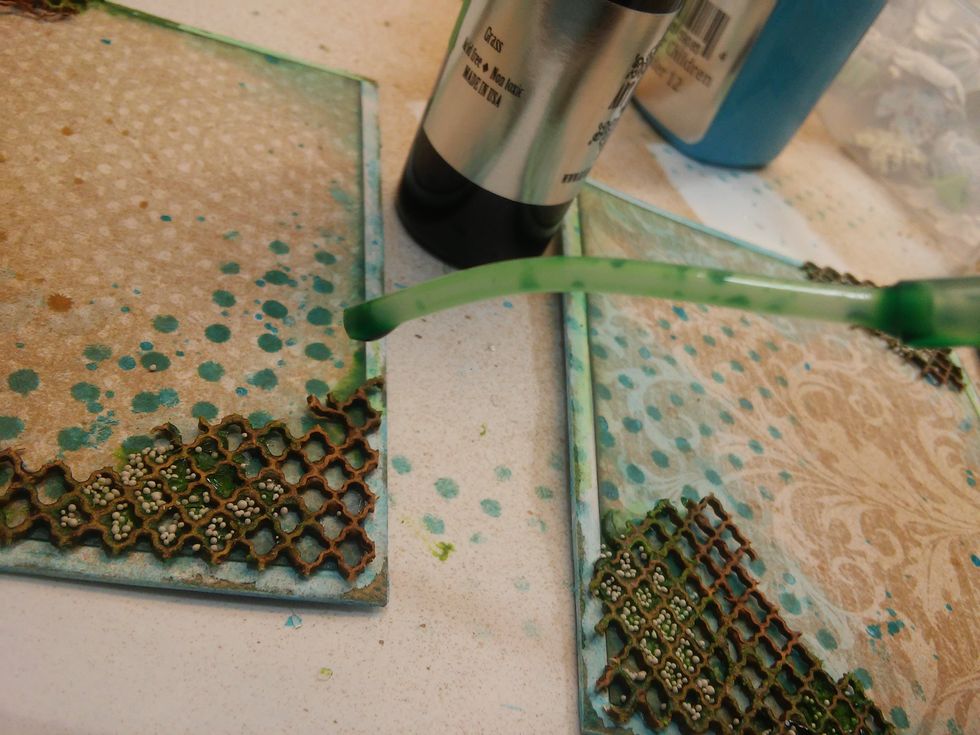
Still wanting more green within the mesh I used the staw in my Grass Colorations Spray to drip a little more green in.

NOw more sanding! Just a little around the edges of the frame.
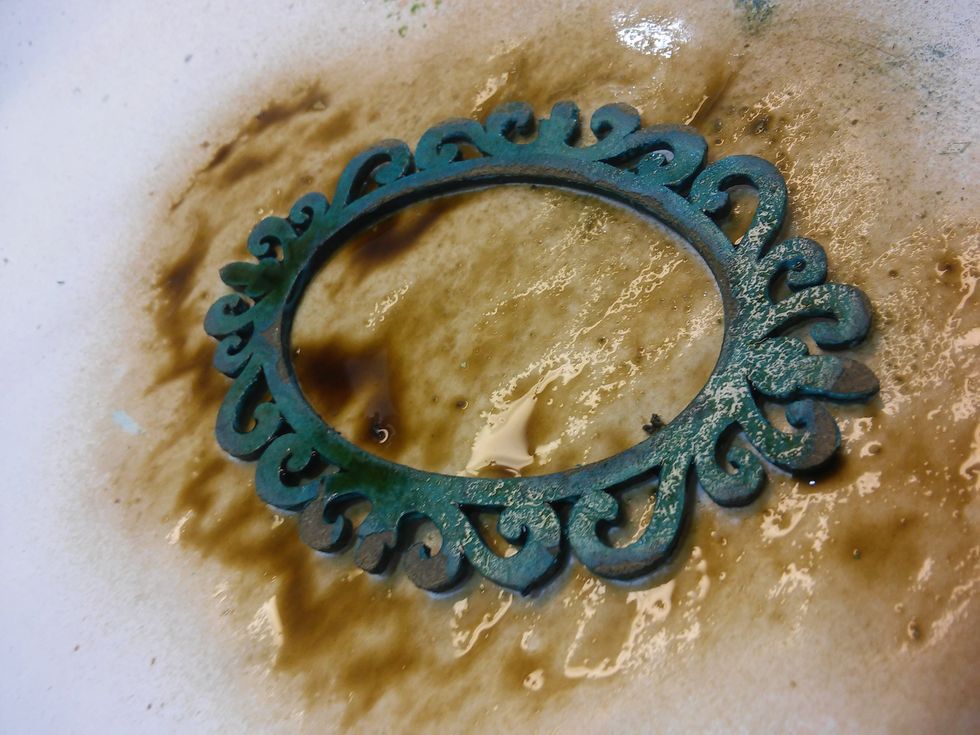
Now cover it with a nice coat of French Toast Colorations Spray, and those sanded spots suck it right up.
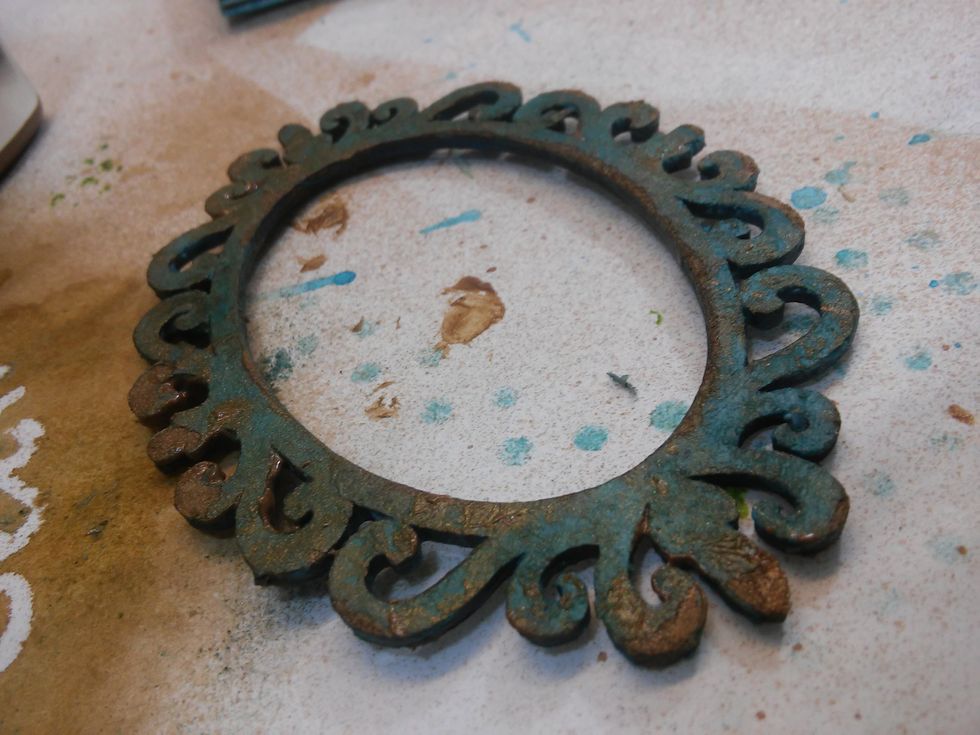
Gorgeous effect.
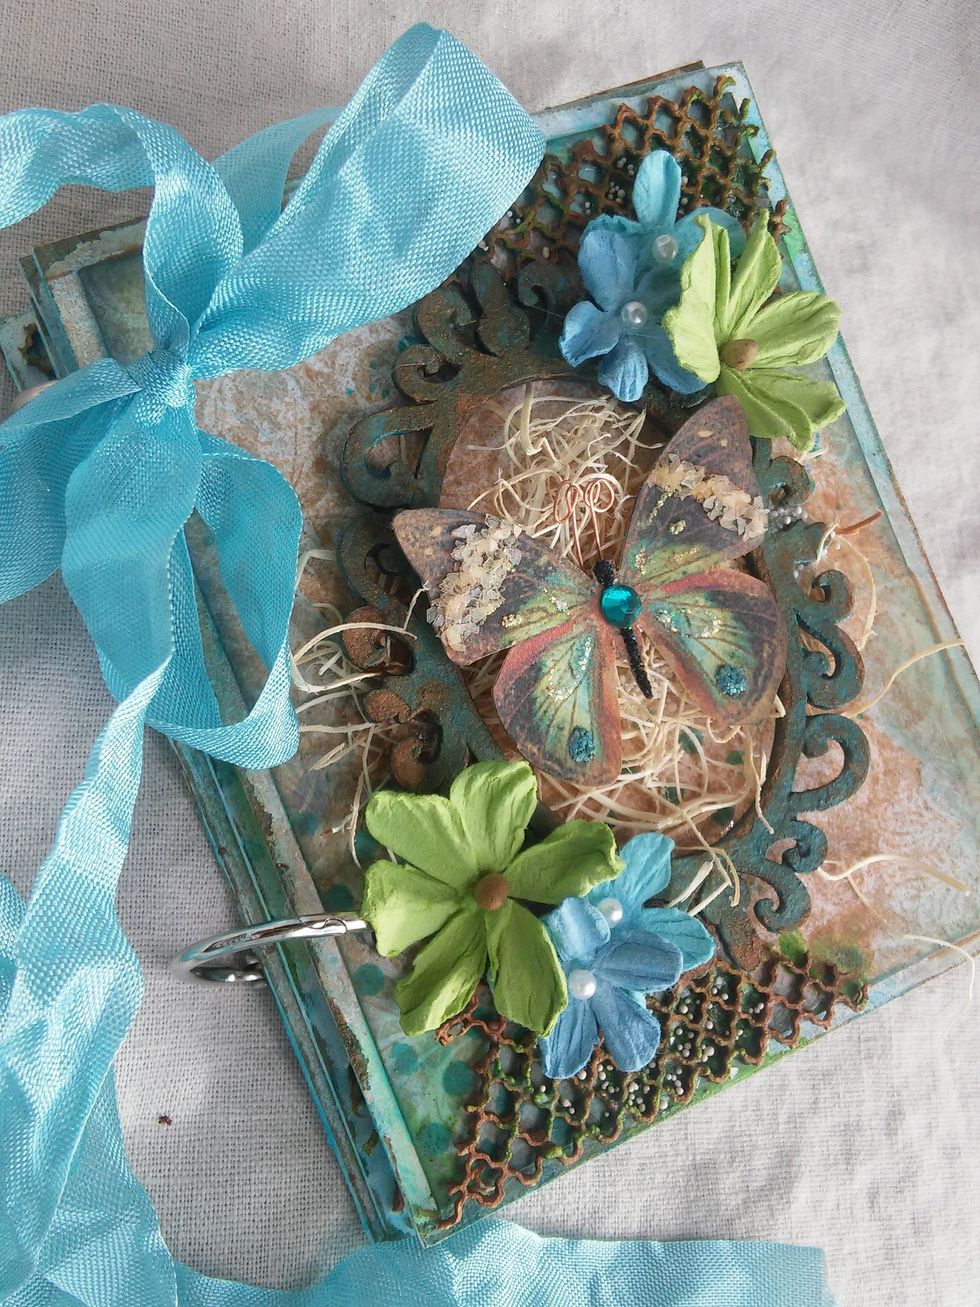
Rustic perfection.
I hope I've inspired you to give your own mini album a try!