The Conversation (0)
Sign Up

Taking a flask to the next level usually means adding alcohol. If you have 1-hour and a favorite guy, you can use these simple materials to make him a leather adorned flask.

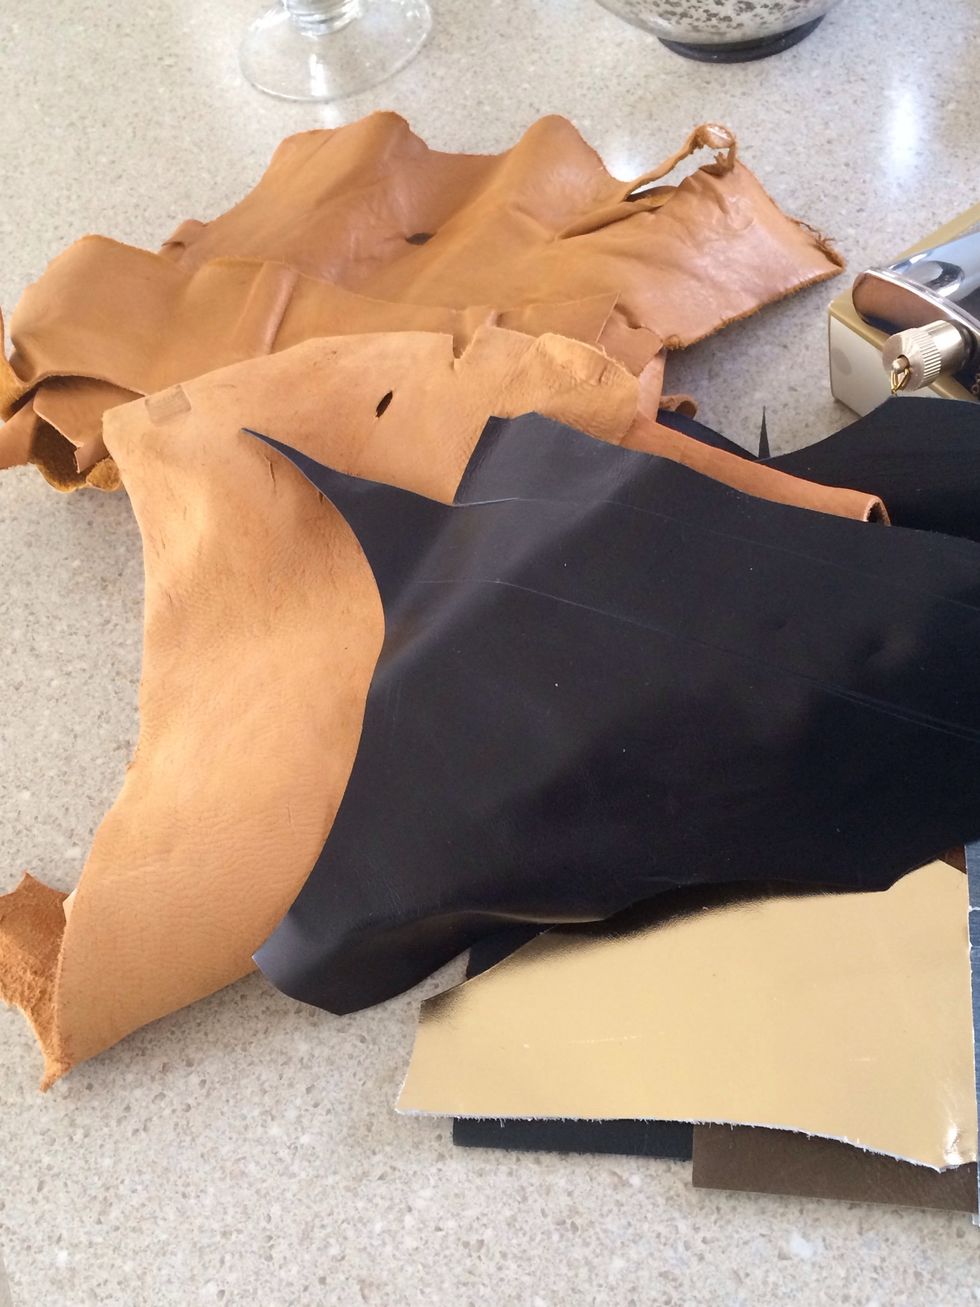
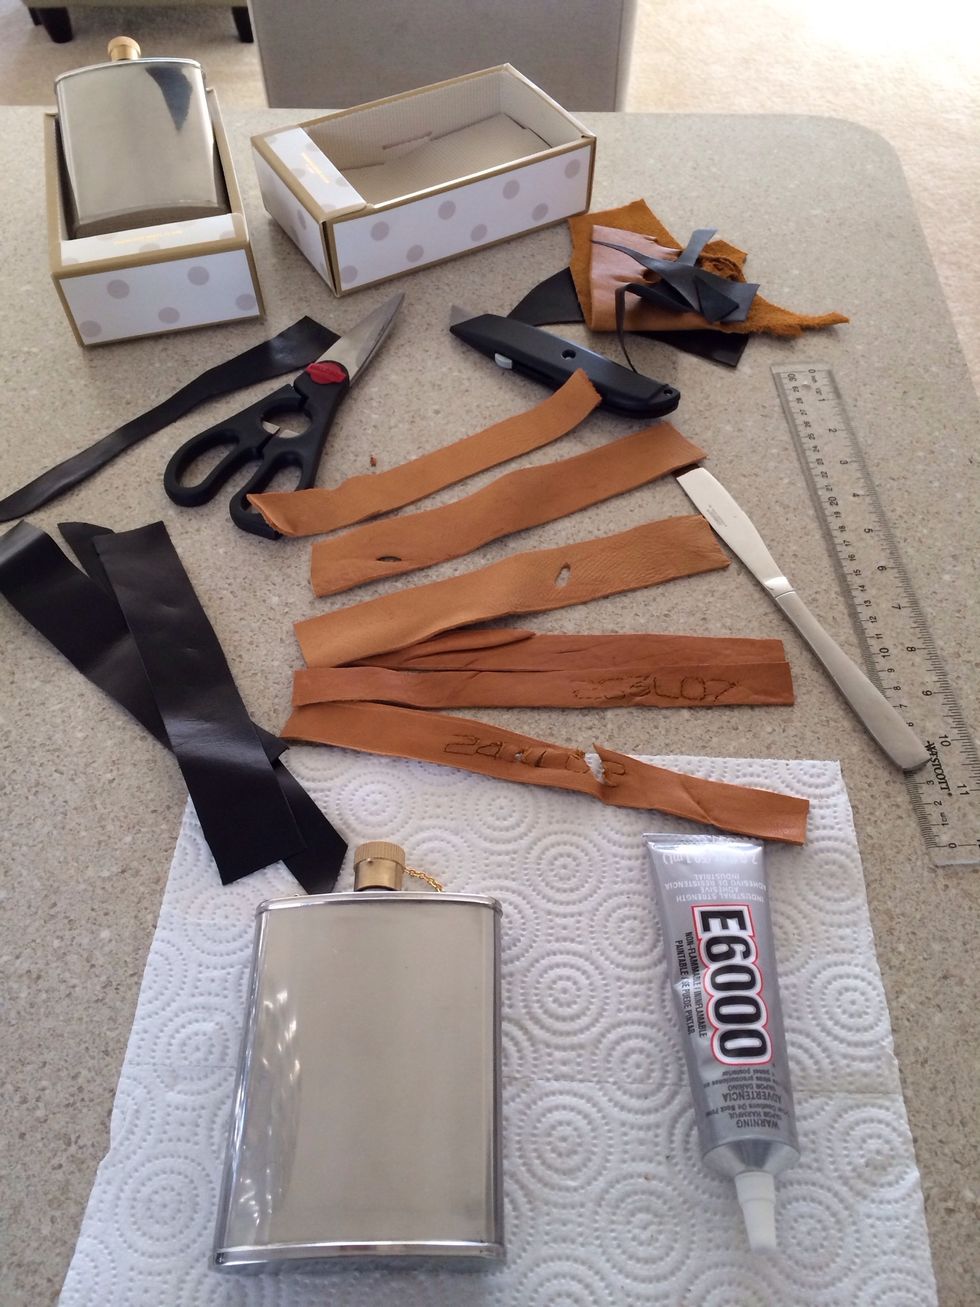
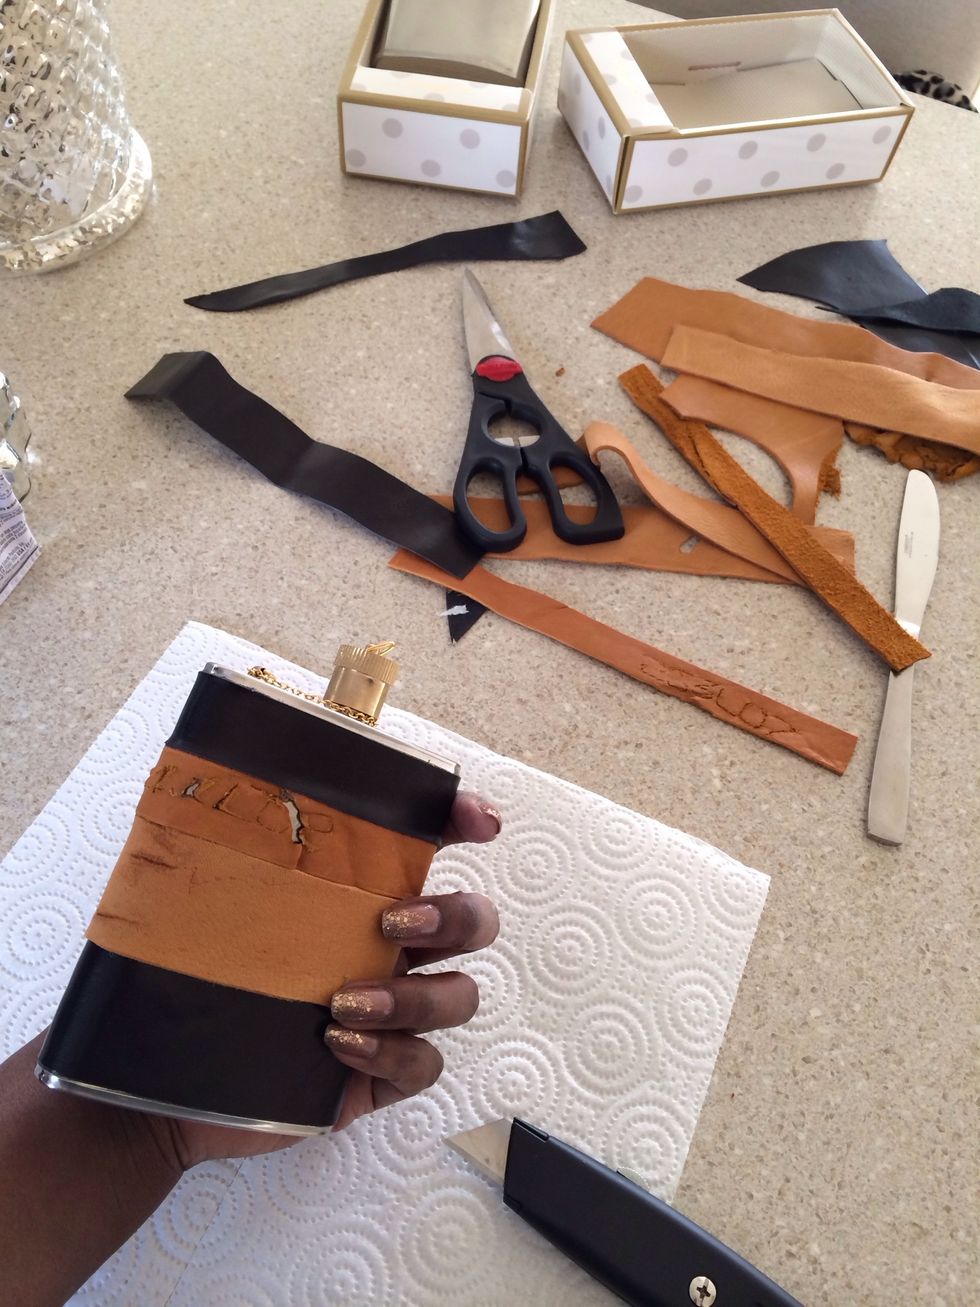
I ordered a bag of leather scraps online. You can also buy bags of leather at AC Moore. The leather is multi-sized and colored so you will have to measure your flask and plan strip sizes accordingly.
Here's a close-up of the leather to show how I scored before making a cut. This helps when cutting the soft leather. NOTE: leather may shift when dragging the knife so your line may not be straight.
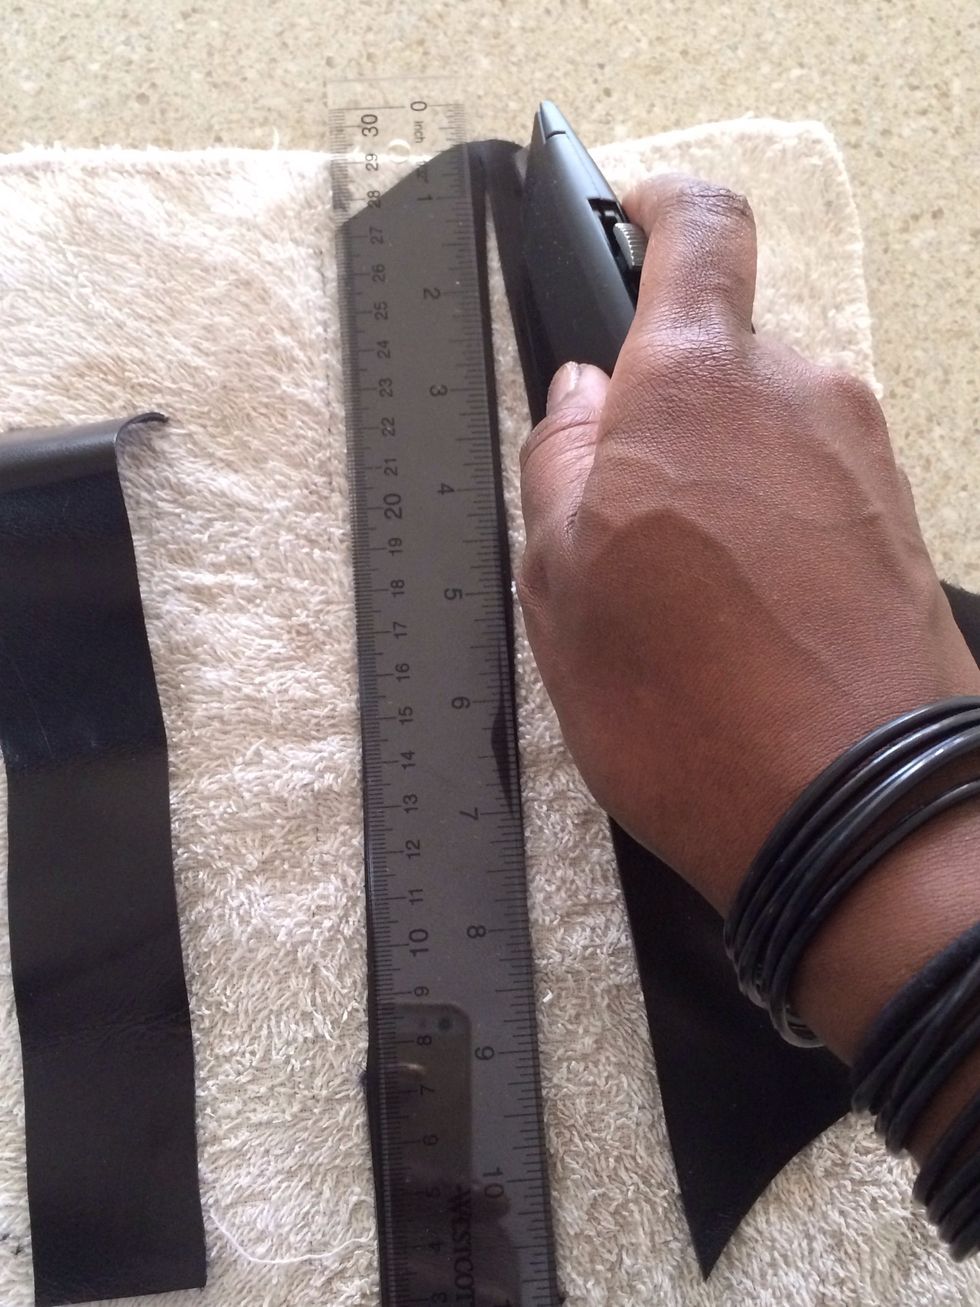
Use your sharp knife to cut along the scored line. Leather has different grades. This black, tough leather, was easy to cut. The lighter (tan) leather was soft which made it harder to handle and cut.
A bag of leather scraps is like a bag of hidden treasures. Look for unique markings on the leather pieces. Use this to make your flask one of a kind - work in cuts, imperfections, and stamps.

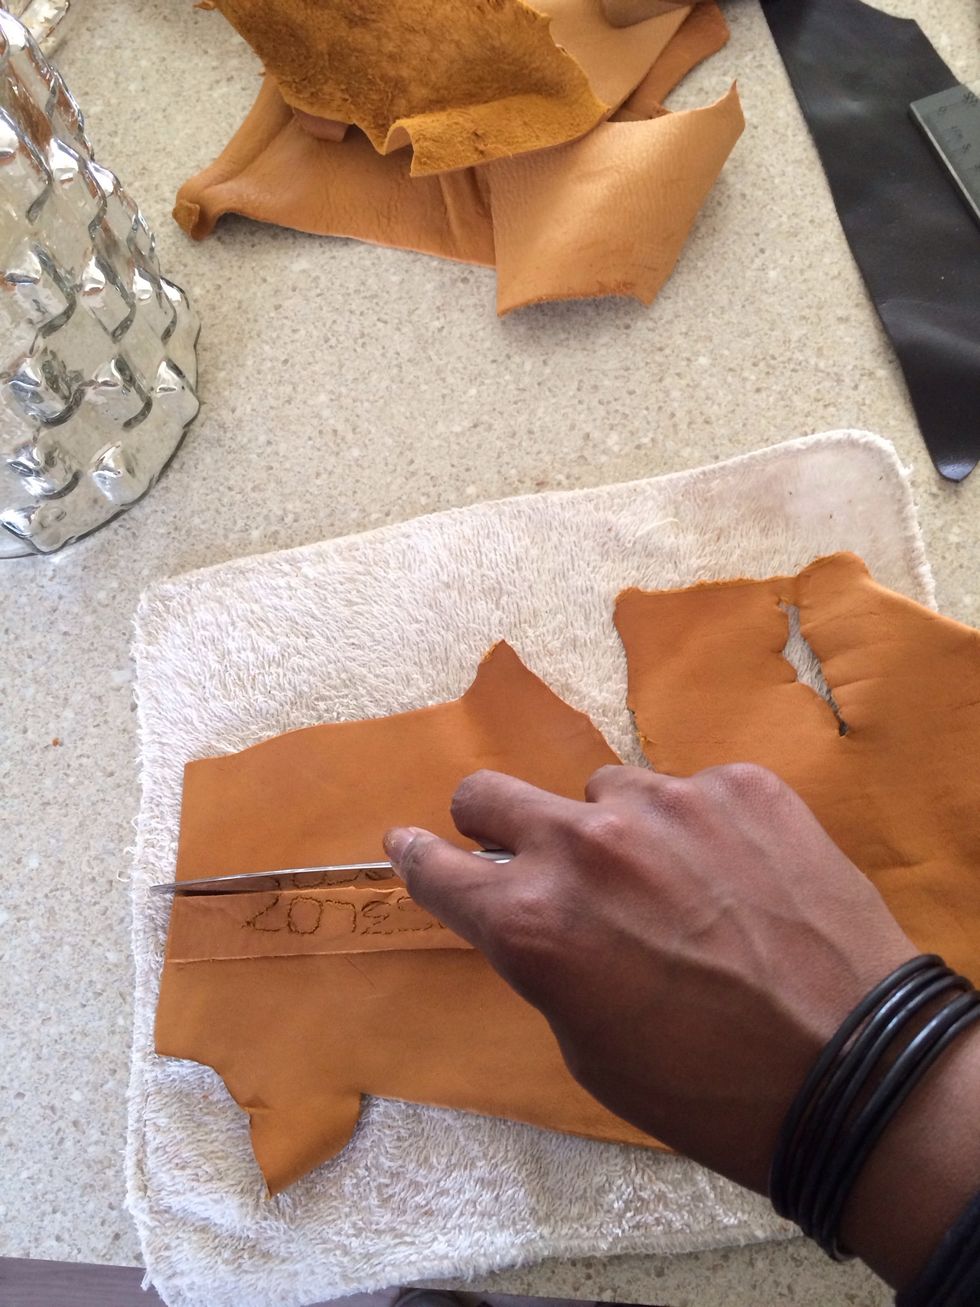
This bag included stamped out numbers and patterns which I cut into strips.
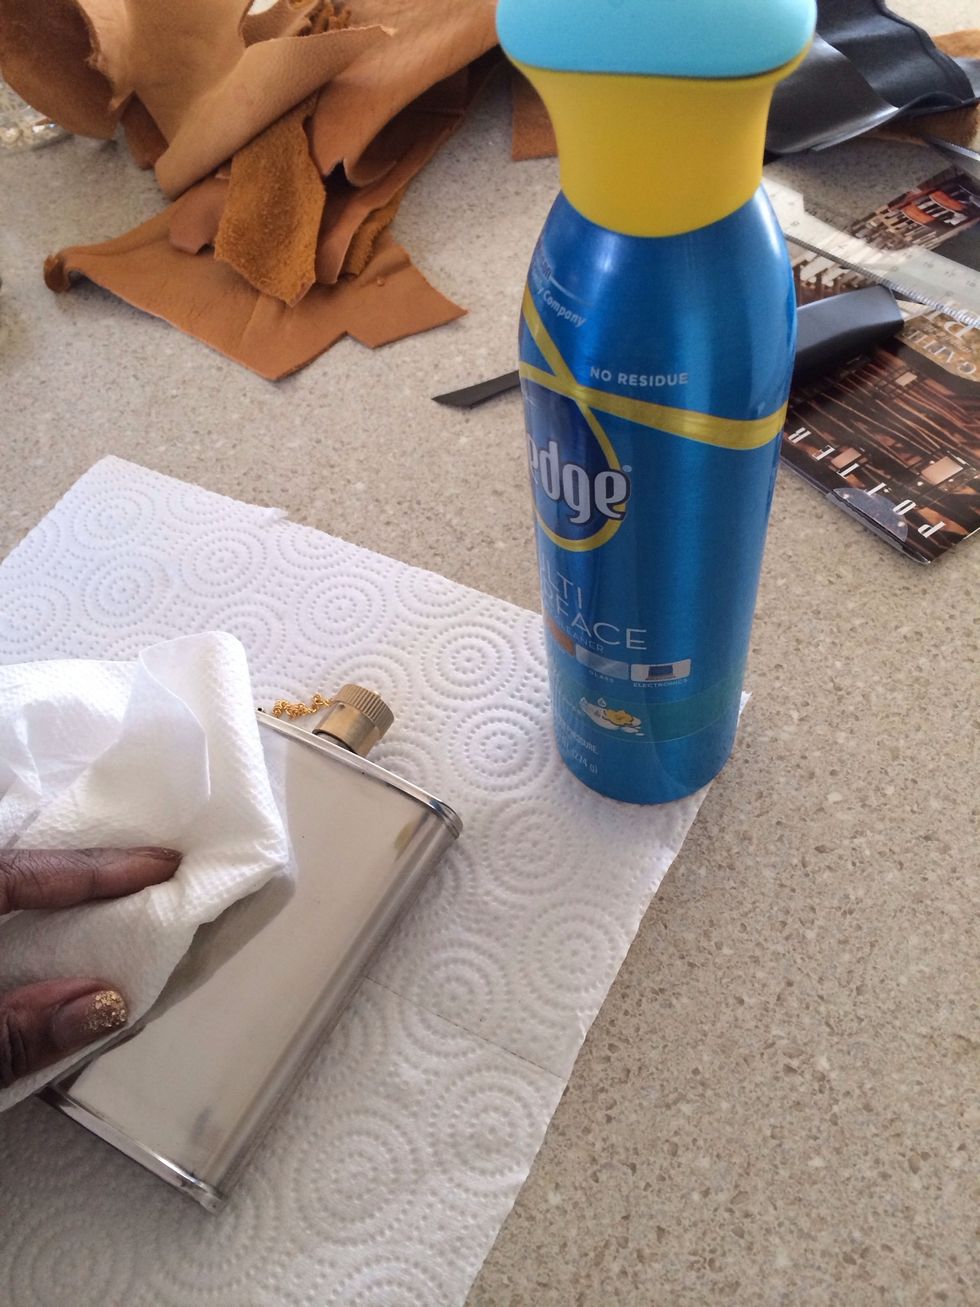
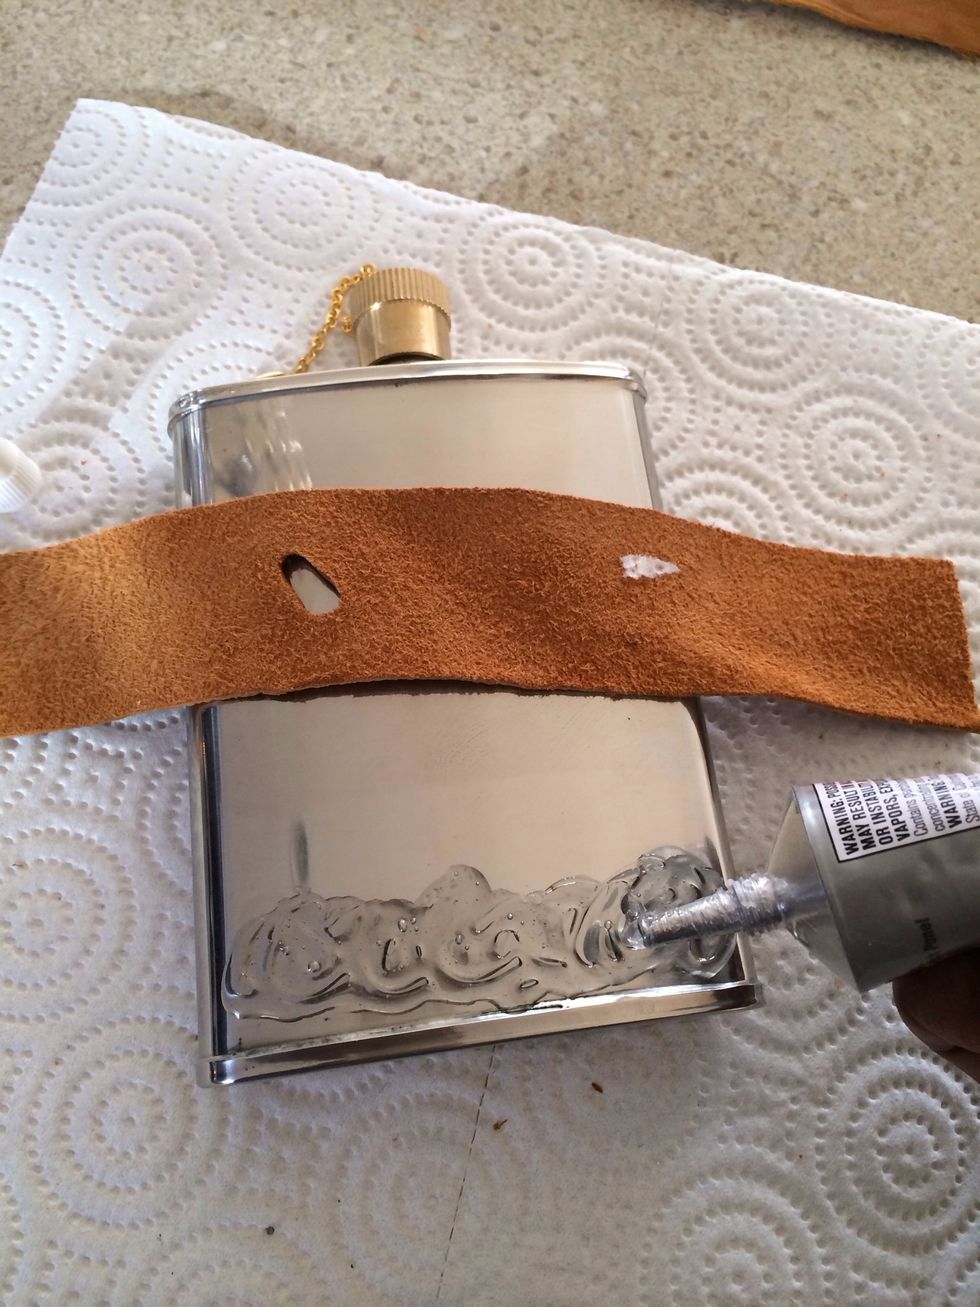
TIP: before applying leather, clean your surface (flask). Make sure it's completely dry before applying glue. I used Pledge Multi-Surface, it smells super and dries immediately.
Now you have strips and a clean flask - it's time to start gluing. Take a moment to line up your strips in the order you will apply them - this will help keep things moving when working with the glue.
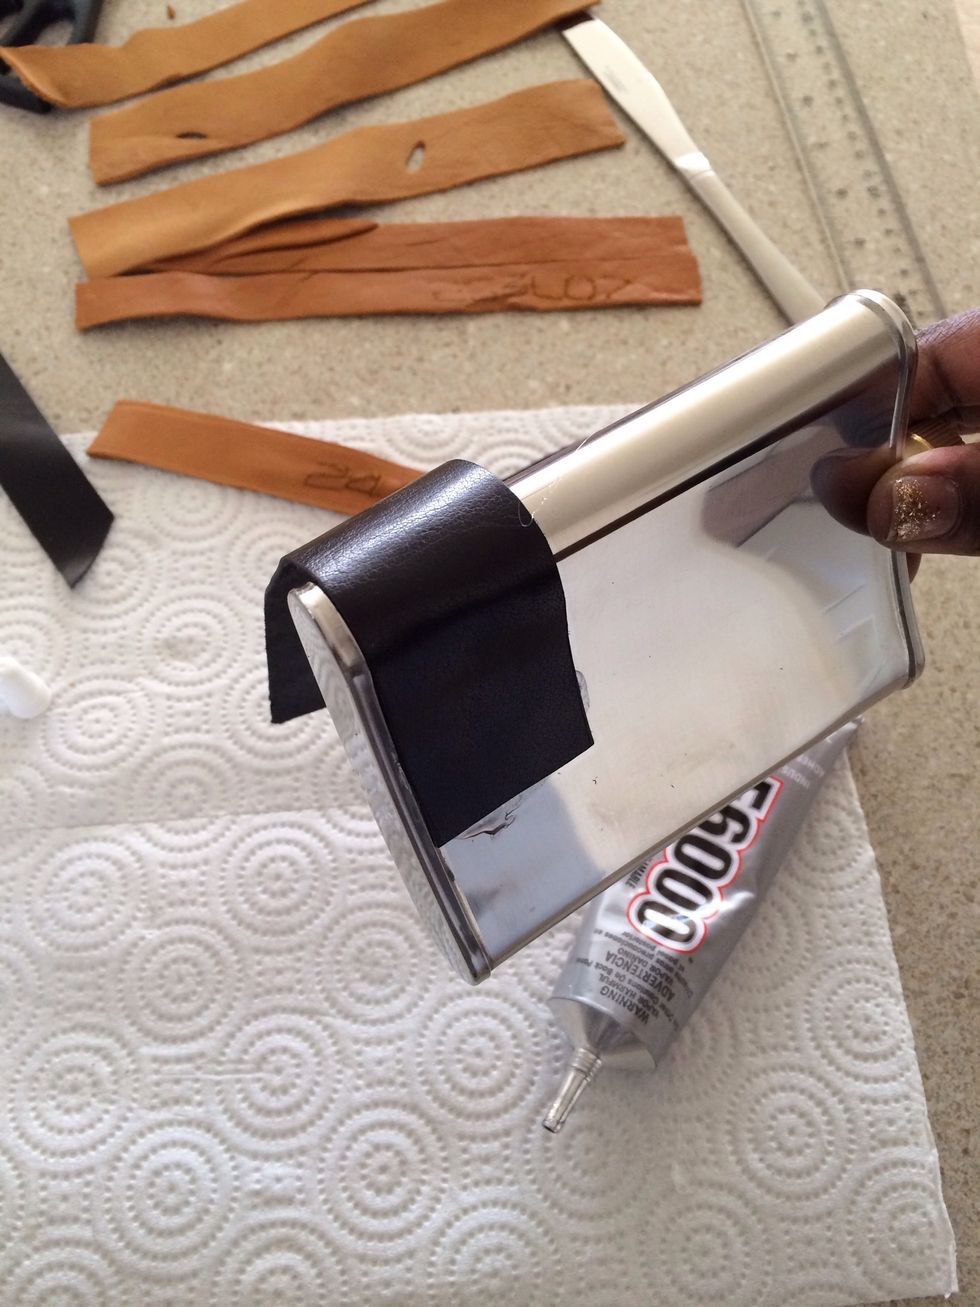
Apply glue to the metal flask, immediately followed by a leather strip. I added glue then fanned it to make it tacky before I applied leather. Also don't add too much glue - I learned the hard way.
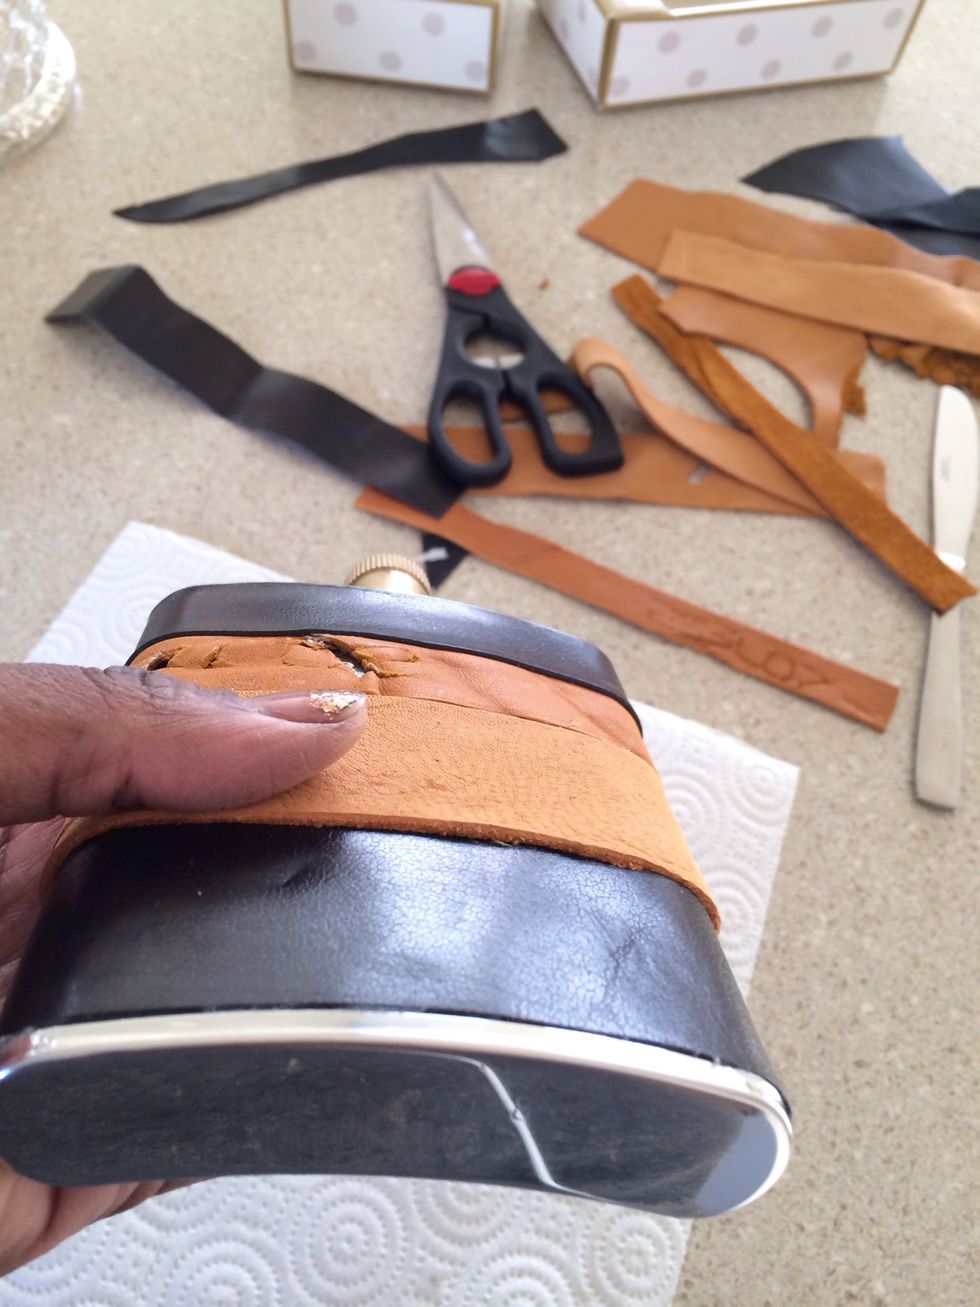
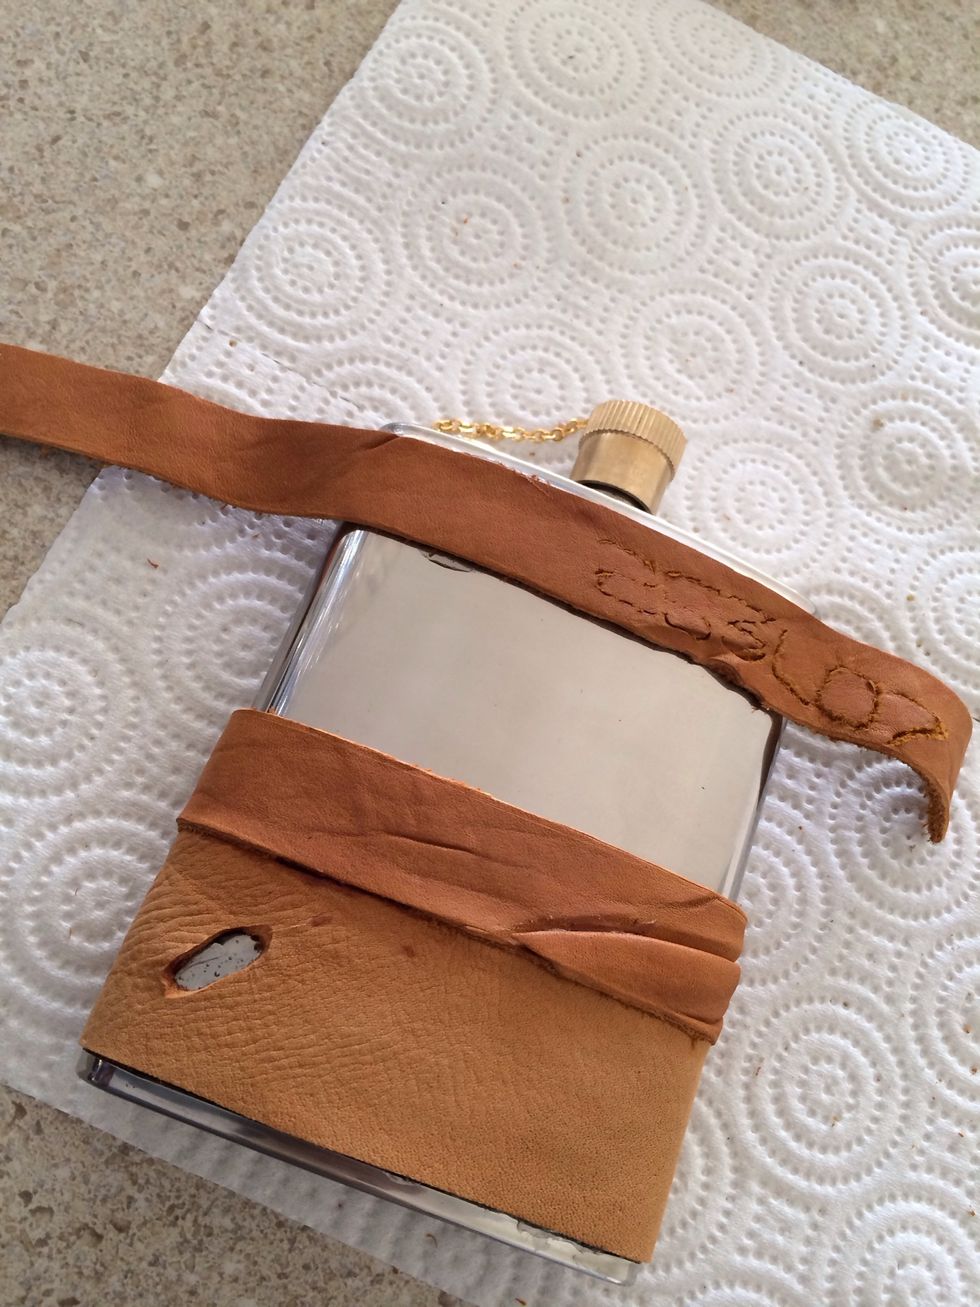
I kept it simply with the first flask and allowed leather to overlap at each layer - top to bottom. With my second flask, I played with angling the strips to expose the silver metal flask base.
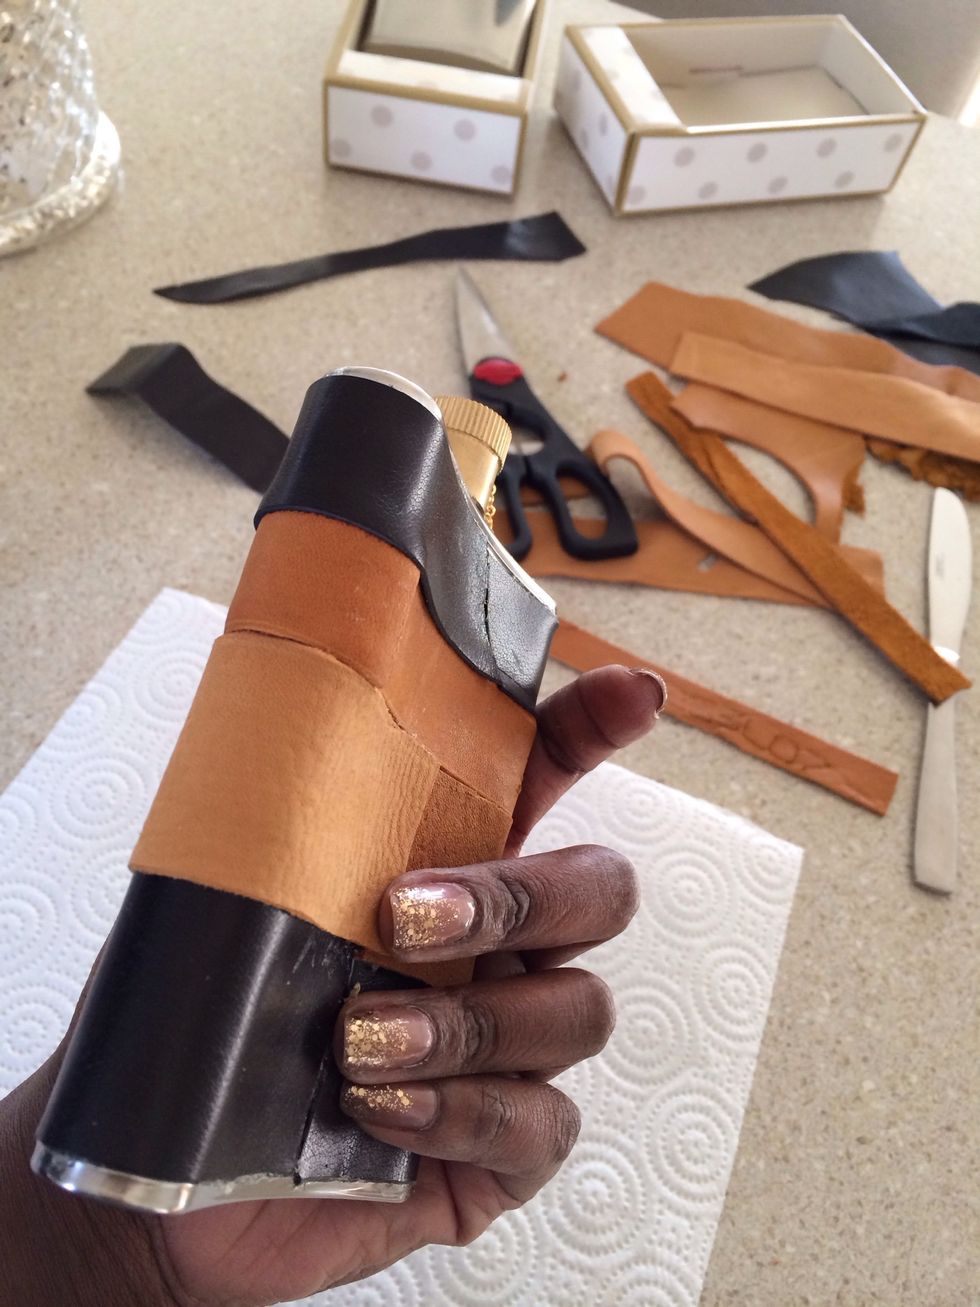
Leather strips should meet in the back. I followed my overlapping pattern and allowed strips to overlap at points in the back too. I cut some strips on an angle, in the back, to add a unique touch.

While glue is drying, you may see slipping in the back - see my bottom strip pictured. You will need to continue to push strips together until glue has set and slipping has stopped.
Here's the front of my first flask. NOTE: mixing leather types, colors and patterns really creates a textured look.
TIPS... Add glue to the entire front and allow it to become tacky. This will help with leather slipping. Also, have your leather strips ready and plan your pattern before spreading the glue.
TIP... Make up new patterns for laying leather. Here, I was preparing to lay my final strip on a diagonal to expose the metal. I also cut a hole in the leather - see bottom strip.
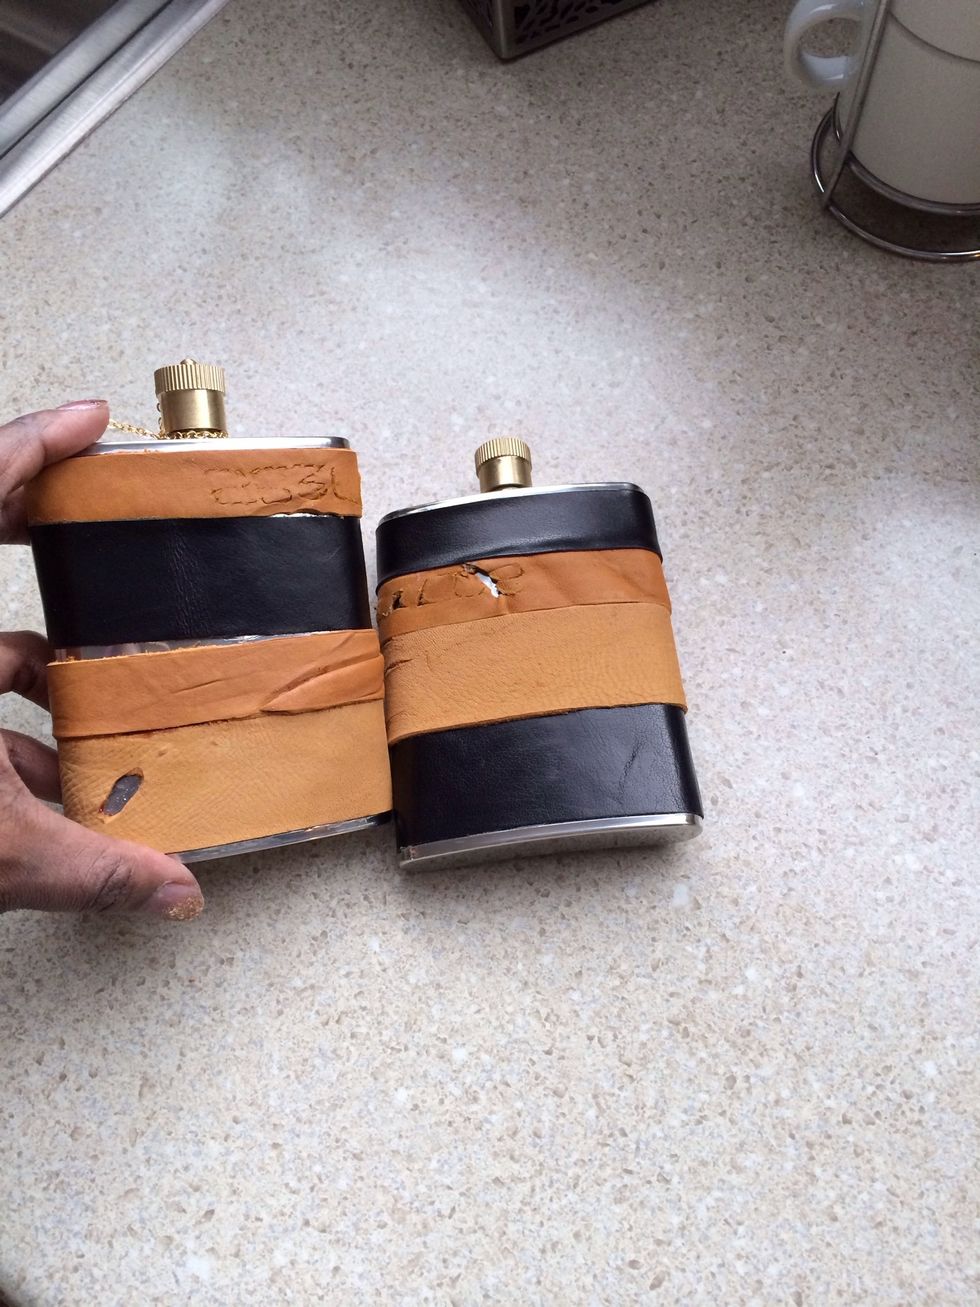
Here are my two finished flasks. Done at the same time, but one of a kind. Took me 1.5 hours - that includes time to take pics for my Snapguide.
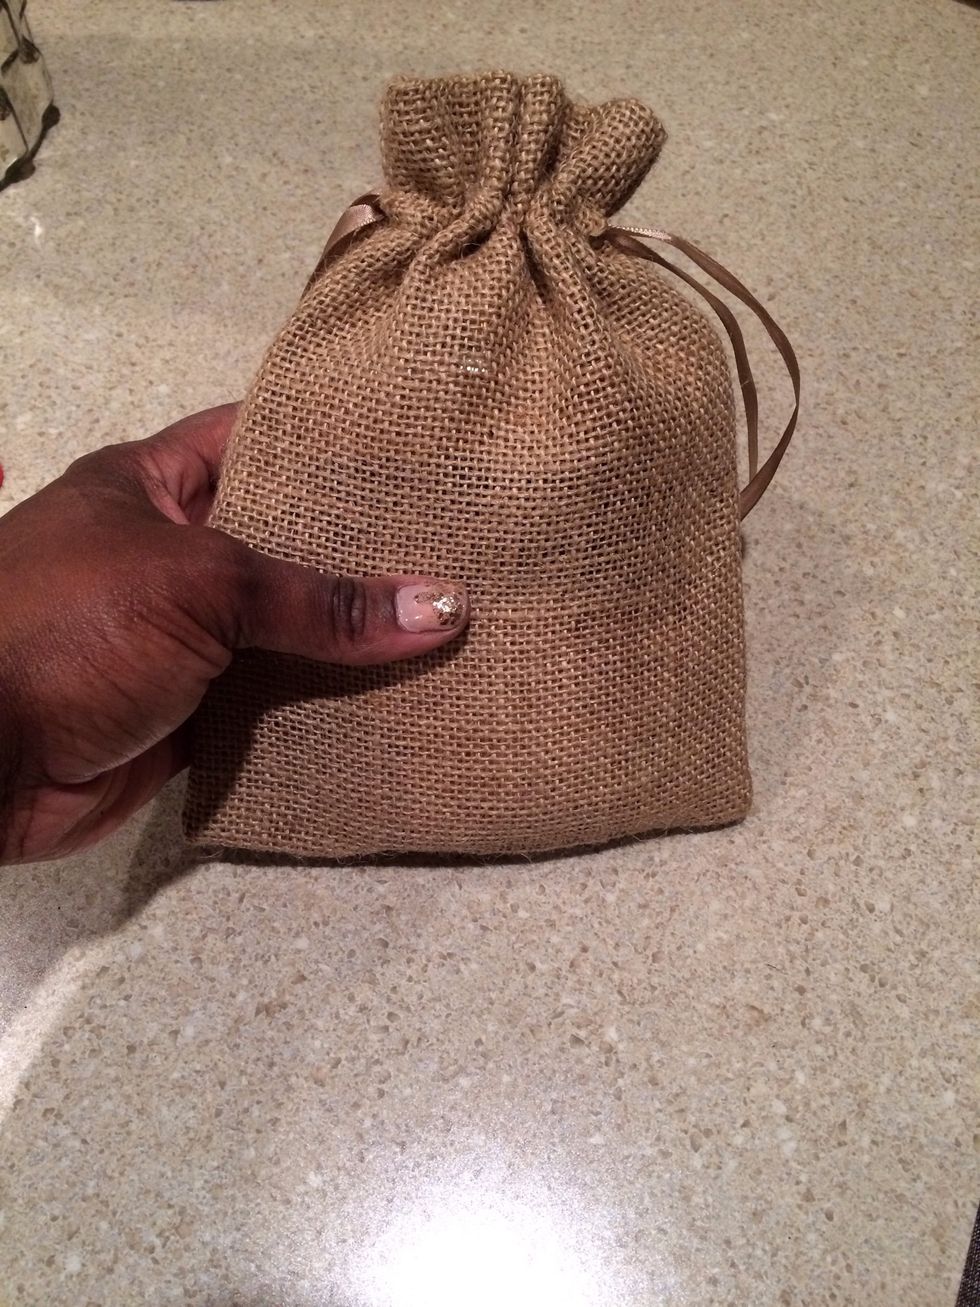
Here are a few ideas to further customize your gift... Idea One: Package your flask in a re-useable burlap drawstring pouch.
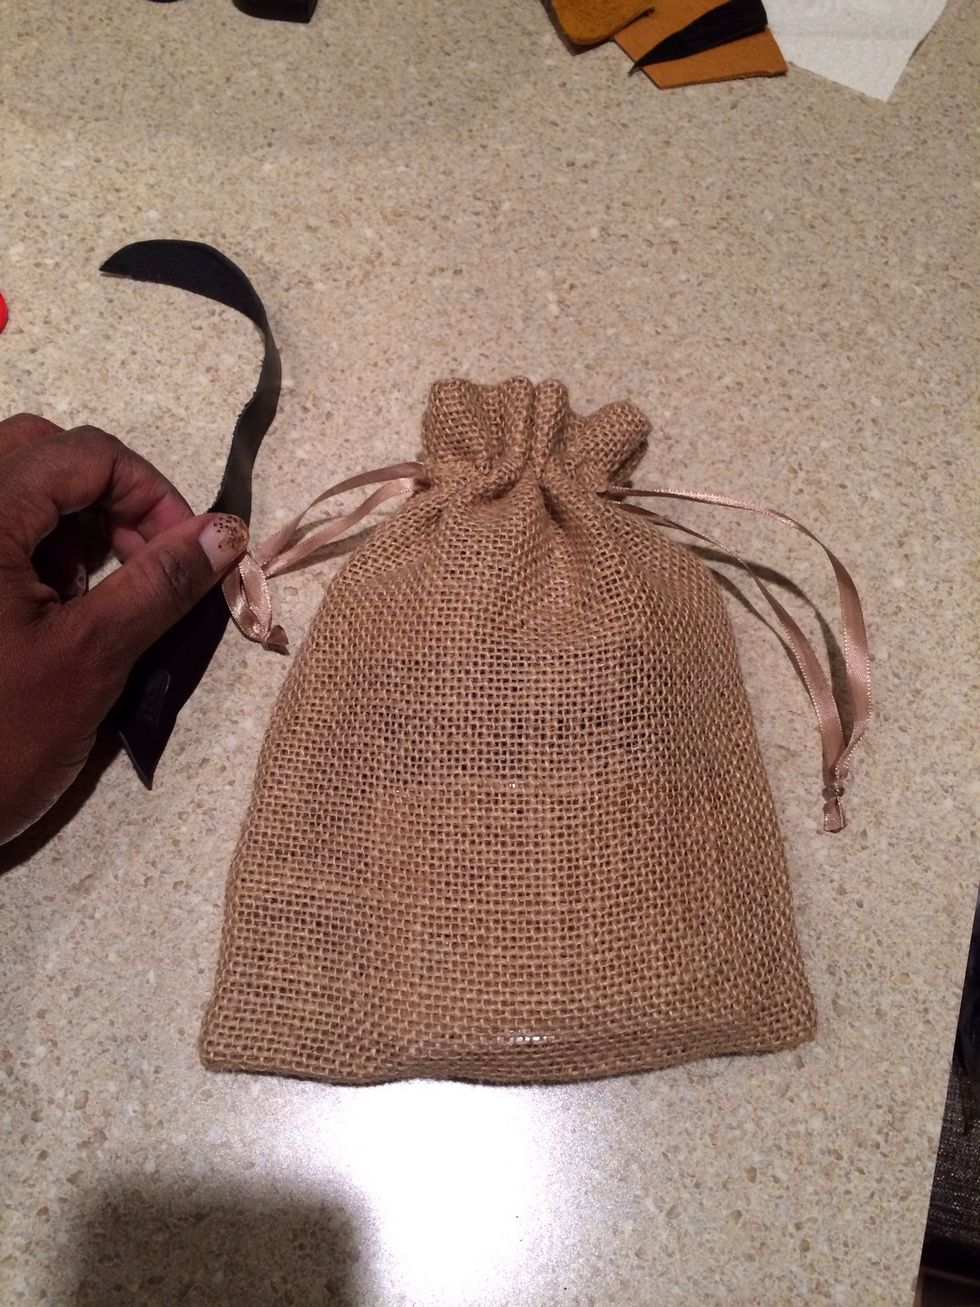
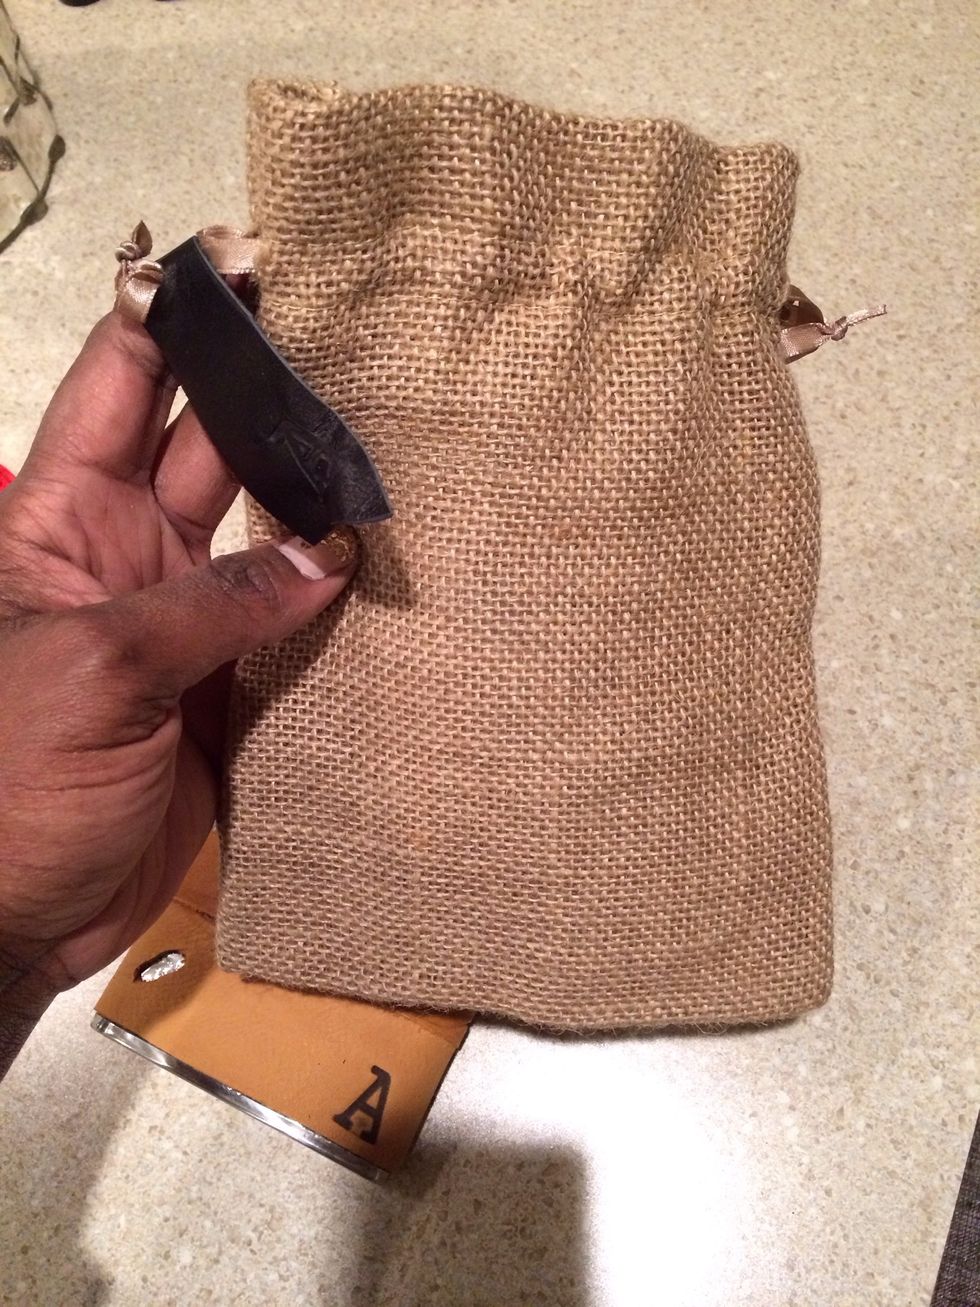
Idea Two: Add a leather strip to the re-useable pouch as a gift tag. The leather tag can be added to a keychain or overnight bag if you add their initial.

Idea Three: Brand initials onto the leather for a one of a kind touch.

I used my wood burning tools to brand the initial on the front. CAUTION... This is a VERY quick burn. Leather heats up faster than wood.
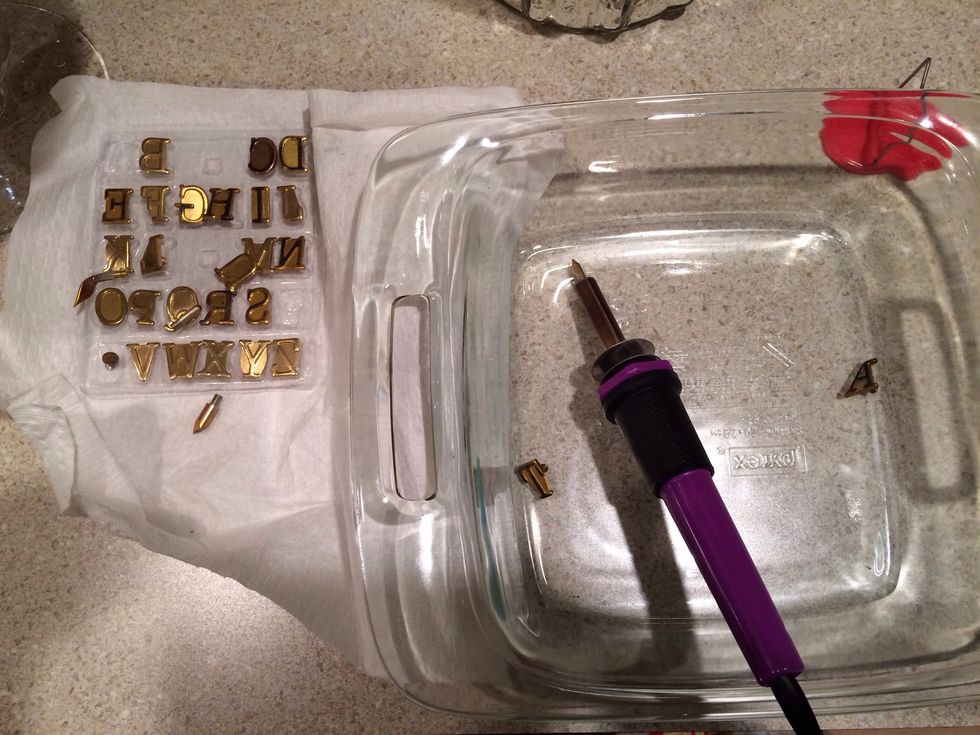
Always use caution when firing up a wood burning tool. Place hot letters into a glass bowl to cool and use gloves to protect your hands.
This can be a gift or for yourself. It's super easy and can be done in 1-hour, tops.
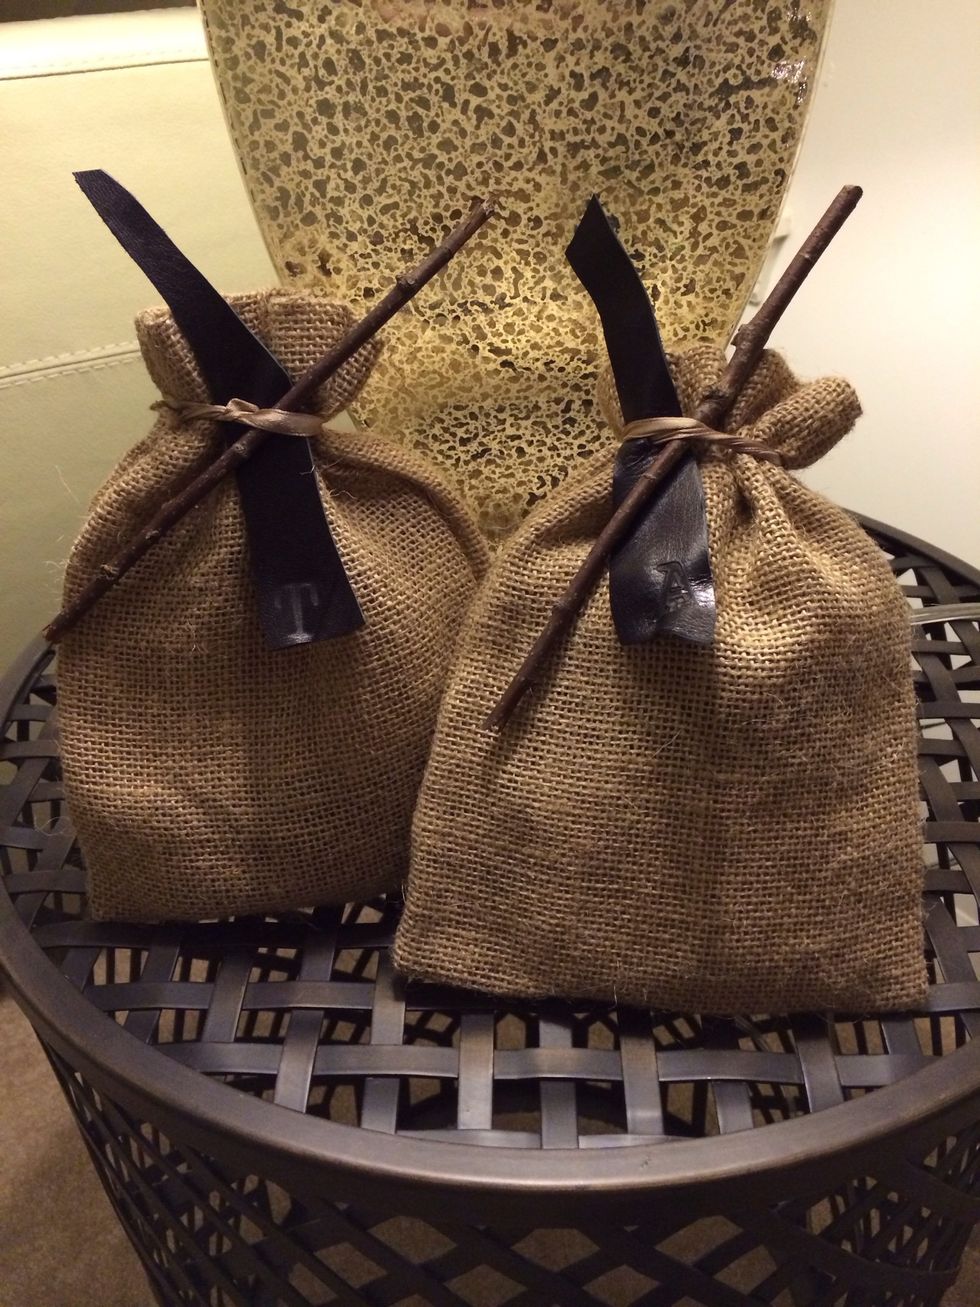
I finished my gifts off with the leather re-usable tags and inserted a twig to man-up my pouches. Good luck and Good drinking - Cheers.