The Conversation (0)
Sign Up
I was creating a white one, but I didn't have enough ribbon to finish it so the end result was pink. I'm sorry for any confusion.
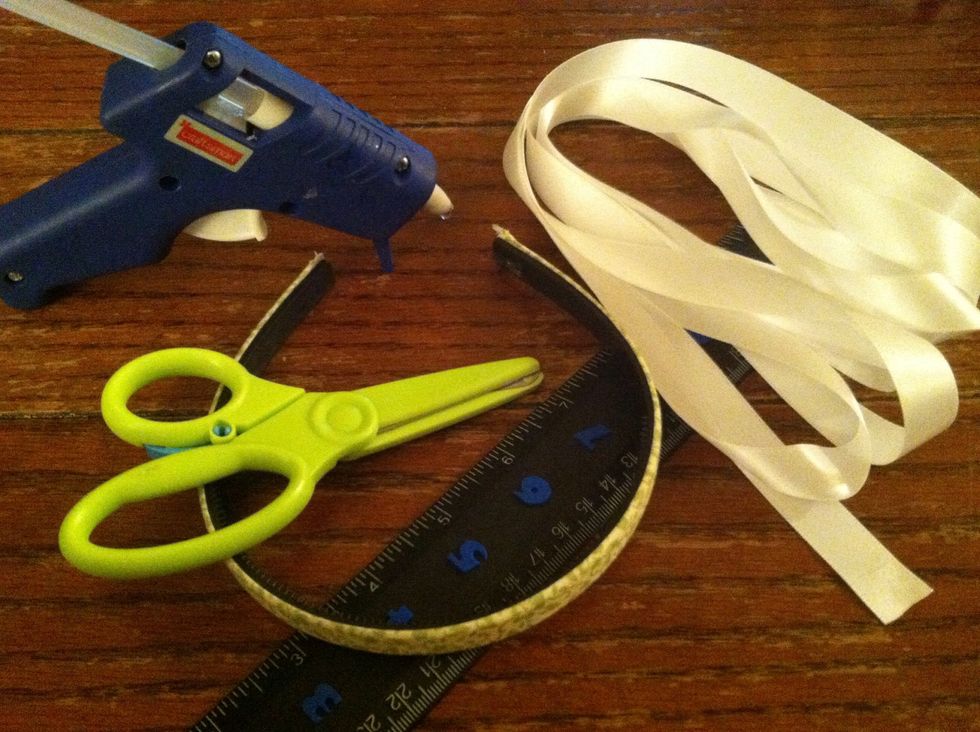
Simple supplies. The width of your headband and your ribbon will decide how long your ribbon must be. This is not a good project for scraps. Here I'm using a 1/2in headband and 1/2in ribbon.
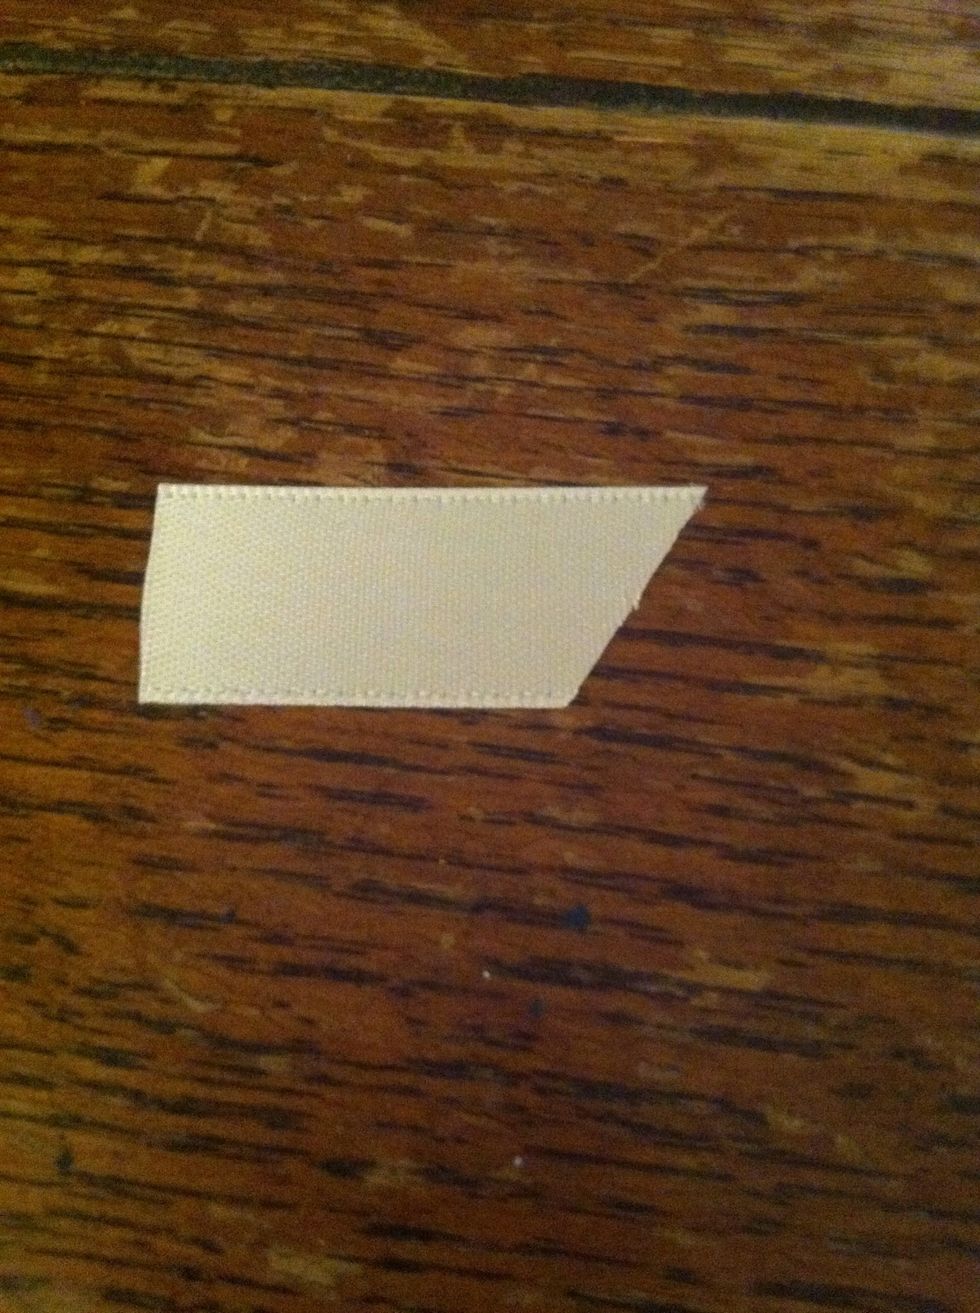
Cut a small piece of ribbon, around an inch long.
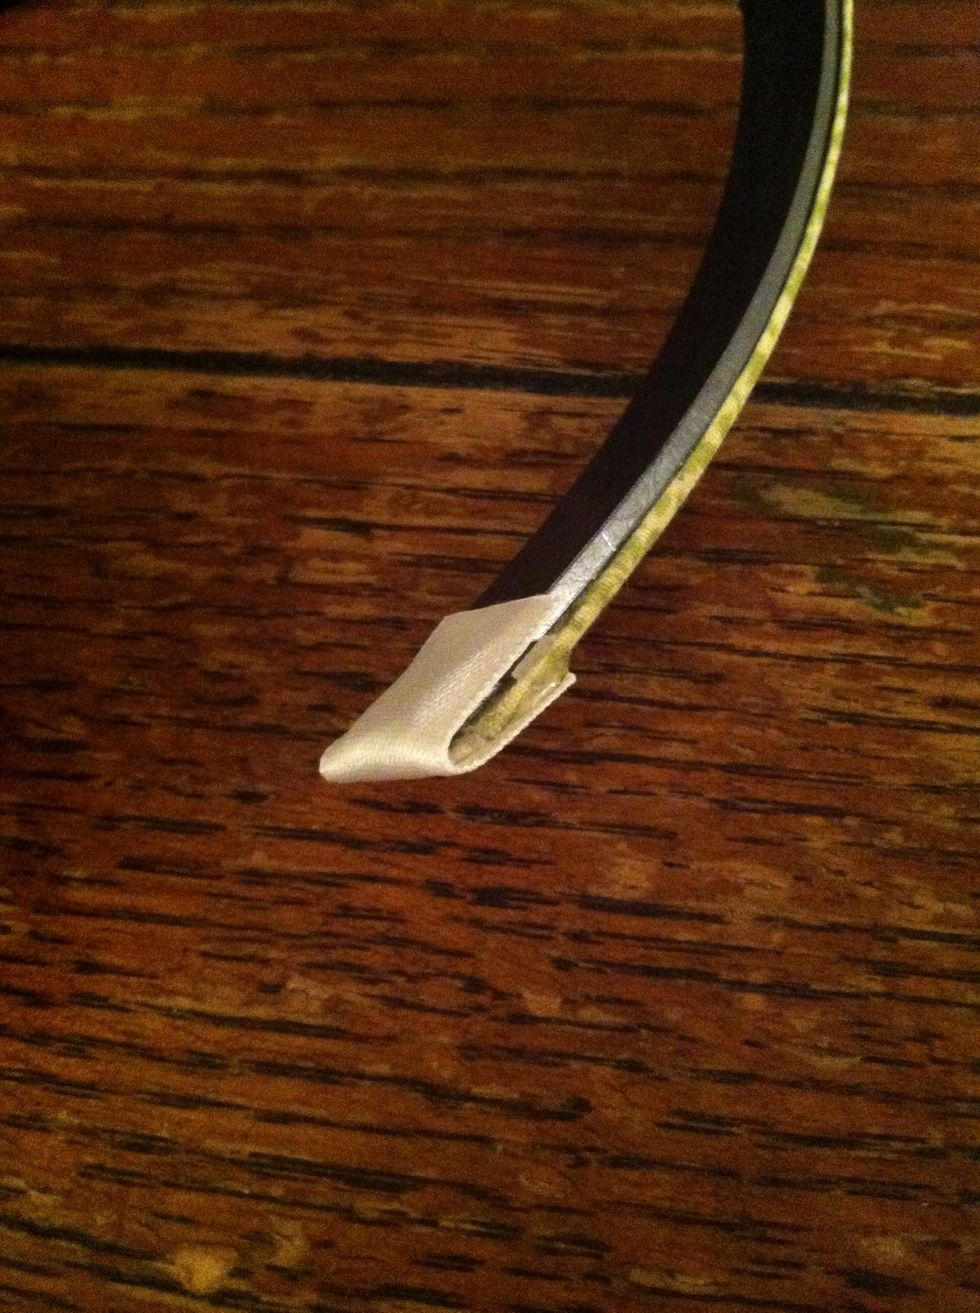
Using the hot glue, secure the small length of ribbon the inside and wrap it around, securing the other end to the front.
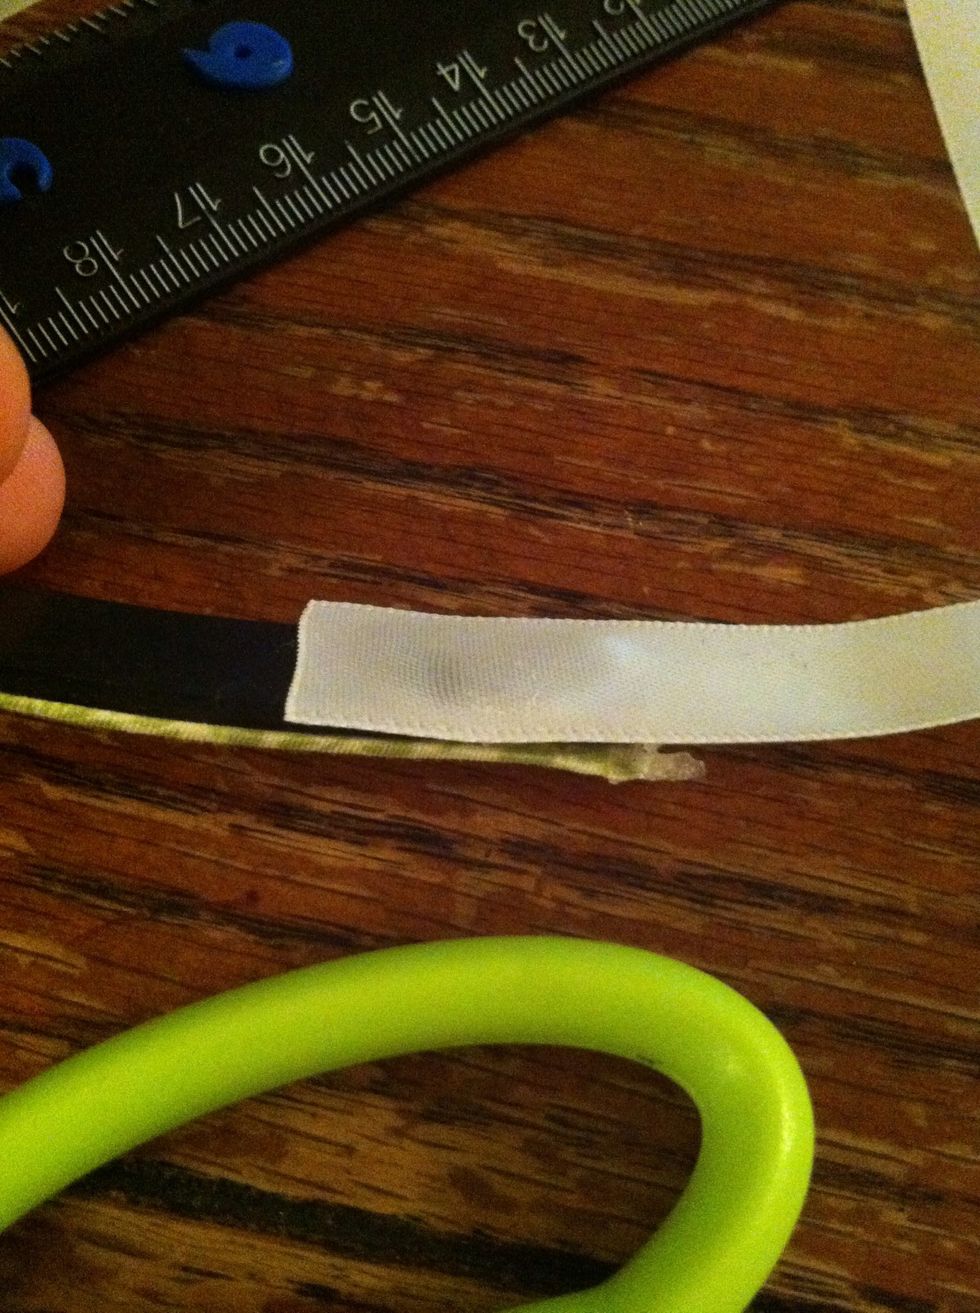
With the longer piece of ribbon, place a dot of hot glue on the inside of the headband and secure a short end of ribbon.

Add another dot of glue to the outside.
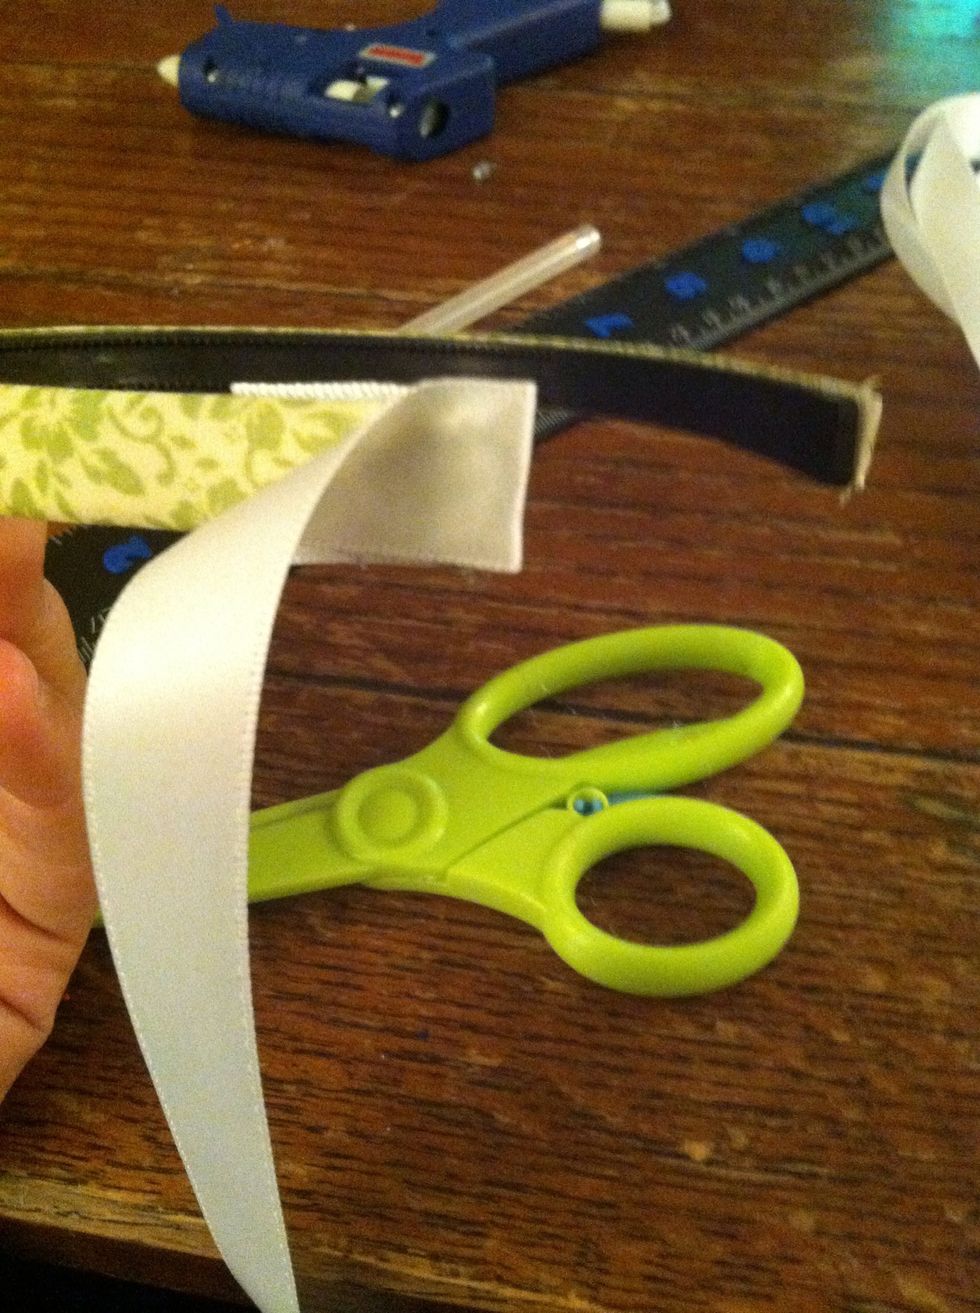
Wrap the ribbon around and press firmly, securing the ribbon about a half in up.
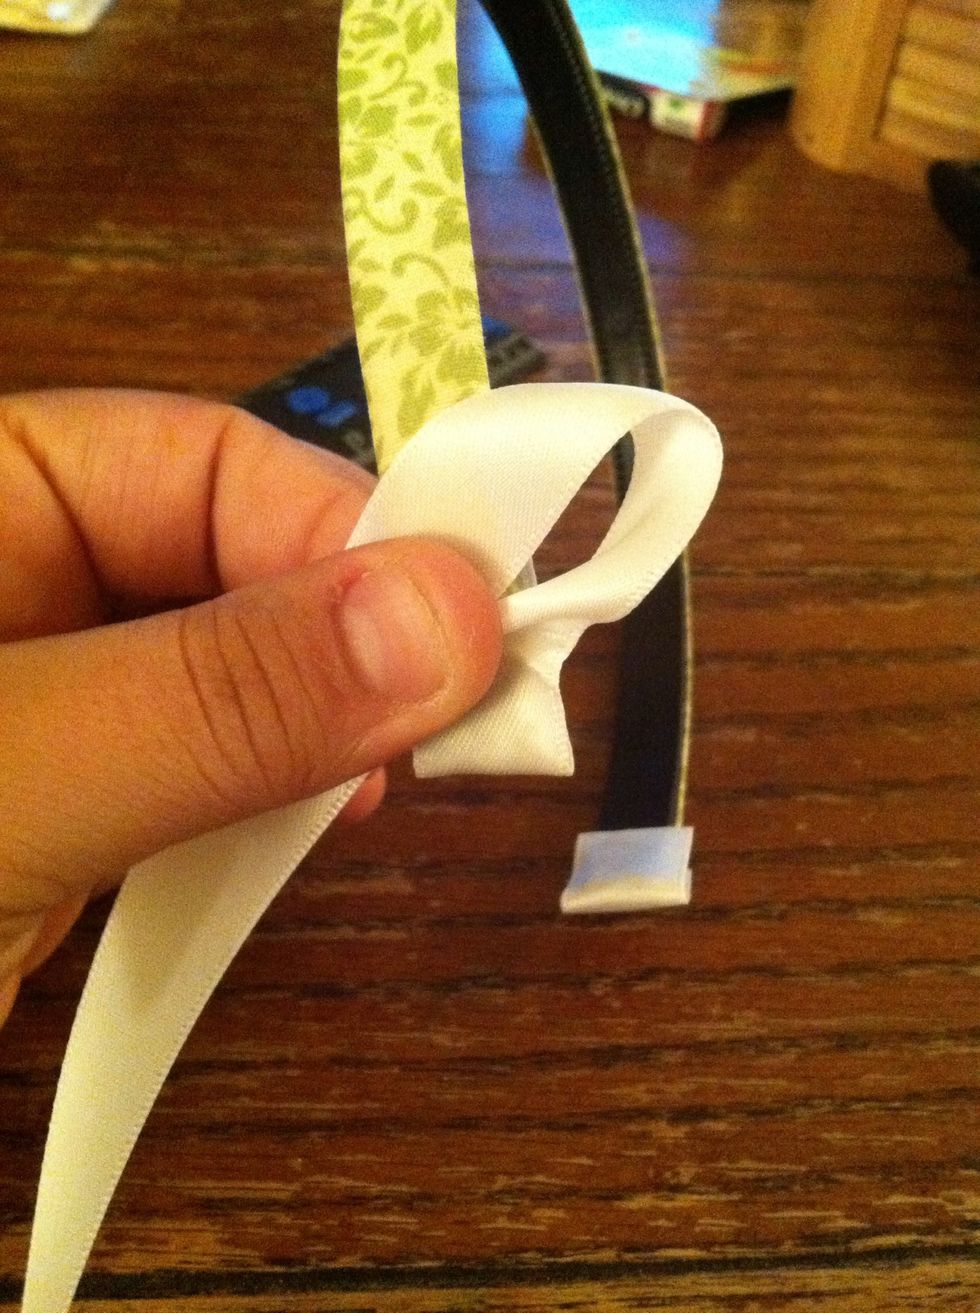
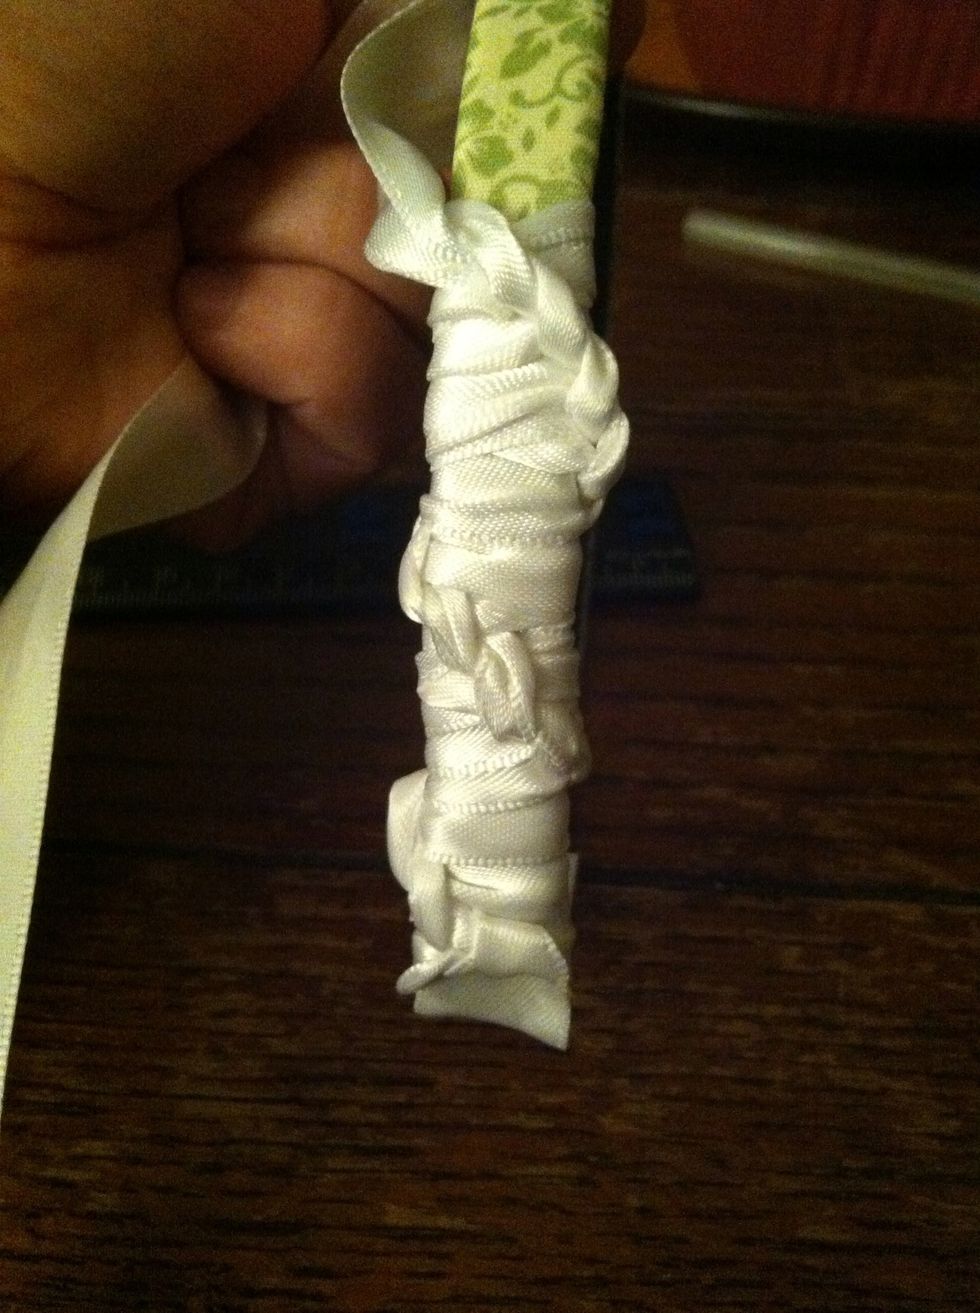
Make a loop. I tried to describe this step but I think the picture does a better job showing how its done. It can be on the right or the left, but make sure it's always consistent.

Making sure the loop is in FRONT bring the ribbon around the BACK and Thread the end of the ribbon through the loop.
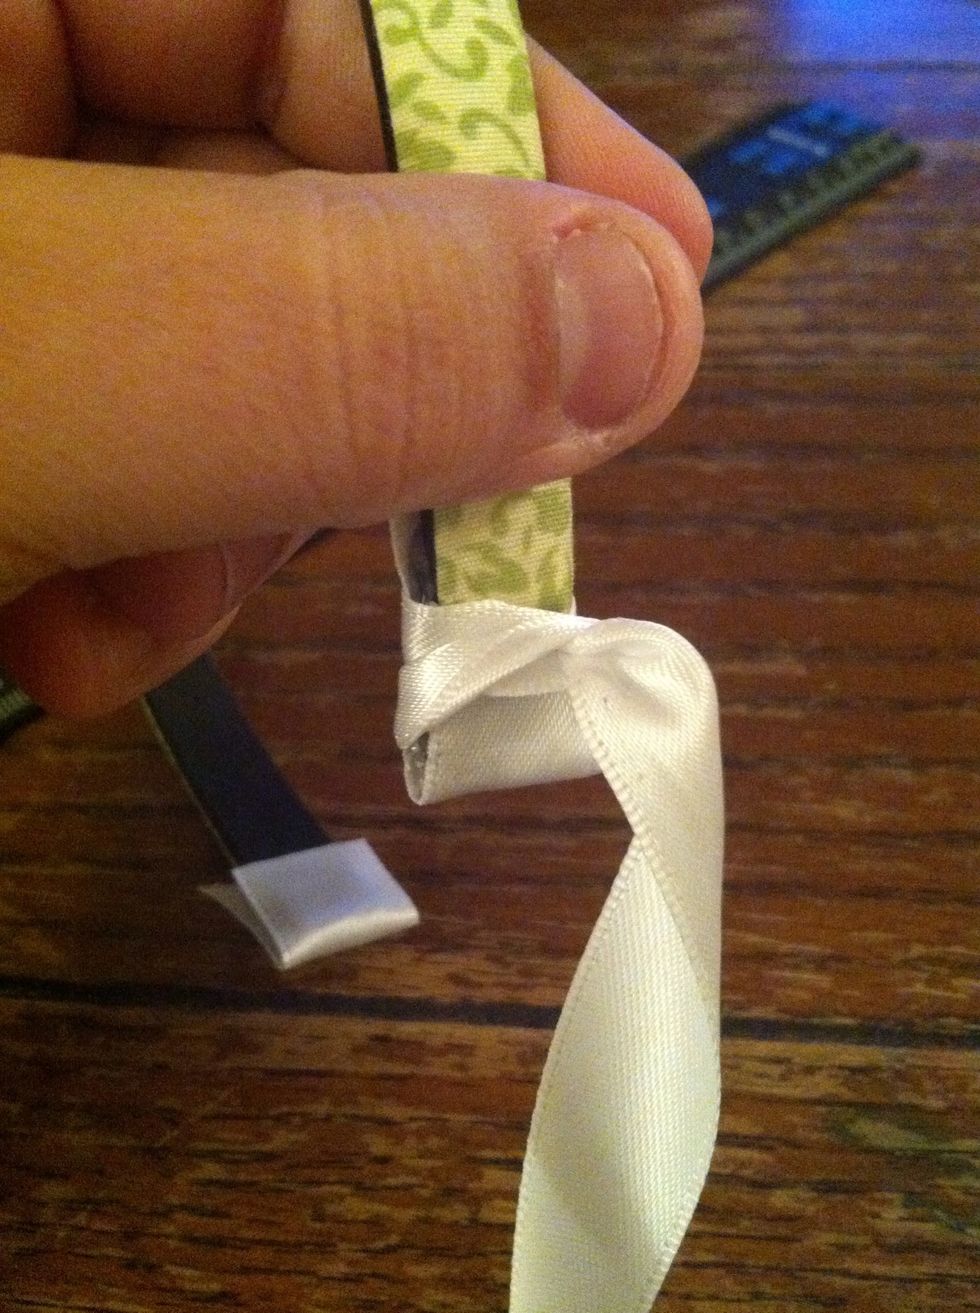
Pull it through tightly. You've made your first 'stitch'.
Loop on front.

Ribbon through back an pull. When you pull, pull it to the opposite side of the loop first. To further tighten pull it back against itself. It should align itself in a natural diagonal.

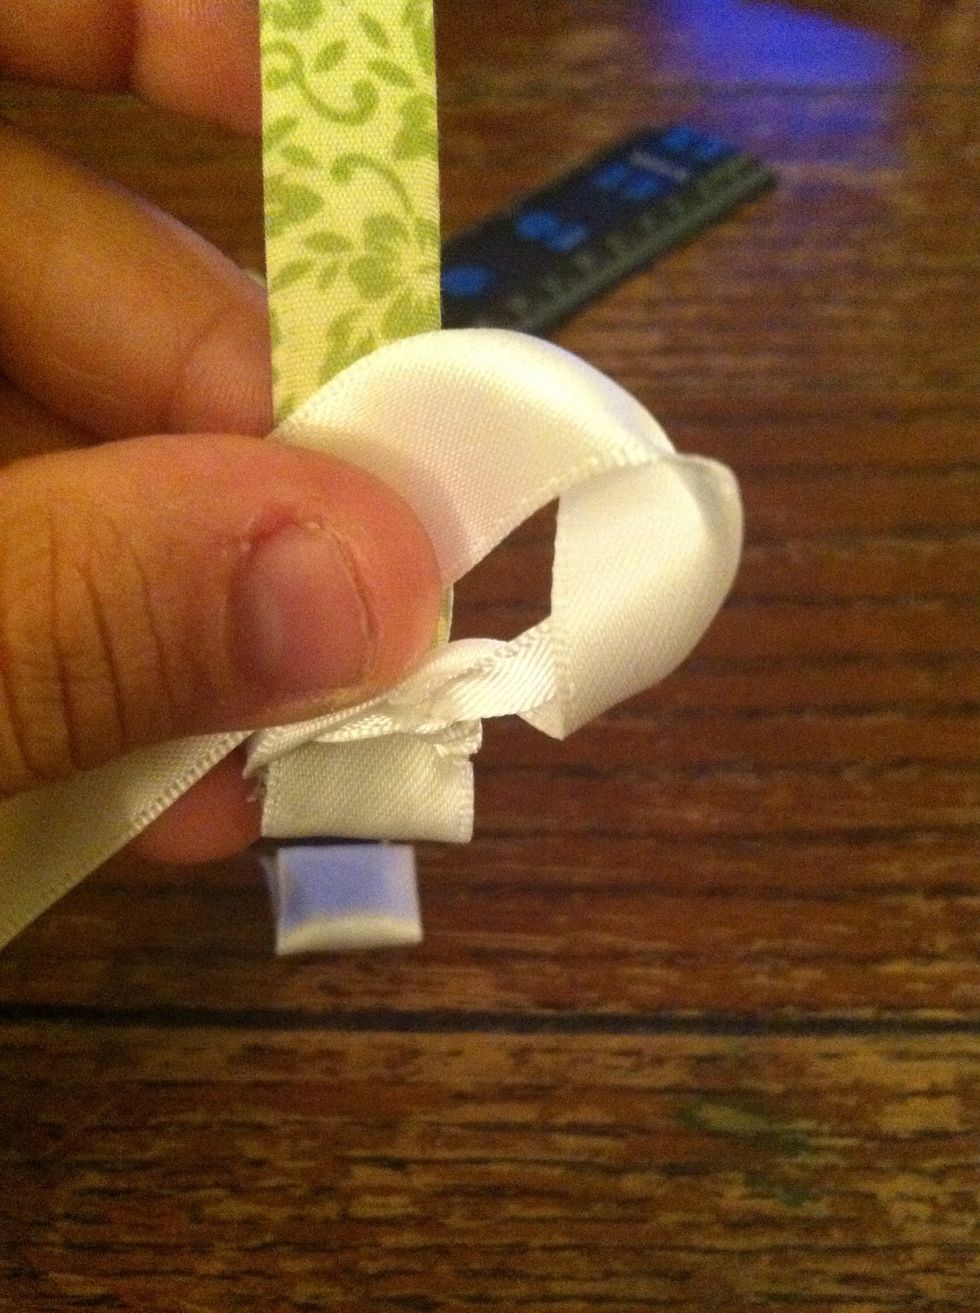
You can save ribbon by making the stitches on the back looser. It'll look like this.
The outside is much tighter an looks like this.
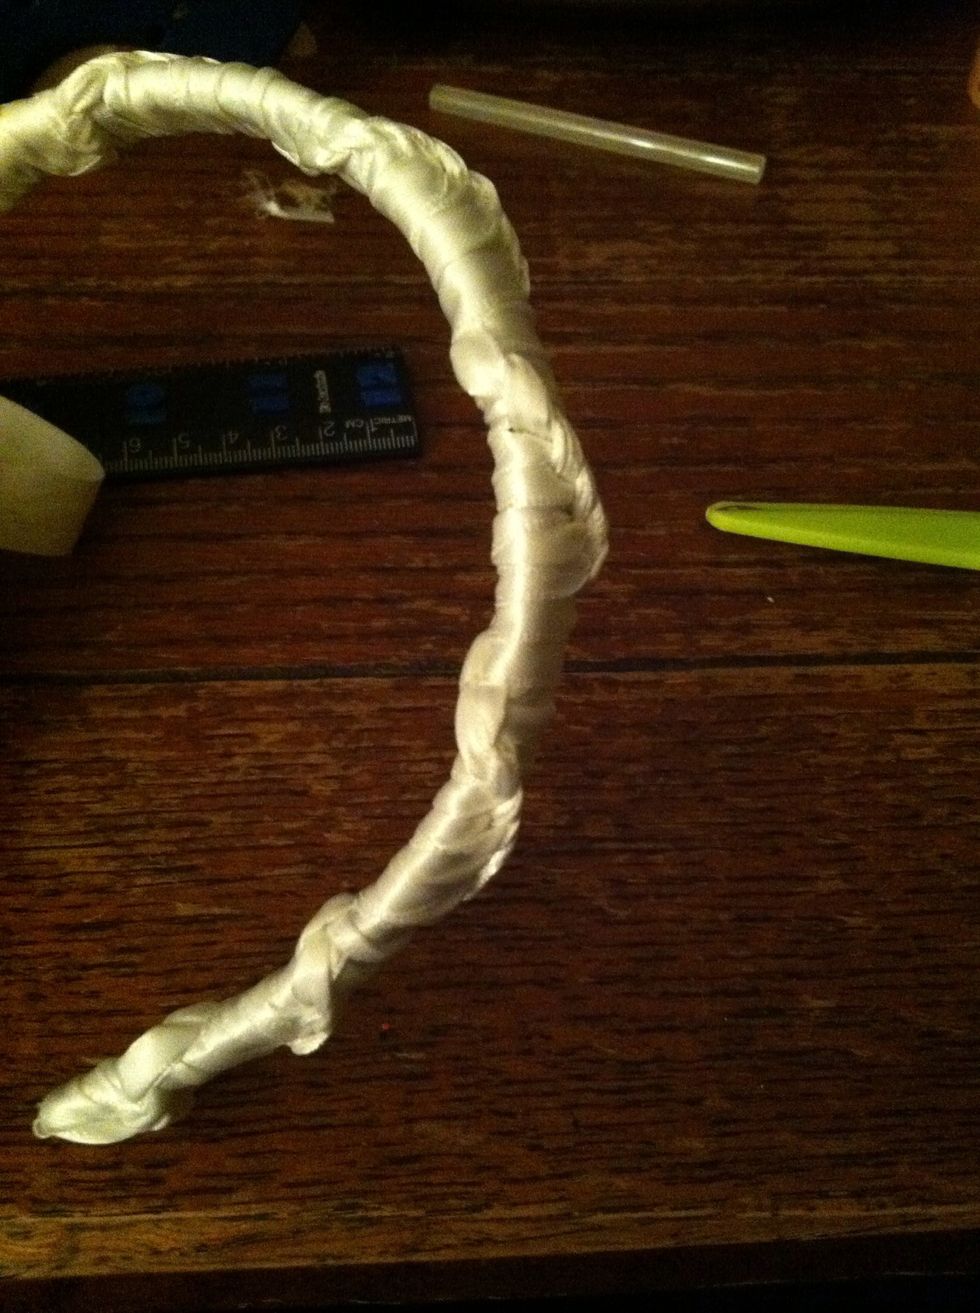
A side view. An added benefit is that the ribbon cushions the headband an takes the pressure away from behind the ears.
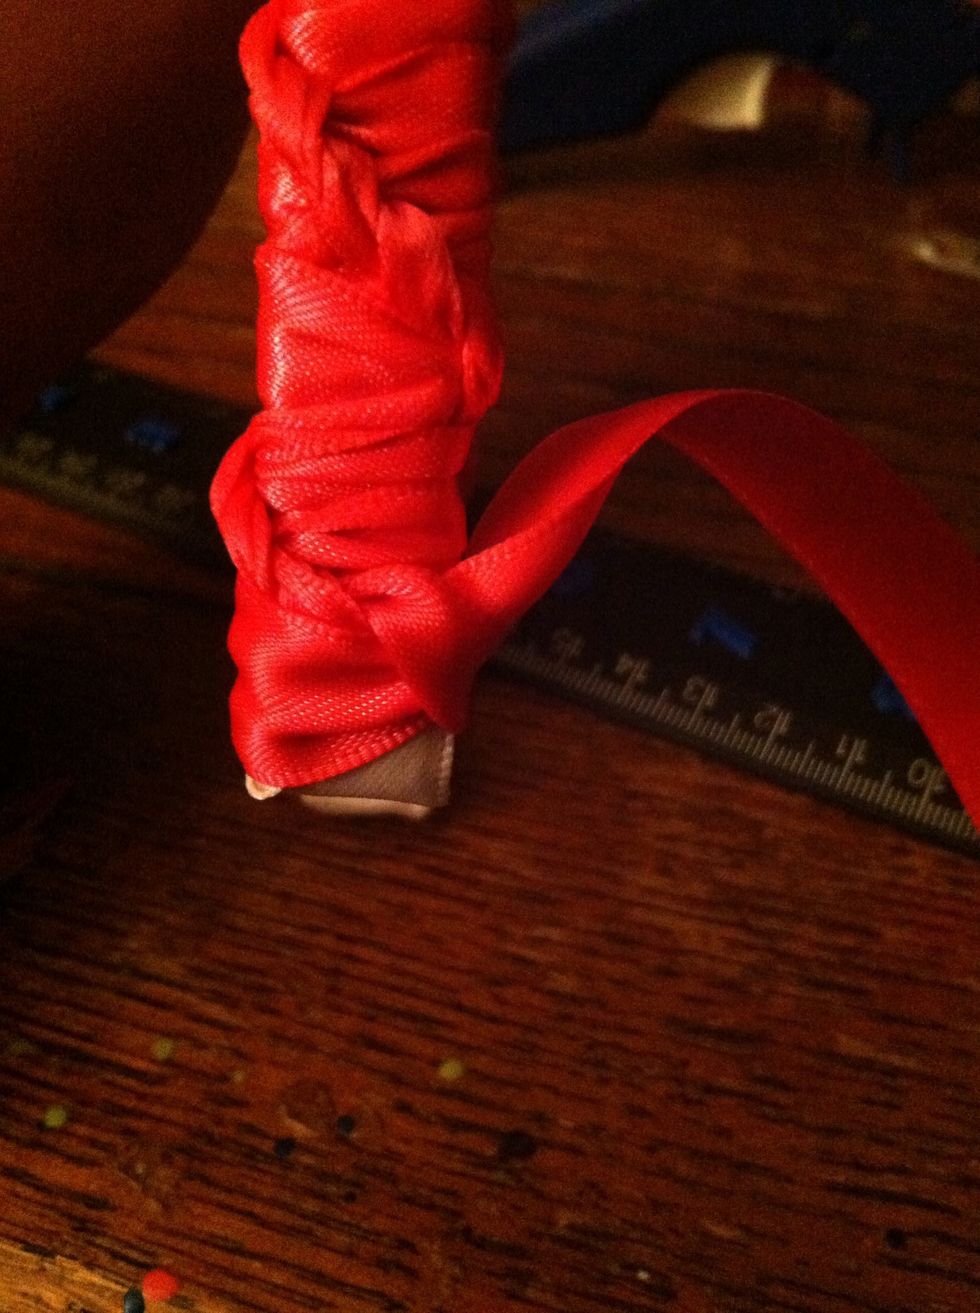
This is where I had to switch to pink because I didn't have enough white. Lucky I didn't glue it down as I went! Lol. For the end, make your final stitch a bit loose.
Going around back, slip the end of the ribbon through the back of the stitch.
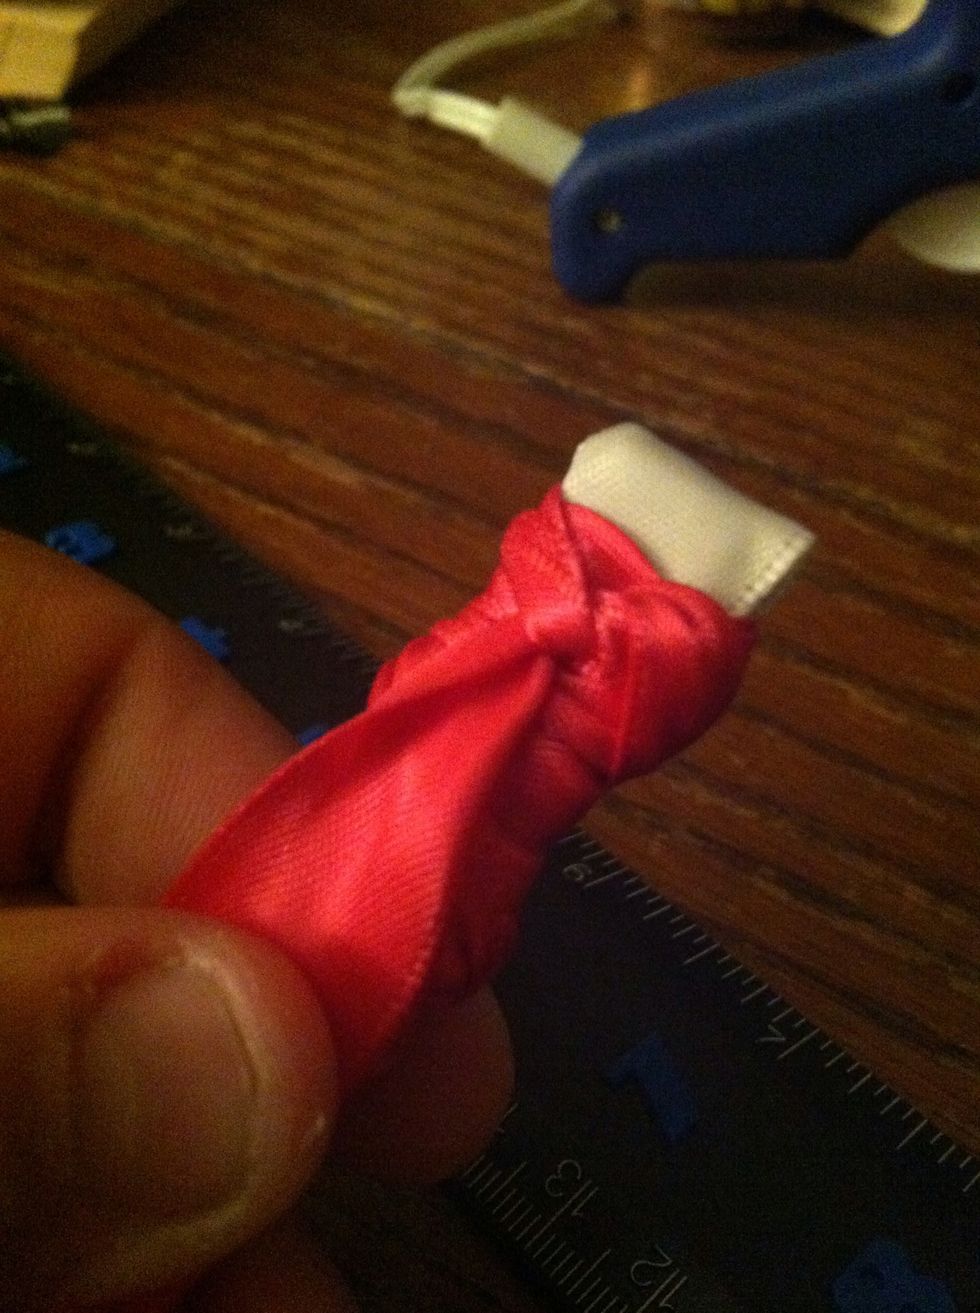
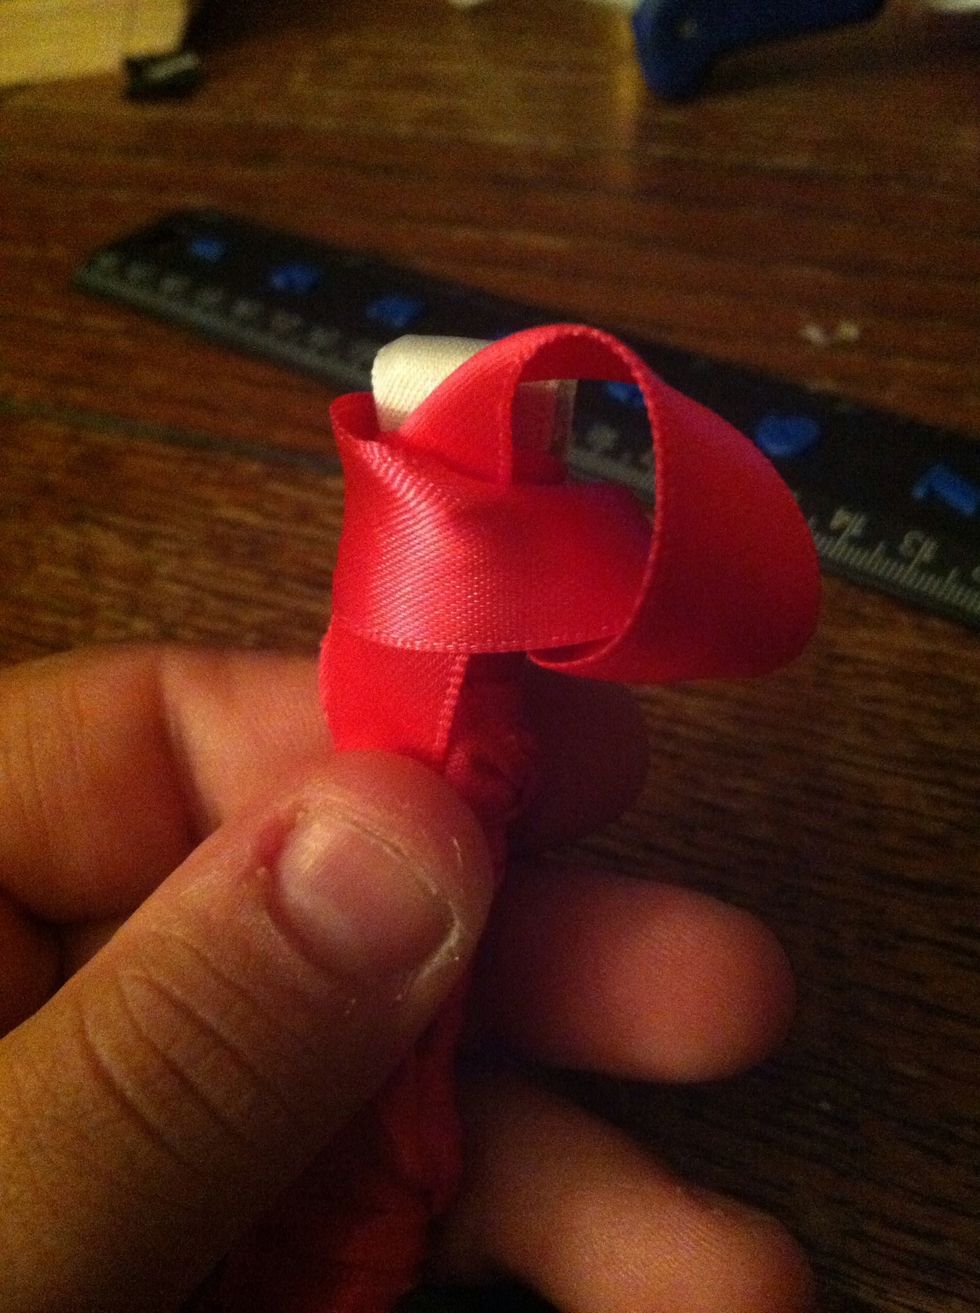
Pull it as tightly as possible. Glue the knot and a piece of the tail end. Snip off the excess. An you're done!
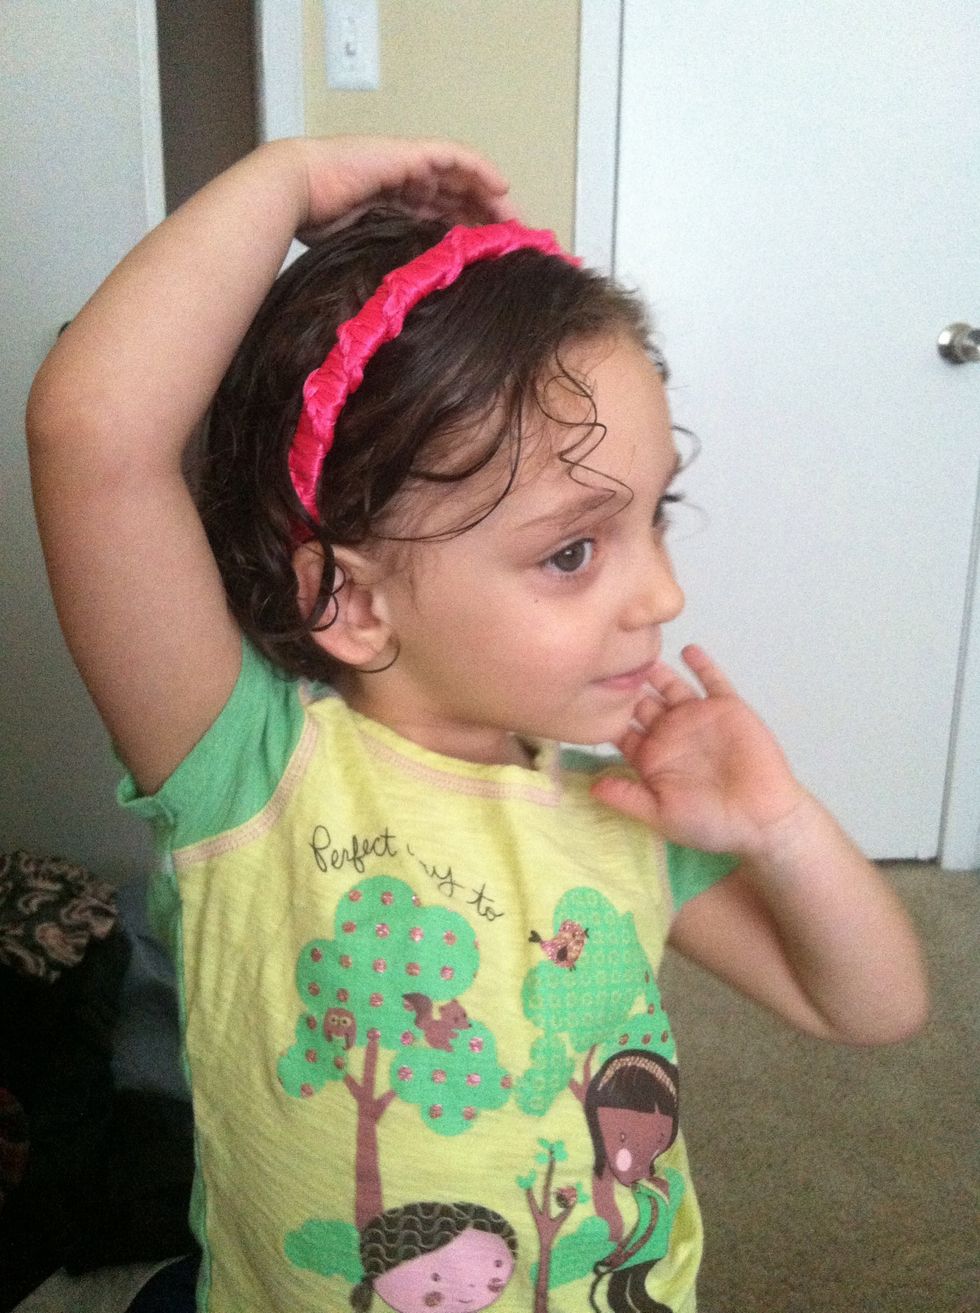
Take an adorable picture of your kid wearing it and tell her to pose.

Follow me on twitter (@ranebodydecor) and here, for updates on new guides. Or check out my Facebook for examples of my other work. Hoping to have the blog back up and running soon. Stay posted! Ty!