The Conversation (0)
Sign Up
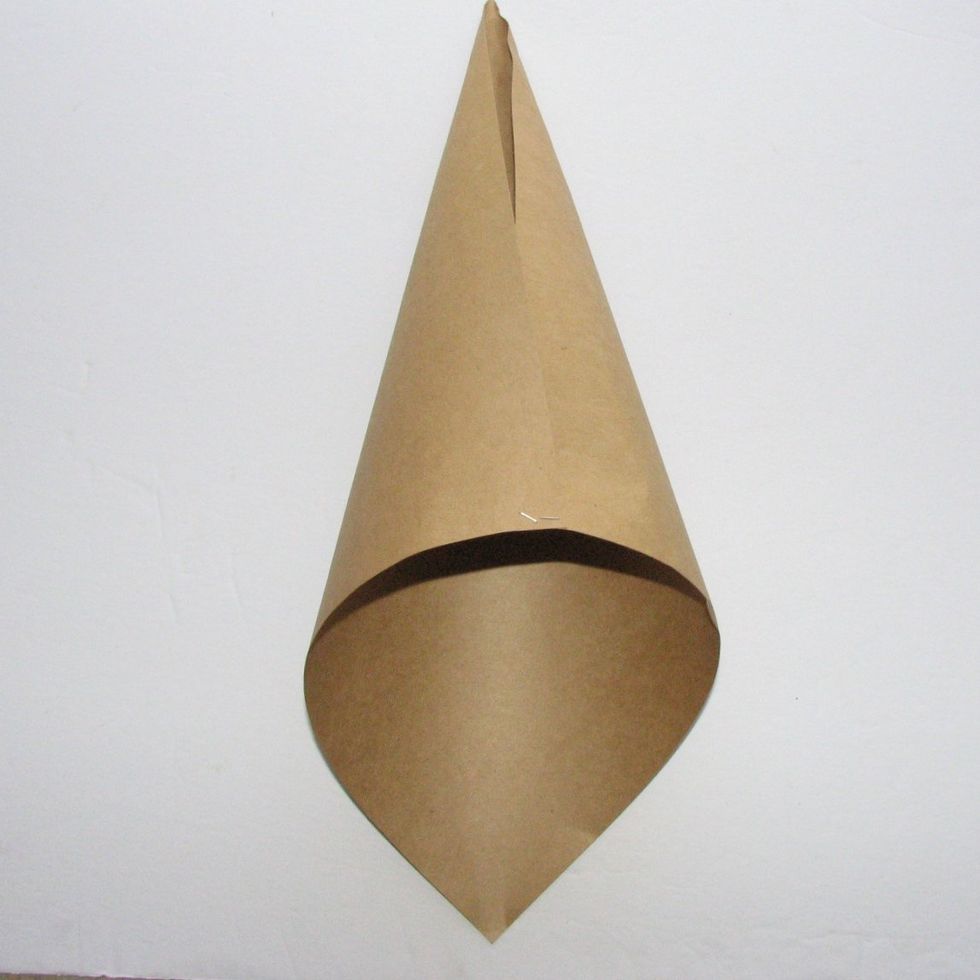
Take 12 x 12 Card stock and bring 2 opposite corners together leaving a point at bottom and top. Staple with a 1/2 inch overlap.
Take Hot glue gun and run a bead of glue down the edge and close gap. Creating a cone.

Cut top corner off and that will create a round top of the cone.

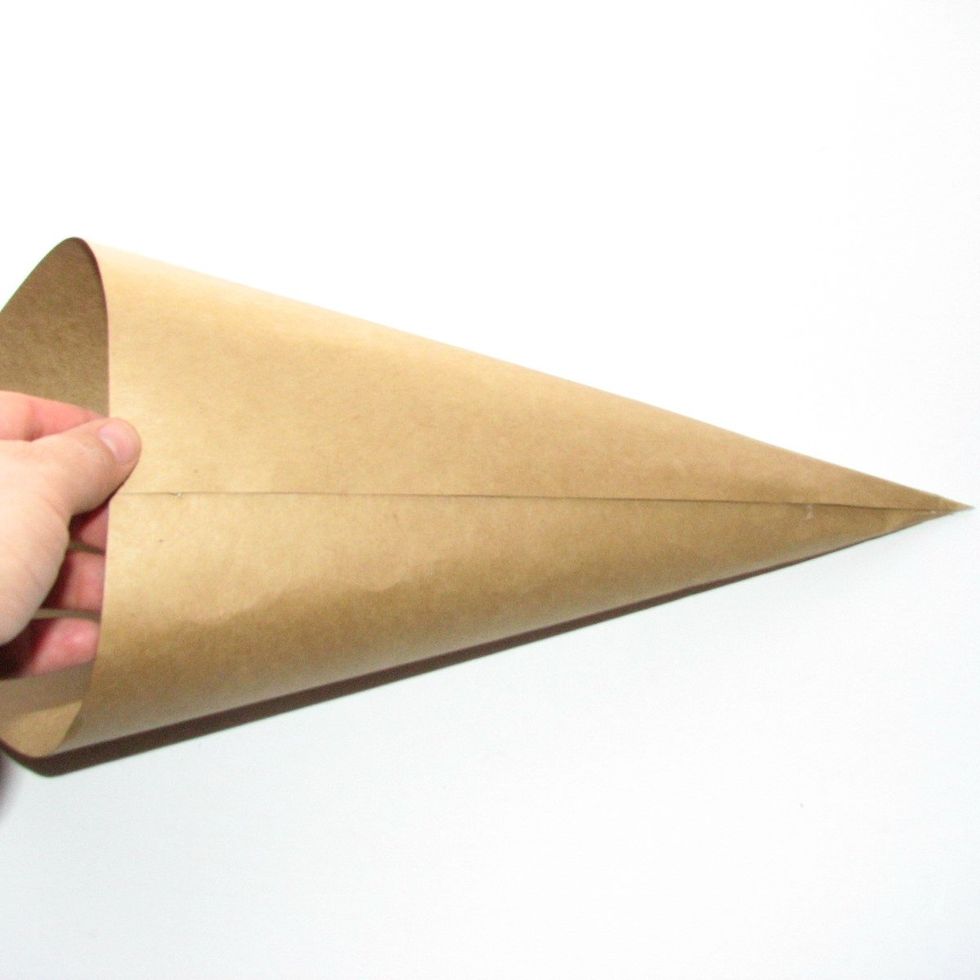
Take Double sided paper and wrap around the cone. Glue to the cone with the hot glue. For my Tussie mussie I left the corner on top. You could trim it if you like.

I cut another designer paper 1.5 inch by 12 inch strips. I cut 2 and used a border punch.
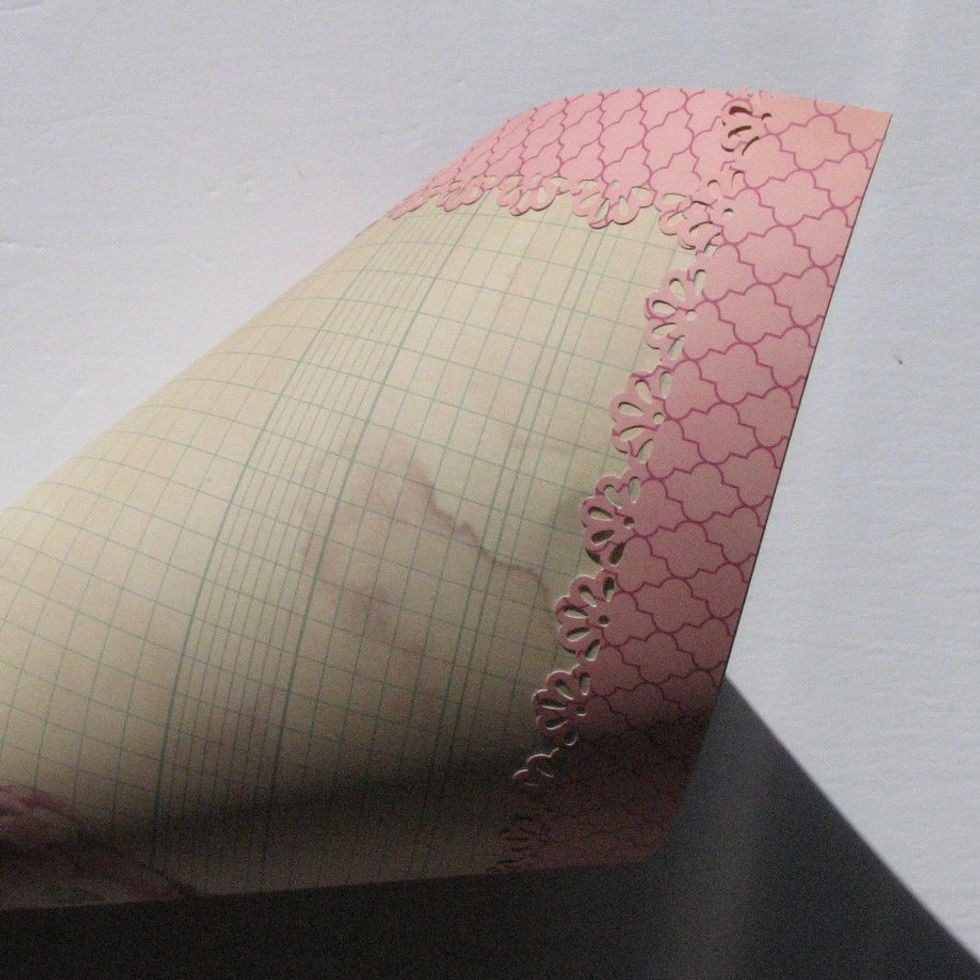
I added border strips to outside of cone and applied with hot glue gun.
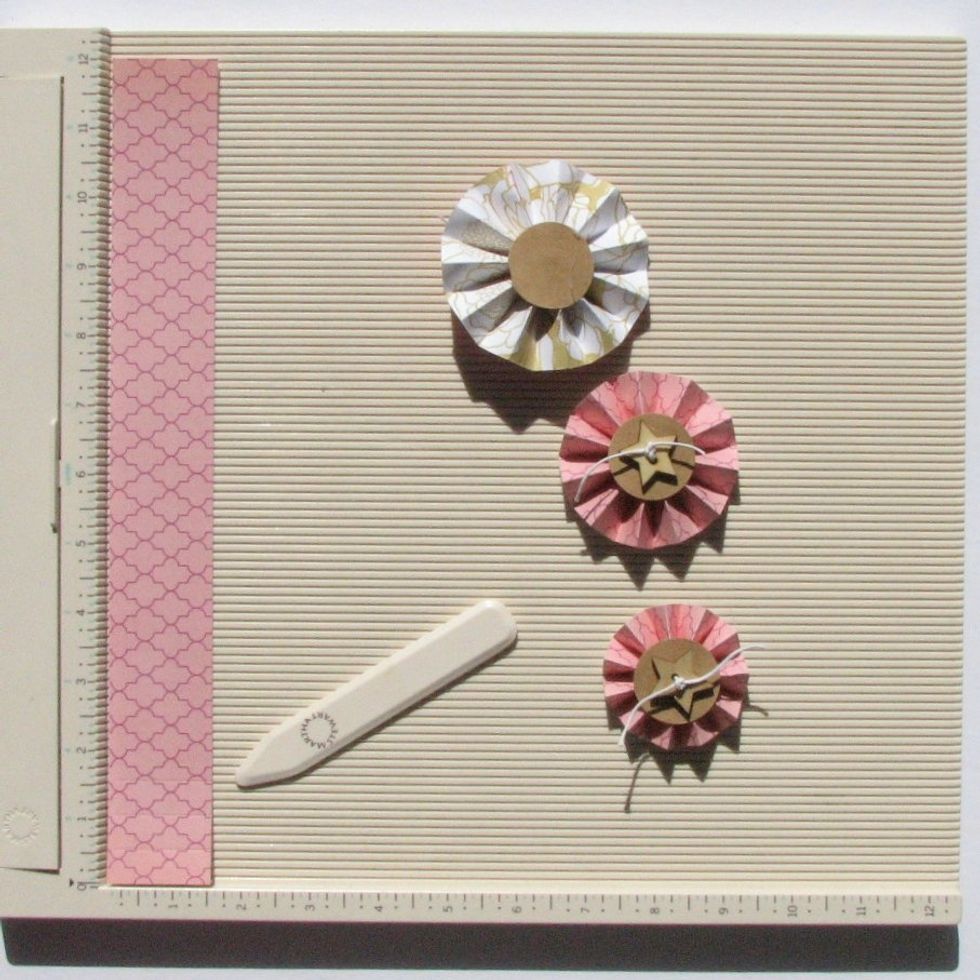
I cut more strips. 1.5" x 12", 1.25" x 12" and 1" x 12" . Each piece was scores at .5". strips were folded in peaks and valley and hot glued together at the ends. The stars were glued on top.

I added lace. Rosettes over lace. Flowers at top and in front. I added twine and a ribbon. Doily on the inside. The tussie mussie can hold all kinds of treasures.