The Conversation (0)
Sign Up
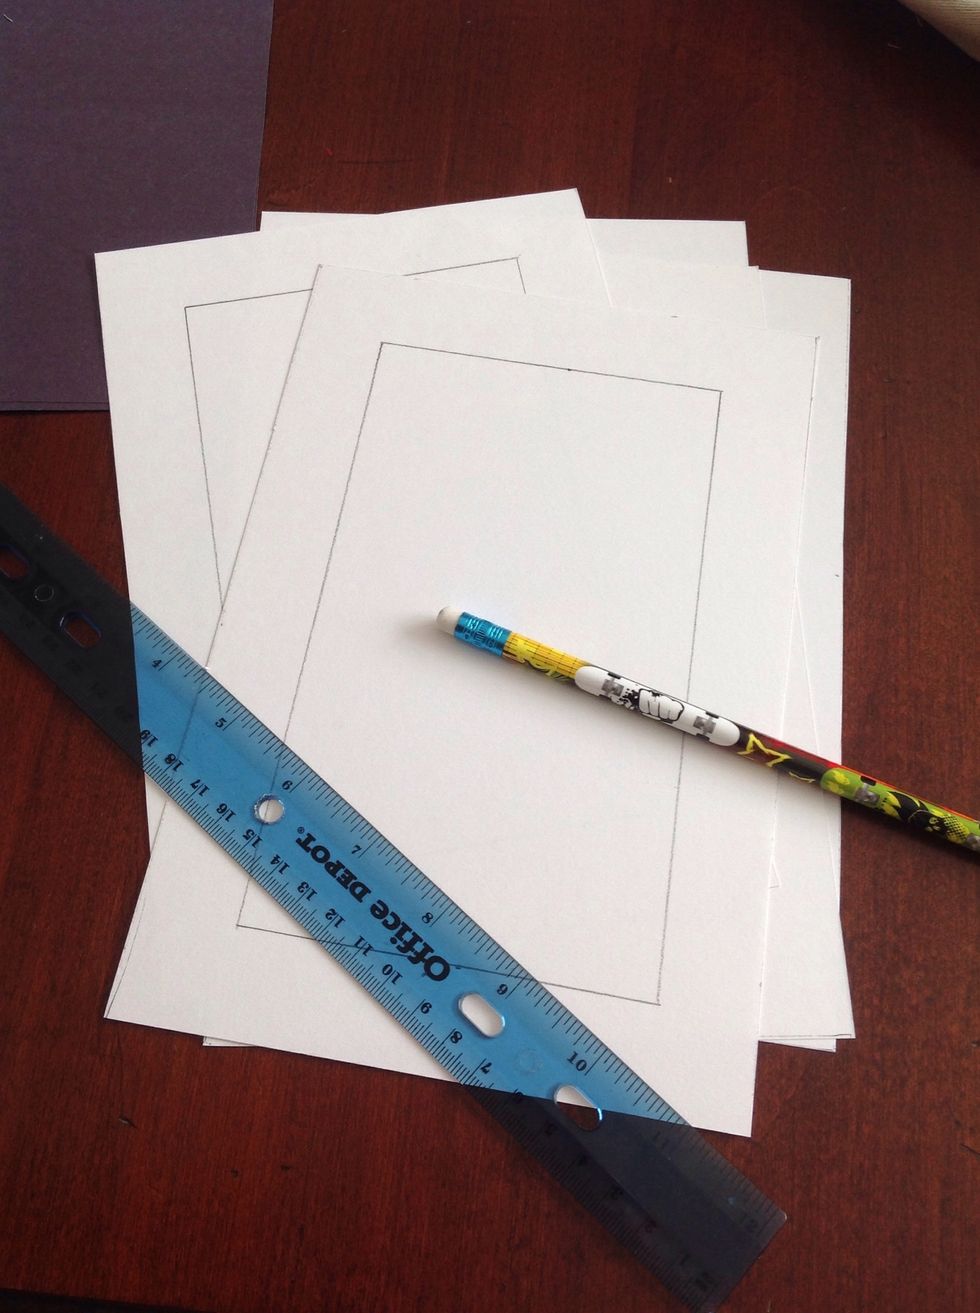
Measure and draw a one inch border around the five pieces of white drawing paper.

Fold four of the pieces of drawing paper in half and cut out the rectangle you just outlined.
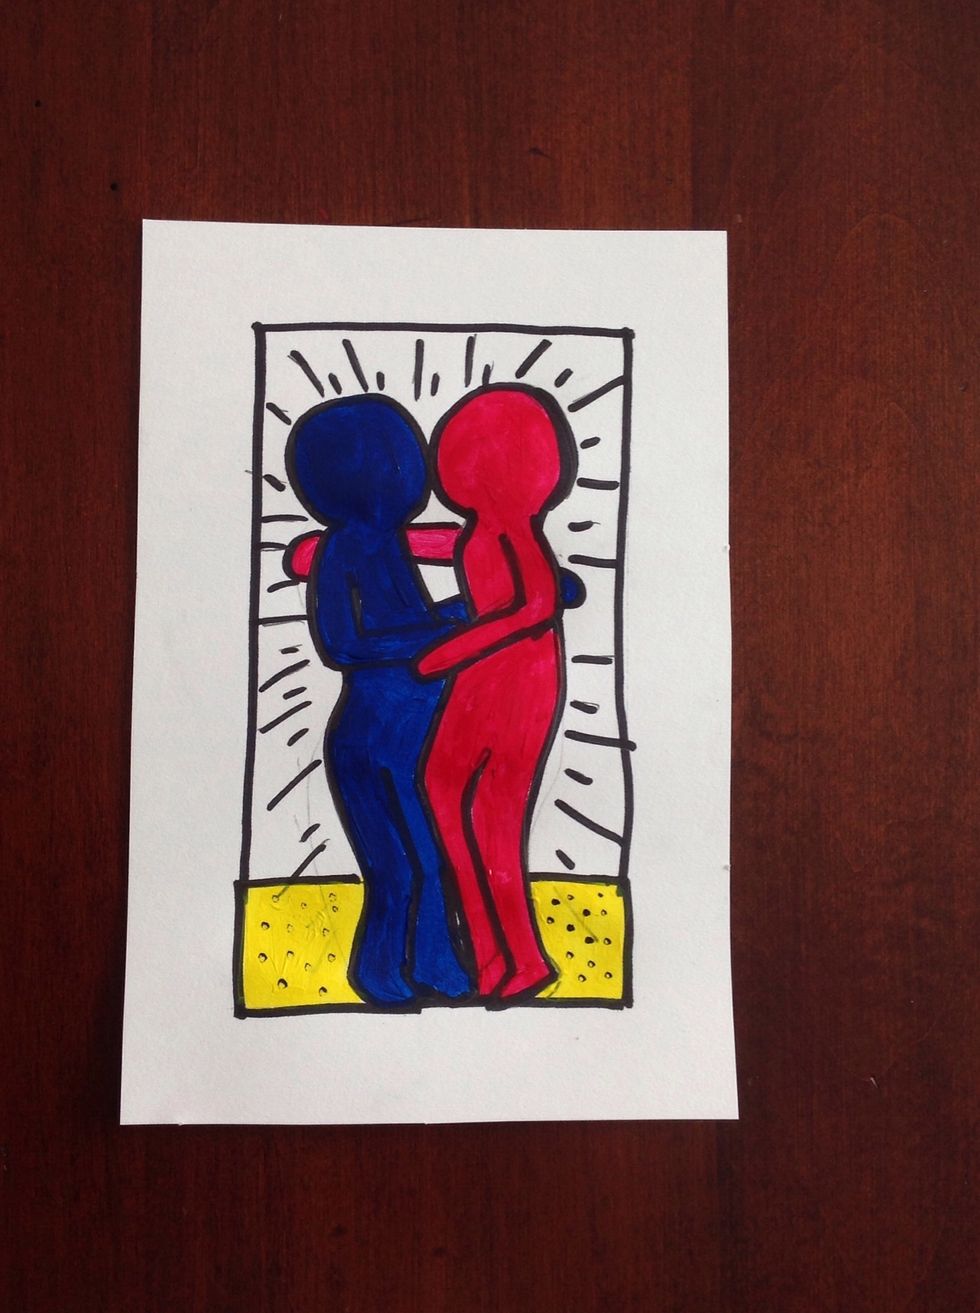
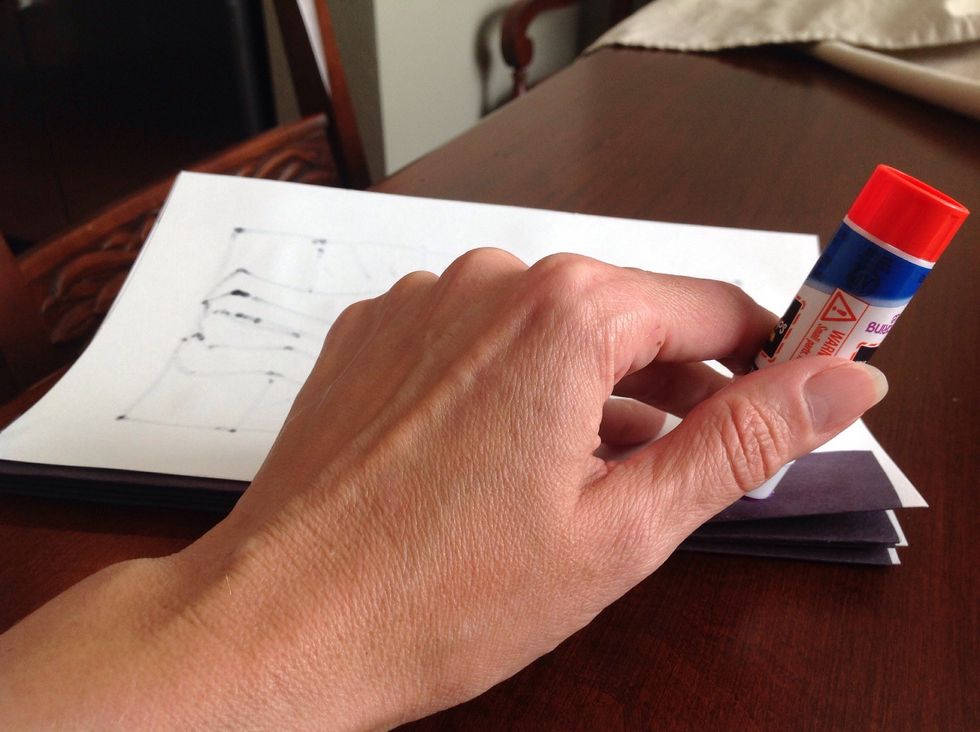
Make your illustration for the last panel.
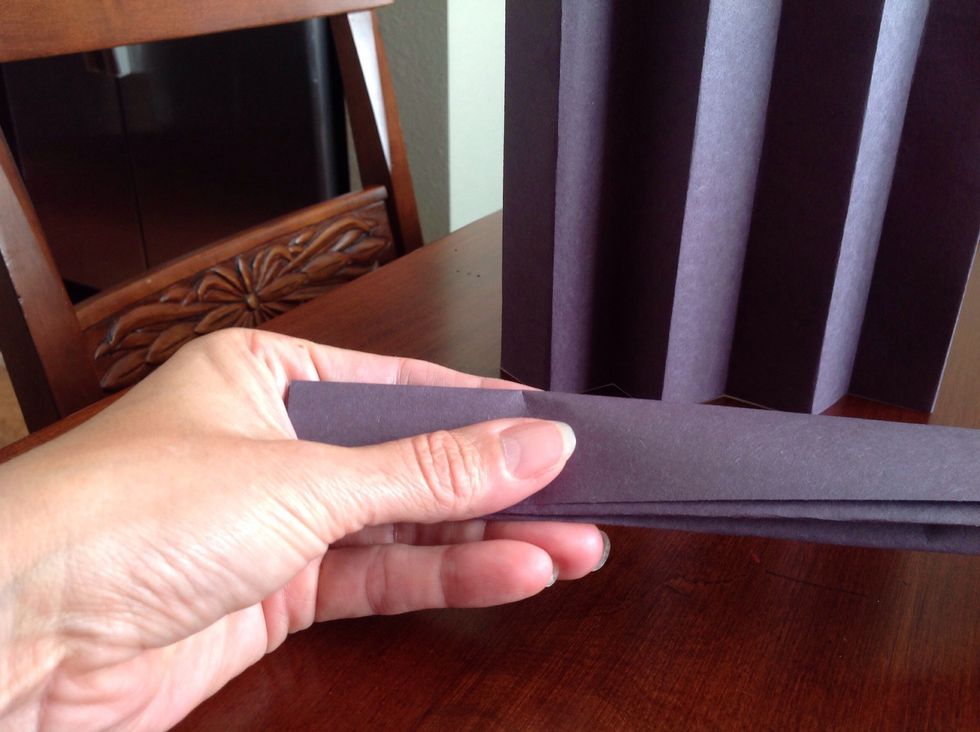
Fold the construction paper in half, then again twice more. Use the creases made from these folds as the guide lines for making them accordion in shape. Do this with both sheets of construction paper.
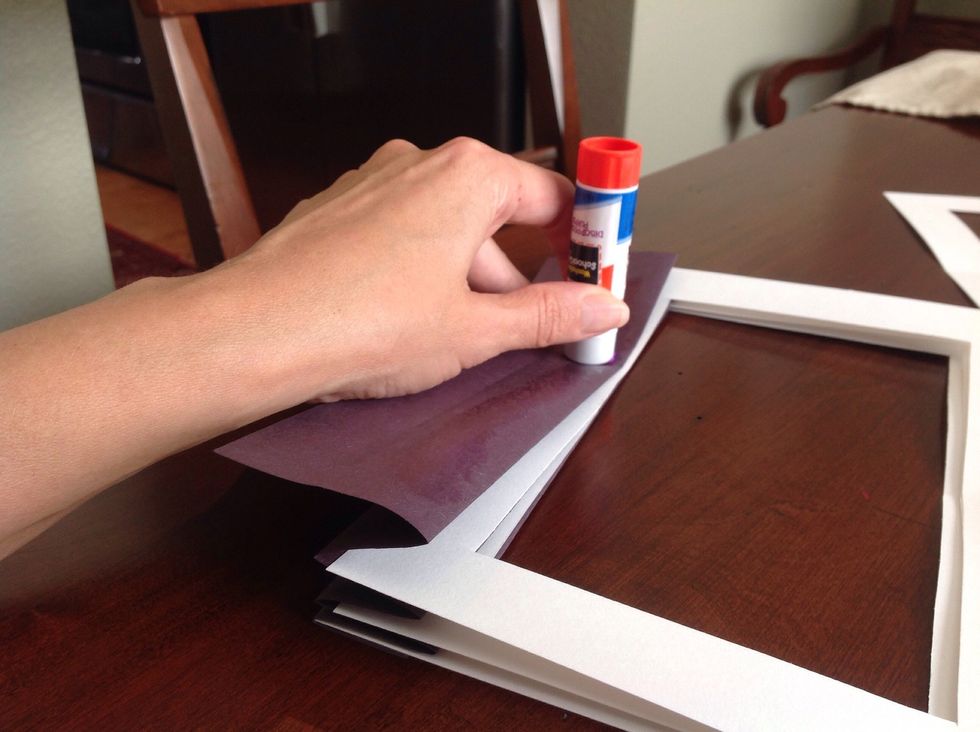
Put glue on each fold in the construction paper on the top facing part of each fold. Press the side of the white frames down over the glue. Continue until you all four frames glued on one side.

Glue the edge of the top frame and fold over and press down the last fold of the accordion.
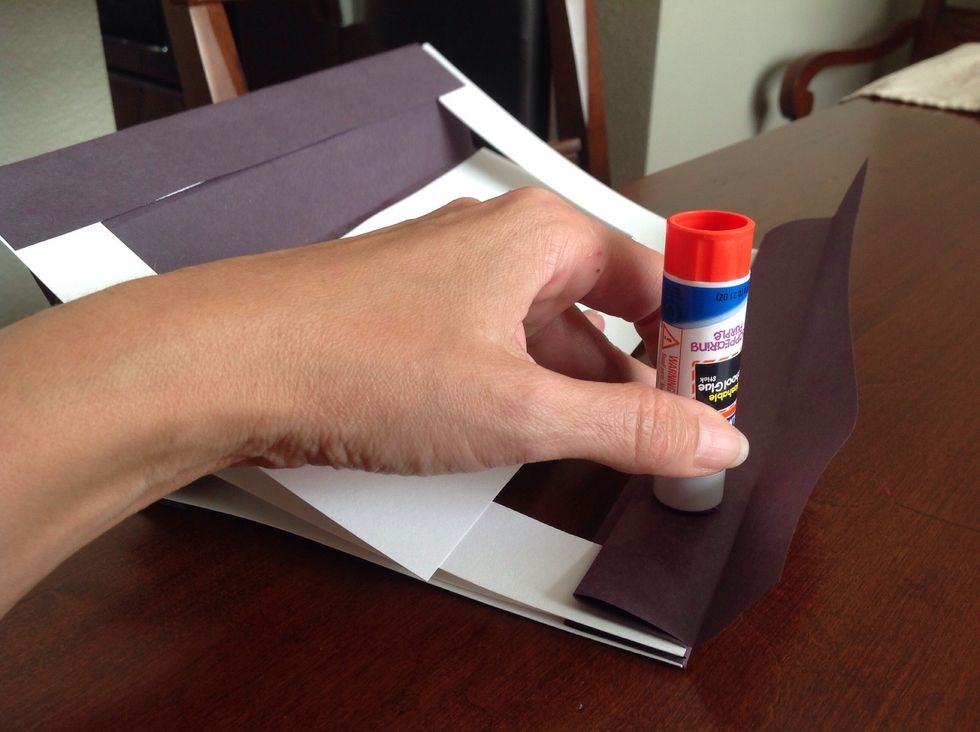
Repeat the process on the other side of the frames.
Glue your back decorative panel onto the back the accordioned panels.
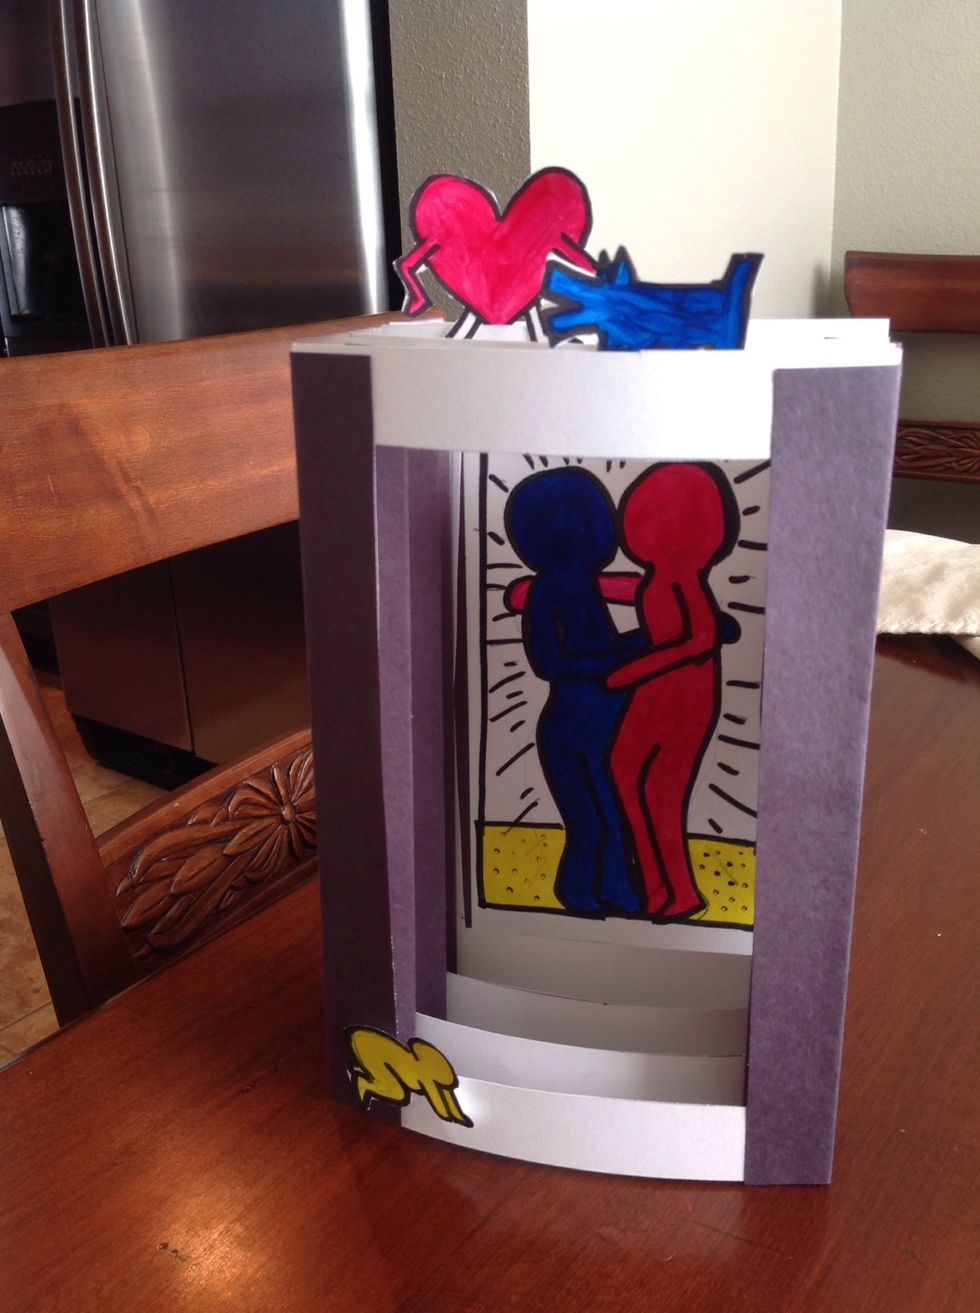
Add additional decorative elements at varying depths in your tunnel book.