STEPS
TOOLS
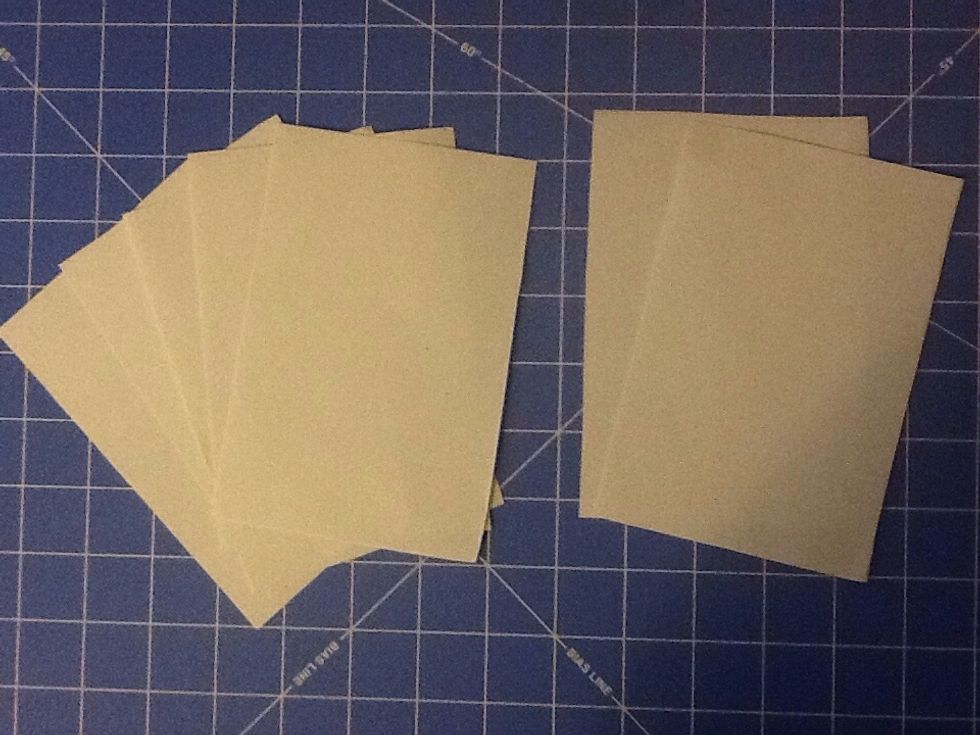
You need 7 pieces of paper all the same size. These are 4" x 6".
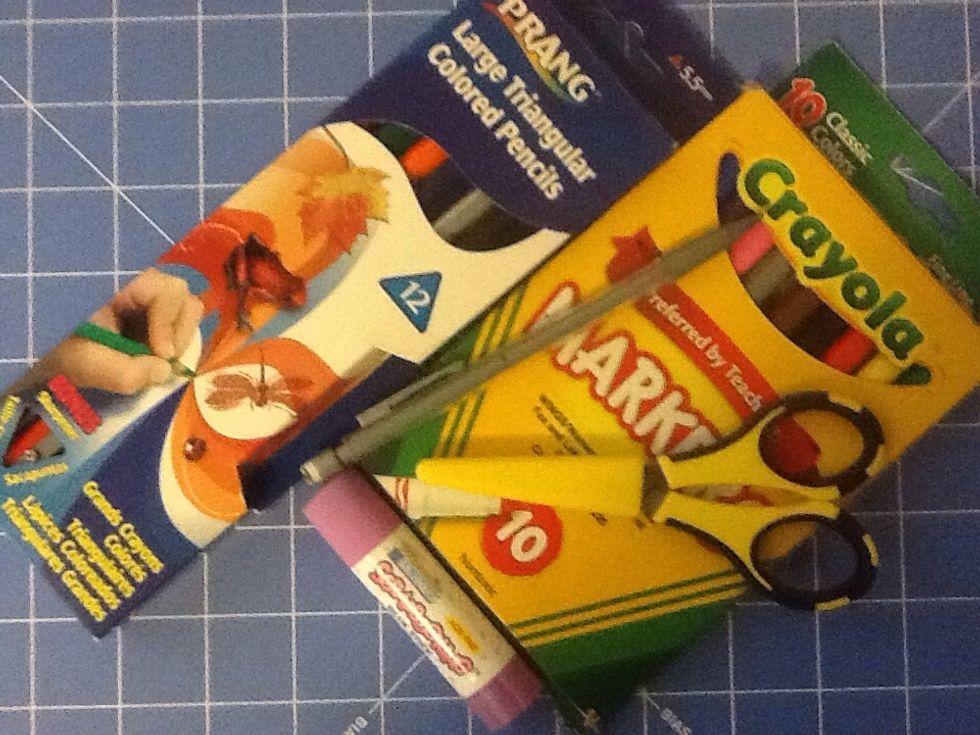
You need scissors, glue, and some art supplies for decorating your Tunnel Book.
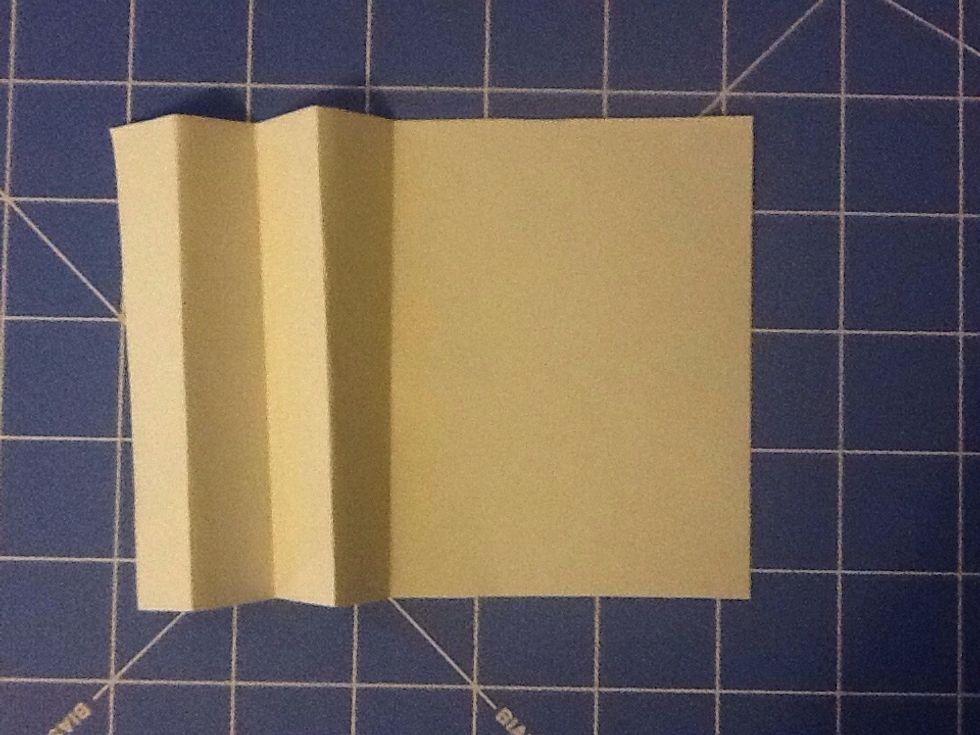
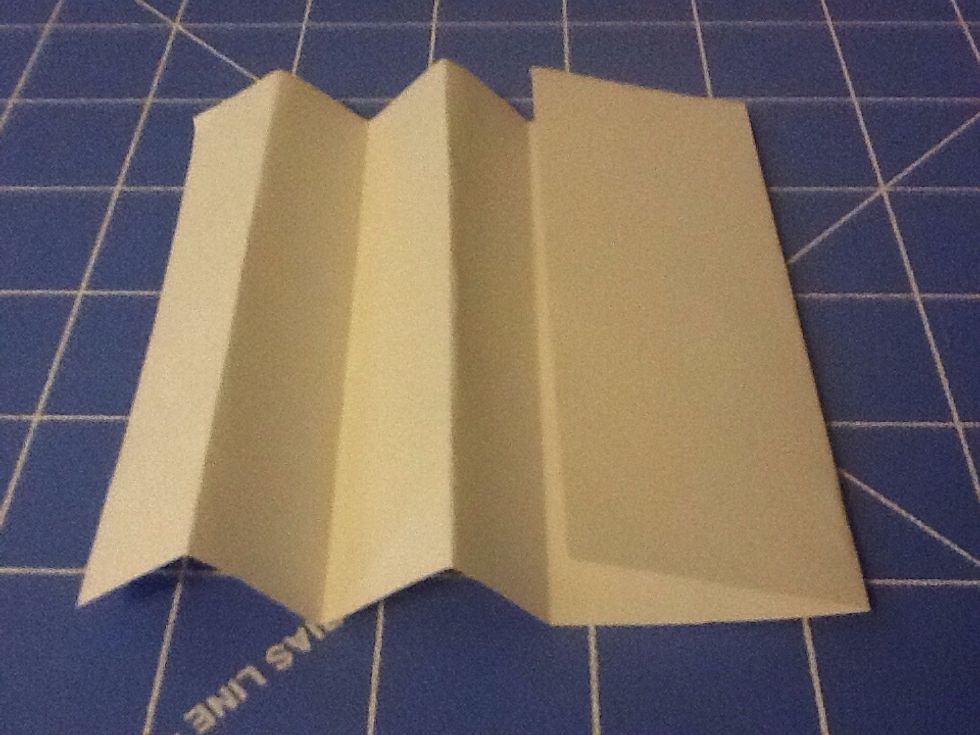
To create the edges of your book you will create an accordion fold with two pieces of paper.
I began by folding the paper in half. Then I brought the edge of the paper to the middle fold and creased the paper.
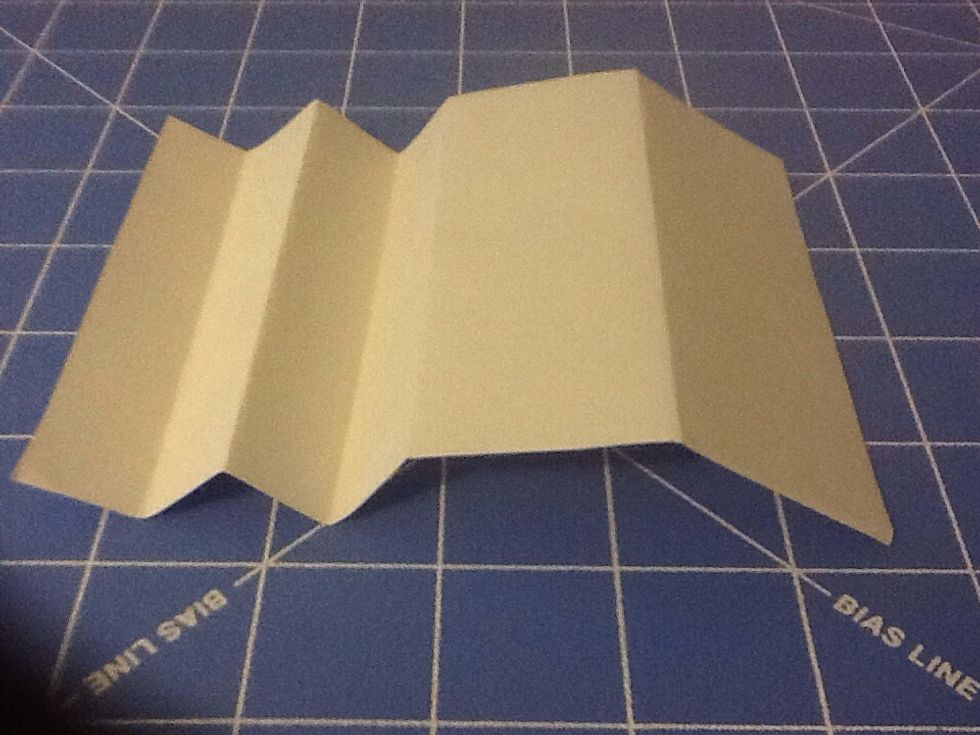
Flip the paper over and bring the two folds (these are called mountains) together and create a valley fold between.
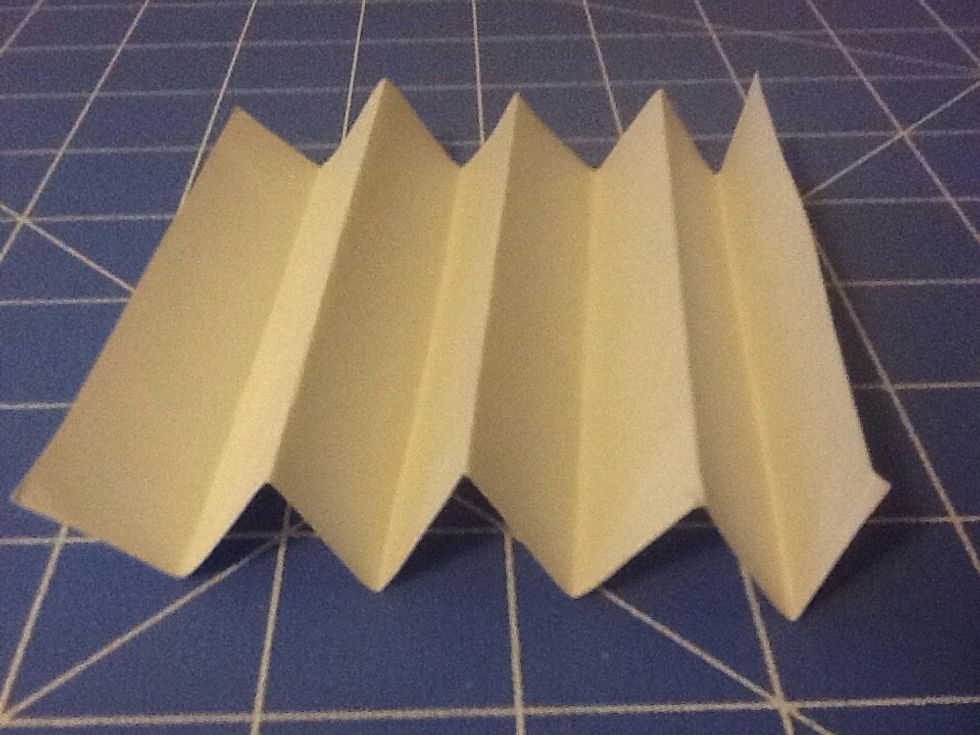
Repeat a mountain and valley folds down both side pages.

The three middle book pages need small folds on the edges so the pages can be glued to the book.

You now have 2 accordion pages for the edge of the book, 3 middle pages, and a front and back page.
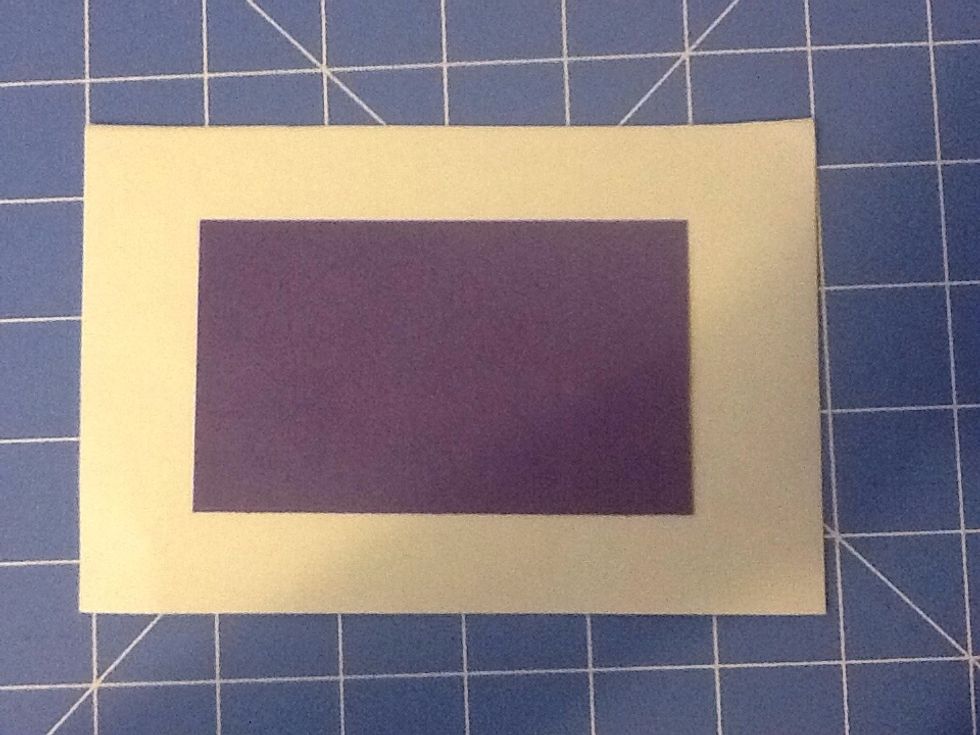
Use a smaller square to outline the inside frame for each page of your Tunnel Book except the back page.
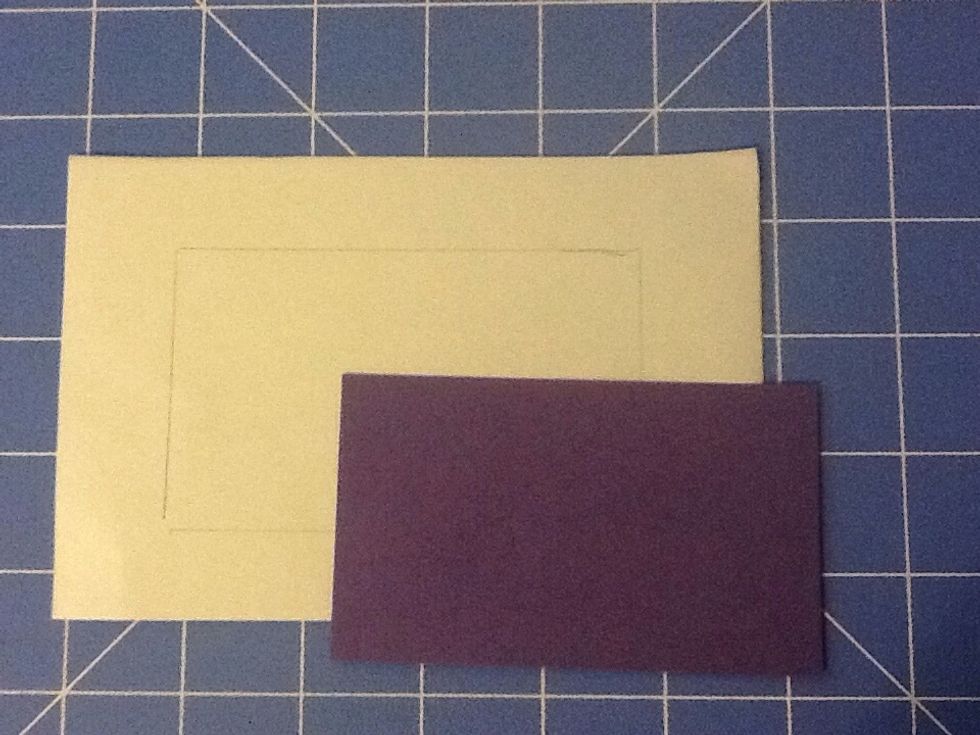
Trace around the rectangle.
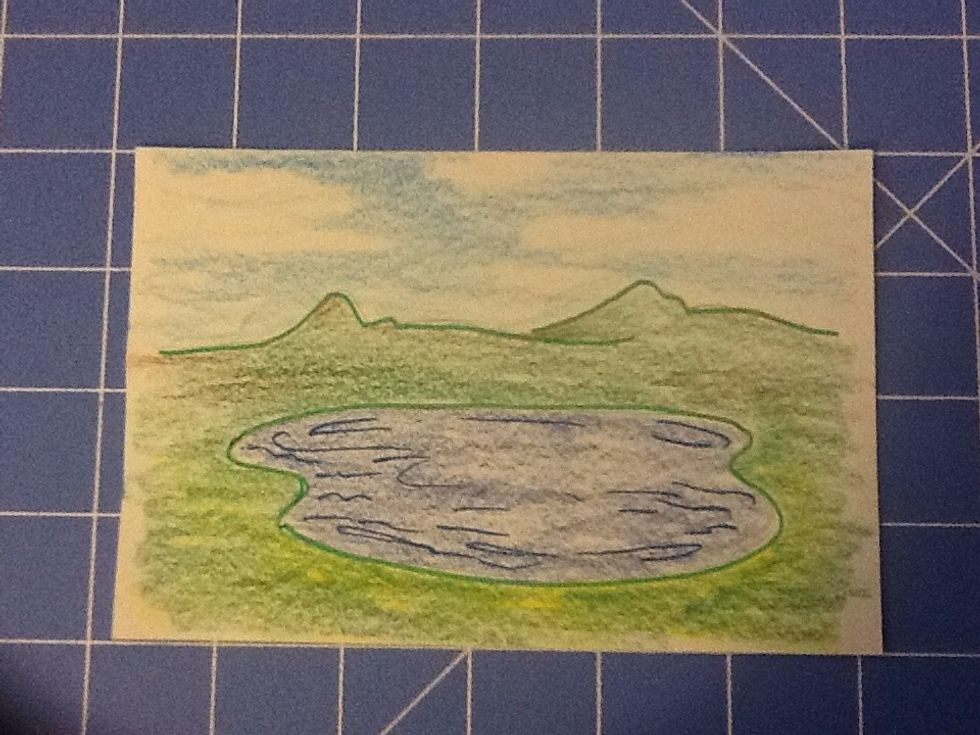
Now to get creative! Draw and color a background or choose a photo.
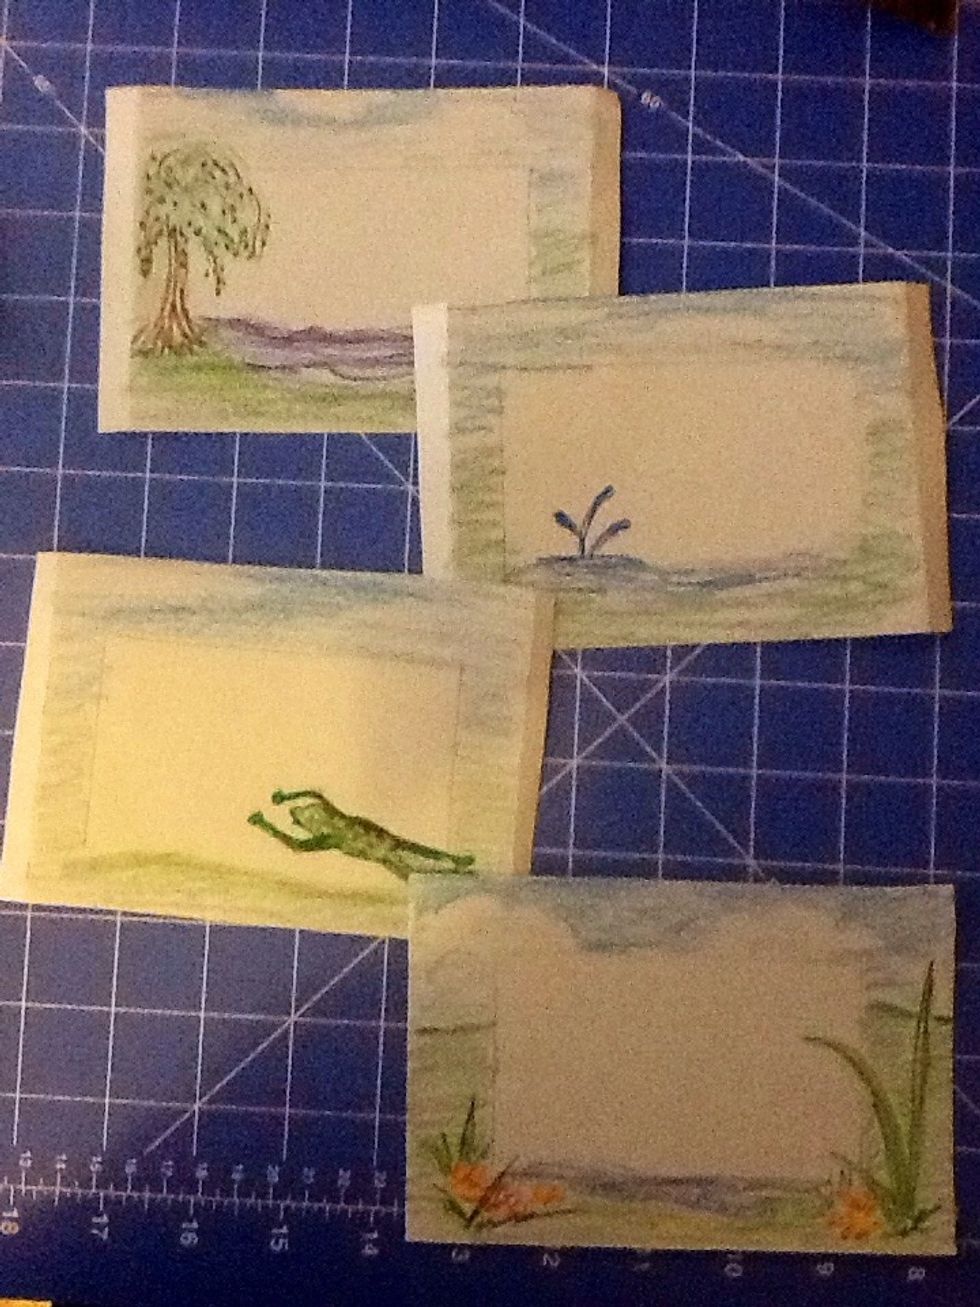
Create front and middle pages adding details that pop over the traced frame.
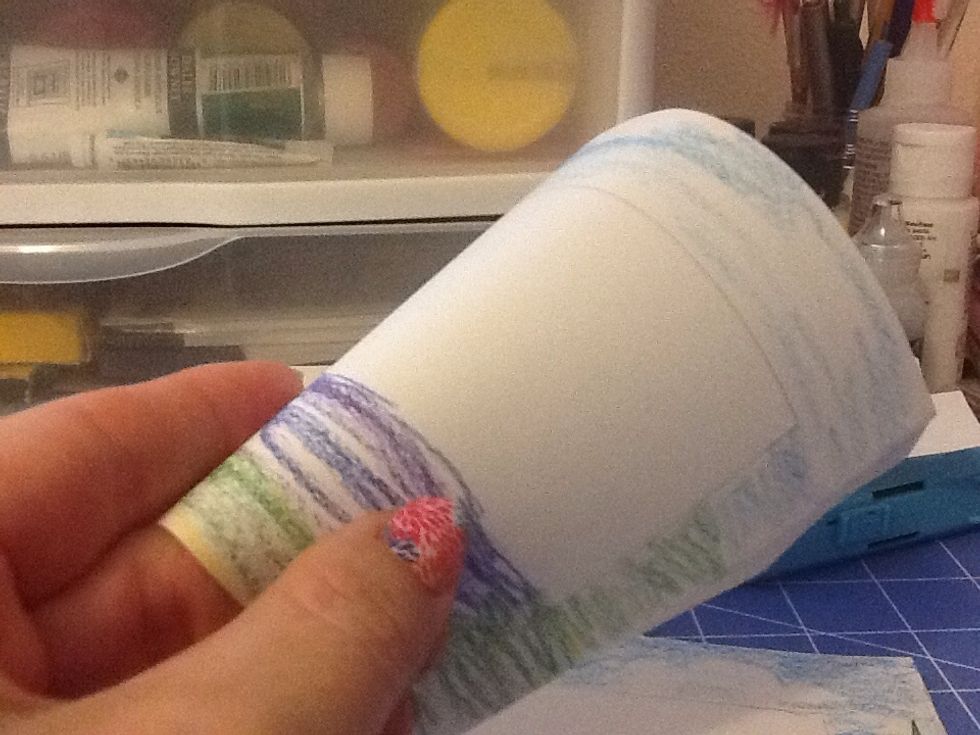
Now it's time to cut. Gentle flex your paper.

Make a small cut in the center of the area you will remove. Next cut to an edge and around the inside frame. Keep the areas that extend into the frame like the tree here.
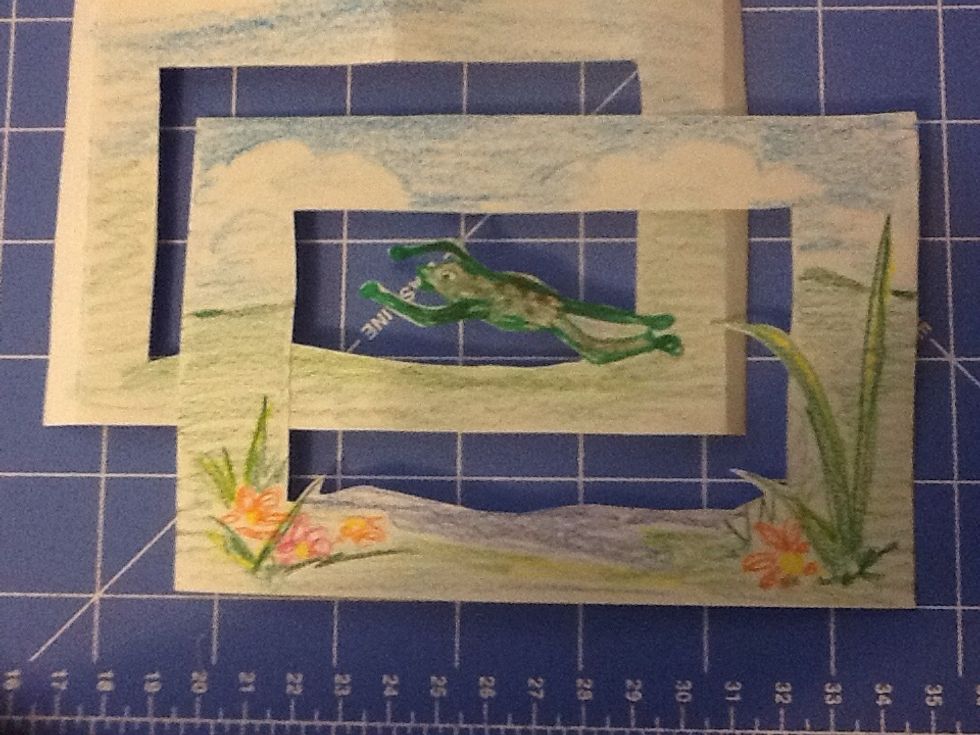
Cut all the frames out.
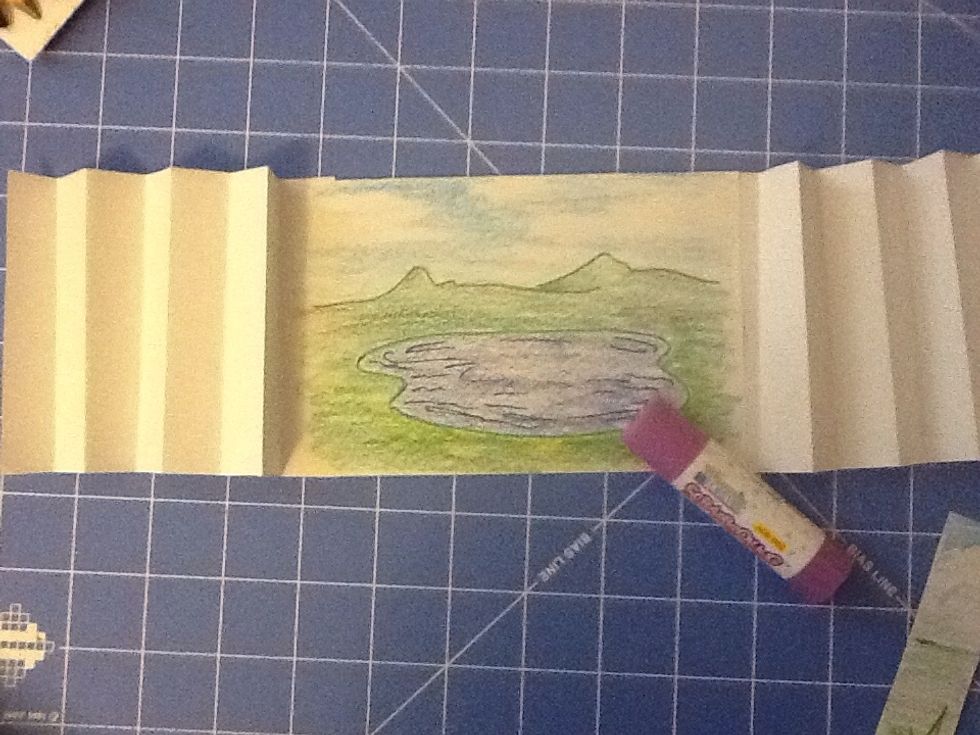
Glue the background to the inside do the last accordion fold.
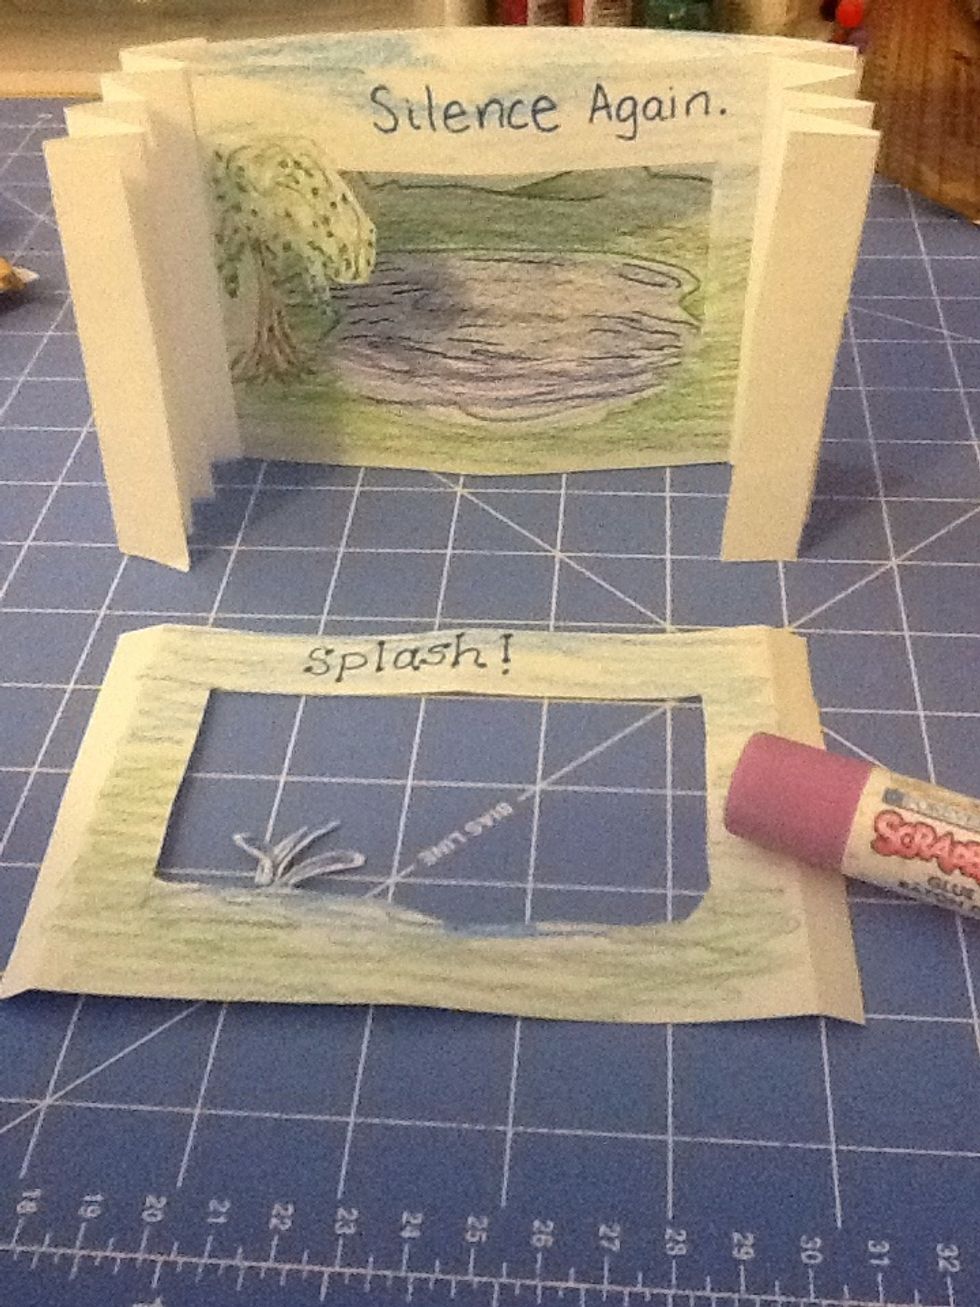
Flatten the folded edges and put glue on both sides. Glue to back of each accordion fold. Continue with each page. Add a story or poem to the top of each page.
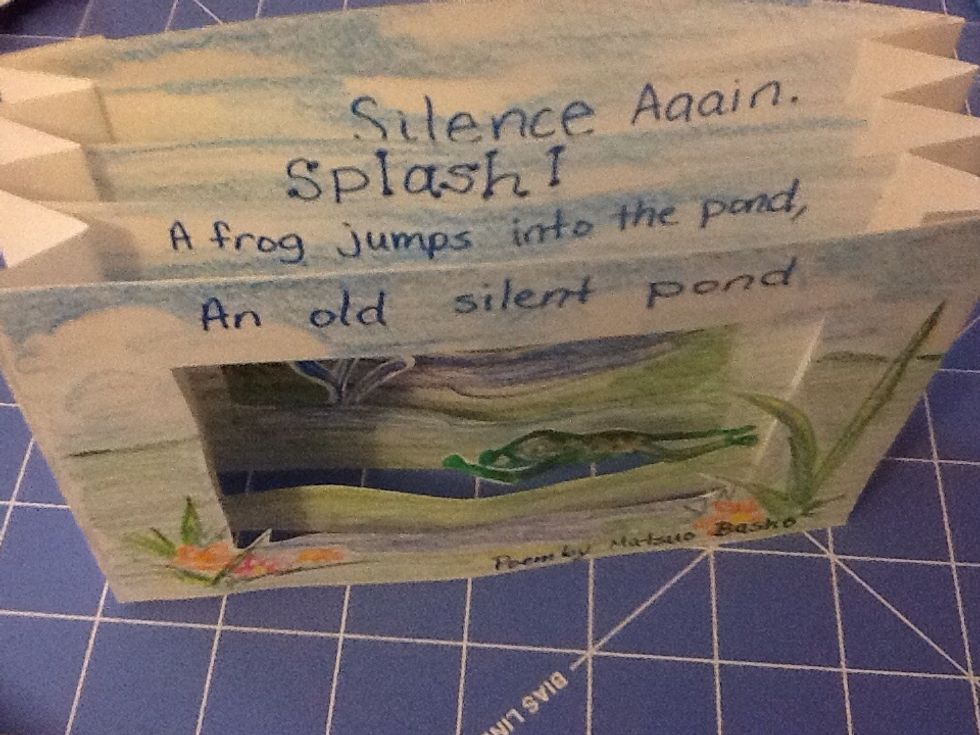
Glue the front page to the front of the first accordion fold.
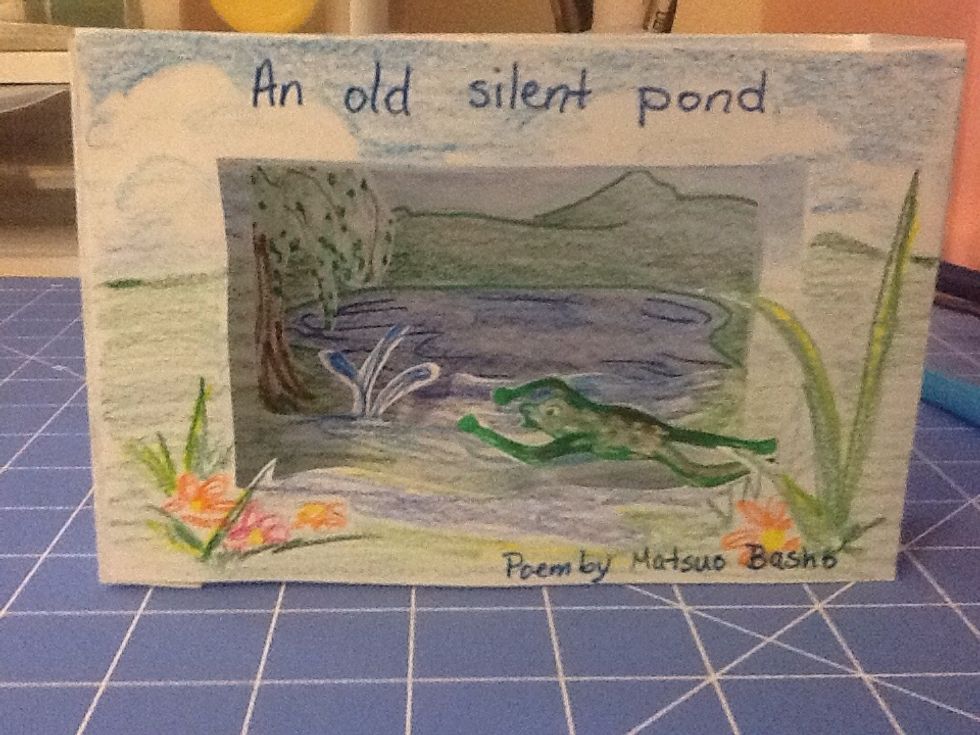
You have now completed your tunnel book.
- Thick paper cut to size or index cards
- Pencil
- Glue
- Drawing and coloring supplies