The Conversation (0)
Sign Up
ATTENTION ! There's a lot of steps to this project, so I apologize in advance, but that's why the professional upholstery people like Kim Chagnon are worth EVERY penny.
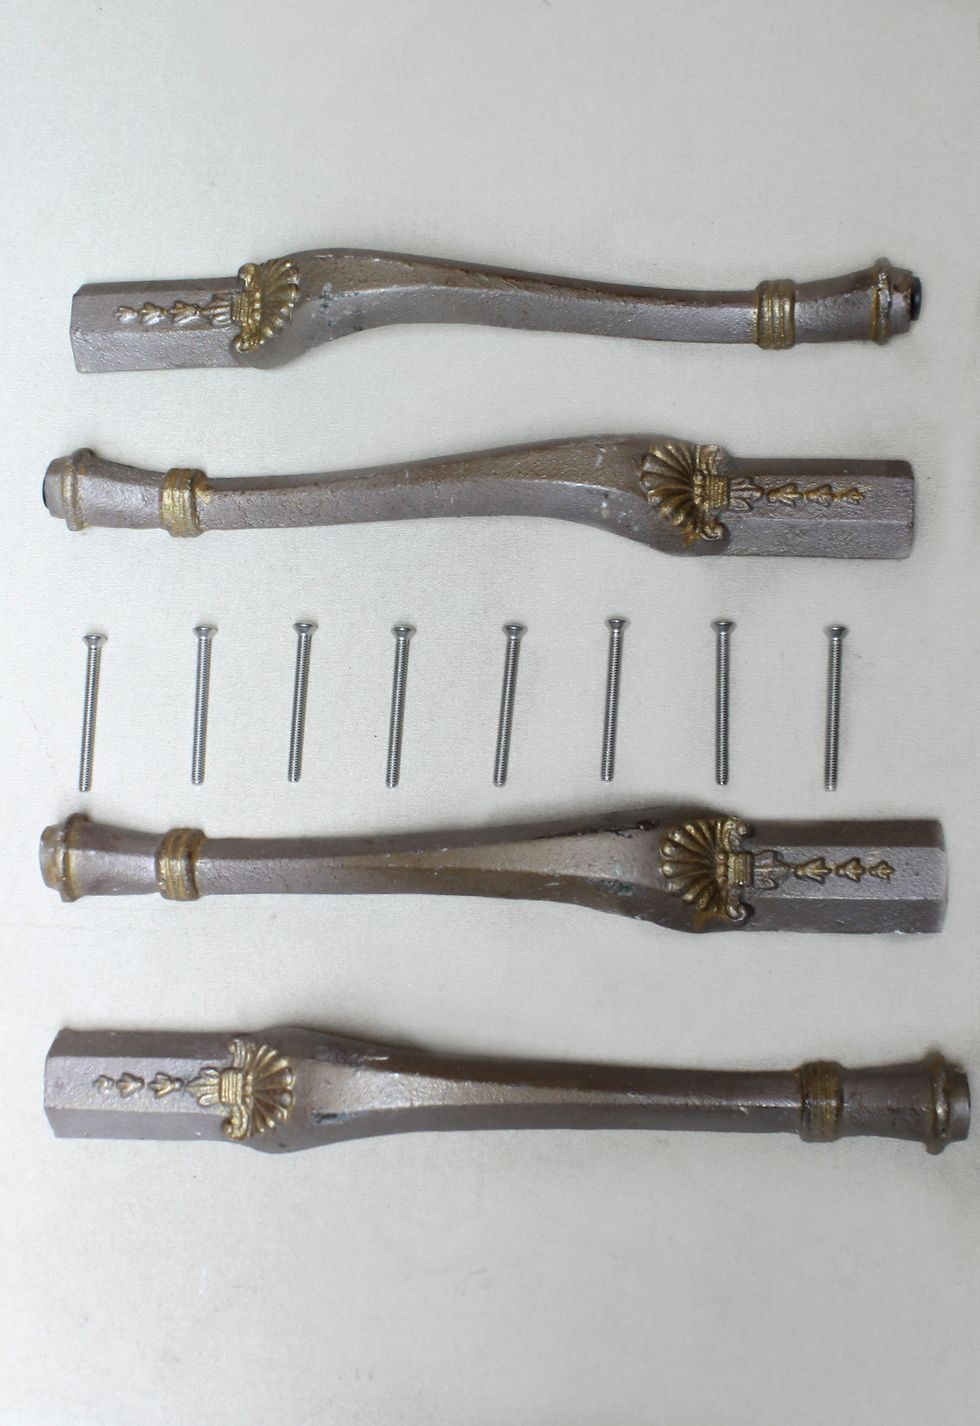
I found these cast iron legs at the Nashville Flea Market. They were perfect for my bench because they were 18" tall. My bed is on risers so anything shorter looked like a step rather than a bench.
I decided I wanted my bench 10" narrower than my bed and not quite 2 ft deep. So I cut the 5/8" plywood and the 5" foam 65 x 22.
Build a square frame out of the 2 x 4 s the exact size of your board. This is called the riser
My legs were predrilled. Which means they are installed similar to a cabinet knob. The screw enters from the back (through the wood then into the back of the leg) .
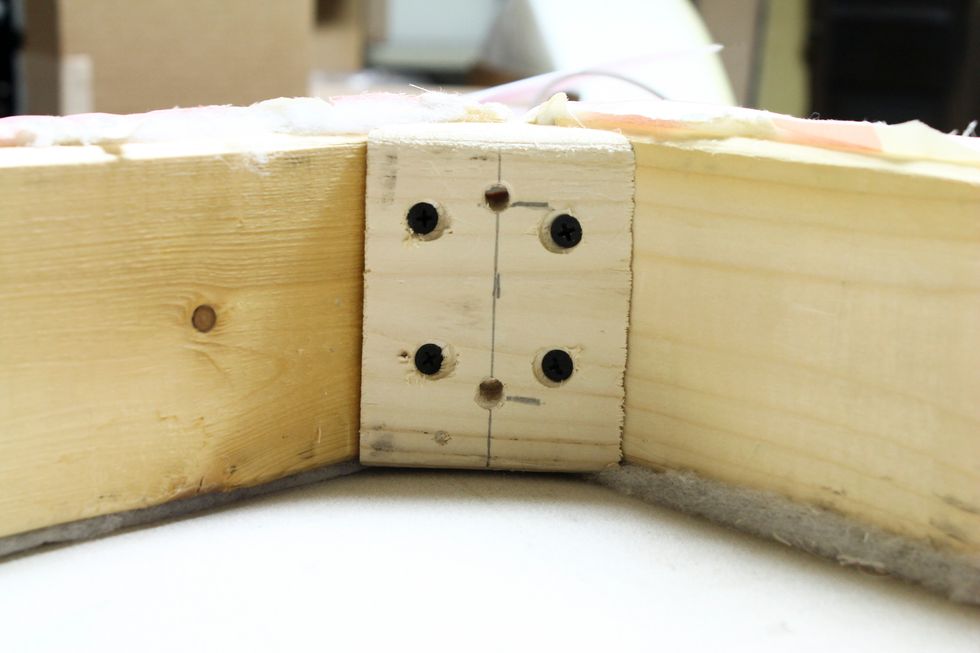
So we made a wedge for the inside corners of the riser to attach the legs in the corners since I didn't want them facing to the front or sides. We predrilled 2 holes in the wedge for the leg screws.
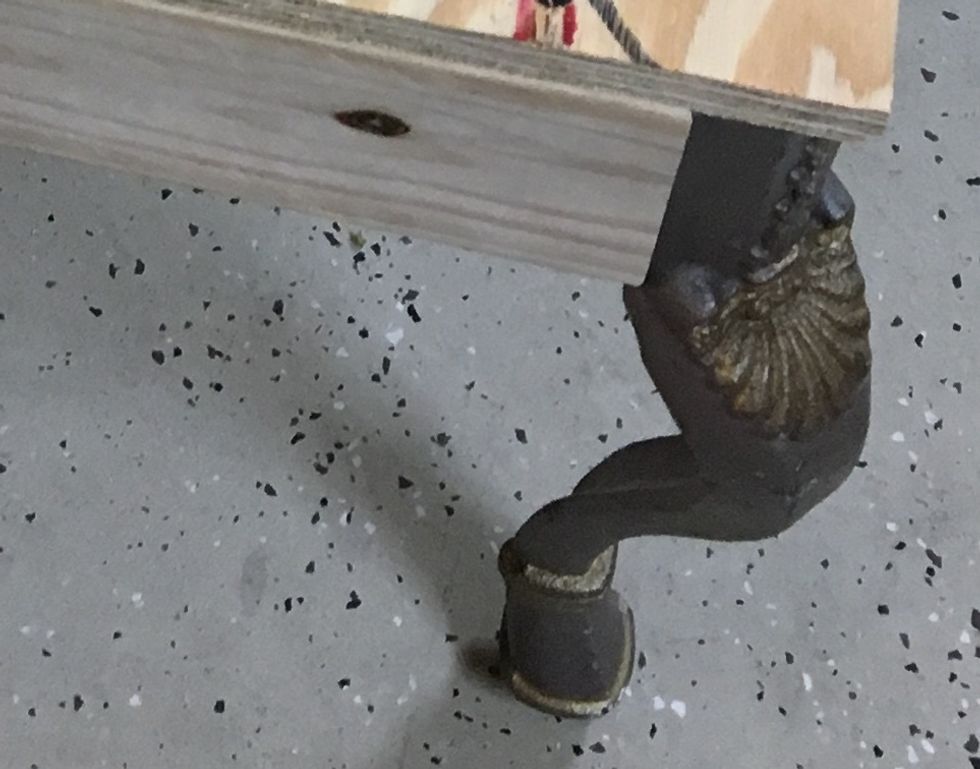
This is what they looked like when they were installed in the corners
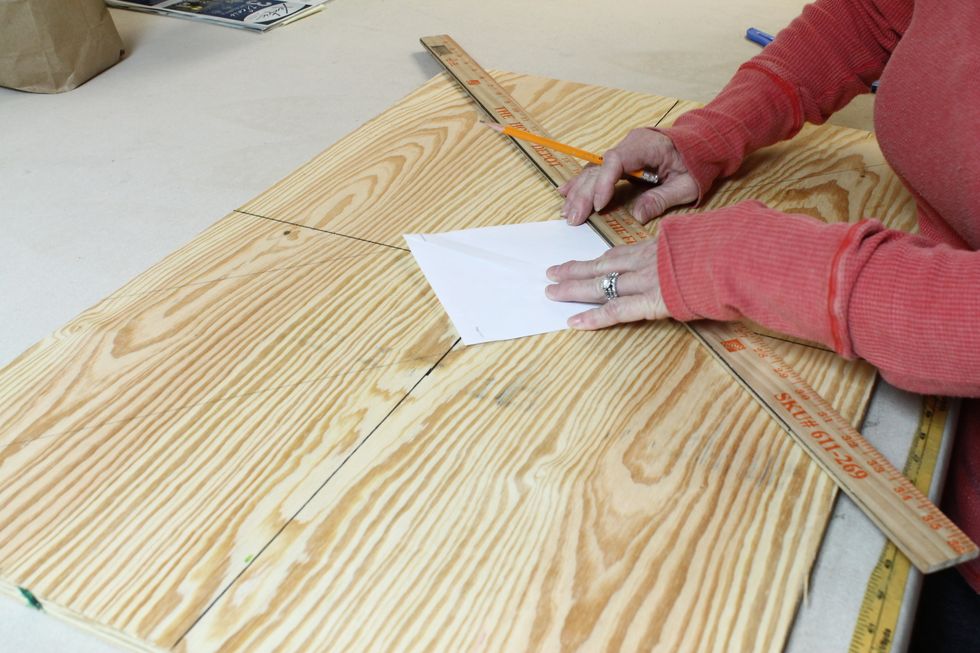
First I determined the middle of the plywood with a vertical and horizontal line. Then I cut a piece of paper the size I wanted the tufted squares and centered it diagonally on the board as shown.
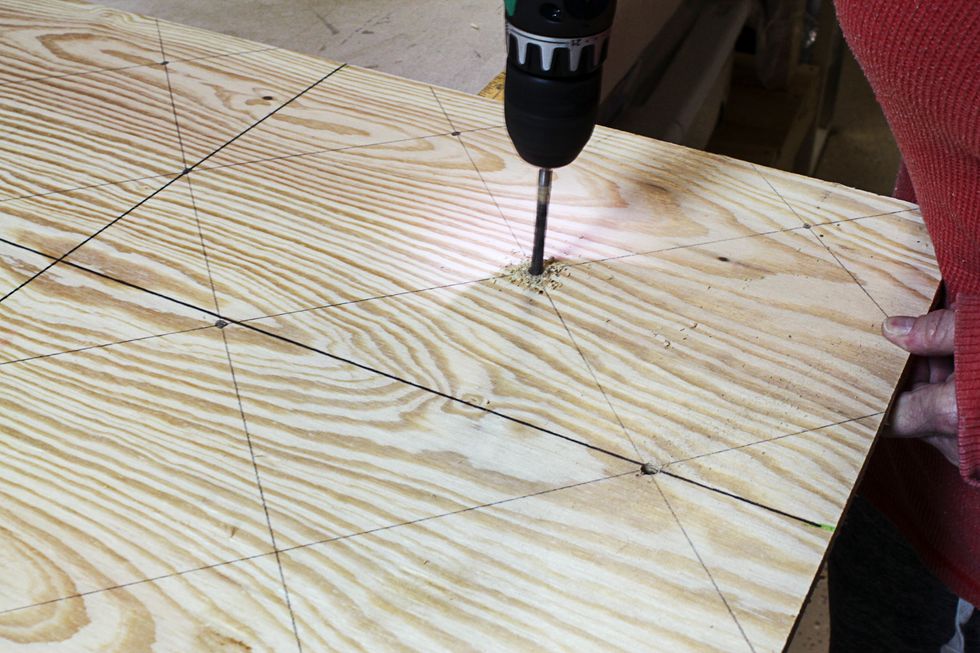
Diagonal lines should look like this. Drill holes in the corners of each square
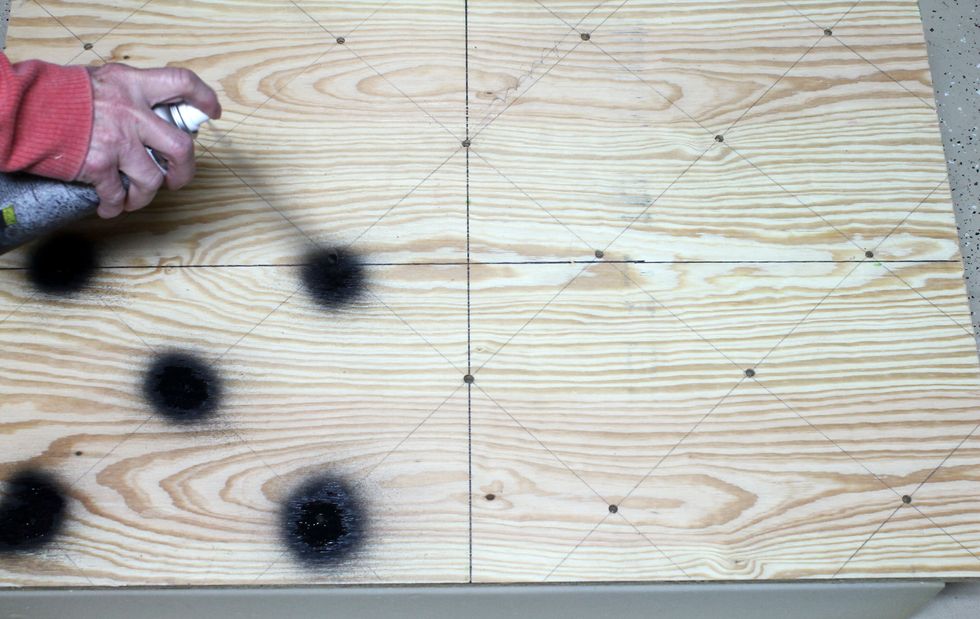
Position the plywood on top of the foam making sure it is aligned perfectly. Spray paint the holes so that the dot placement is transferred to the foam.
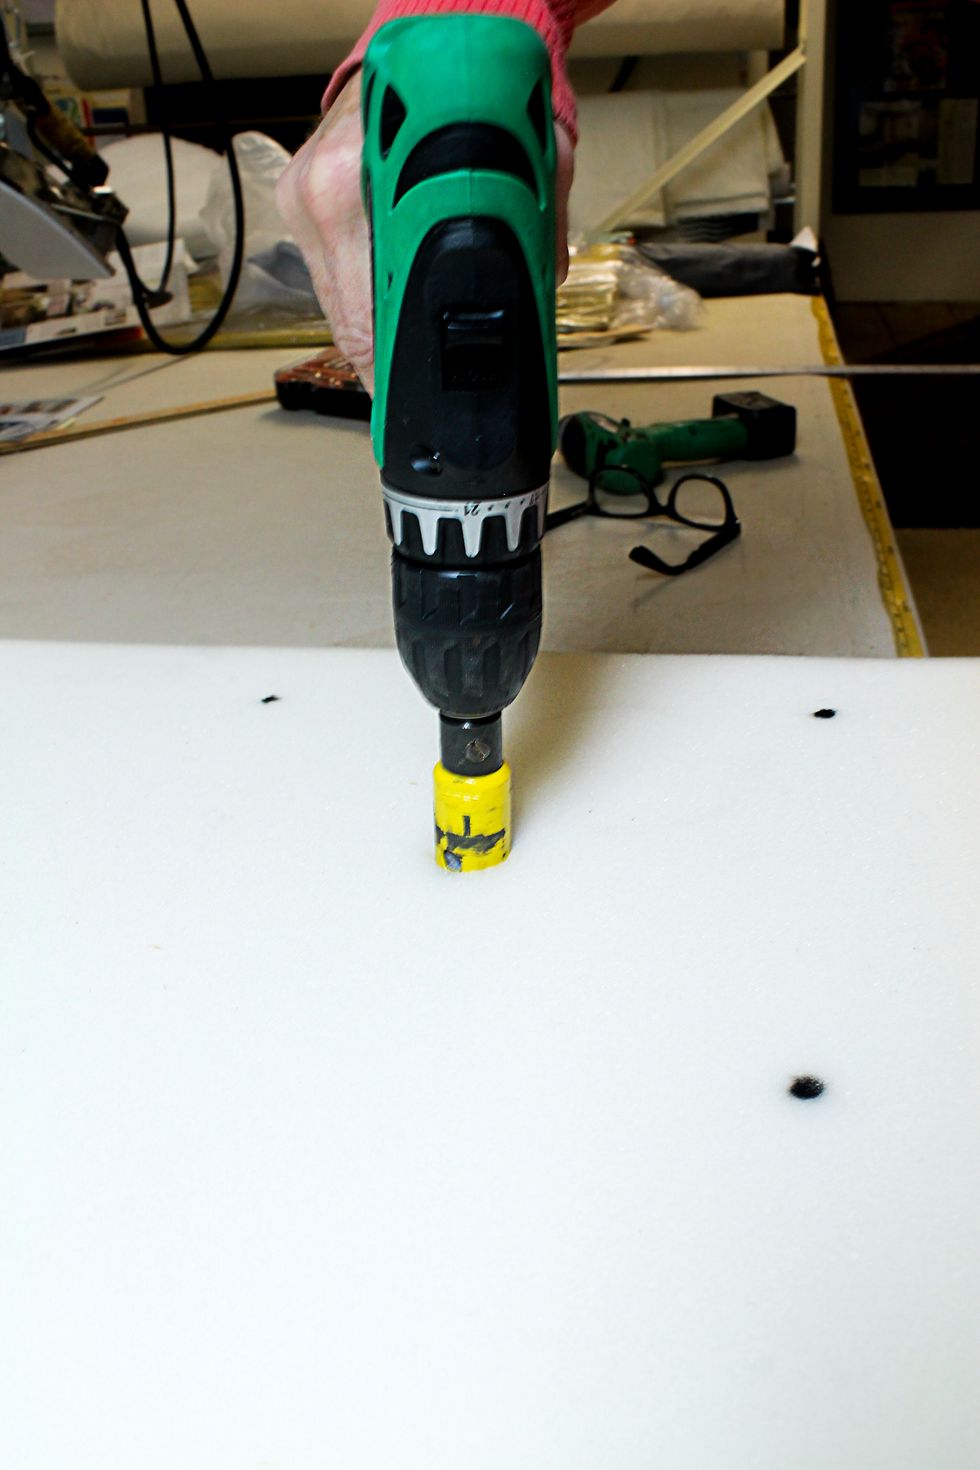
Cut the holes in the foam about 2" deep. A serrated edge knife works great unless you have one of these.
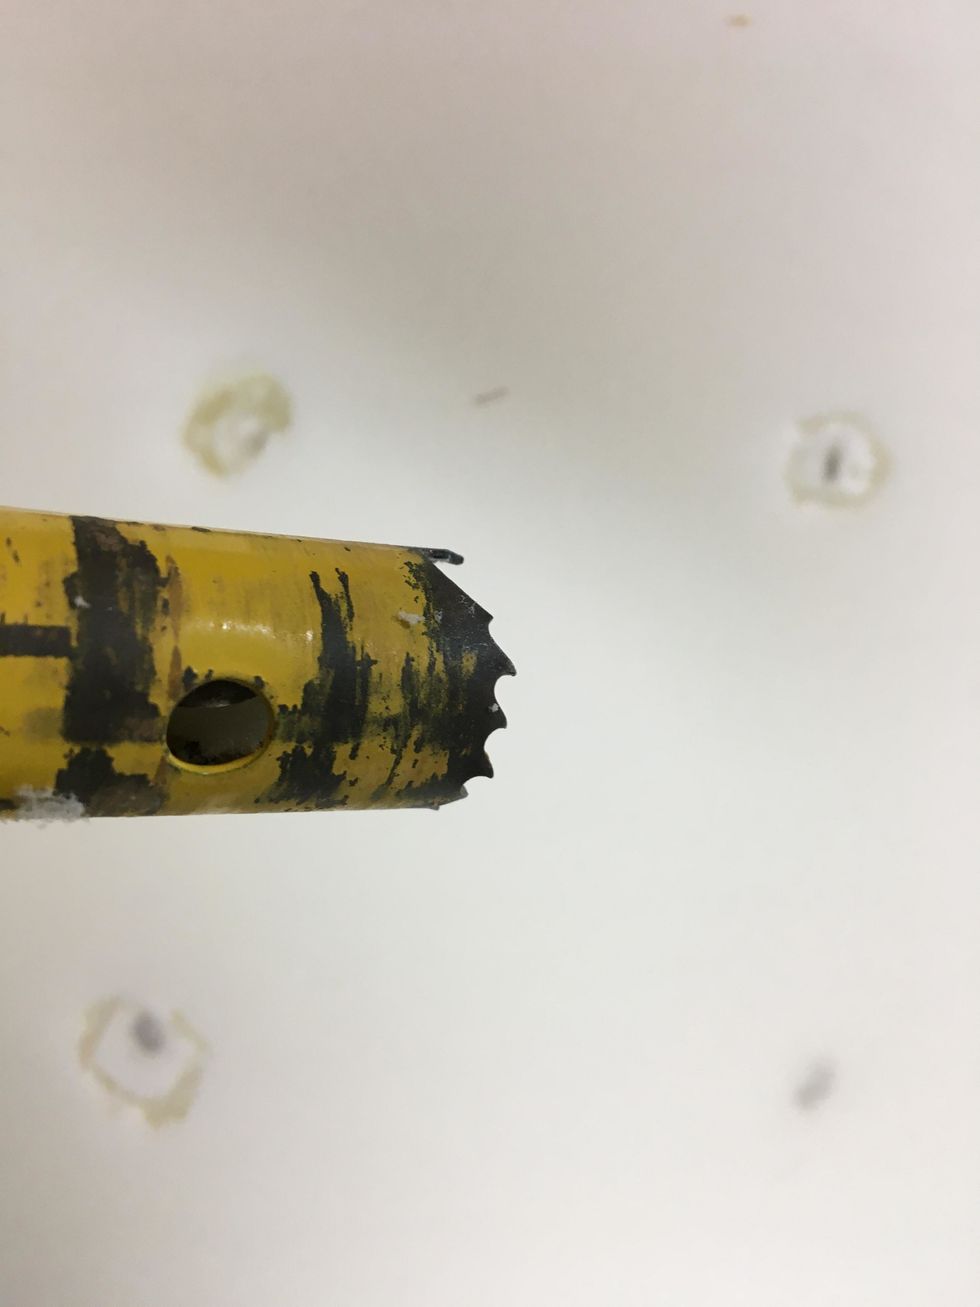
I found this nifty tool in my husbands work bench that works great. It's really for cutting wood.
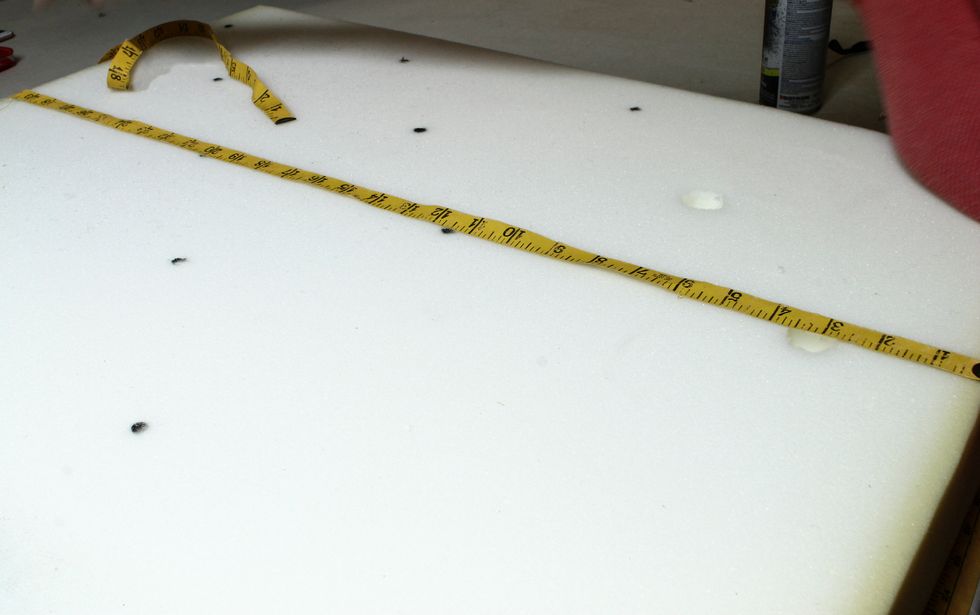
Measure across the top of your foam
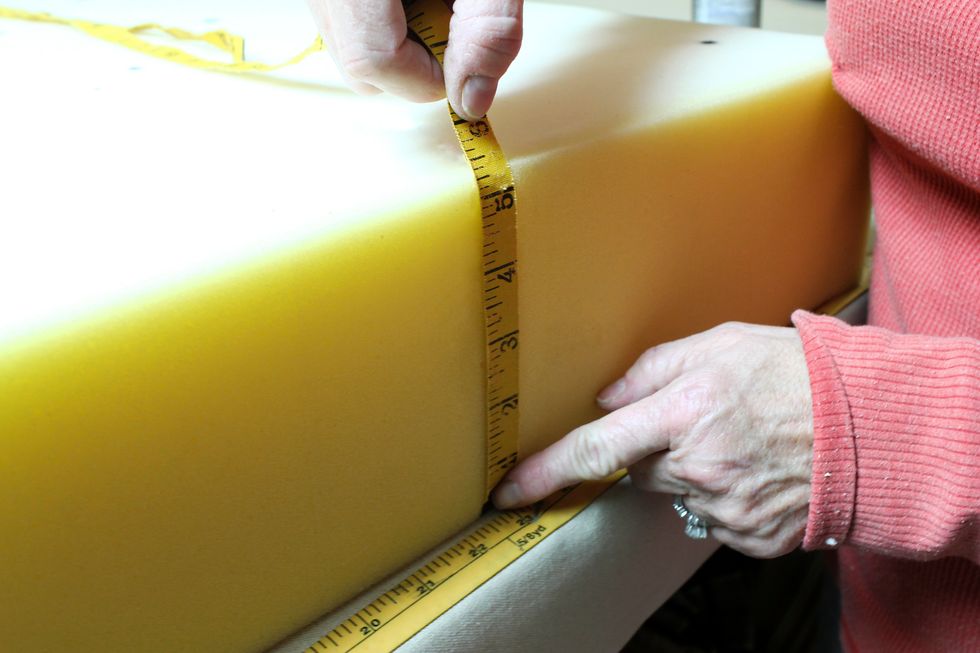
And down both sides .........
Mine measured across the top and down the sides 65(top) +5(side) +5(side) = 75. From front to back and down the sides it was 22+5+5=32. So total it was 75x32.
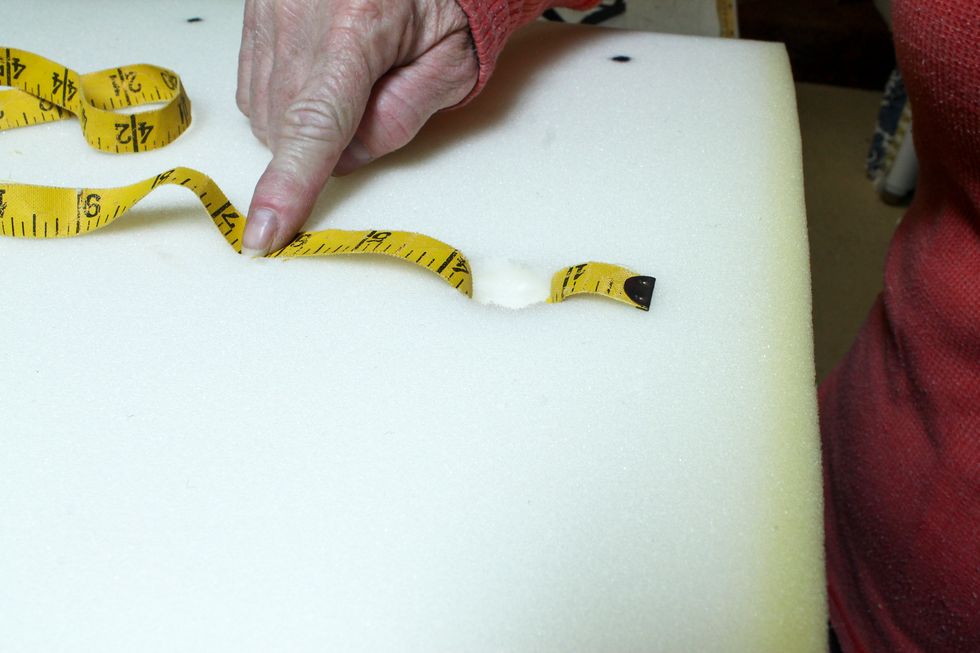
Next I determined how much to allow for each tuft. Push a cloth measuring tape all the way into the foam. I needed to allow 3" of fabric for each tuft.
I had 8 tufts across and 3 tufts front to back. I needed 3" of fabric for each tuft. So I allowed 24" (8x3) additional fabric for the width and 9" (3x3) additional fabric for the depth or length
My fabric needed to be 99"x41" (75+24) x (32+9). Add plenty to wrap around to staple so my cut ended up being 105"x 47".
If your fabric has a directional print and will require seams check out our website for tips on matching repeats.http://www.patemeadows.com/Matching-RepeatsPatterned-Fabric_ep_56.html
Lay batting out on a flat surface.
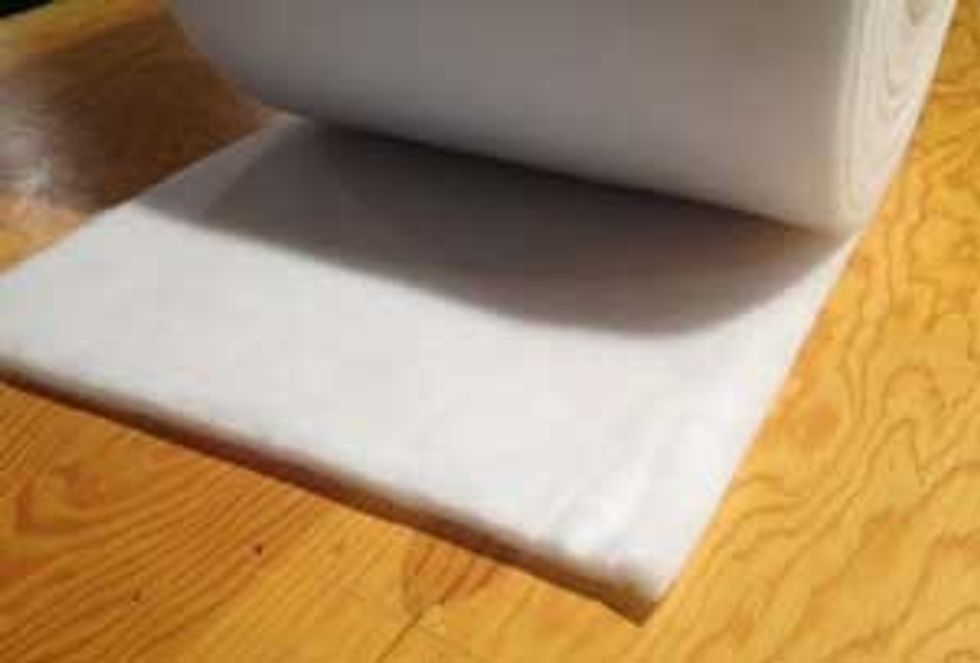
We sell the 30" Batting by the foot on our website. Here's the link http://www.patemeadows.com/Cornice-PaddingBatting-30--Sold-by-the-Foot-_p_552.html#.WLXEeRiZOV4
Center foam, top side down on top of the batting then lay plywood on top also centered. Pull batting up on top of plywood and staple working from the middle out.
Fold and tuck the corners. Make sure batting is smooth
Flip it over. Find the center of your fabric and place it directly on top of the center hole of the batting covered foam.
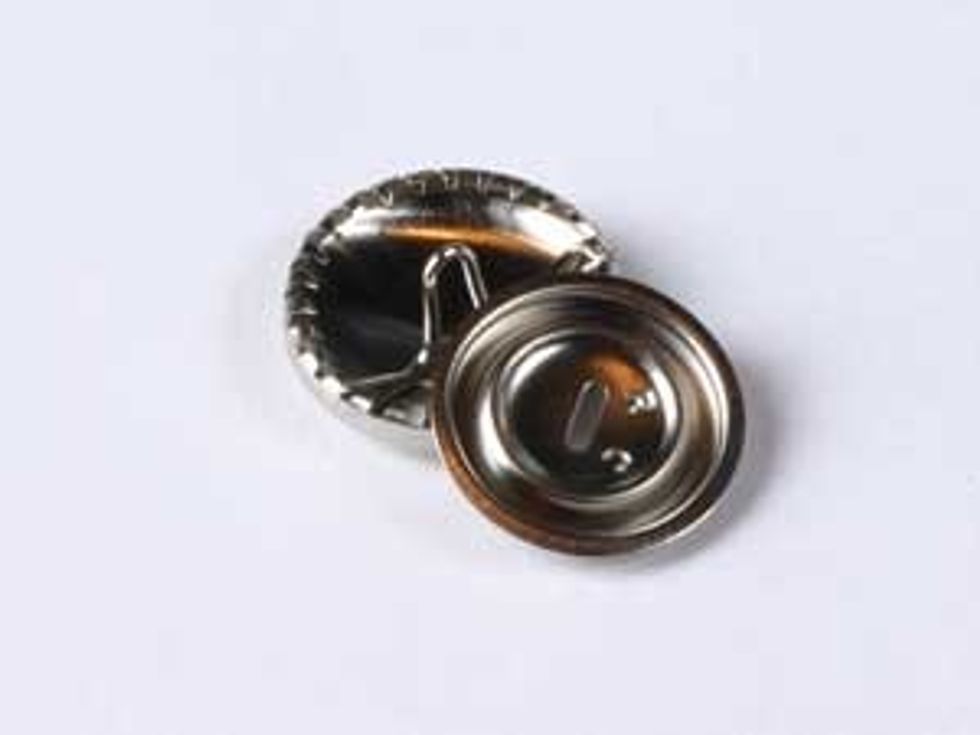
I used our 7/8" buttons. You can find these and other sizes on our website here http://bit.ly/2xVmHiT
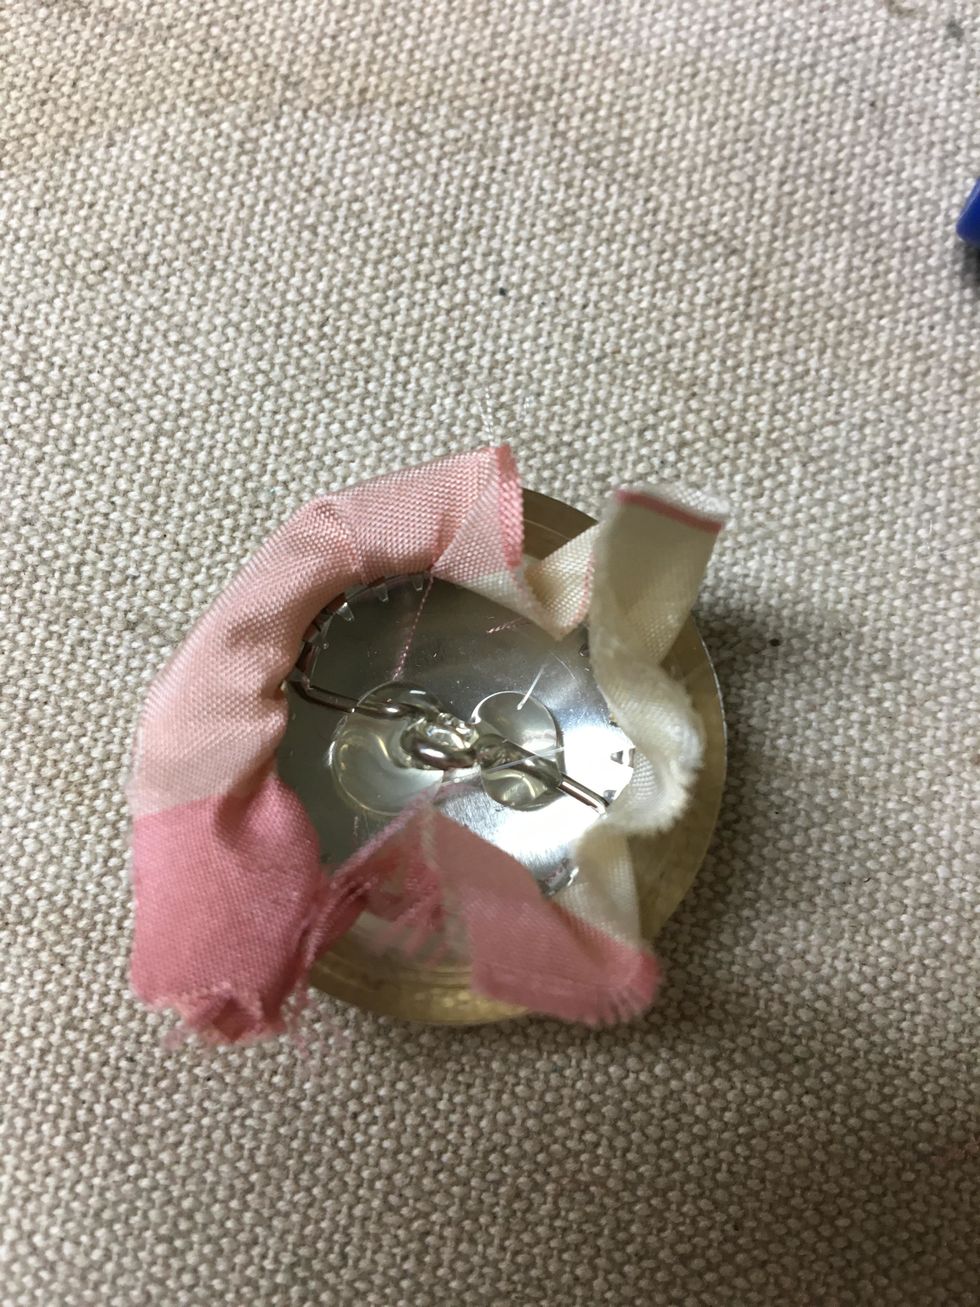
Cover your buttons with fabric. Fill the button with a little hot glue before clicking the back onto it. This helps the pin to stay secure after they are pulled into the tuft of the cushion
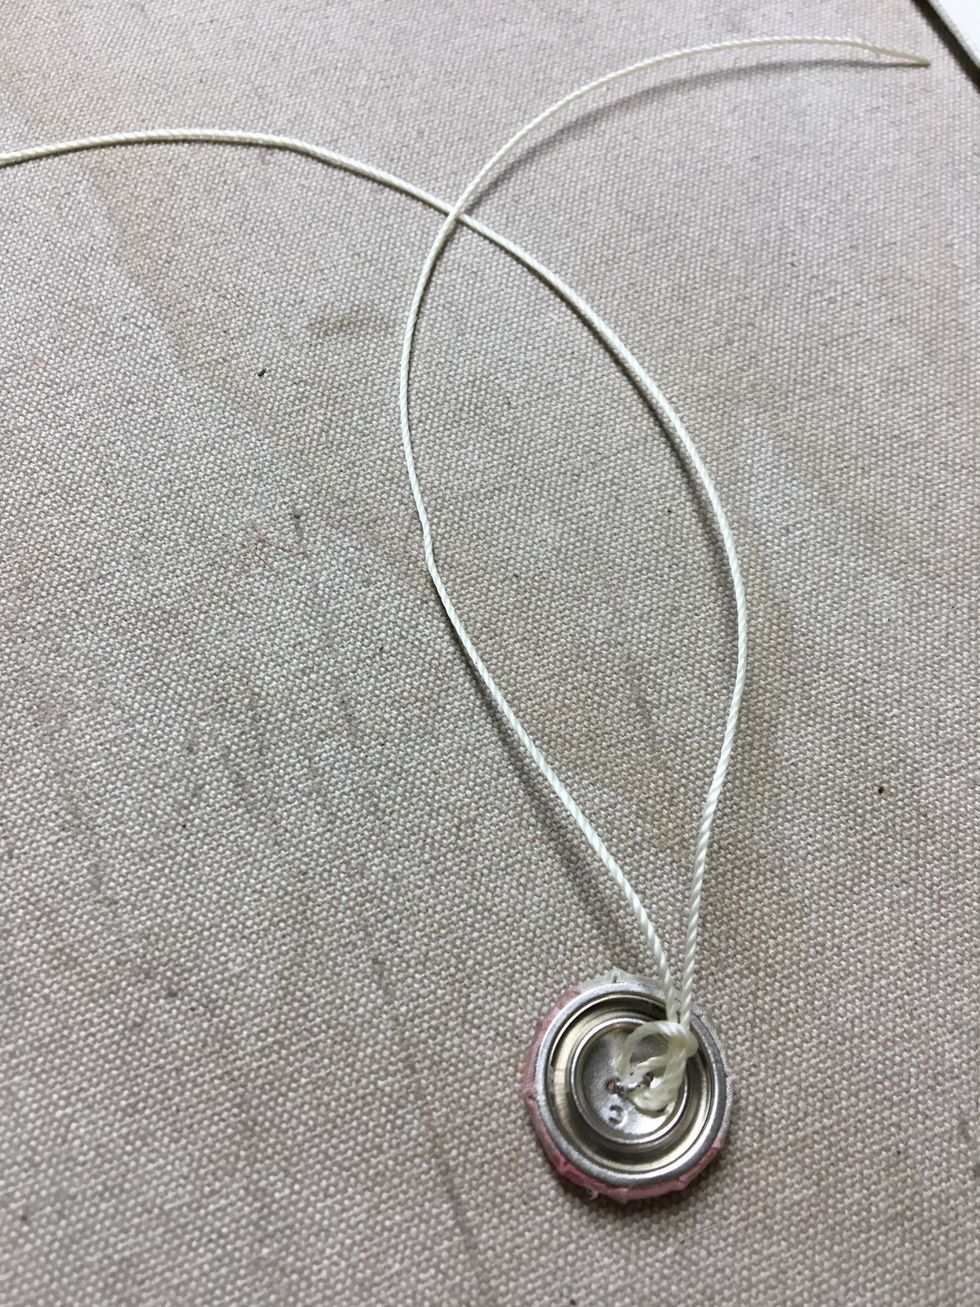
Thread them with tufting twine or dental floss. Make sure you have enough length to go through the foam and plenty to tie off. I cut mine 18" long. Double the strands if you are using dental floss.
Start pulling the buttons through to the bottom of the board working your way from the middle out. It helps to be able to get under the board so laying it on sawhorses or on two chairs works great.
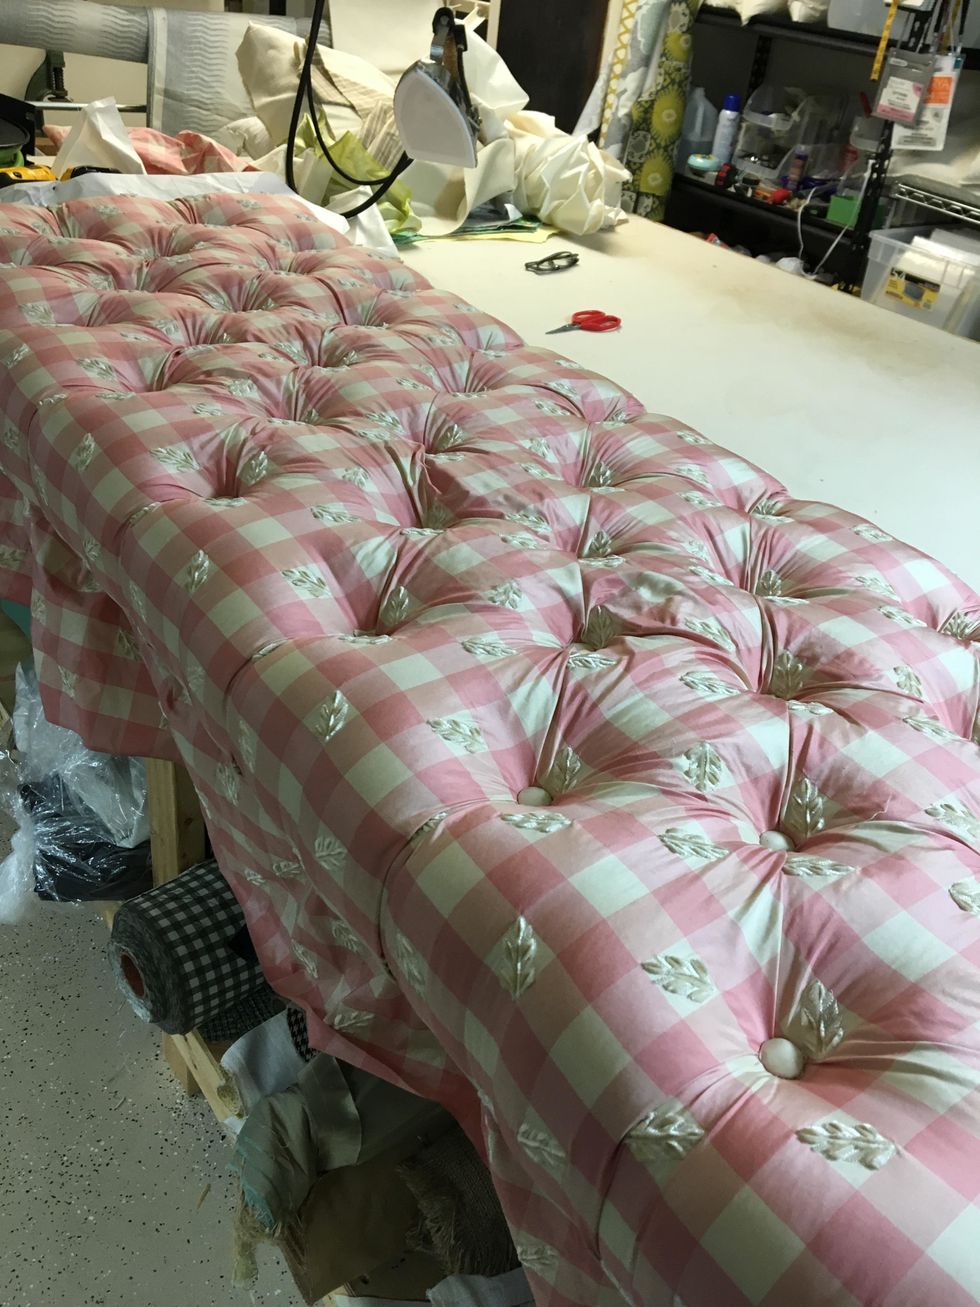
Form tucks or folds between buttons as you go. It should look like this.
Wrap fabric around edges forming the pleats down the side of the foam and staple. Form uniform tucks at the corners.
Make your piping. When using piping on upholstery it is recommended to cut it on the straight rather than on the bias as you would do if you were using it on a valance or pillow.
You can get the piping to cover on our website, here's the link http://www.patemeadows.com/Piping-Cord--432-Diameter_p_208.html#.WLXGIRiZOV4
Staple piping onto the board so that the seam is even with the edge of the board and the cord sits just past the edge. Pulling it straight and tight. Clip seam allowance at corners so it turns easily
Staple the tacking strip so that it holds the piping straight along the edge.
You can get the cardboard tack strip here http://www.patemeadows.com/Cardboard-Tack-Strip--Sold-by-the-Foot_p_302.html#.WLXHJBiZOV4
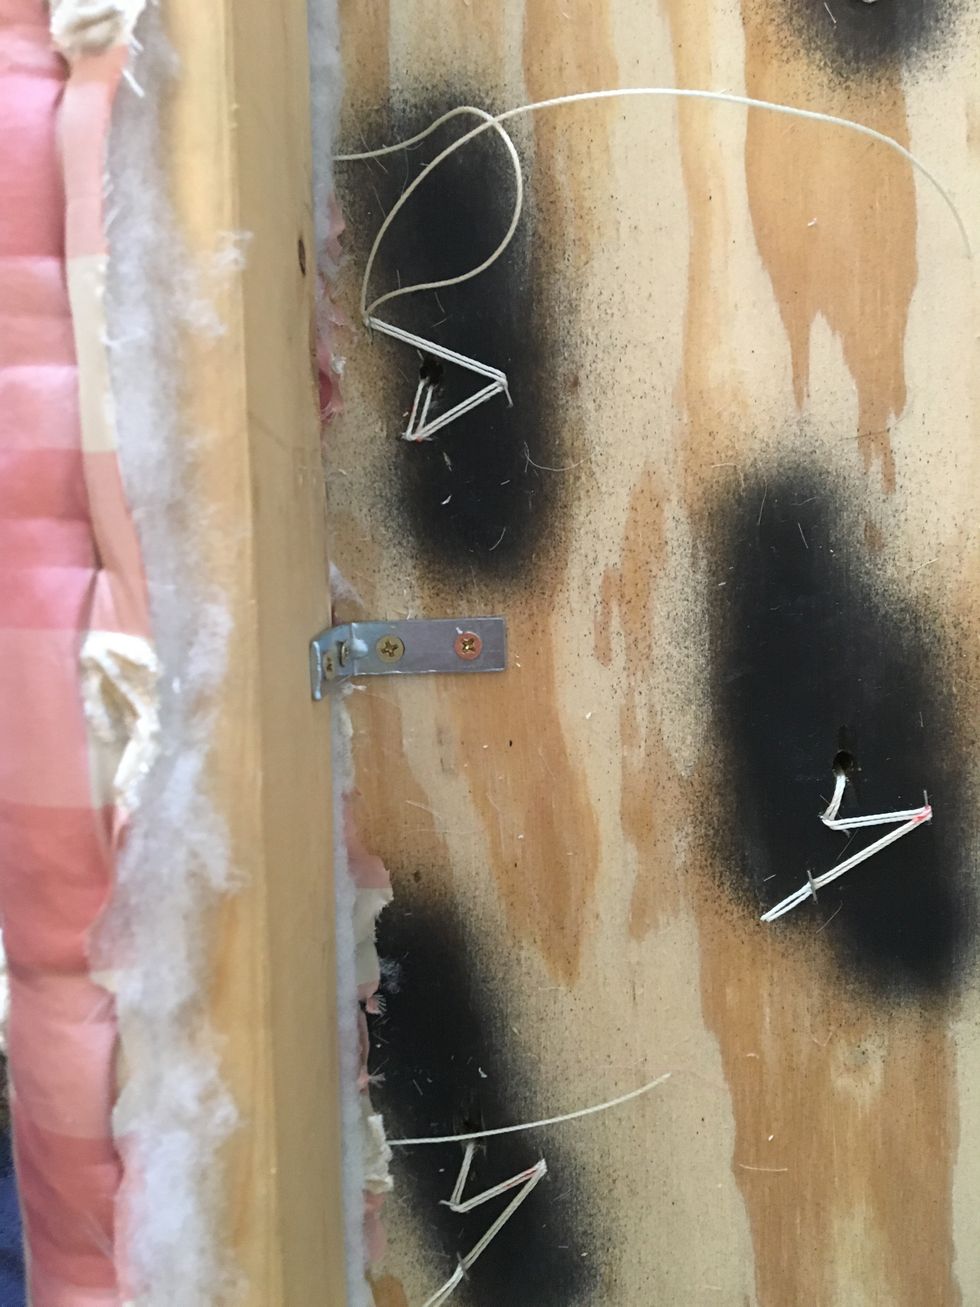
It should look like this when you have all the buttons pulled and the piping/cardboard strip is stapled onto the back. Note the zigzag stapling of the cord. This keeps the buttons nice and tight
Cover the riser with batting and fabric
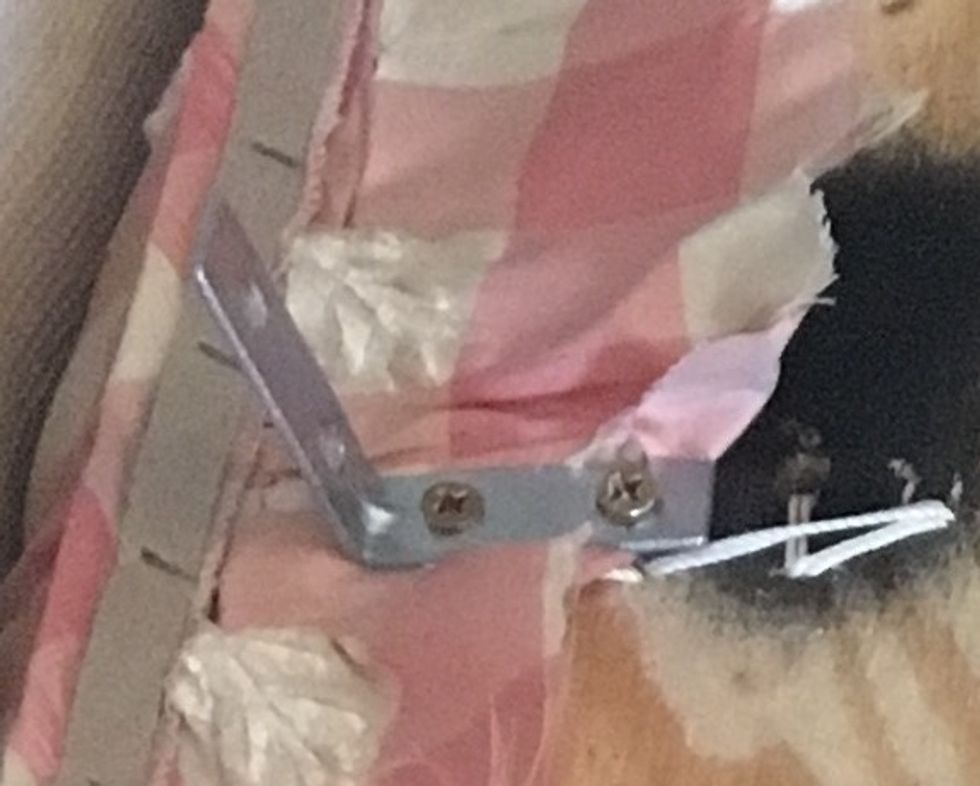
We used L brackets to attach the platform to the riser base.
Here's another view with the riser attached
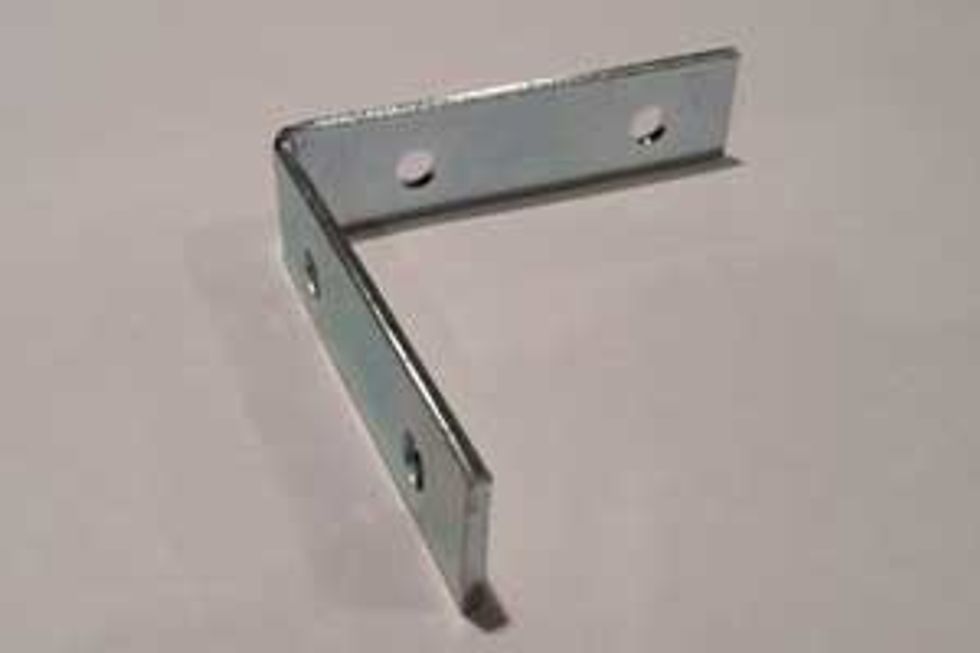
We used L brackets to attach the platform to the riser base. You can get them on our website here http://www.patemeadows.com/Angle-Iron-2-12_p_339.html#.WLXYgRiZOV4
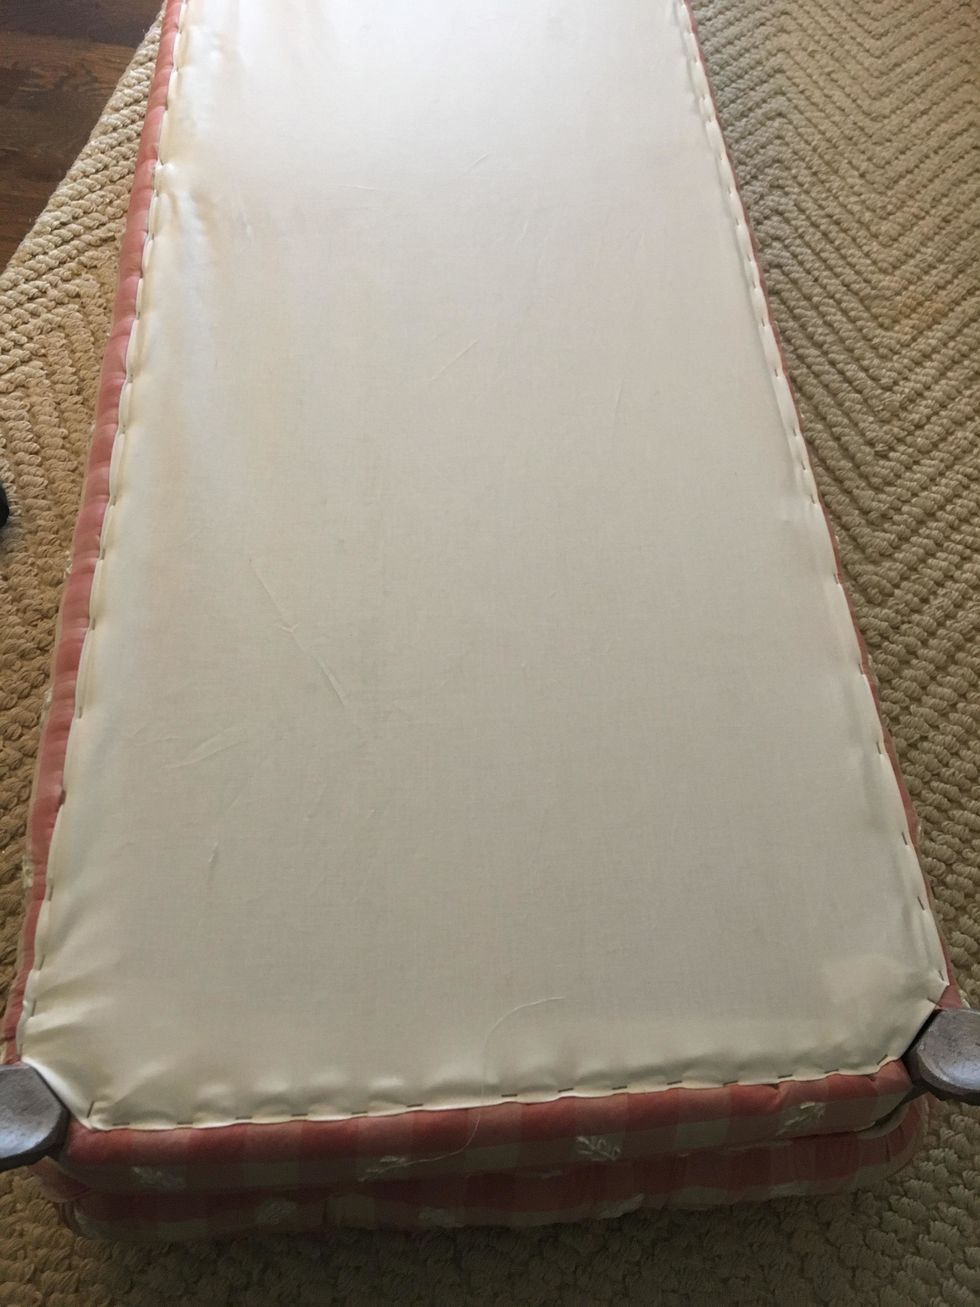
I stapled lining fabric on the bottom to finish it off
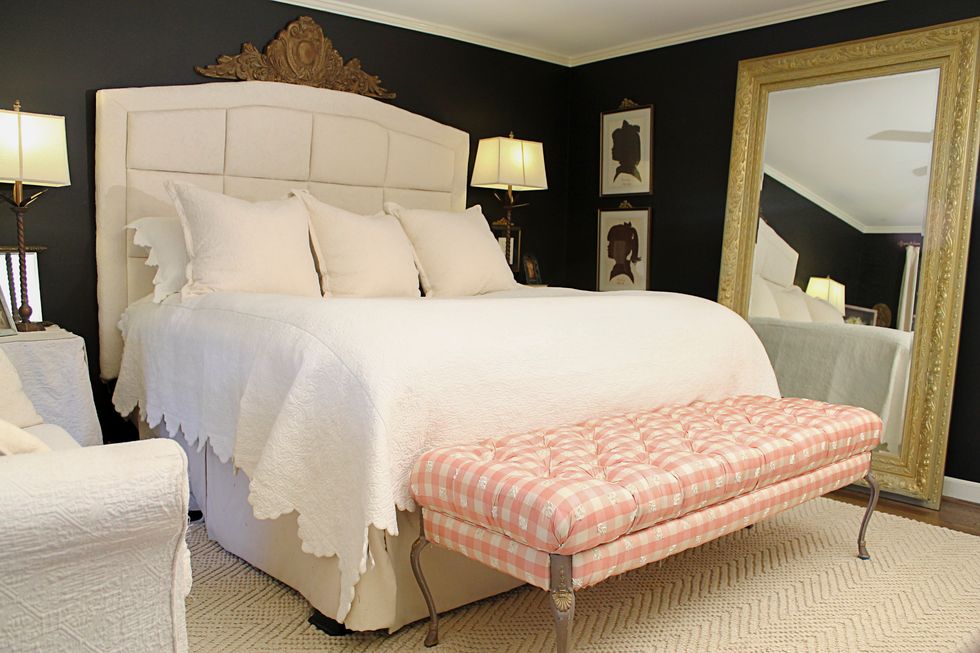
It's exactly what I wanted !