The Conversation (0)
Sign Up

Get all your supplies together and in a well ventilated area. It is best to have a tarp under everything. Let your stump dry outside for a week+ before starting. You may also want to spray for bugs
If your stump still has bark, remove the bark with a hammer and chisel, placing the chisel between the bark and wood and hammering downward. There are plenty of YouTube how-to's on this stage as well

If the bark is already off the trunk, sand down the top and sides of the trunk until smooth and the top is level. I used a 220 grit sandpaper. Your stain should have a recommended grit to use.
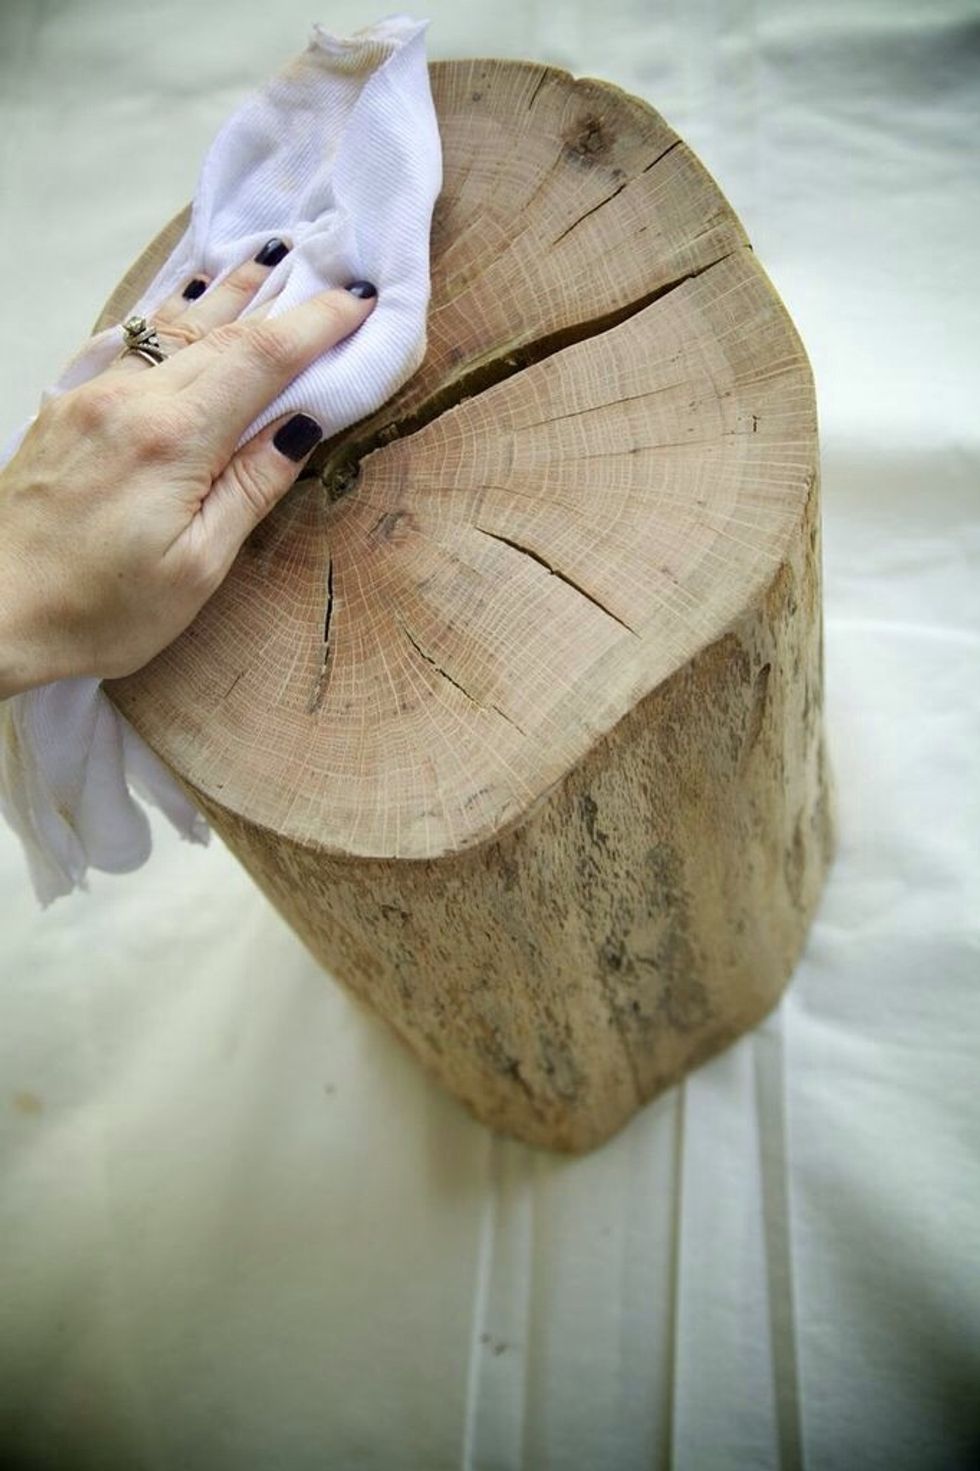
You may need to cut the top of the trunk to make it level. If your trunk has cracks, smooth the inside of those as best you can. Wipe down so all dust is off your trunk.
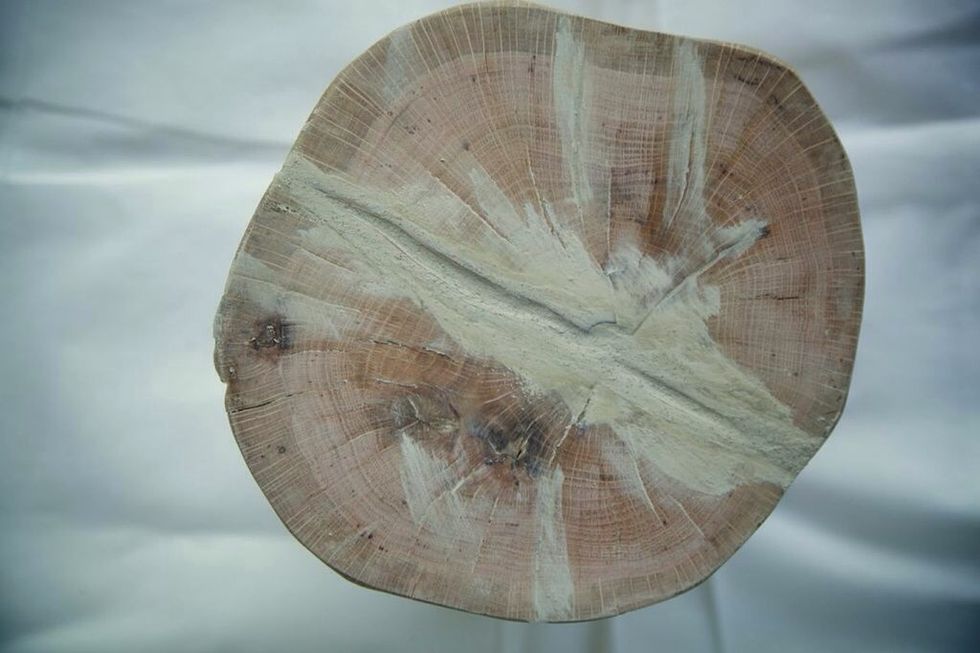
My trunk had some massive cracks that I wanted filled in a bit. Use a stainable wood filler and filled according to directions.
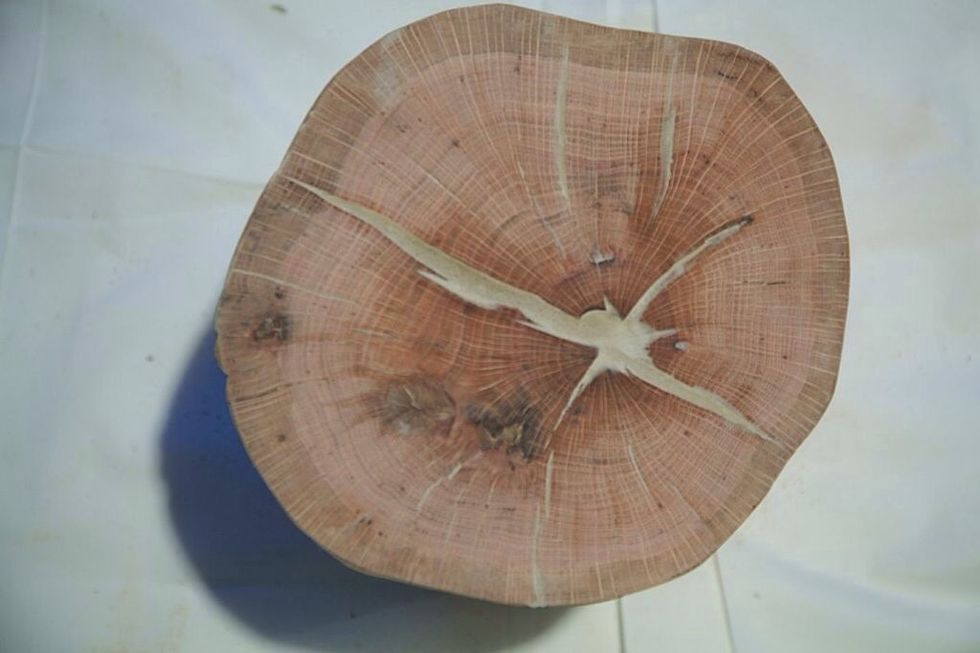
Let the filler dry anywhere from 15- minutes to 3-hours depending on depth of the crack. The wood filler will be hard to the touch when dry. Sand down so the filler is even with the wood
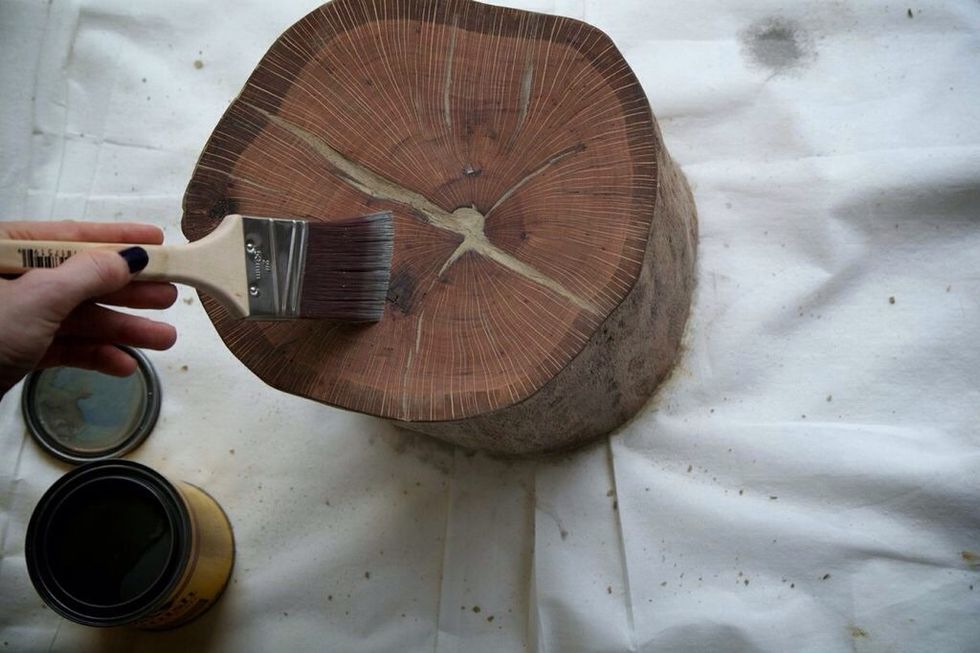
After sanding down the wood filler and wiping away all dust, start your staining! Mix the stain well, then stain along the wood grain, trying to avoid creating bubbles. Keep stain as even as possible.

Let stain soak in from 5-15 minutes or according to stain directions. The longer it stays on, the darker the stain will be. Wipe off with clean rag in the direction of the wood grain
If you wish to do more than one layer of stain, let the stain dry according to directions (usually 4-6 hrs), then re-stain. Let the final coat of stain dry for 8+ hours before placing in your home.
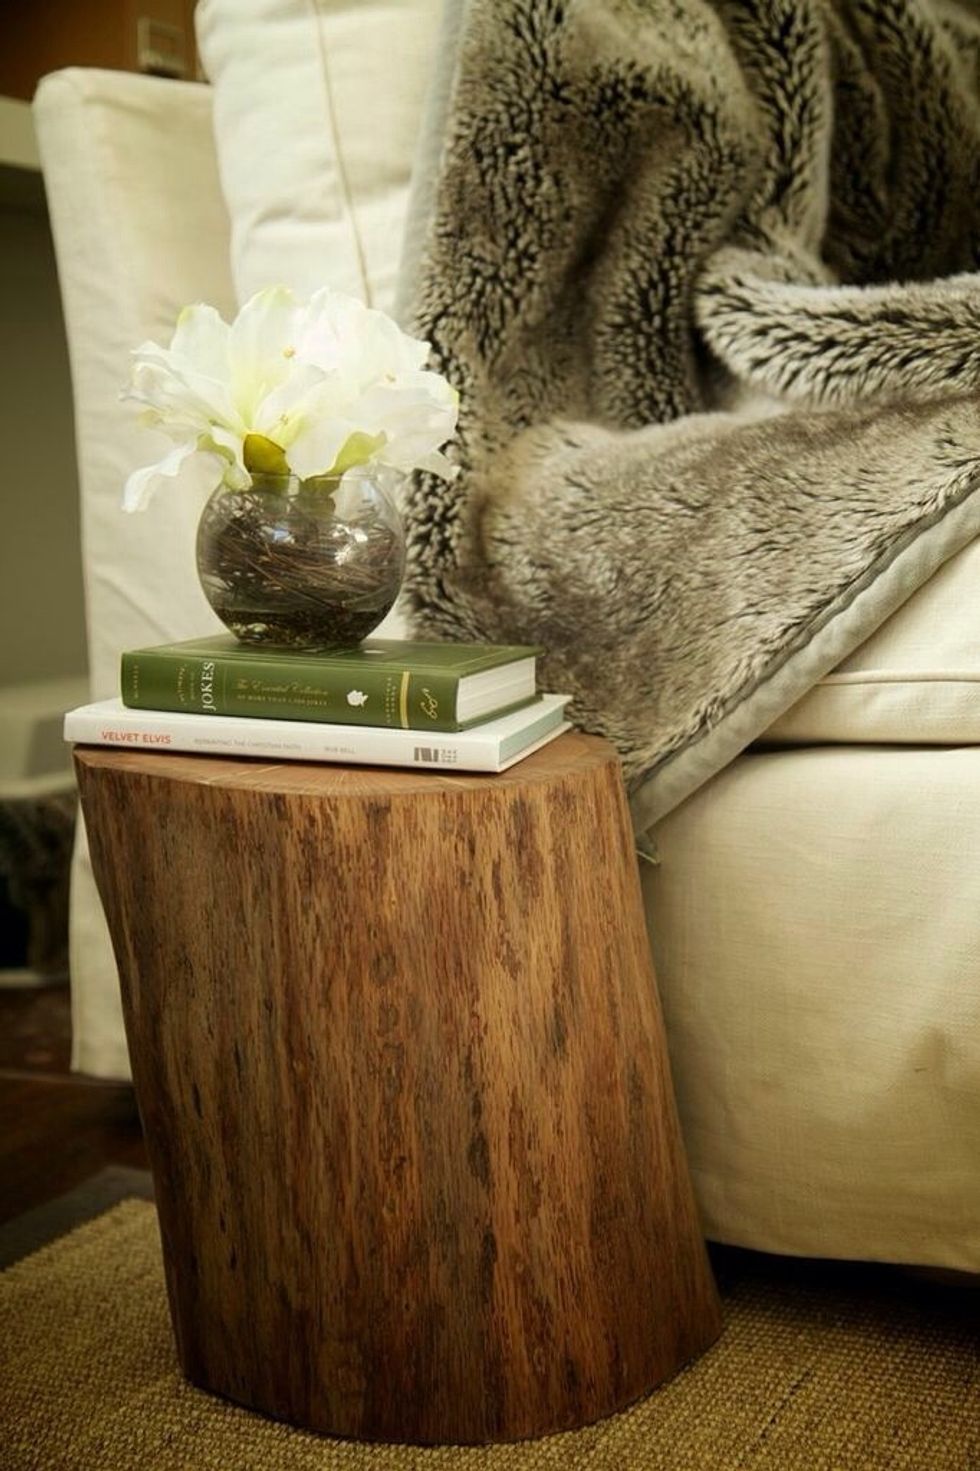
Well done! Now place your awesome table in your home and marvel at your DIY greatness! For more home and health and fitness tips, check out penandkeyboard.com