The Conversation (0)
Sign Up
PART 1 - COVER. Notes: Ink edges of all paper (optional). I used Distress Ink Vintage Photo on my edges. You may also wish to round the corners, I used a 3mm corner rounder. All dimensions are W x L.
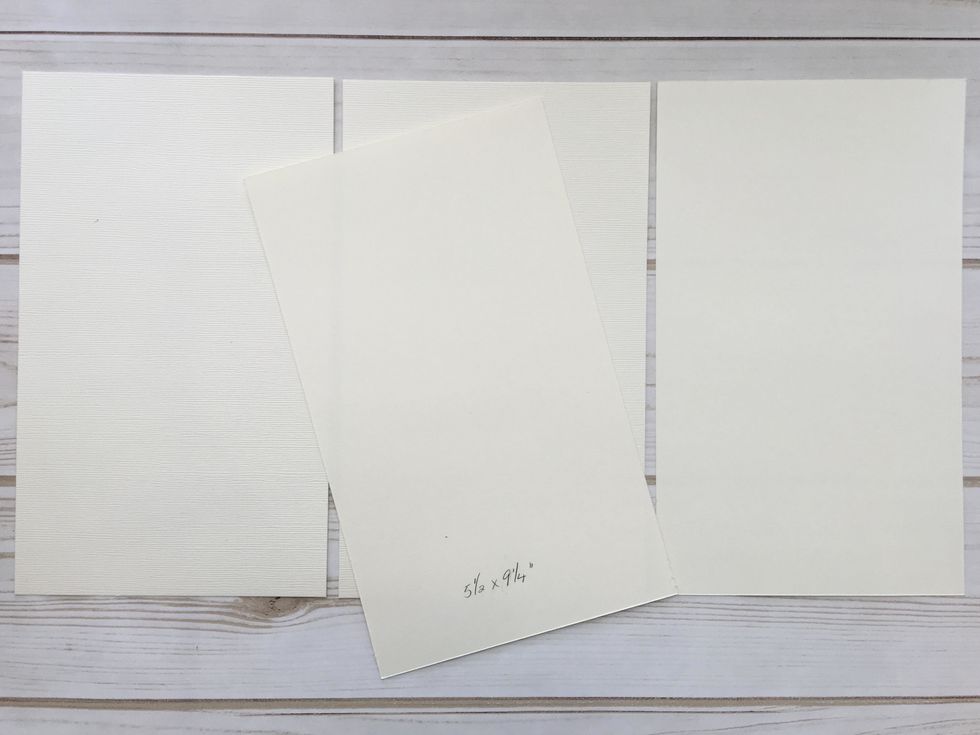
Cut 4 pieces ivory cardstock (I use Bazzill French Vanilla) 5 1/2" x 9 1/4".
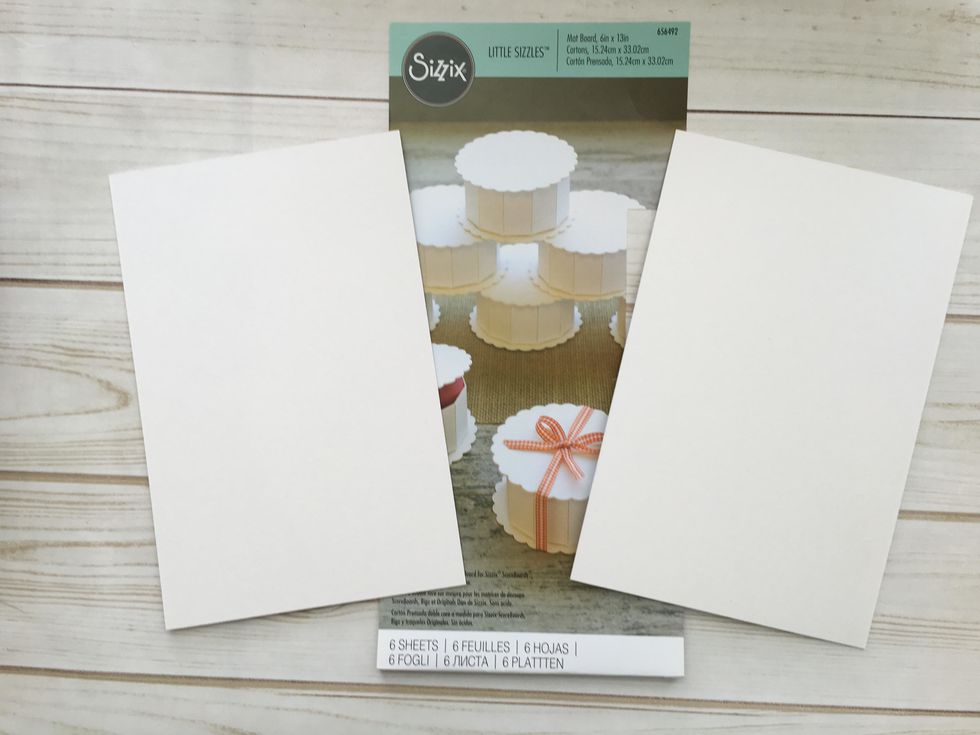
Cut 2 pieces of matboard or chipboard 5 1/2" x 9 1/4" for the covers. I use Sizzix mat board but you can use medium weigh chipboard. If the material is not thick enough, it will not score properly.
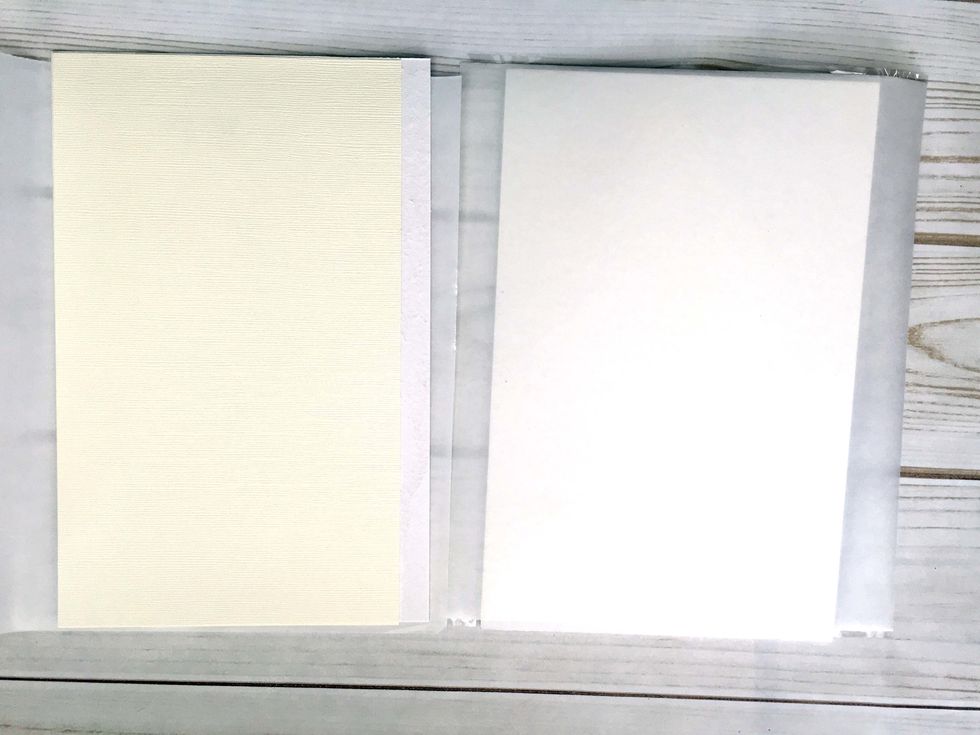
Cut an adhesive sheet to fit ea side of 2 pcs of matboard. Xyron's Creative Station works well for applying adhesive to each side of the mat board as does Scrapbook Adhesive Sheets. con't next page.
Apply adhesive to the matboard, peel off protective paper & adhere ivory cardstock. Turn the mat board over, again apply adhesive & cardstock. You should now have matboard w/cardstock on both sides.
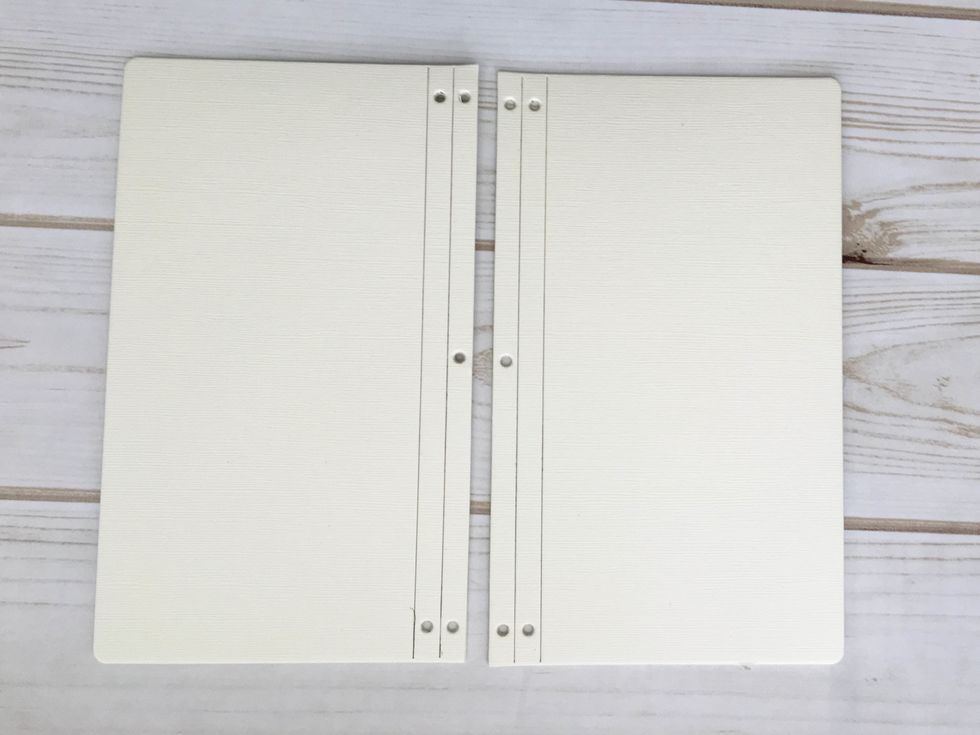
Now die cut the covers with Eileen Hull Designs by Sizzix Journal Die. You should have two pieces as in the photo above with ivory cardstock on both sides.
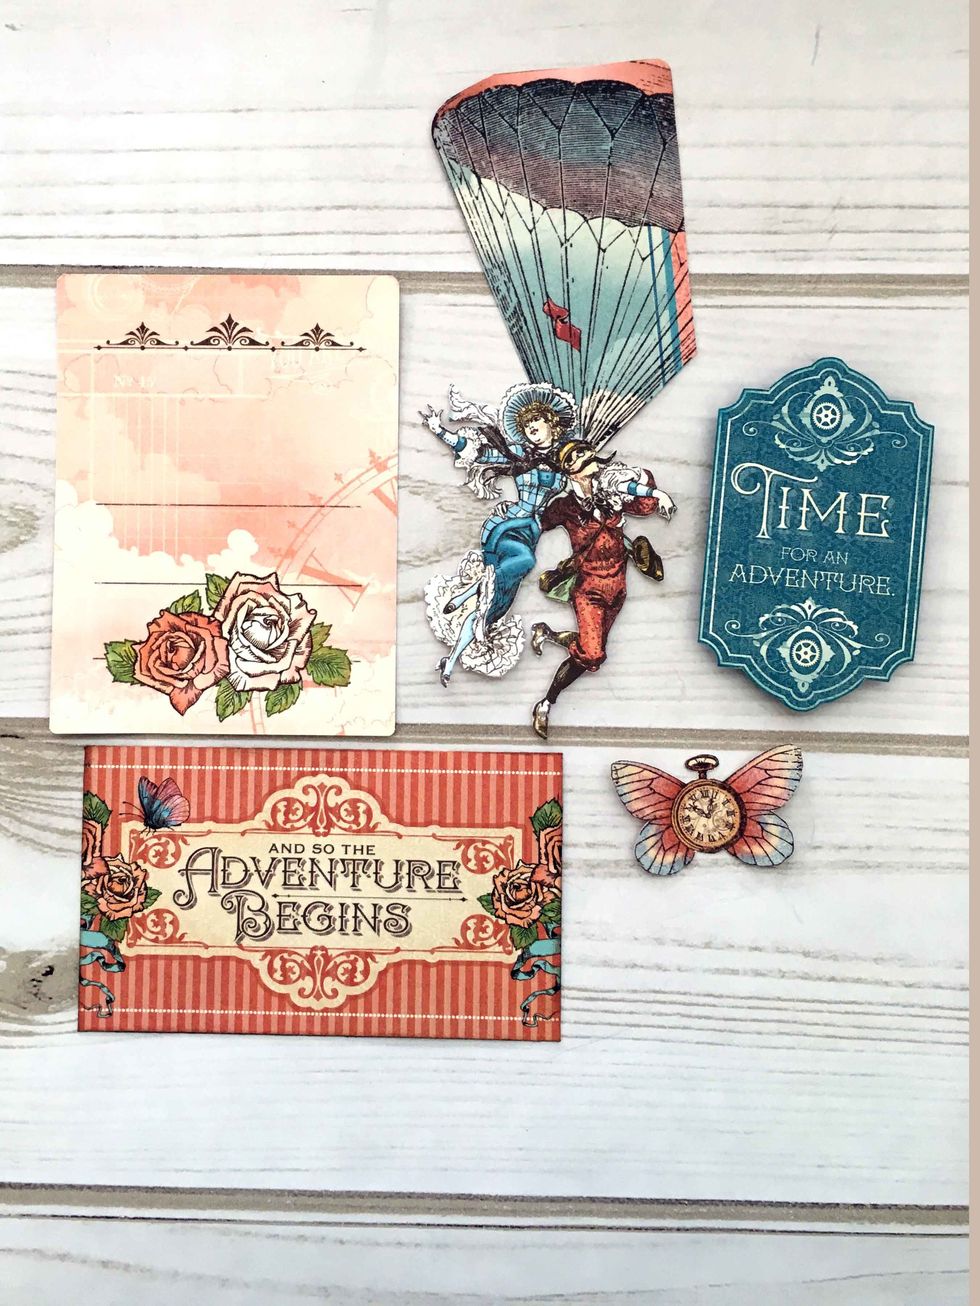
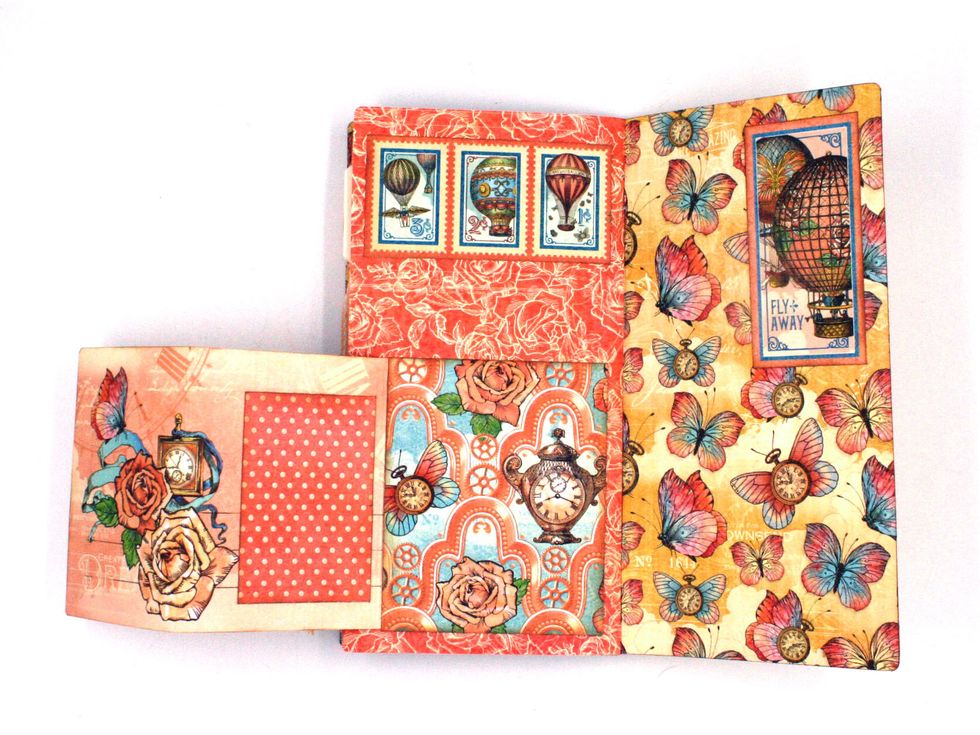
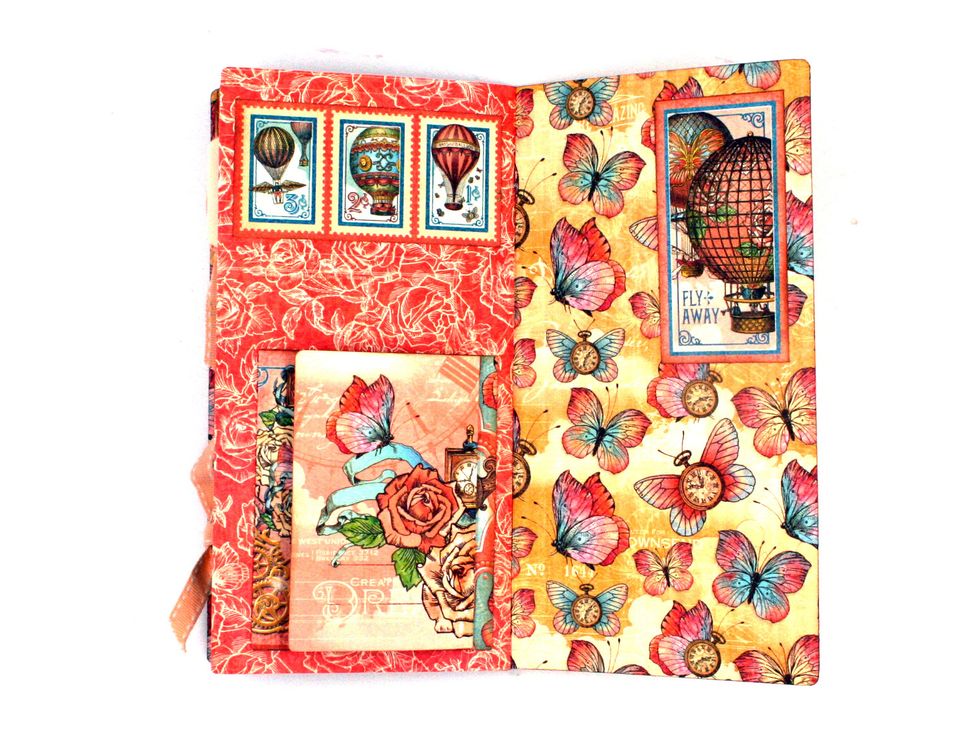
Fussy cut the balloon from a large ephemera card. Locate a small ephemera card to use. Find the other elements on the design papers: Up and Away, Adventure Beckons, & Spread Your Wings.

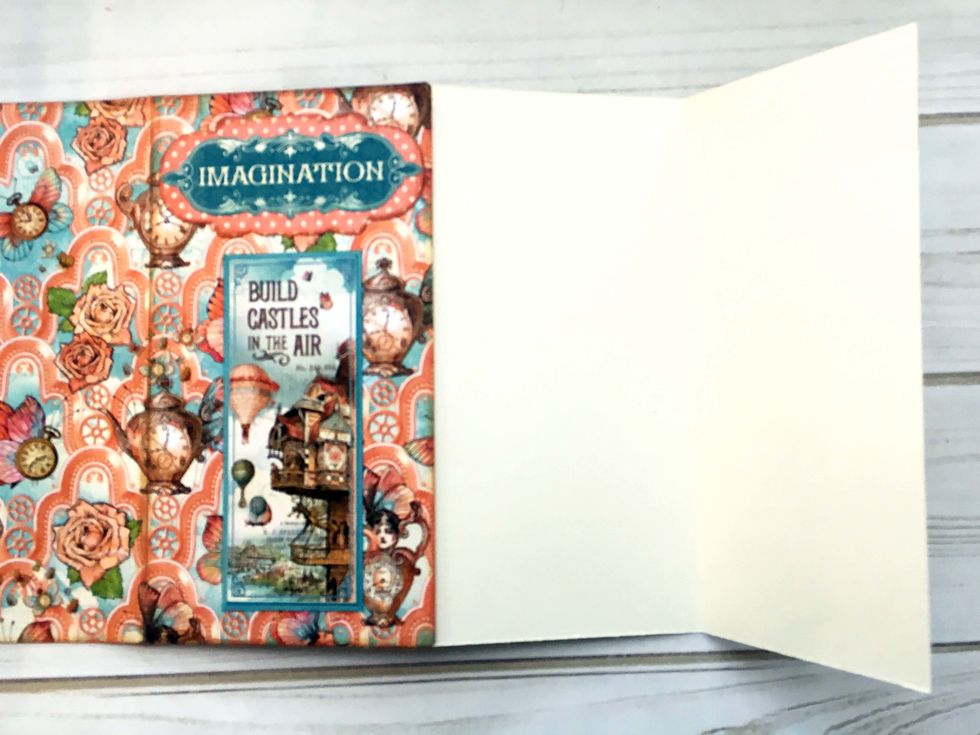
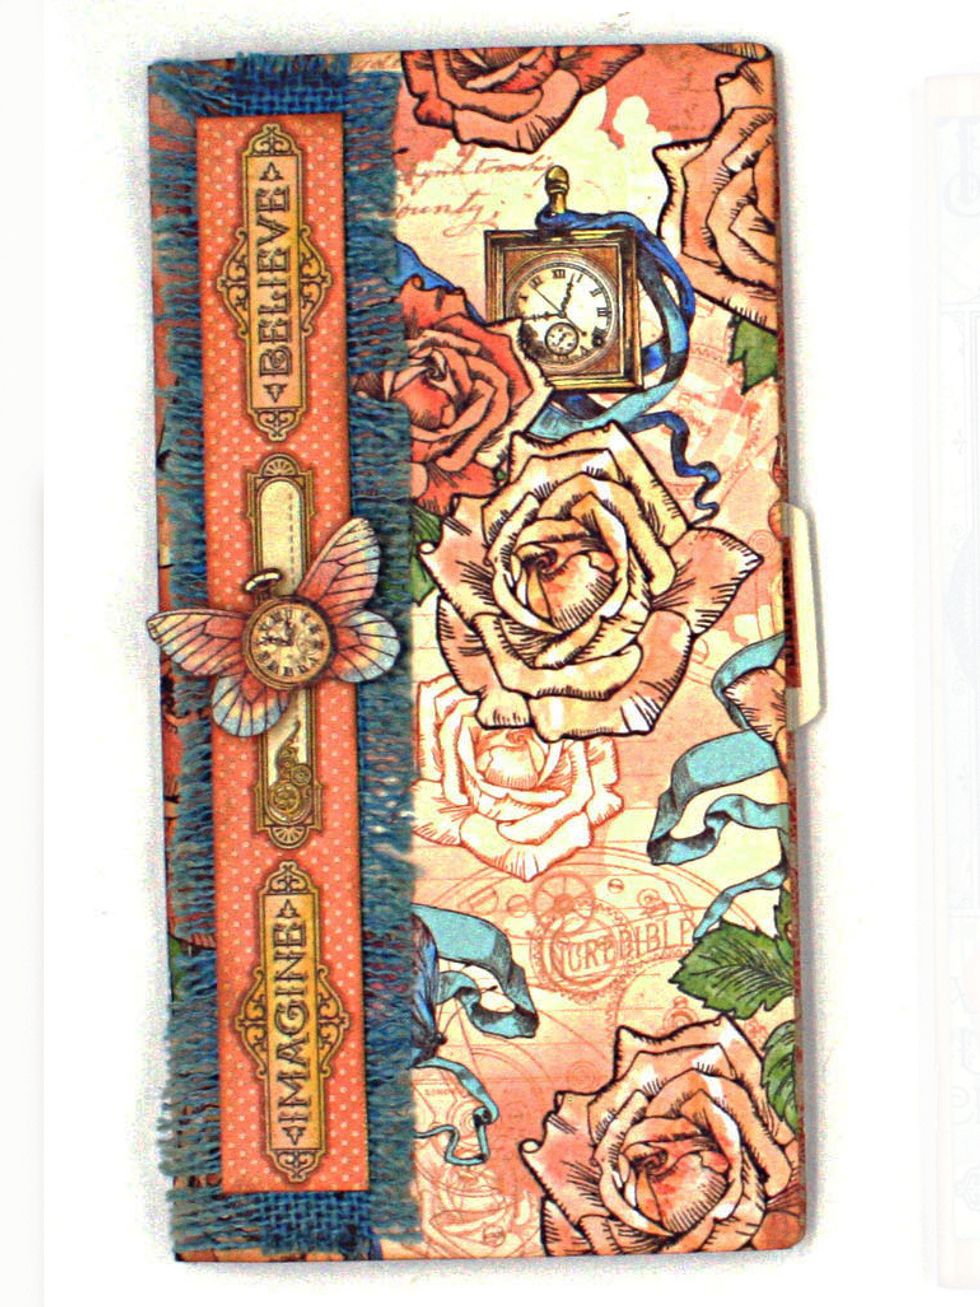
Cut a 4 1/8" x 8 3/8" piece from Create Yourself (B side) and adhere to the front cover. Ink the edges & round the right corners if desired.
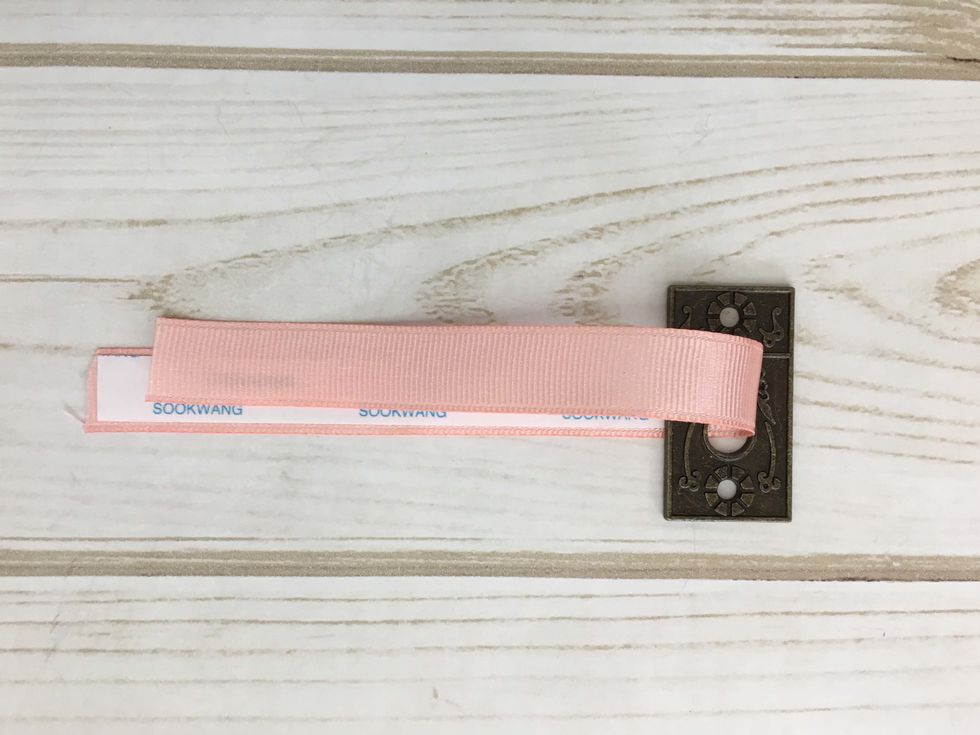
Cut 10" of grosgrain coordinating 5/8" ribbon and apply 1/2" Scortape on half of the ribbon. Loop the ribbon thru a G45 Keyhole as in the photo. Remove the tape covering & press the ribbon together.
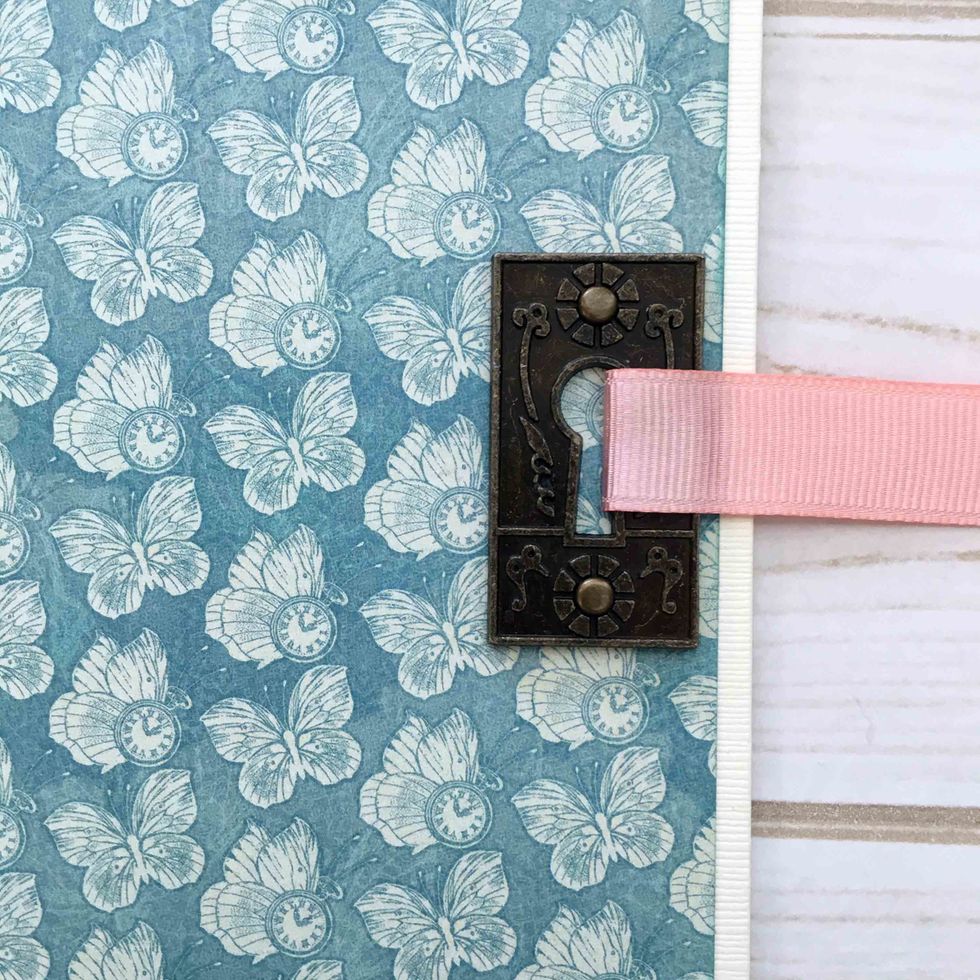
Use brads to secure the keyhole on the left side of the front cover, centering from top to bottom. It should be about 3 1/2" from the top.

Adhere the back side of a small ephemera card to the left side, about 1 1/2" from the top. Adhere the Adventure Begins card to the bottom as shown.
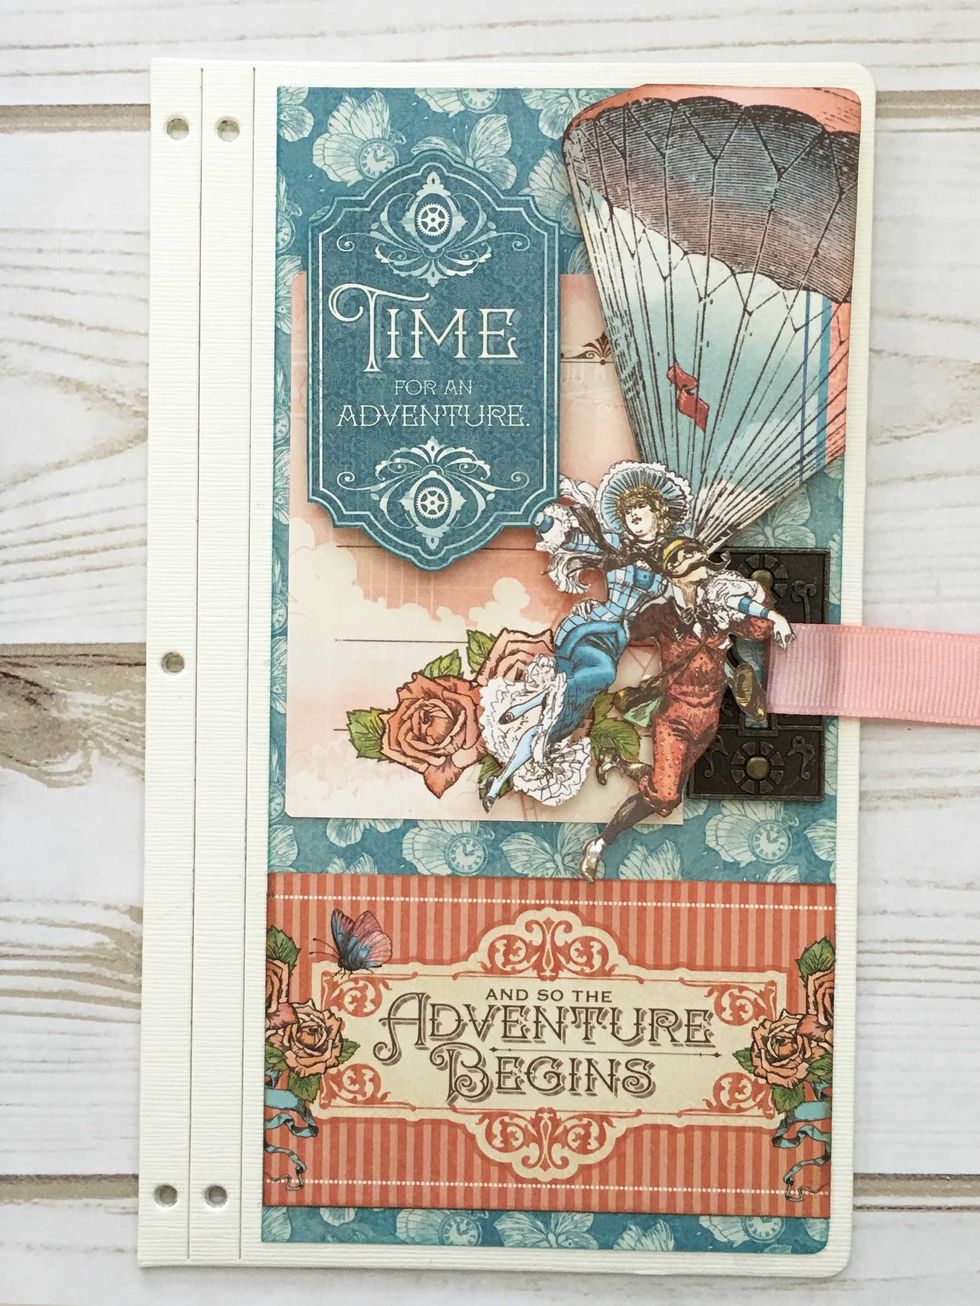
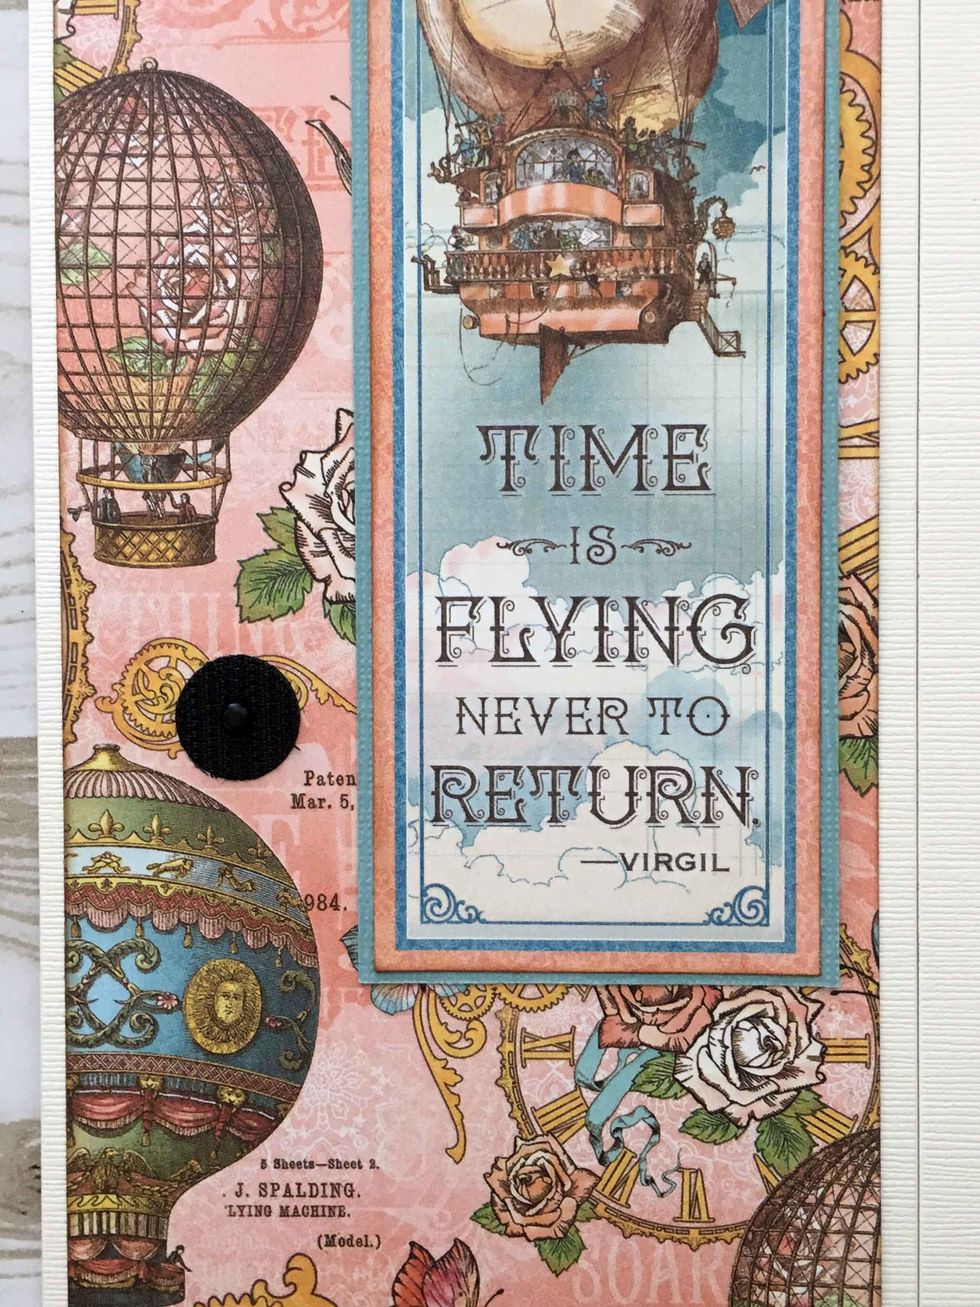
Use dimensional foam tape to pop up the balloon and Time sentiment and place as shown in the photo.
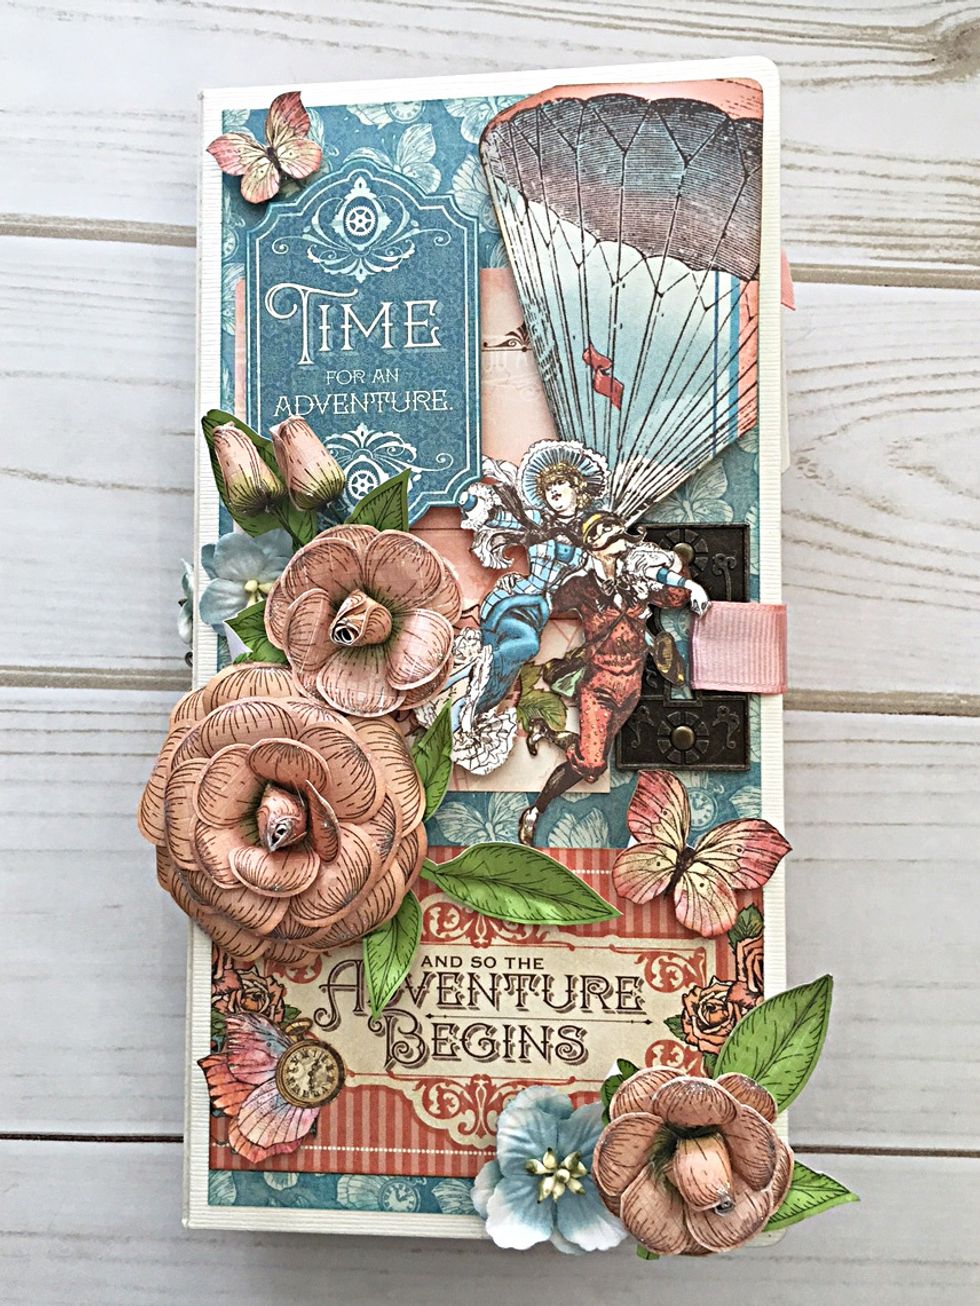
Add some pretty flowers and fussy cut butterflies and the cover looks FAB!! (I usually add the flowers at the end of my project because it is easier to work with the cover if it is not too bulky.)
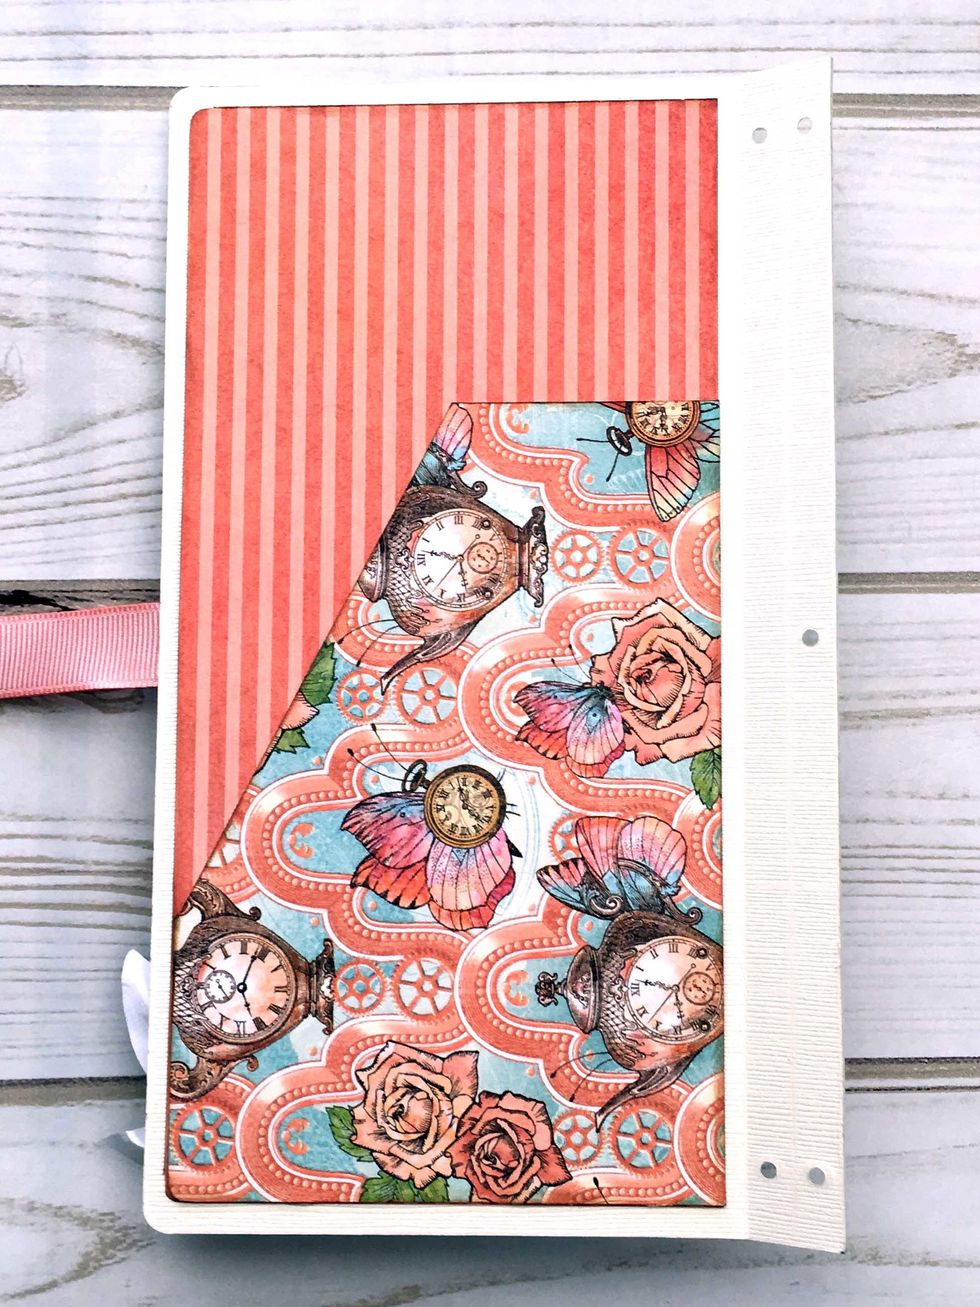
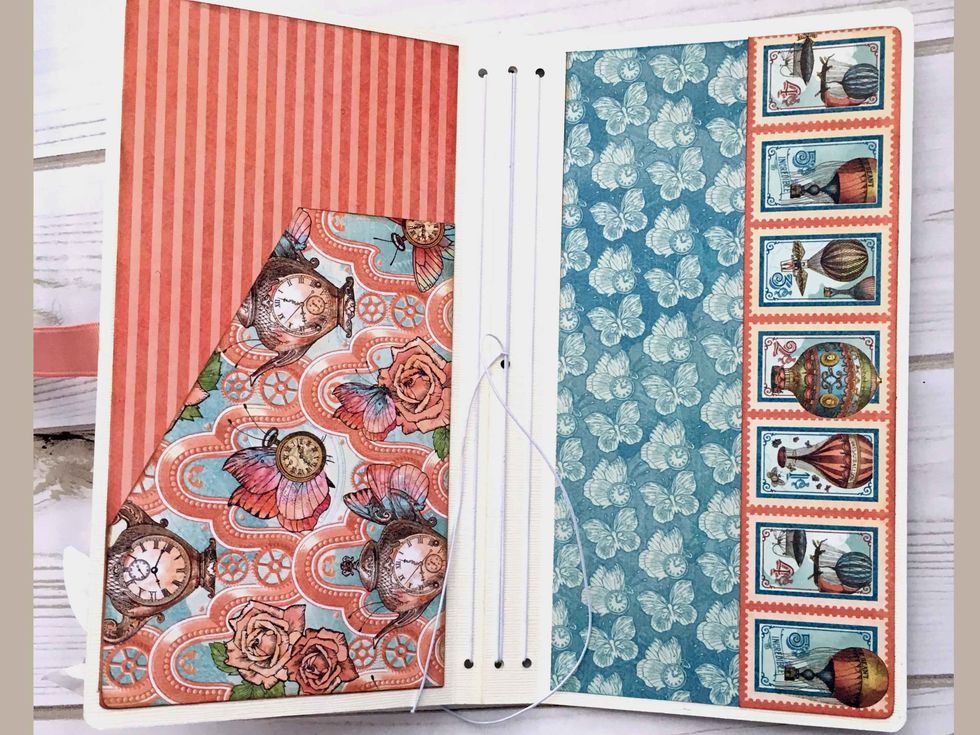
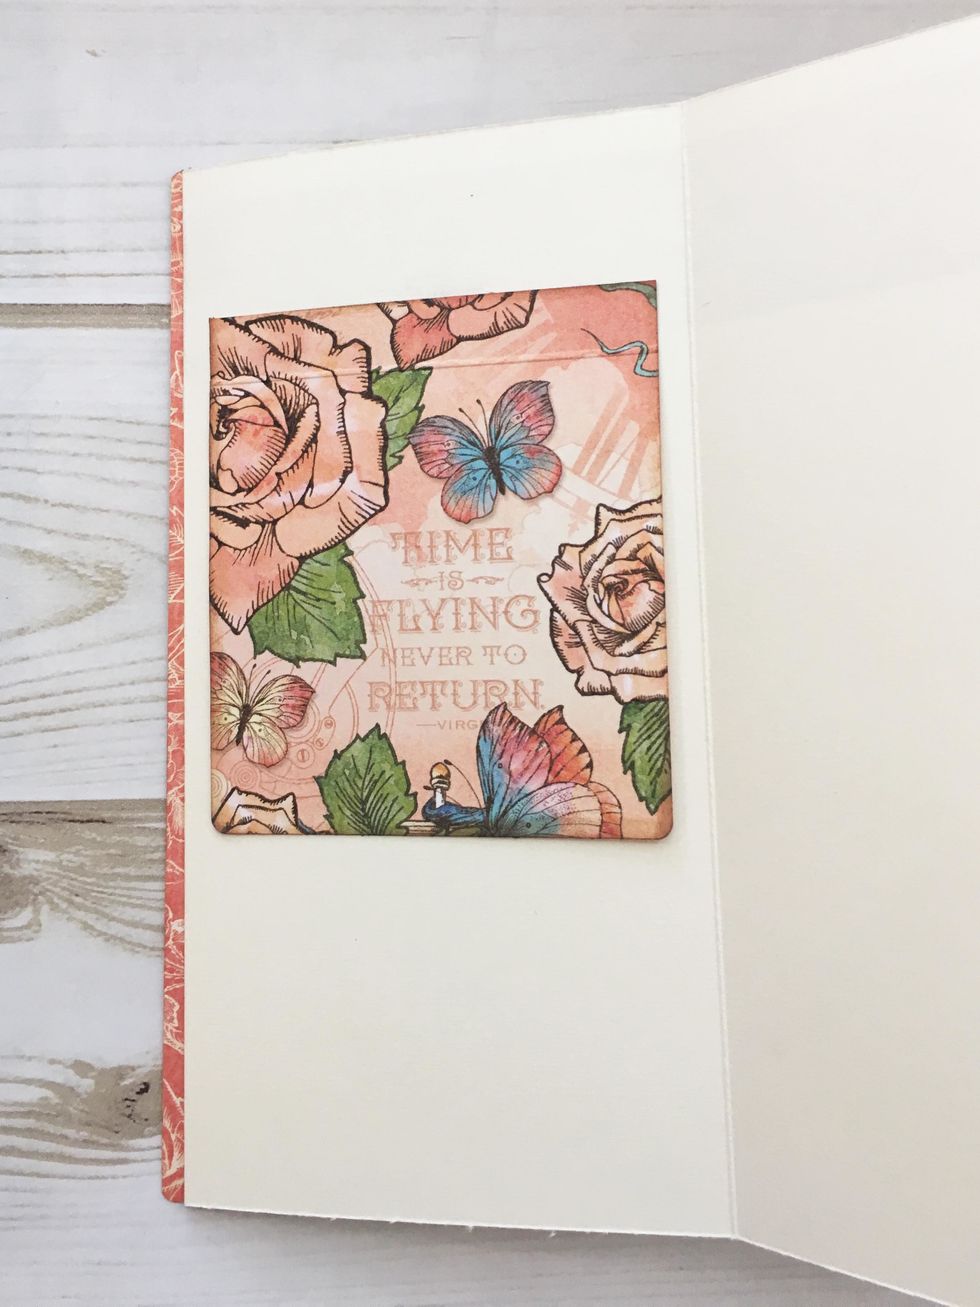
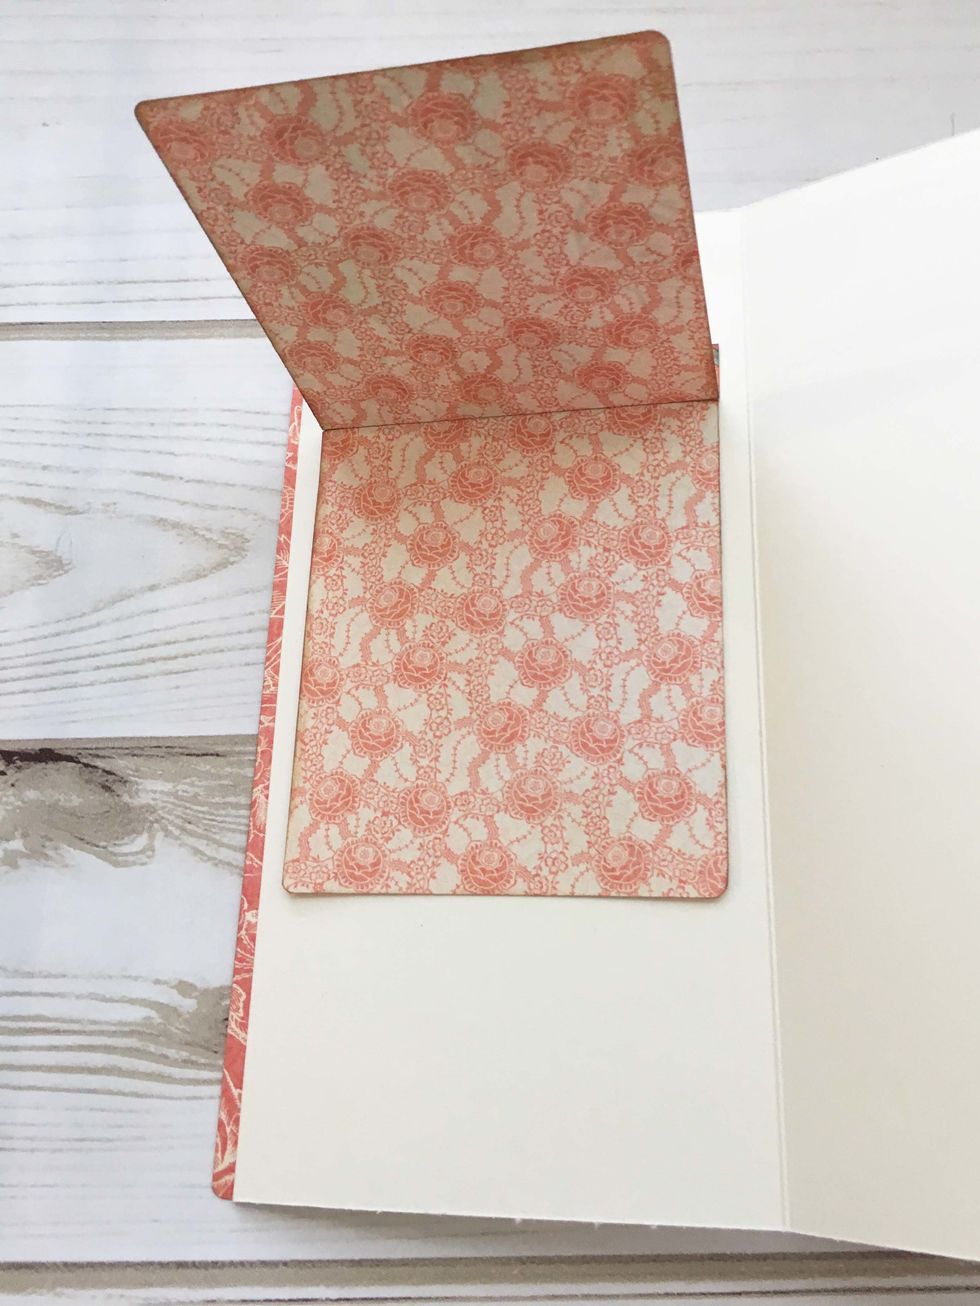
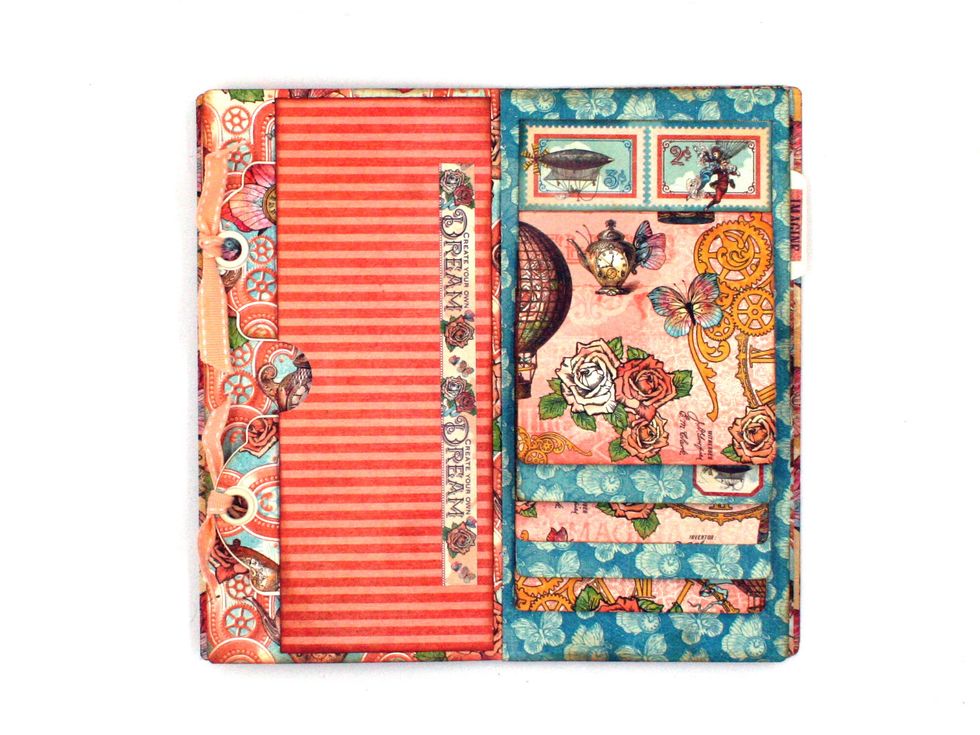
Inside front cover: Cut 4 1/8 x 8 1/4" from Imagine-B side & glue. Cut 4 1/8 x 6" pc from Futuristic Fantasy & cut diagonally like the photo. Form a pocket by gluing on the right & bottom edge.
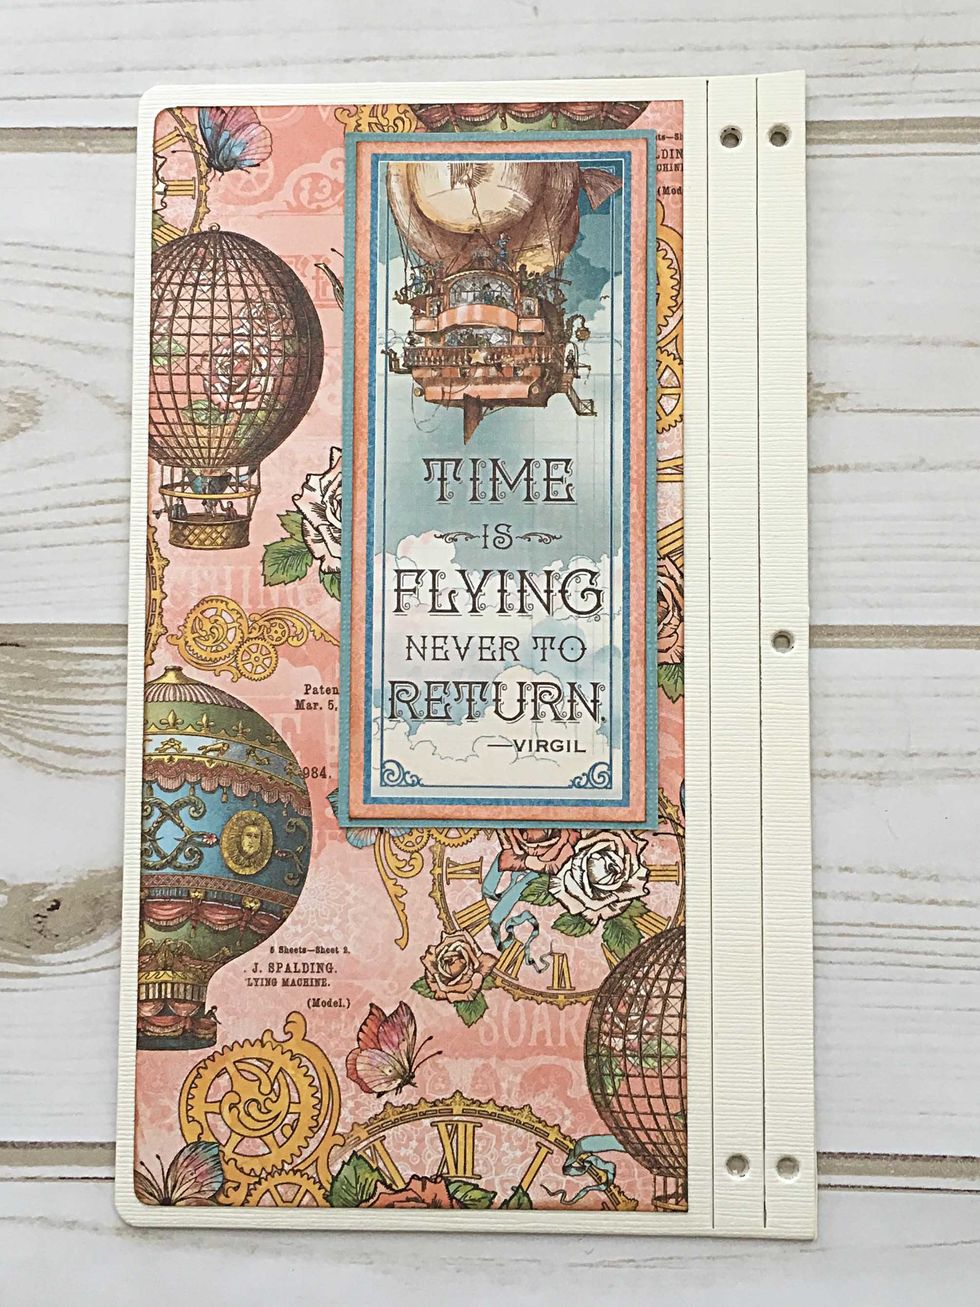
Back outside cover: Cut a piece 4 1/8 x 8 3/8" from Create Yourself and adhere to the back cover. Locate the cut-apart shown and adhere to the top right.
Lay the 2 covers side by side as shown so that you can properly place the velcro. Adhere looped side of velcro to the back cover & punch a small hole thru the center of the velcro and cover.
Secure the velcro with a small black brad. This will keep the velcro from pulling away from the page
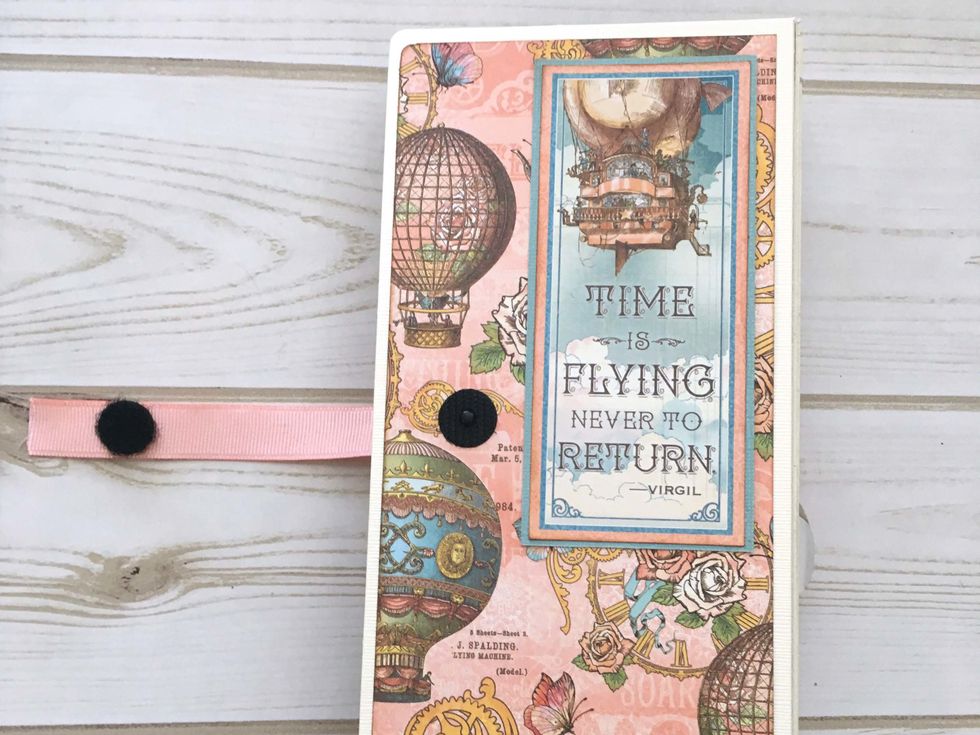
Place the fuzzy velcro piece near the end of the ribbon to complete the closure mechanism.
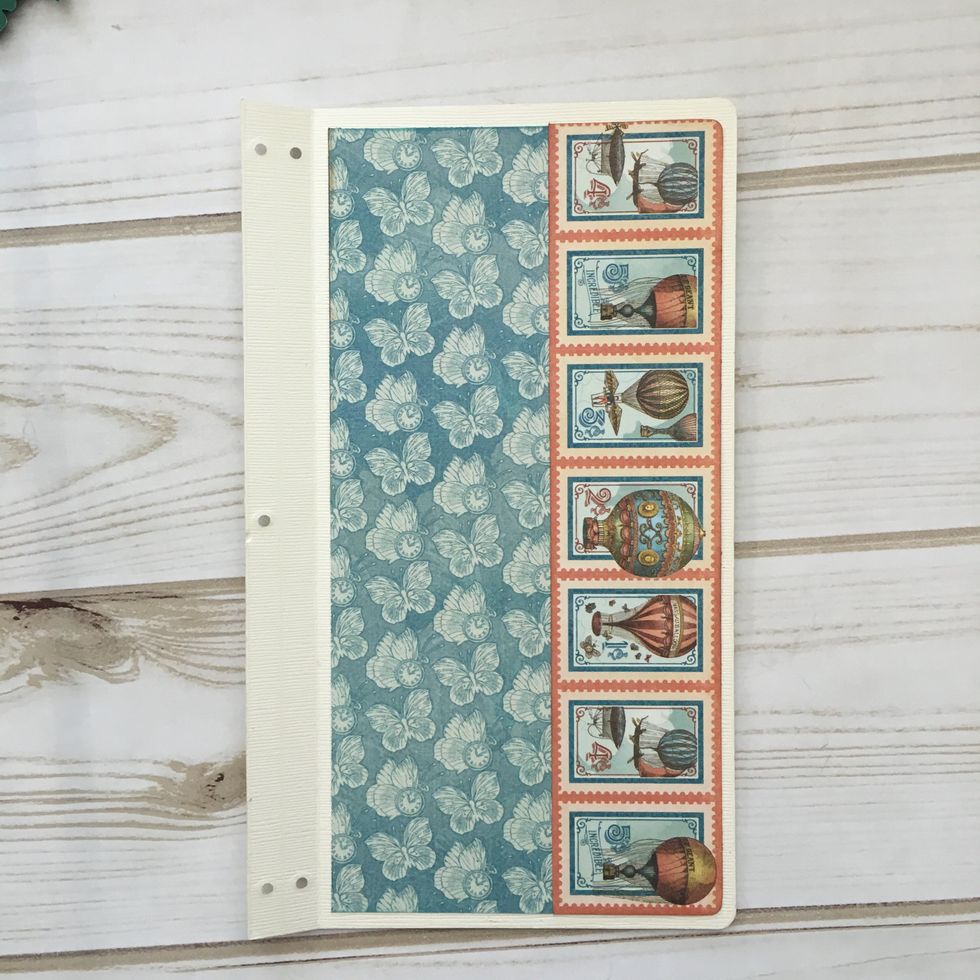
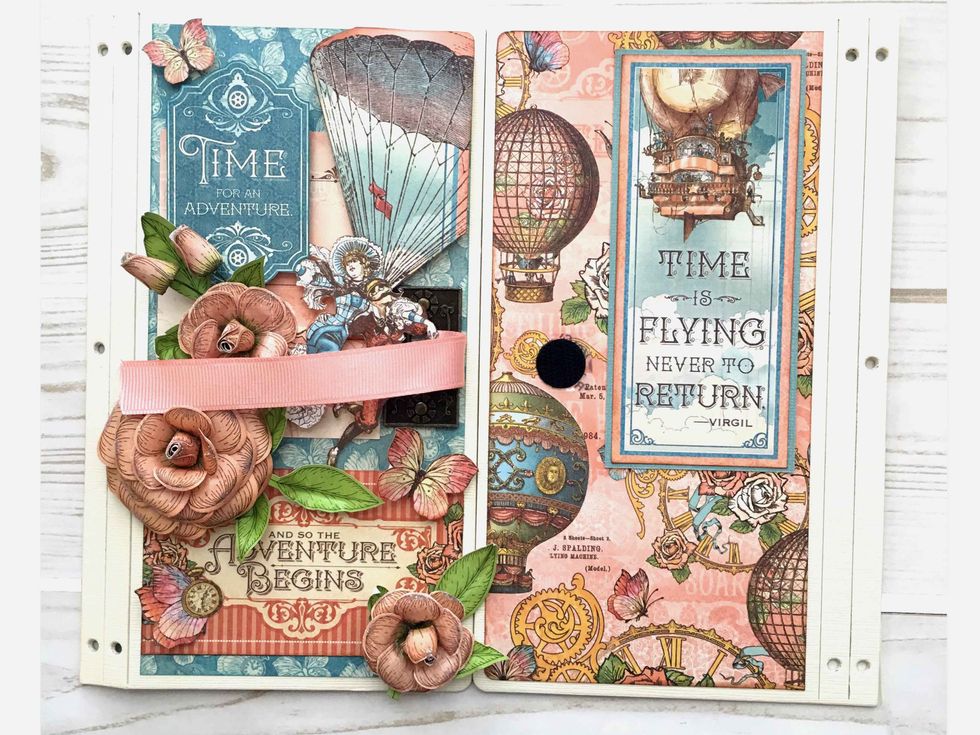
Cut a piece 4 1/8 x 8 3/8" from Create Yourself and adhere to the inside back cover. Cut 8 3/8" of the vertical balloon stamps from Adventure Beckons and adhere to the right side as shown.
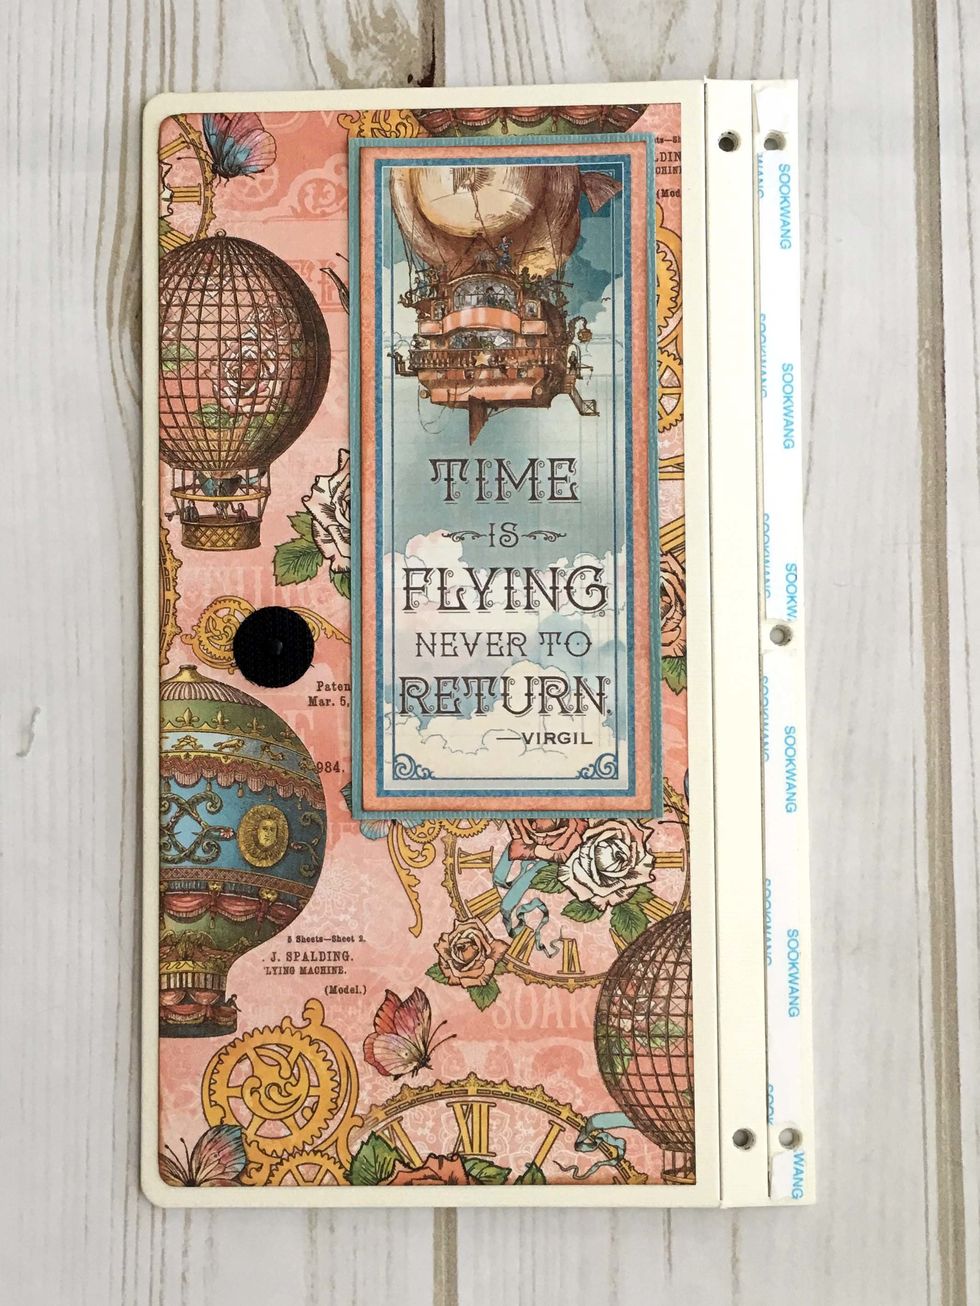
To assemble the cover, place 1/4" Scor-tape on the back cover as shown. Line up the holes on the front and back covers and press the two covers firmly together.
Now you can string the elastic that holds the inner pages. Instructions for stringing the elastic can be found in this video at 7:05 minutes: https://www.youtube.com/watch?v=VGpXNwq9cDA
Making the Signatures - i.e. the inner pages. For the first signature cut a 8 1/2 x 8" piece of Futuristic Fantasy. Score at 4 1/4" and fold in half with the A side on the outside.

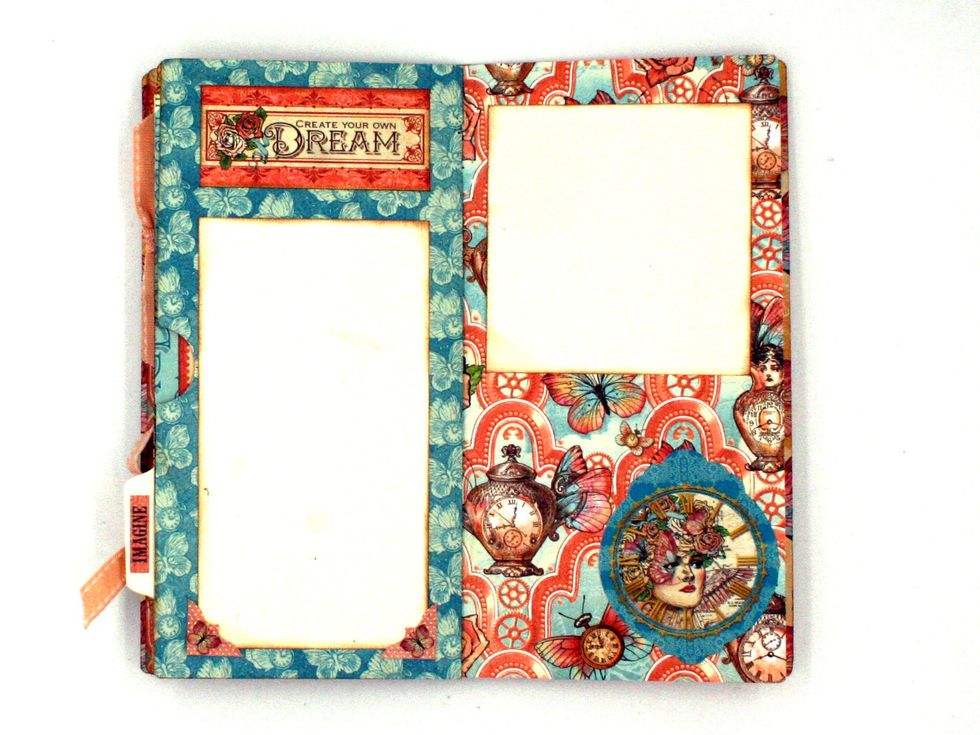
Fussy cut Imagination word from Up & Away, mat on B side of Castles in the Air & adhere at the top. Trim the cut-apart shown from Castles in the Air & adhere along with 2 buttons as pictured.
Cut ivory cardstock to 12" x 8" & score at 4" & 8". Accordion fold the page & glue the flap to the back side of the signature cover. (See next page.)
In this photo you can see how the cardstock is adhered to the front cover. It forms a "mountain" with the cover and then a valley. It folds up nicely inside the signature.
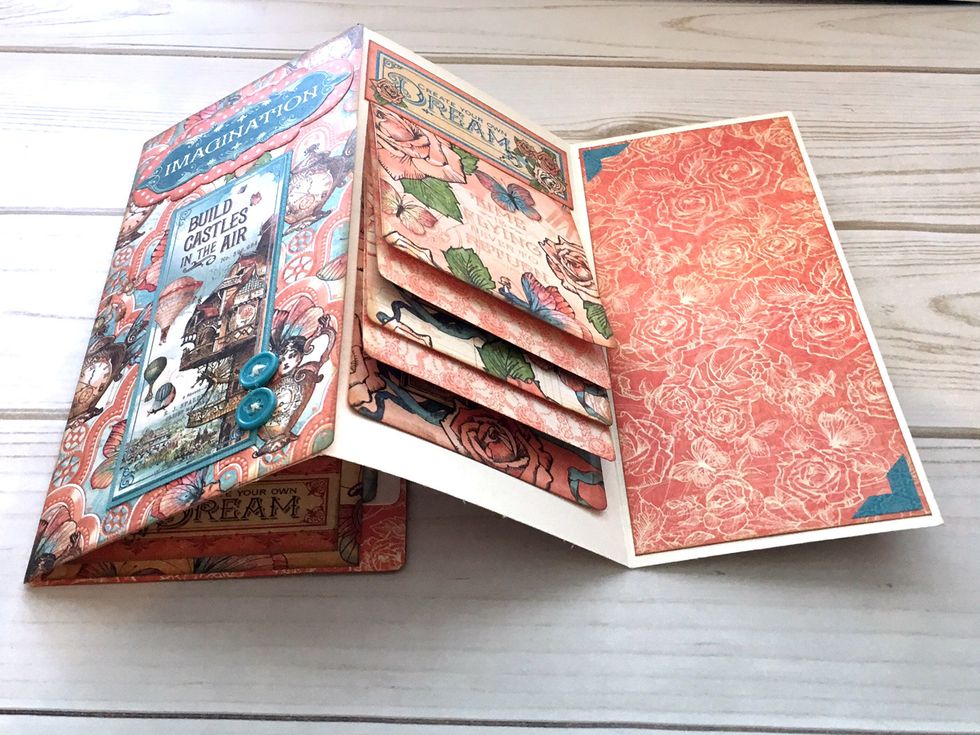
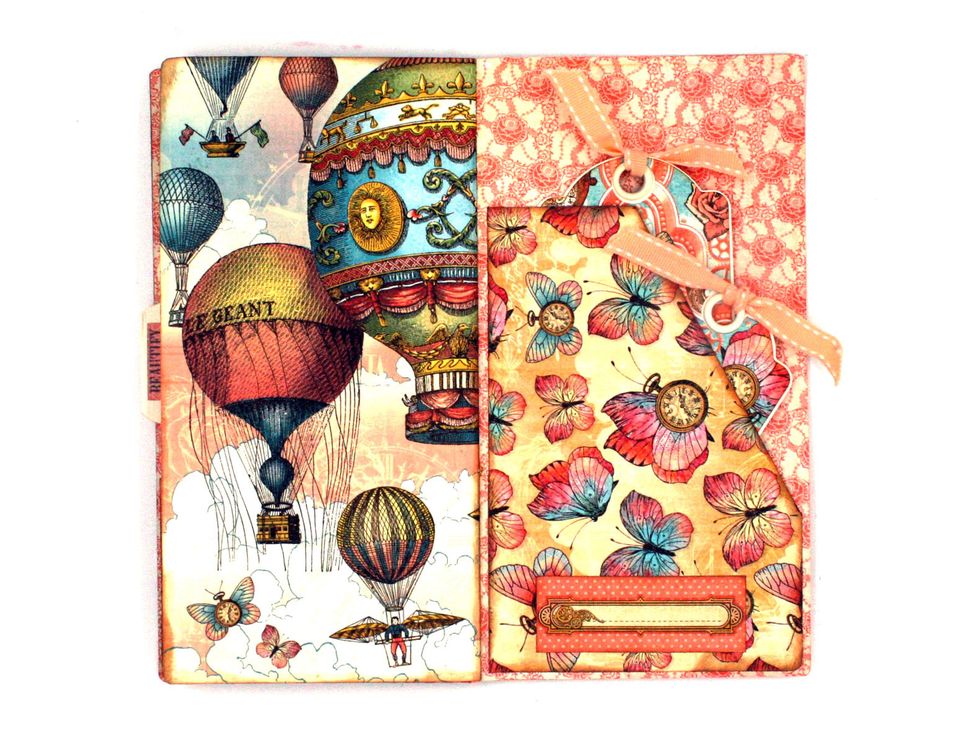
Now lets build the photo waterfall. Cut 5 pieces of design paper 3 1/2 x 4" and score at 1/2" at the top. Add 3/8" scor-tape to the back of each page on the 1/2" flap created by the score.
Build a photo waterfall on the ivory page next to the cover. (See photo in step 25) Adhere the first photo flap about 1 1/4" from the top of the page, centering from side to side.
Then lift the first waterfall page & adhere the next page directly underneath the first page. Do the same with the remaining 3 pieces.
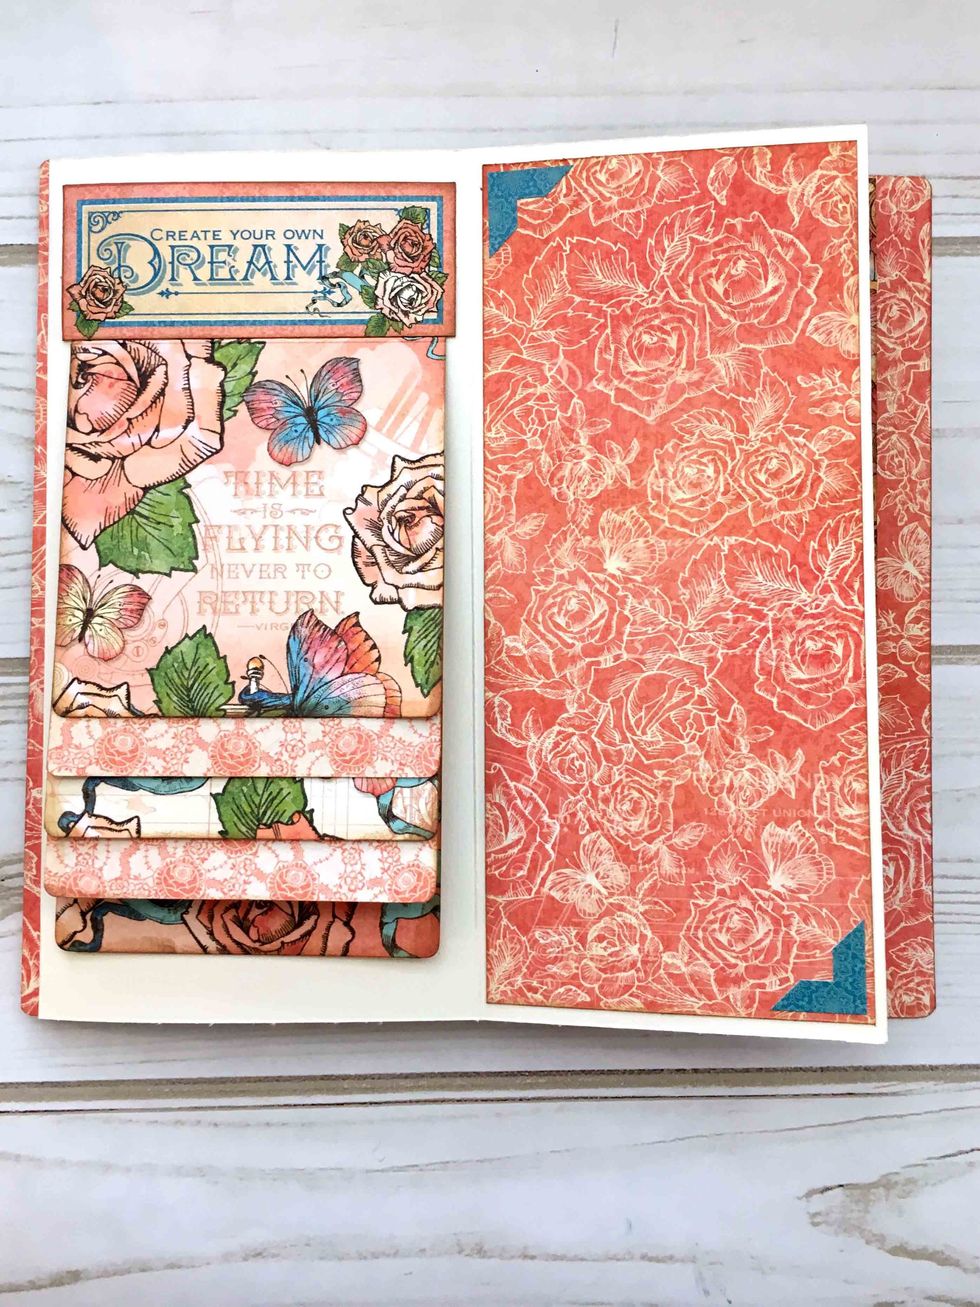
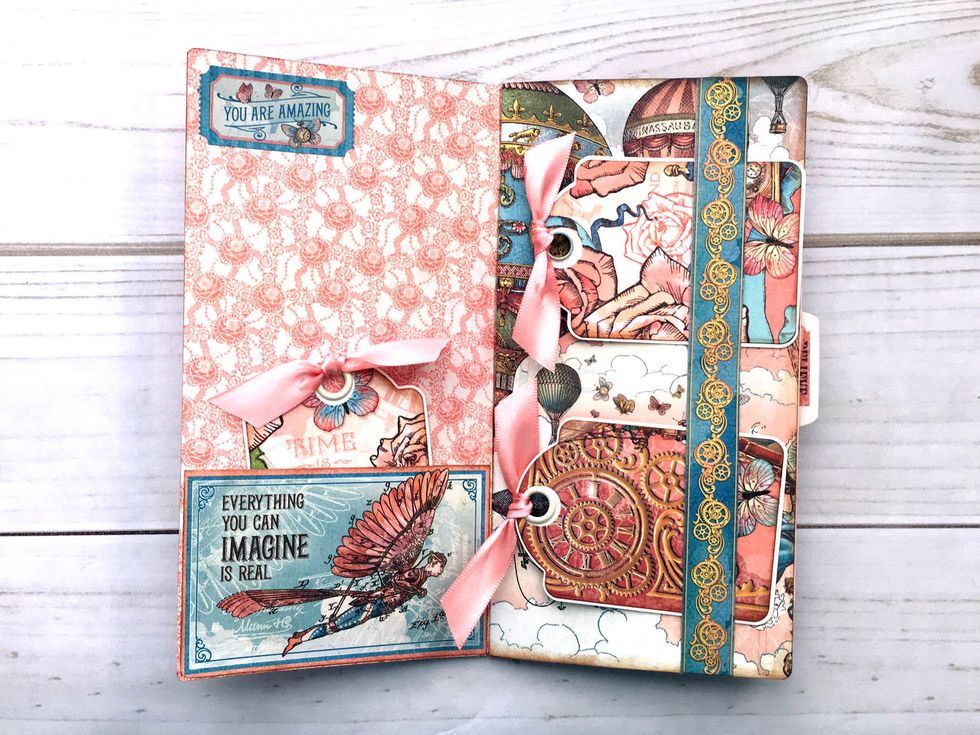
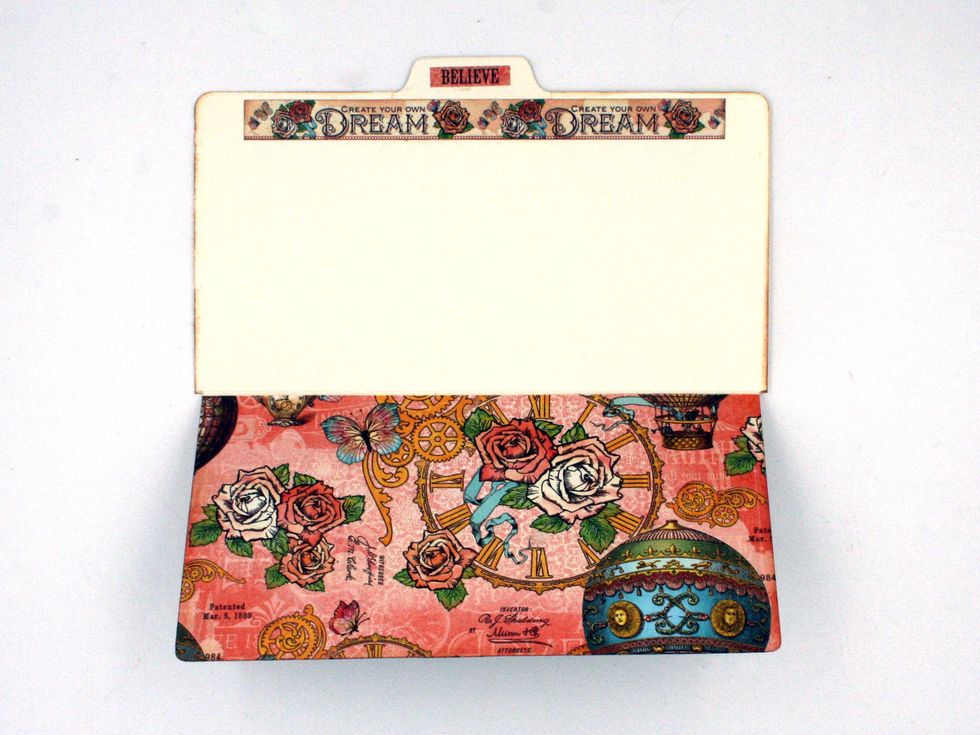
Locate the Dream tag shown & adhere @ the top. Cut a piece 3 3/8 x 7 5/8" from Futuristic Fantasy & glue to the far right ivory flap. Add photo corners (sticker sheet) as shown. See photo @ step 25.
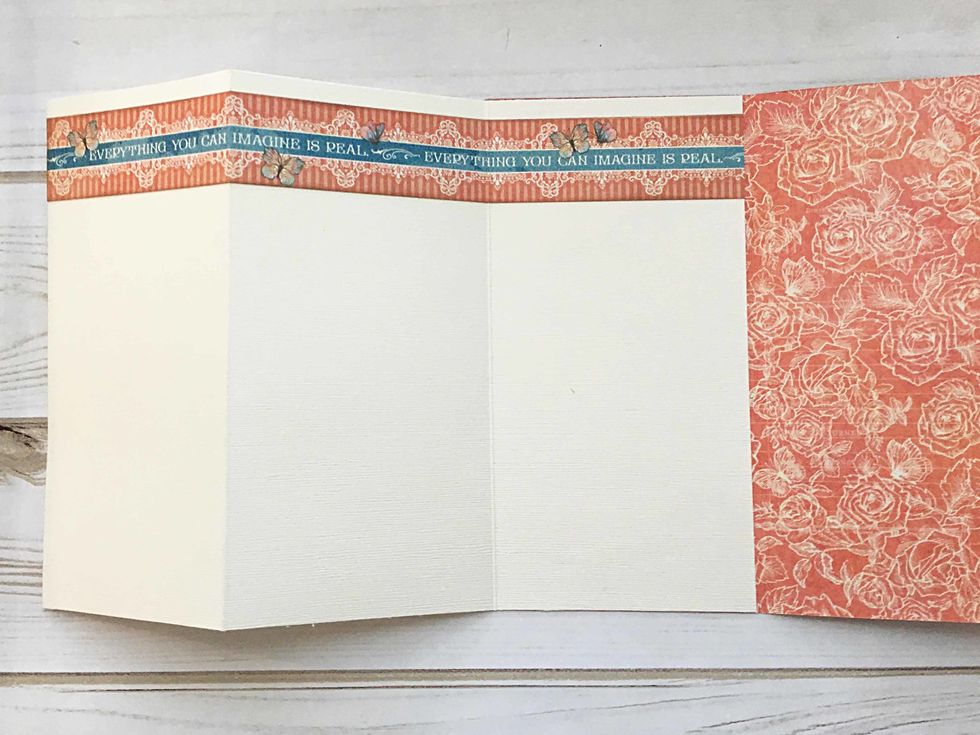
Turn the ivory cardstock over so that you are looking at the backside. Locate the strip shown at the top, score at 4" and 8 " and glue near the top of the ivory cardstock.
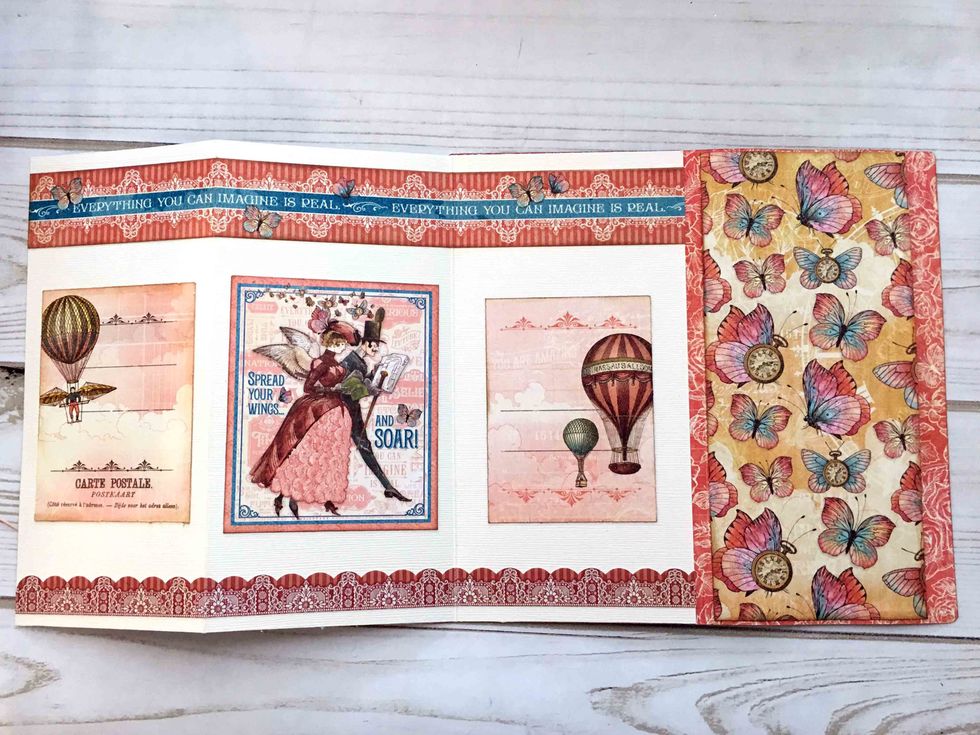
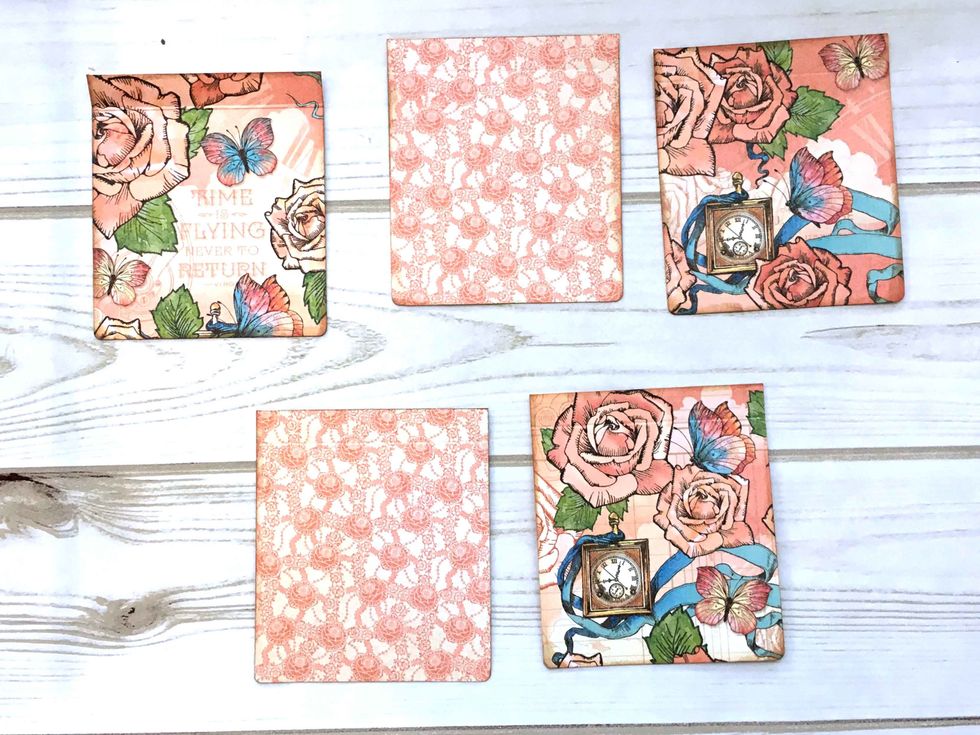
Add cut-aparts or ephemera cards to each of the 3 panels on the ivory cardstock.
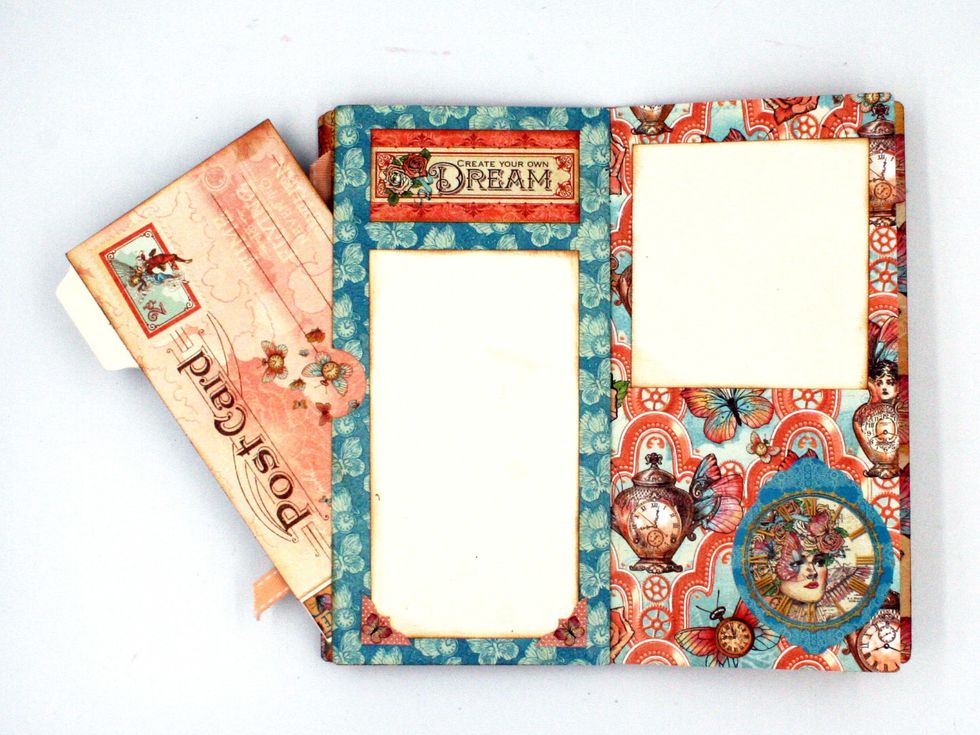
Cut a 3 1/2 x 7 7/8" from Spread Your Wings. Make a pocket on the inside back of the signature by adhering on the left side, top & bottom, along the edge. See the next page for the slide out folder.
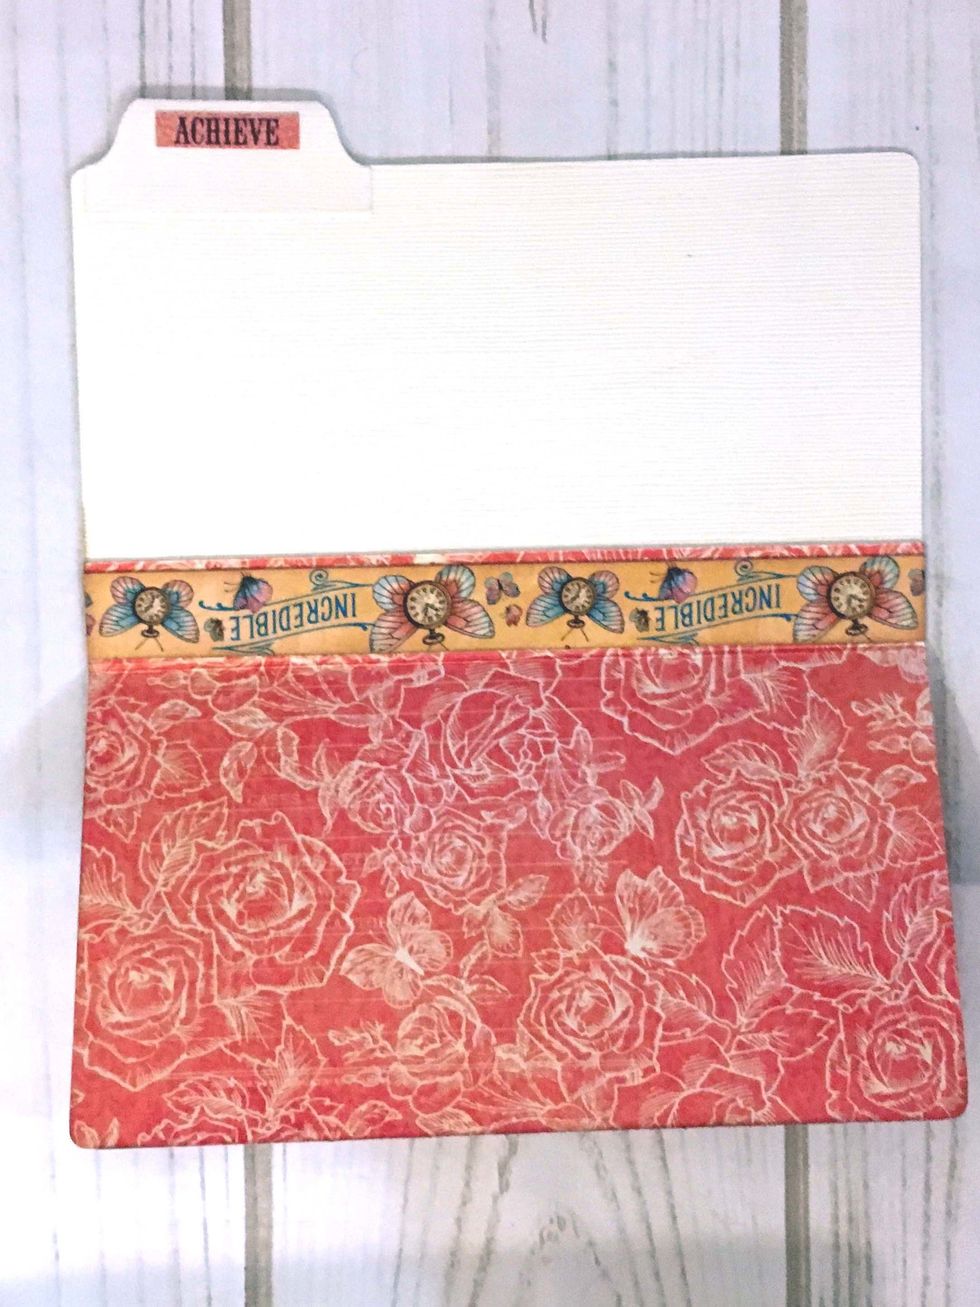
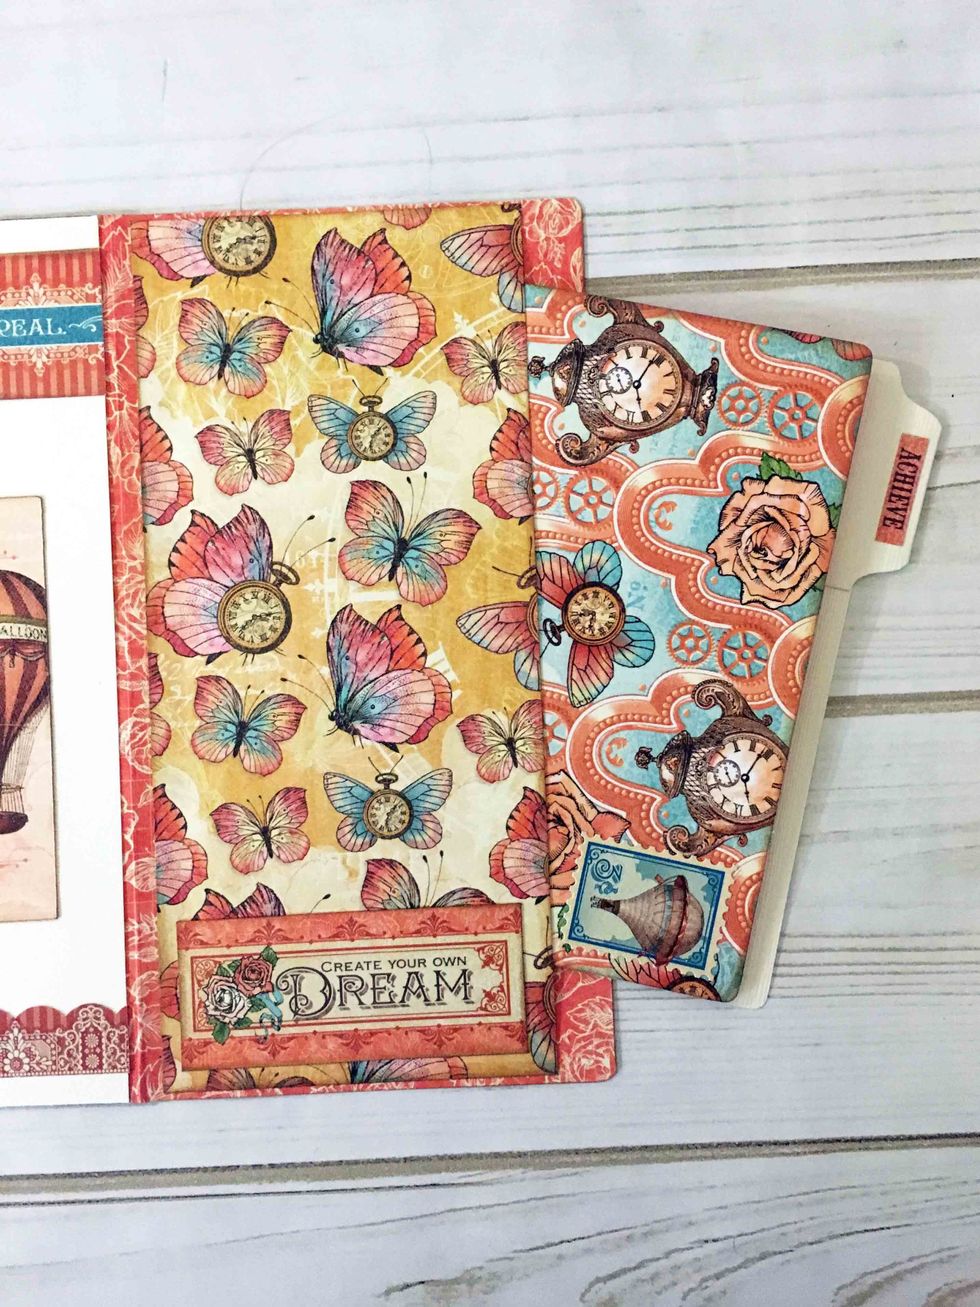
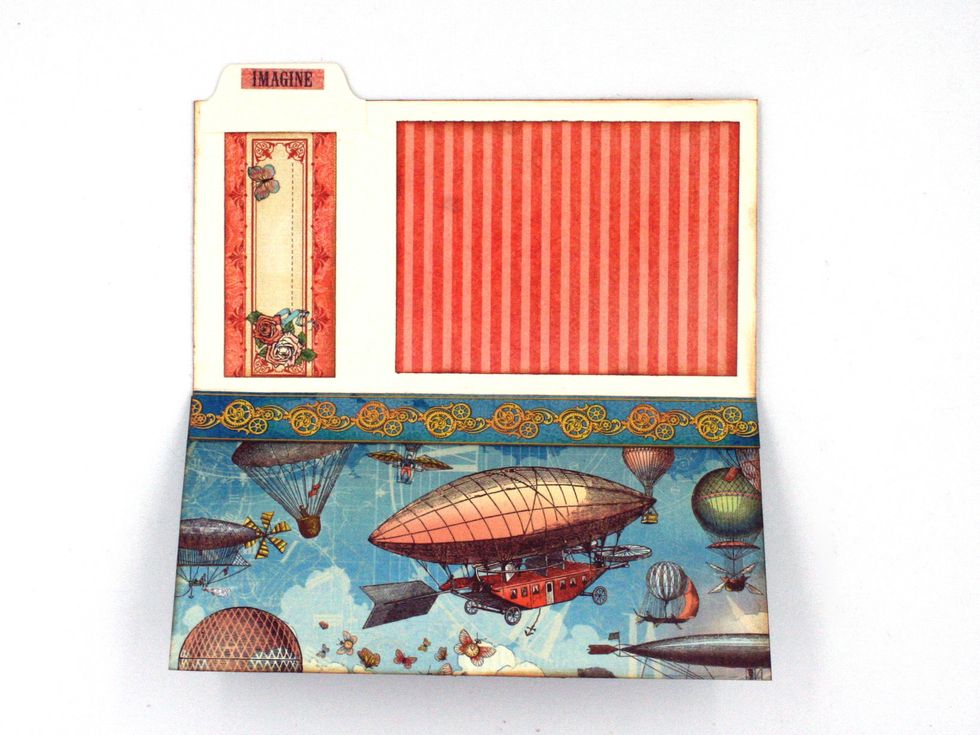
Cut a piece of ivory cardstock 6 x 3 1/2". Cut a piece of design paper 6 x 4" & score at 3/4". Fold on the scoreline & adhere to cardstock. Adhere a 6" piece of the Incredible strip along the fold.
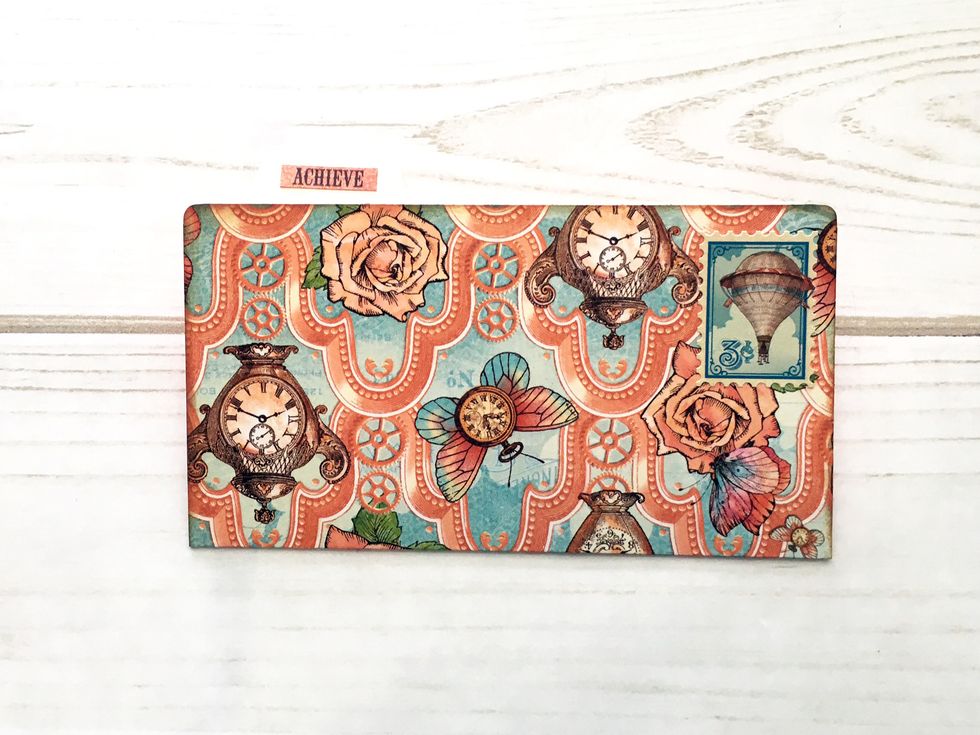
Fold like a file folder & cut a tab to glue at the top of the folder. Add a word from the sticker sheet. Round the corners as desired. Then tuck into the pocket created in step 32.
Signature 2: Cut 3 pieces of design paper 8 1/4 x 8" & stack together with the B sides facing all down, i.e. Spread Your Wings yellow side down, then Futuristic Fantasy & Create Yourself.
Trim the inner pages so they are flush with the cover. Sew or staple the pages together along the score lines. I use a standard stapler to assemble my pages. It has a 4 1/4" reach & works perfectly.
Cover of Signature 2: Die cut flowers with Graphic 45's flower dies, ink the edges and stack. Use scraps as shown to decorate the cover of this signature and embellish with your handmade flowers.
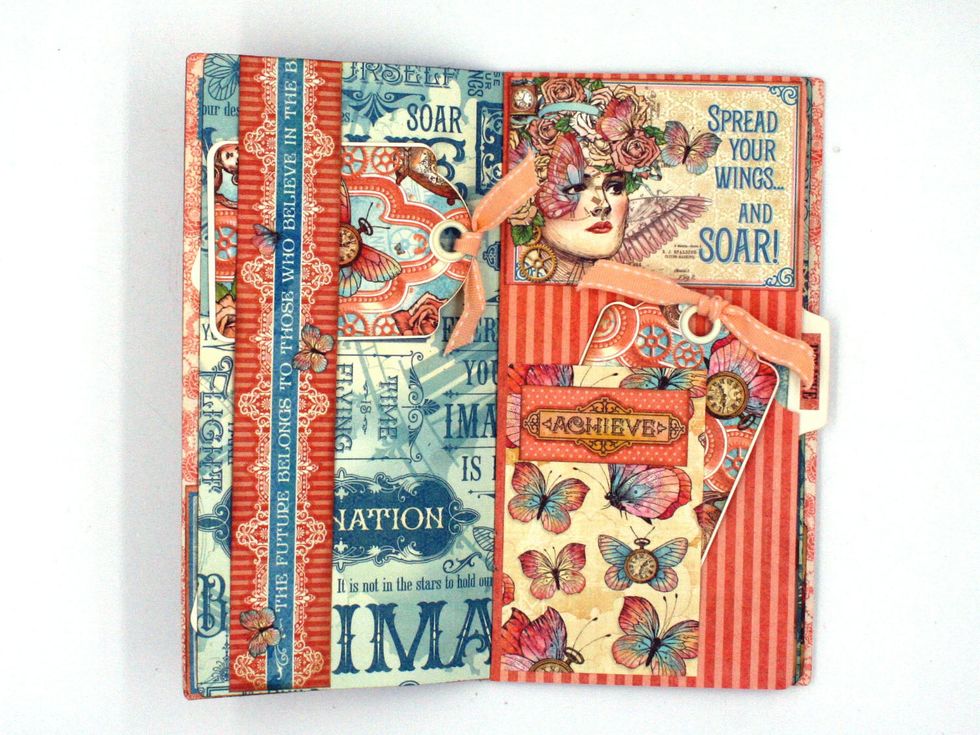
Inside cover: Cut a piece of ivory cardstock 4 x 8 3/8", score at 1/2" at the top. Fold at the scoreline & use Scor-tape to attach. Add a decorative strip at the top & 2 ephermera cards.
Glue cut-aparts as shown from Castles in the Air to the cardstock flap made in step 38. Create a 4" sq. pocket on the next page as shown. Add a stamp sticker at the top.
Cut a paper 3 x 7 5/8" & use a 1" circle punch to make a thumb notch. Form the pocket by applying a thin line of glue on 3 sides and glue to the 2nd inside signature page. (con't next page.)

Glue the center Create Yourself pages together along the edges creating a pocket. Make another photo waterfall, following the instructions at steps 26-28.
Create a thumb notch on the pocket with a 1" circle punch. Add a 3 x 5 1/2" photo mat. Add sticker corners at the bottom. Cut "Create Your Own Dream" from Adventure Beckons & glue at the top.
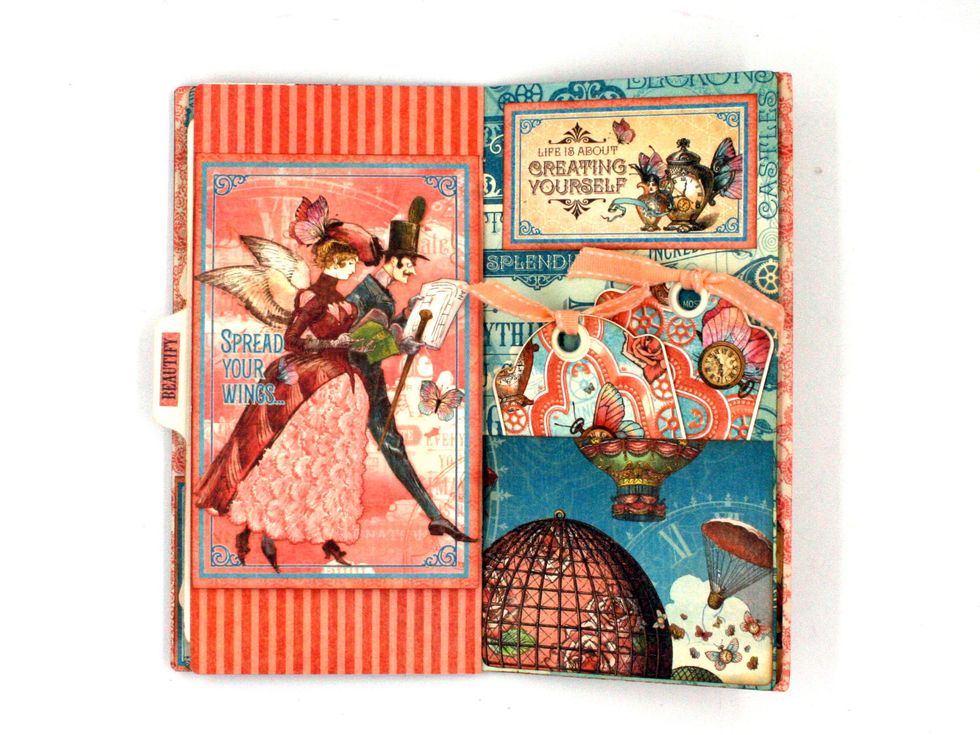
Follow steps 33-34 to create a file folder for the pocket. For the right side page, add a 3 1/4 x 3 1/2" photo mat at the top. Place a sticker as shown at the bottom.
Inside of file folder.
Glue 3 stamps at the top of the next page. Score an ephemera card @ 1/2" & 3". Glue the 1/2 flap to the signature page so that the card folds out. Cover the glue strip w/ a 3 1/4 x 4" photo mat.
View with ephemera card folded in on the page. Locate cut-apart shown on Castles in the Air and adhere inside the back signature cover.
For signature 3: Cut 3 pieces of design paper 8 1/4 x 8" & stack together. Place Beautiful Dreamer A side down, then Up and Away A side down, & Imagine B side down. Assemble as in Steps 35-36
Signature 3 cover: Assemble with 8" piece of burlap topped with 8" strip cut from Adventure Beckons and a fussy cut butterfly.
Inside cover, trim cut-apart from Castles in the Air to 4 1/8 x 2 1/8". Apply thin glue line to bottom and sides of cut-apart & adhere to page bottom forming a pocket. Add sticker ticket at the top.
Cut 8" gear strip from Adventure Beckons. Put thin line of glue at each end and in the center & adhere to the right side of the page as shown.

Left side: Make a belly band w/ "The Future Belongs" strip from Adventure Beckons. Right side: Glue the 2 inner pages of Imagine together with the B side out, forming a pocket.
Create a file folder following steps 33-34 to tuck in the pocket page.
Right side: Cut a piece 2 1/2 x 4" to make a tuck. Apply glue on right side & bottom & adhere to the page as shown. Add Achieve from Adventure Beckons to the tuck spot. Glue ephemera card @ top.
Next page: Score a large ephemera card at 3/8" at the top. Use Scor-tape to adhere as shown in the photo. On the right side create a pocket with a 3 1/8 x 4" scrap. Adhere cut-apart at the top.
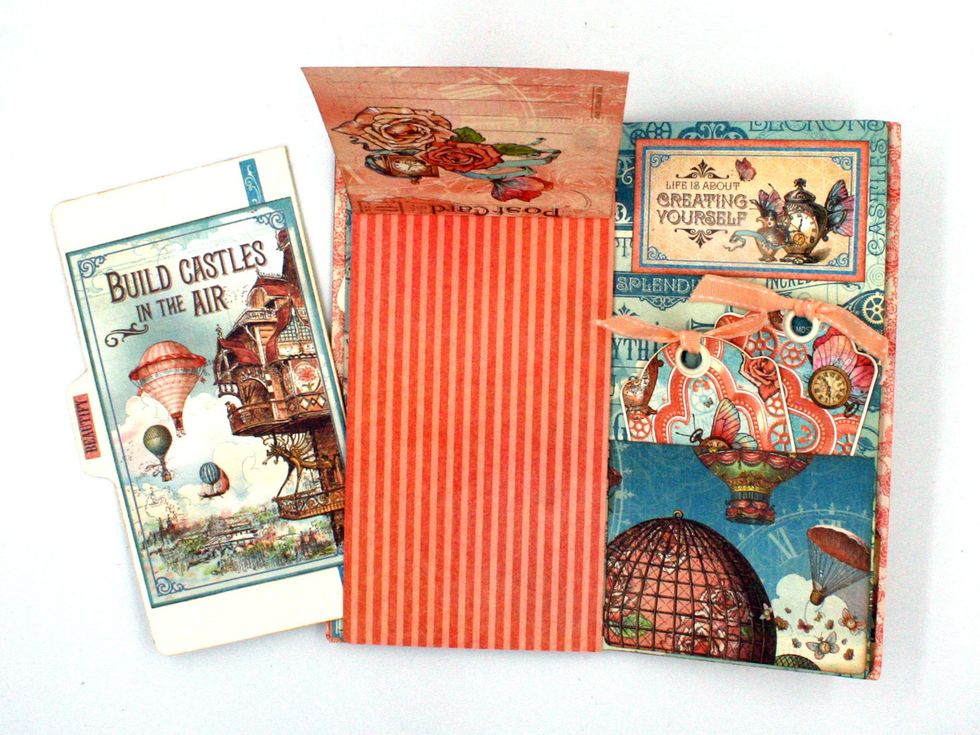
View with flap opened and file folder showing out of the pocket.
Last page inside: Cut 4 1/8 x 6" pc from Spread Your Wings & cut diagonally as in the photo. Form a pocket by gluing on the left & bottom edges.
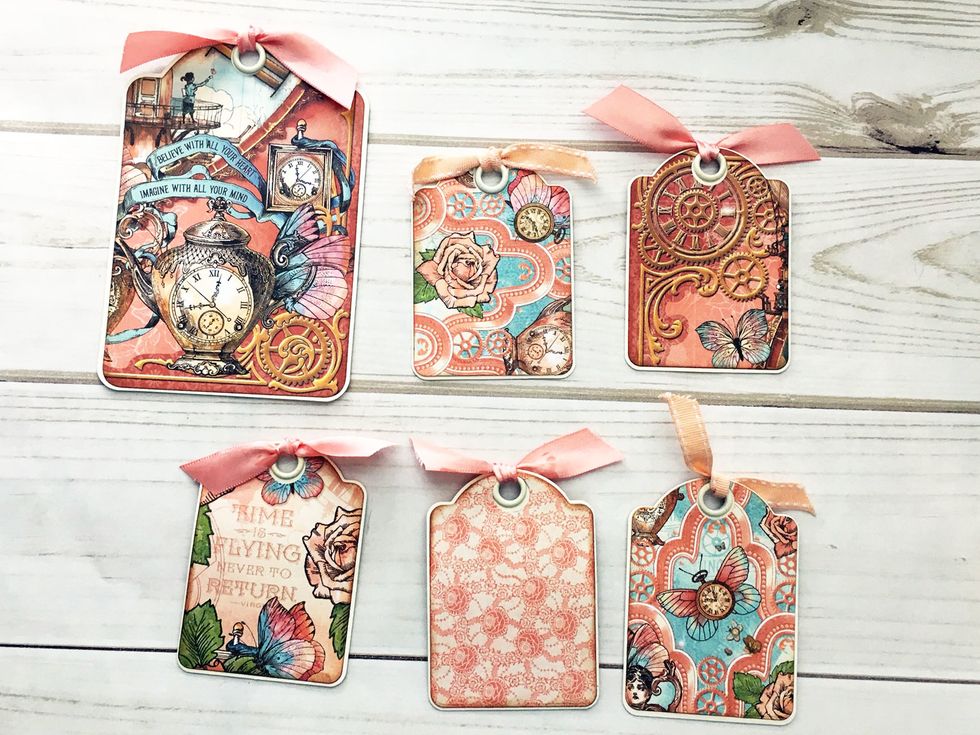
Make some tags to tuck in the pockets with Graphic 45's new tag dies! I am so excited about these dies!

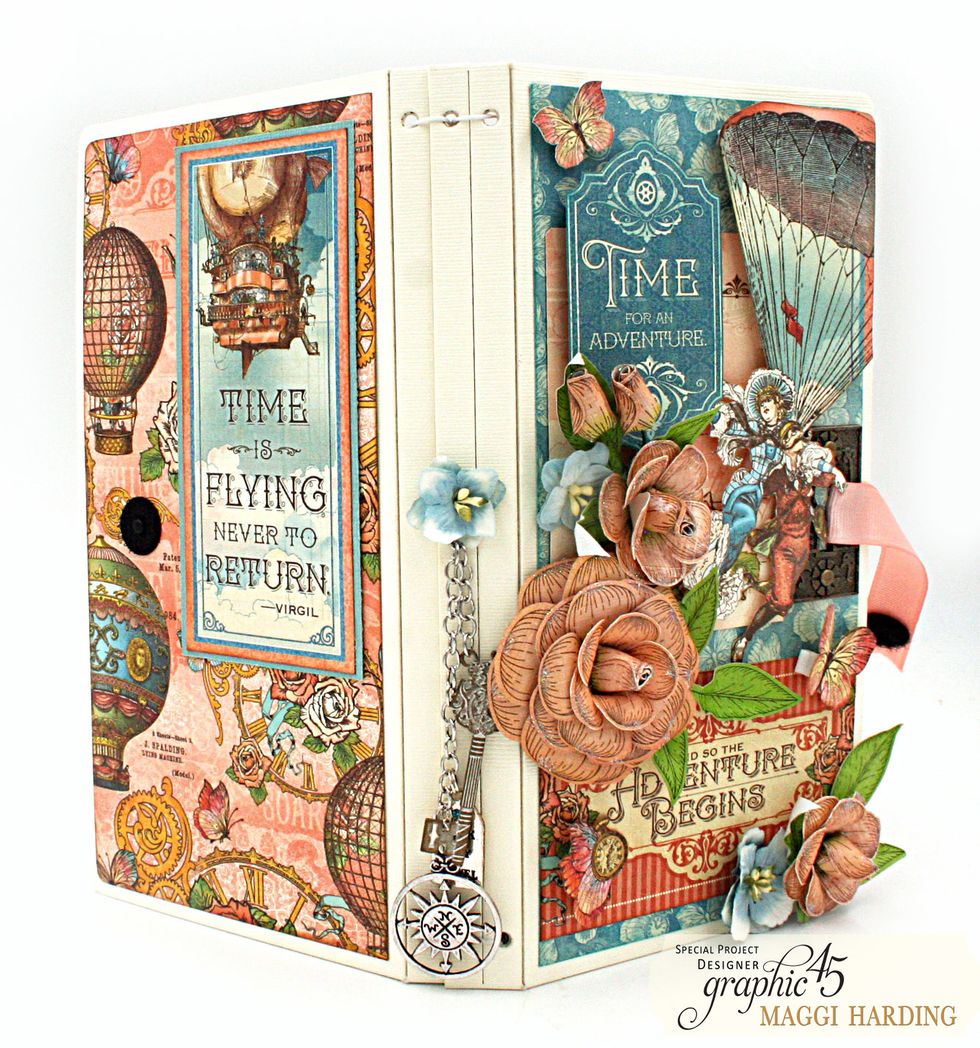
All finished. I added a dangle on the spine for fun! Stop by my blog for more on this project: https://bit.ly/2u3TFsp
Front and back.
I love how the keyhole closure looks so neat wrapped around the edge.
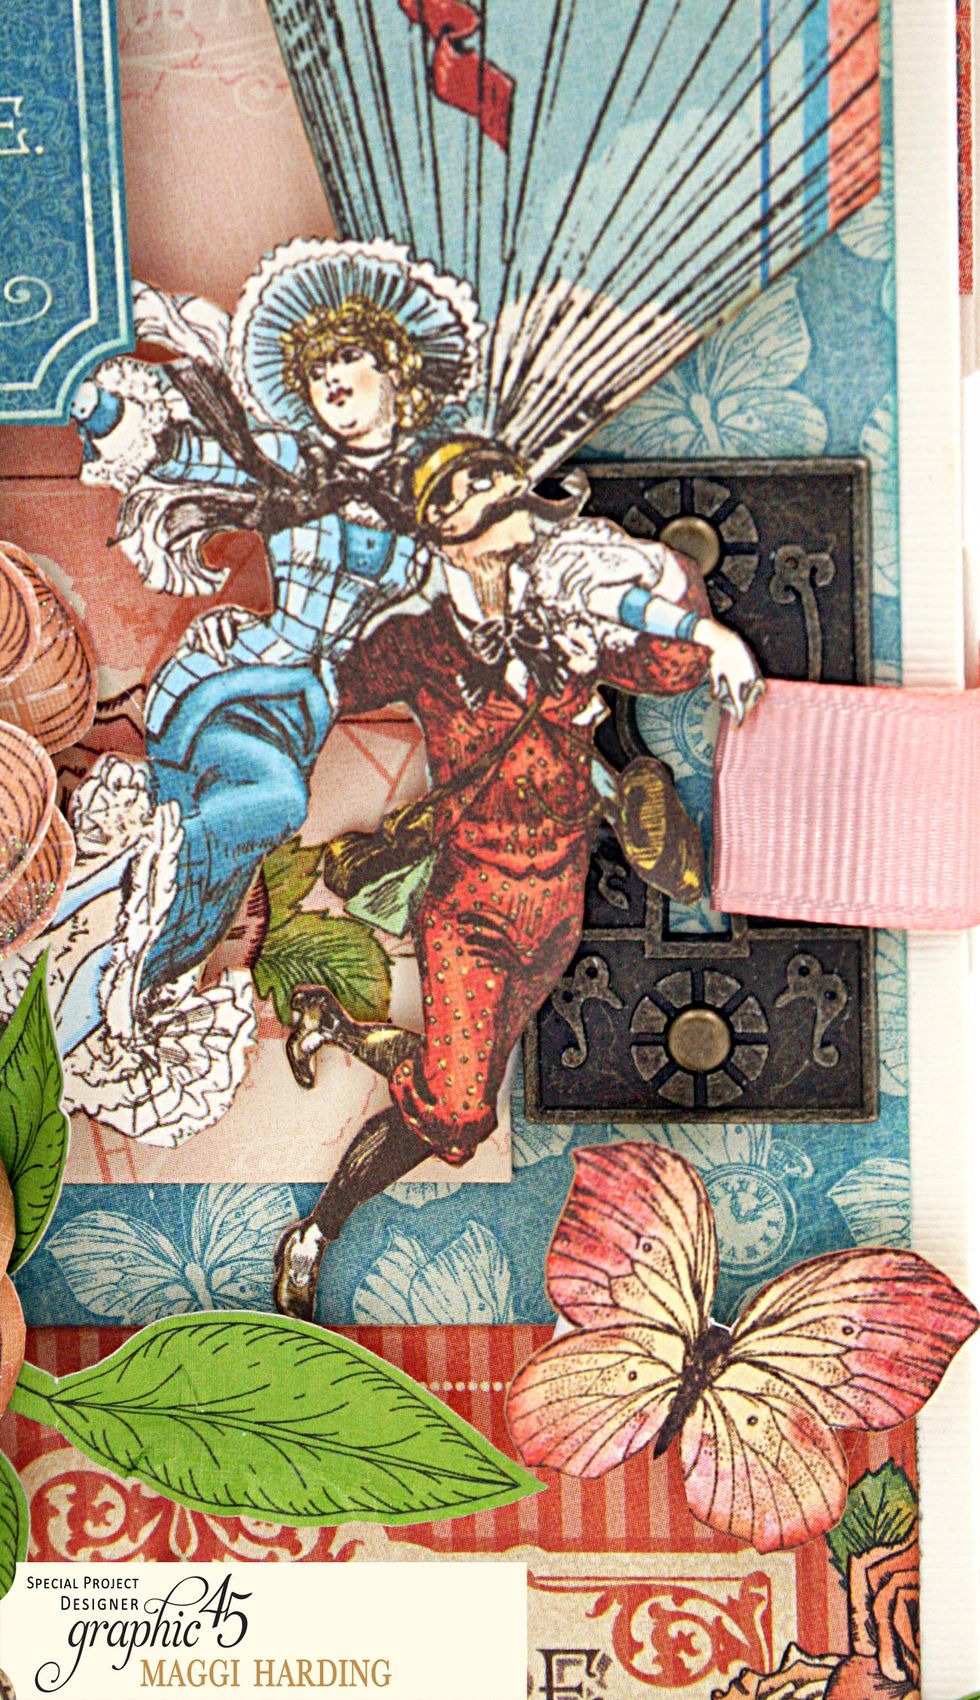
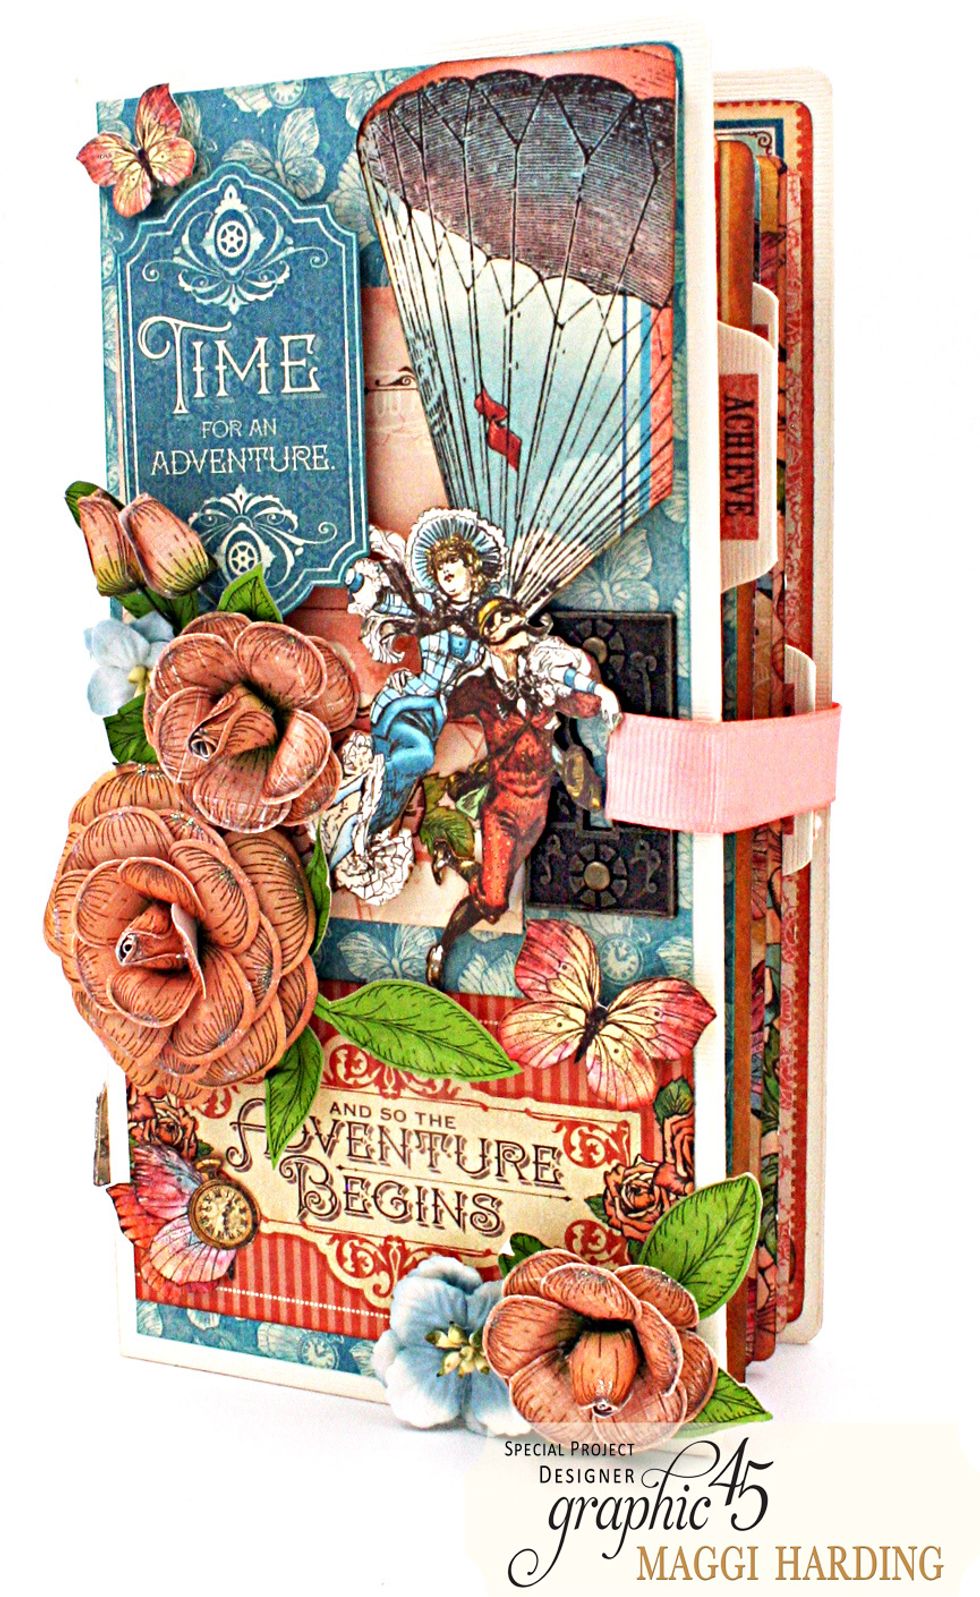
Close up view of the fussy cut balloon.
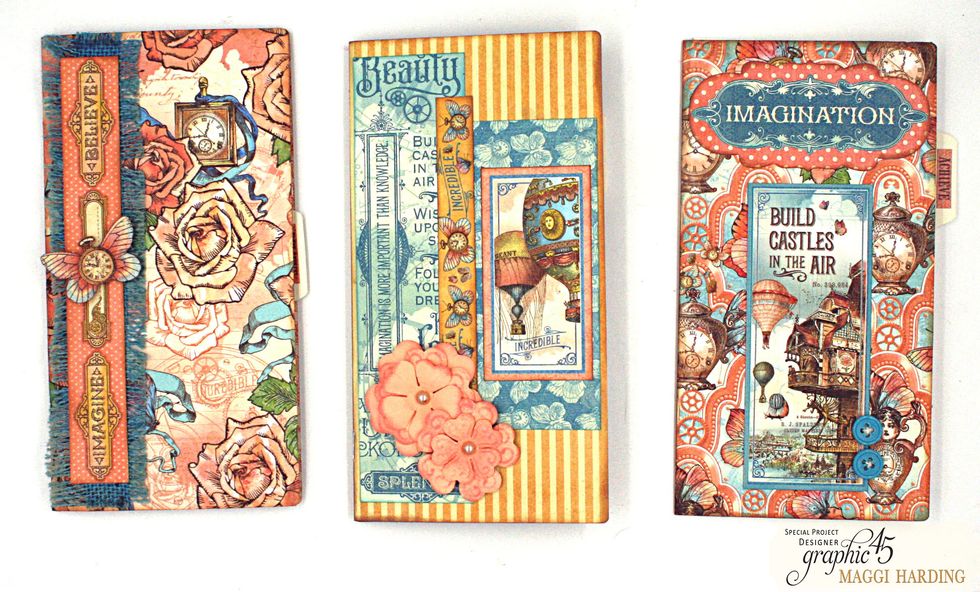
Covers of the 3 signatures.

I design for Graphic 45, Eileen Hull Designs by Sizzix, & The Funkie Junkie Boutique. Tutorials on my blog: bit.ly/1Sem2J0. Pinterest:bit.ly/1HhWvOx. Instagram: https://www.instagram.com/maggiharding/