The Conversation (0)
Sign Up
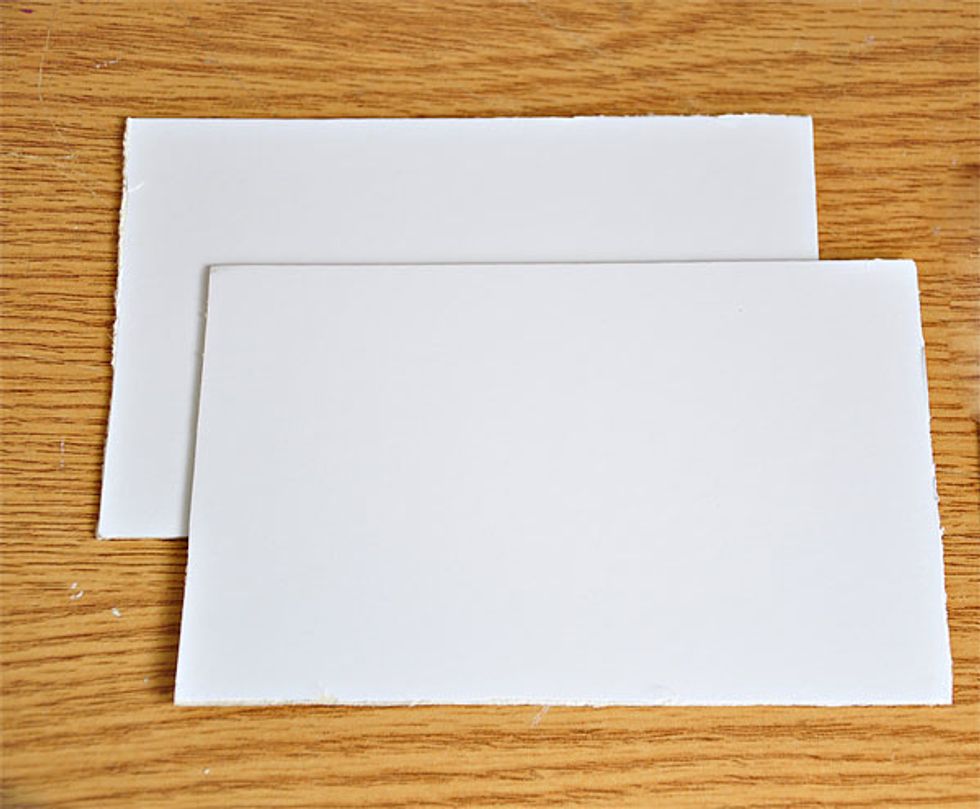
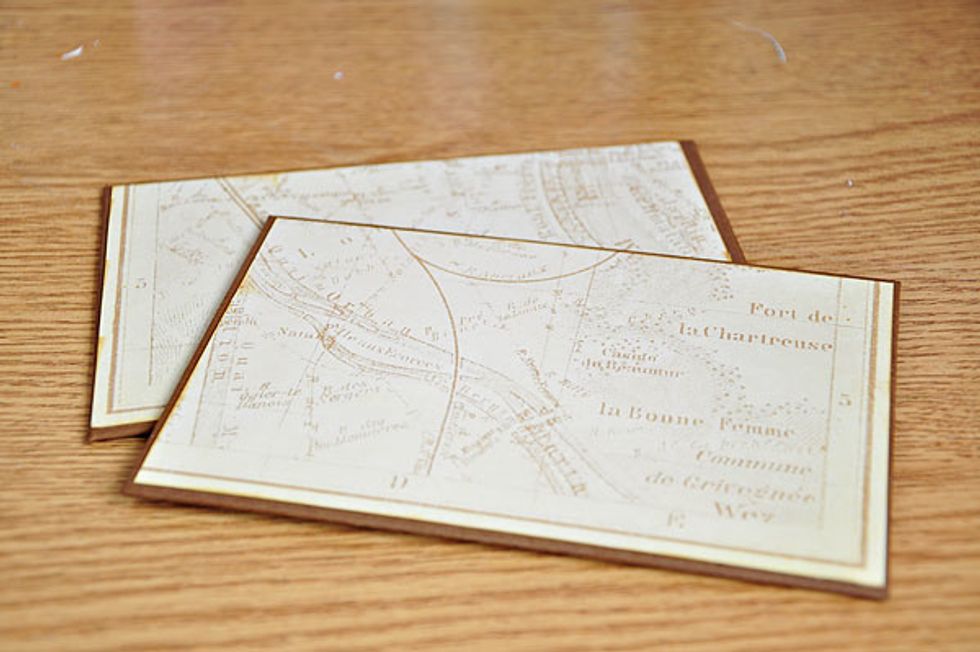
Cut 2 pcs of 4 1/8 inches x 6 1/8 inches chipboard or cardboard (for front and back covers)
Cut 2 pcs of 5 1/8 inches x 7 1/8 inches cardstock (outside cover) and 2 pcs 4x6 cardstock (inside)

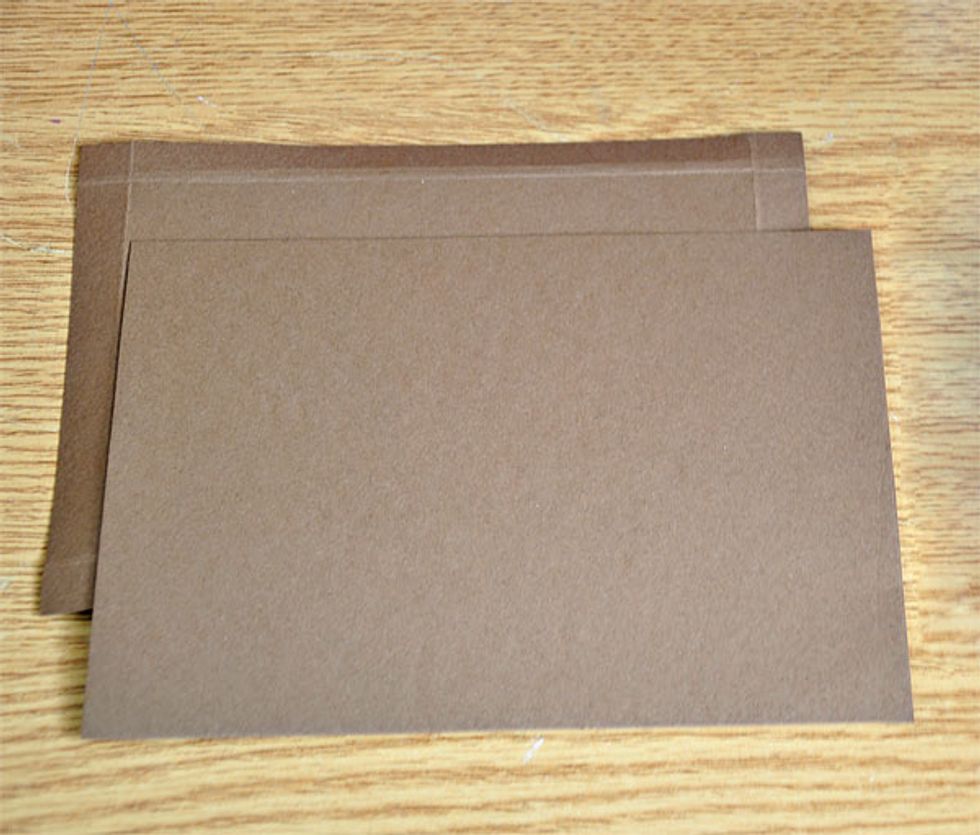
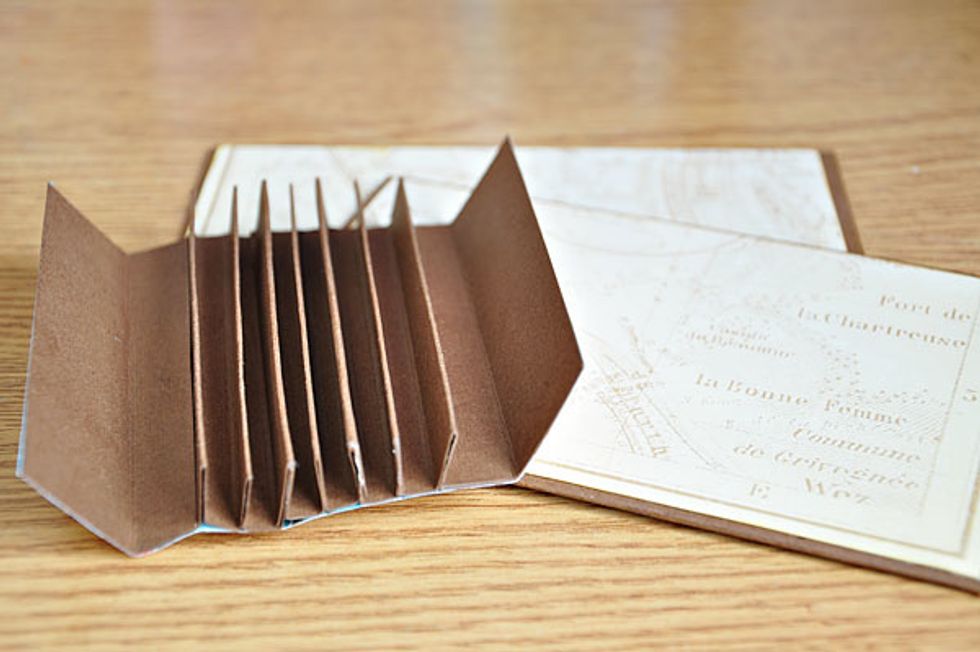
Cut 1 pc 4 x 11 1/2 inches strip of cardstock (the one shown is just for instruction purposes, I used the same brown cardstock for my album). Start scoring at 1 inch from the left side.

From the first score line, score at 1 1/2, 2, 2/12. Then at 2 3/4, 3 1/4, 3 3/4, 4, 4 1/2, 5, 5 1/4, 5 3/4, 6 1/4, 6 1/2, 7, 7 1/2, 7 3/4, 8 1/4, 8 3/4, 9, 9 1/2, 10, 10 1/2
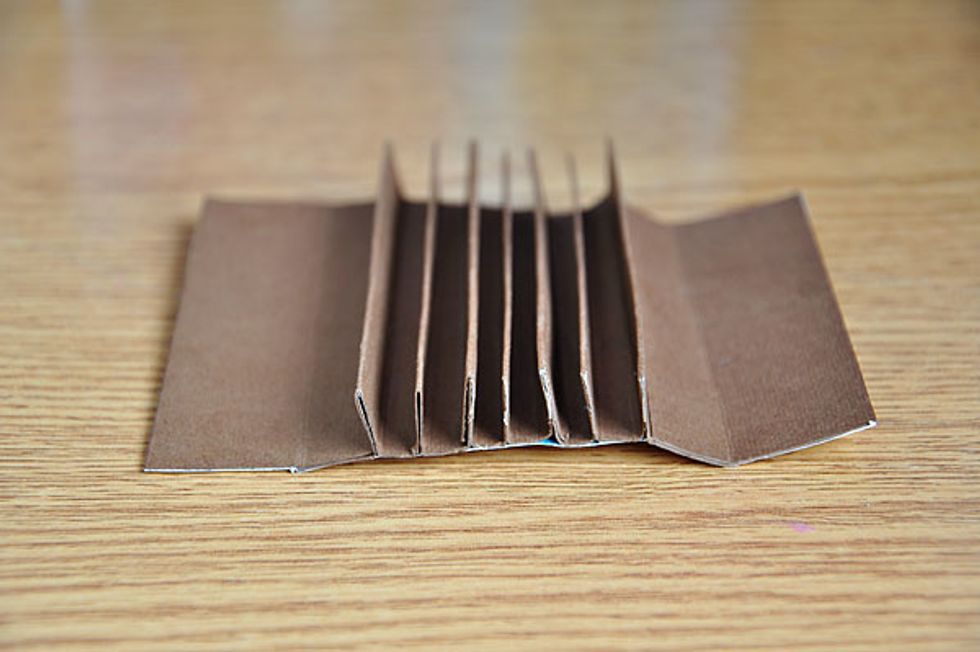
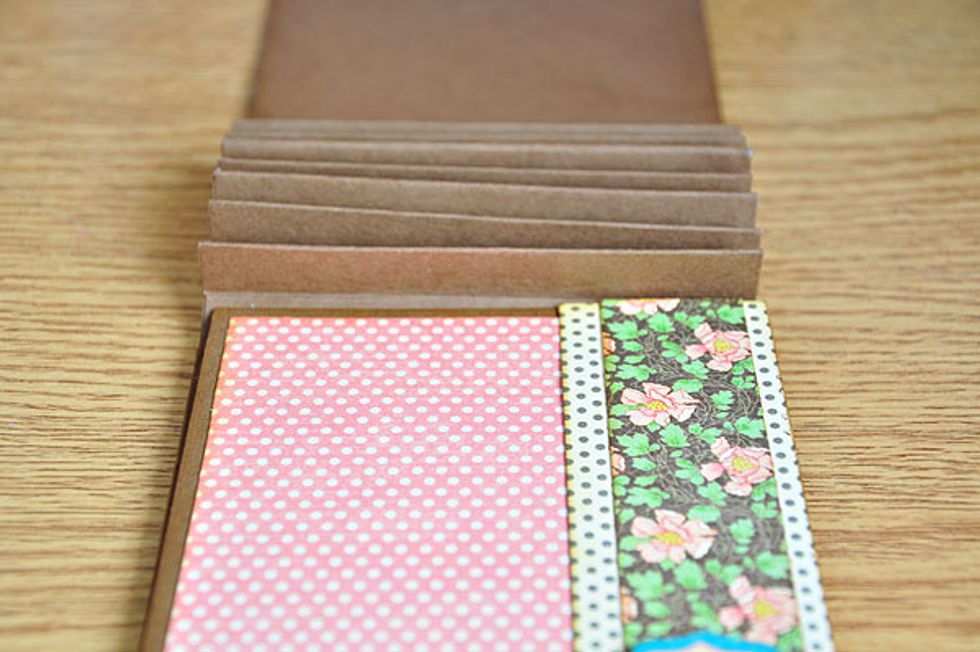
Fold as seen in image. All the bigger spaces will be adhered together, leaving a space of 1/4 in the middle. This will take up to 7 single pages.
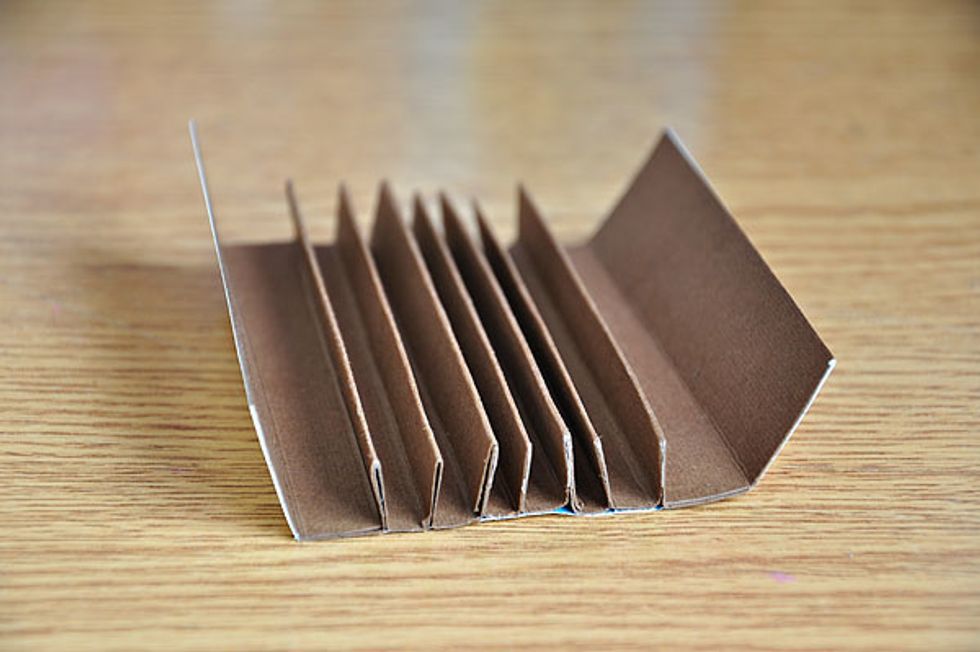
The first and last part will be adhered to the front and back covers of the album. I suggest using a chipboard to back the spine instead of using just another paper or cardstock as I did.
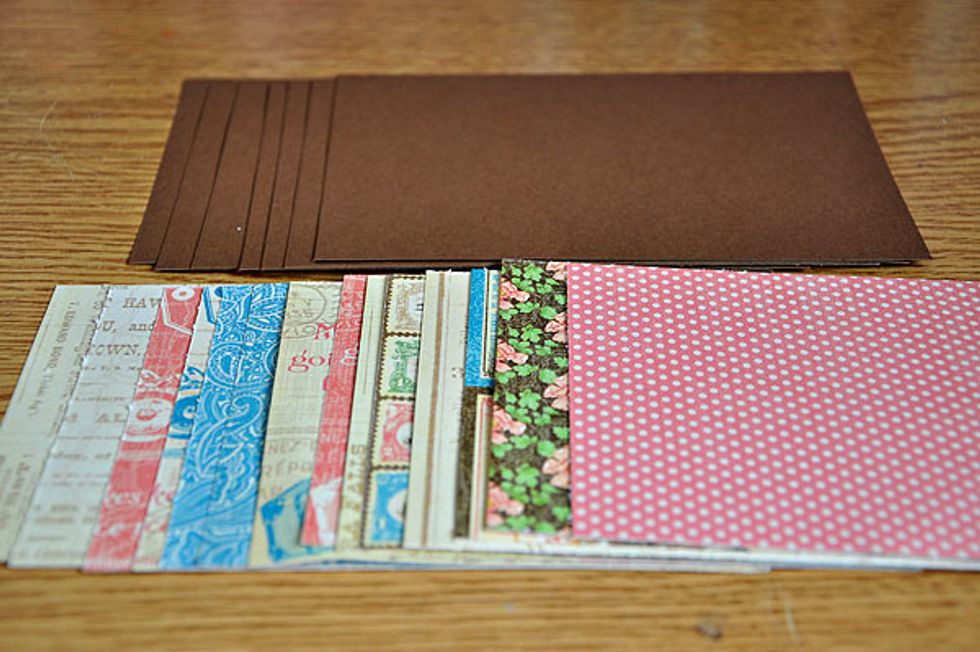
For the pages, prepare and cut 7 pcs of 4x6 brown cardstock and 14 pcs of 4x6 patterned papers of your choice.
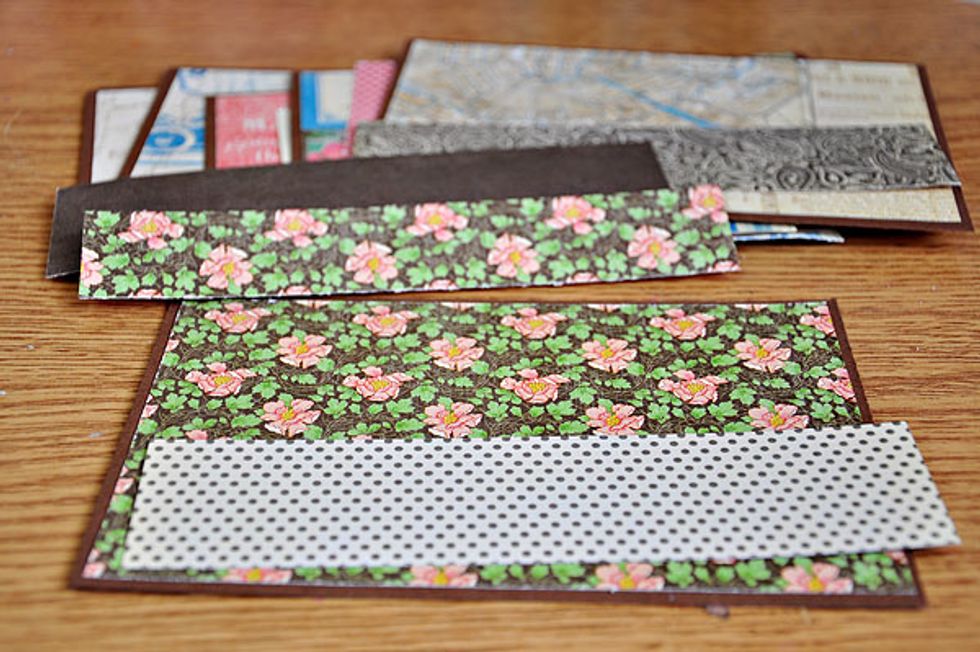
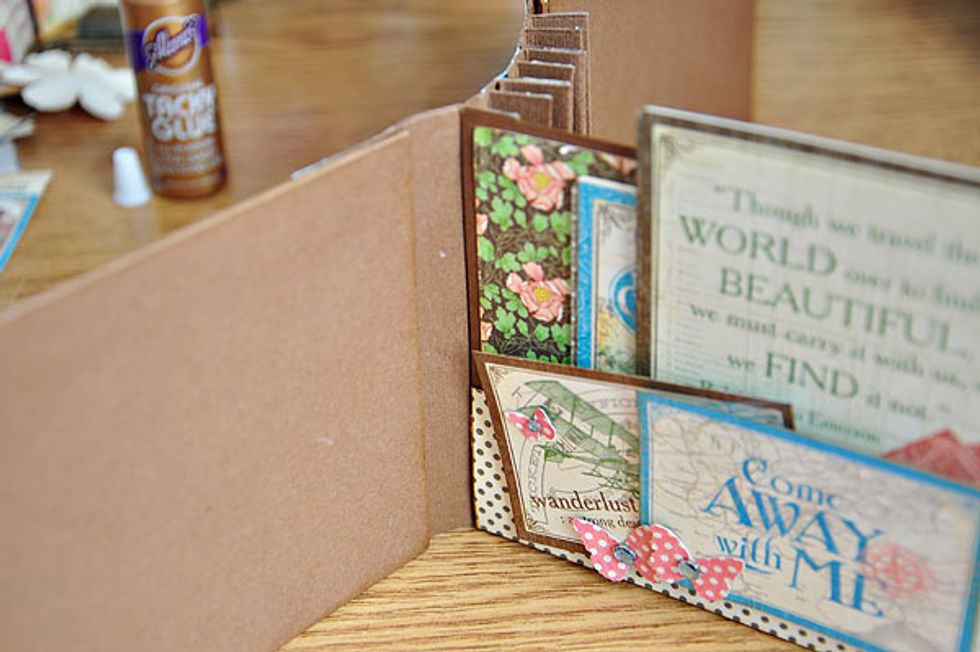
I planned on creating pockets as main design of my inside pages. Cut at least 2 inches of paper strip for the pocket.
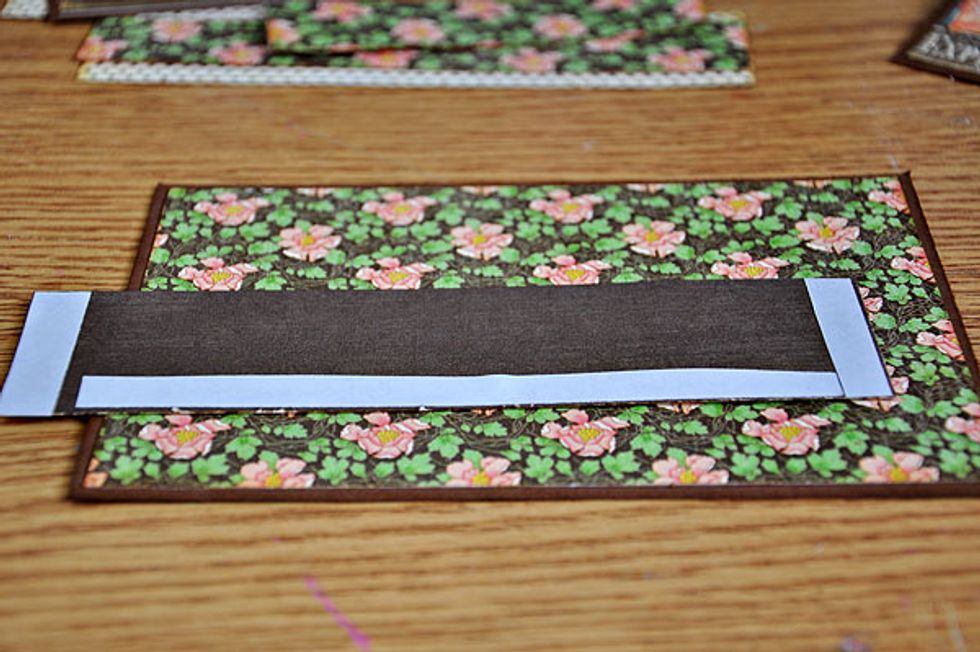
Put adhesive on the sides and bottom of the strip and adhere this on the bottom of your page. Another option is sewing the pockets on the pages.
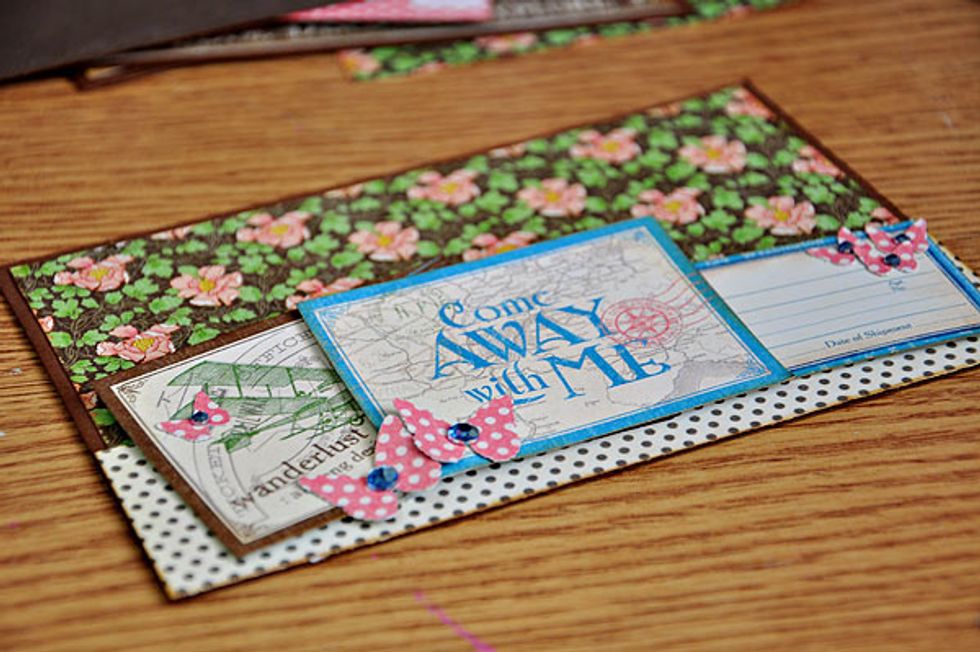
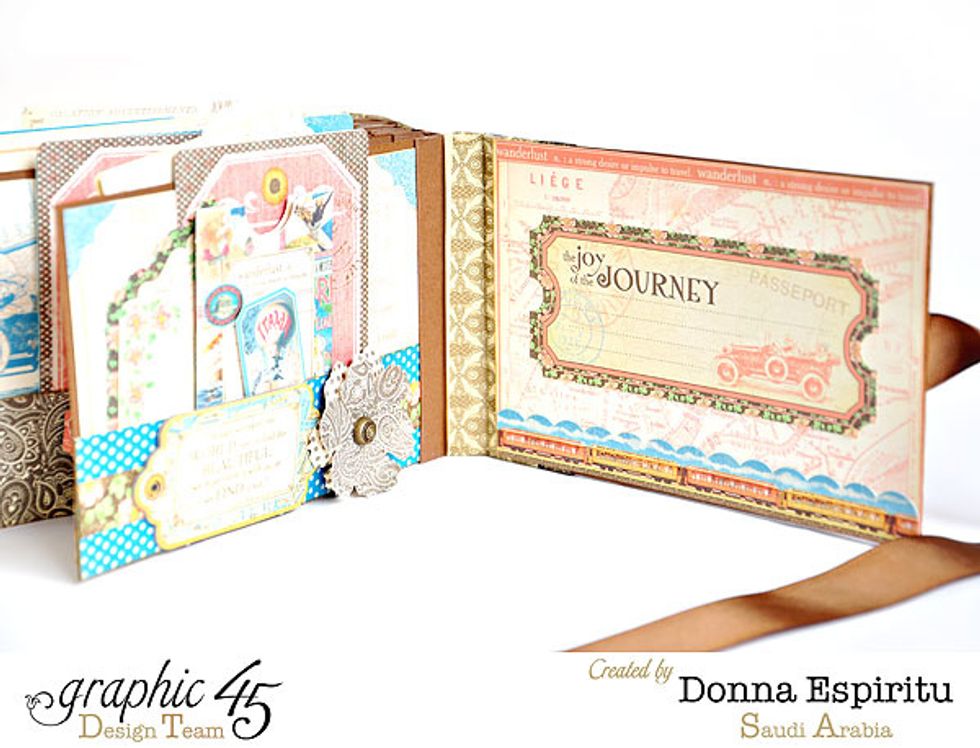
This is a sample of how I embellished one of the pages.
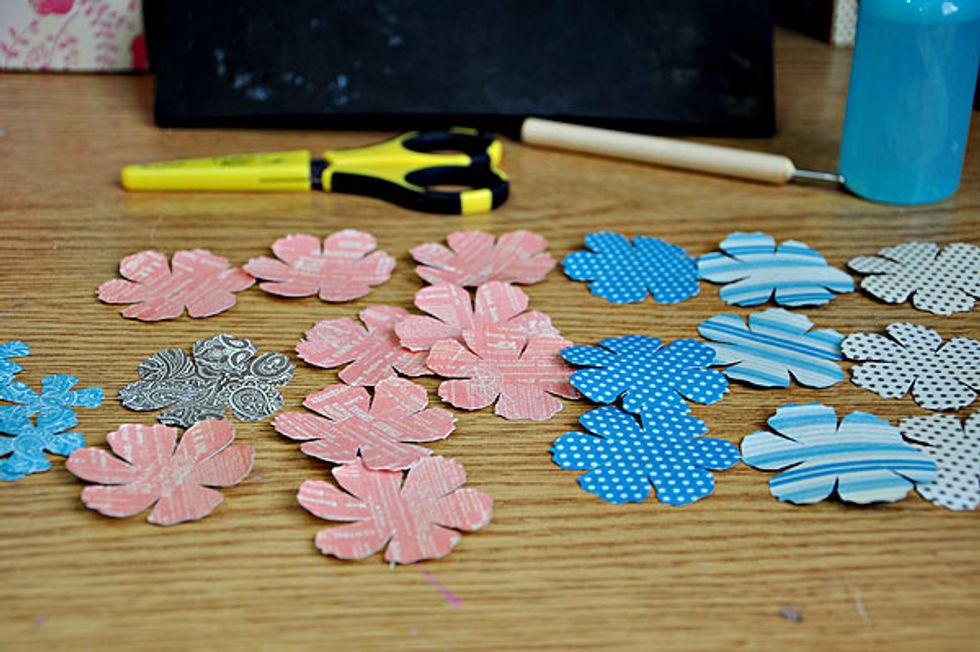
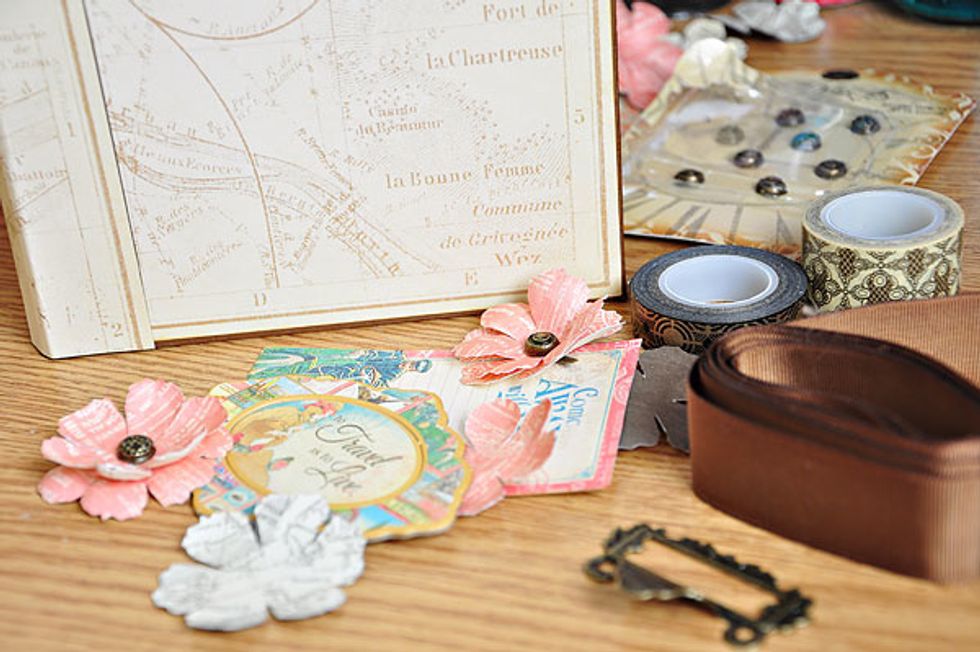
I used my Sizzix tattered floral die cut (my go to flower-maker) to cut these flowers from the 6x6 Come away with me papers.
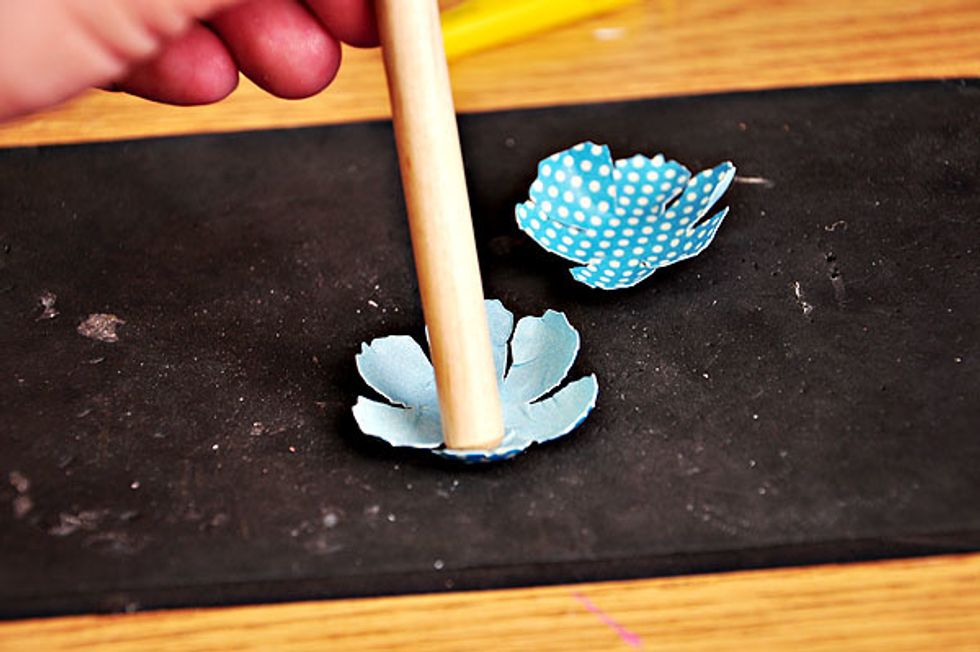
I used an embossing tool to curl my die cut flowers. Spritz on a bit of water first on the flowers before doing this, to easily manipulate the shape you want to achieve.
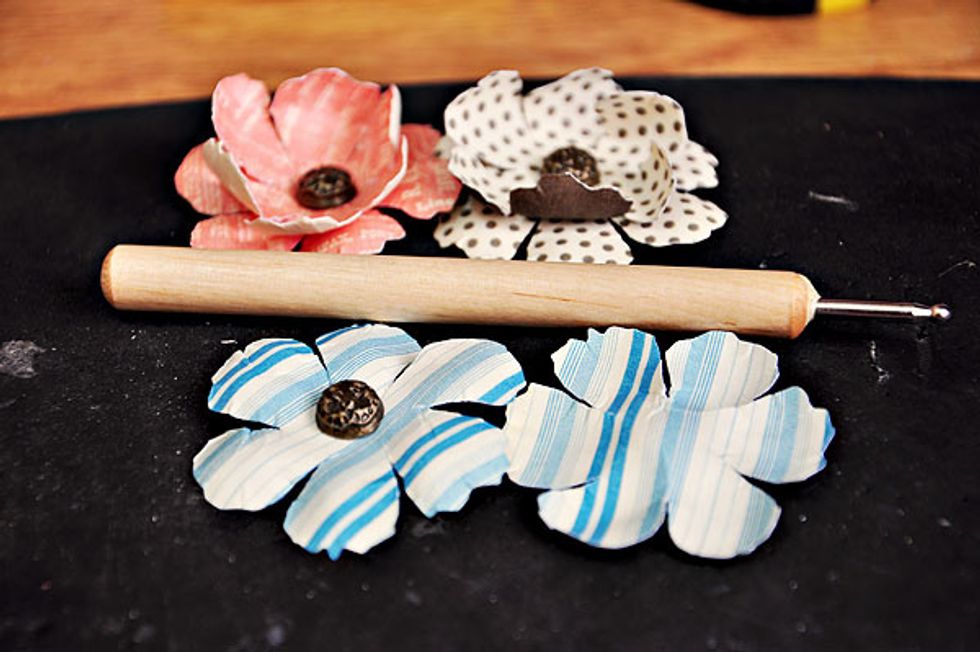
You can curl it upwards or downwards and make it a little bit shabby/tattered. Finish of with a piece of metal brad.

Now the flowers are ready to be used as embellishments to the pages. Tip: alternate the placement of the flowers on each page to avoid crowding and unnecessary bulk on the same place.
Cut 2 pcs of 5 3/4 x 3 3/4 patterned papers for the covers (front and back - outside covers). And 2 pcs of 4x6 patterned papers for the inside of the covers.
Adhere the spine to the covers. I opted to adhere from the outside instead of hiding the flaps inside. I think it is sturdier that way.
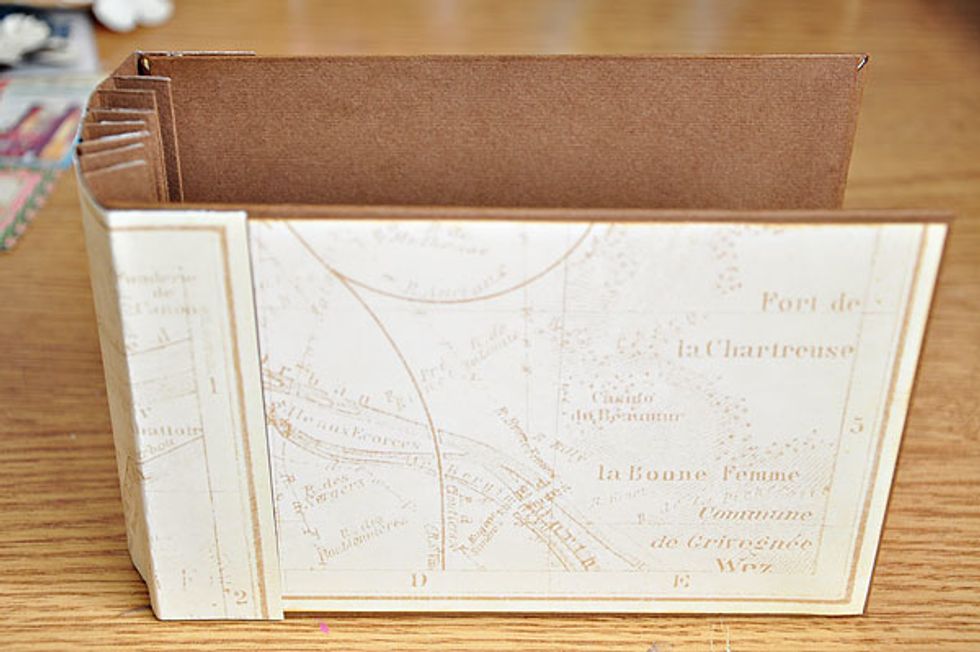
How it looks adhered from the outside of the front cover.

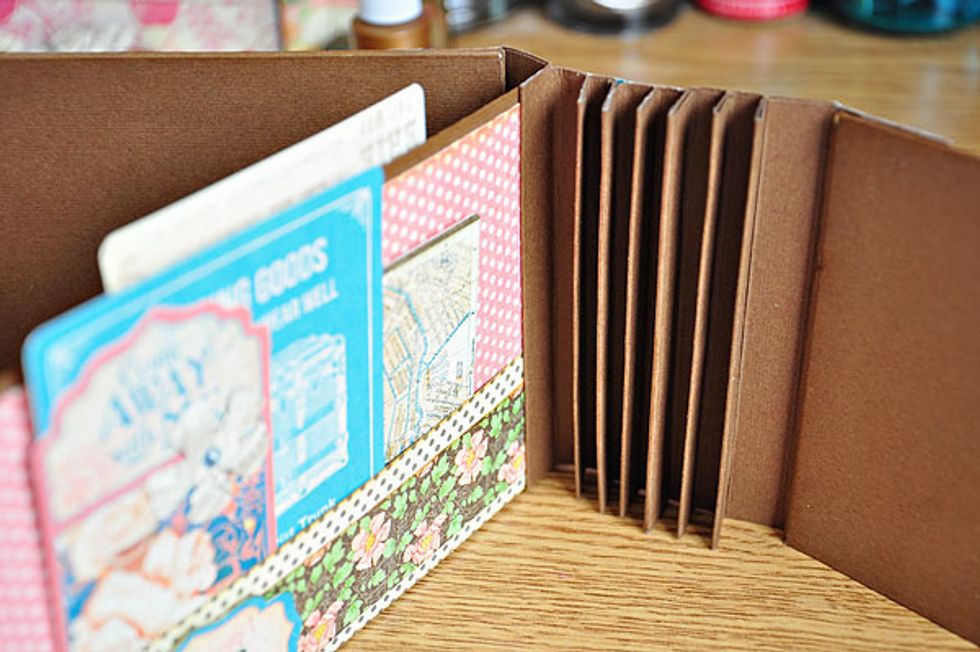
How it looks inside with the spine and and accordion binding inside.
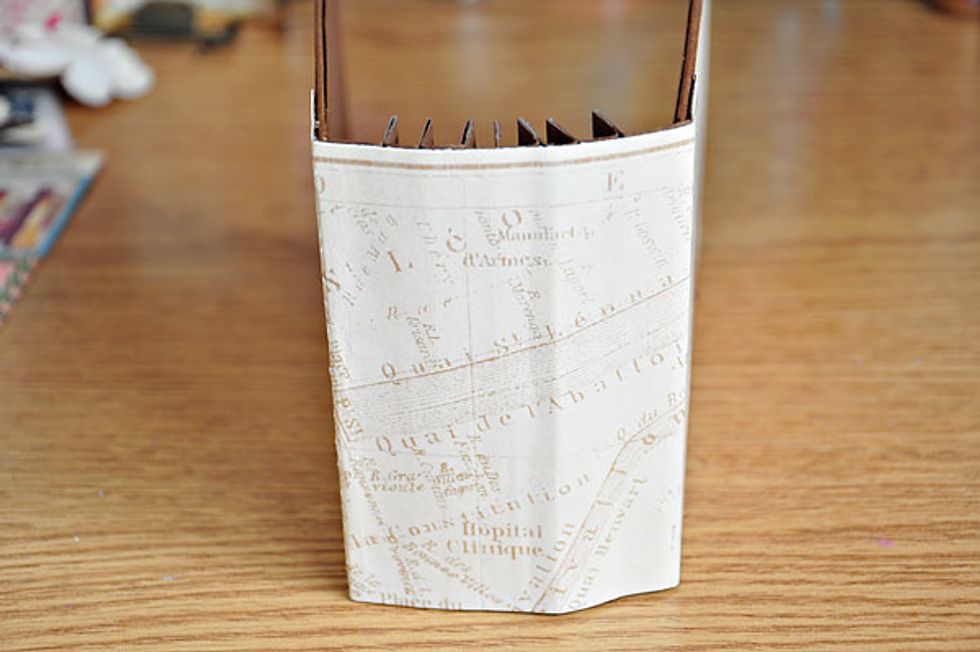
The book spine. As mentioned in previous step, I suggest that you adhere a chipboard or cardboard first before covering with another cardstock or patterned paper.
Time to assemble the pages. My preference is to design the pockets first before adhering to the binding. Just make sure to strategically place the bulky embellishments in each page.
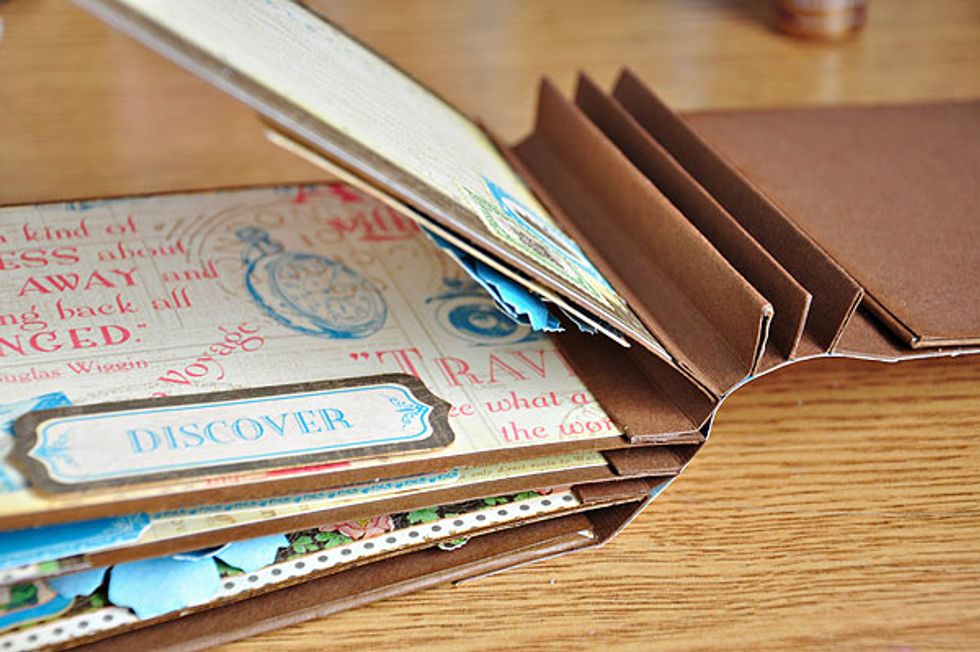
As you go along, it should look like this.
I always decorate/embellish the cover after finishing the inside pages of my albums. That way I can maximize the amount of embellishments I'd use.
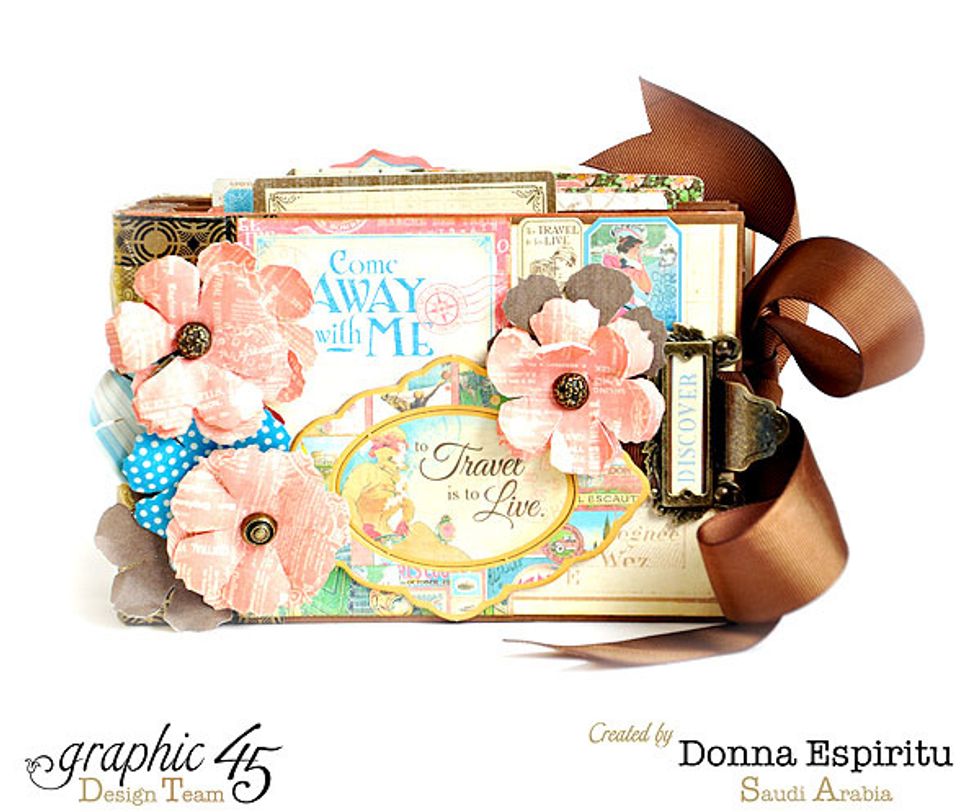
And here is the finished mini-album.
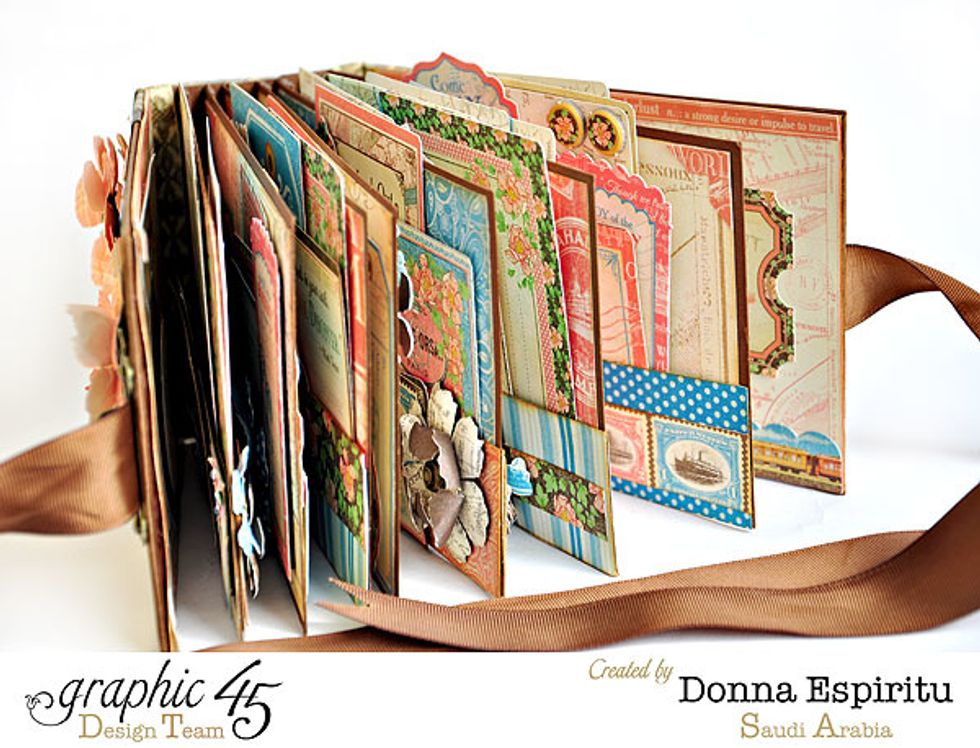
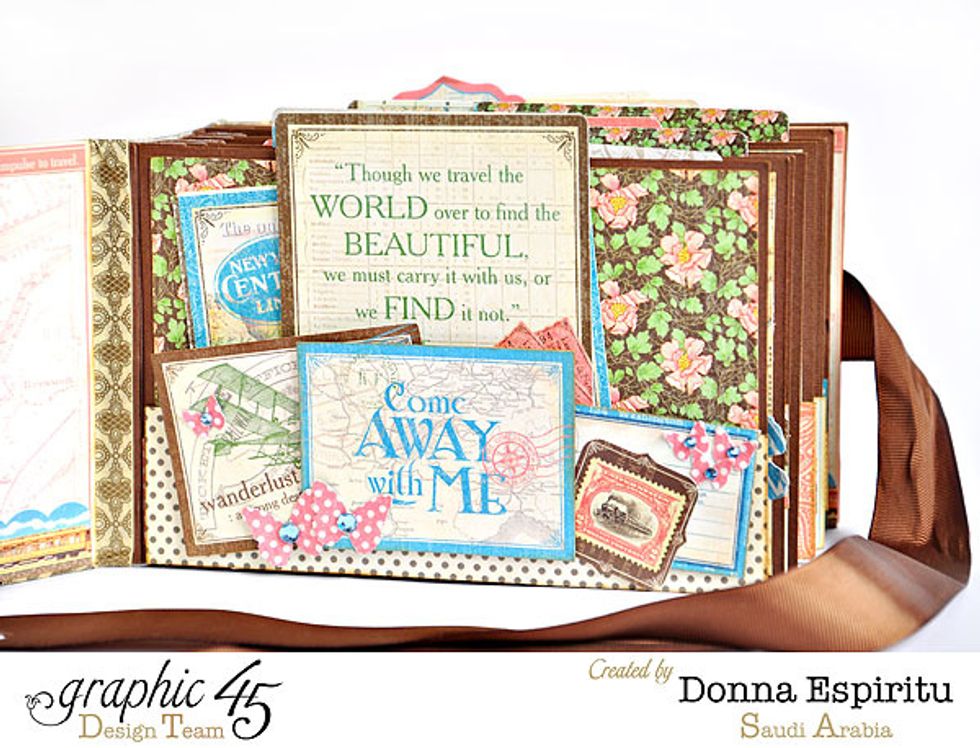
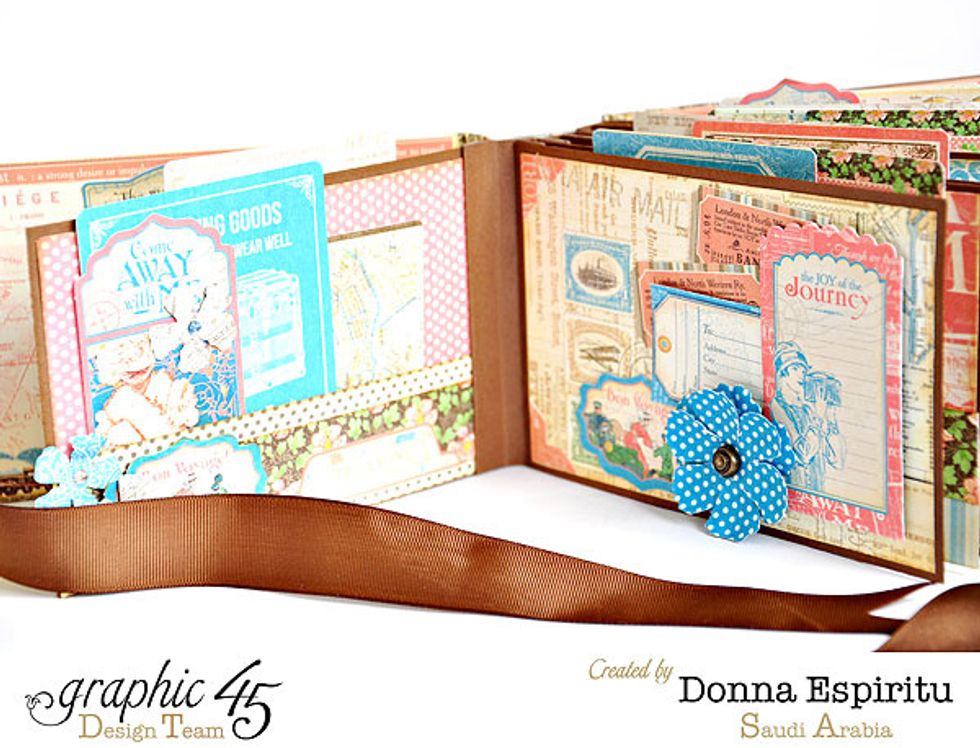
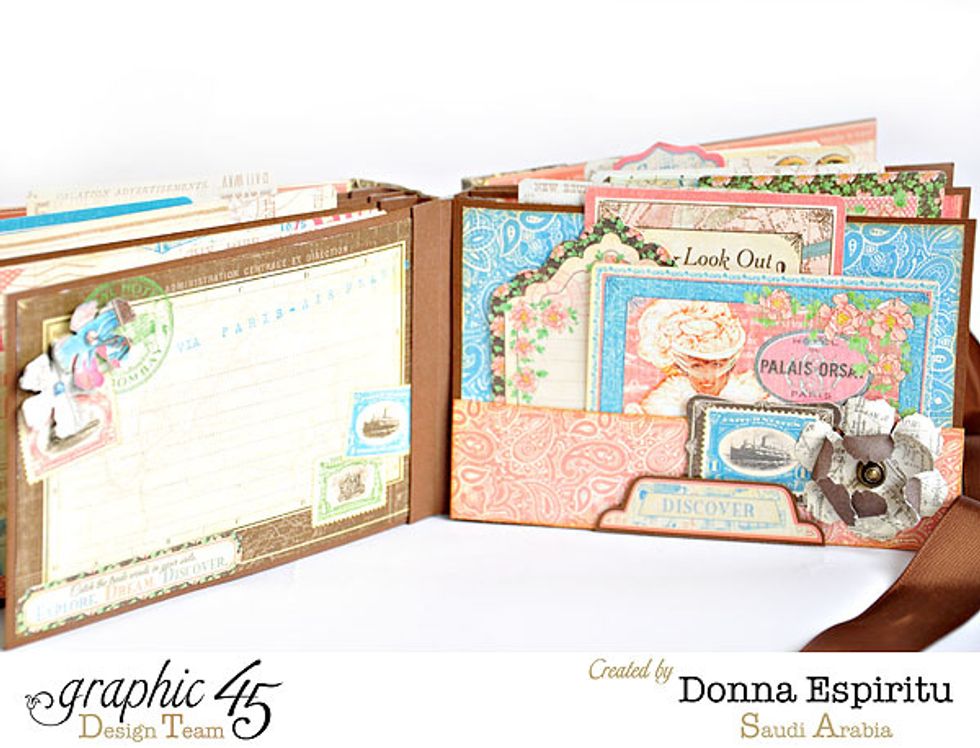
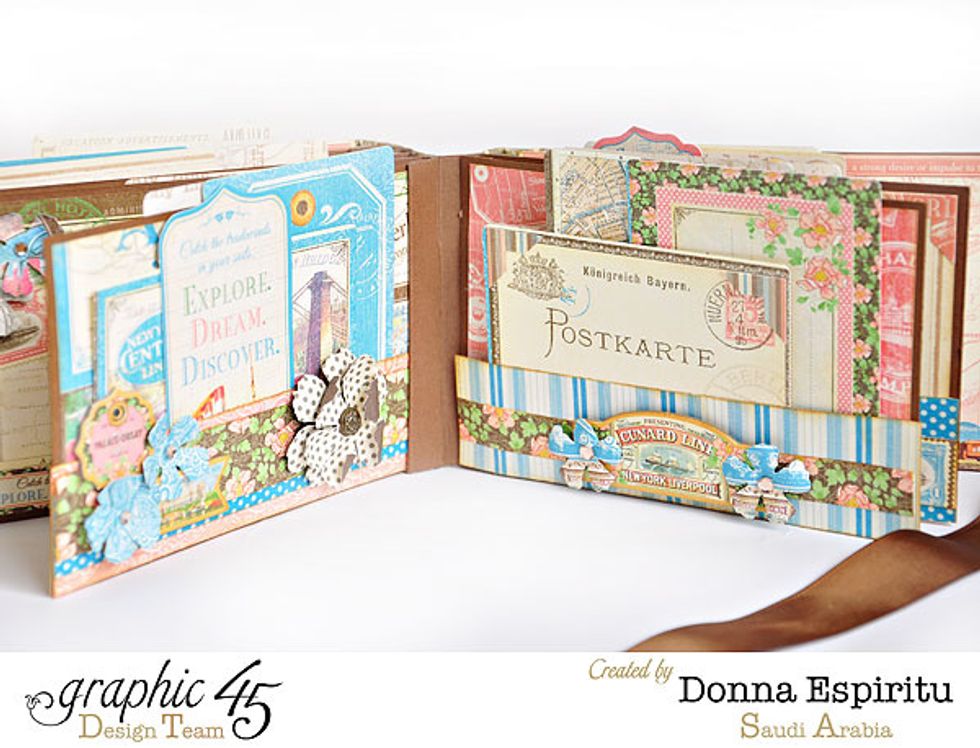
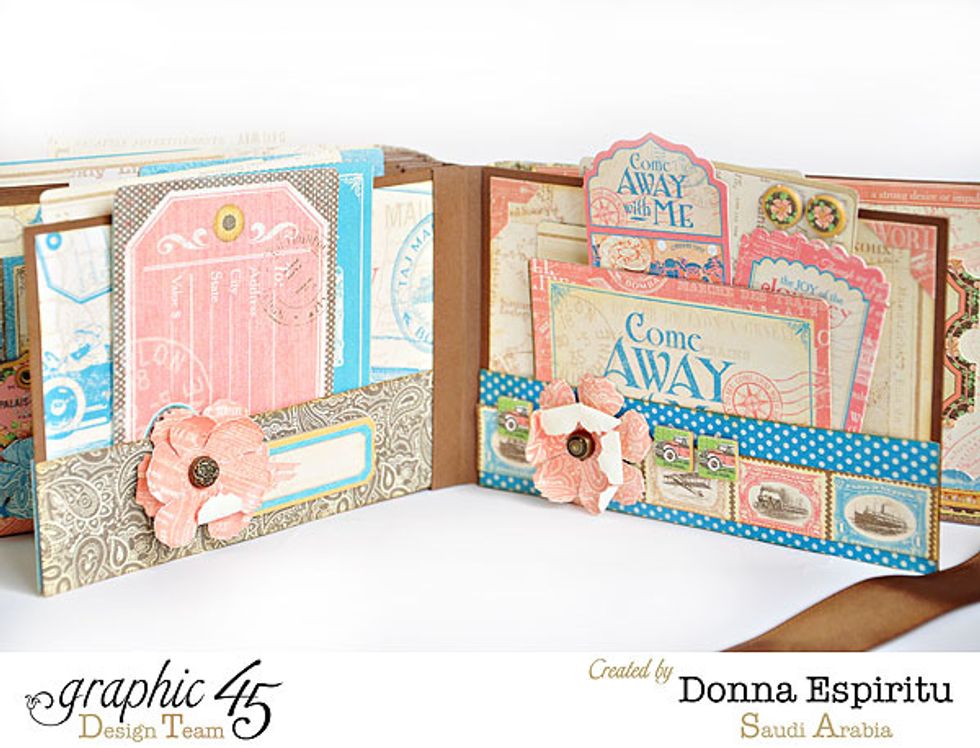
Following are more detailed shots of each page...


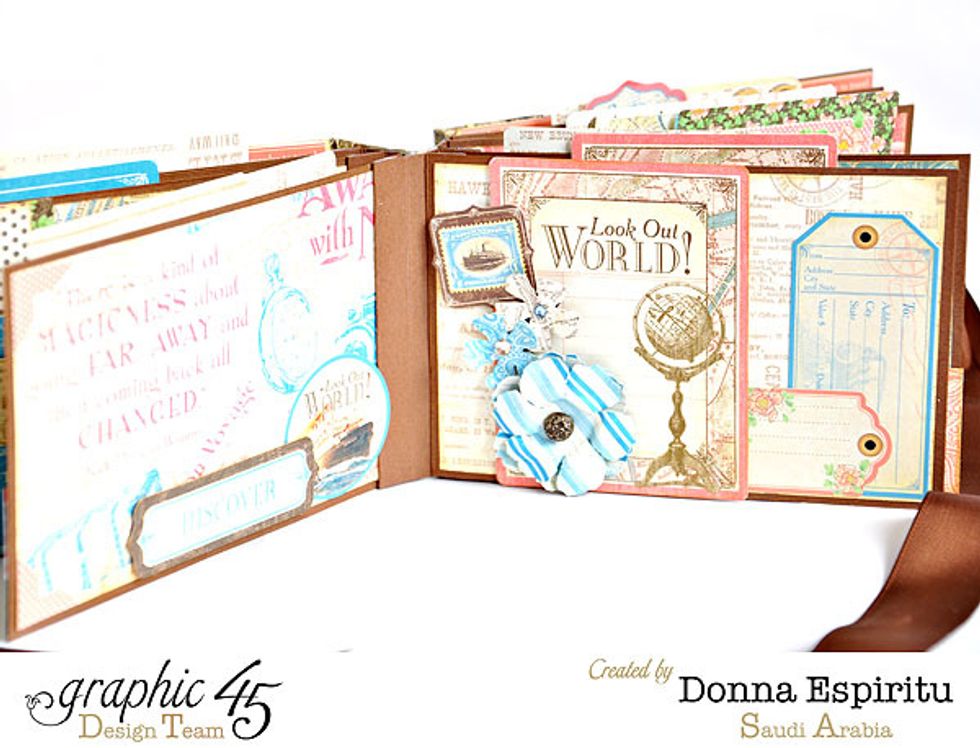
Thank you and I hope you liked what I shared today! Happy crafting!