The Conversation (0)
Sign Up
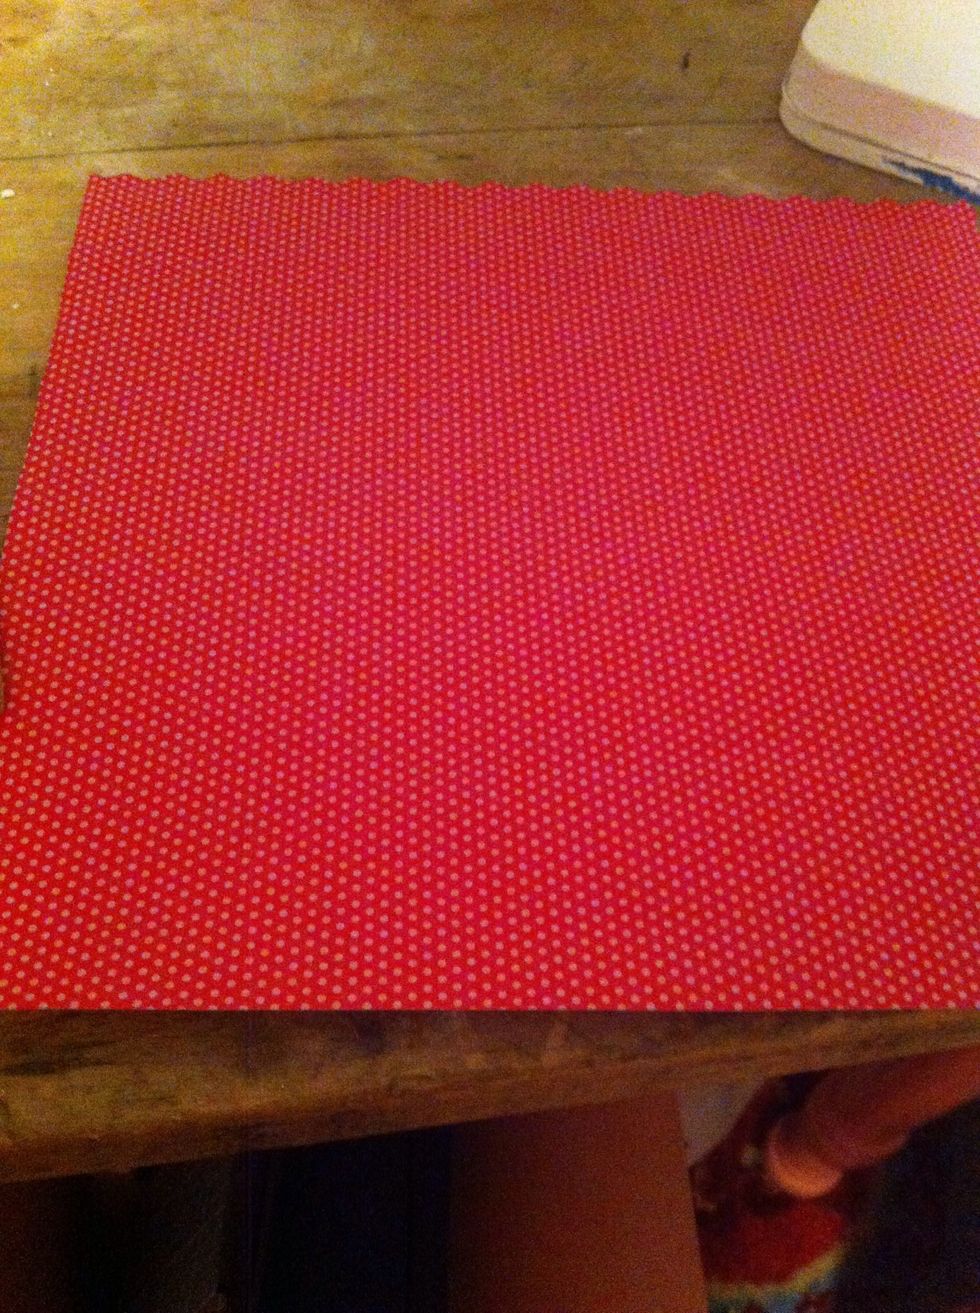
Pick out your paper for the inside
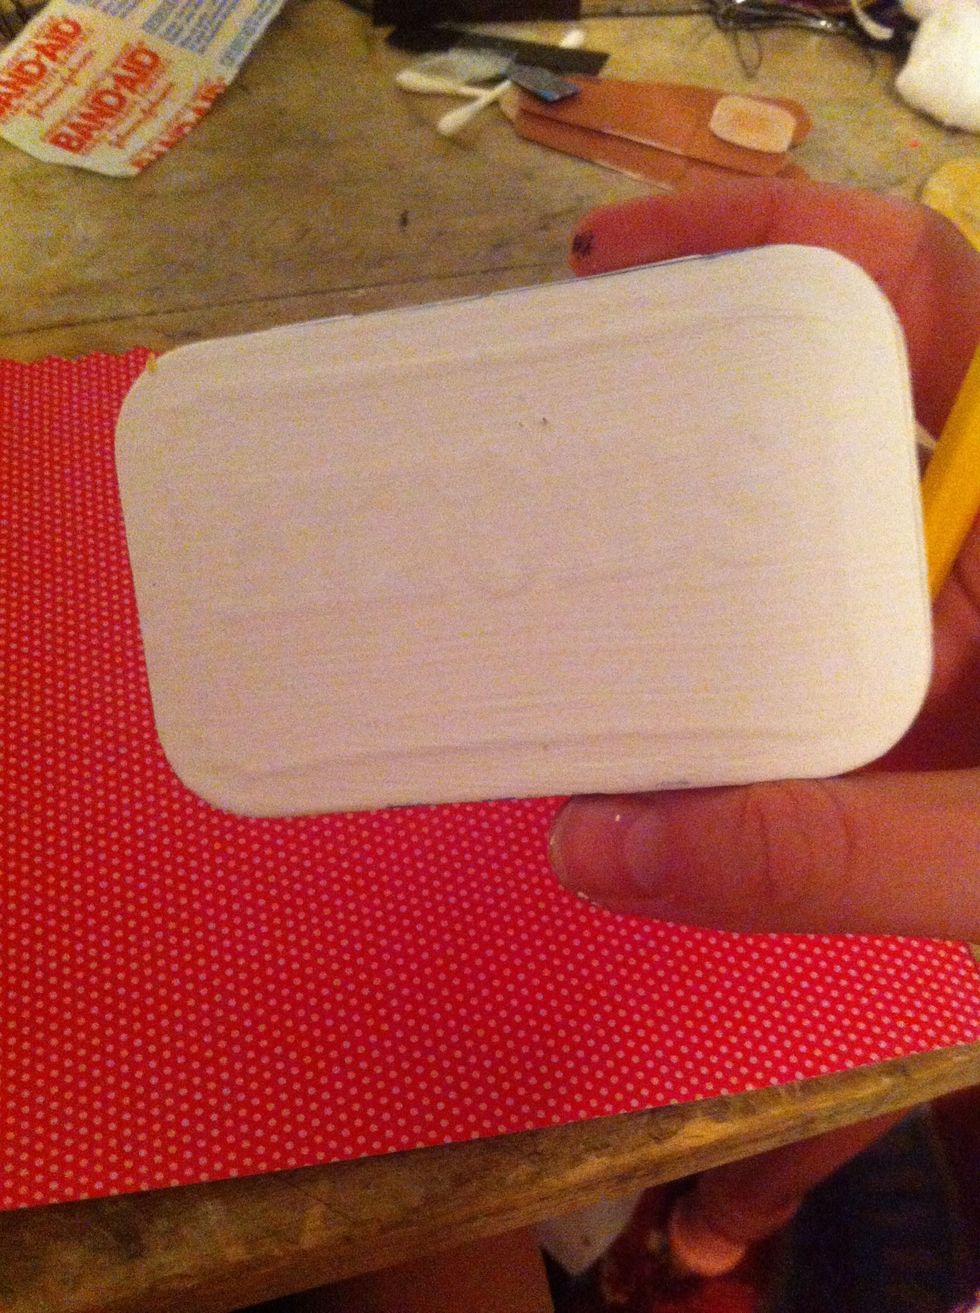
Take your tin (I painted mine white)
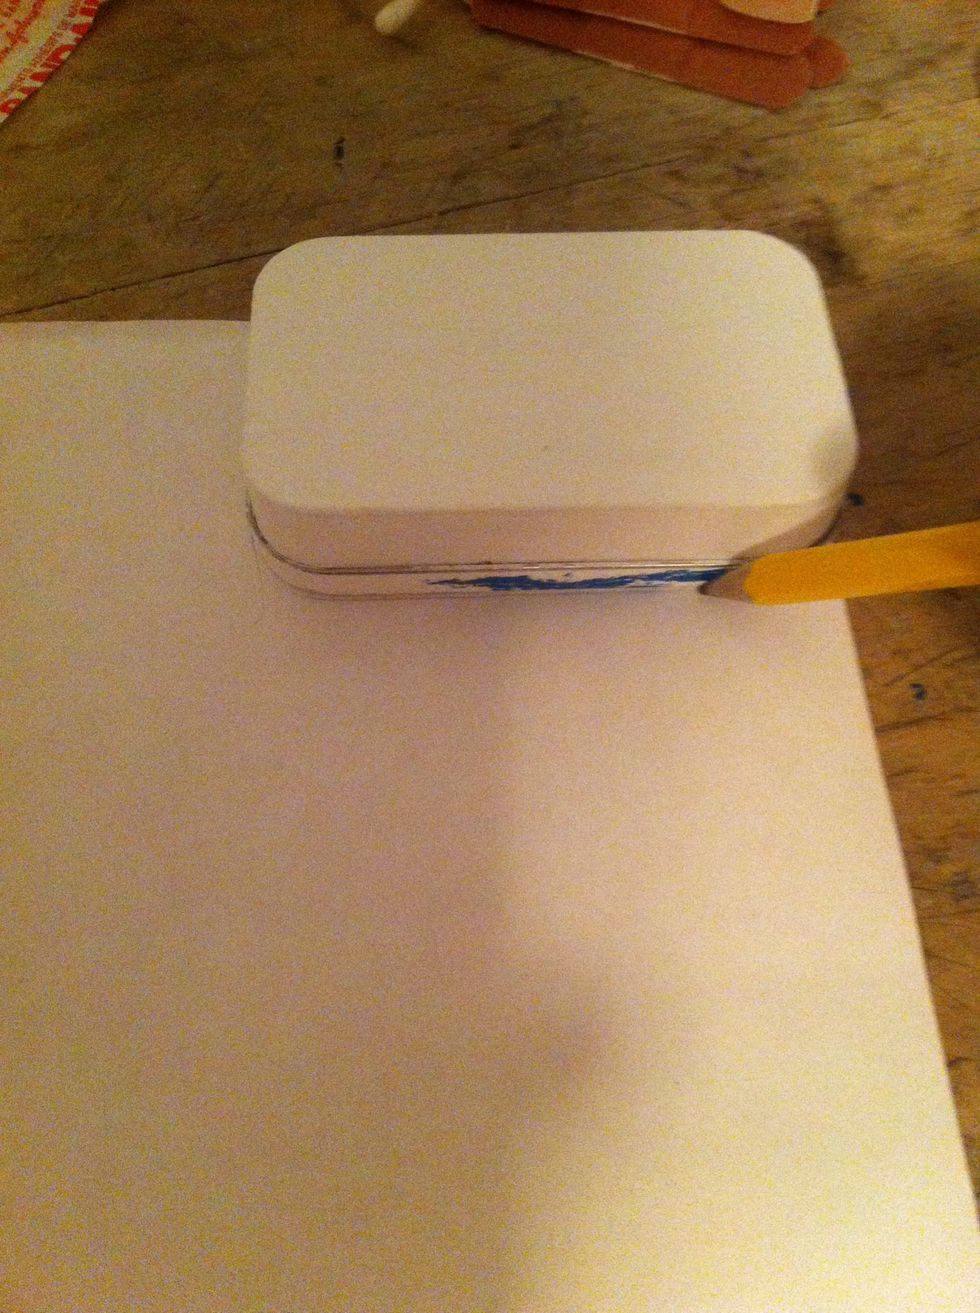
Trace the top and bottom onto the back of the chosen paper
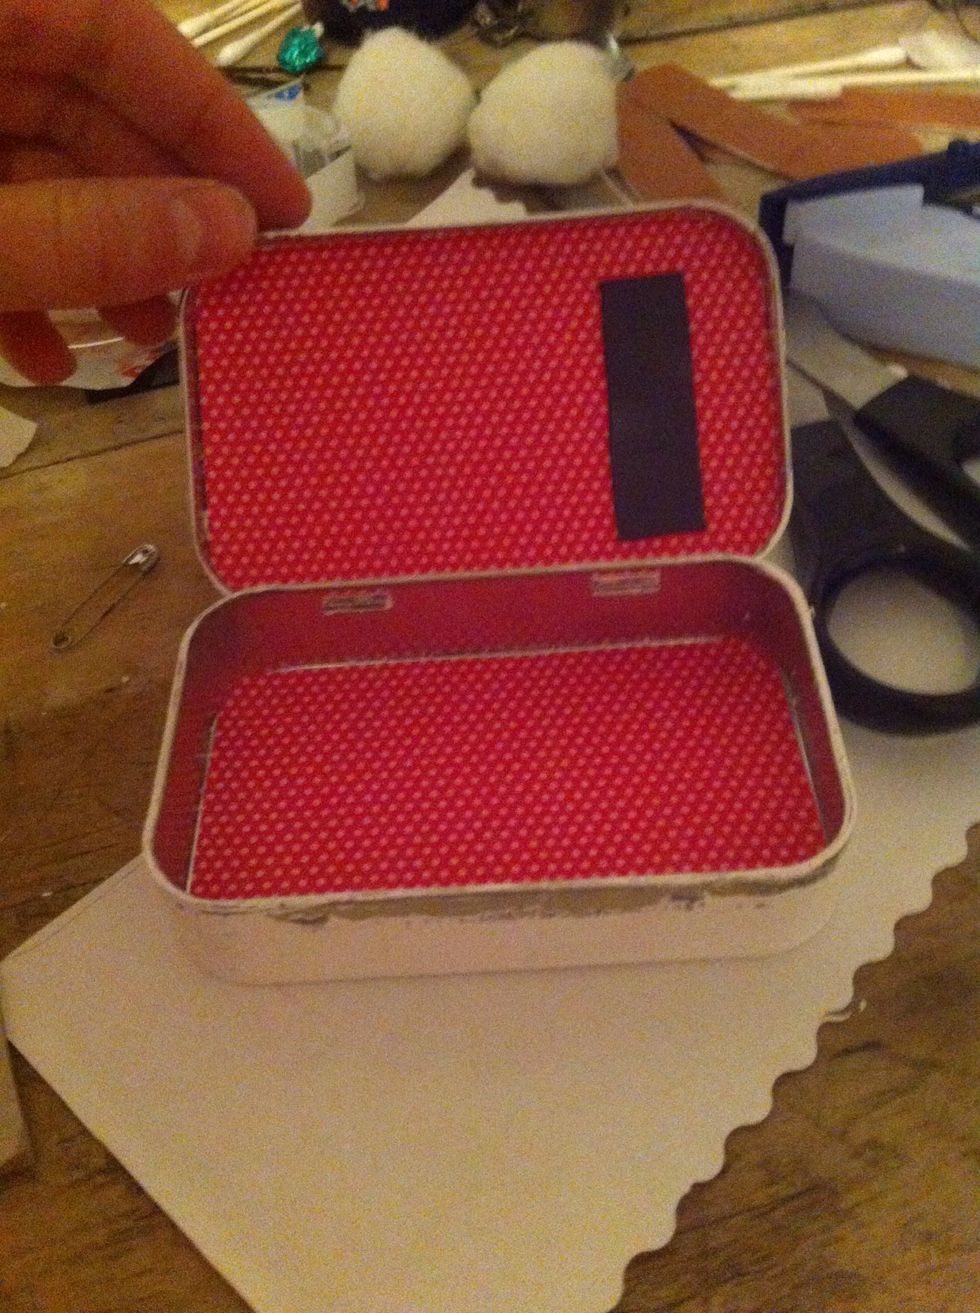
Cut them both out and glue them into there places inside the tin and measure and cut a magnet to fit onto the top of the tin inside
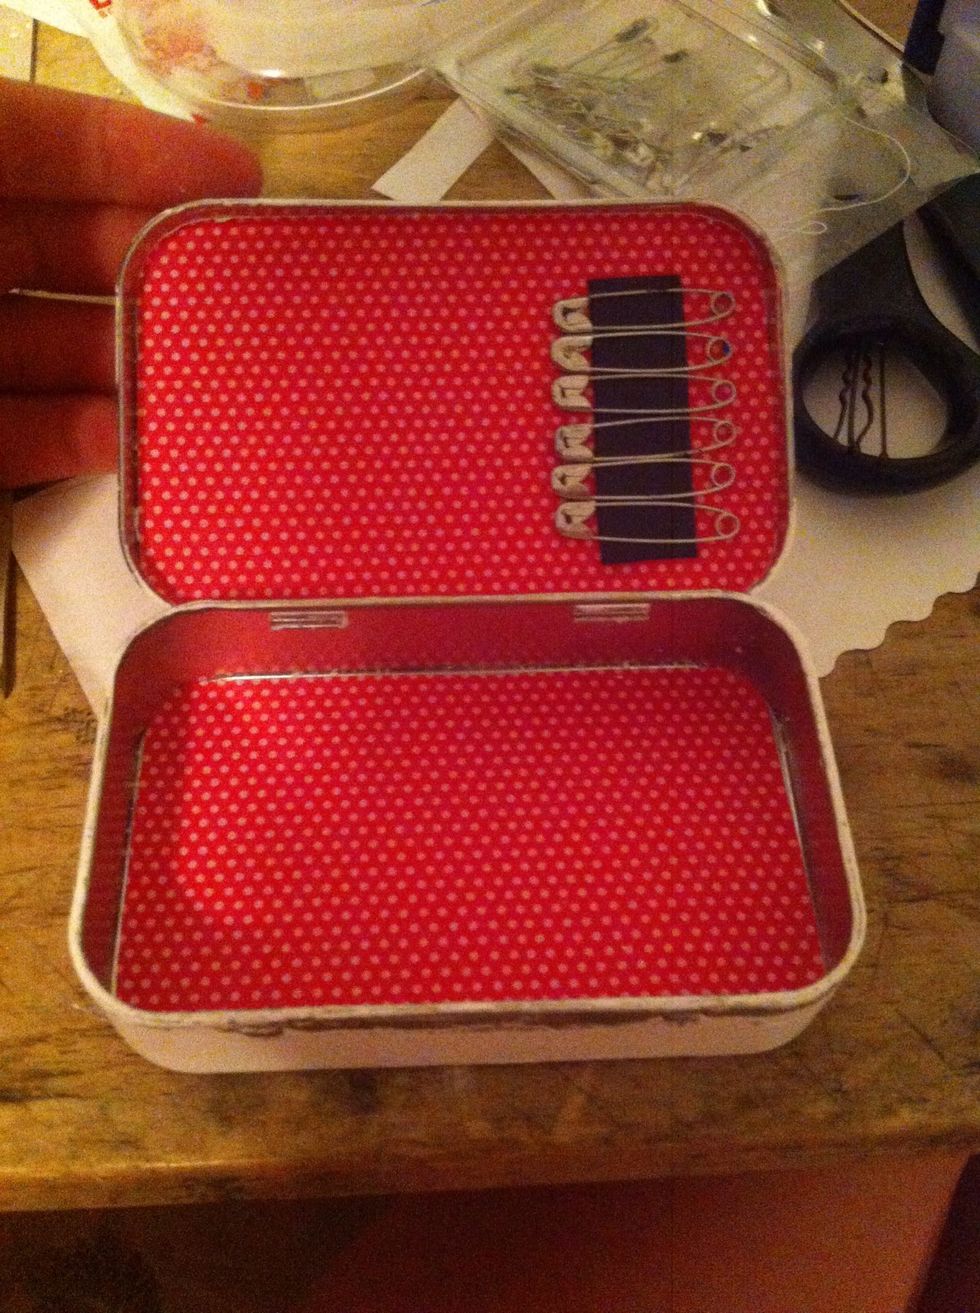
Glue on the magnet this will be for holding safety pins
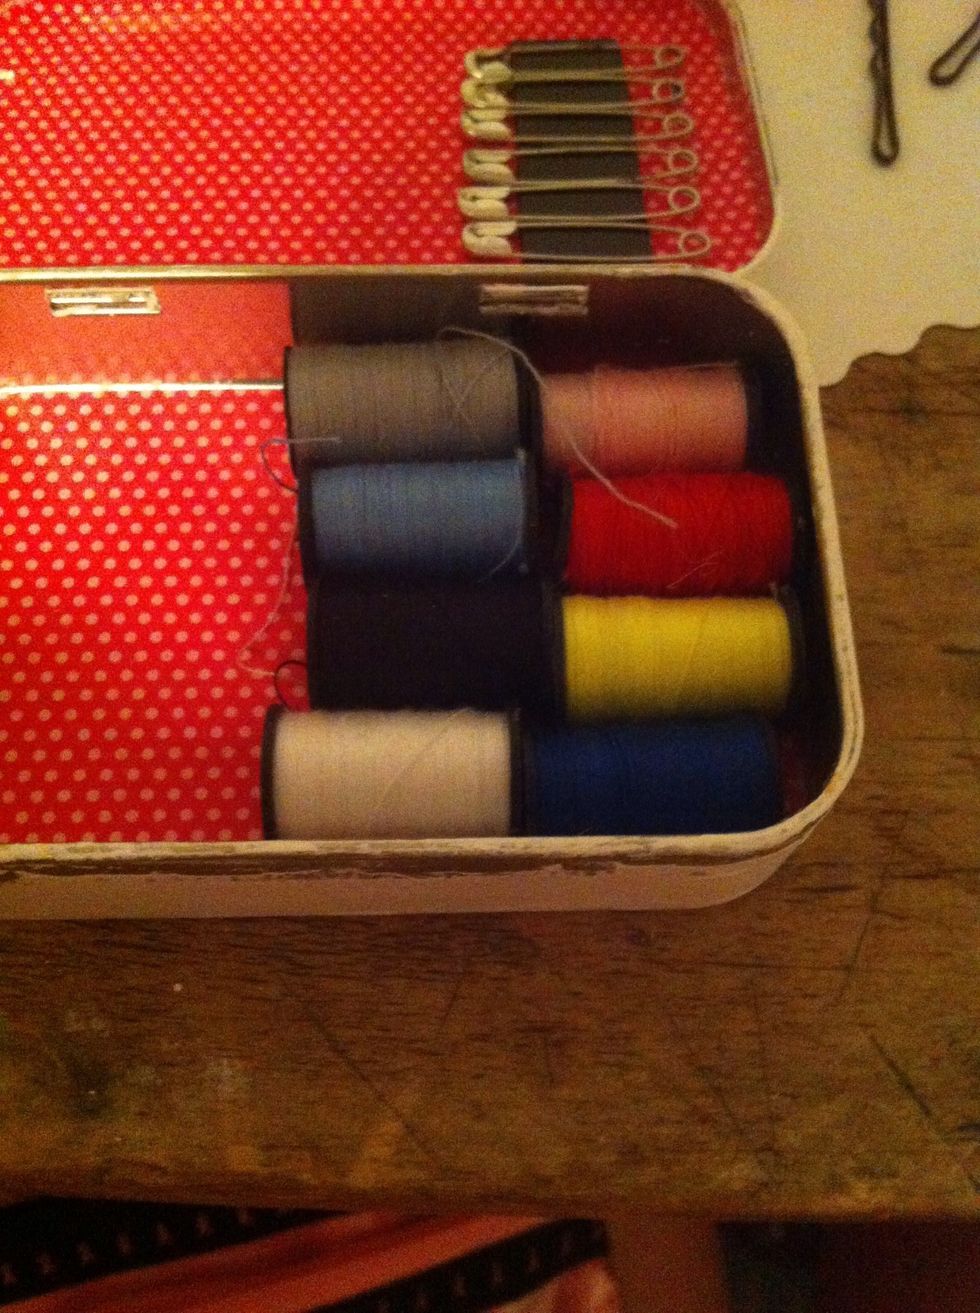
Noe put in your mini thread (8 colors)
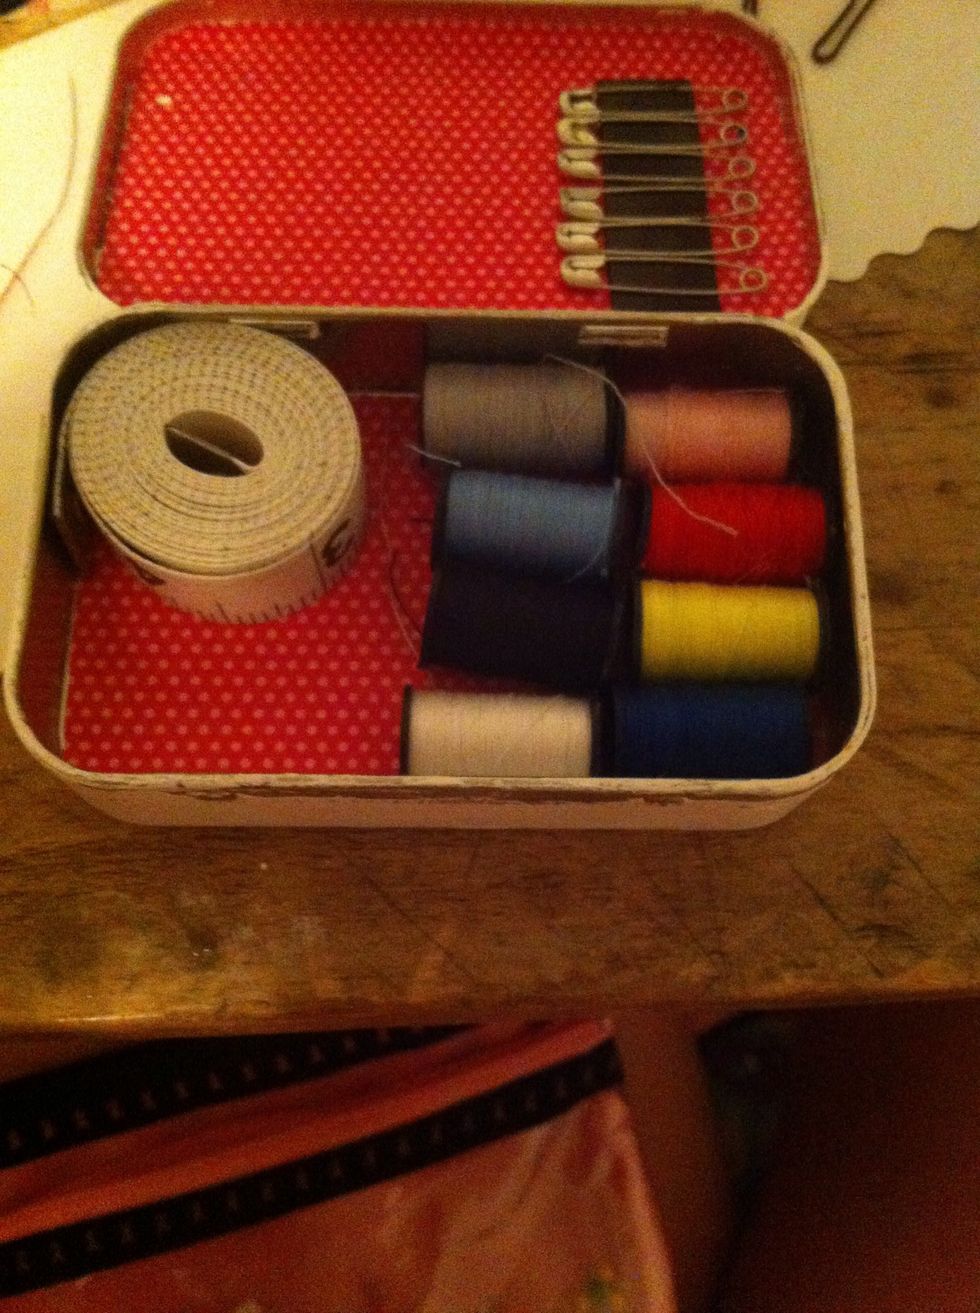
Roll up a measuring tape and put it in the opposite corner
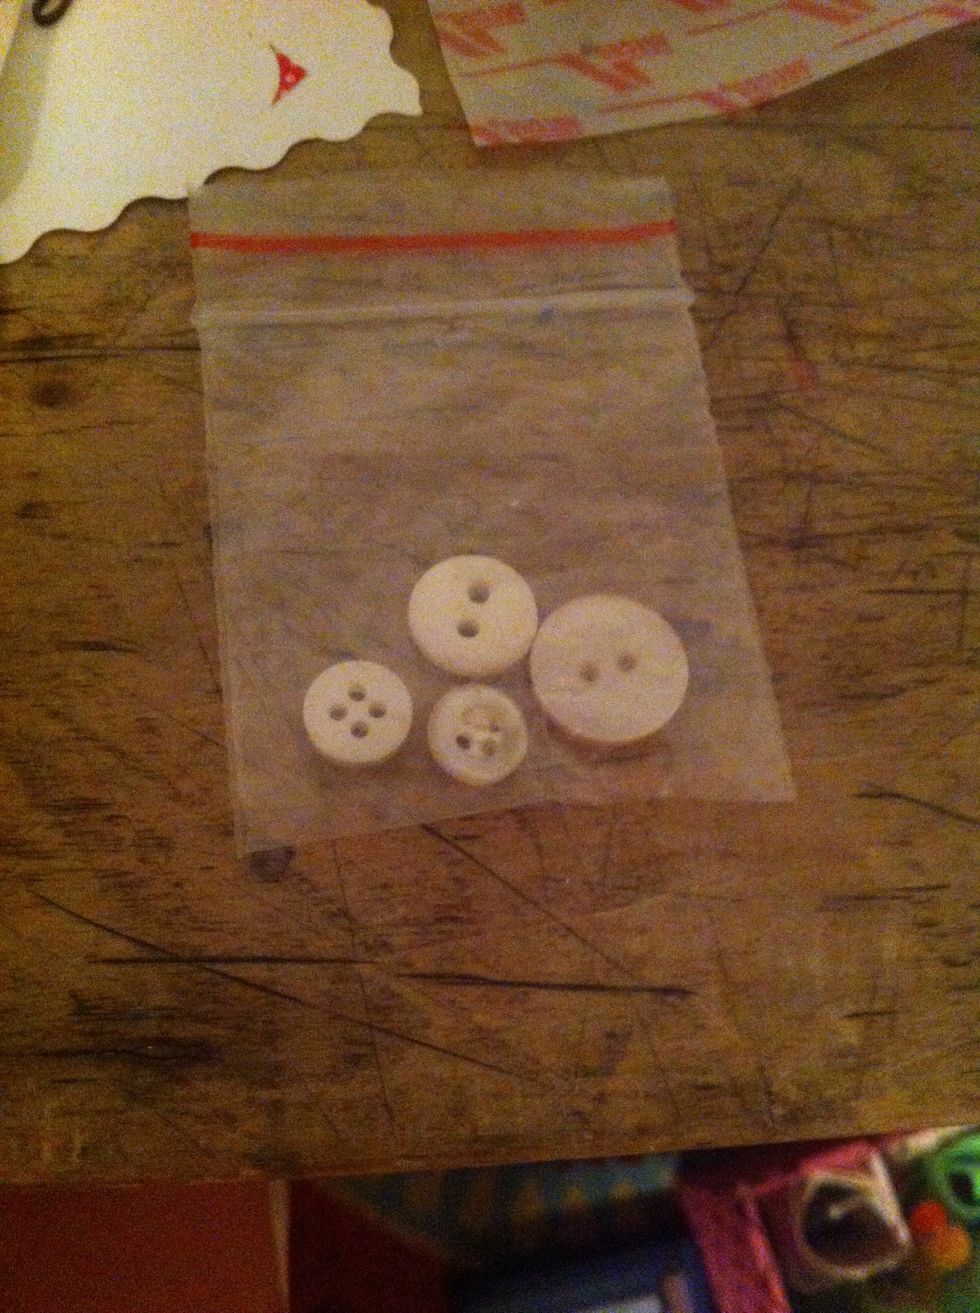
Now put a few buttons into a small bag, roll it up, and stick in right below the measuring tape
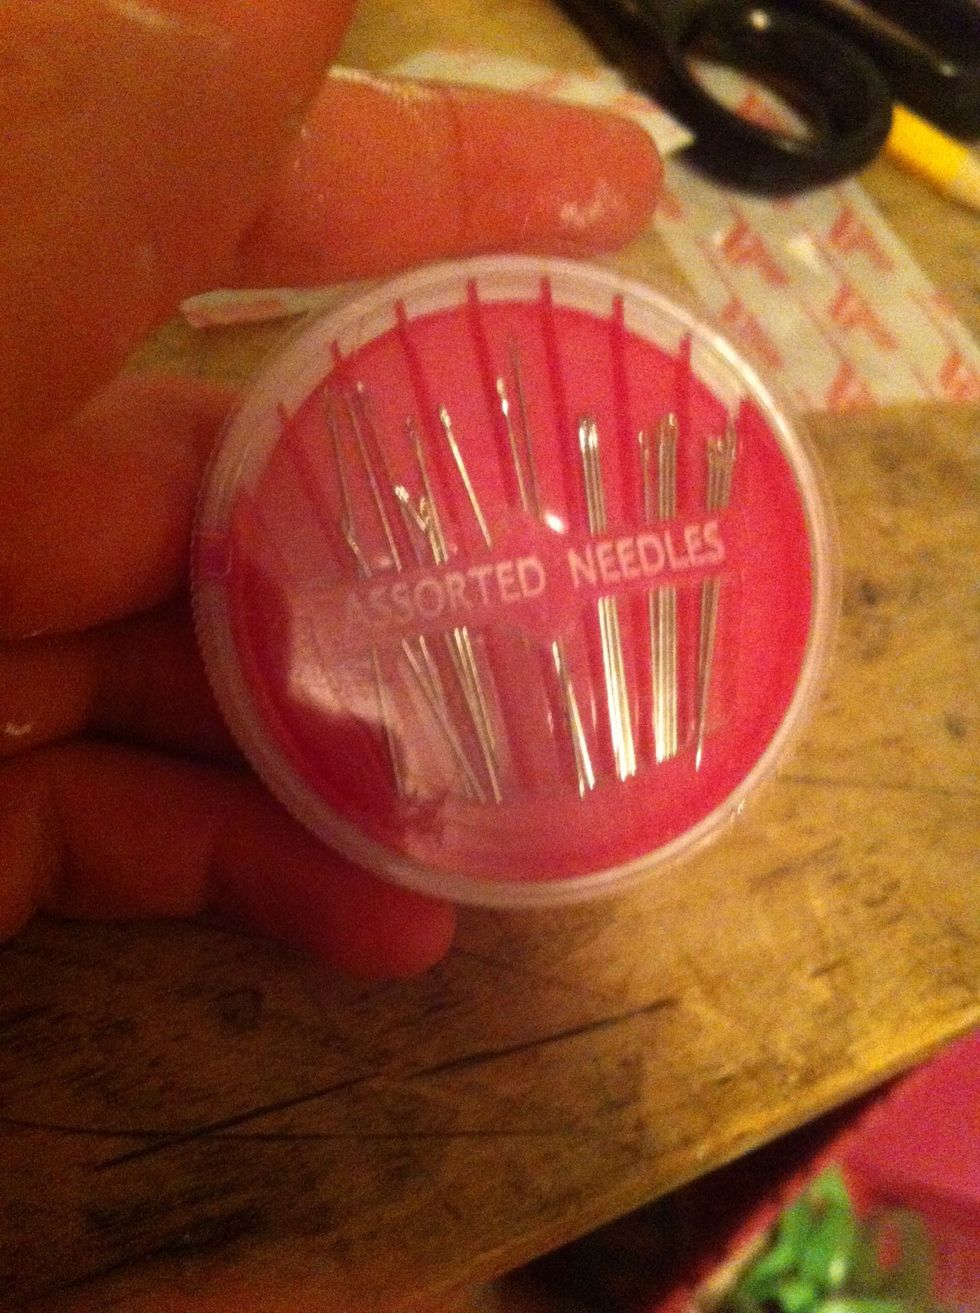
Now get your assorted needles...
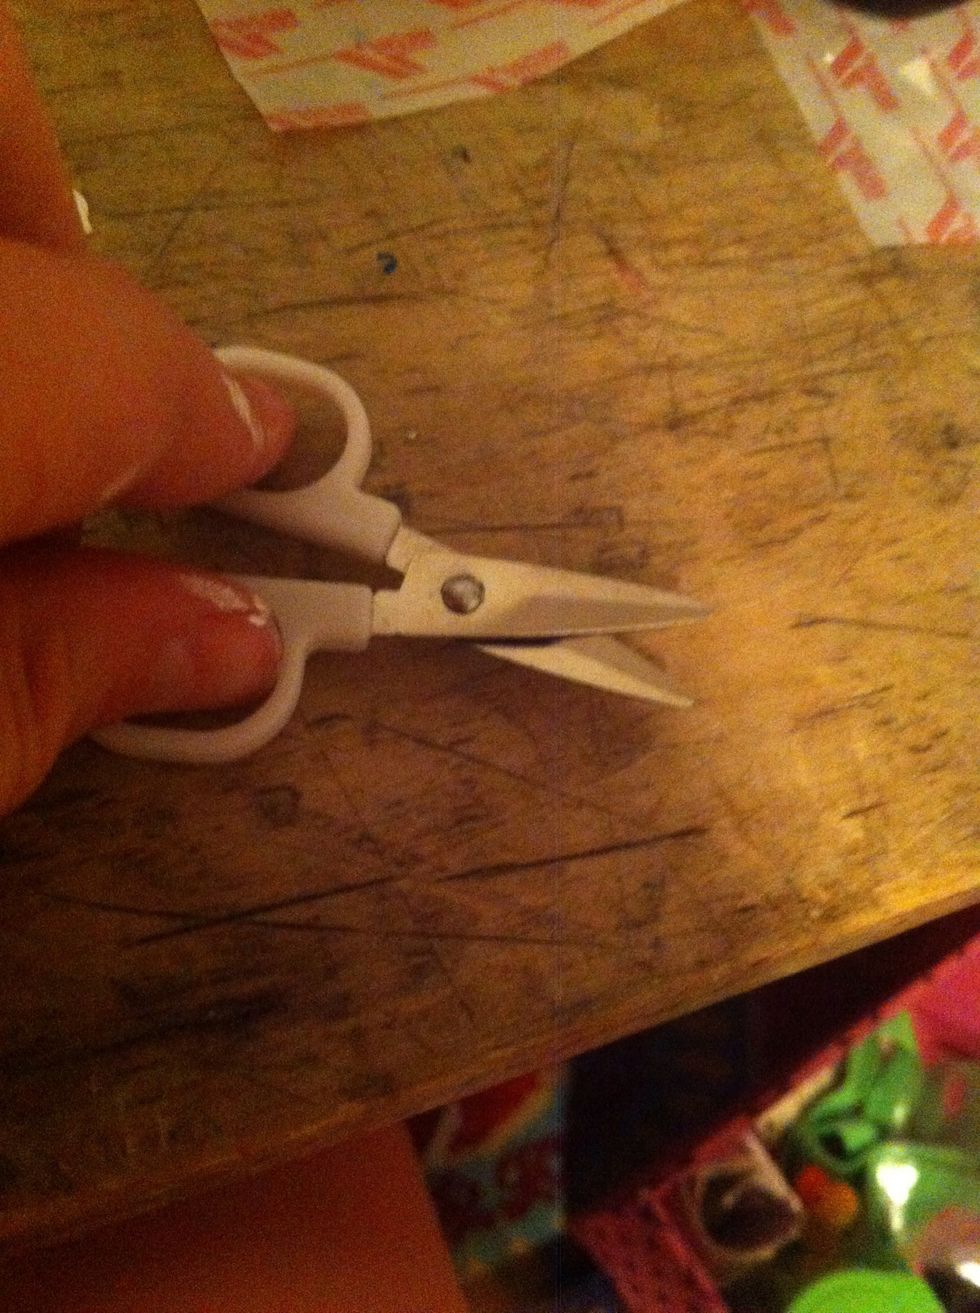
And miniature scissors...
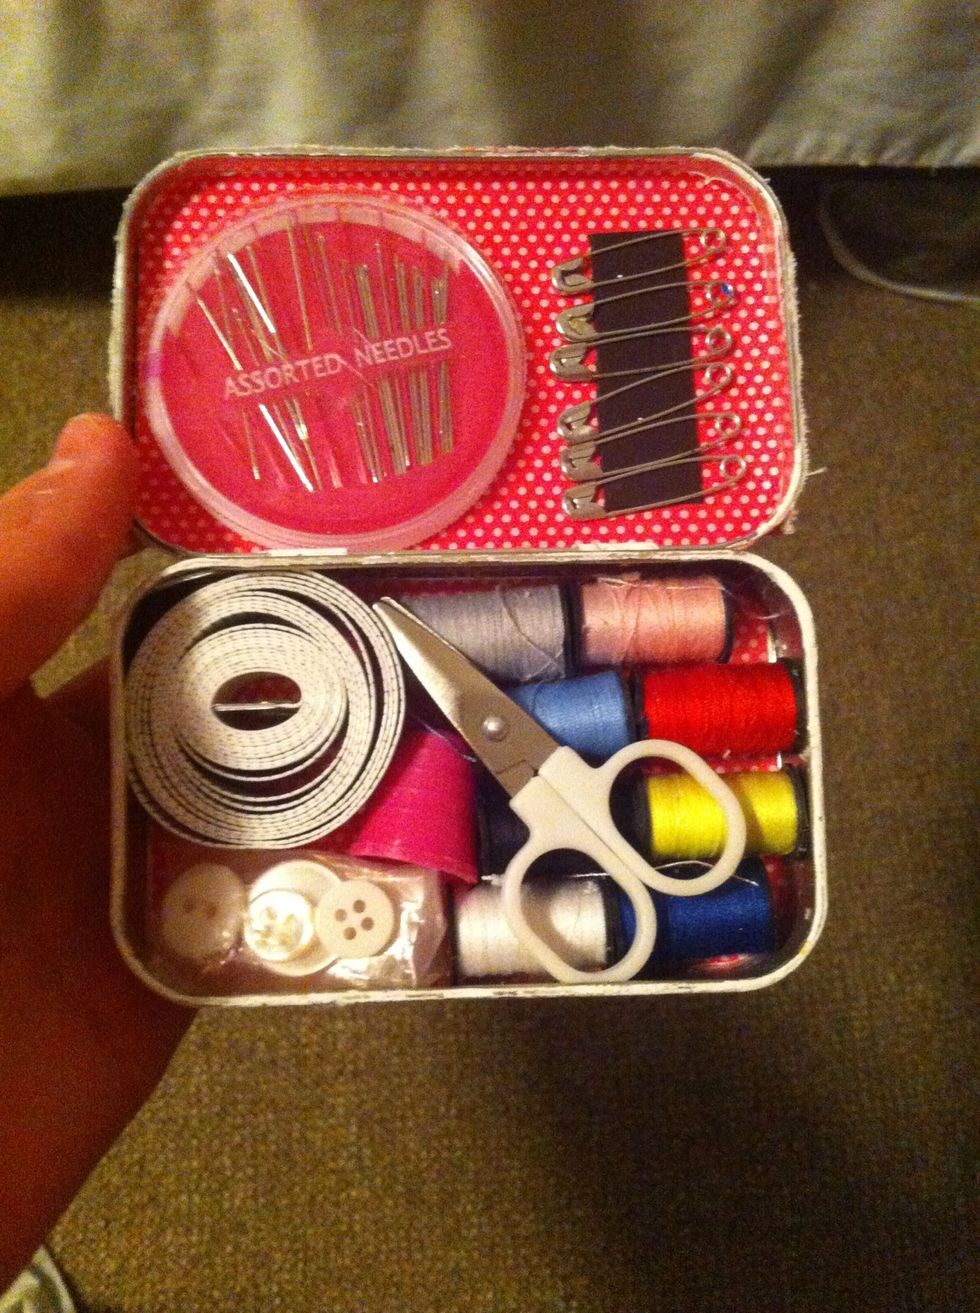
And fit them where you can! I also added a bobbin... And that's my finished inside!
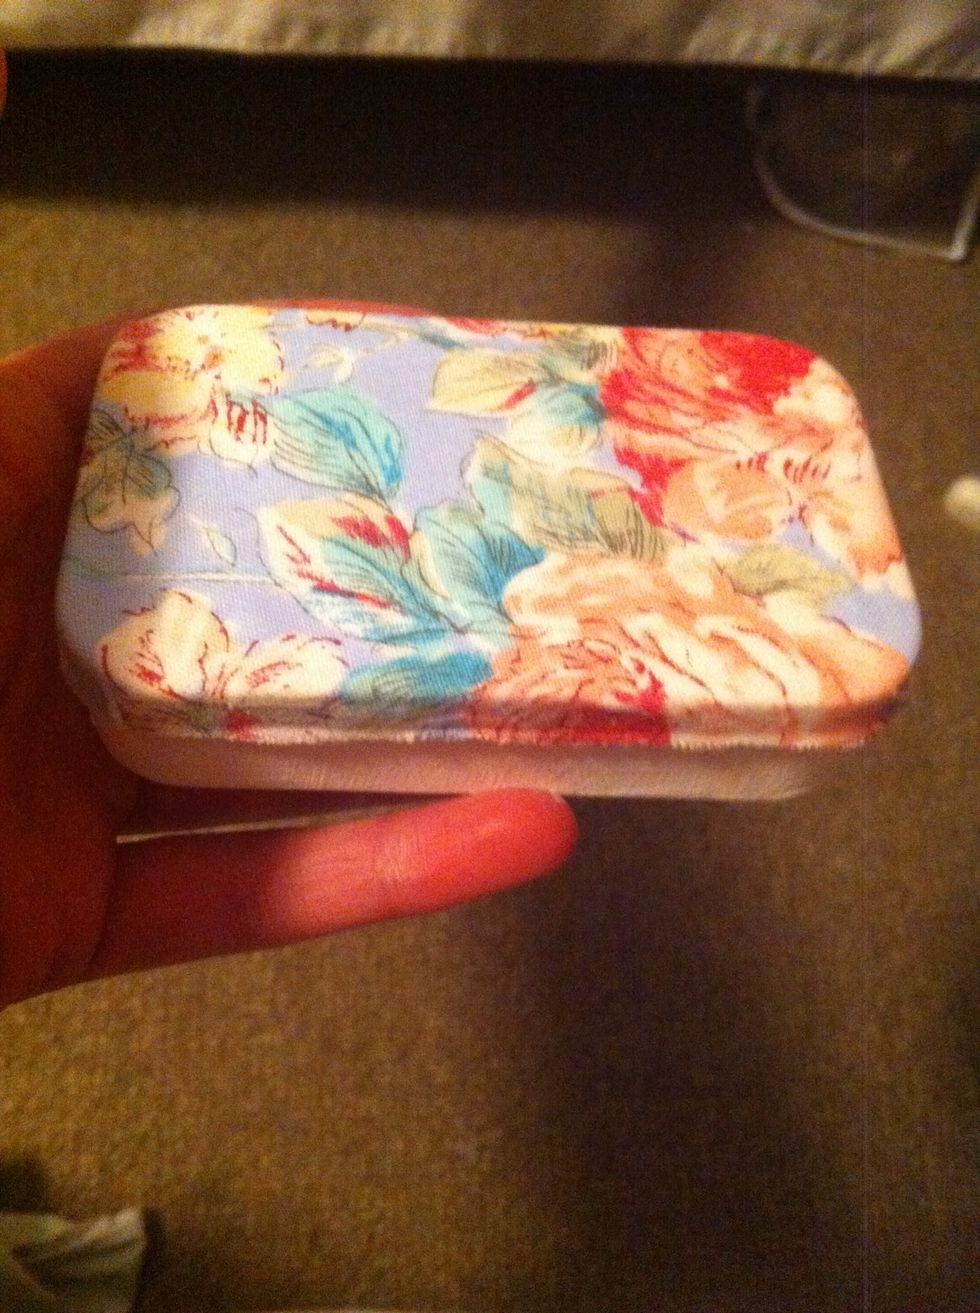
And that's my finished outside! I added floral fabric as you can tell... Please like and follow!