The Conversation (0)
Sign Up
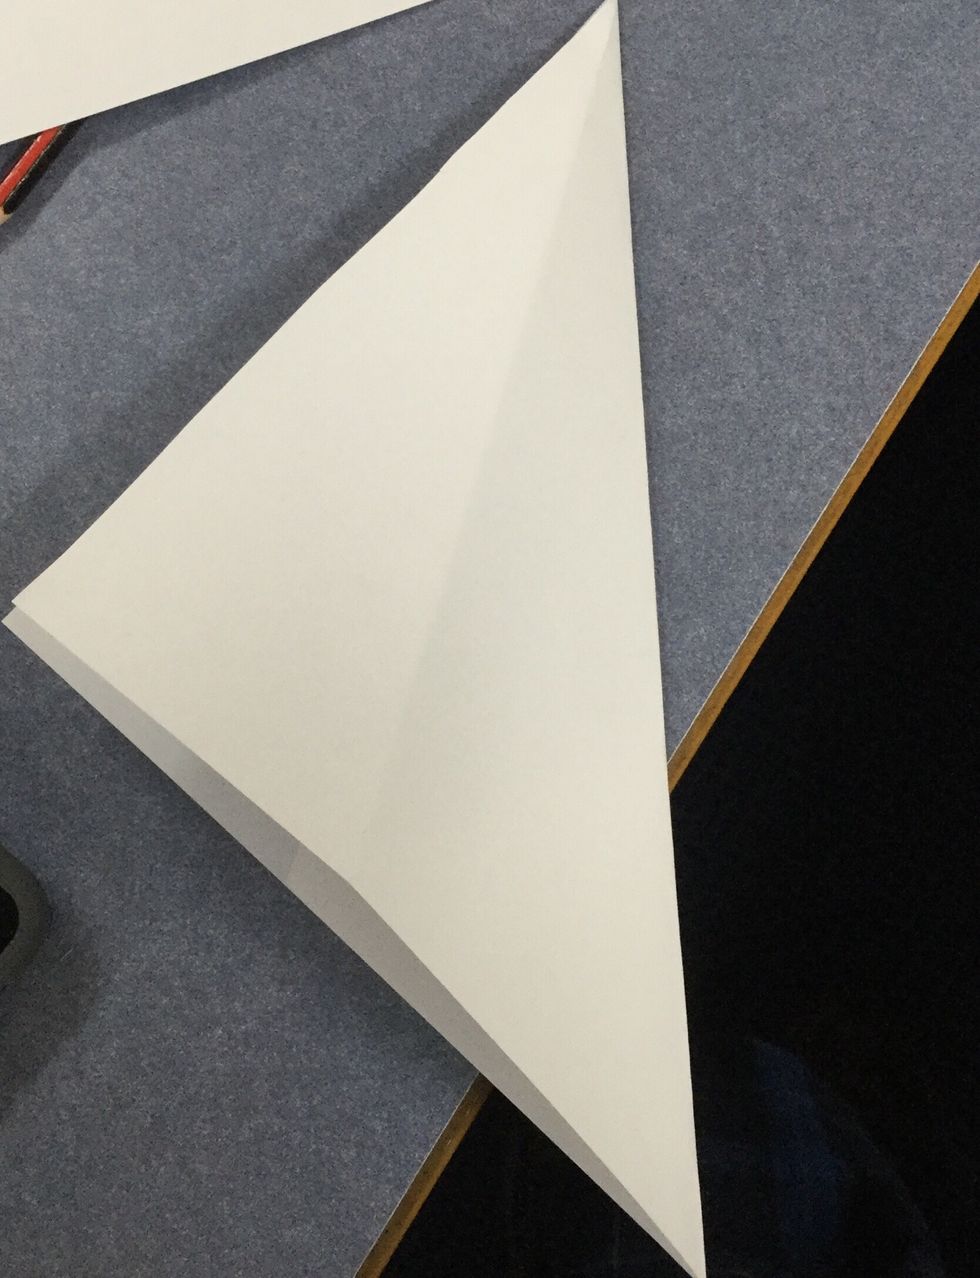
Step 1. Fold paper in half sideways.
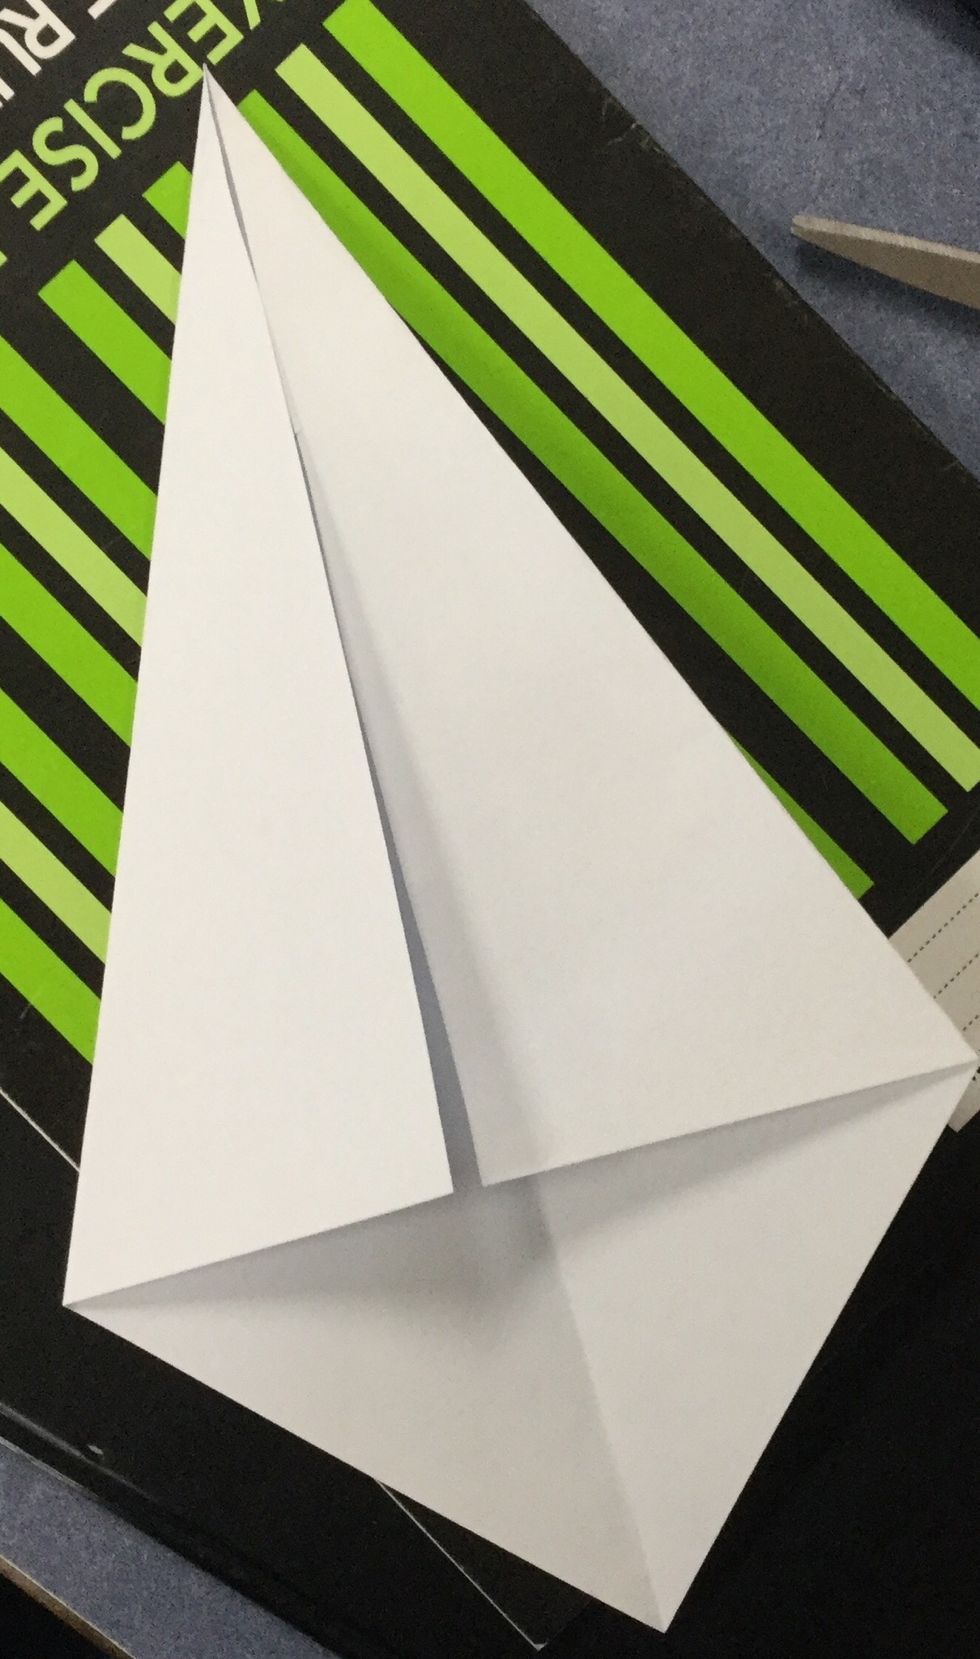
Step 2. Fold the two sides towards the middle, leaving a small triangle at the bottom
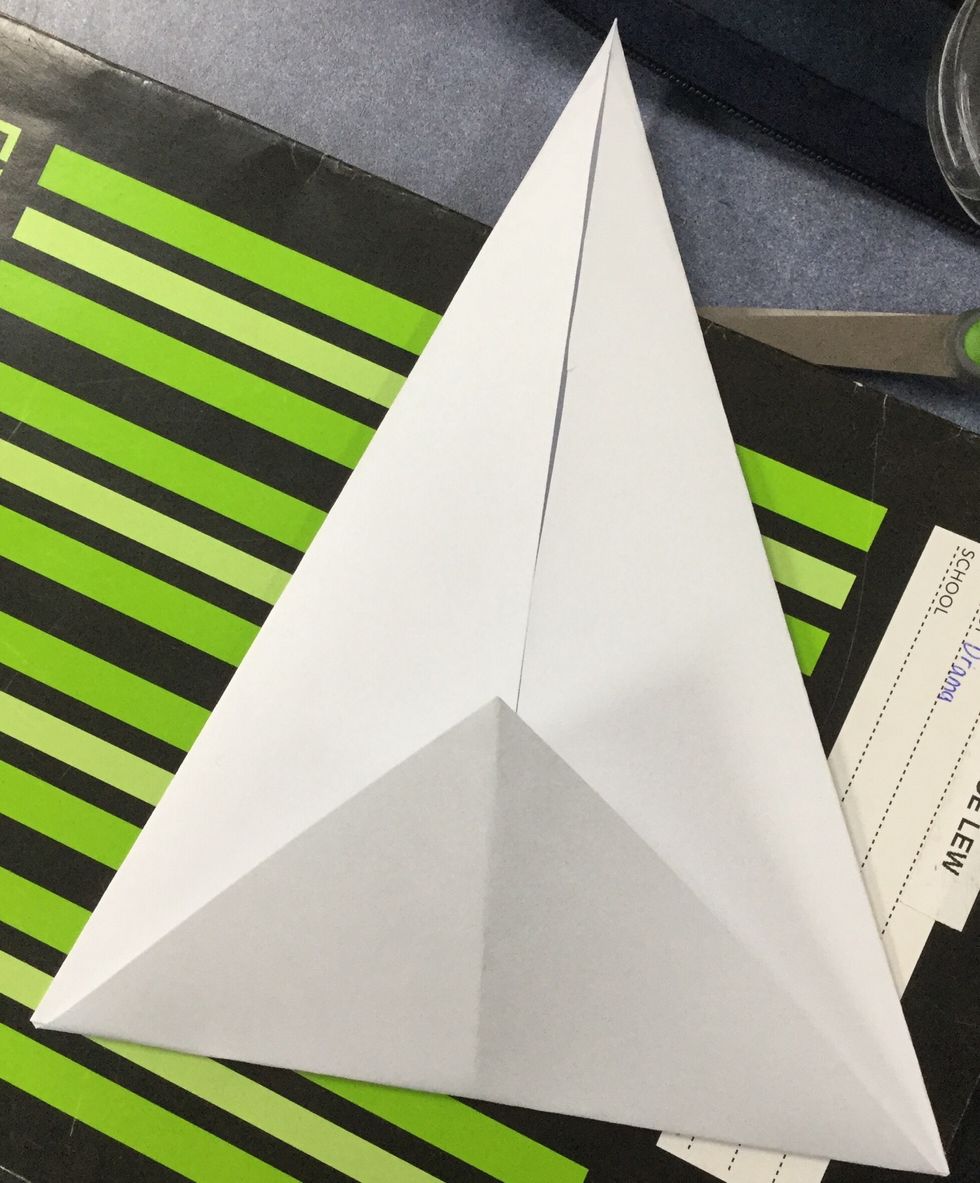
Step 3. Fold the bottom triangle up

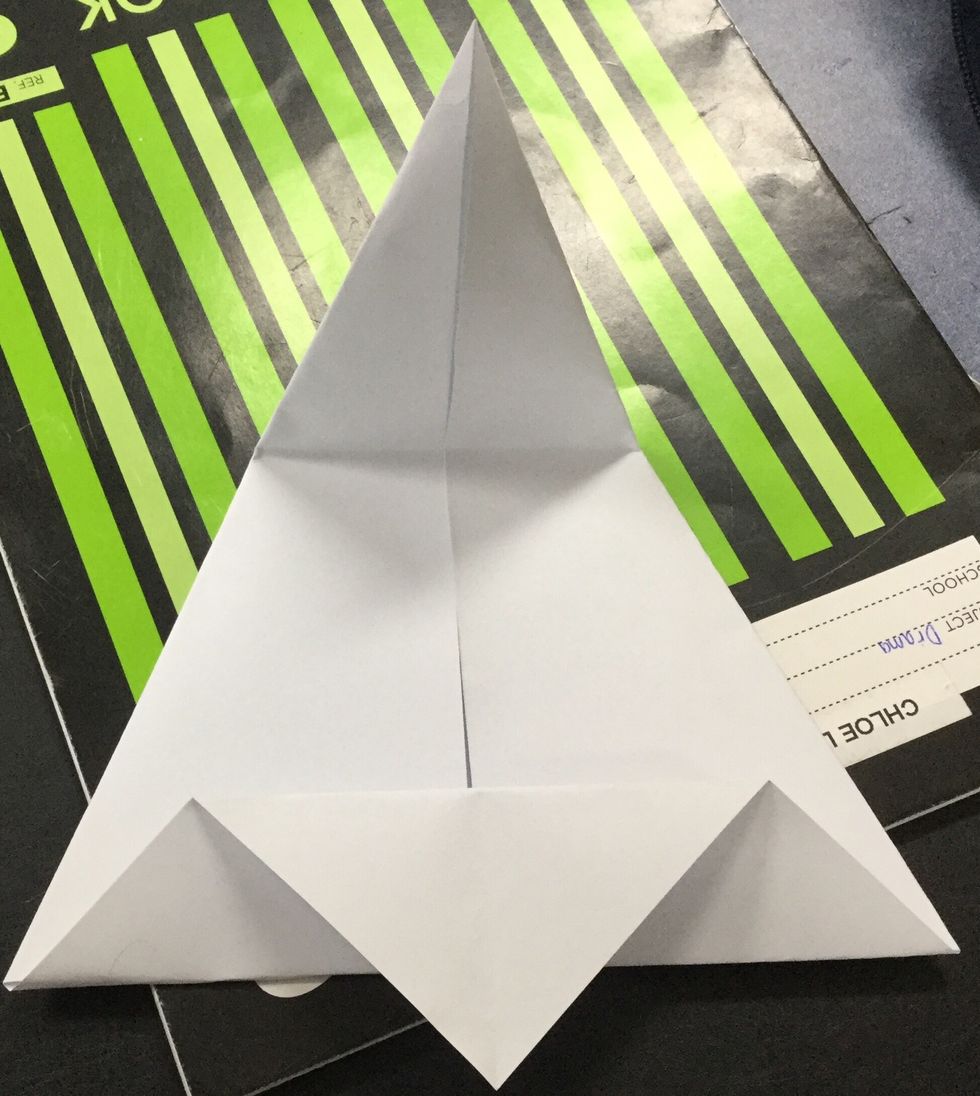
Step 4. Fold the upper half of the bottom triangle down.
Step 5. Crease the top of the paper until it reaches the triangle and unfold
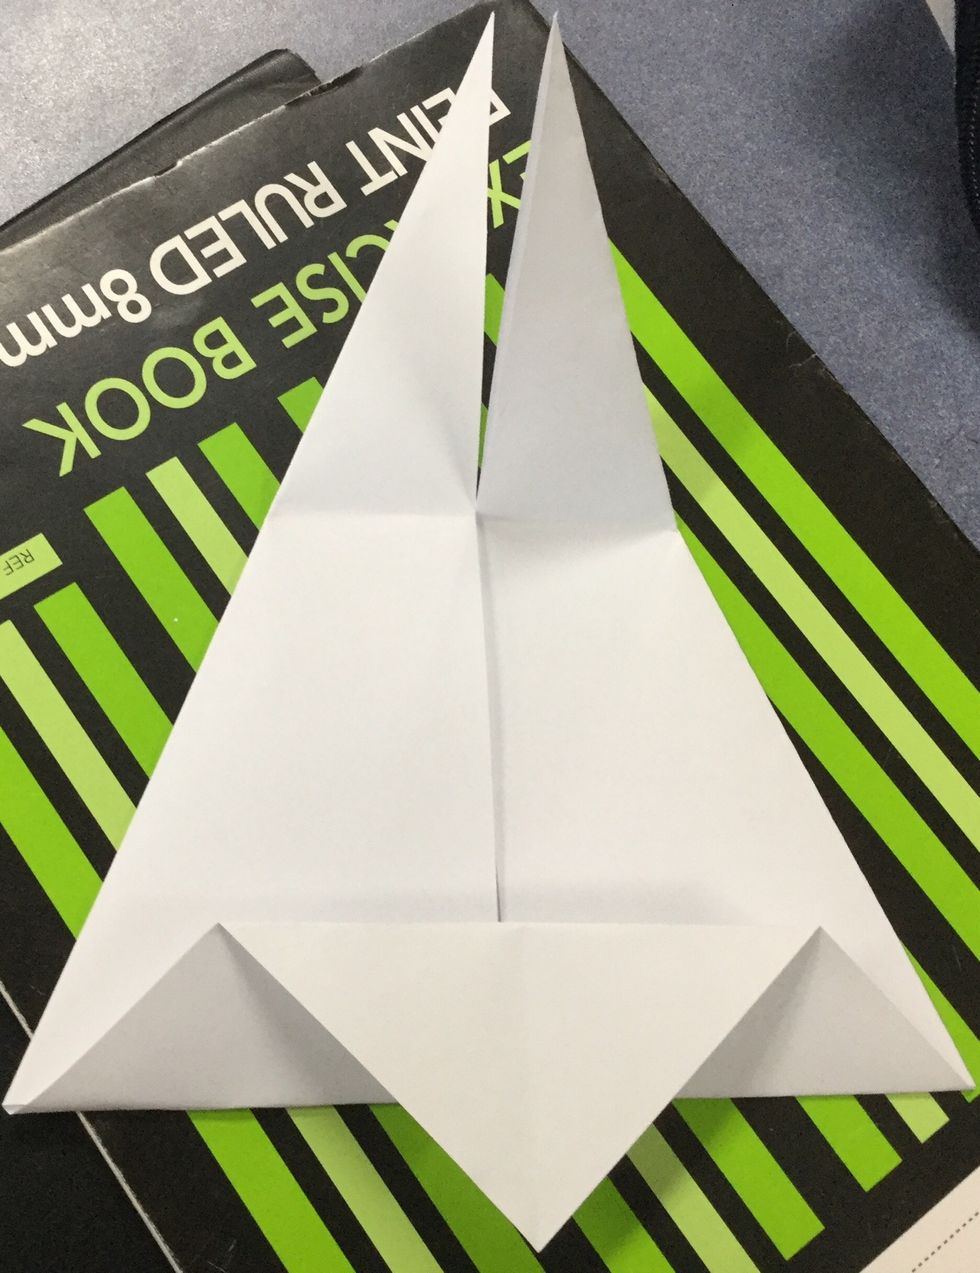
Step 6. Cut from the top of the paper to the crease

Step 7. Fold the shape in half sideways
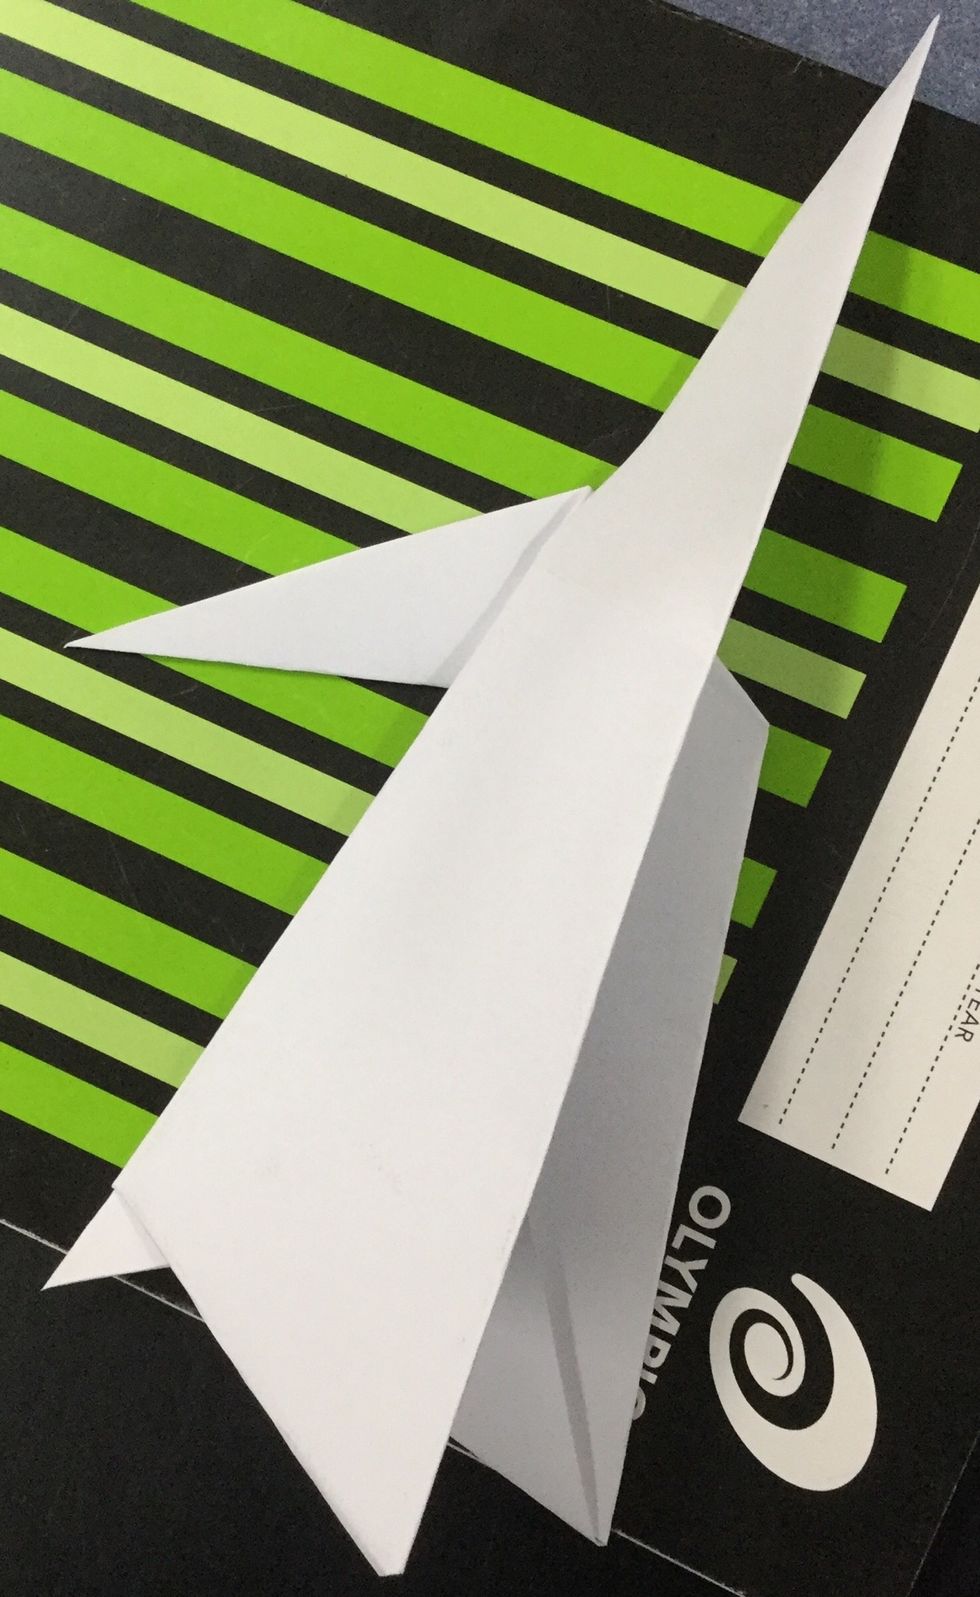
Step 8. There are flaps on the top of the shape. Fold one of the shapes down, but slightly slanted. Do the same with the other flap
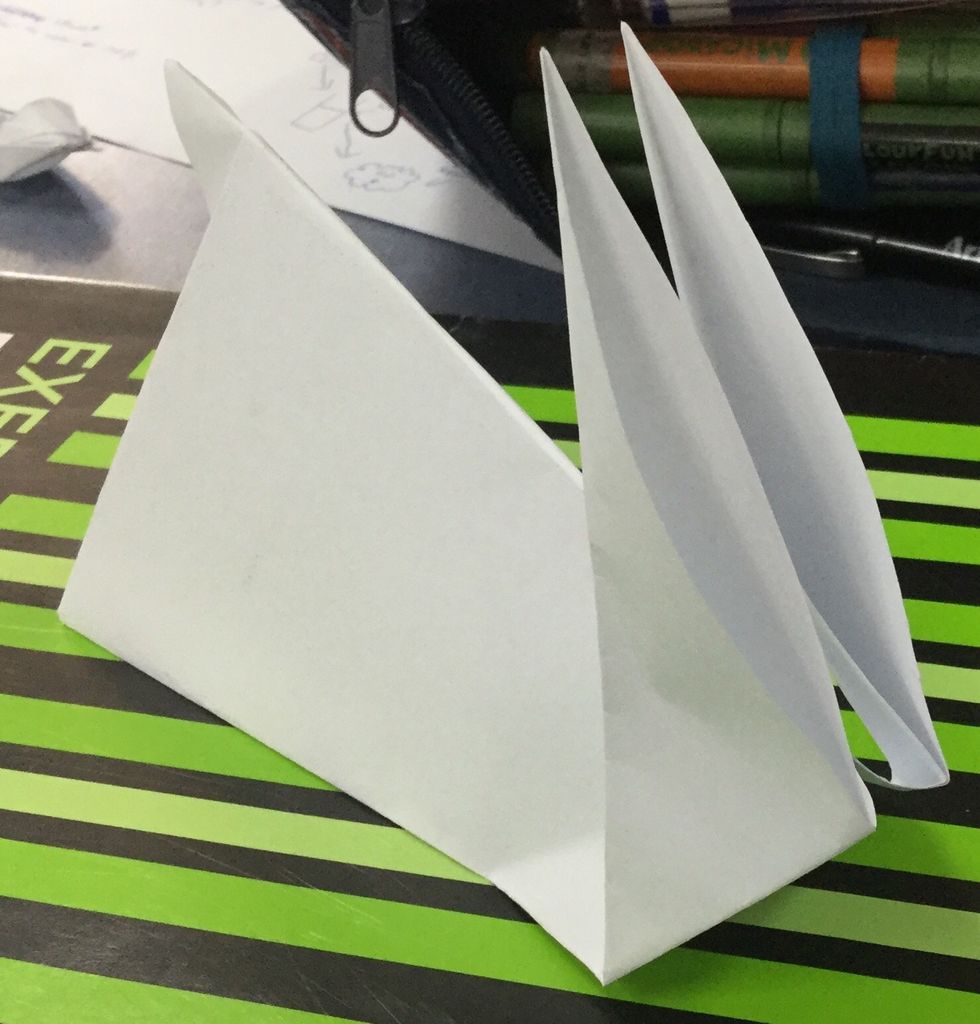
Open the flaps to make the ears, and your Traditional Origami Rabbit is finished!