The Conversation (0)
Sign Up
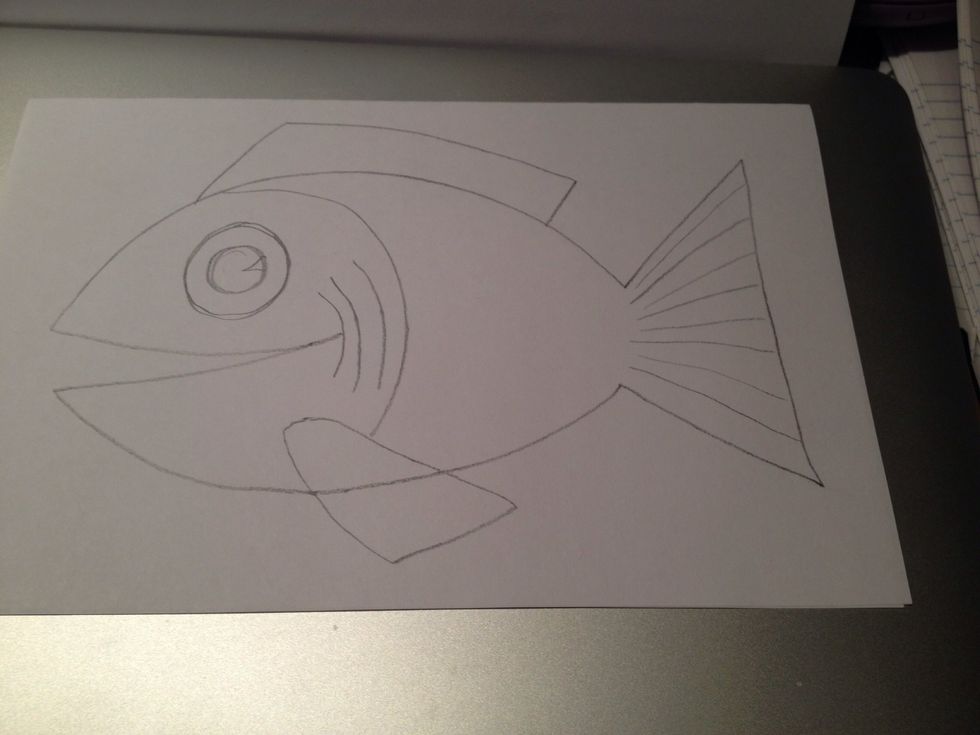
Start by drawing a simple line drawing on a piece of copy paper.
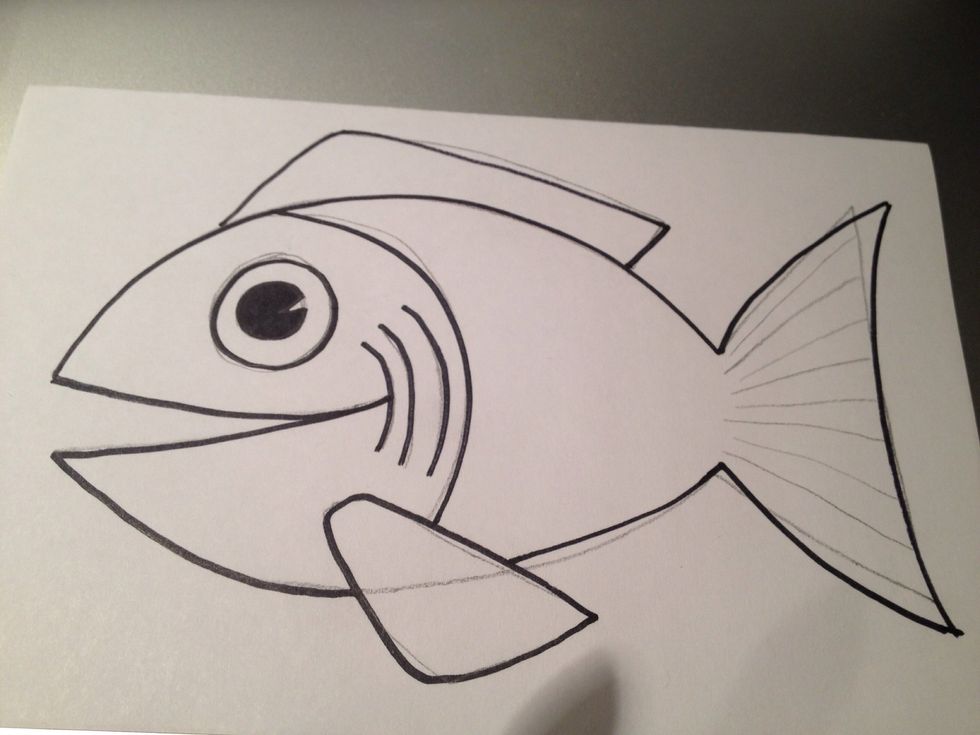
Trace the lines you like and want to keep with a thin marker.
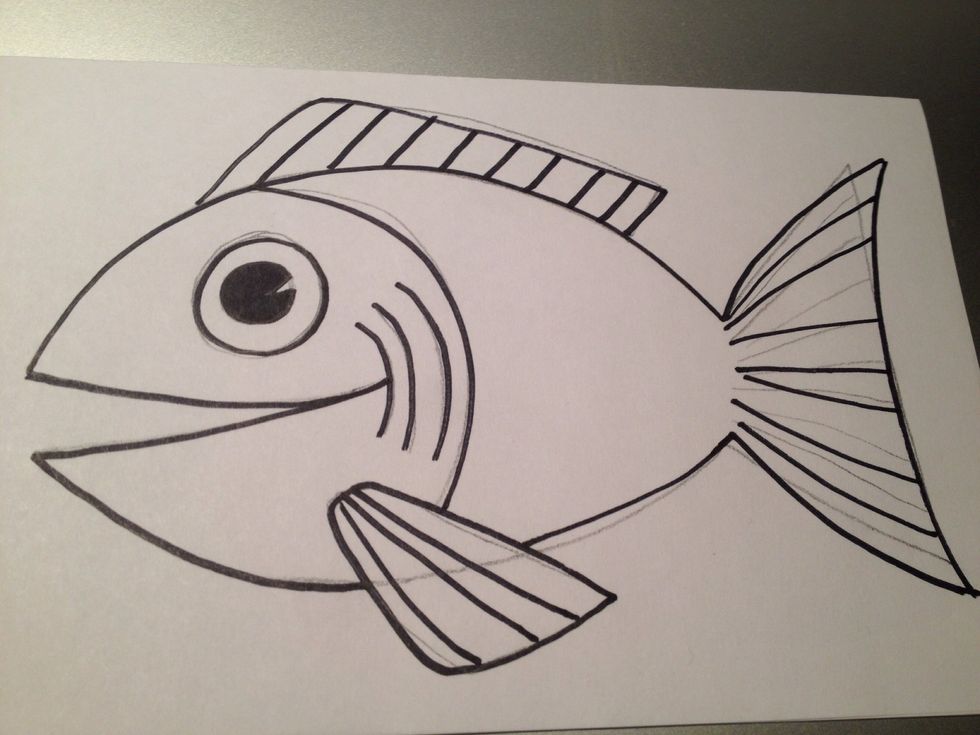
Add as many details as you can, filling the whole space.
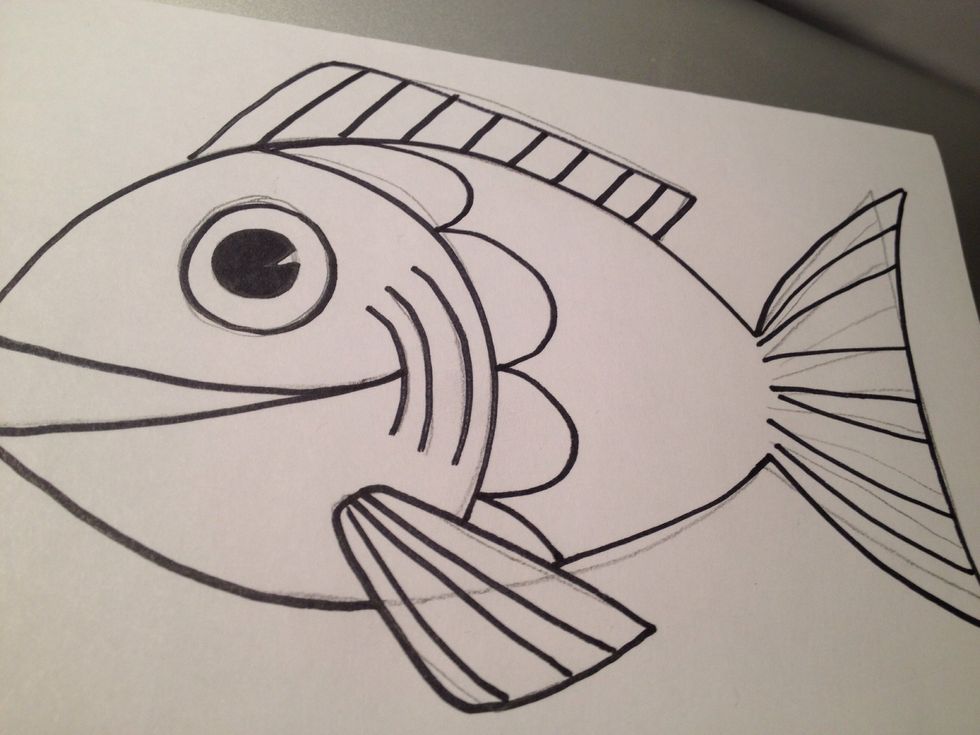
Add patterns and lines that you might like to use.
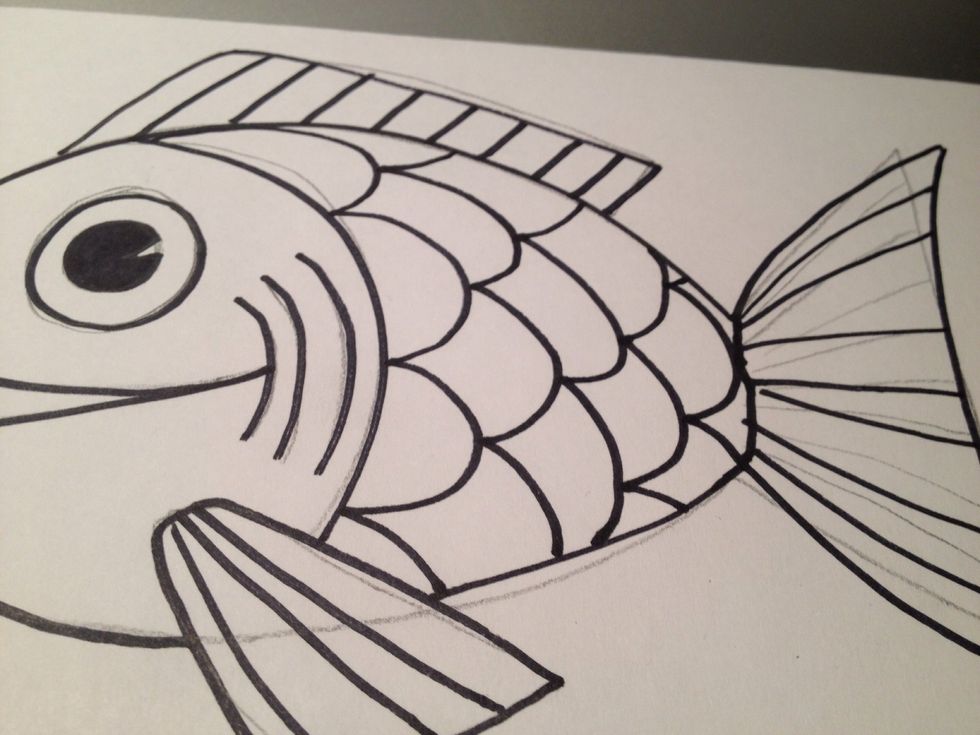
Try to fill as much space as possible.

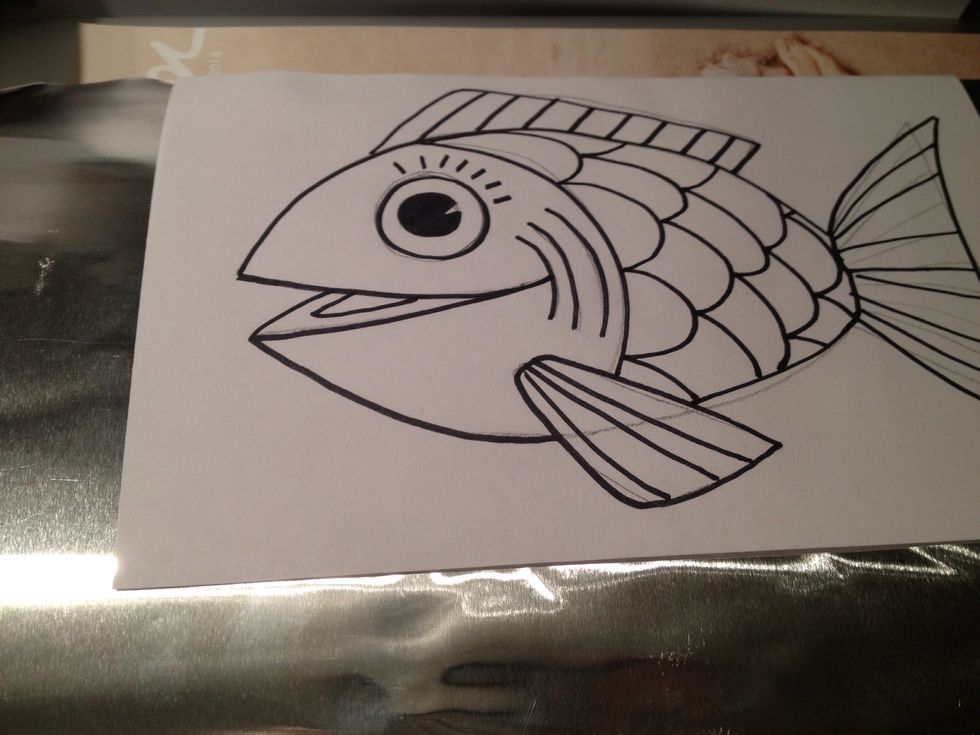
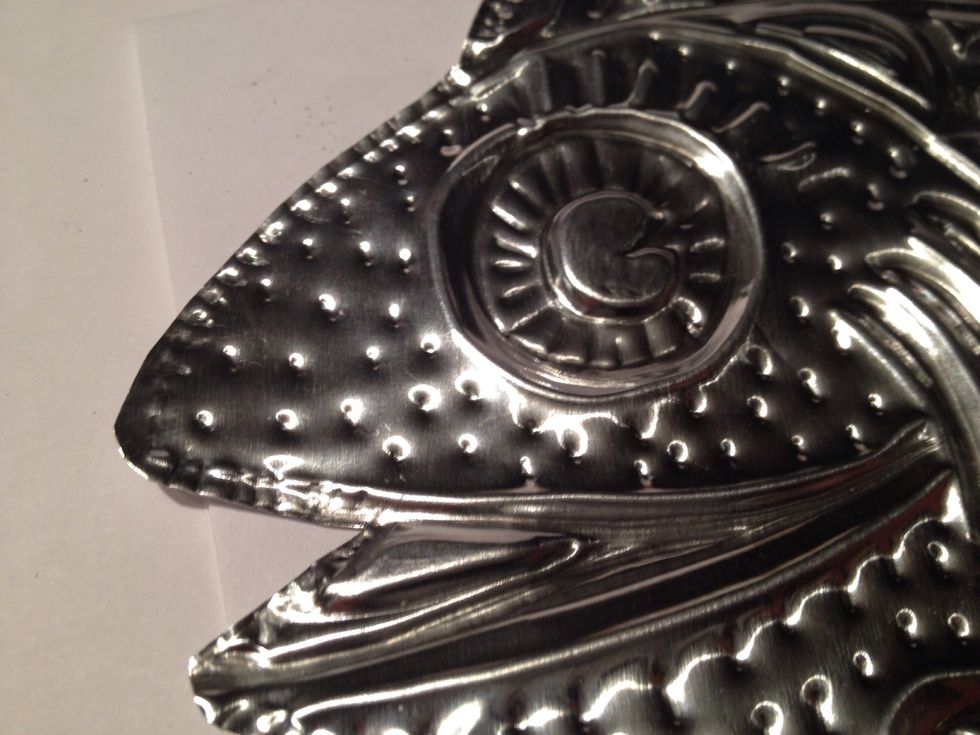
I have added some details around the eye and mouth.
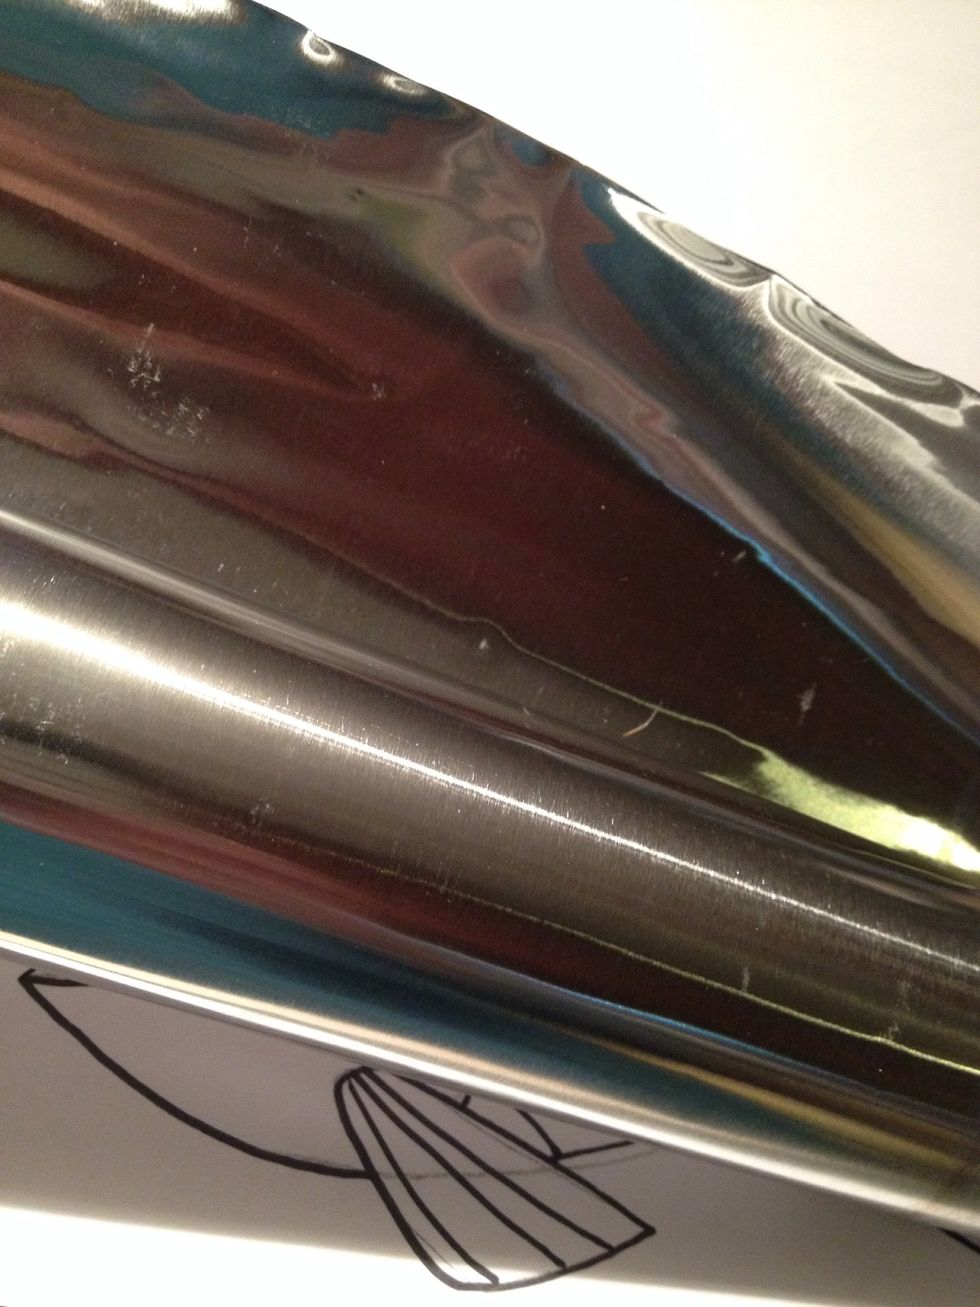
Cut a piece of foil to fit your drawing, being careful of sharp edges.
Put the foil on top of an old magazine or phone book and then put the drawing on top of the foil. Tape it down if you would like.
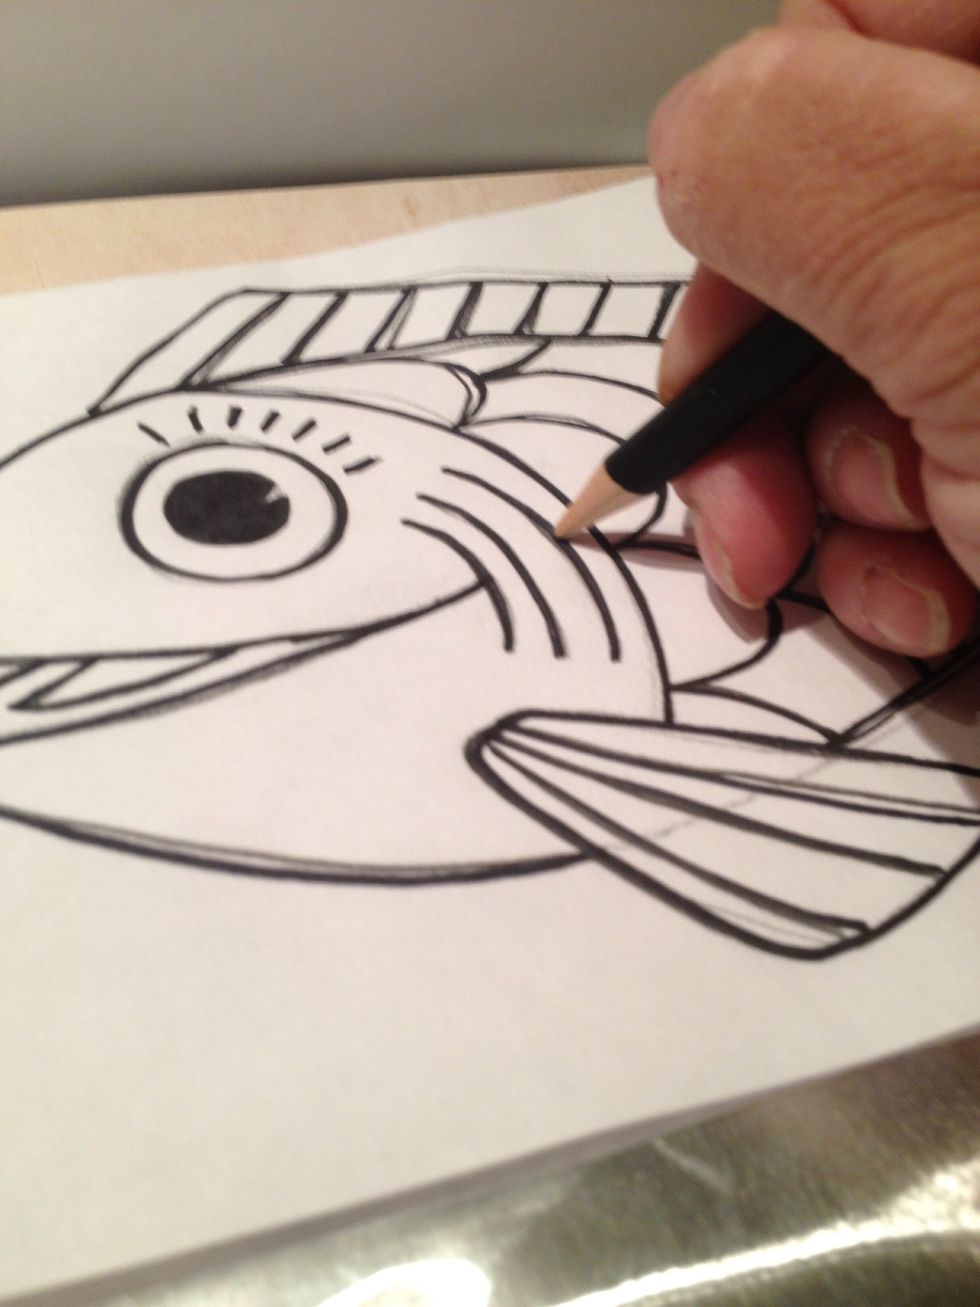
Trace all of the marker lines with a dull pencil.
Be careful not to let the paper move on the foil. Remove the paper after tracing, and keep the foil on top of the old magazine.

The lines will be light and will need to be re-traced with either the dull pencil or a gently curved or rounded wooden clay tool.

After re-tracing, the lines should be deeper.
Now, add more details, first on the front and then on the back.

Trace shapes and lines on the front and the back, stretching the foil and creating more texture.
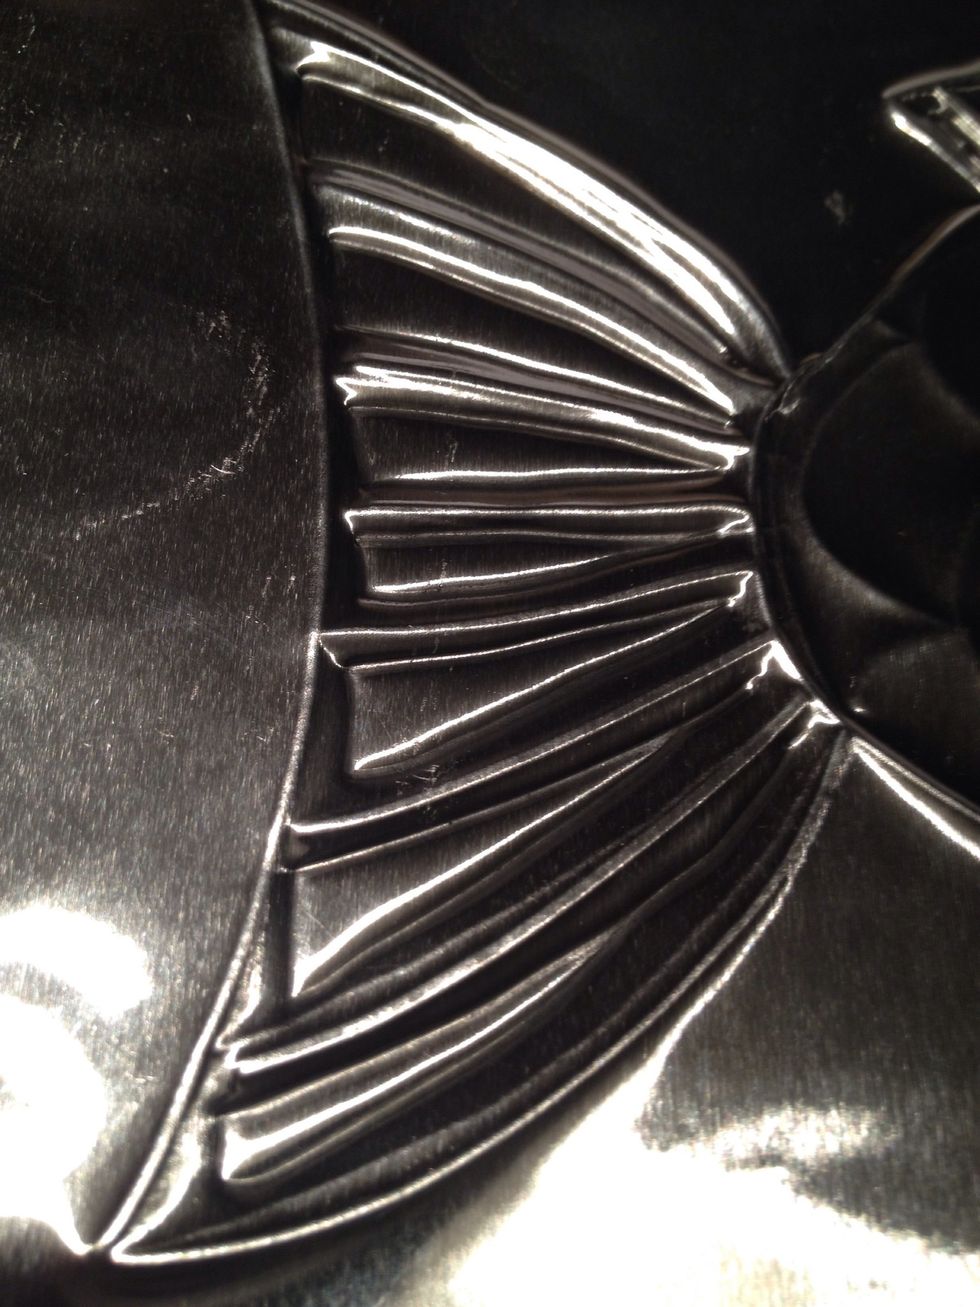
Here is a close up of the tail showing the inside shapes being traced.
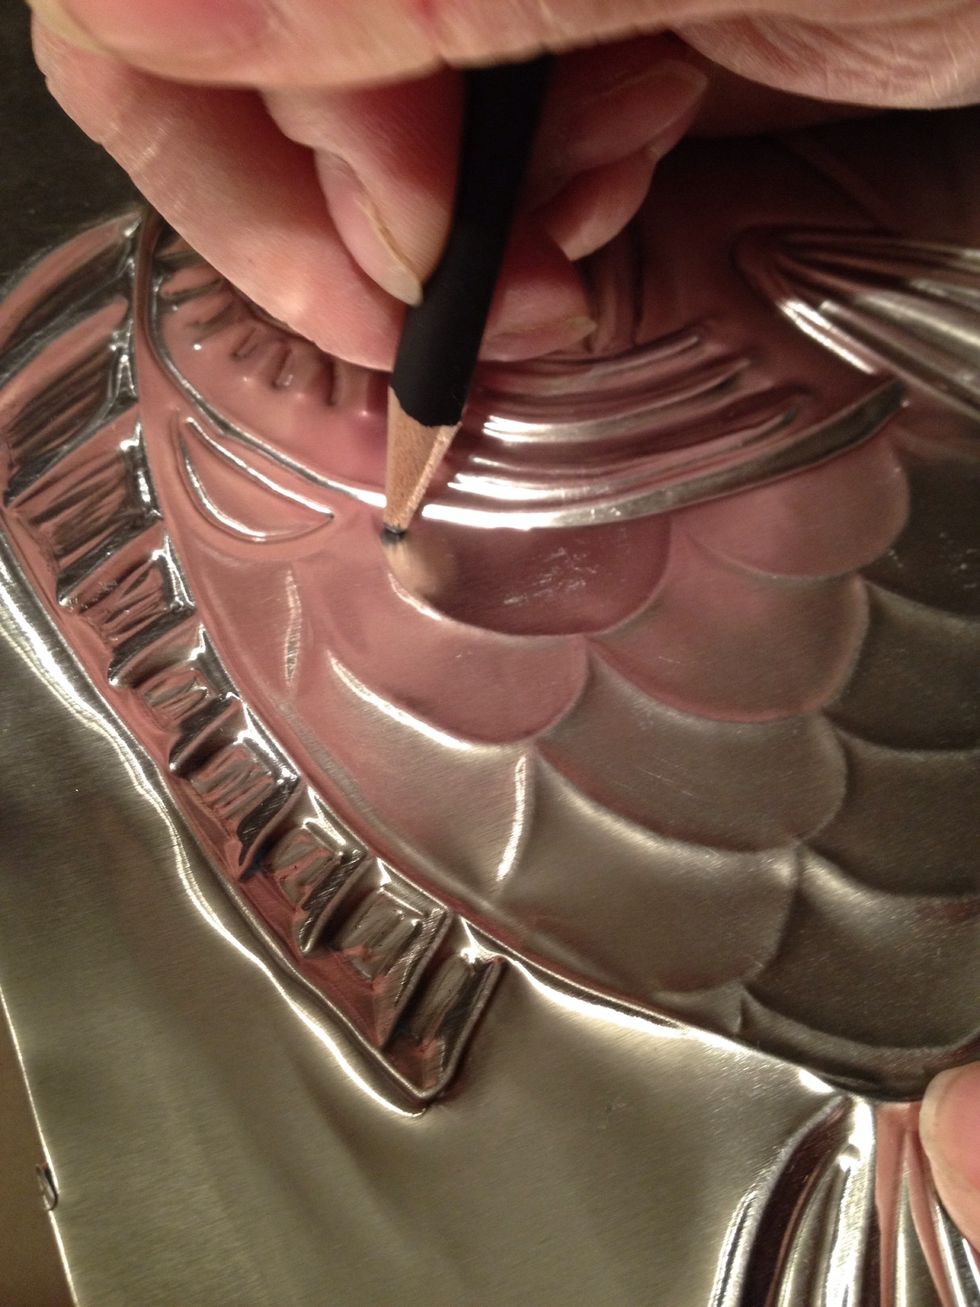
Trace the scales or another pattern on both sides. Color in the shapes to push them and create more texture, flipping back and forth.
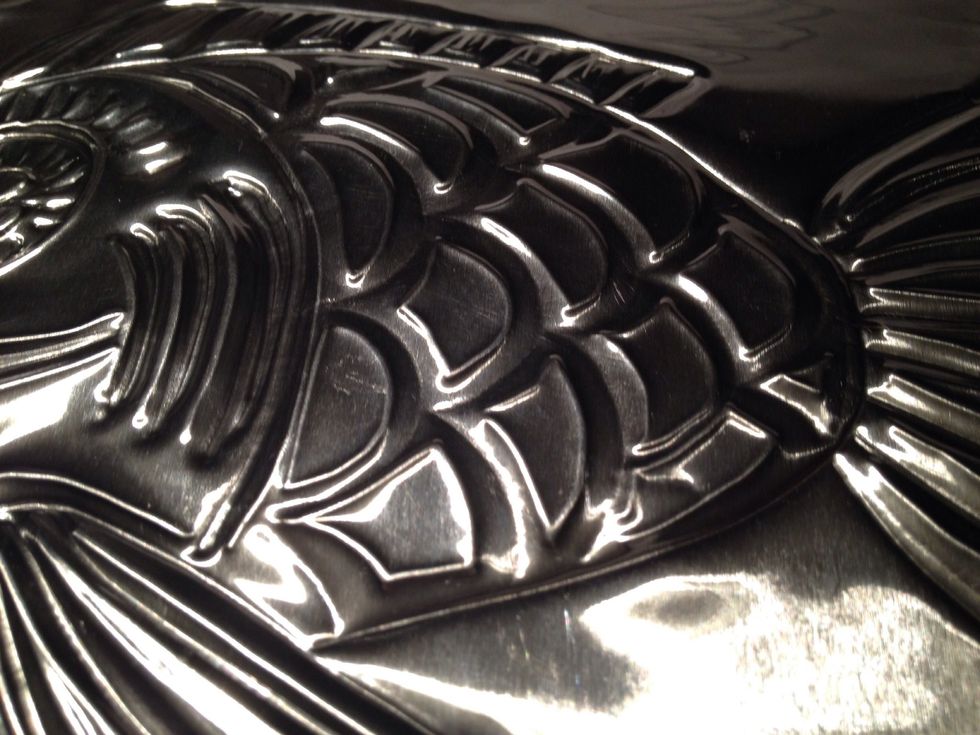
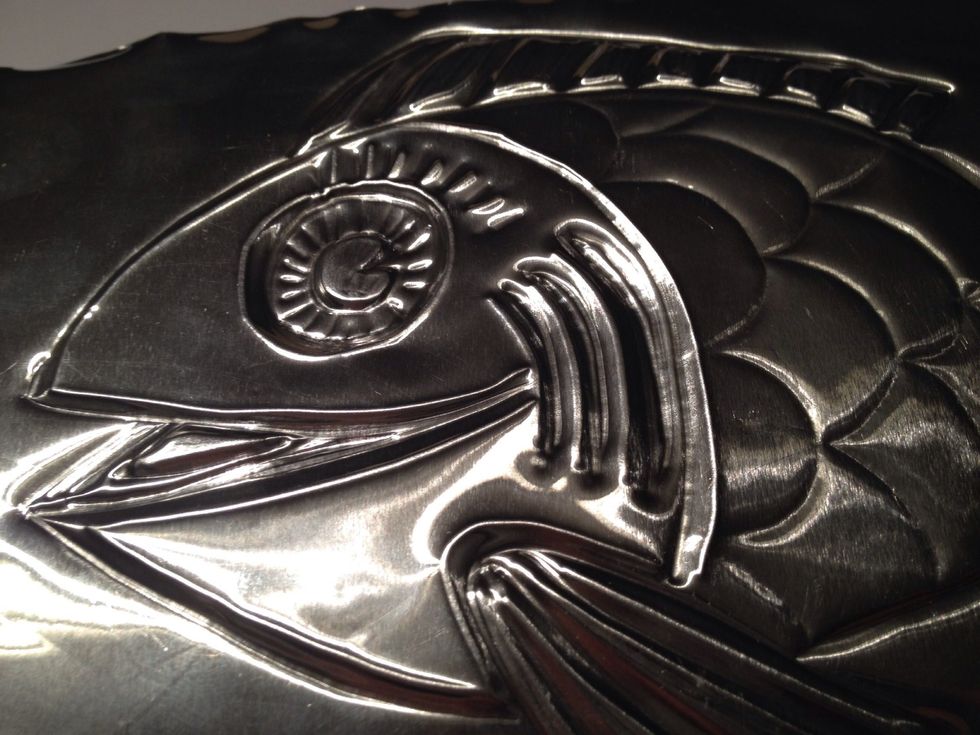
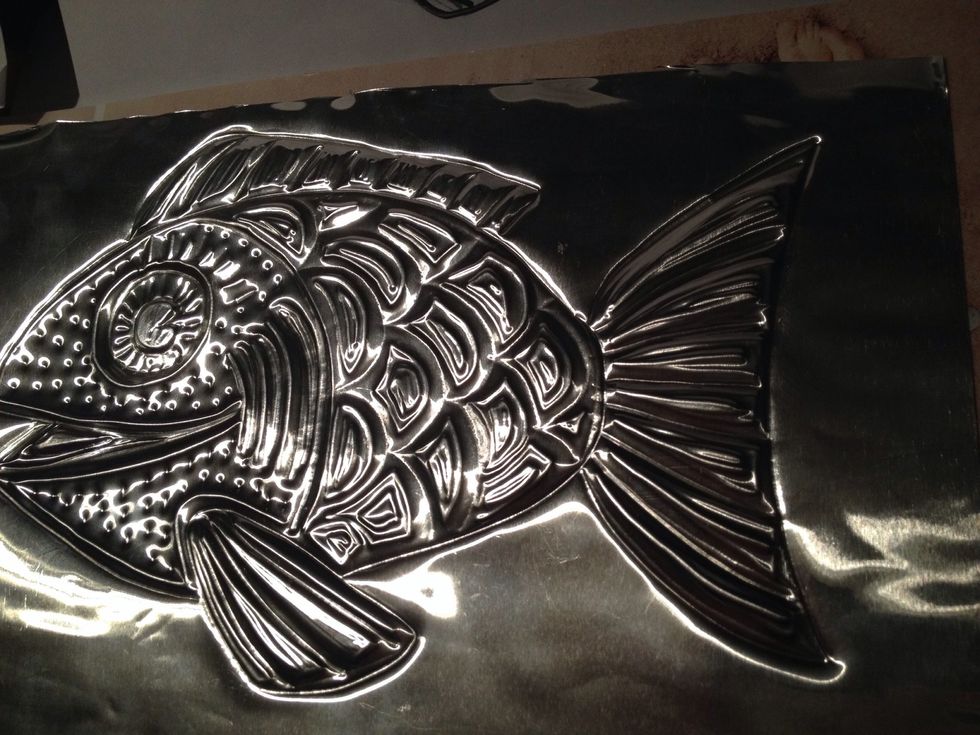
Showing texture on the front and back of the fish.
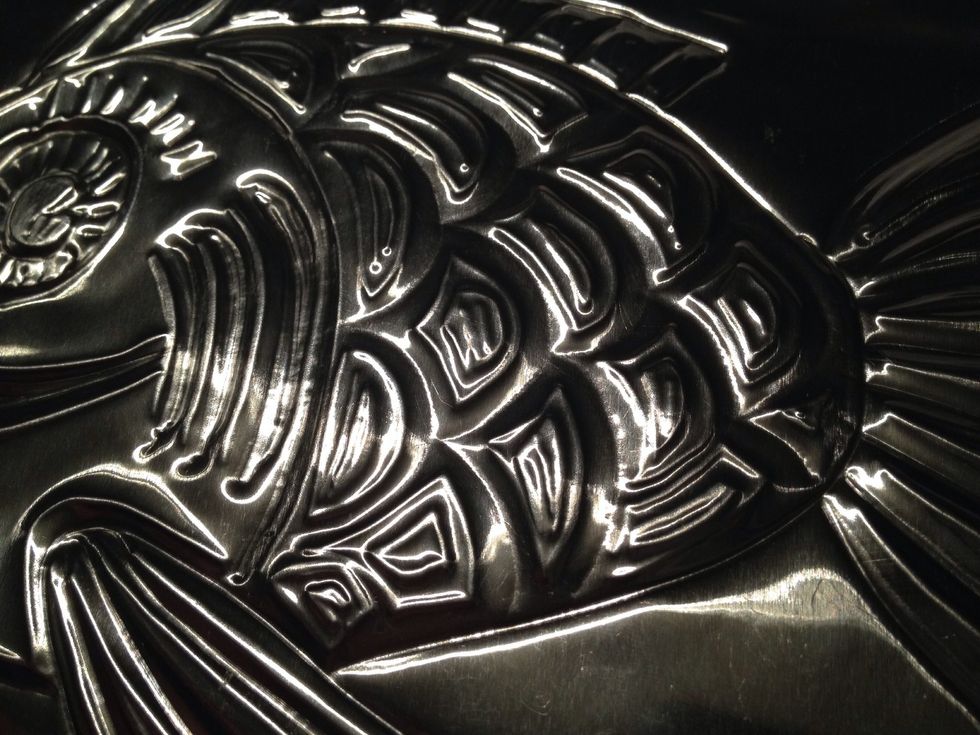
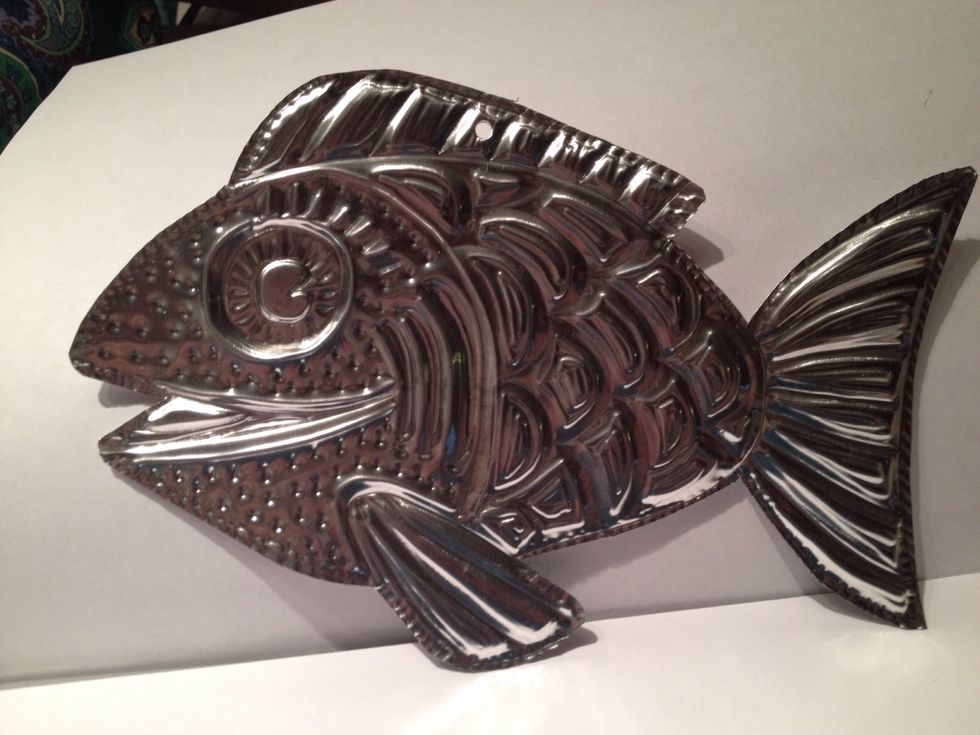
Finished scale texture

I added simple dots on the flat surface of the face.
Time to cut the fish out.
Cut carefully because the foil can be sharp. Cut in from the outside edge instead of around in one continuous line.
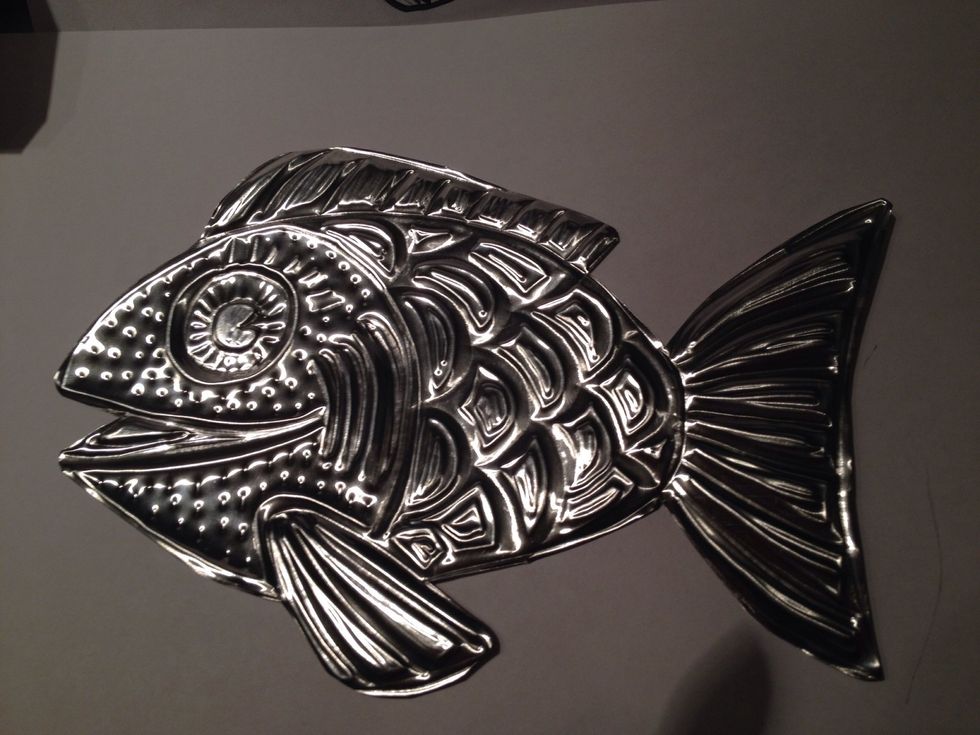
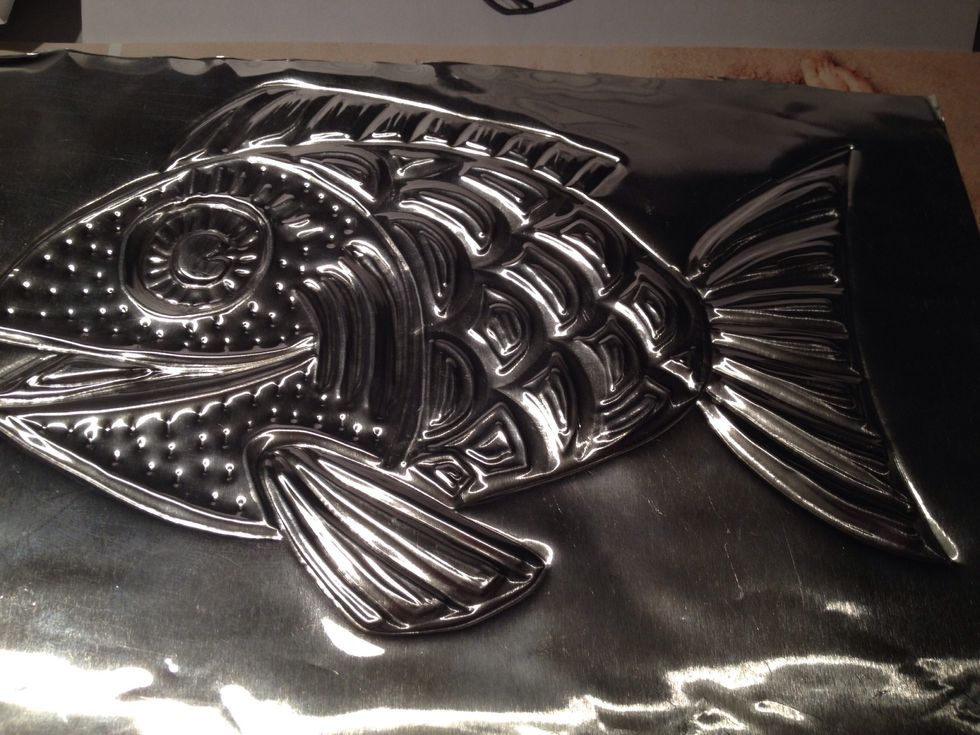
All cut out!

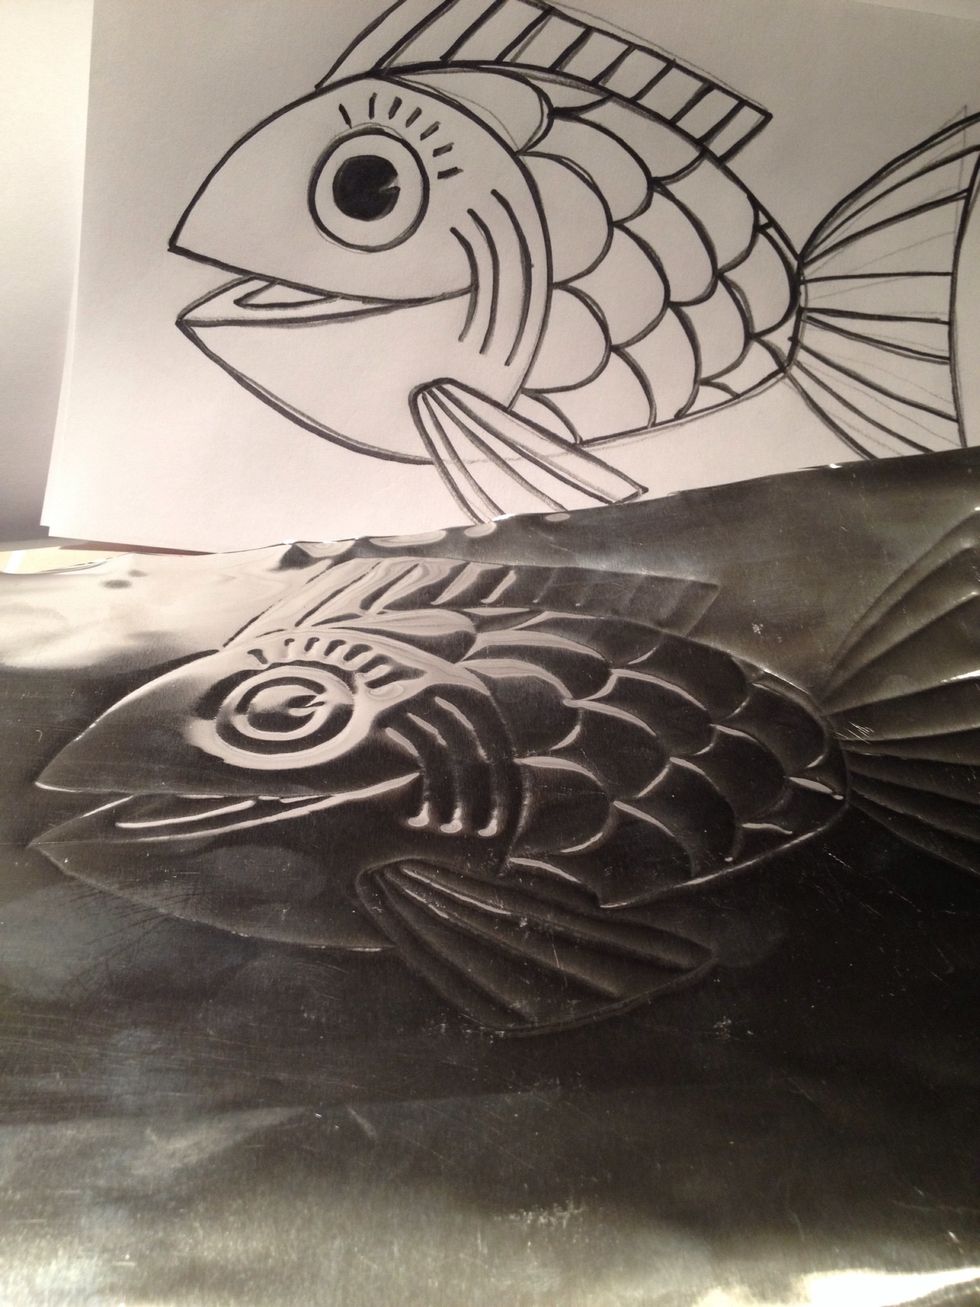
Compare with the original drawing.
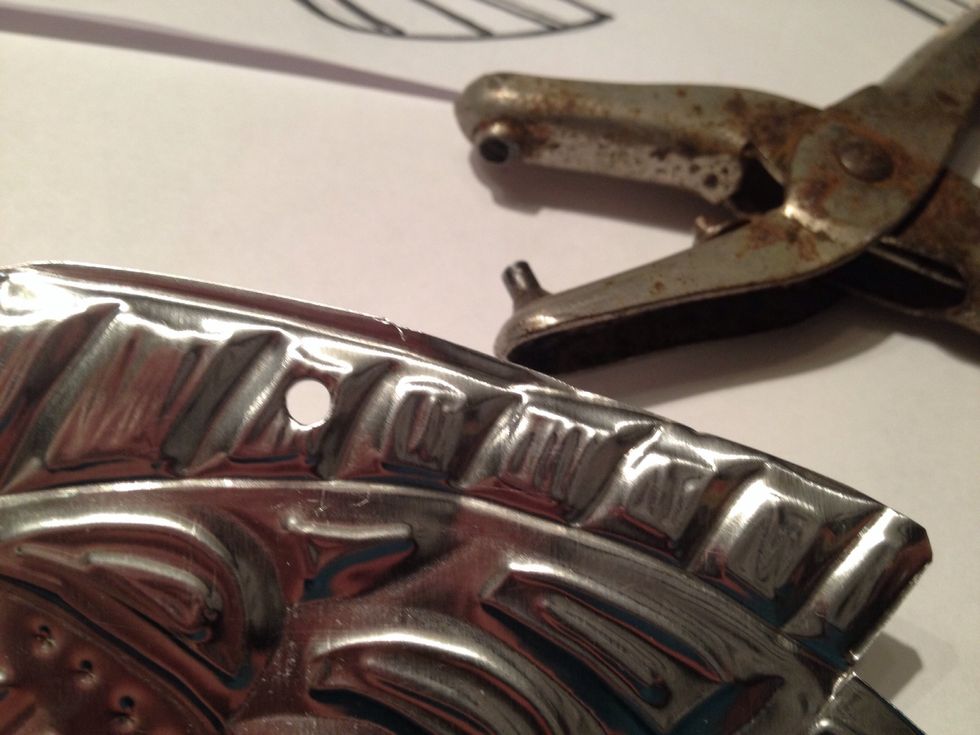
Punch a hole with a regular hole punch.

Draw small perpendicular lines around the edge to make a nice finish on the edge and to make the edges less sharp.
Close up of lines around the edge.
Finished fish! Add a piece of fish line to hang.