The Conversation (0)
Sign Up

Take seven empty toilet paper tubes and make sure they are all the same size. Trim if necessary.
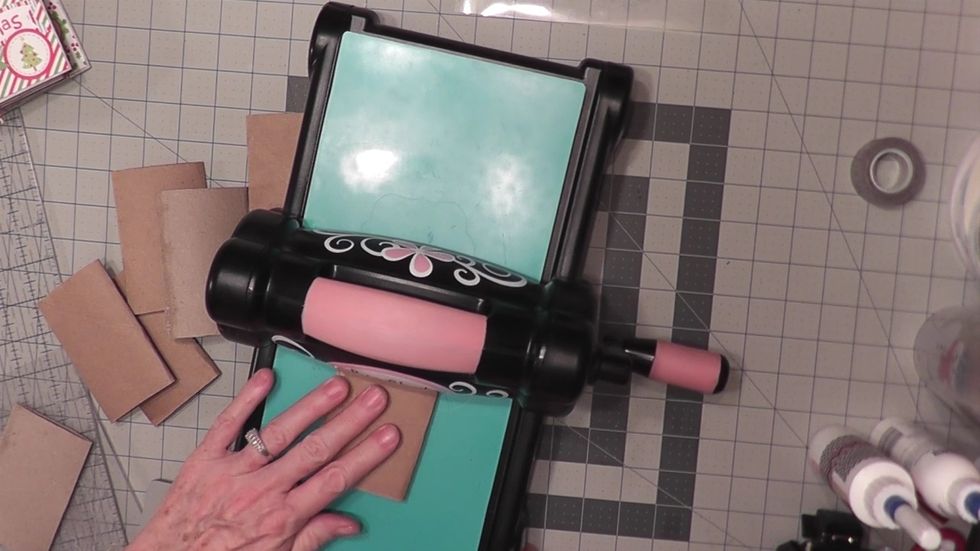
Run each toilet paper tube through your Big Shot. Use a base plate and acrylic plates that will allow you to flatten the paper tubes. You may need to run each one through several times.
Trim ONE tube down to 2 inches wide. Keep the width the same as the other tubes with the folds at the top. This will be your spine piece of your album.
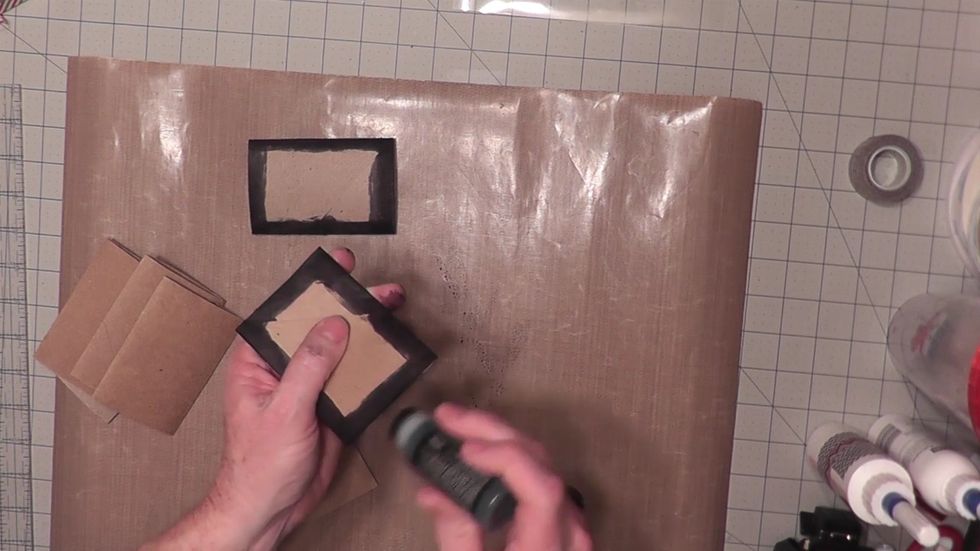
Ink or stain the edges of all the tubes including the piece you trimmed down for the spine piece.
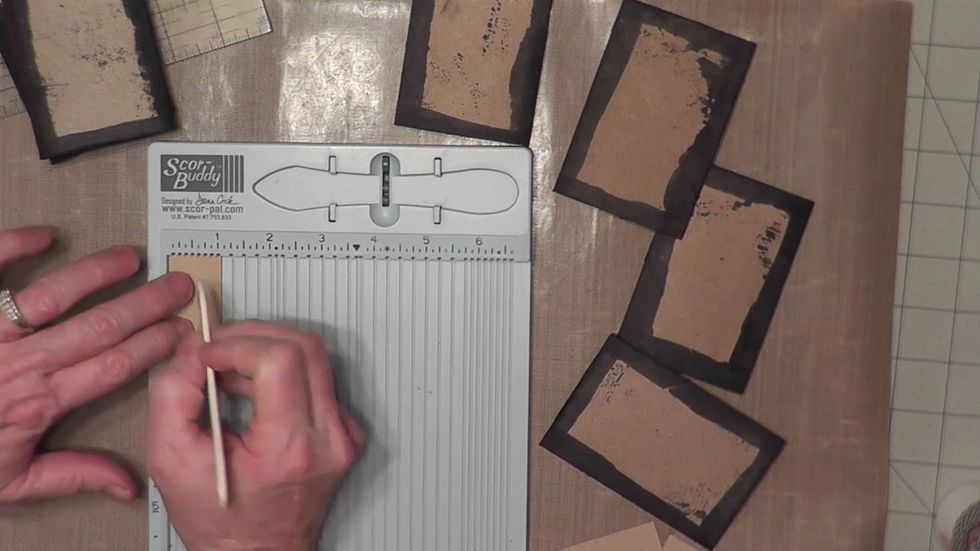
From cardstock, cut four pieces 2 1/2" long x 1" wide. Score the 1" side at 1/2" to create 4 hinges for your album pages.
Apply glue to the inside of two of the full size tubes, gluing them shut. Also glue the one short tube piece in the same manner for the spine piece. These will be your album covers and spine.
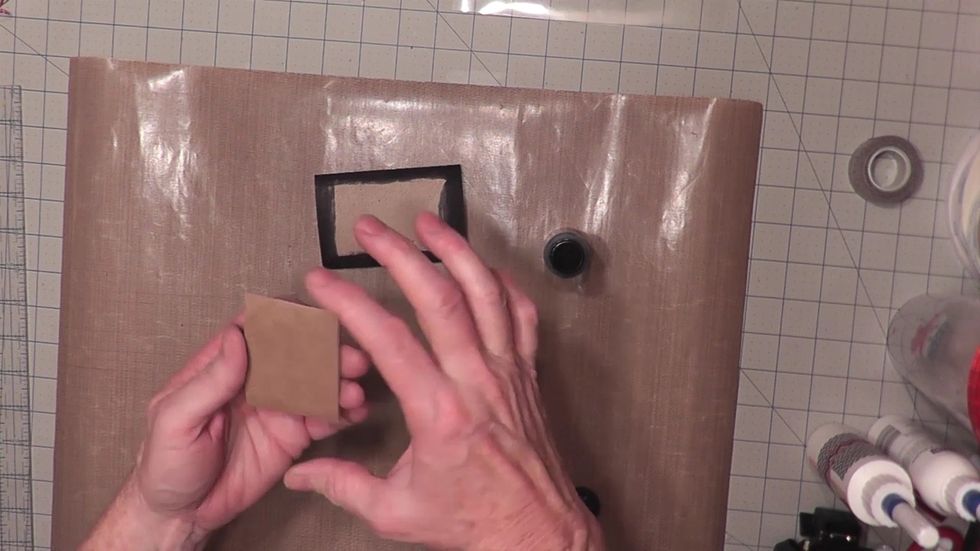
Center and glue the short tube piece onto a piece of Tyvek material. You can cut a used Priority type envelope for one piece that is the width of the tubes top to bottom and about 4 inches long.
Turn the spine piece attached to the Tyvek over and apply glue to the Tyvek flaps and attach the two cover (glued shut) tubes on to the Tyvek flaps. Leave a 1/4" space between each cover & the spine.
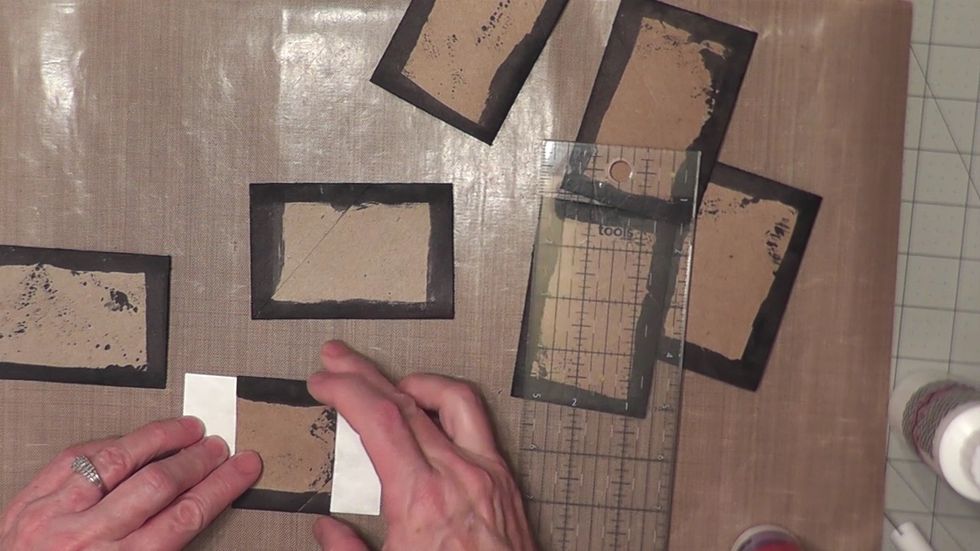
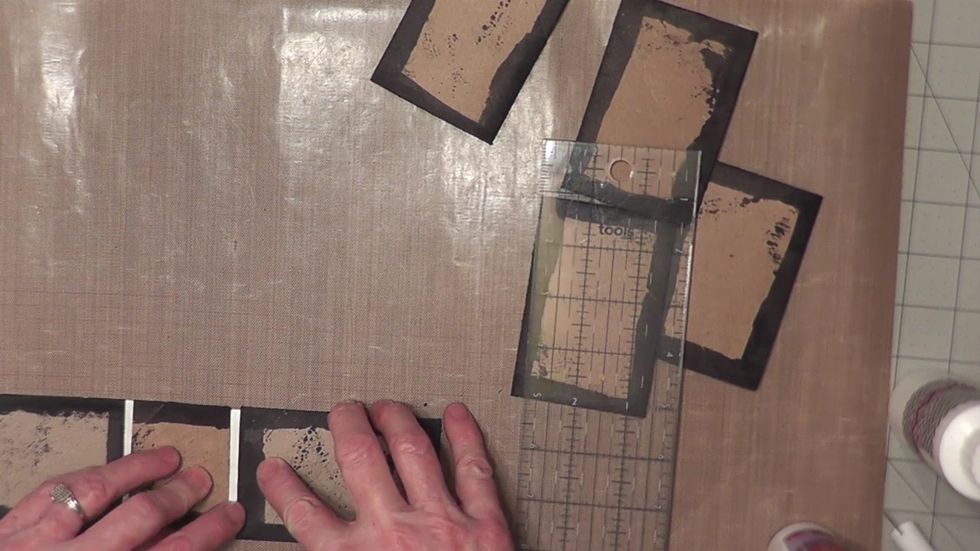
Measure and cut three pieces of decorative papers to pattern the front and back covers and the spine section on the outside of your album.
Glue the paper to the front and back covers first. Then center & glue the paper over the spine as shown.
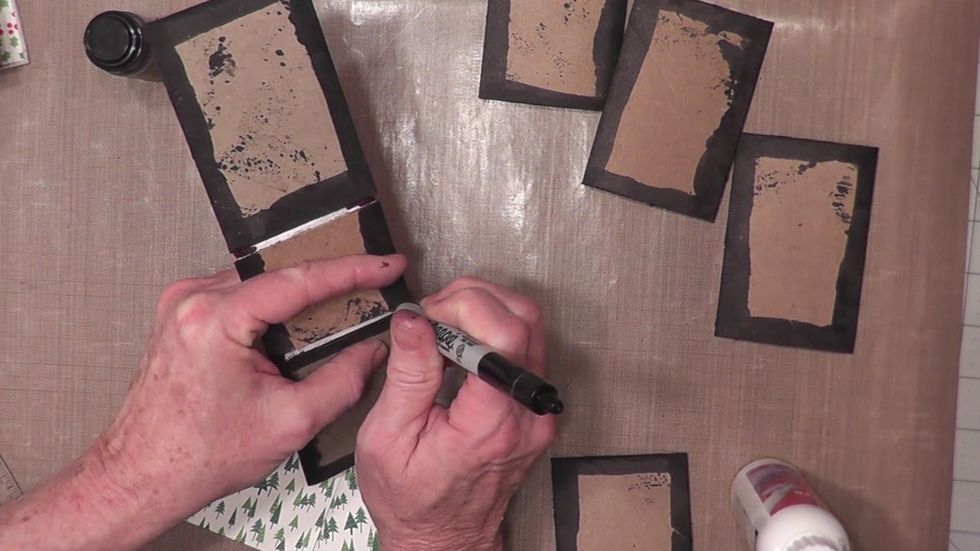
Turn the cover over and use a marker to color the top edges of the Tyvek on the inside as shown. Also color any cardboard tube areas or Tyvek showing that will not be covered with paper.
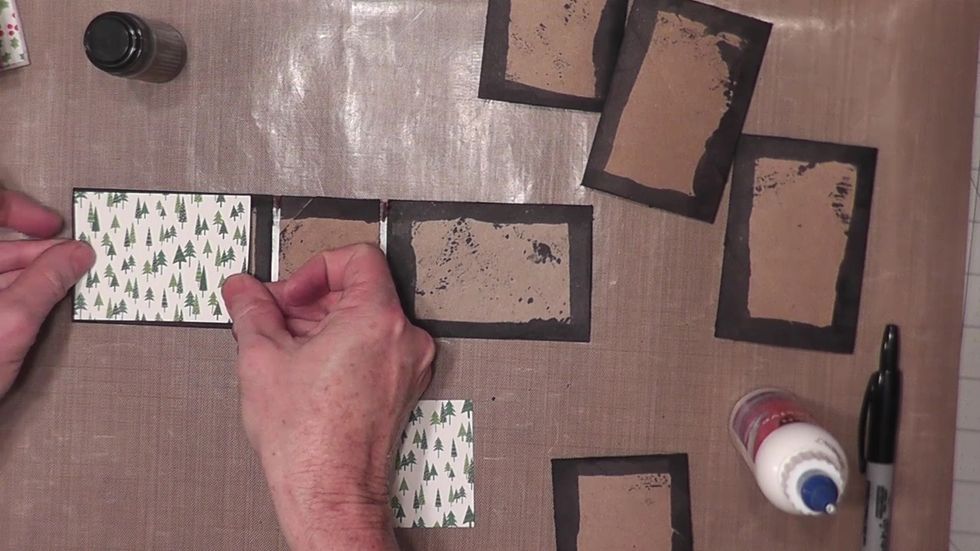
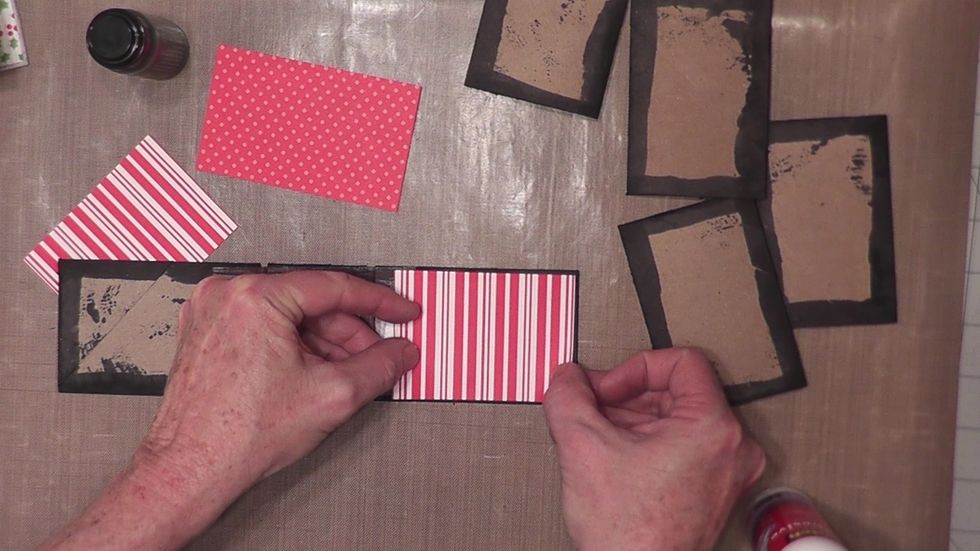
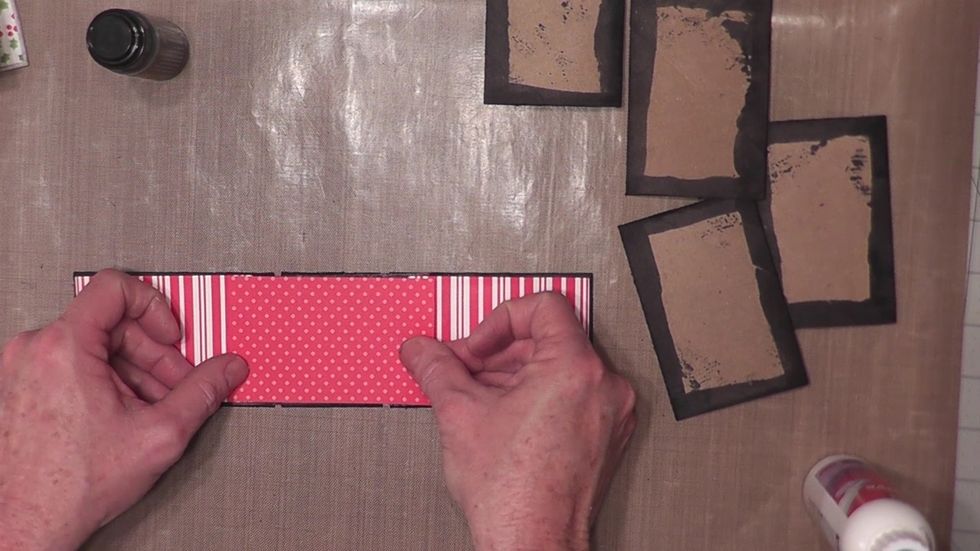
Measure and cut three pieces of decorative papers to pattern the front and back covers and spine area on the inside of the album.
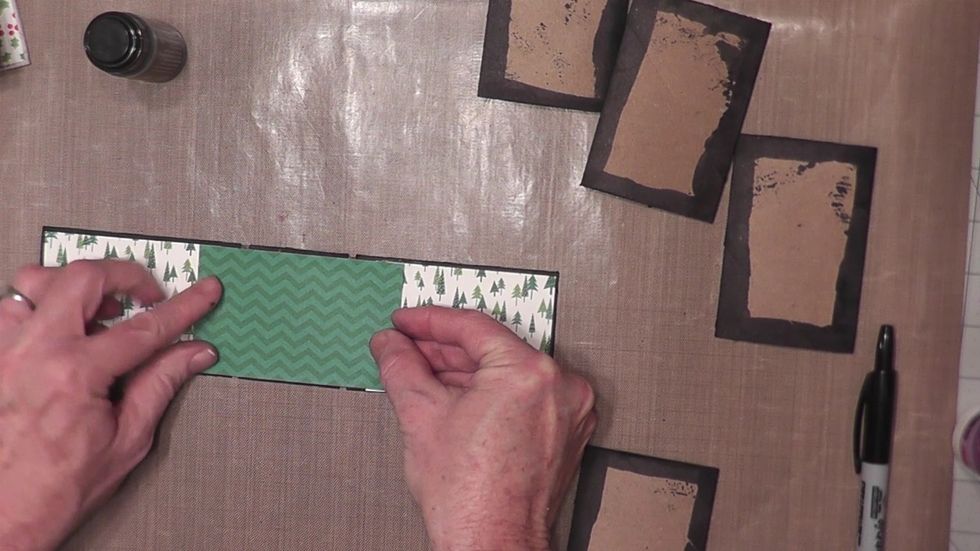
Glue the paper to the front and back sections first and then glue the spine paper, centered to the inside of the album cover.
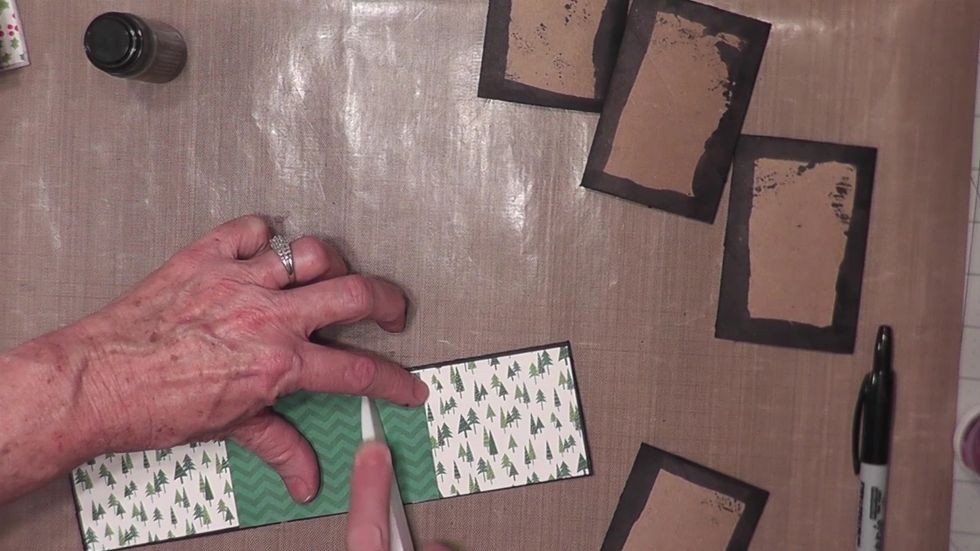
Use a bone folder to GENTLY burnish the inside spine paper along the fold line gap of the cover.
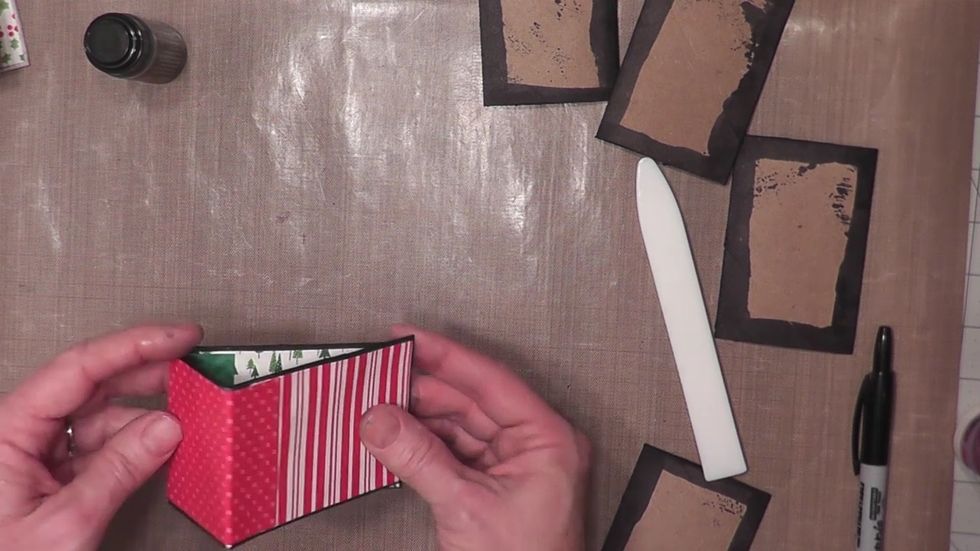
Fold your cover shut, you are now ready to create and add pocket pages made from the remaining four toilet paper tubes.
For each page, take one of the scored hinges and apply glue to the front and back on one 1/2" section and insert the glued section into one end of a tube, burnish to seal. You will have a 1/2" flap.
Apply 3/8" scor-tape and/or glue to one side of the flap on each tube before adding the "pages" to the album cover.

Attach each "page" into the cover of the album between the fold lines, leaving a 1/2" space or gusset between each page.
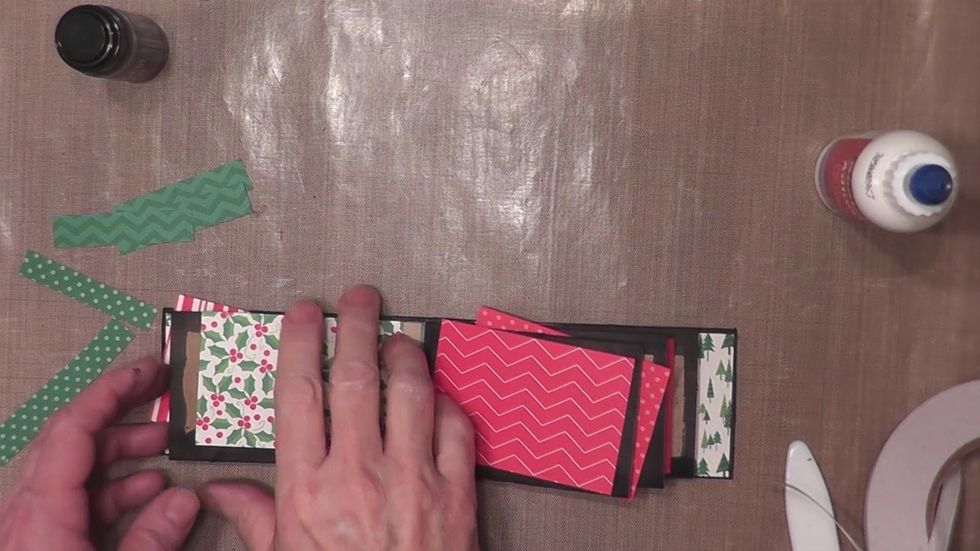
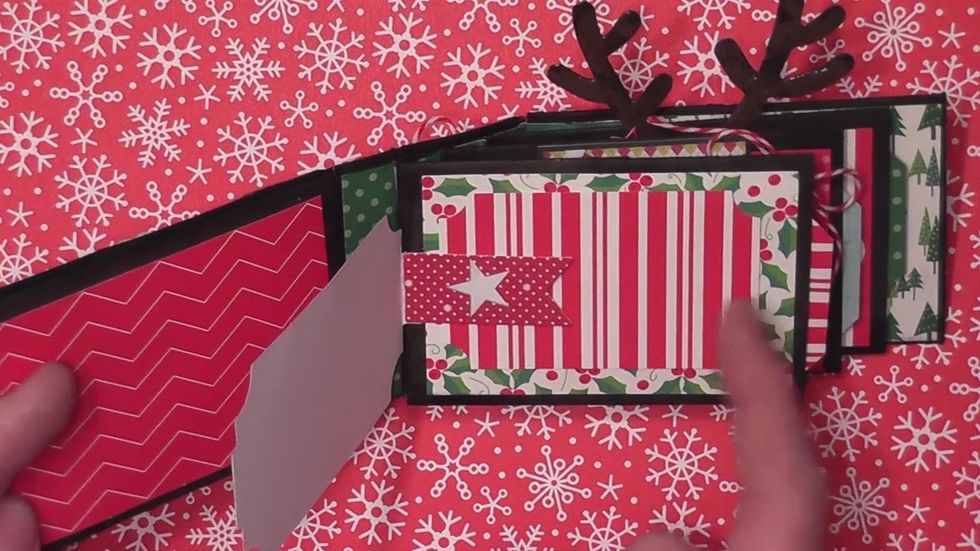
Measure and cut decorative patterned paper to cover each page front and back. Attach the papers with glue and burnish with your hands.
Cut 1/2" strips of decorative paepr (trim to fit if needed) and glue between each page on the gussets to cover the exposed cardstock between the pages.
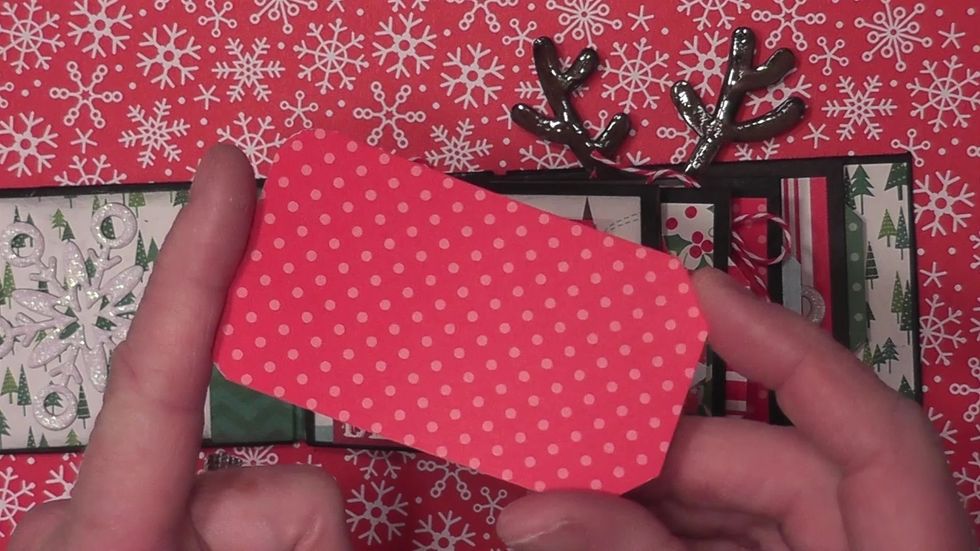
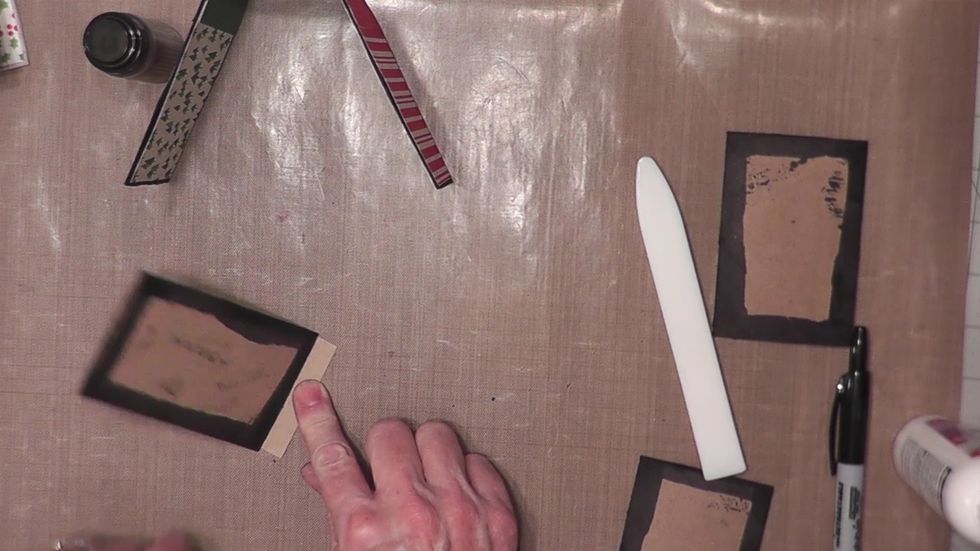
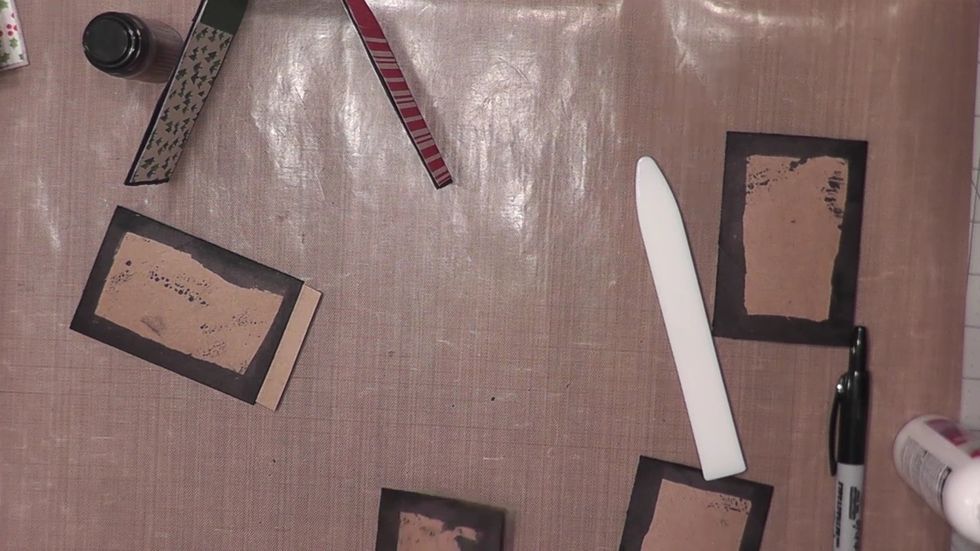
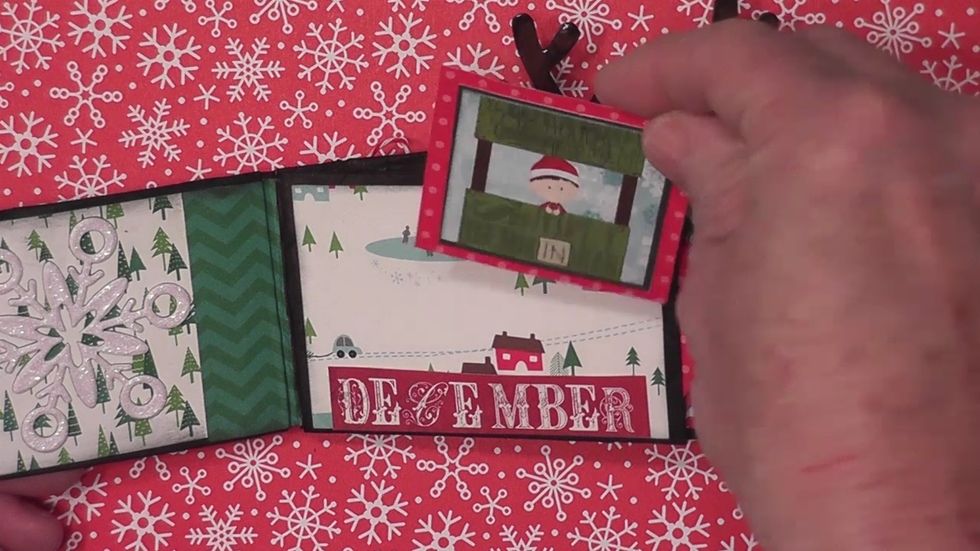
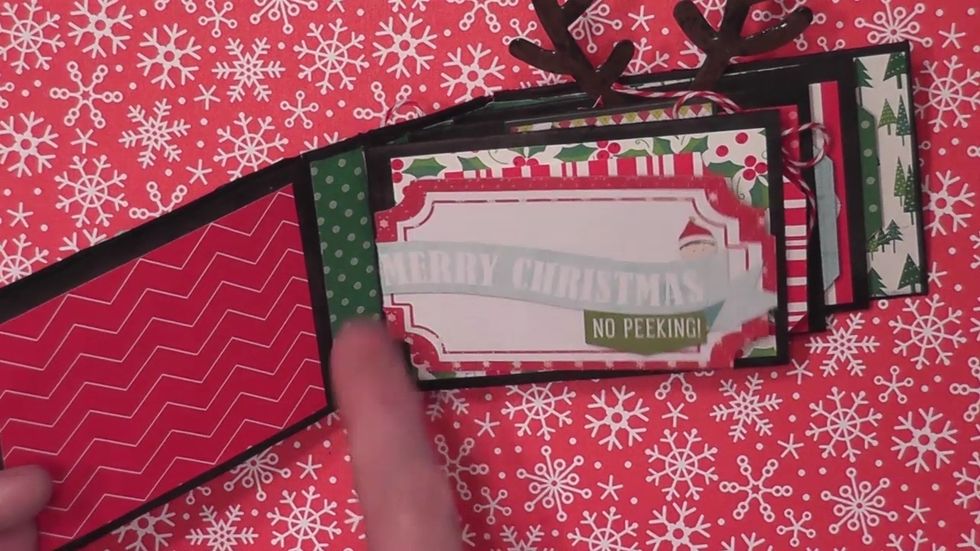
Measure and cut four pieces of decorative paper to create a tag to insert into the end of each page. Round the bottom corners and angle cut the top corners. Cut the tags they extend out 1/4".
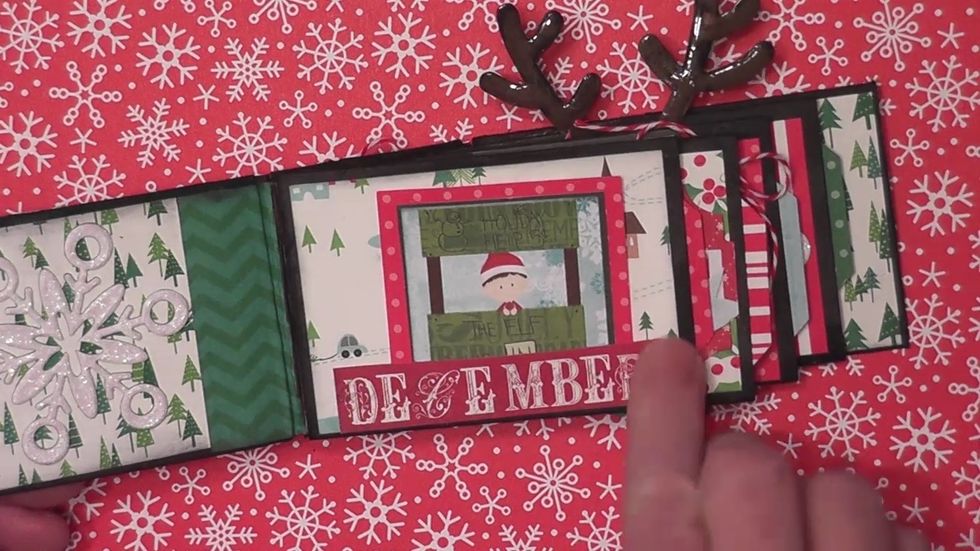
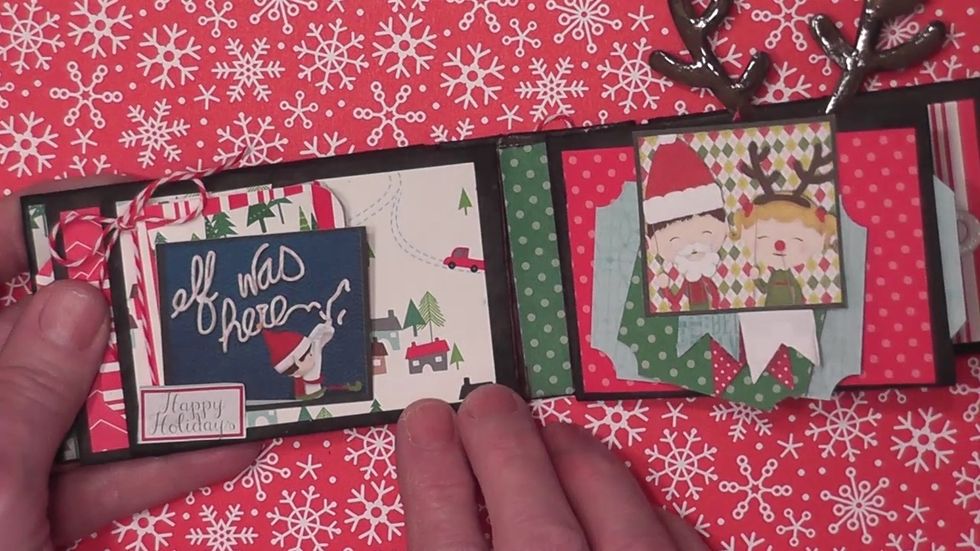
Use scraps of decorative paper to create pockets, mini booklets, tags and add decorative elements such as stickers, die cuts and other embellishments to finish your album.
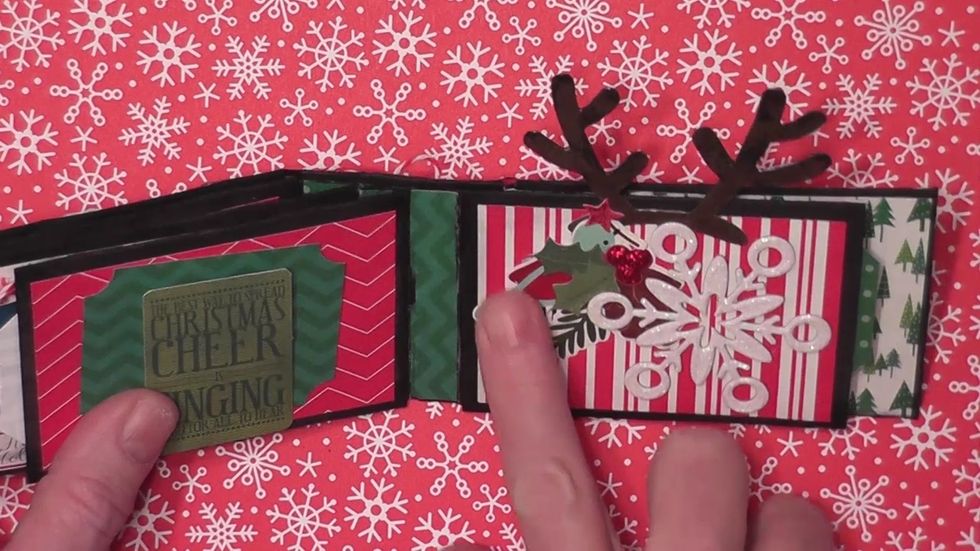
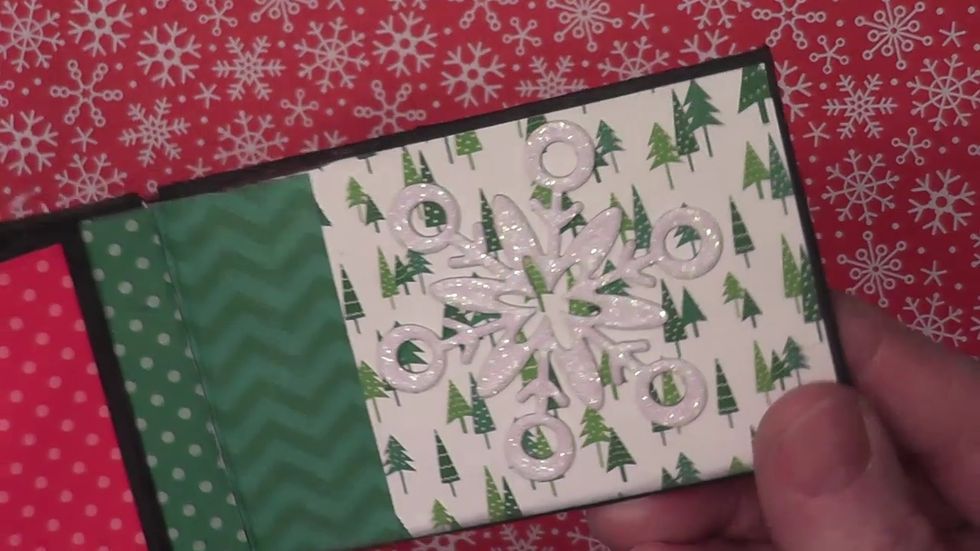
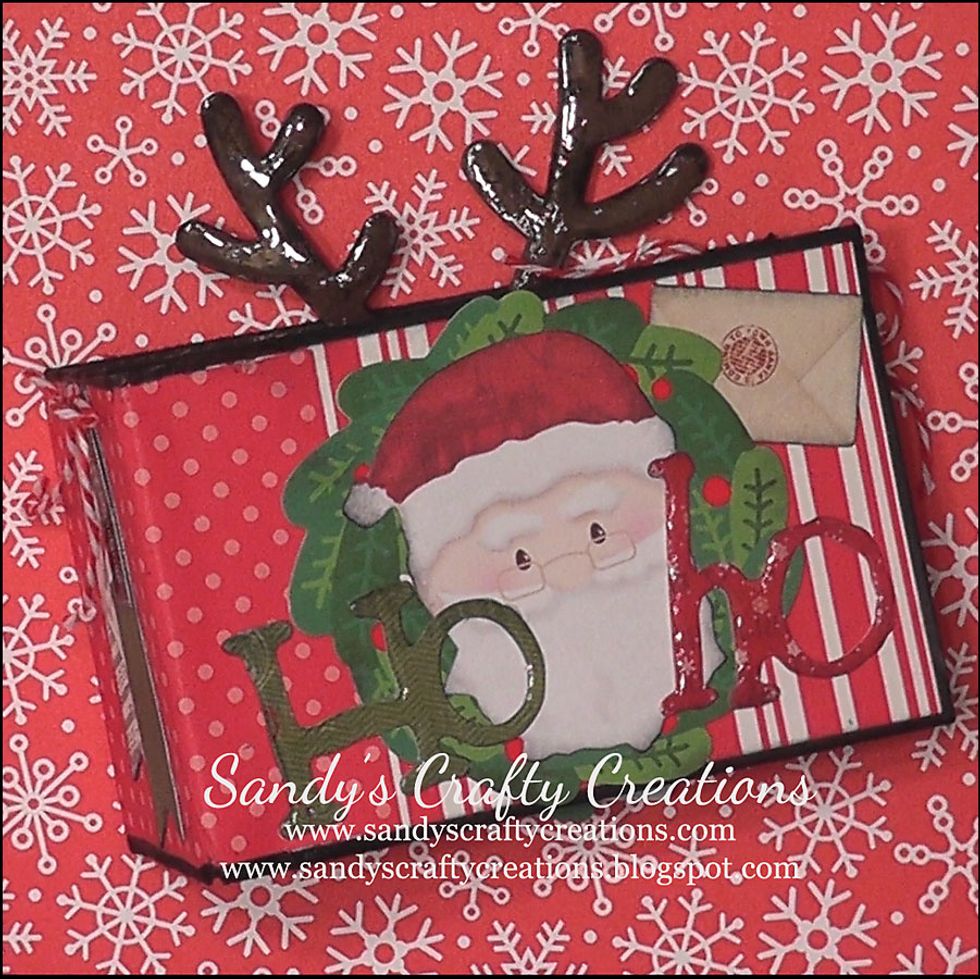
Decorate the cover of your album and the spine on the outside as desired. Have fun and Happy Crafting! ~ Sandy Follow my blog at: http://www.sandyscraftycreations.blogspot.com