The Conversation (0)
Sign Up
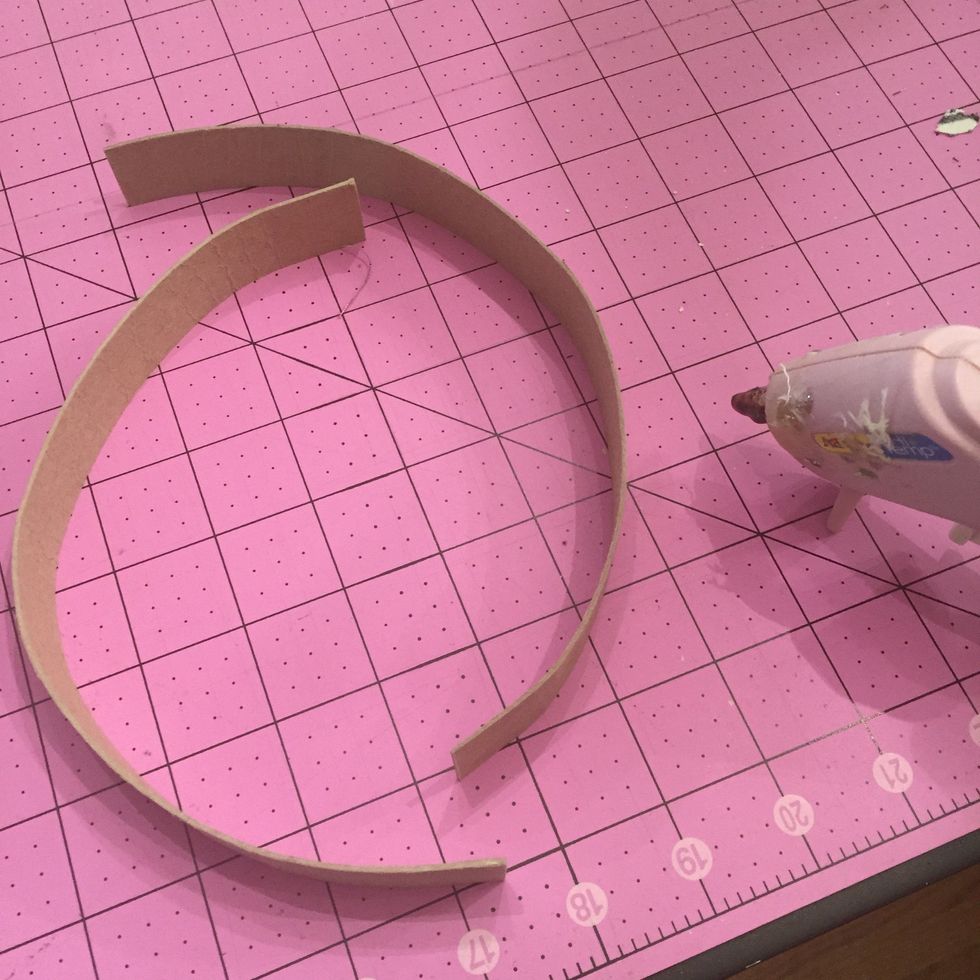
cut a strip of lightweight chipboard or cardboard in a strip one inch wide. I took two strips about 8 inches each and combined them to make a 4.5-5 inch diamteter circle
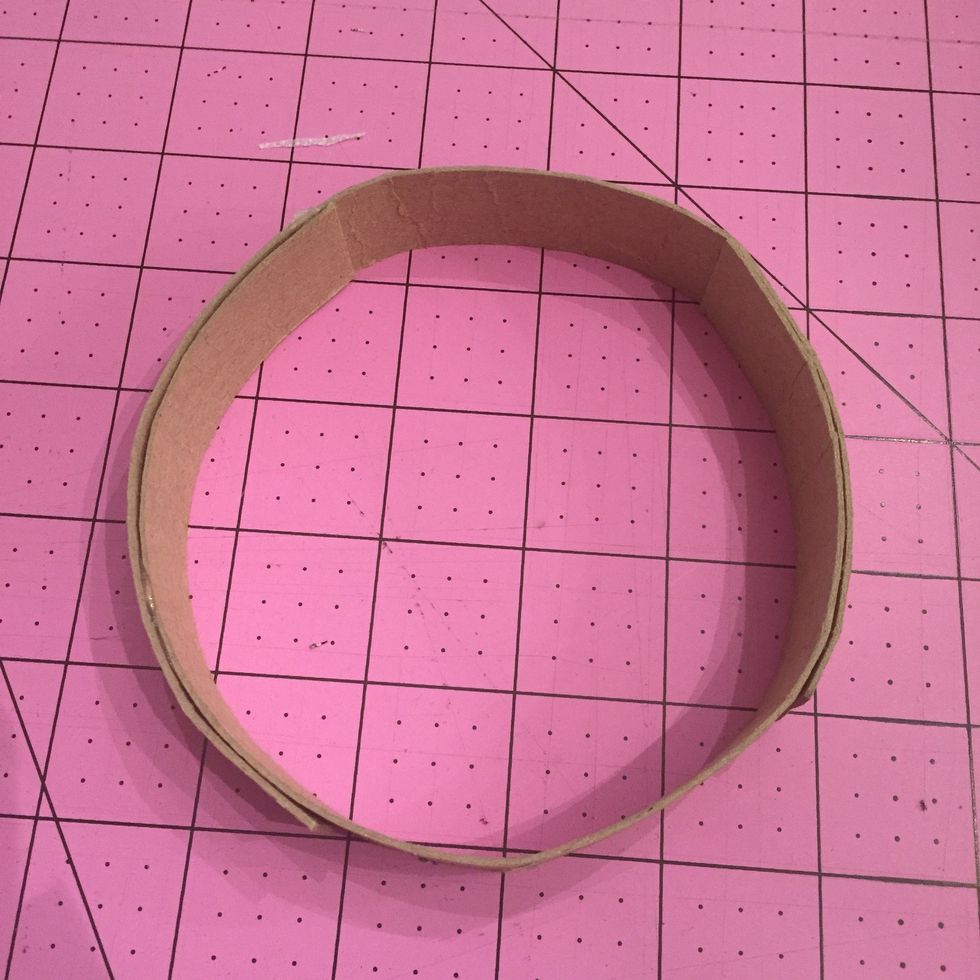
my inner circle is 4.5 inches- you can really make this any size. Hot glue together.
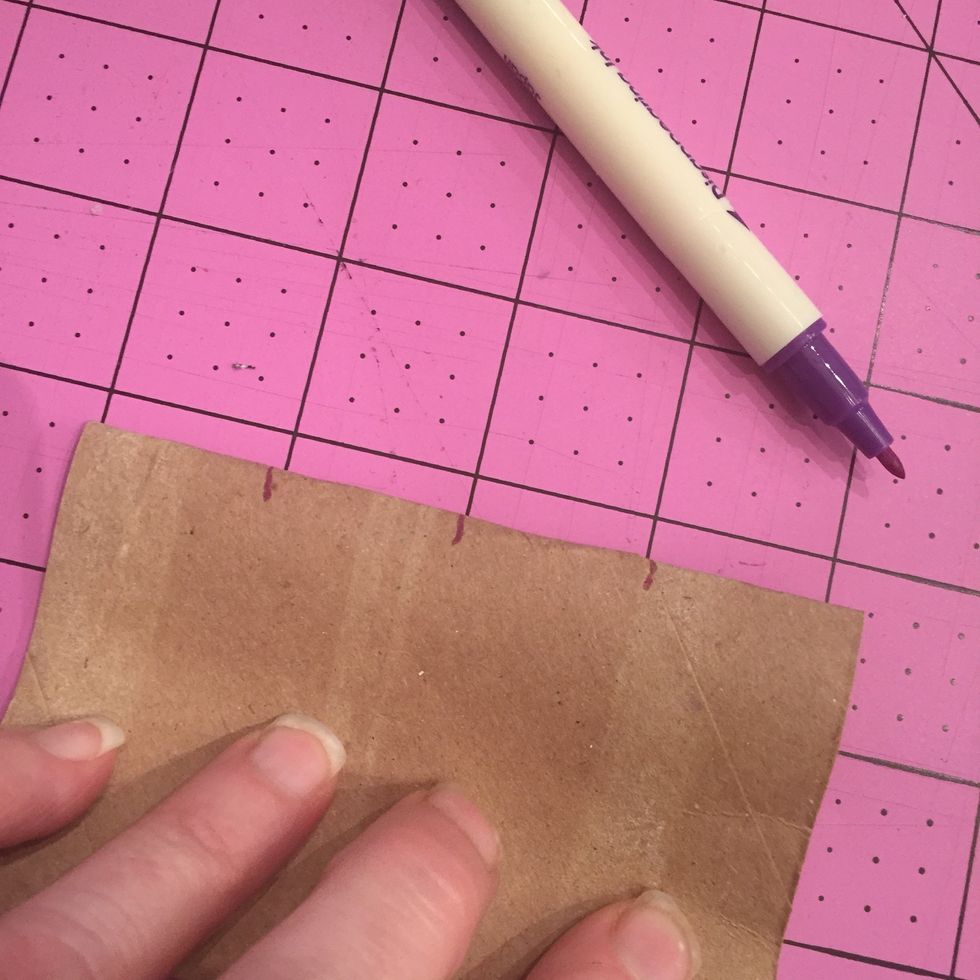
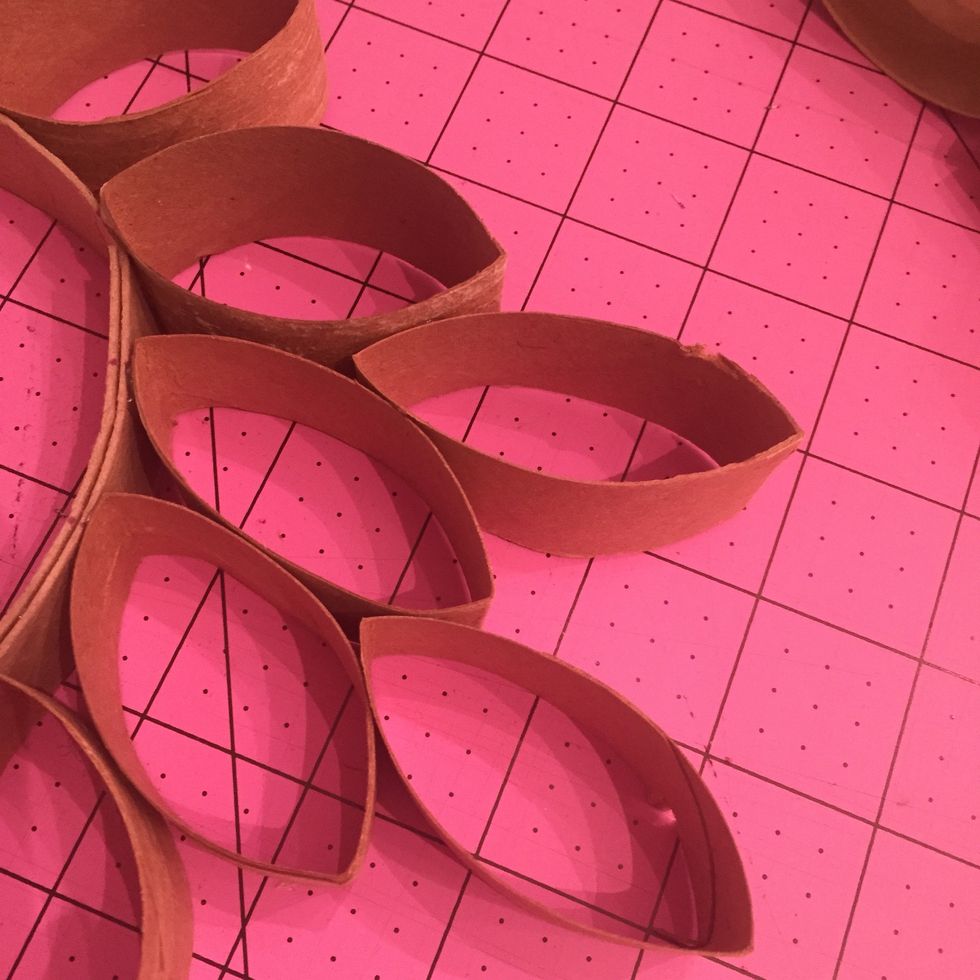
now a TP roll is a little more than 4 inches wide. Press it flat- cut roll in half , then cut the halves in half. Or you can measure about an inch each piece. I say EYEBALL IT!
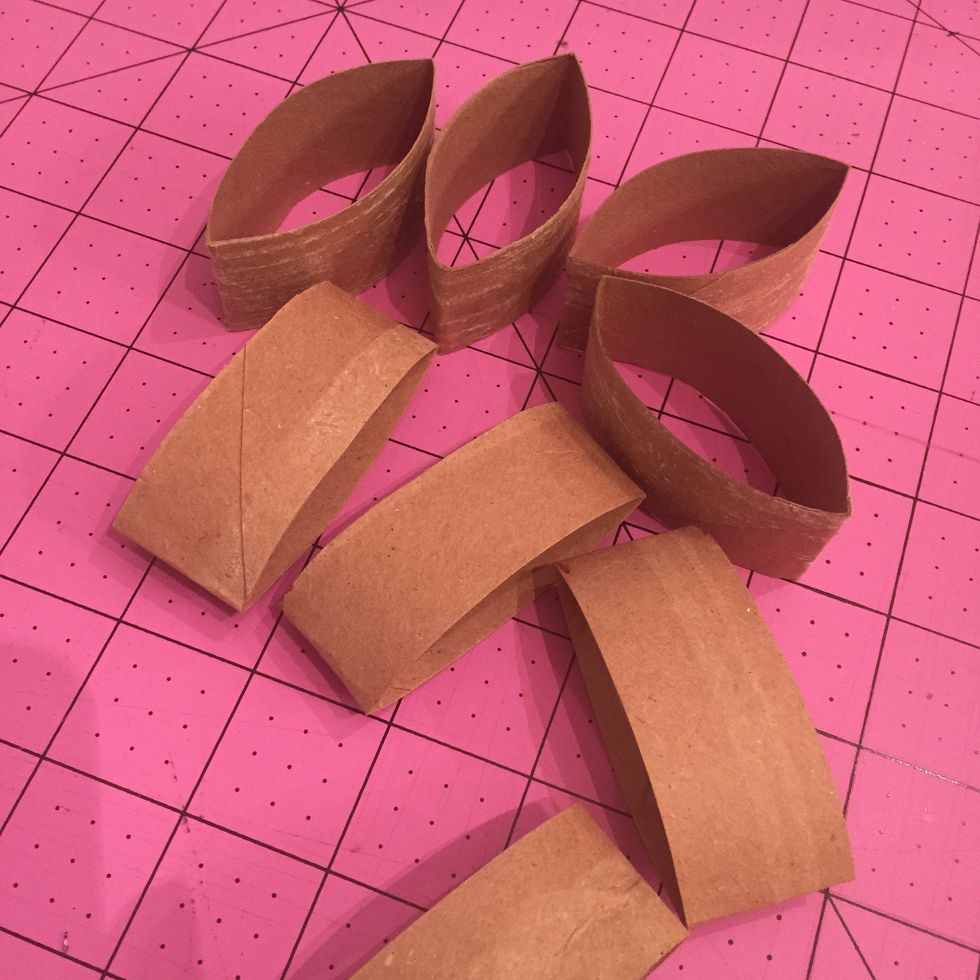
you should start to have a bunch of these by now!
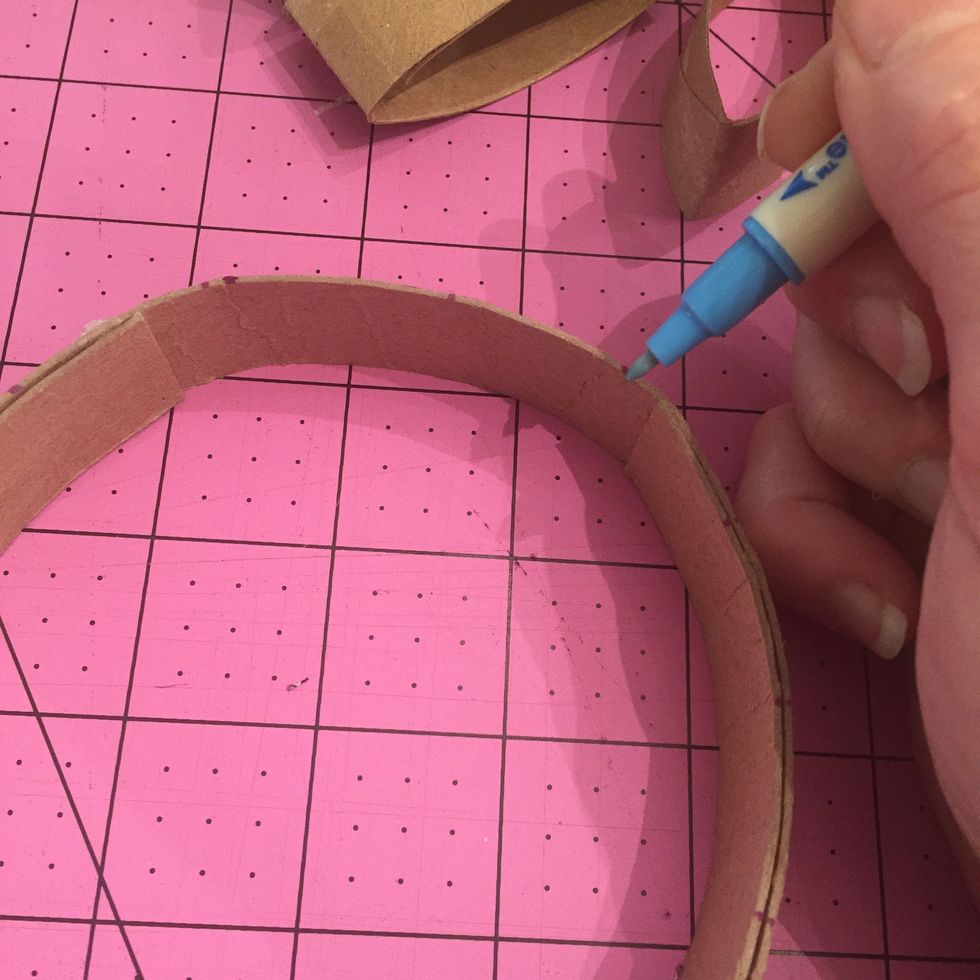
now you can eyeball it again, but I suggest making a dot about one inch apart on the inner ring- to use as a guideline

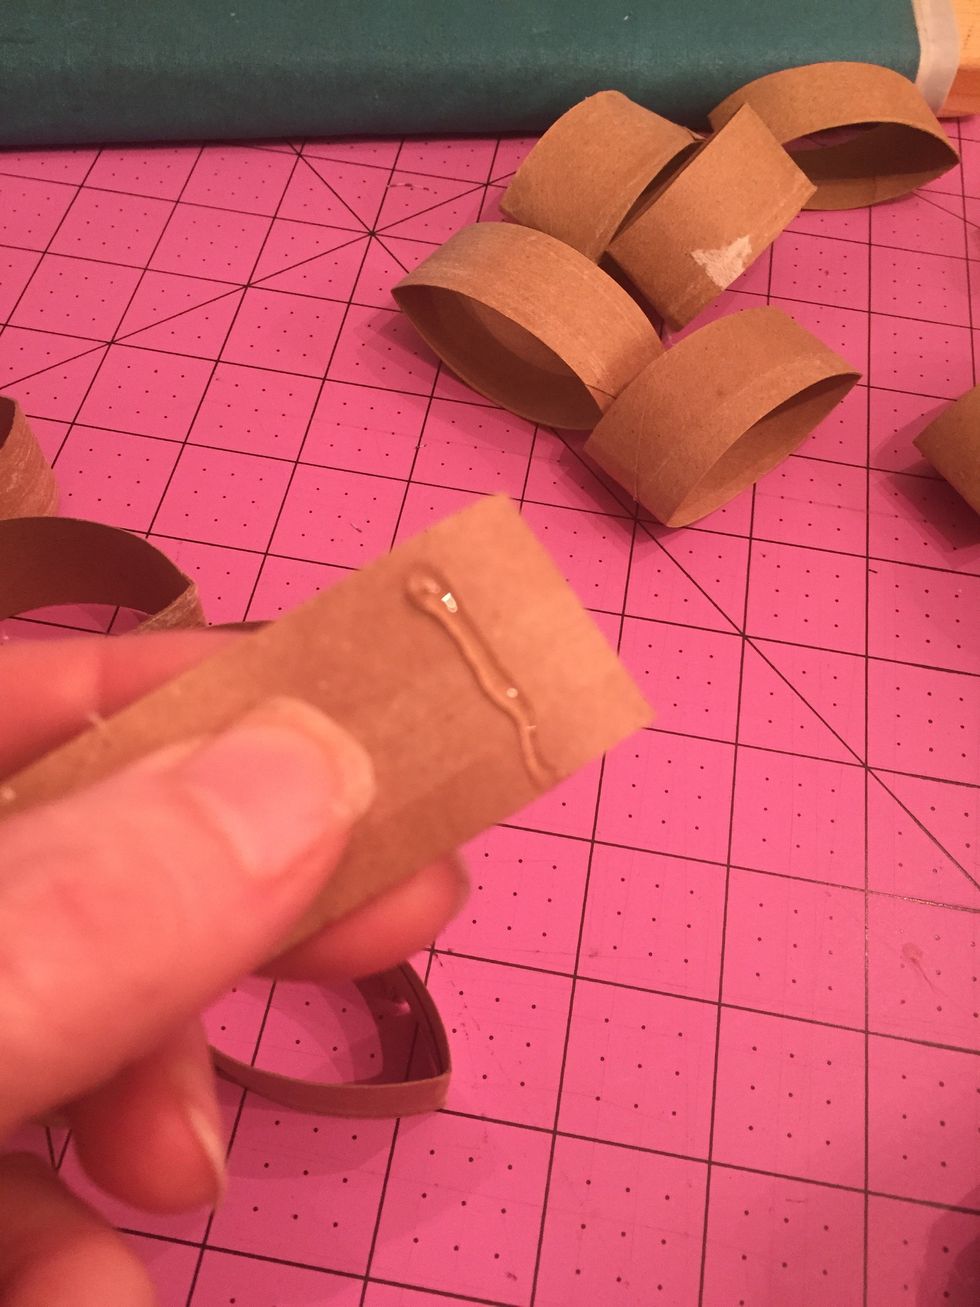
now, add a little line of glue on the ring below each dot and glue the TP rings on. The side I am showing is the back- make sure you press each flat
here is the right side- see how they line up all perfectly even!

go all the way around
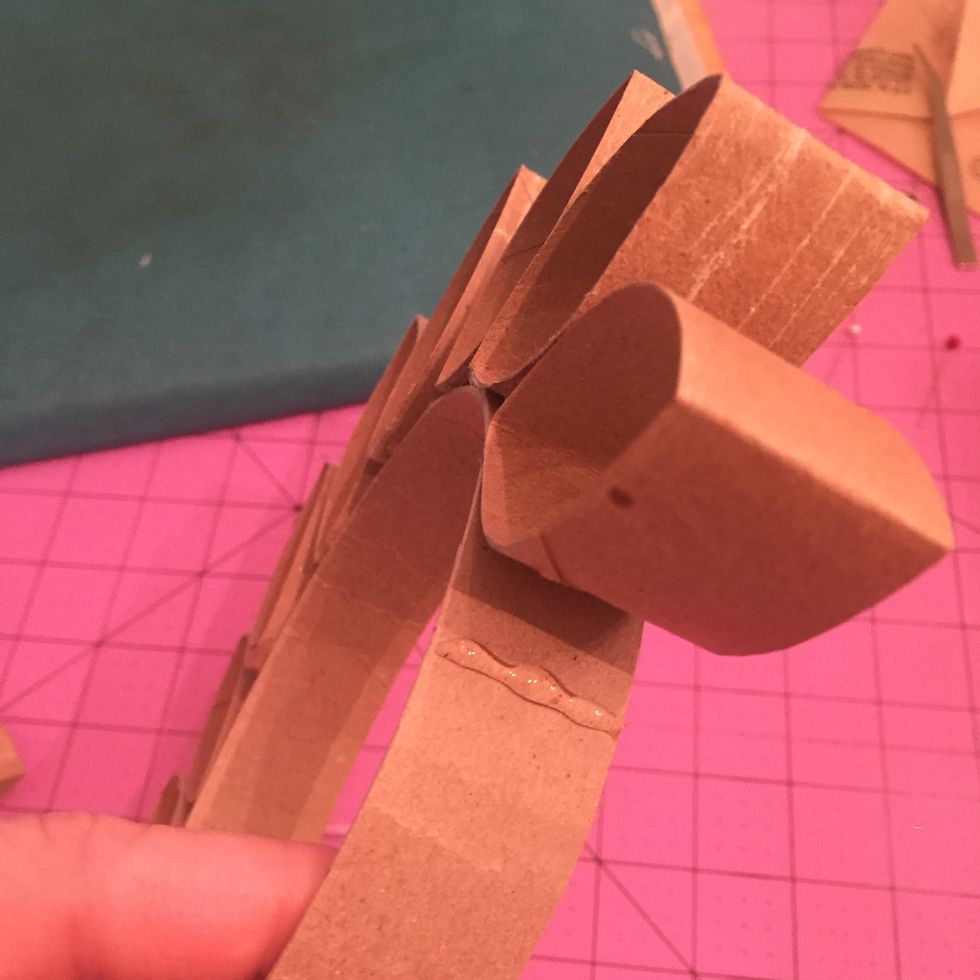
Start the next layer, and put another round of rings between the ones you just played down I used a dot of glue 1/4 inch down on each ring, again keeping the wreath flat with the back facing up
this is an example of where I put the glue for this part

Finished second row

for the last row, I add in the ring and hot glue where I am pointing out on the wreath- just one dab
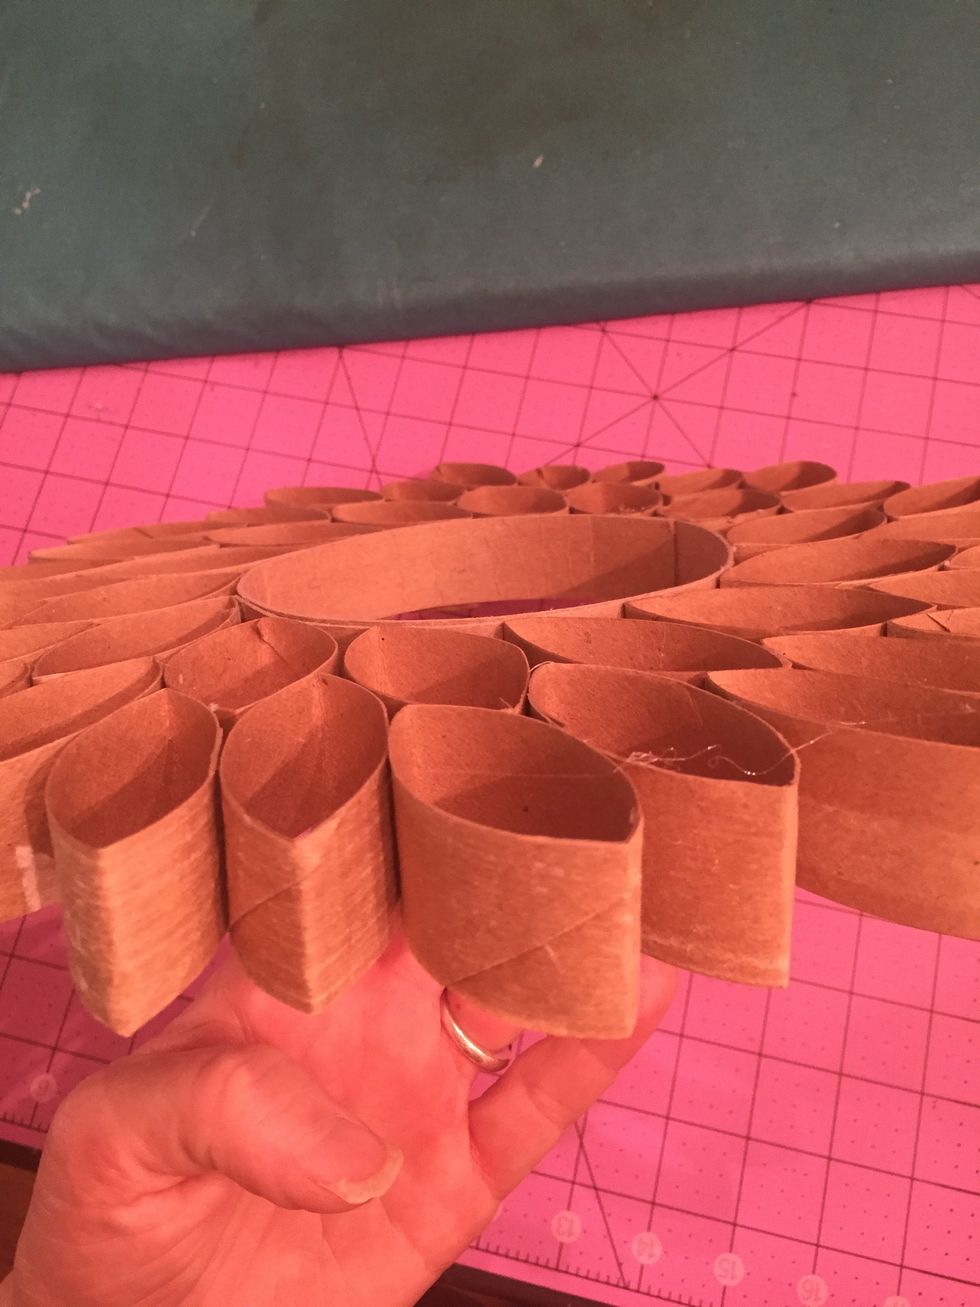
now if you kept it flat and face down, when you pick it up, it should look nice and even like this one!

this one I left "naked" and added some Petaloo Burlap flowers to. petaloo.com
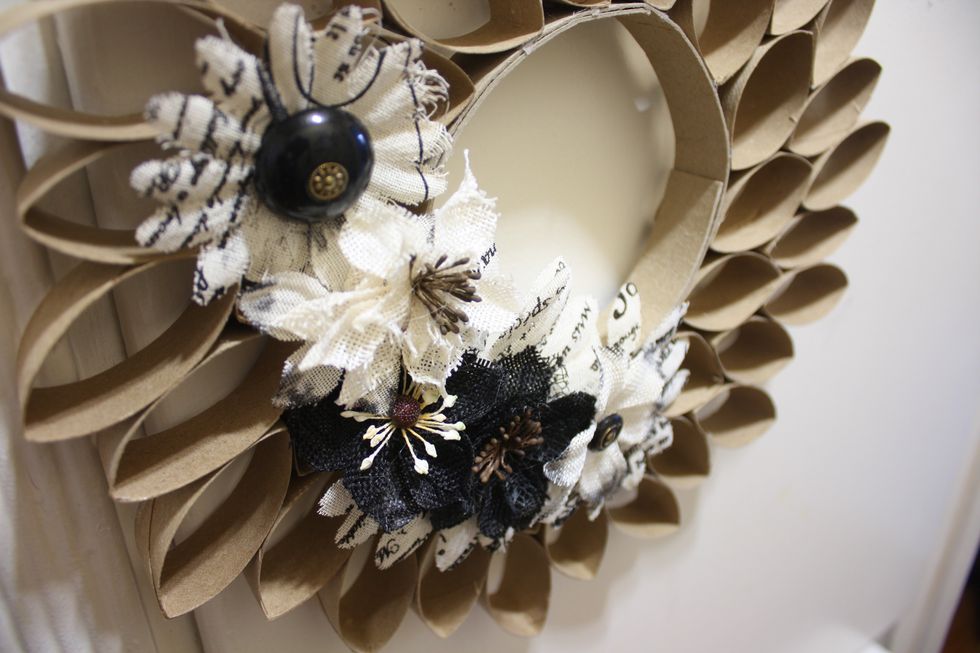
i added some vintage buttons for additional embellishment
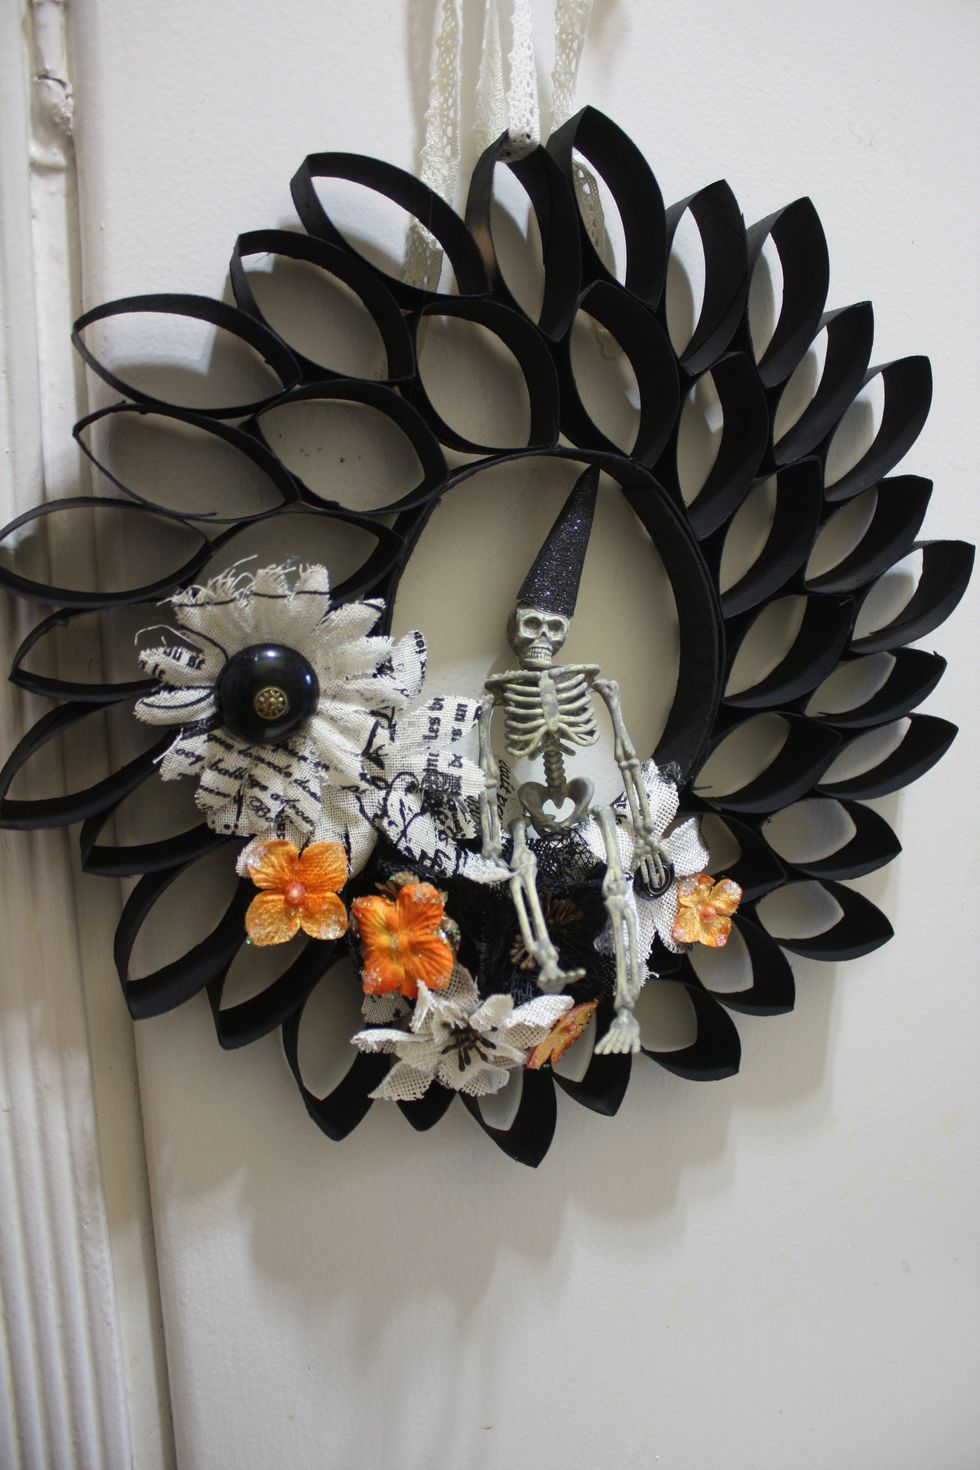
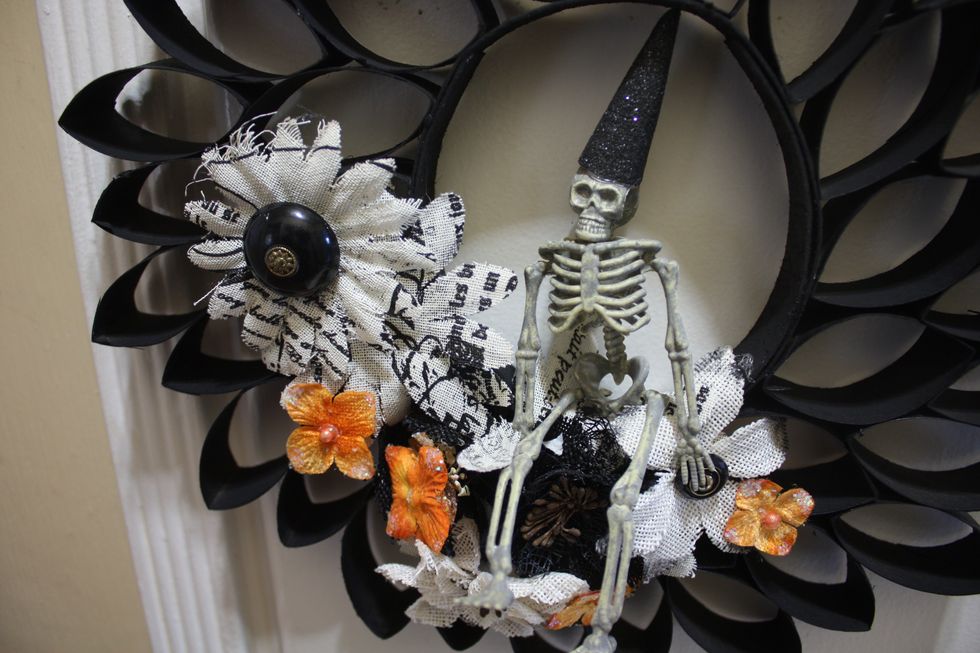
or you can spray paint any color- this one I used a flat black and decorated for halloween.
my nam is Denise Hahn and I am a designer for Petaloo Flowers enjoy! Petaloo flowers available at most online scrapbook retailers