The Conversation (0)
Sign Up

First, find a baggy t-shirt that you want to use.
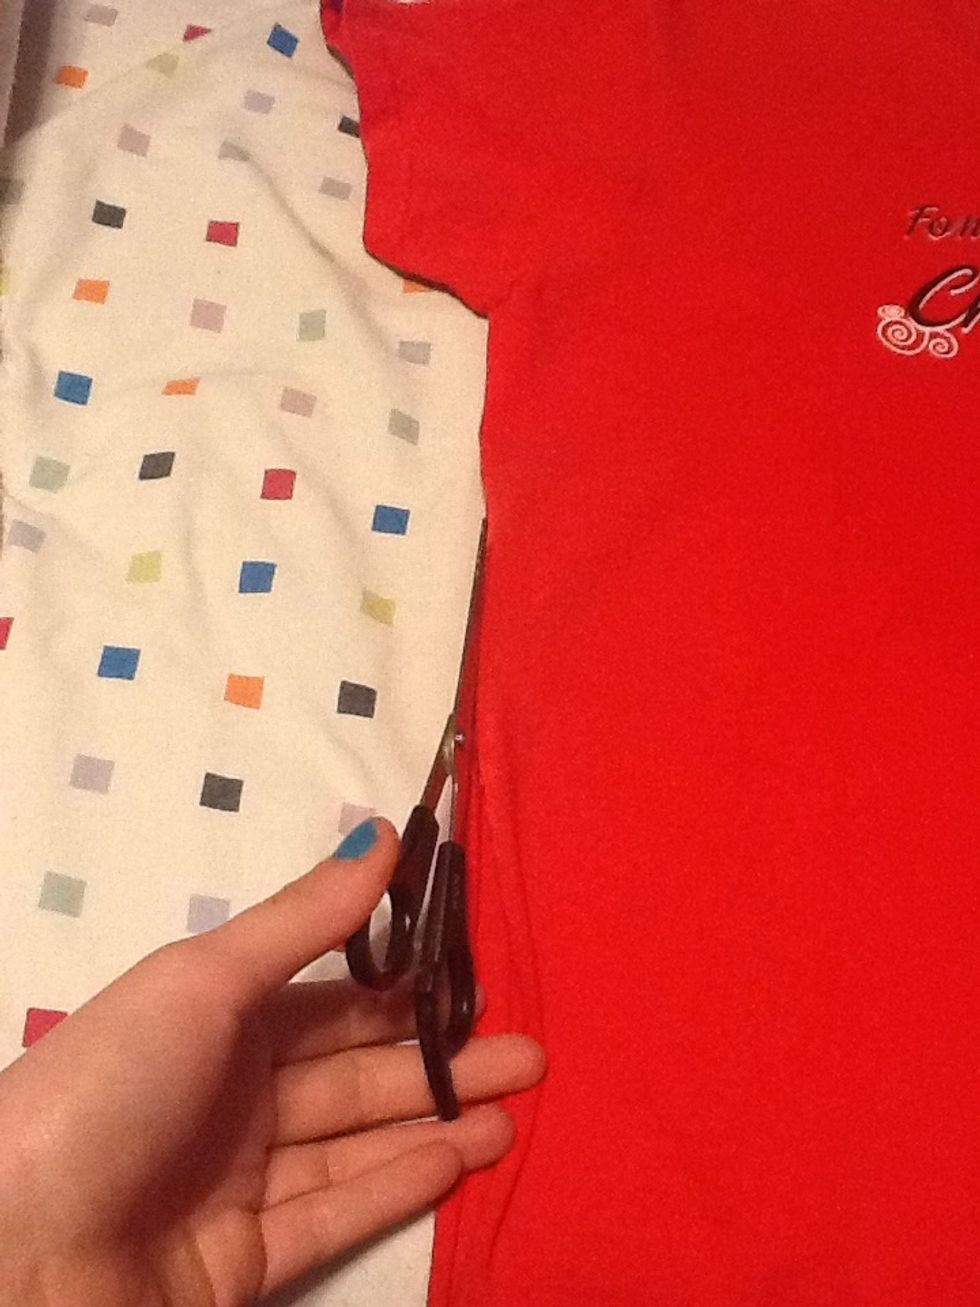
Cut the side starting from the bottom going all the way up to the armpit area.

It should look like this once both sides are cut. Make sure you do not separate the front and back of the shirt.
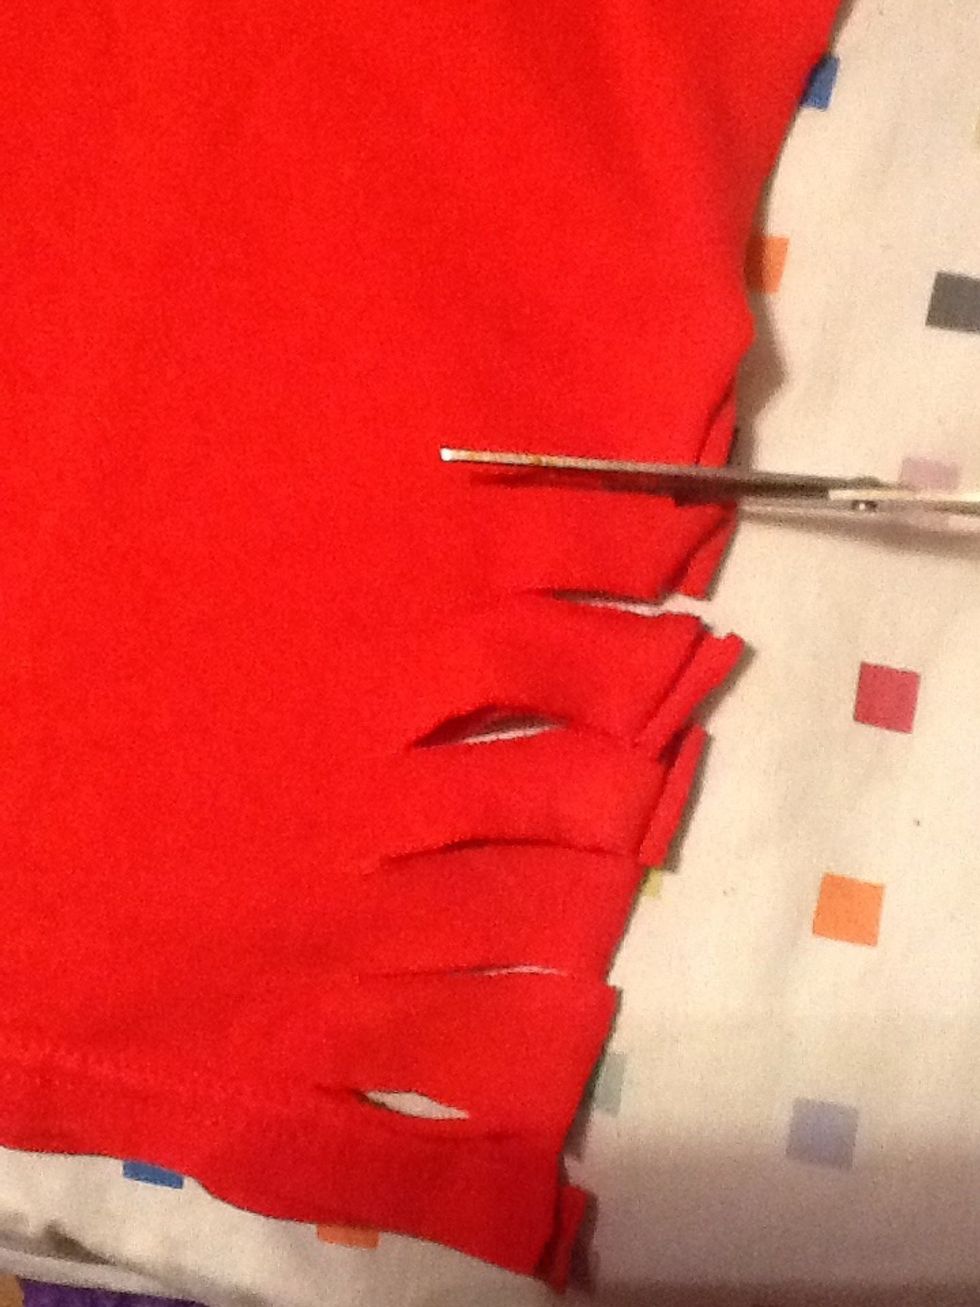
Next, start cutting small tabs. Each tab should be about an inch in size (nuckle).
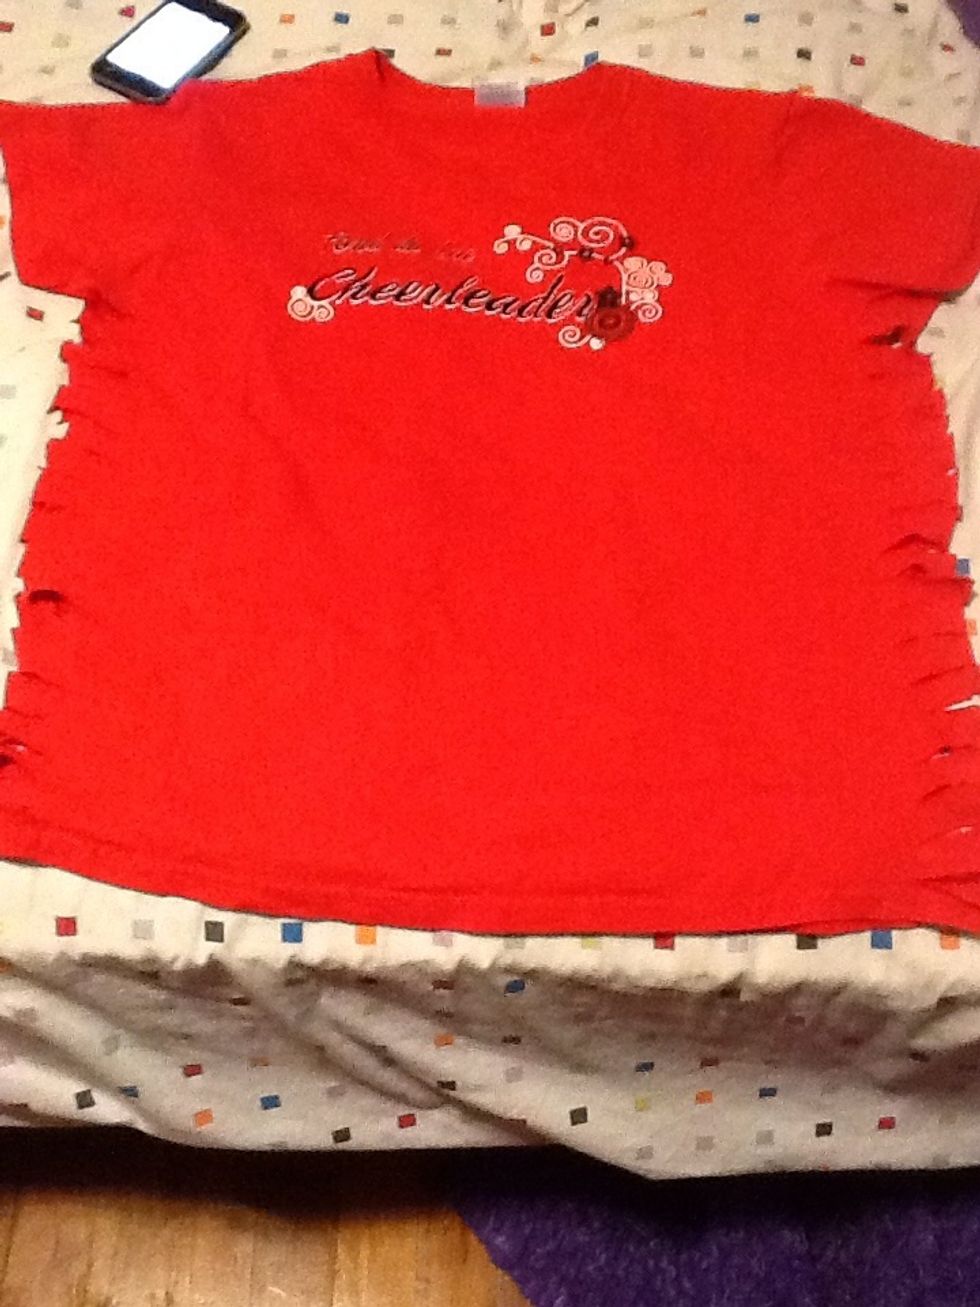
This is what both sides should look like once finished cutting.

To start tying the tabs, take the first pair and separate them into each hand.
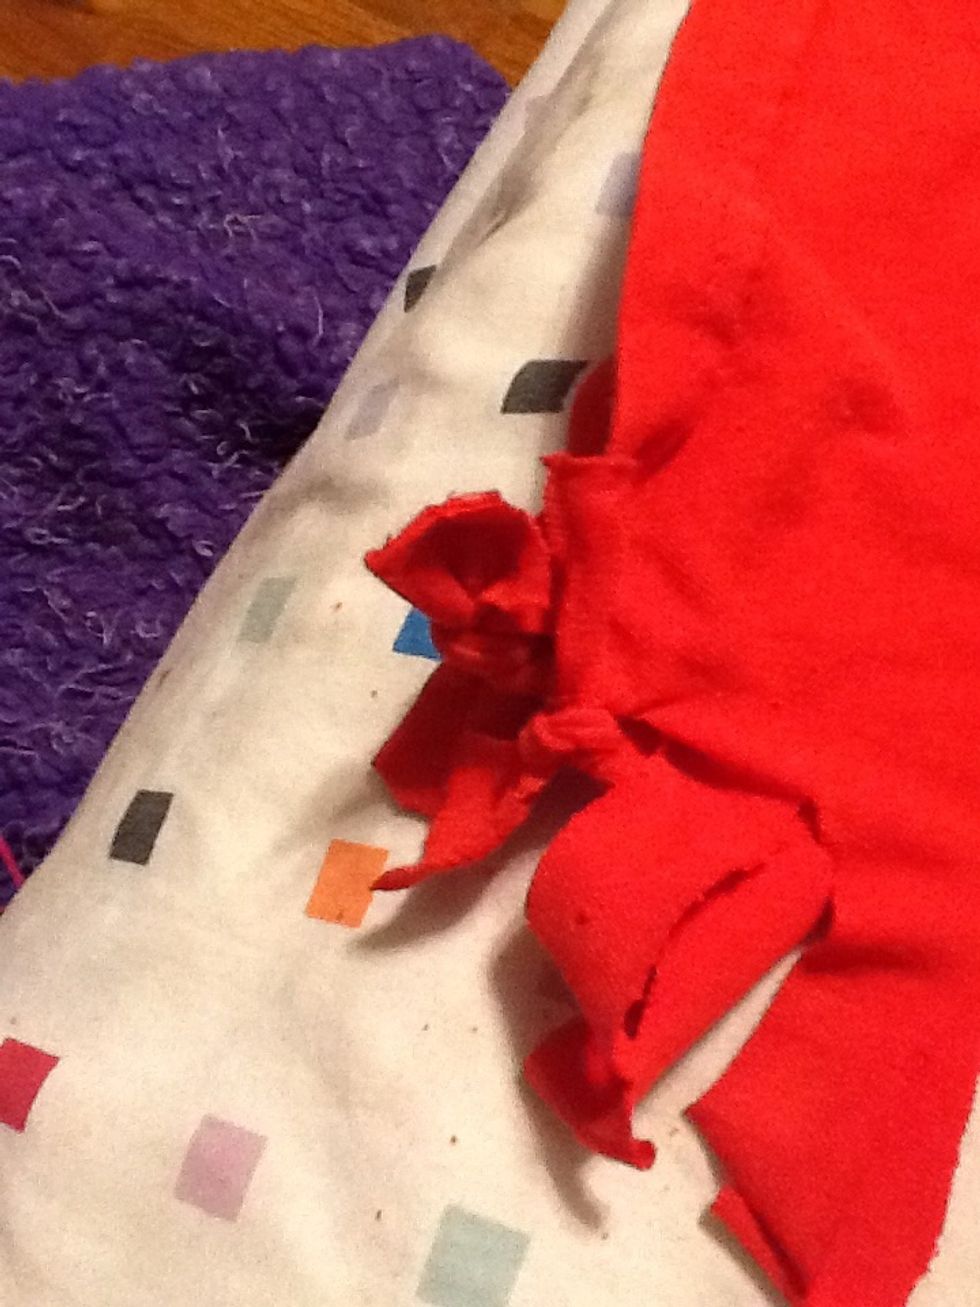
Double knot them.
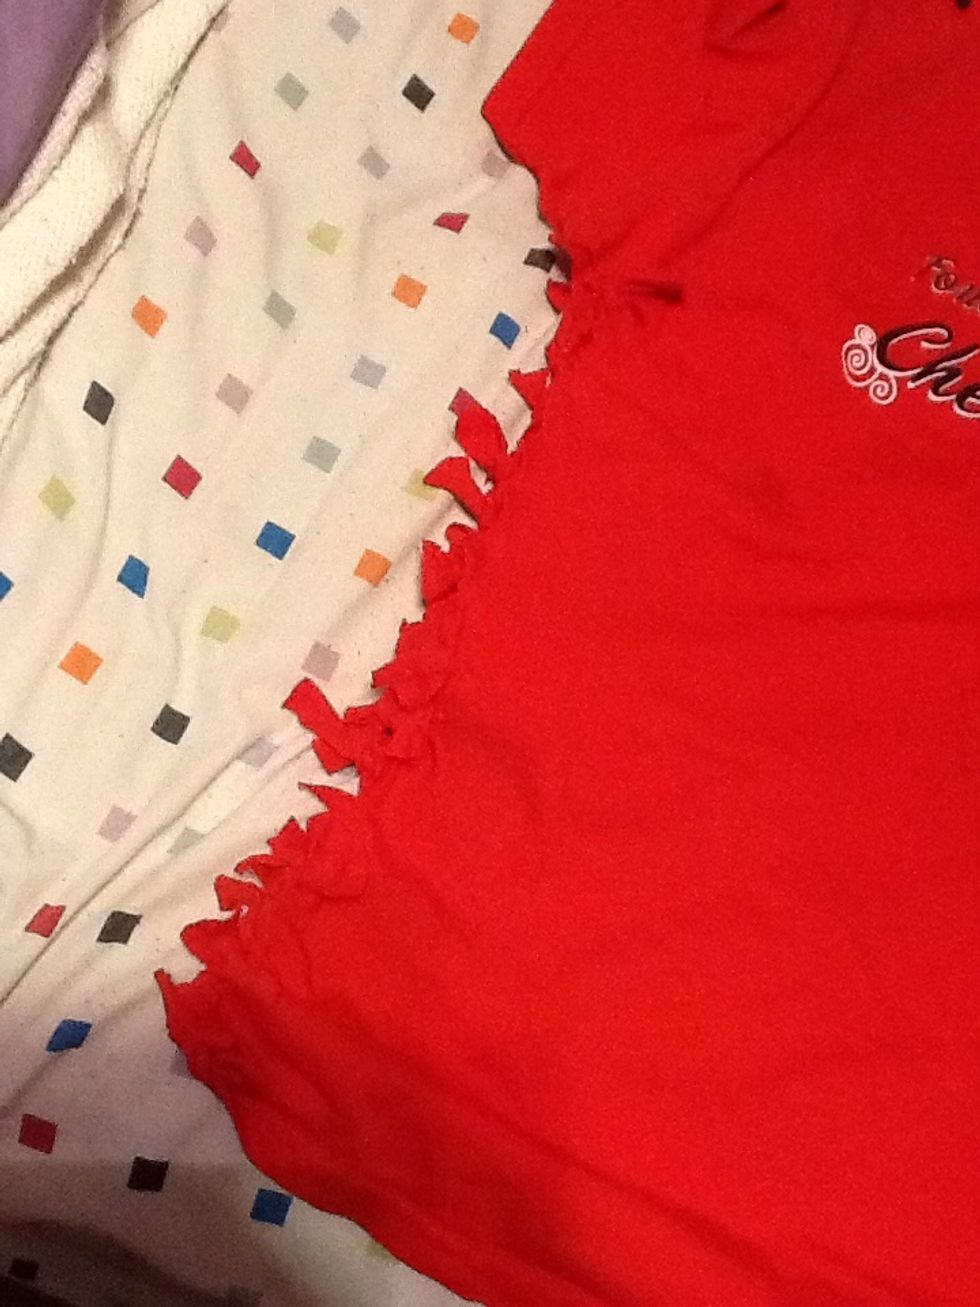
Keep tying until you reach the armpit area.
Before putting the t-shirt on, pull/stretch the sides to make the ties farther apart from each other.

And this is your finished product!