The Conversation (0)
Sign Up
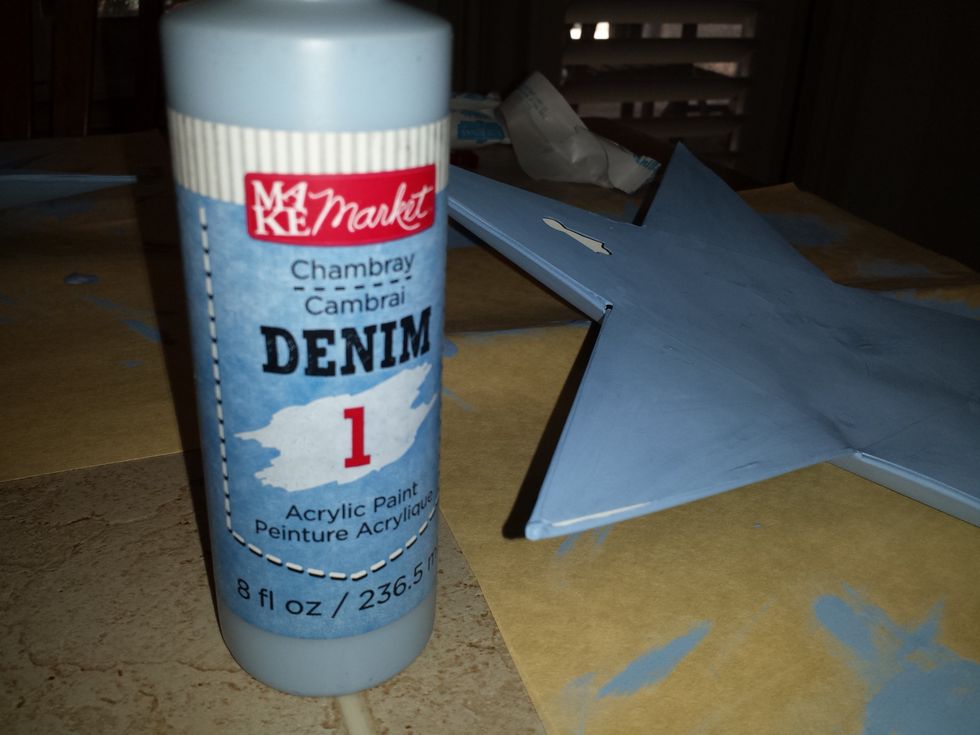
I bought some Denim acrylic paint (Market, Michaels) and covered both sides of the star
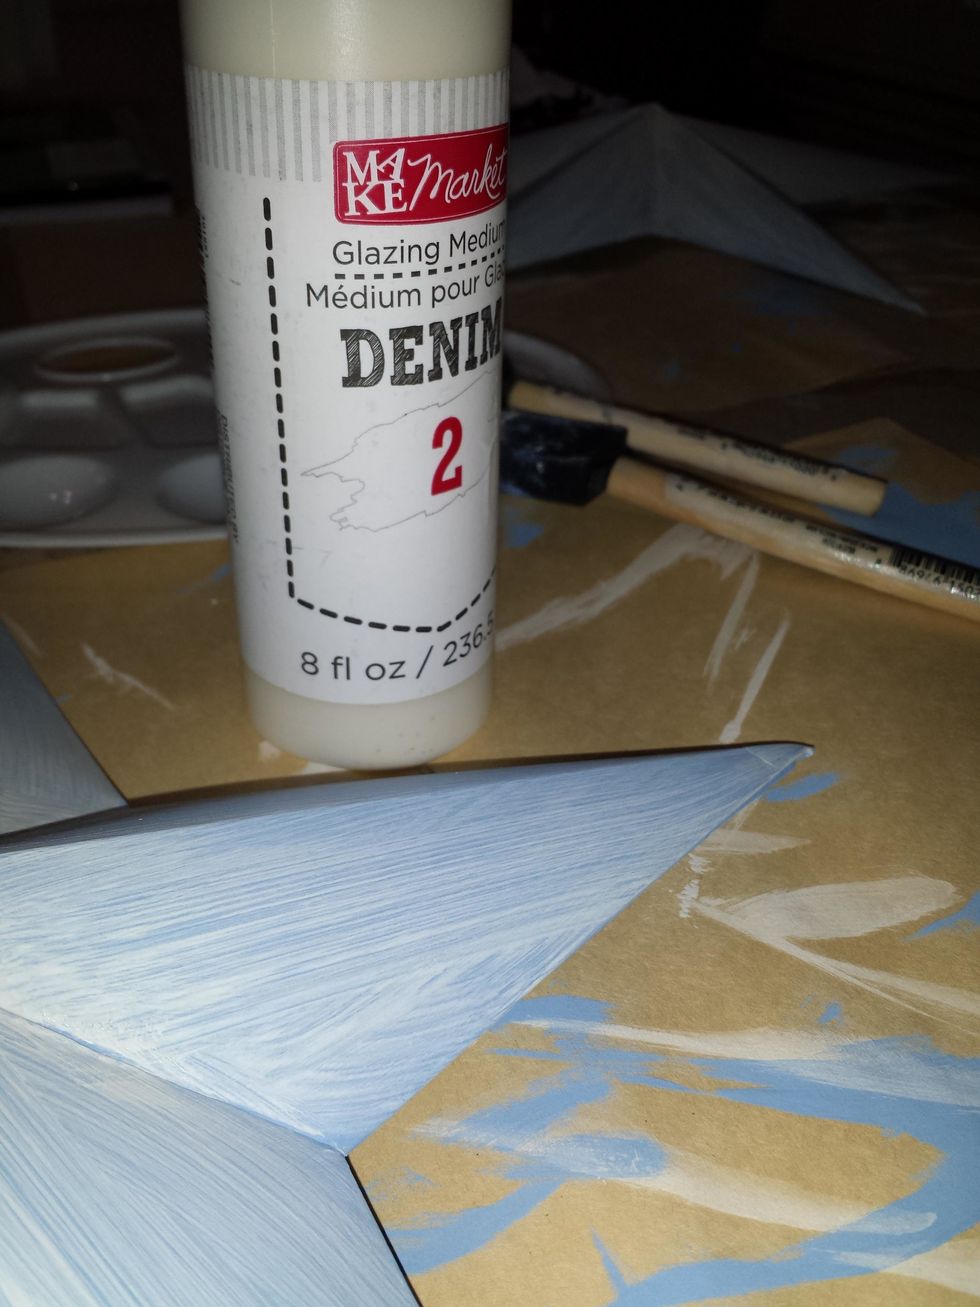
I covered with the second glazing layer to give the star some texture
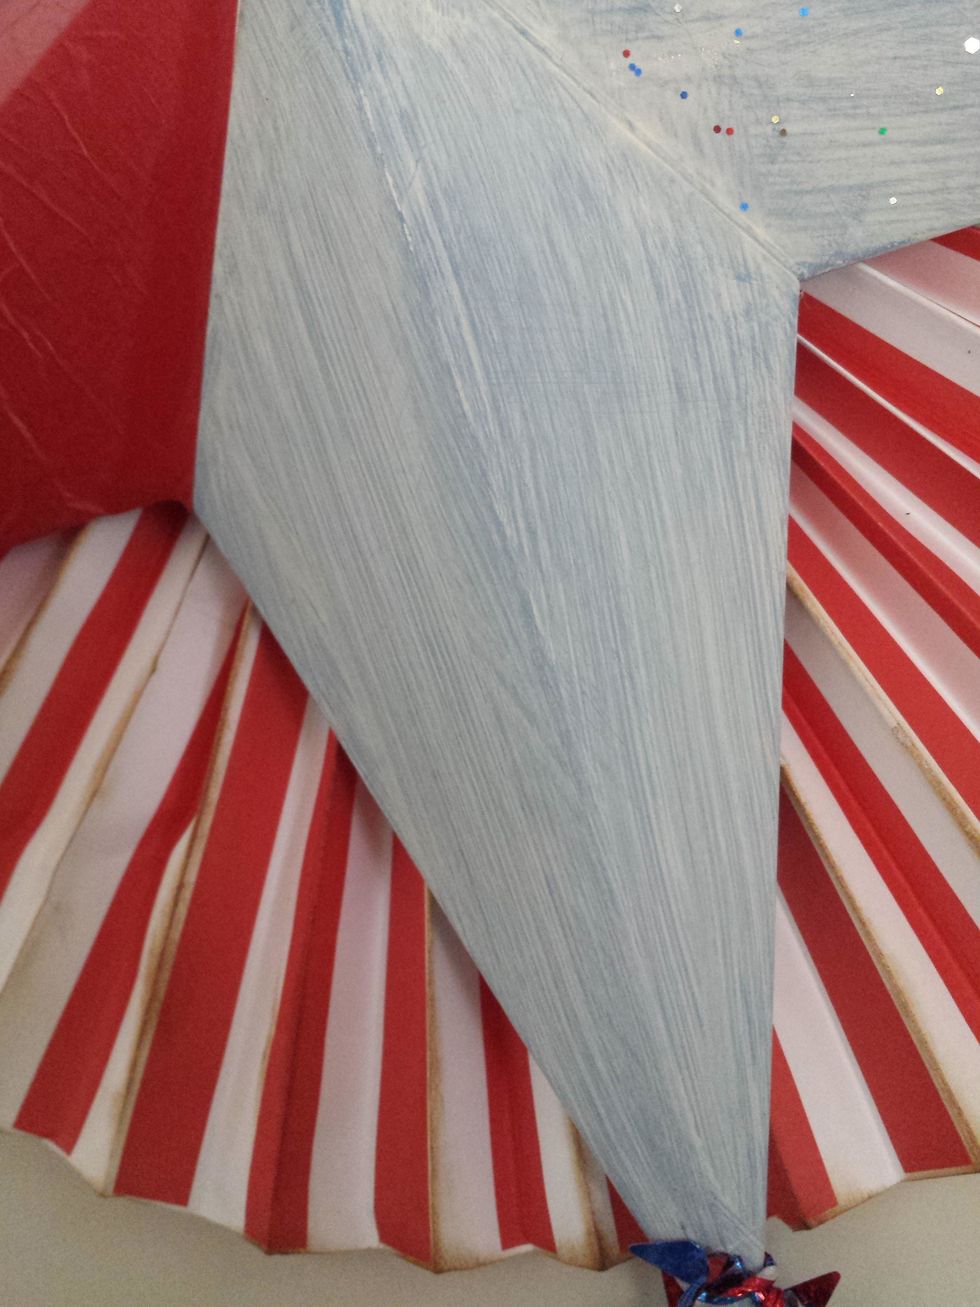
A closeup of the finished "denim technique"
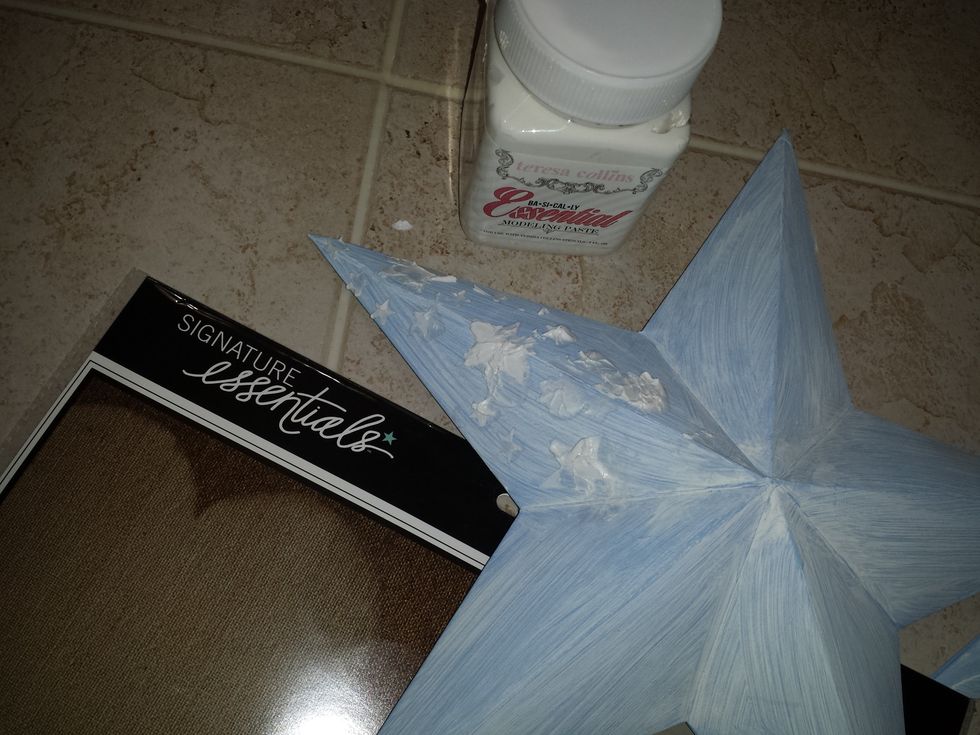
I added some modeling paste using the Teresa Collins "stencil" featuring stars for more texture.
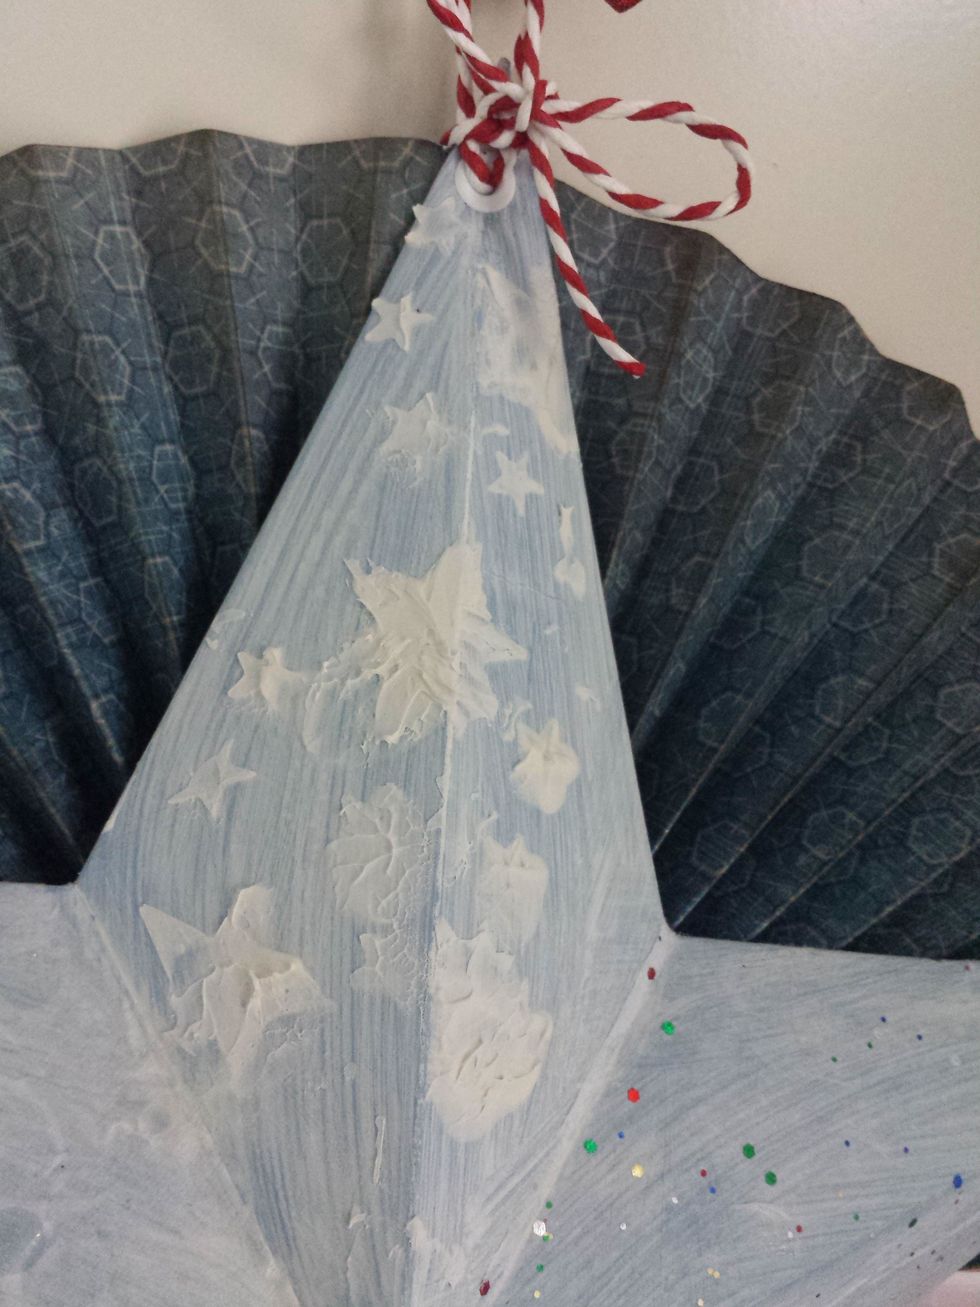
The final look of the texturized stars. I left them without any distressing for get them to look more white. I made the big rosette out of 2 12"x12" papers following Michaels techniques.
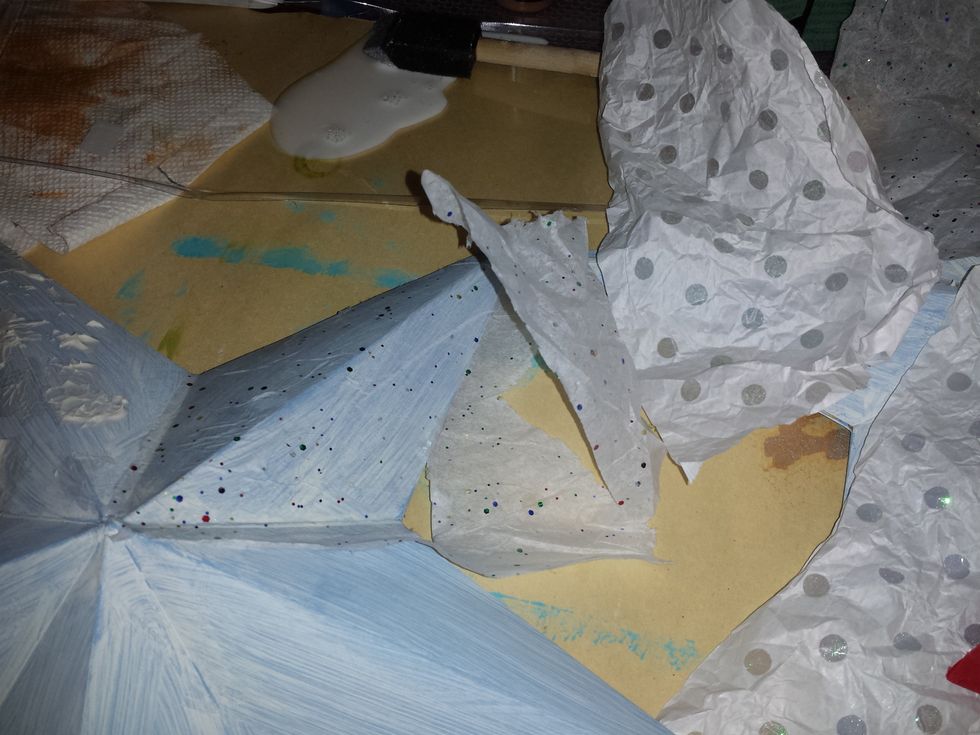
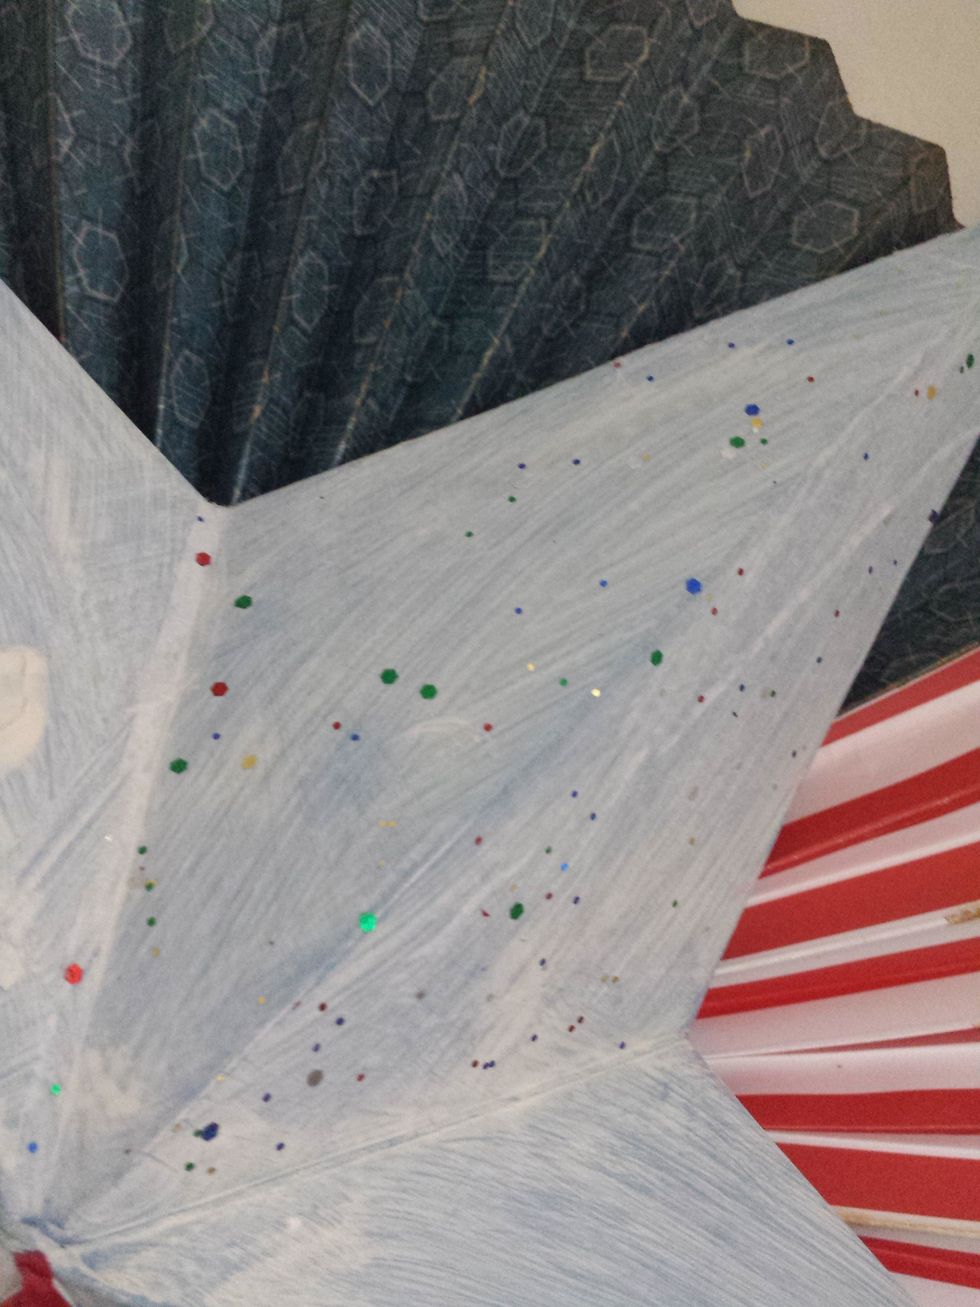
I added some modpodge and 3 different tissue papers to get more dimension in each pick of the star.
one look

different look
last look
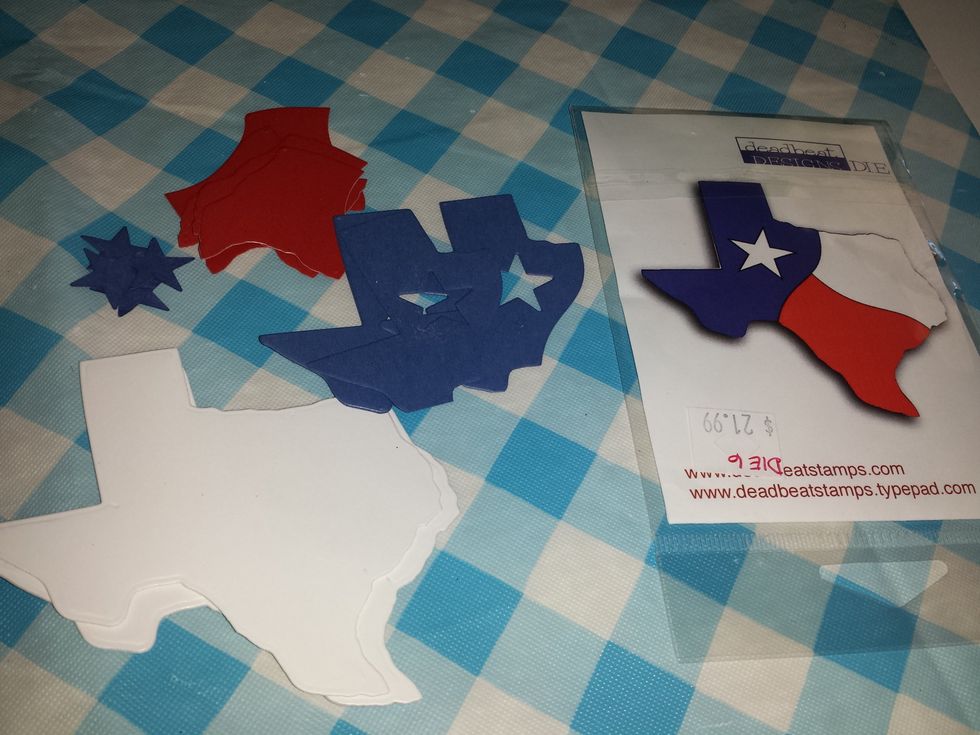
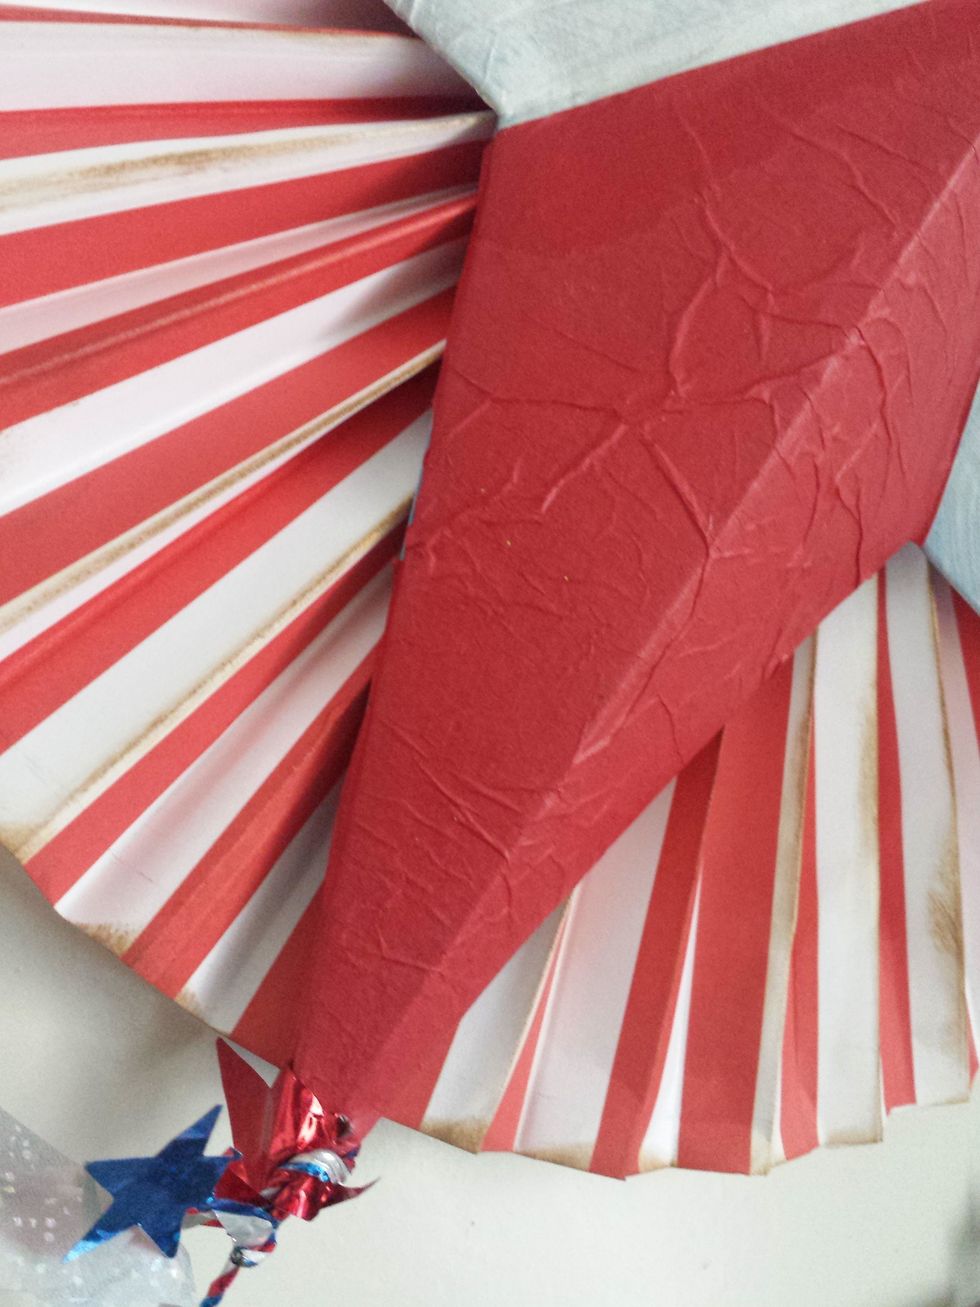
I cut the maps in several the 3 Texas Flag colors
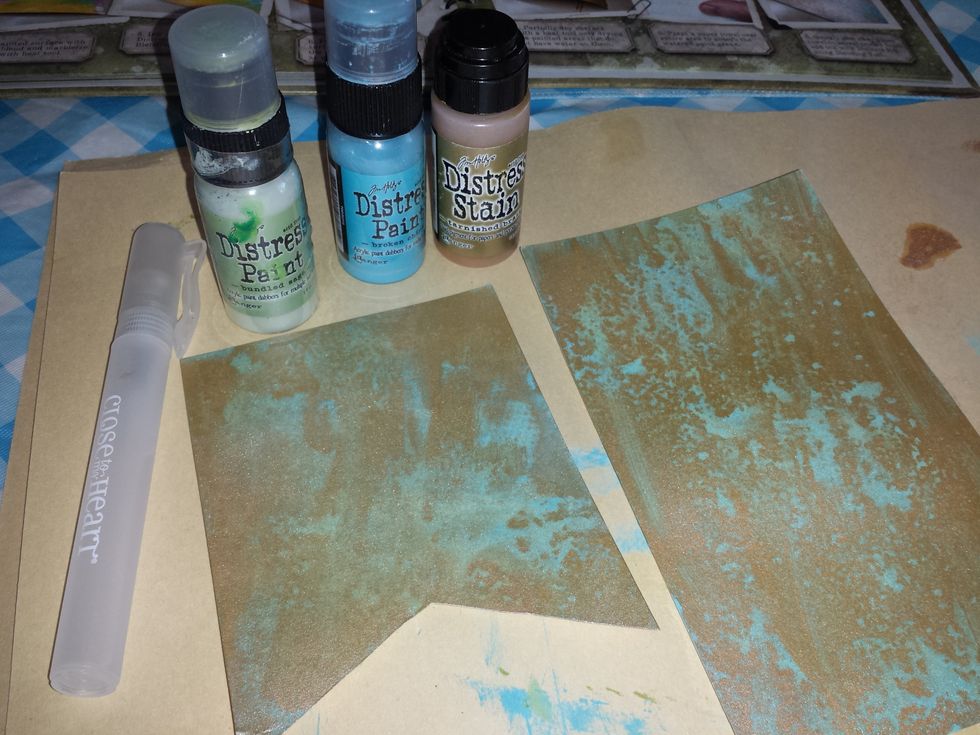
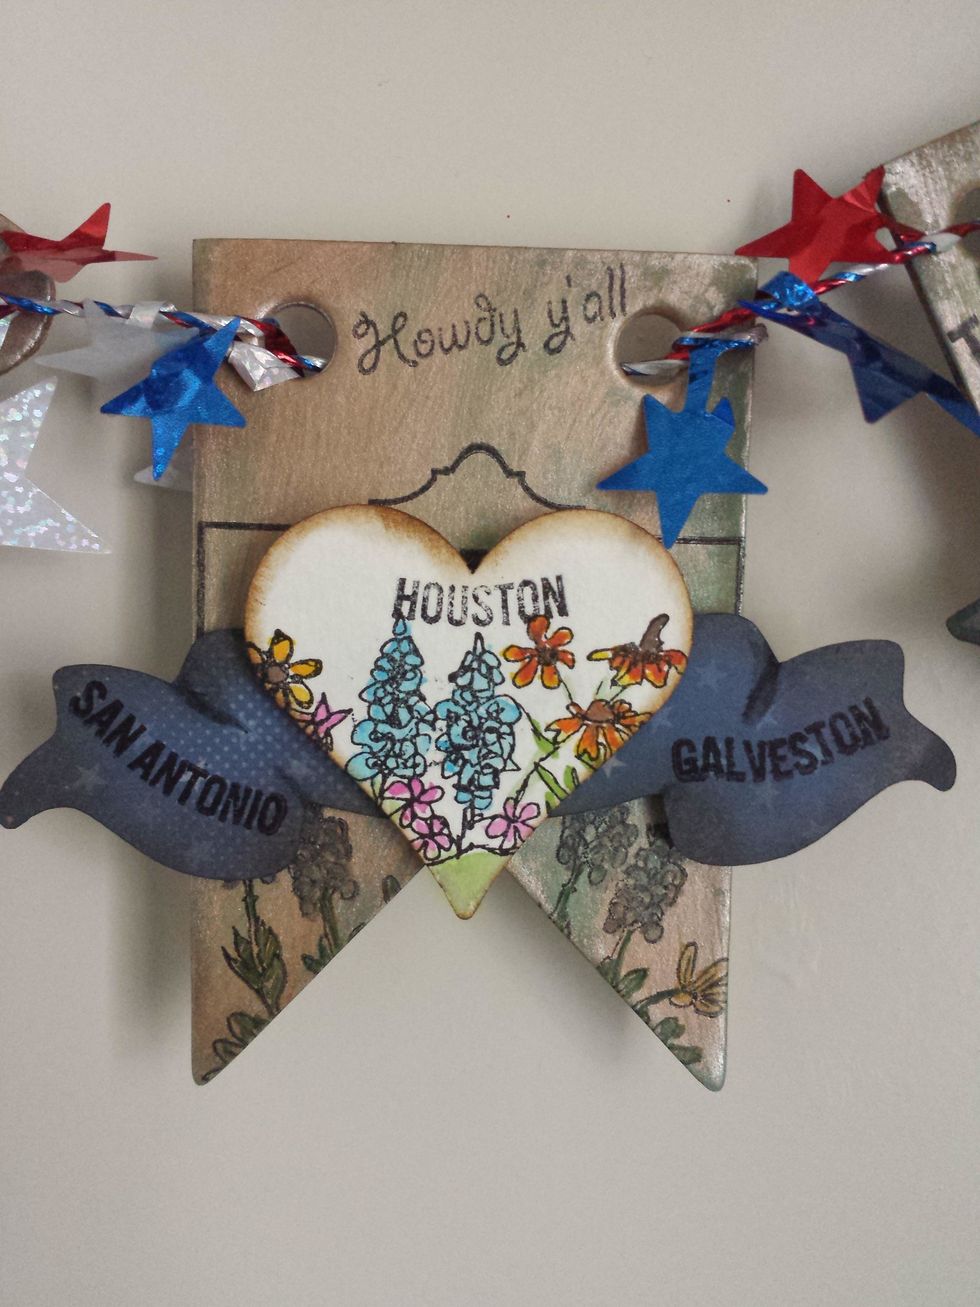
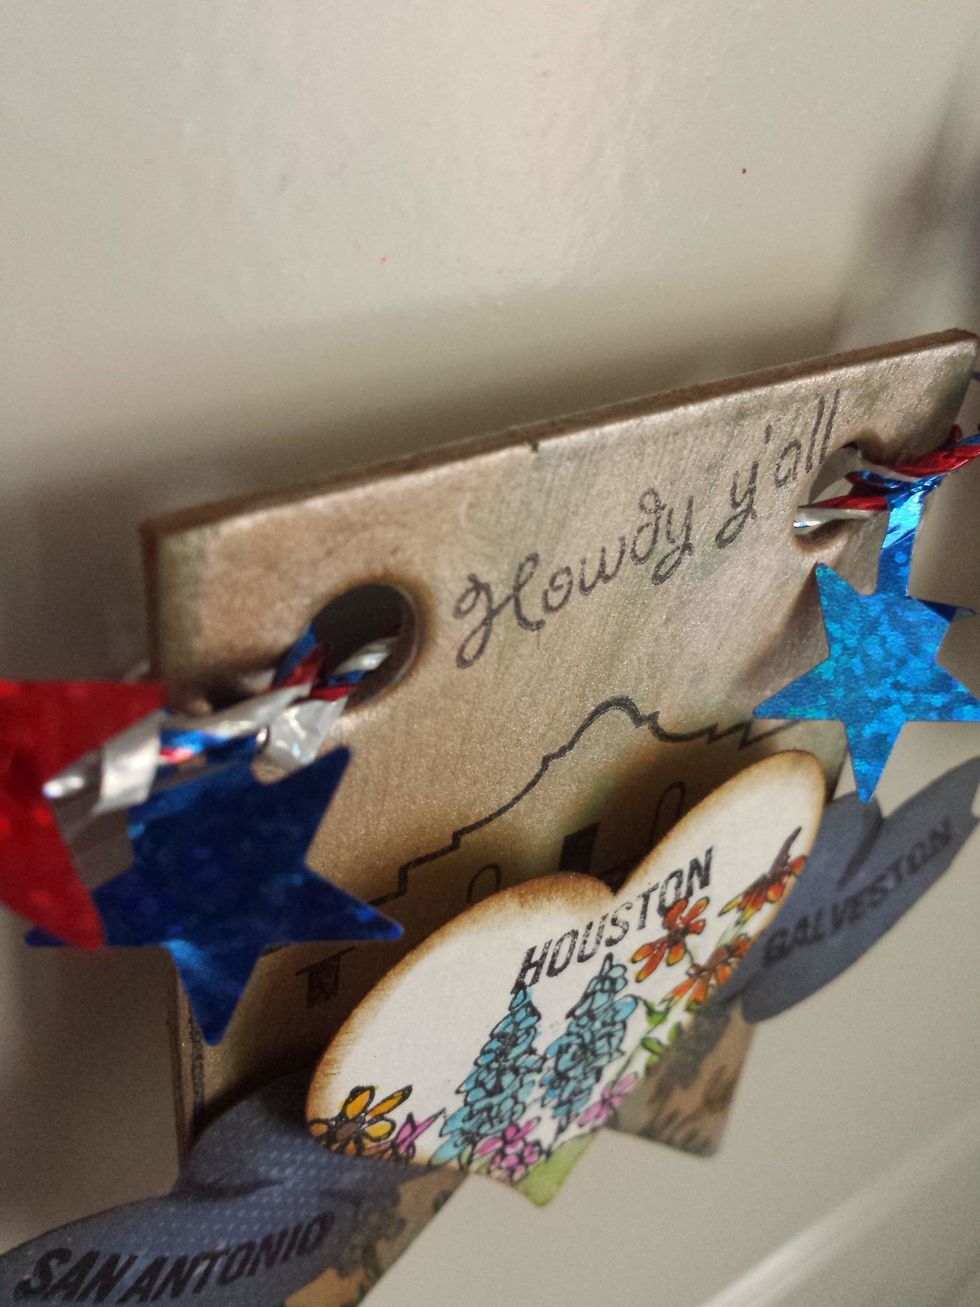
I did the Compendium of curiosities III "eroded metal" technique for the banner background ( Tim Holtz)
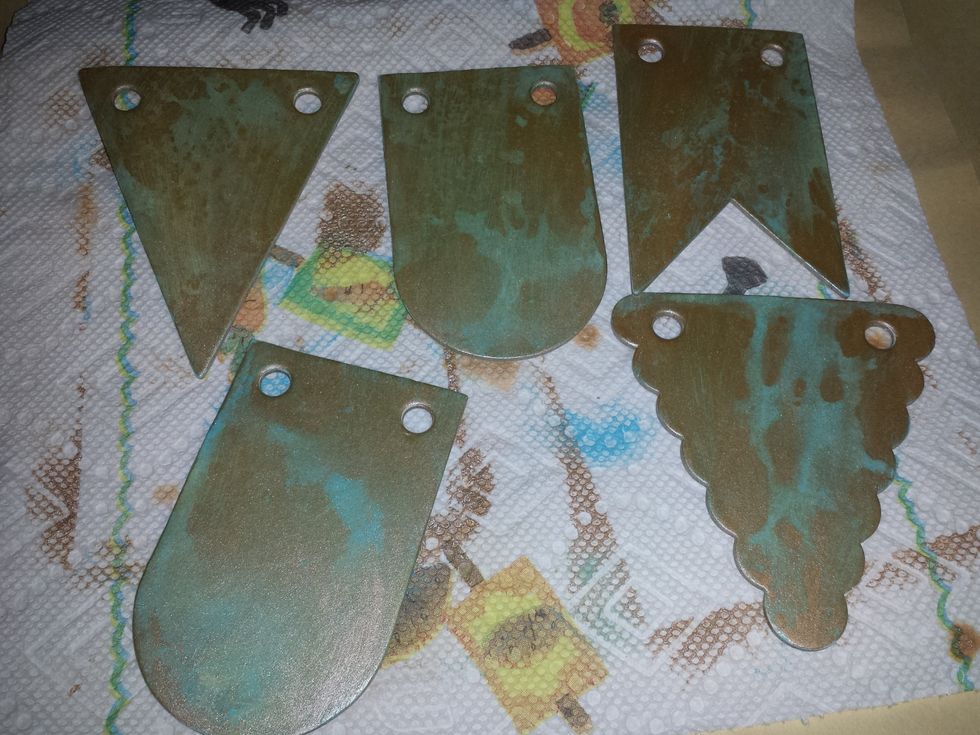
The different looks I got with that technique
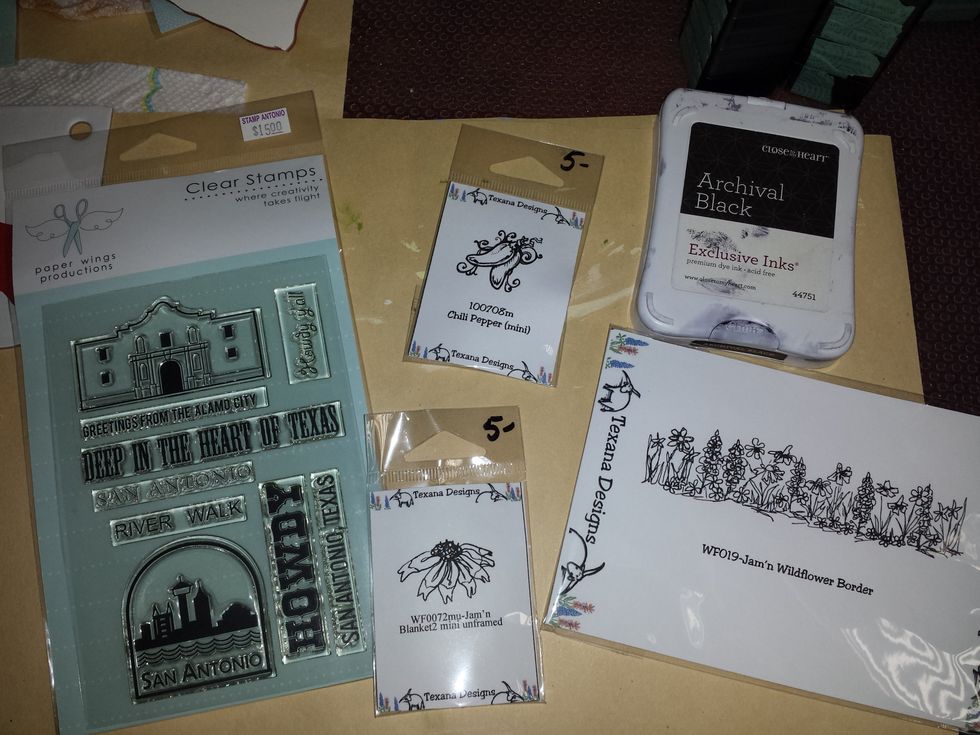
I stamped several Texas stamps from "Paper Wings Productions" and "Texas Designs", both local companies, using black archival ink on either regular watercolor papers or TH's watercolor paper.
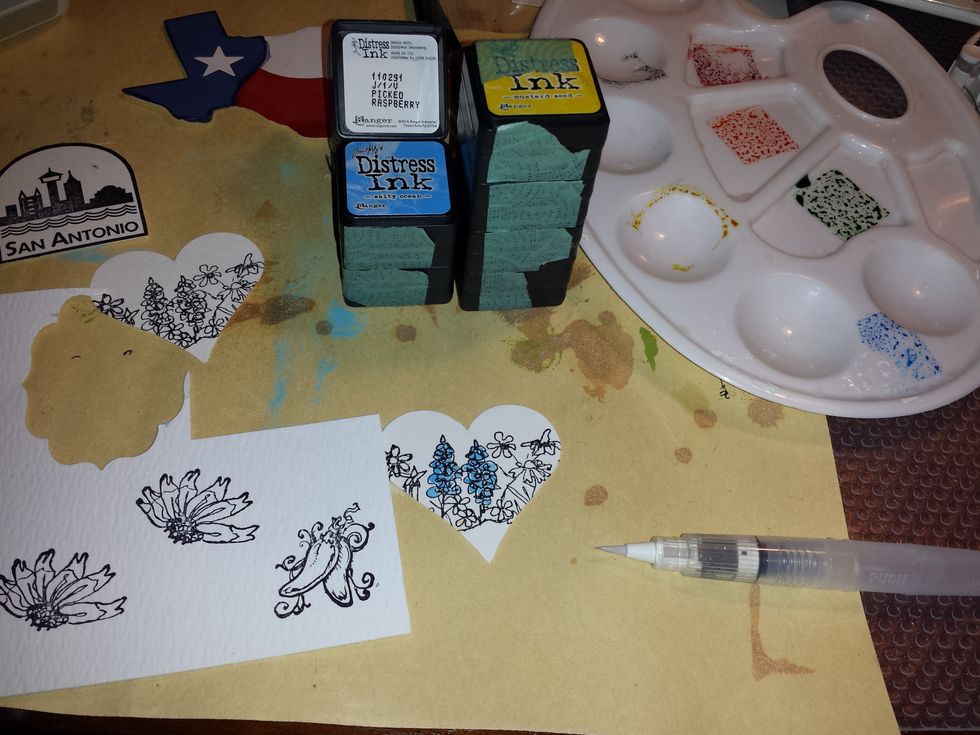
Then, I did some watercoloring using TH's distressing inks and the Compendium of Curiosities' techniques. And punched out a heart using a Fiskars punch.
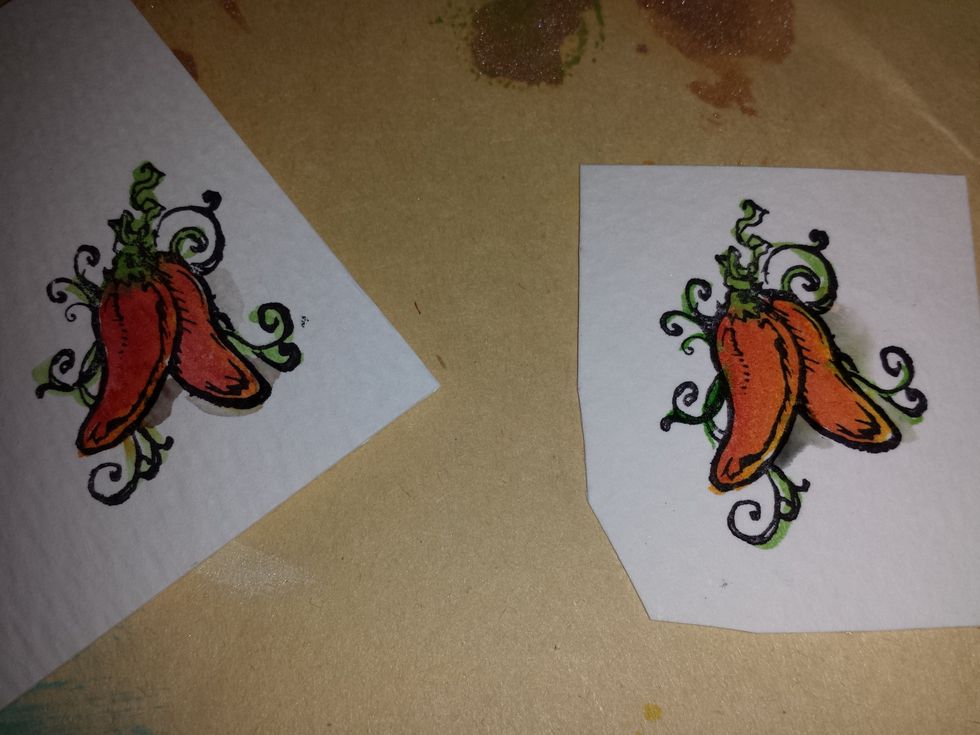
A closeup of the chili peppers... so cute. I then punched a postal stamp shape out of it....
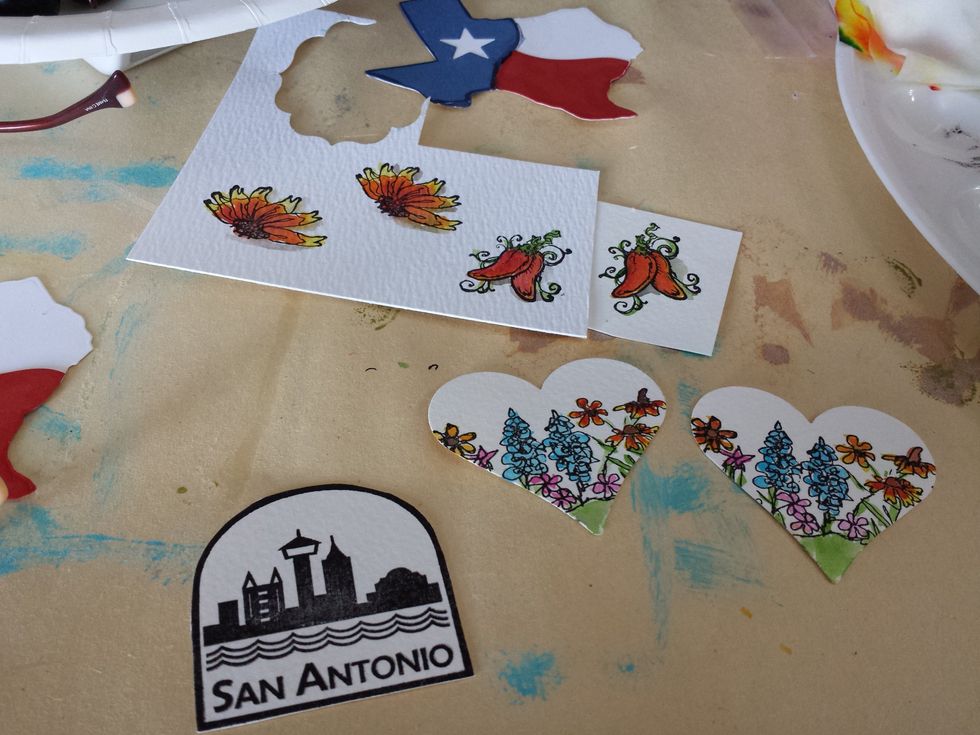
Some of my other stamped and watercolored images.
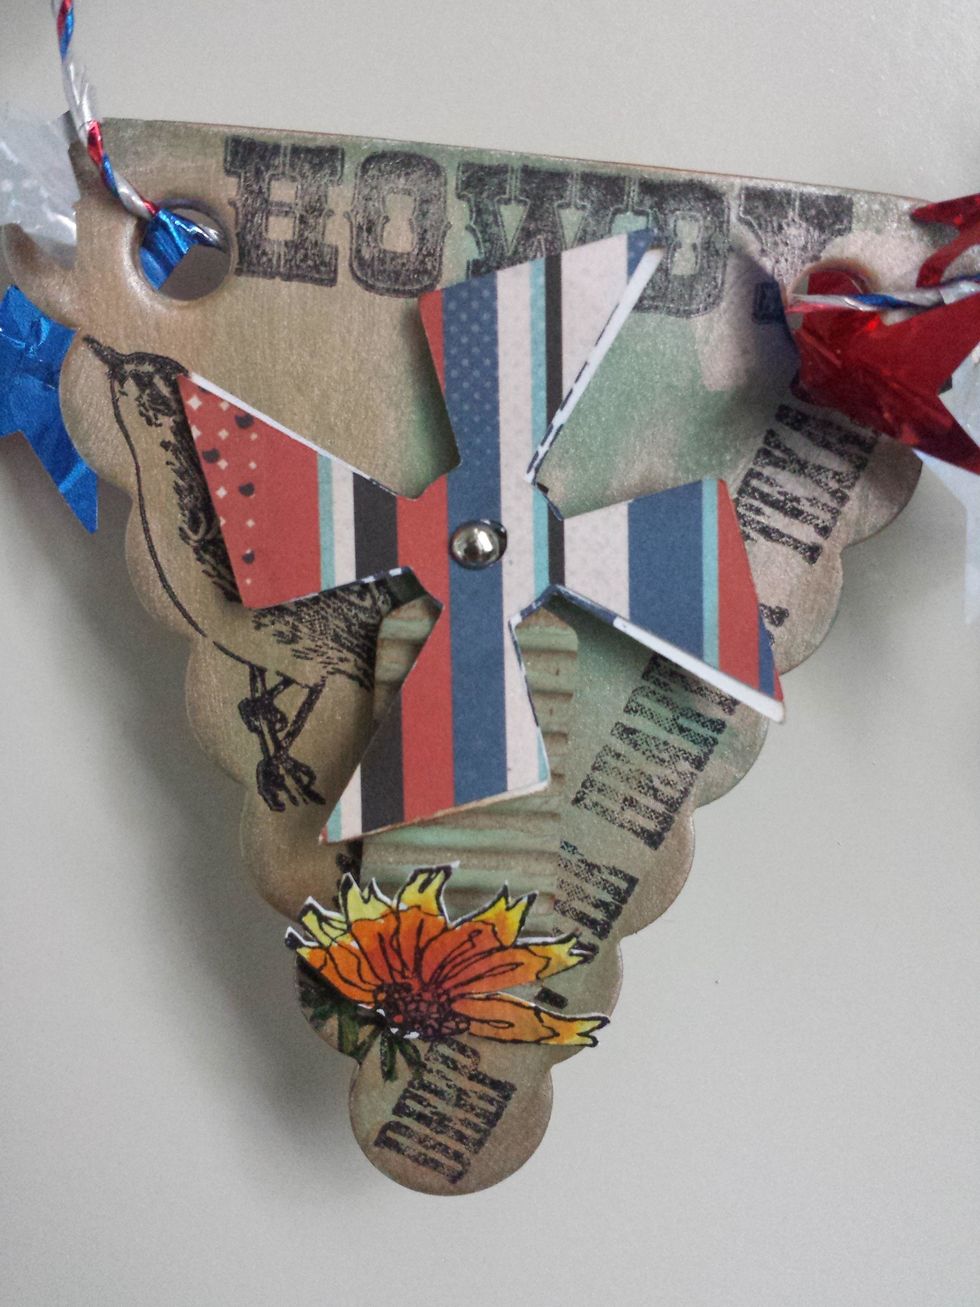
Close up of the "I" I stamped the background of the banner with several Texas stamps, and added a old diecut from a windmill...
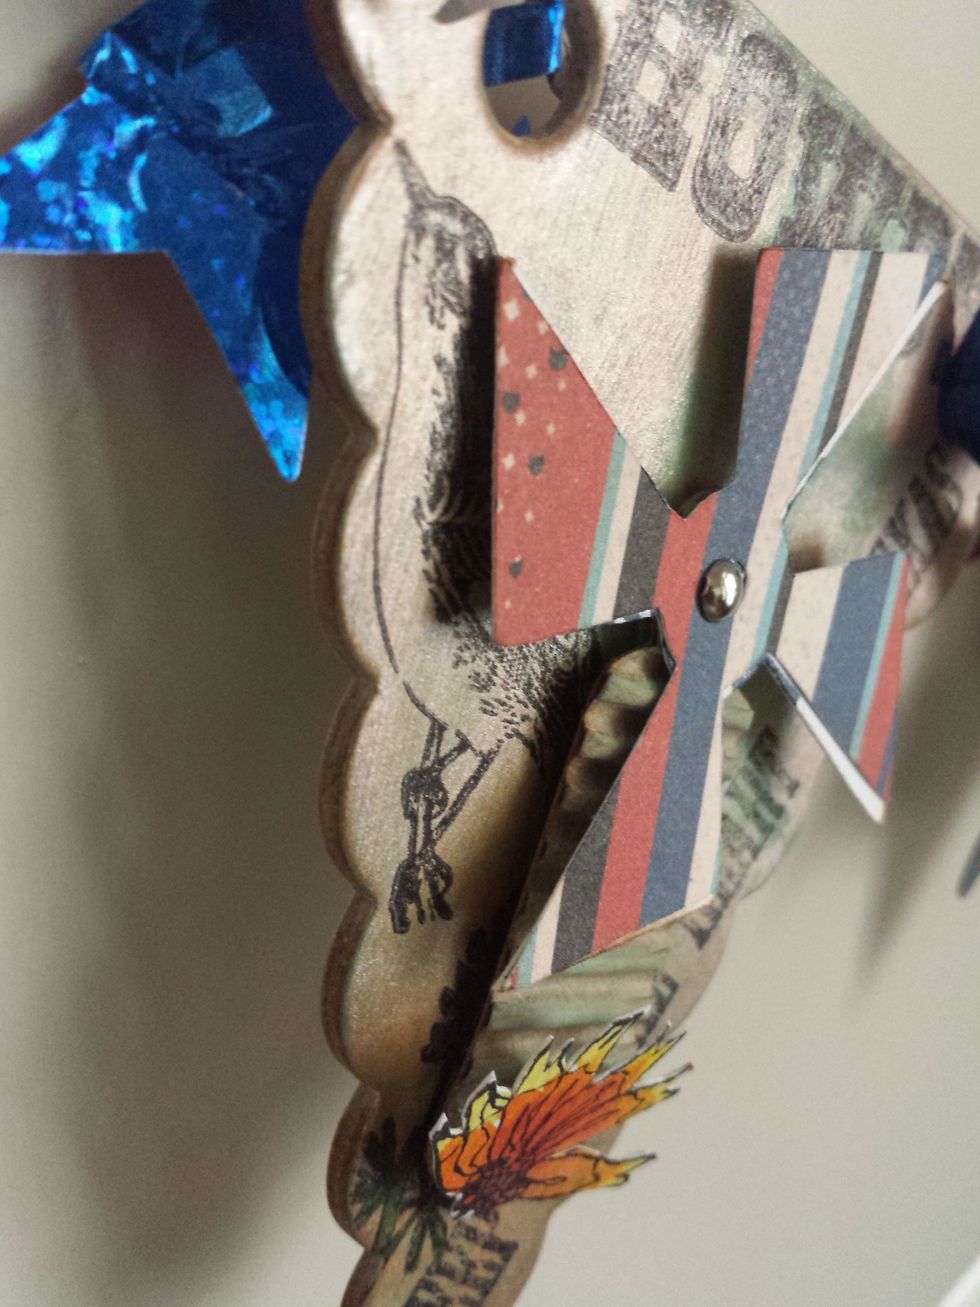
A closer look of the stamped background, which I forgot to photograph before adding the "I".
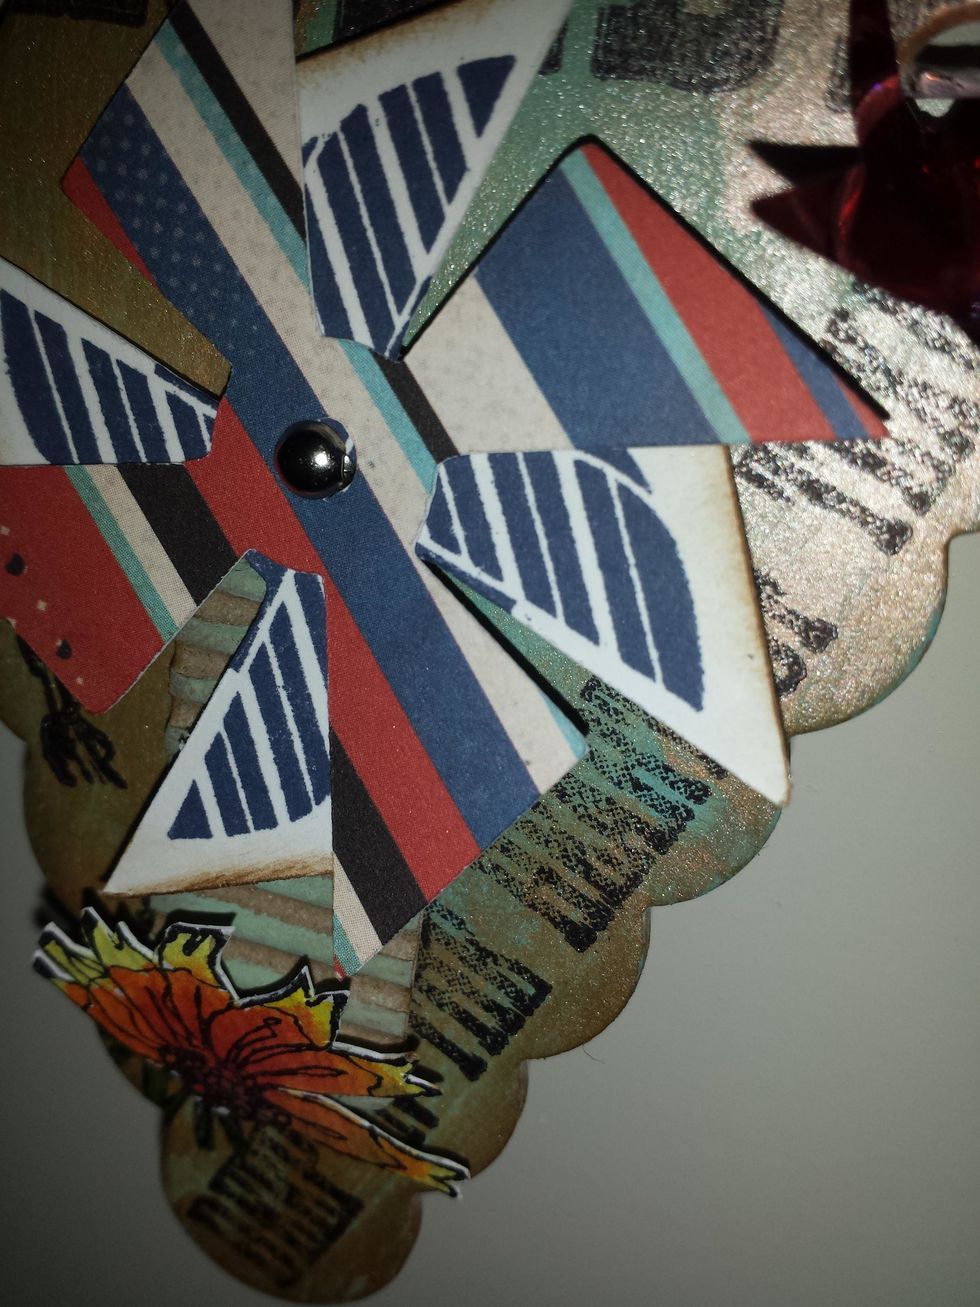
The windmill is mobile...
I stamped the Alamo outline for the background of this piece...
A closer look...
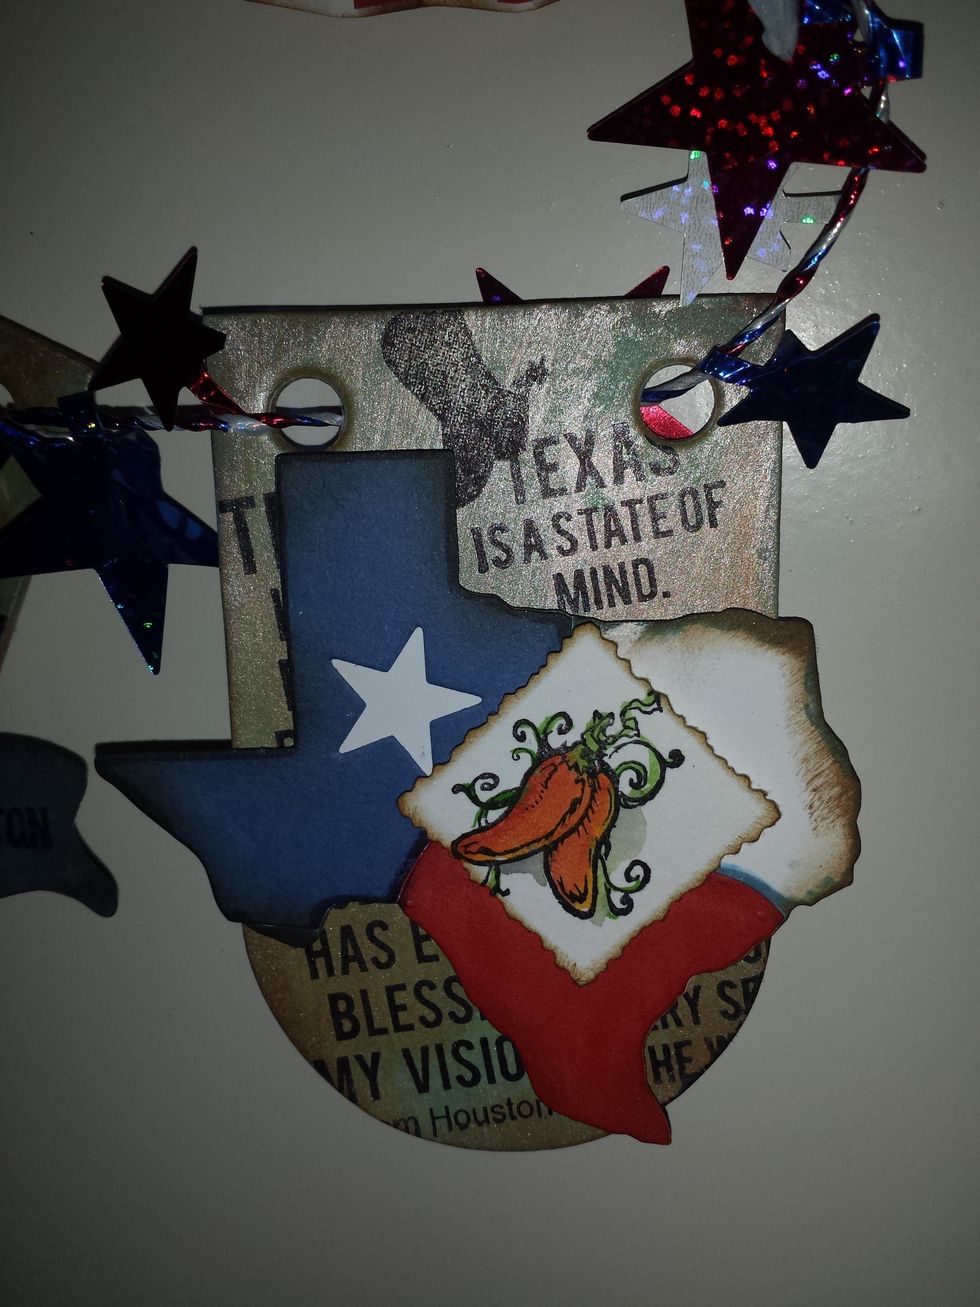
The very appropriated chili pepper image added to the Texas Map/ Flag... and some famous Texas quotes for the background.
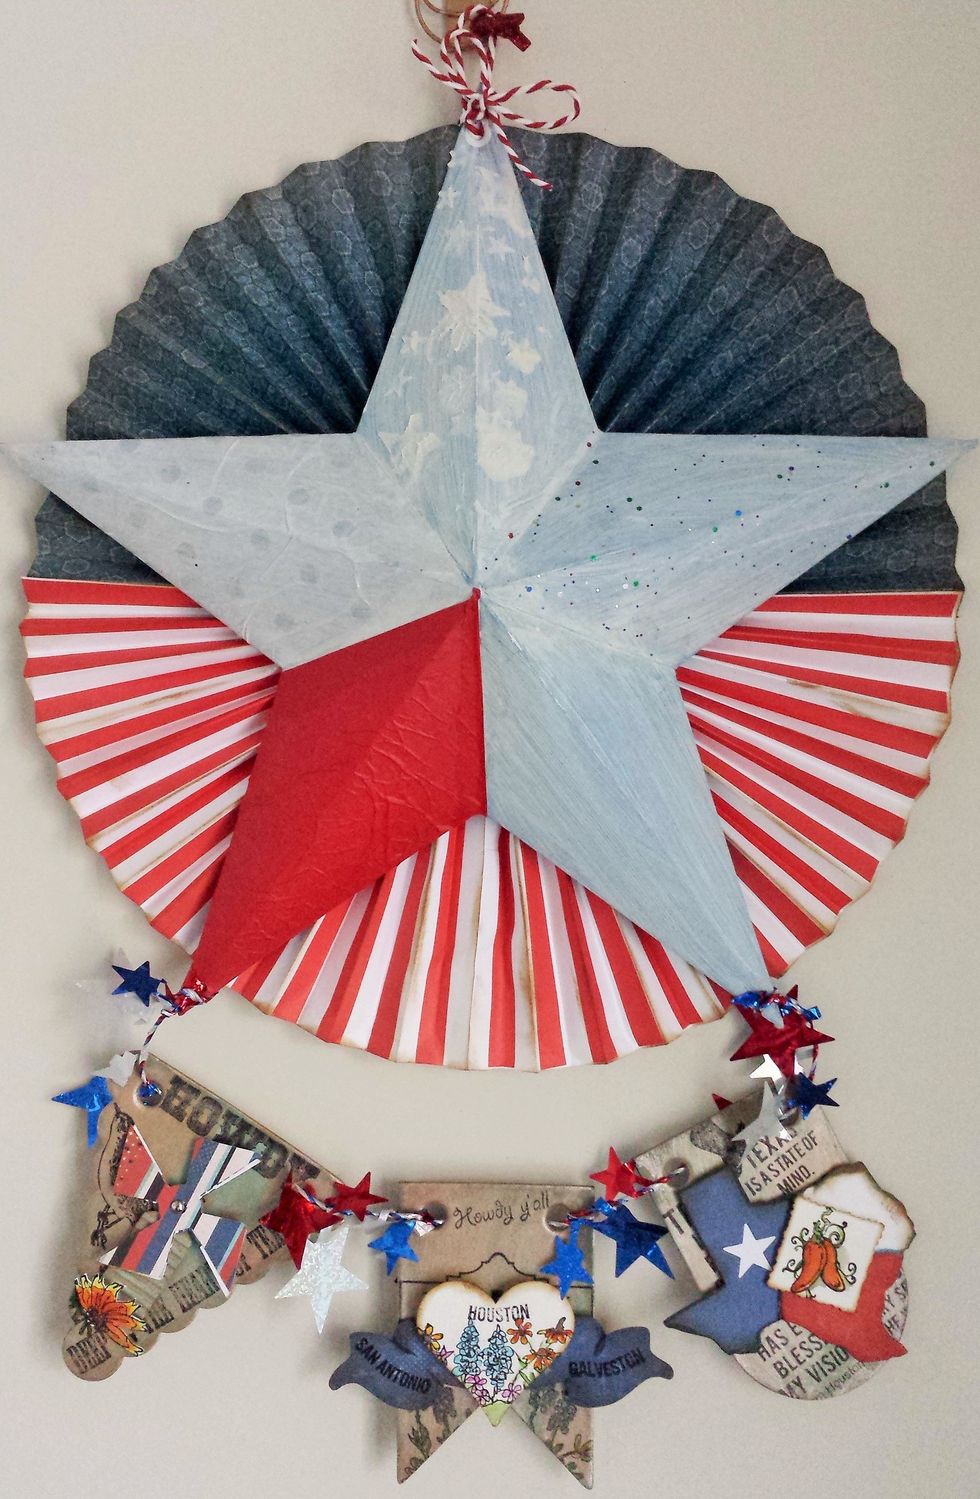
The final poject