The Conversation (0)
Sign Up
These directions are easy to follow. Anyone can use these directions. You don't need special skills.If you are younger than 12 you may need to ask a parent.
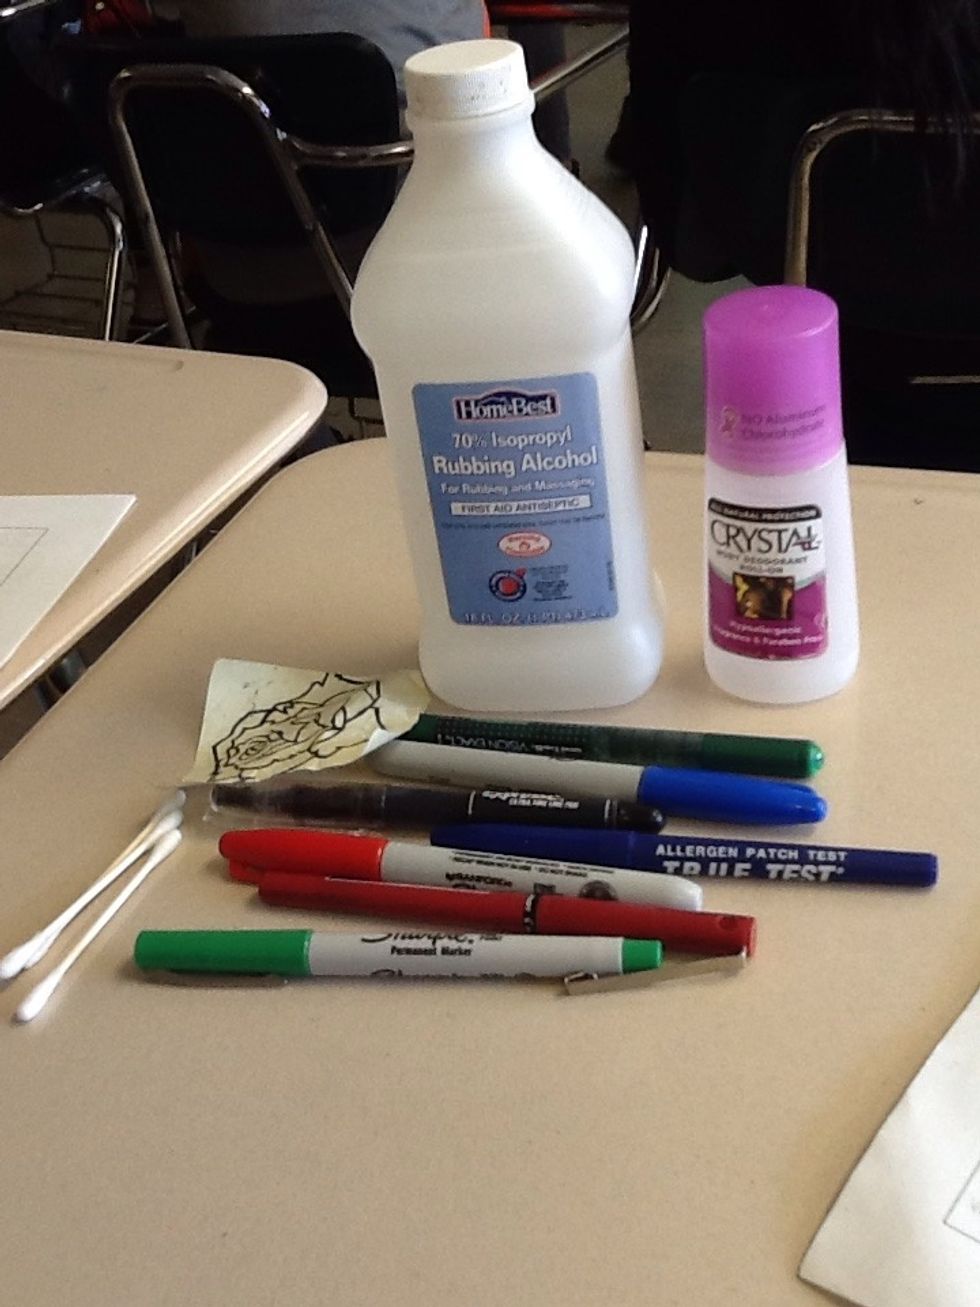
These are the items you will be using. If you don't have sharpies, you can use regular permanent markers.

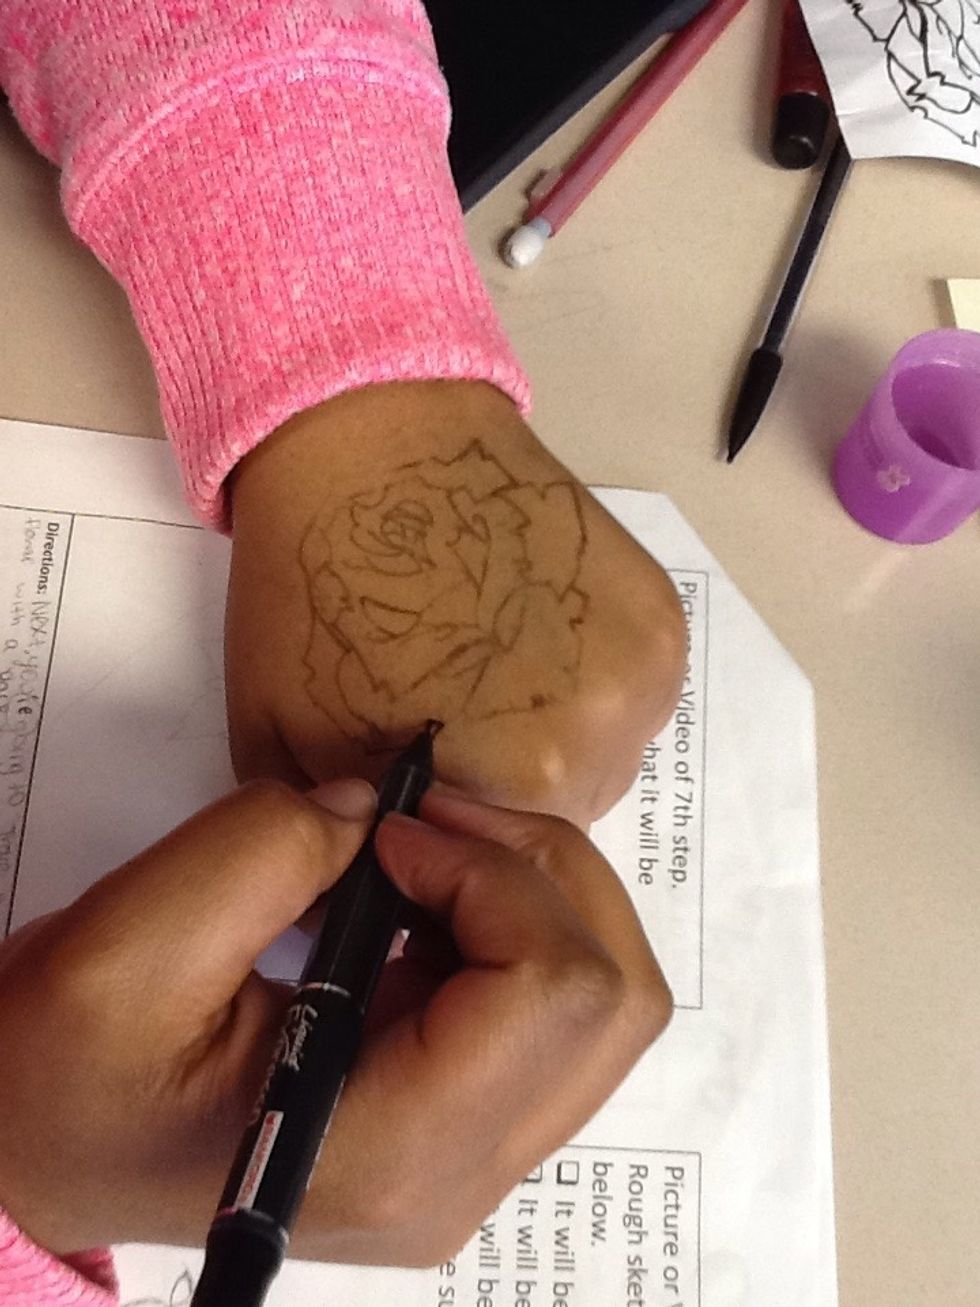
Take your image, and go over it with a black fine point permanent marker twice. (Make sure to stay with in the lines).
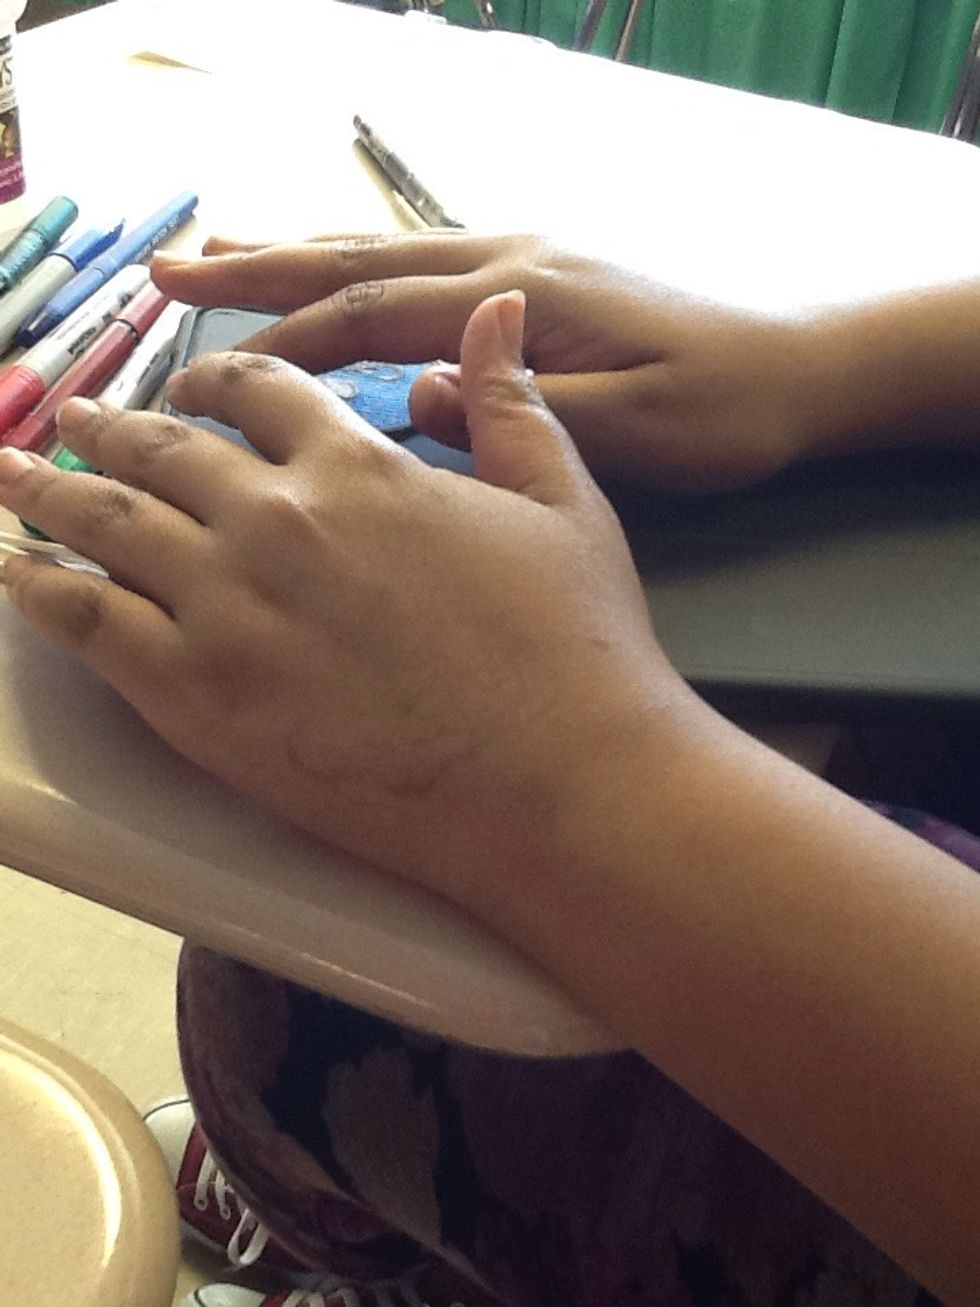
If you're making a tattoo on yourself. Make sure you put the tattoo on the opposite hand you write with. ( This step will be easier for designing later).

Take your deodorant and roll it on the place you want your tattoo. ( Just put some on to make your skin damp).
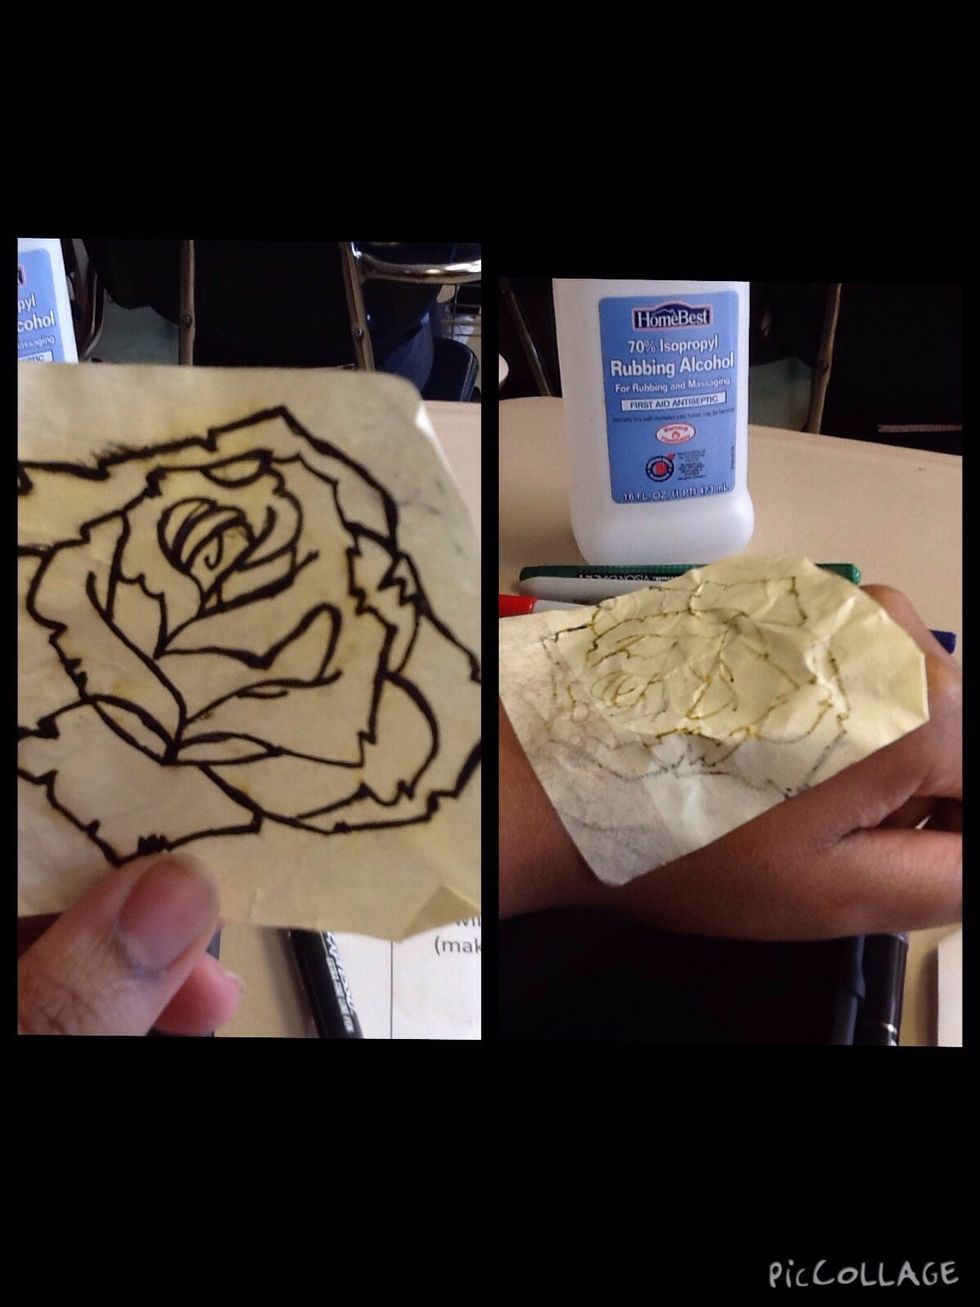
Now you're going to take you image and place it on your skin. Make sure you have your image facing down onto you skin.
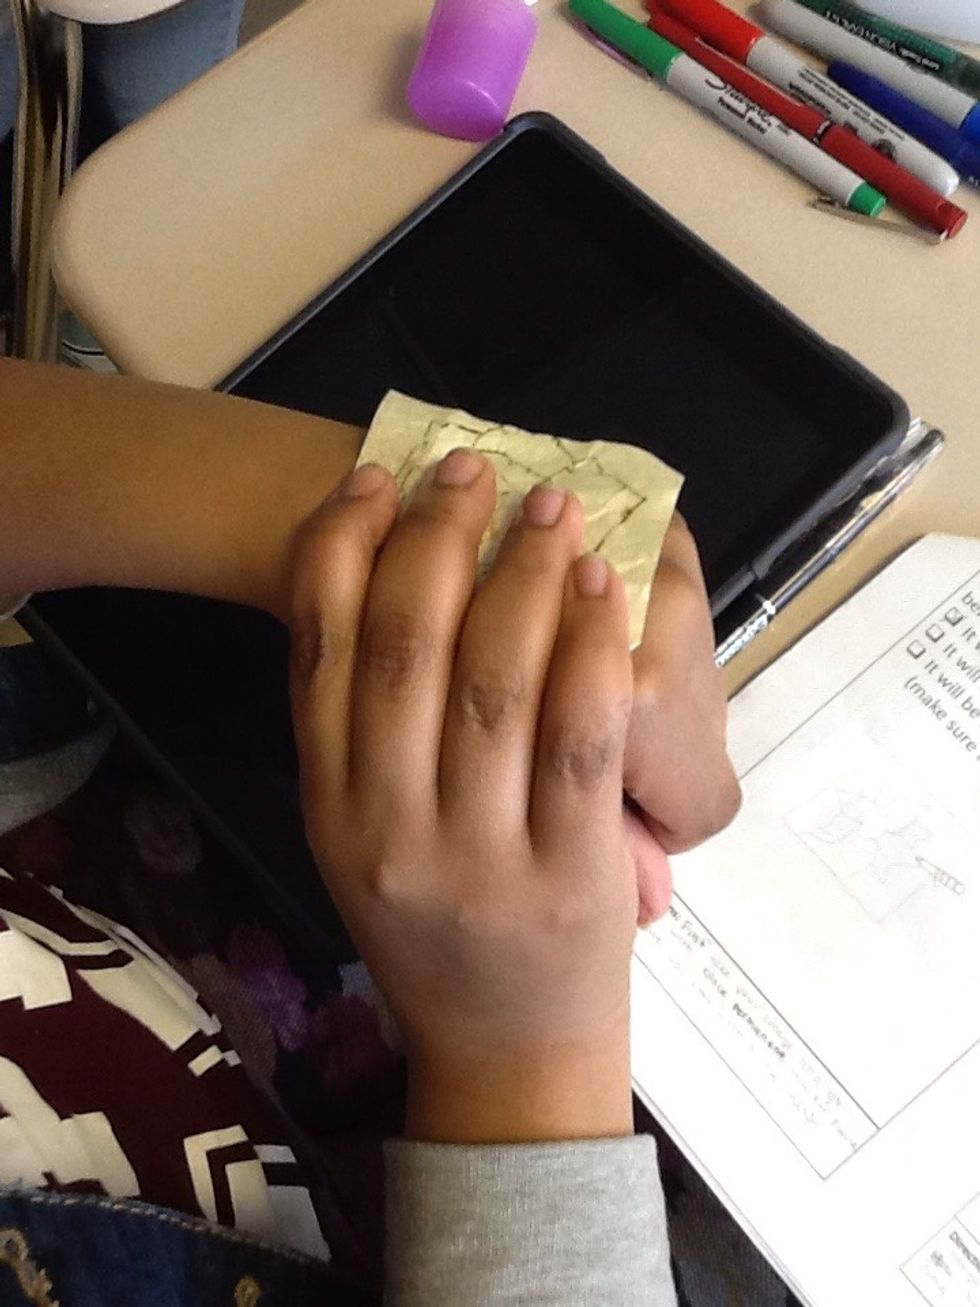
You're going to hold your image down firmly for 30 seconds.

You're image doesn't have to show up too great, but it should be visible.
If your tattoo didn't show up at all, just do steps 3-7 over again.
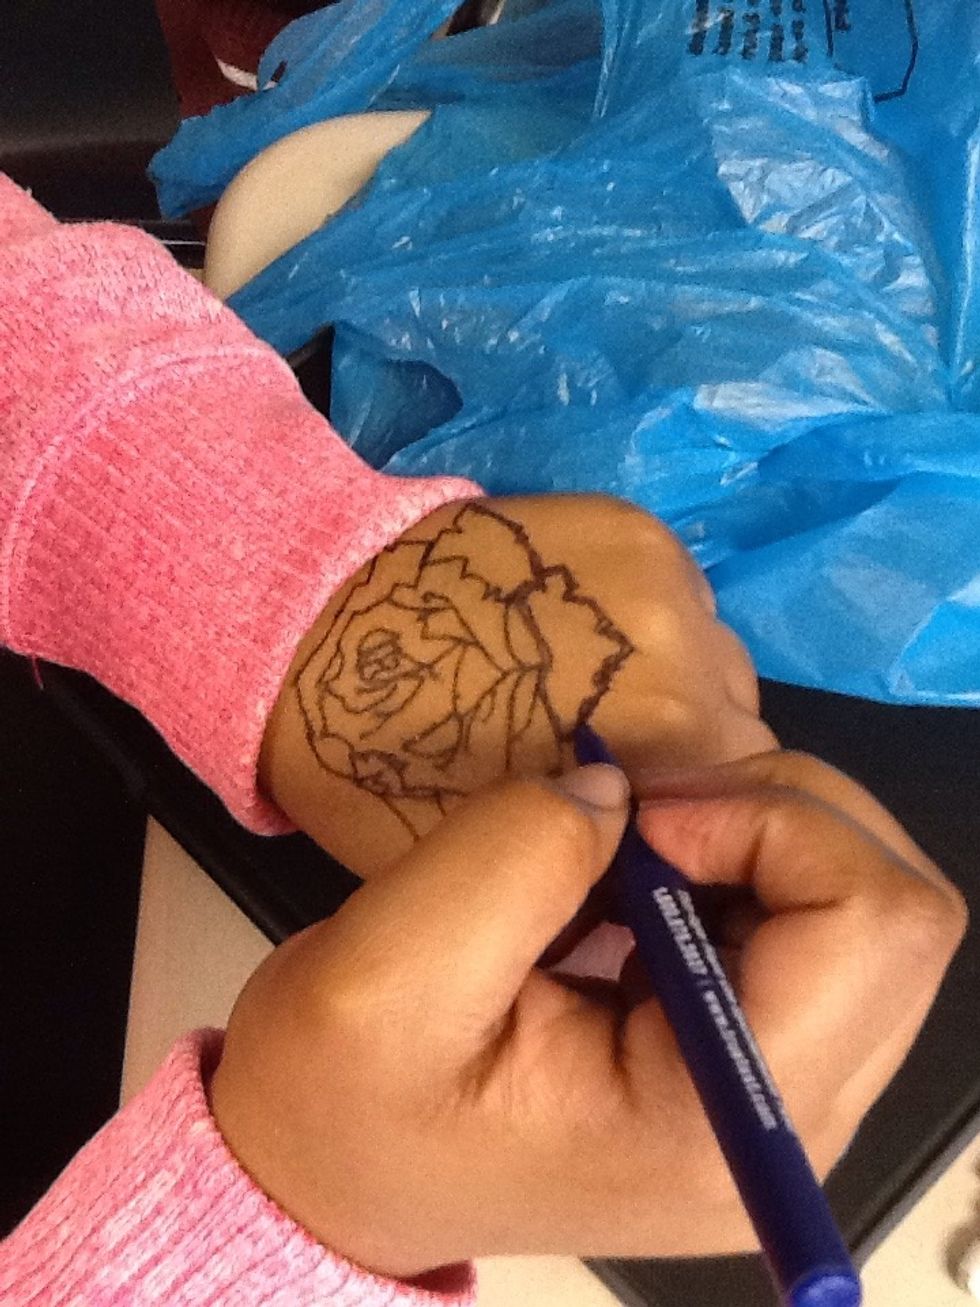
Next, you're going to trace your whole tattoo with a black permanent marker.
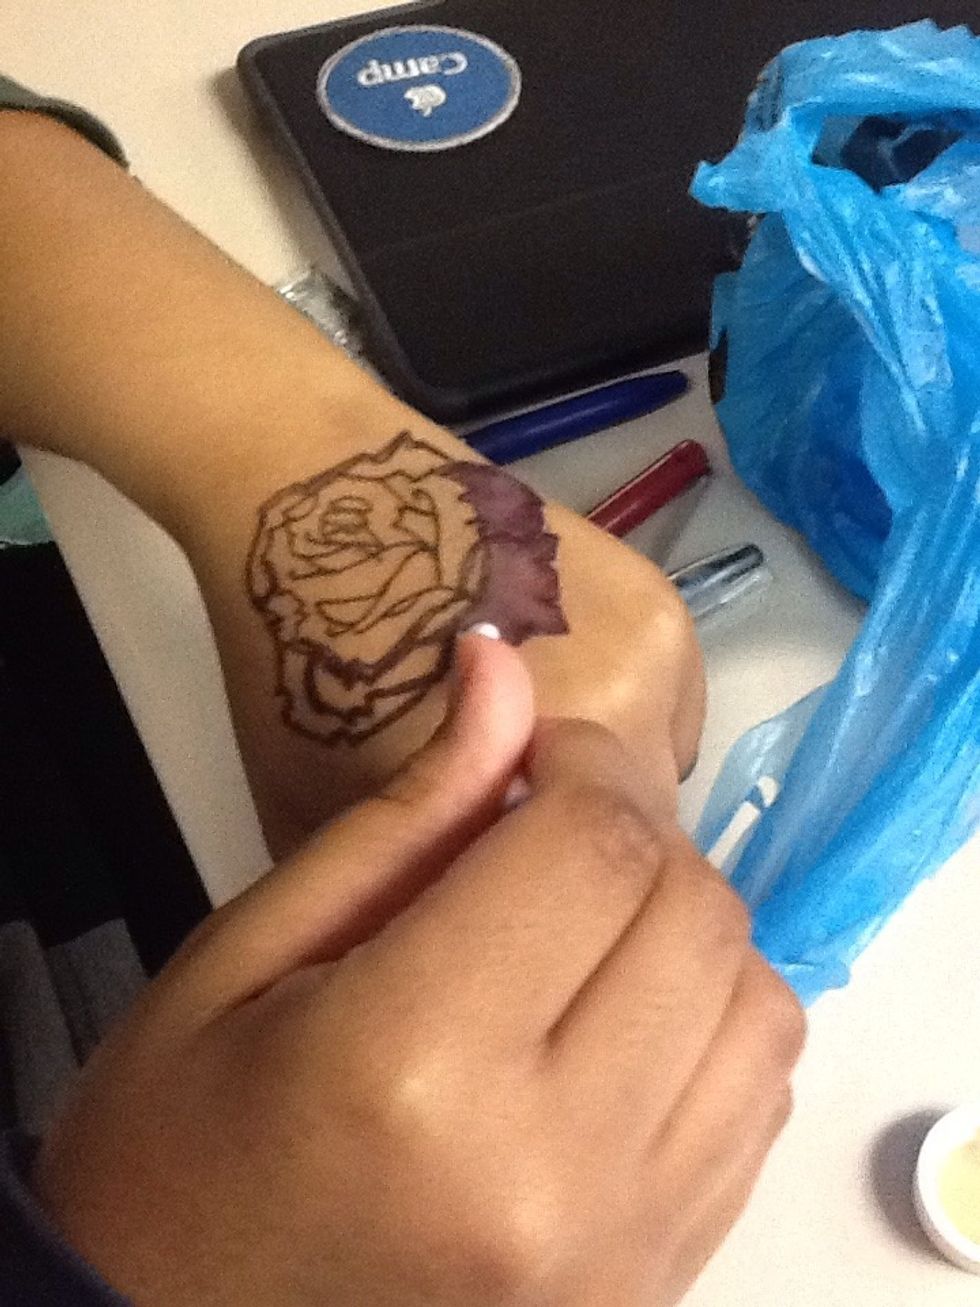
Now, you're going to outline your image with the colors you choose.
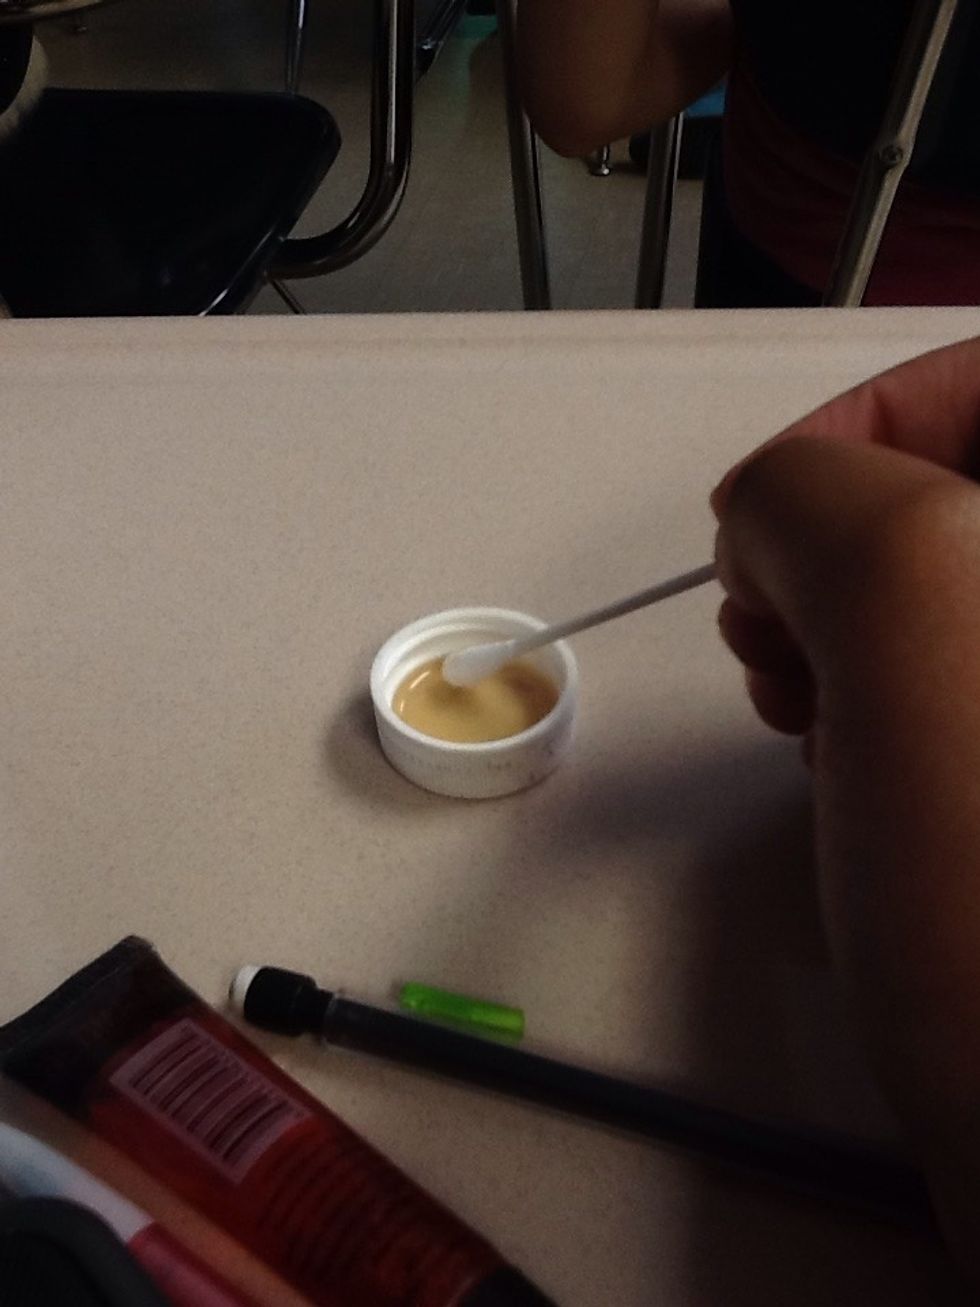
Then, you're going to dip one of your Q-tips in the alcohol.(Make sure the Q-tips are damp).
Then, you're going to shade it in with the q-tip.( Make sure the alcohol is still on the Q-tip).

If you want, you can add another color. You should use a lighter color to make the tattoo pop.
When adding another color, make sure you color over your image lightly. ( Don't color the whole tattoo with your second color.)
After you've finished going over your image with the second color, shade it in with the Q-tip.(Make sure the Q-tip is damp with alcohol
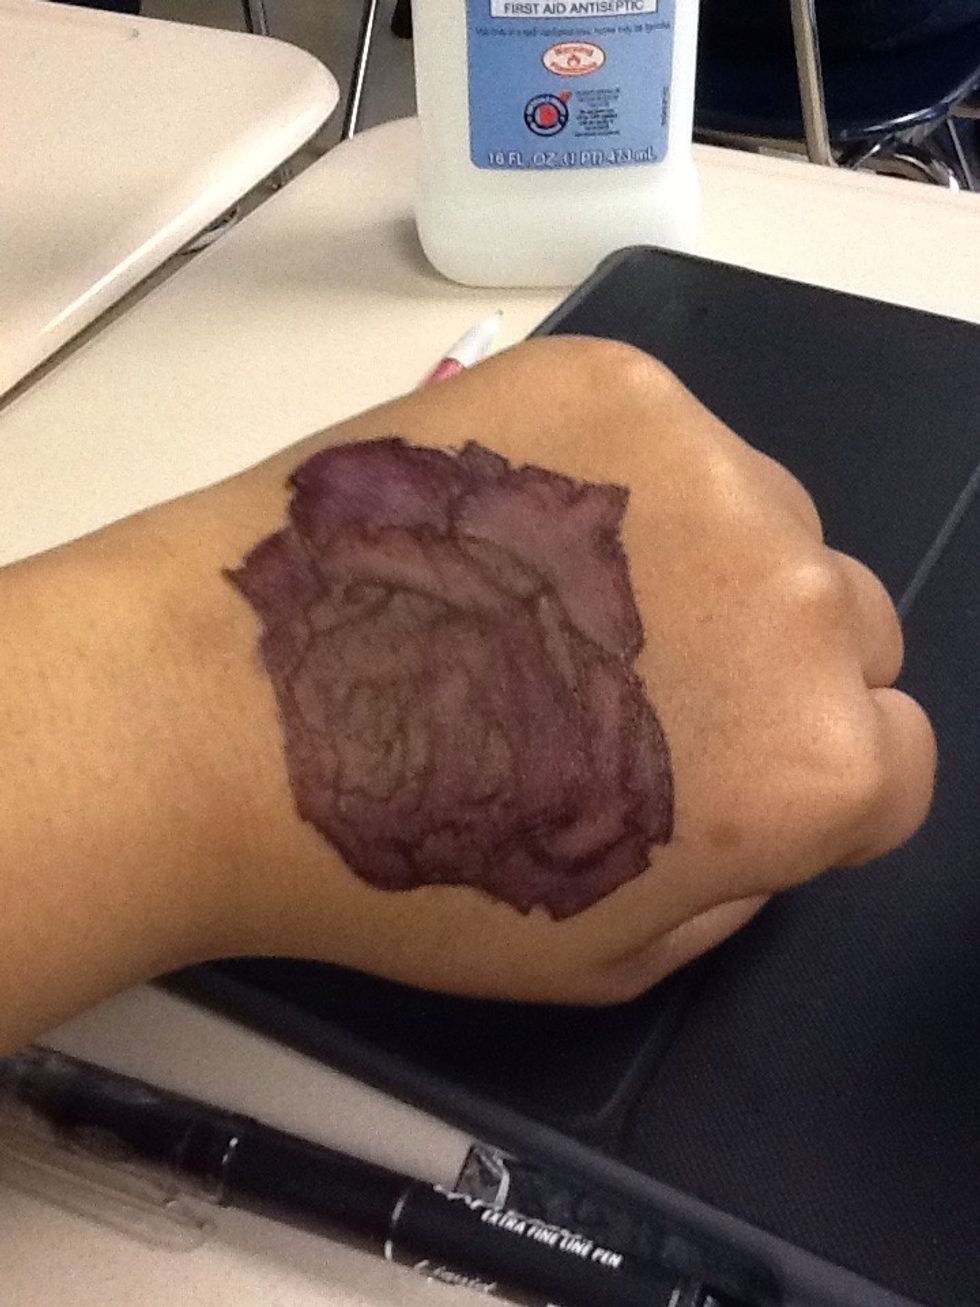
This is what you're tattoo would probably look like. Don't get discouraged it will look better with the next step.
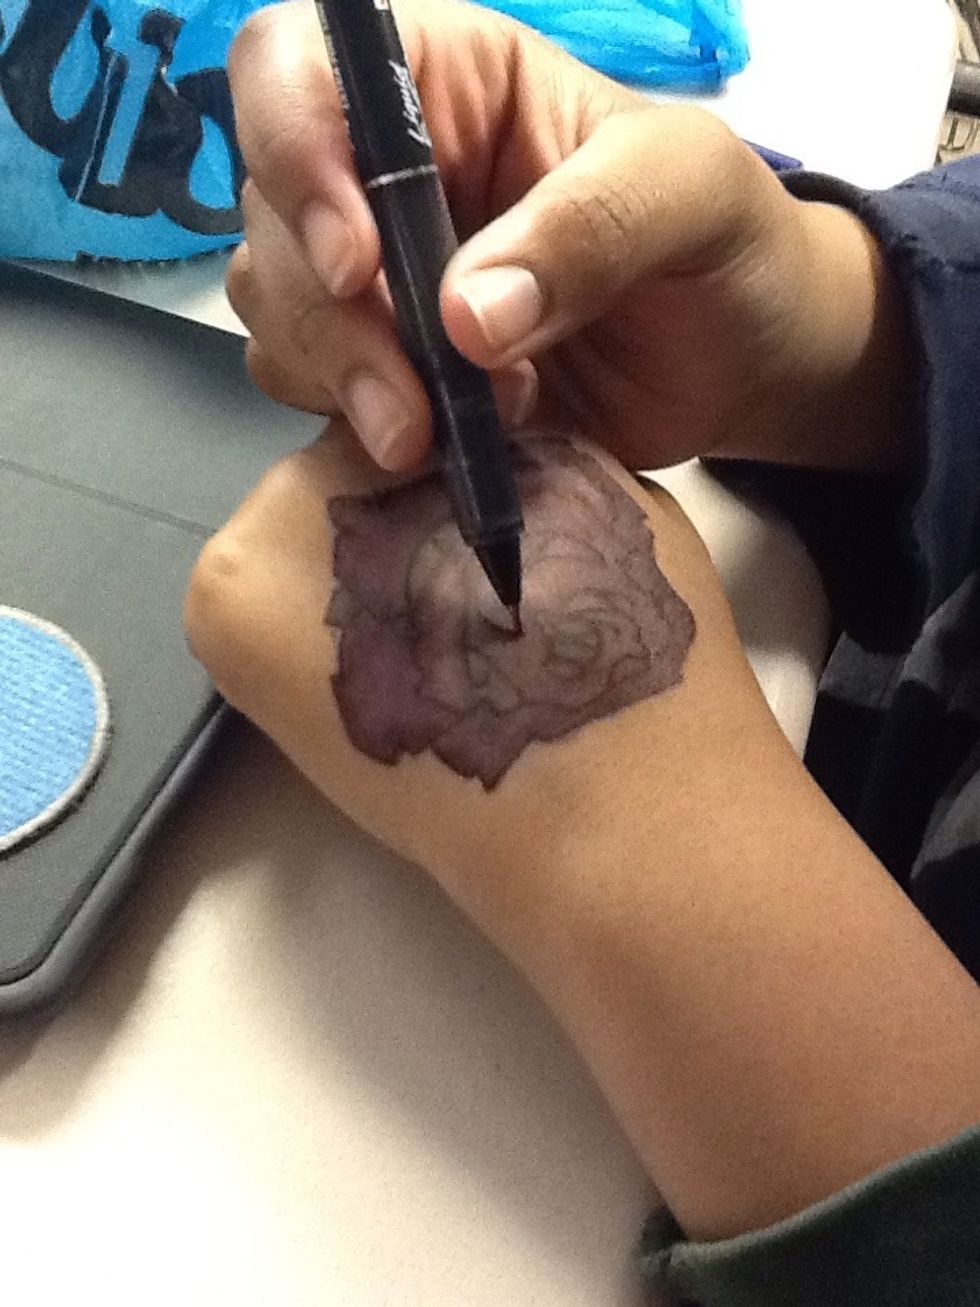
Now, you're going to outline your image again with a black permanent marker.
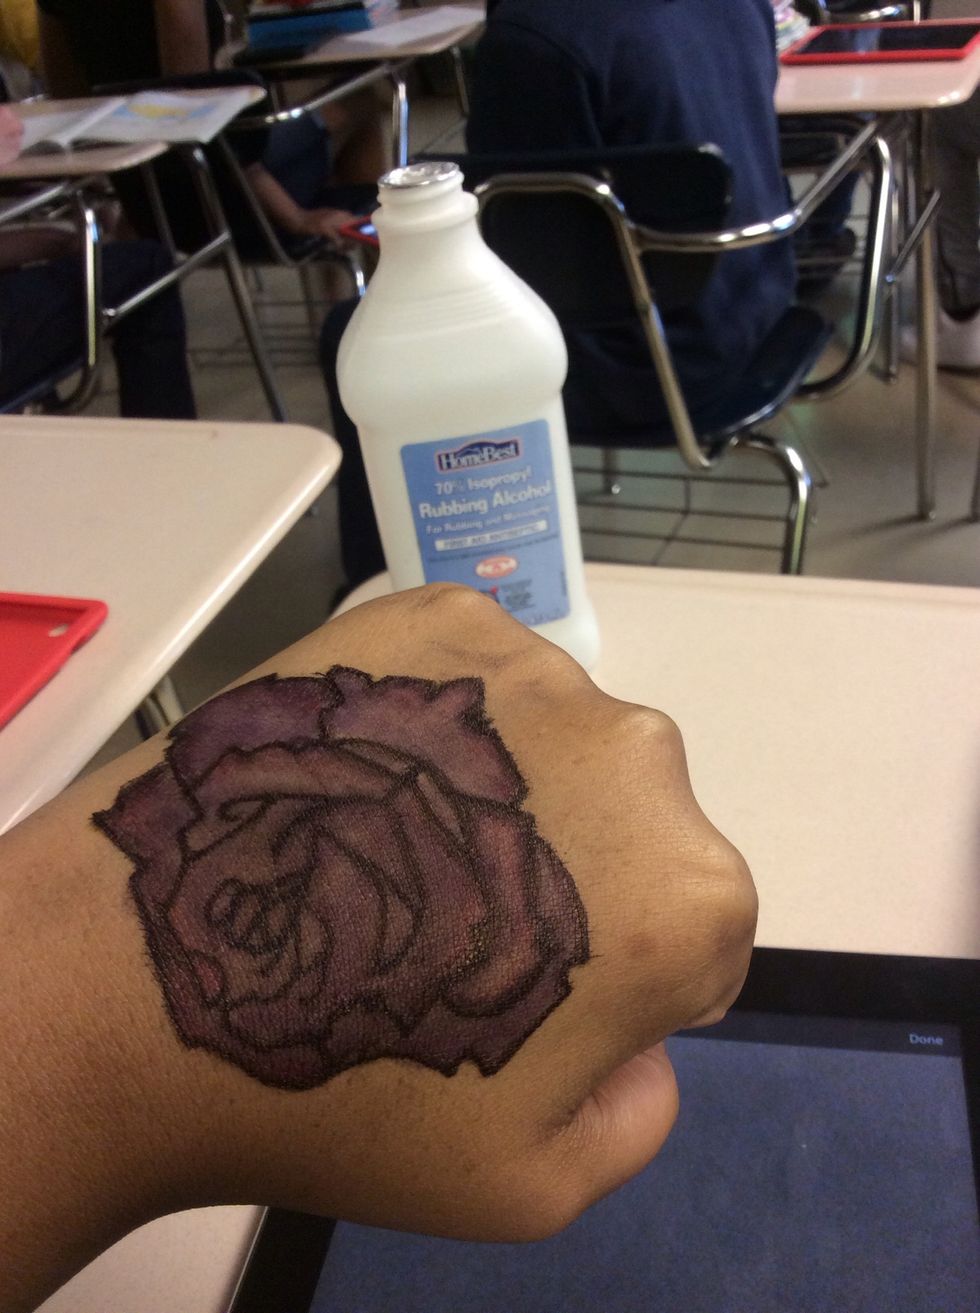
When you are all done this is what your tattoo should look like.
This tattoo will last up to 2-3 days. You should wrap up your tattoo at night, so the permanent markers don't smear.