The Conversation (0)
Sign Up
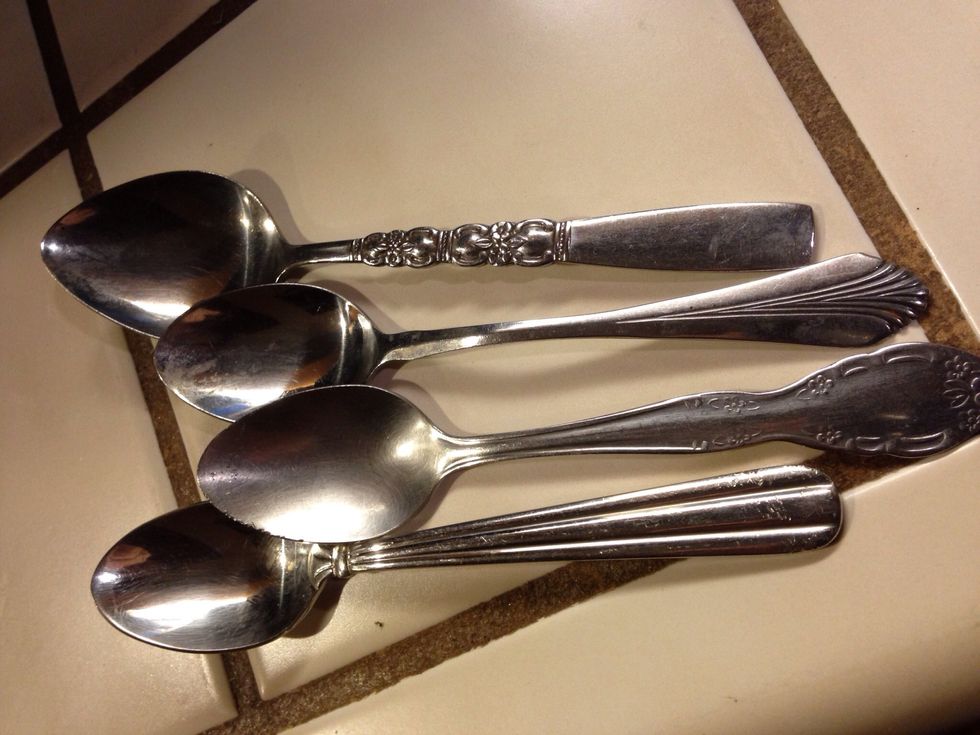
Pick out spoons. I found these at the thrift store, .29 cents each.
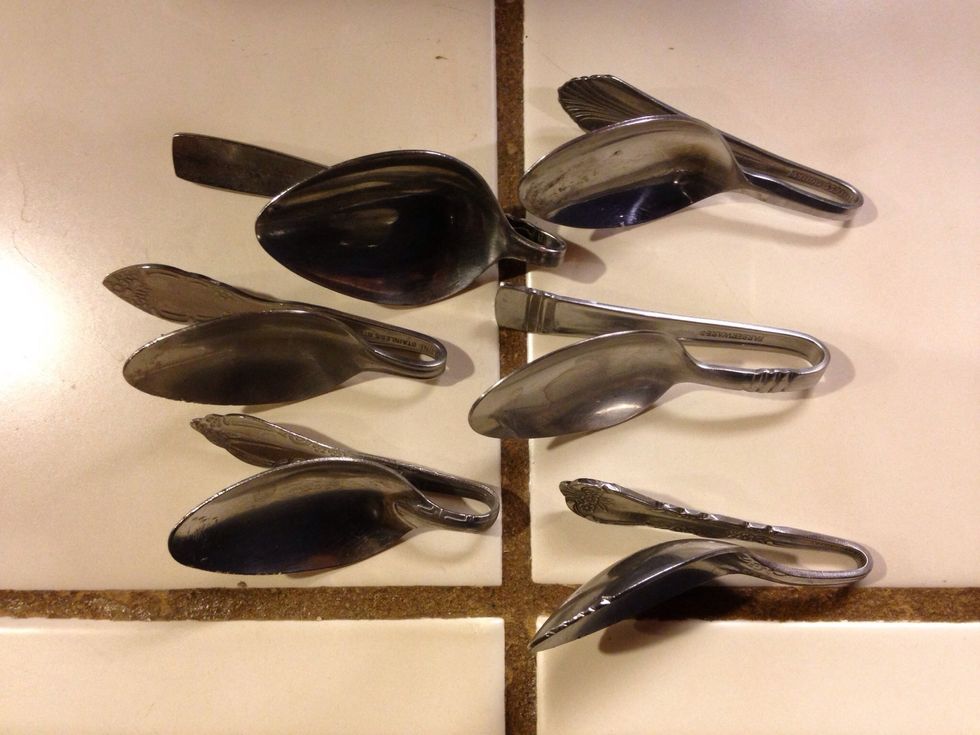
Carefully bend them in half.

Put your photo underneath the spoon, this is your template. Cut out.
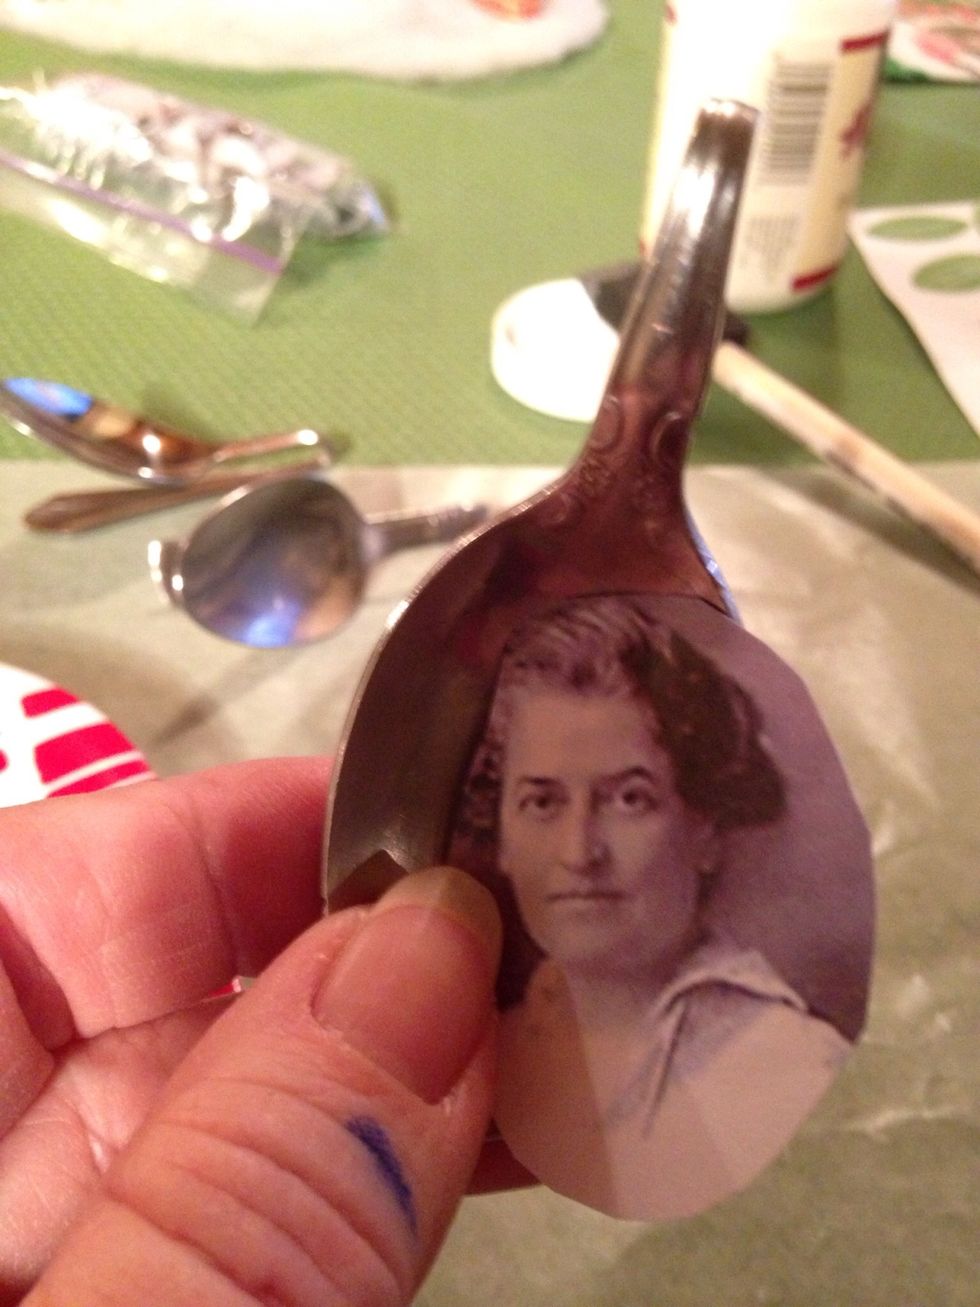
Trim picture as needed.
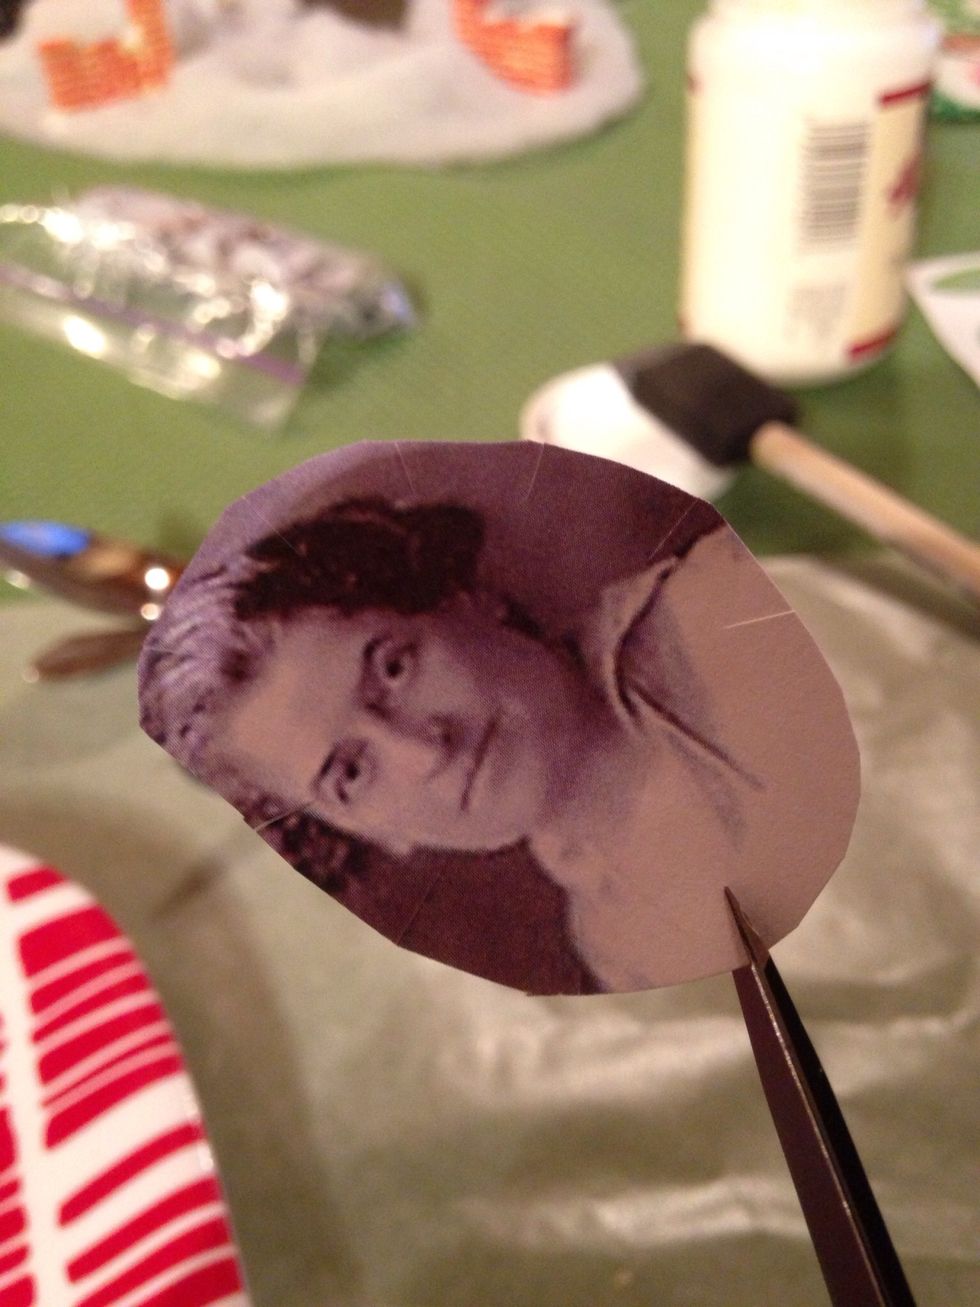
Make tiny snips with scissors all around the outside edge of picture. This will help the picture lay smooth in the 'dip' of the spoon.

Apply a light layer of mod podge in the spoon, carefully put the picture in, pressing down and smoothing out.
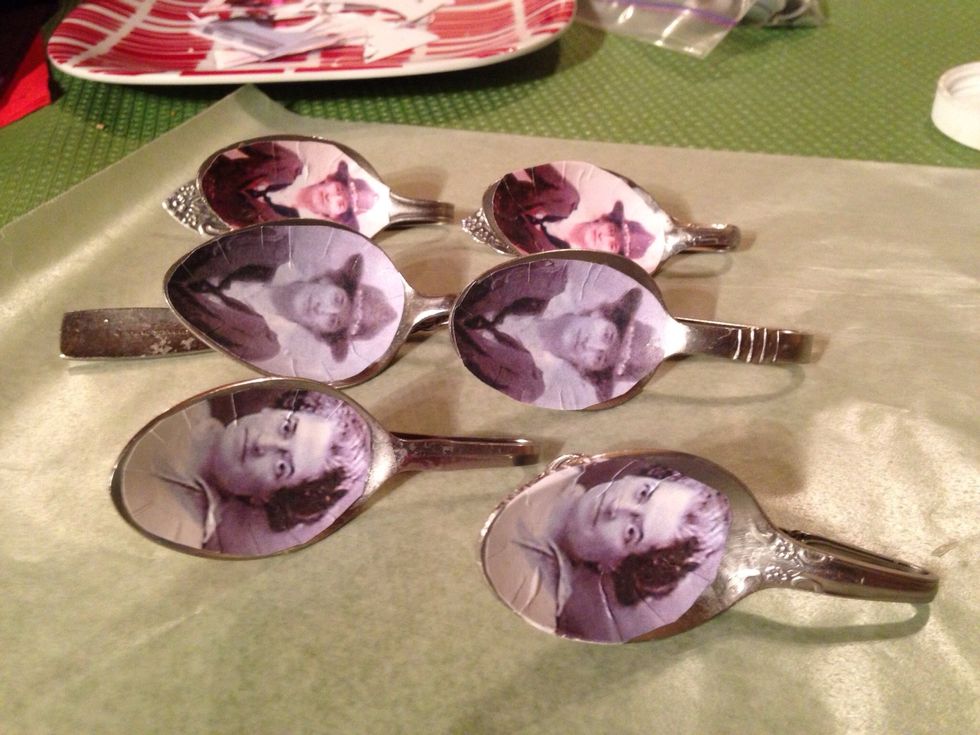
Let dry.

Apply a light layer of mod podge over top of picture to seal.
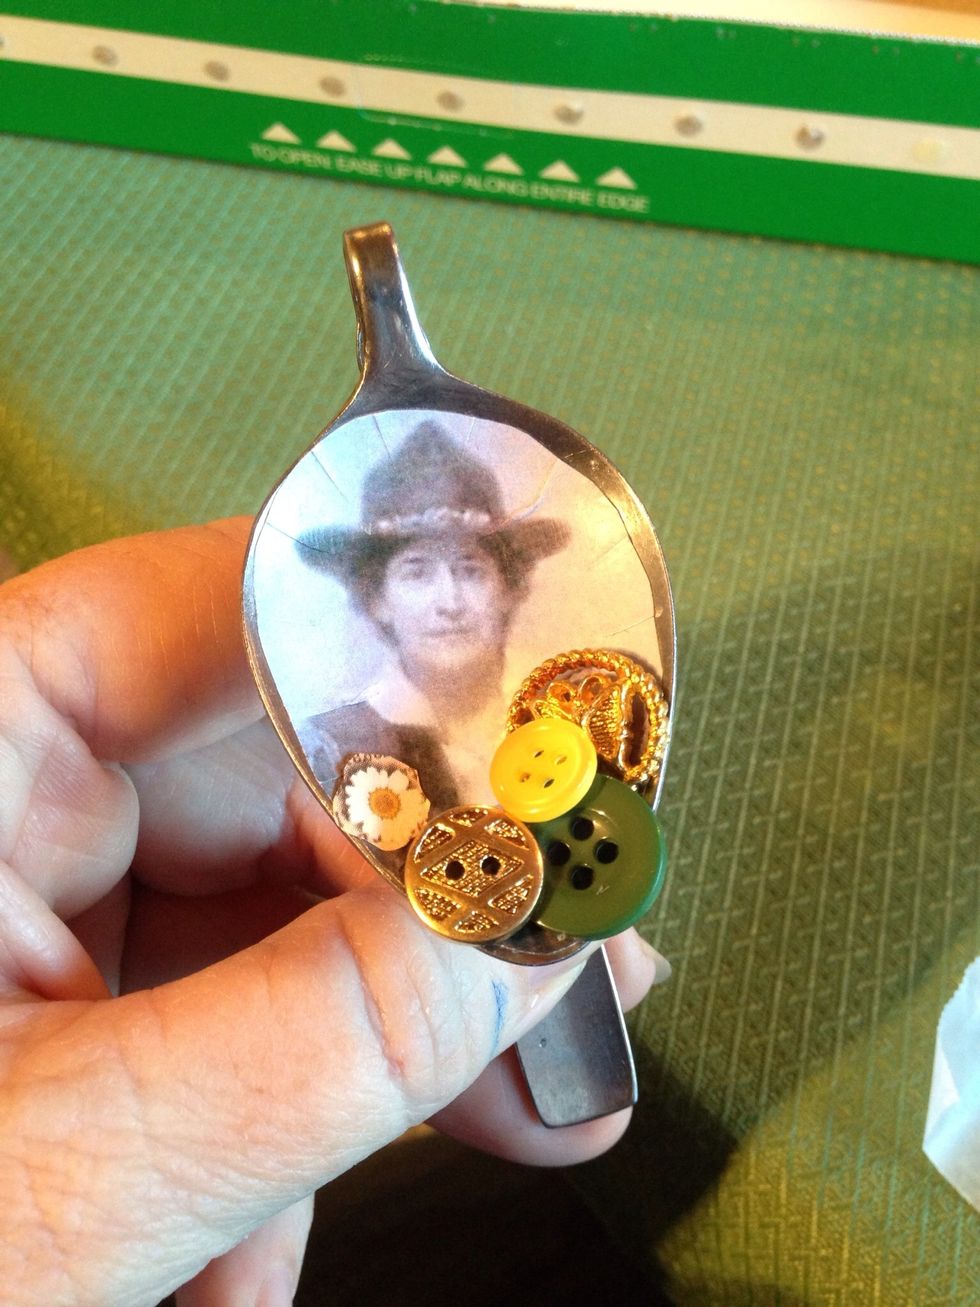
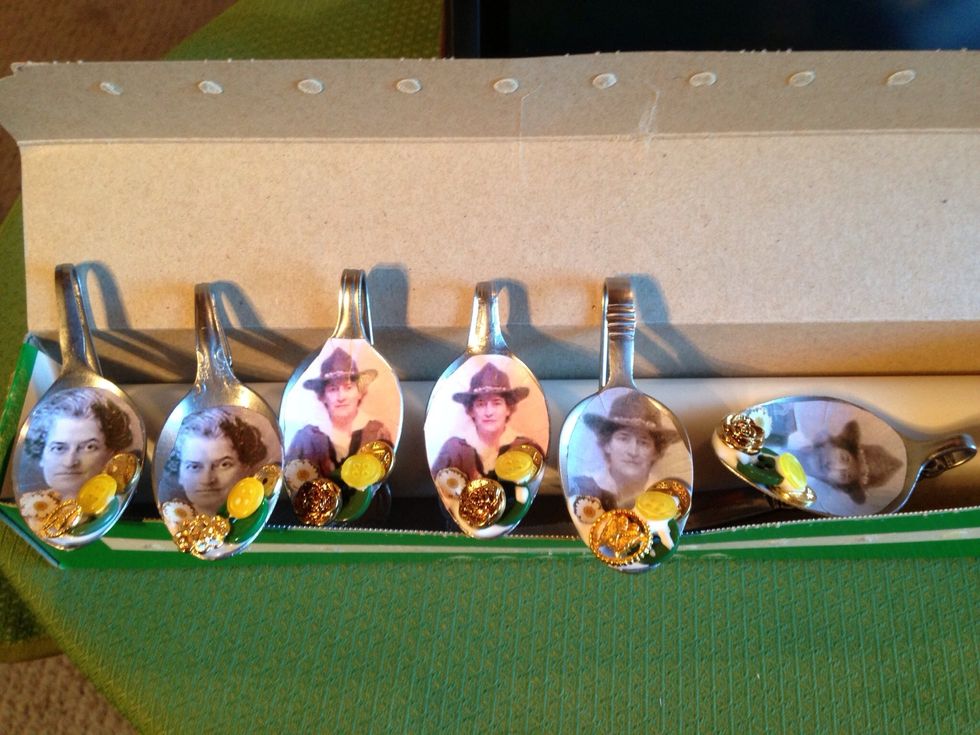
I cut a tiny daisy out of card stock, and picked some buttons to embellish this spoon. I played around with placement until I decided on what I liked, and was ready to glue down.
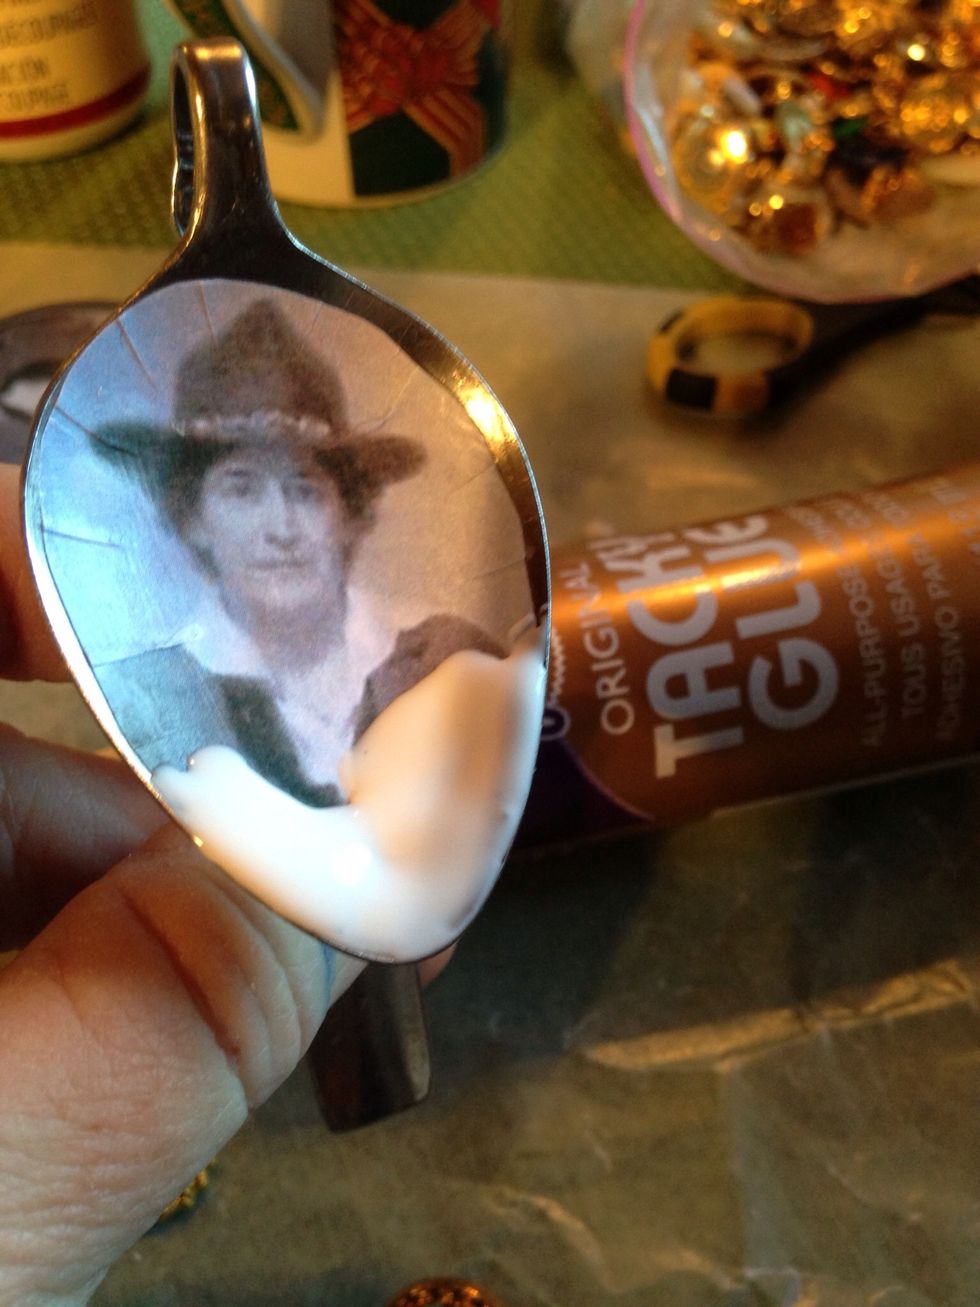
Squirt tacky glue in the spot you want to attach embellishments...

Add embellishments...
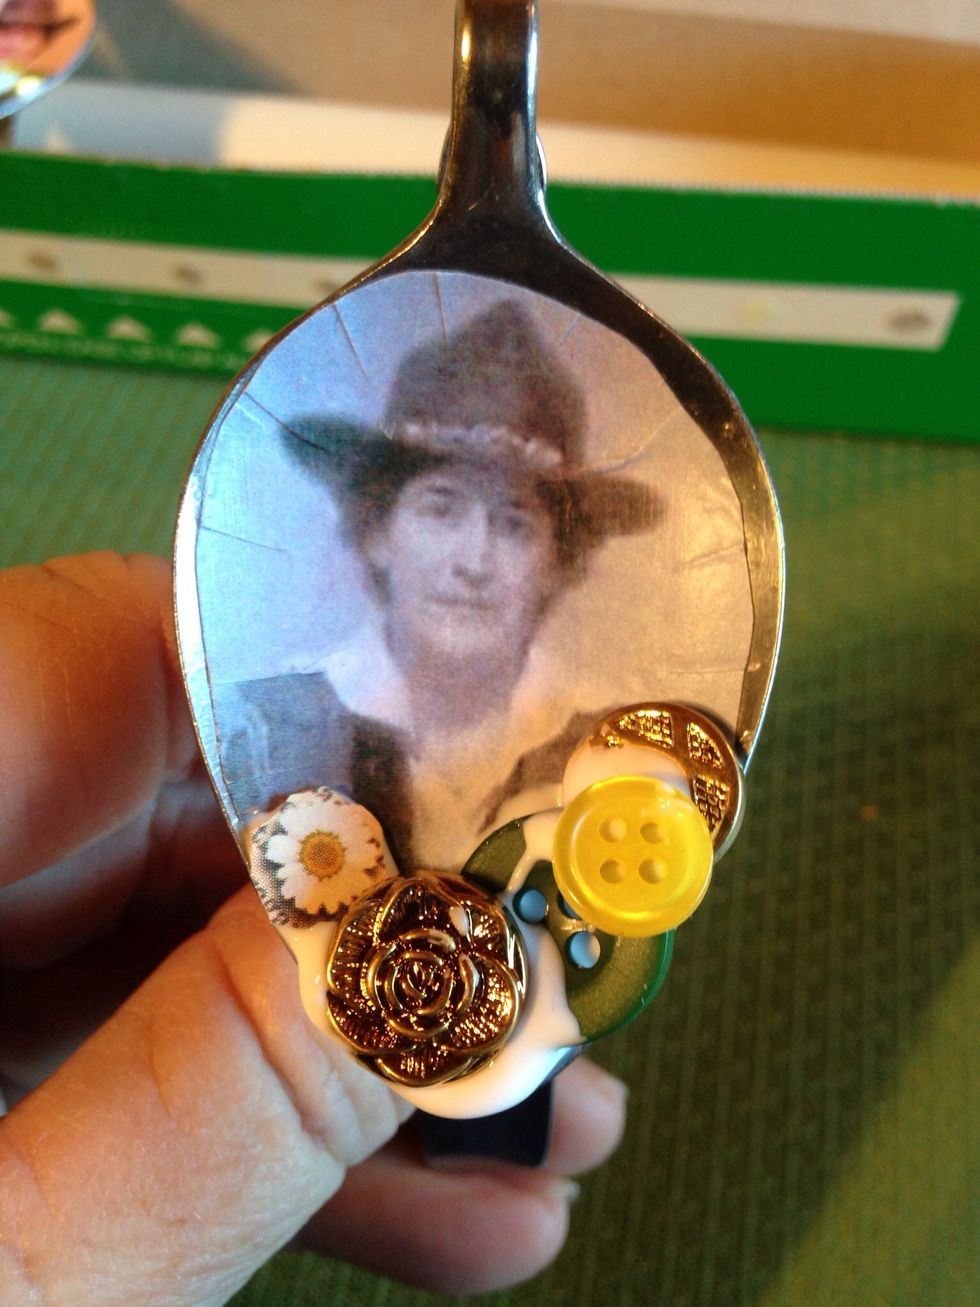
This tacky glue (Aleene's) will dry clear.
Set spoons aside to dry completely.
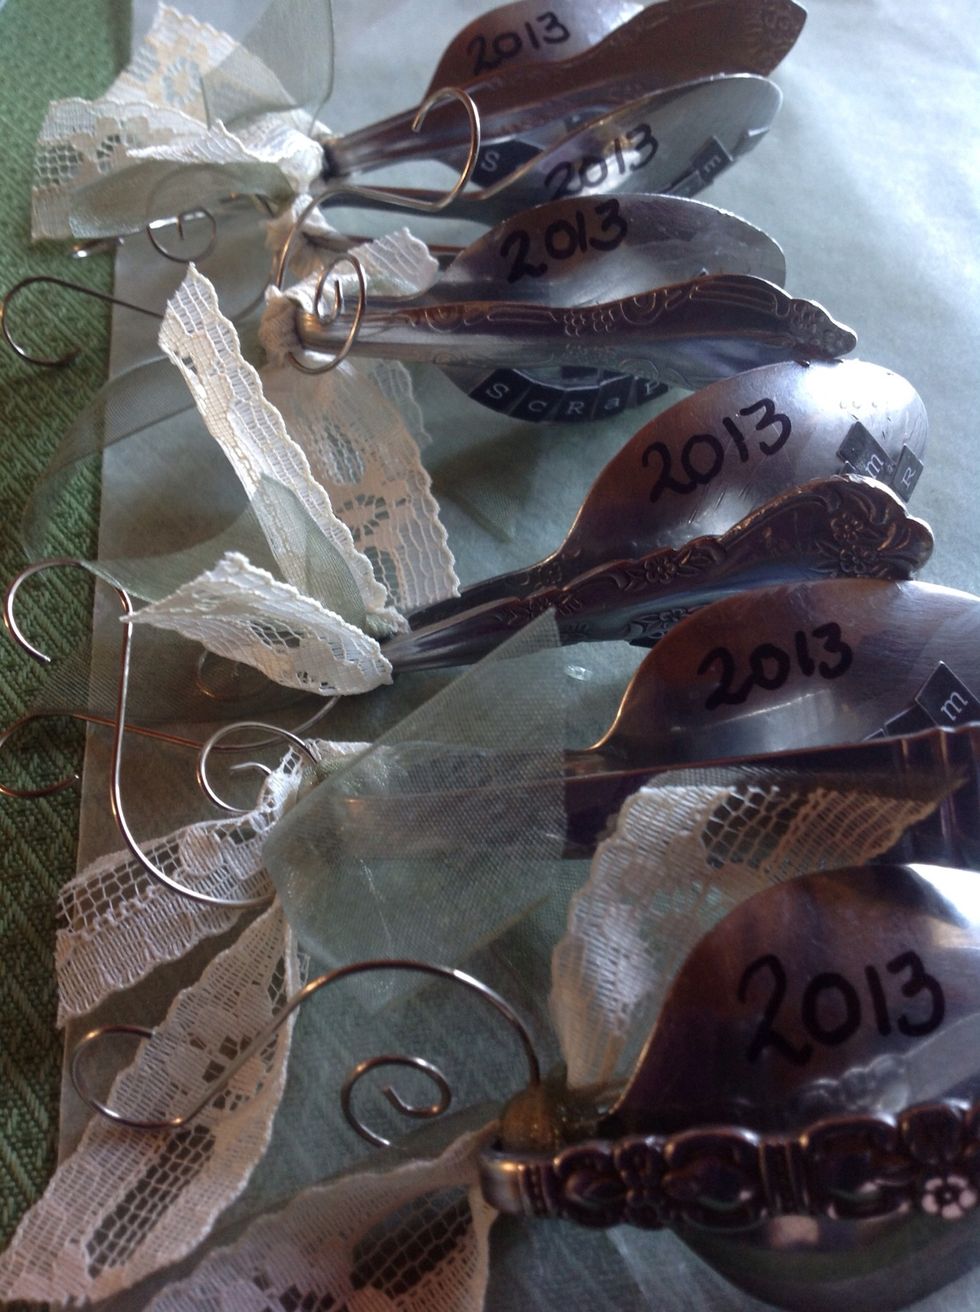
I used a sharpie and added the year on the back.

I added some ribbon, lace & a decorative hook. They are now ready to wrap for gift giving.