The Conversation (0)
Sign Up
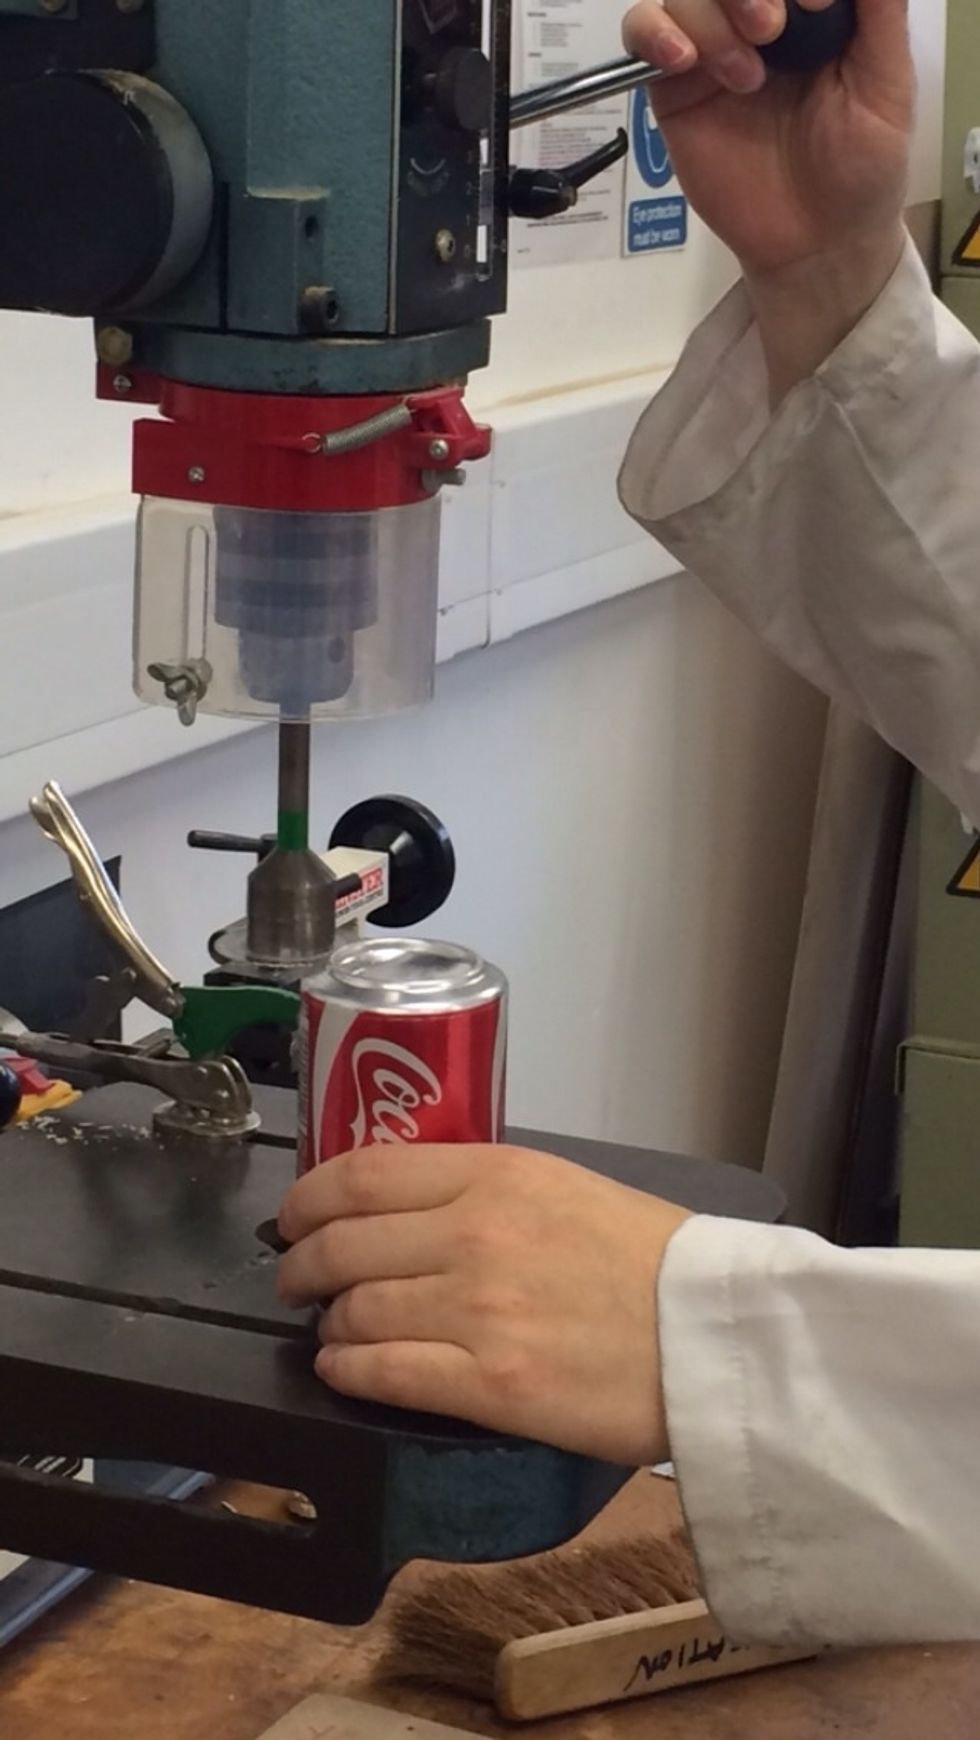
Using a diamond cutter on a pillar drill. Carefully cut the bottom out of the can. Male sure you allow a small amount of the can wall to remain attached to the bottom of the can.
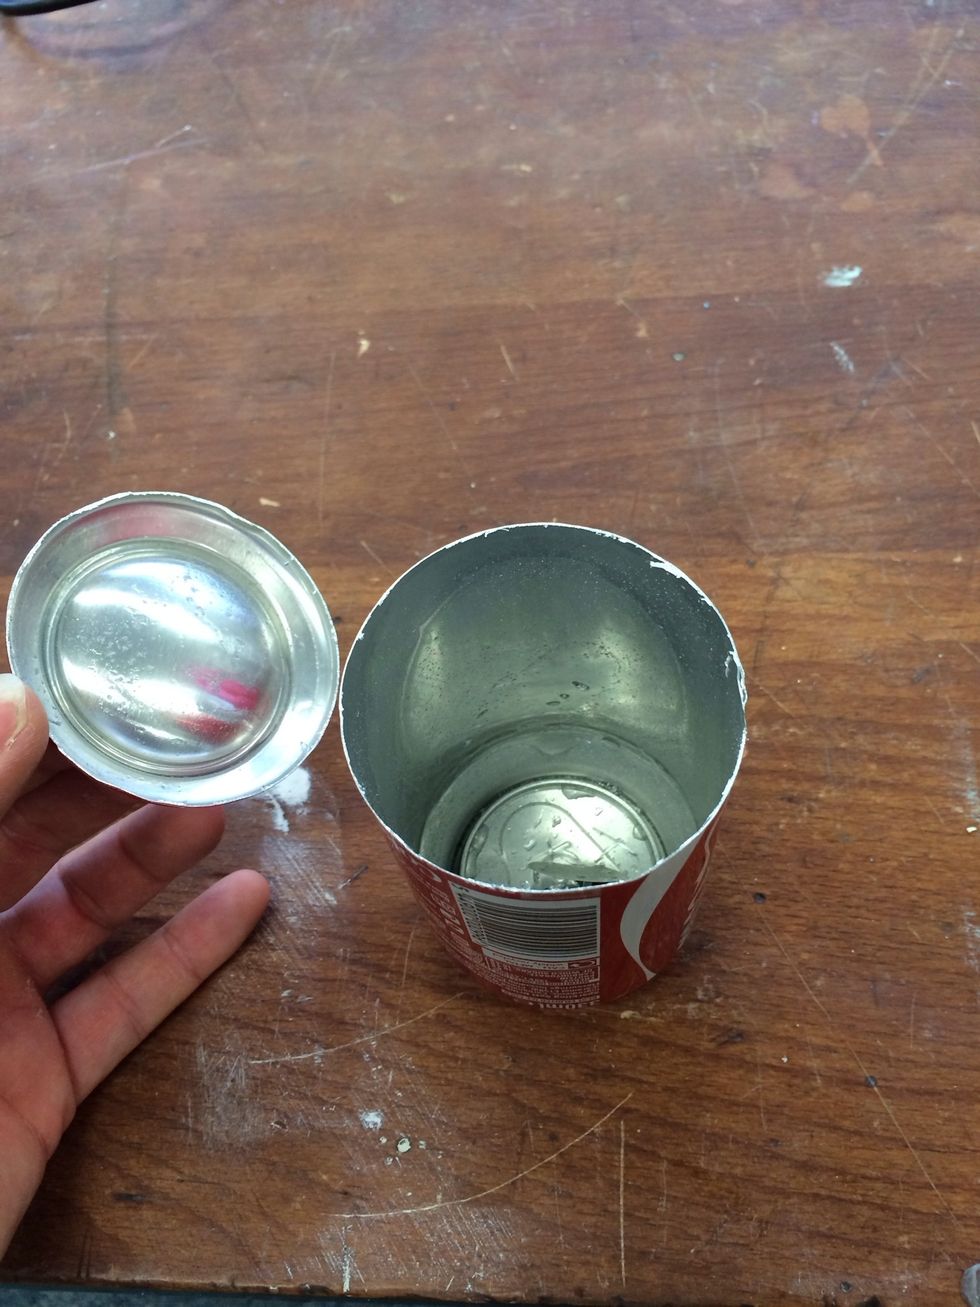
The bottom removed from the can.
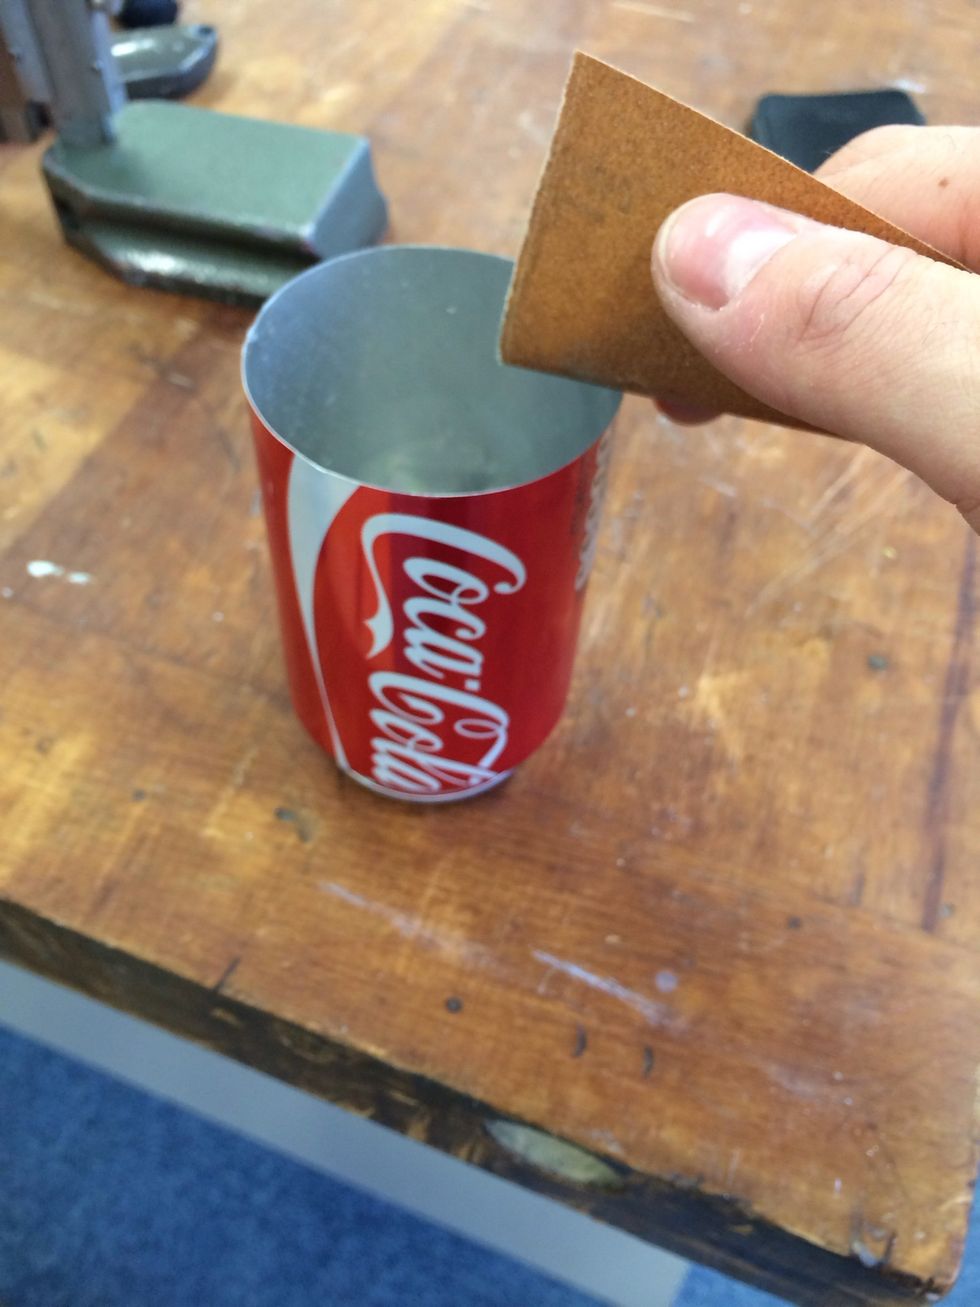
Sand the sharp burr of the can smooth on the inside and outside. Be careful to not remove any of the cans paint or you will see it!
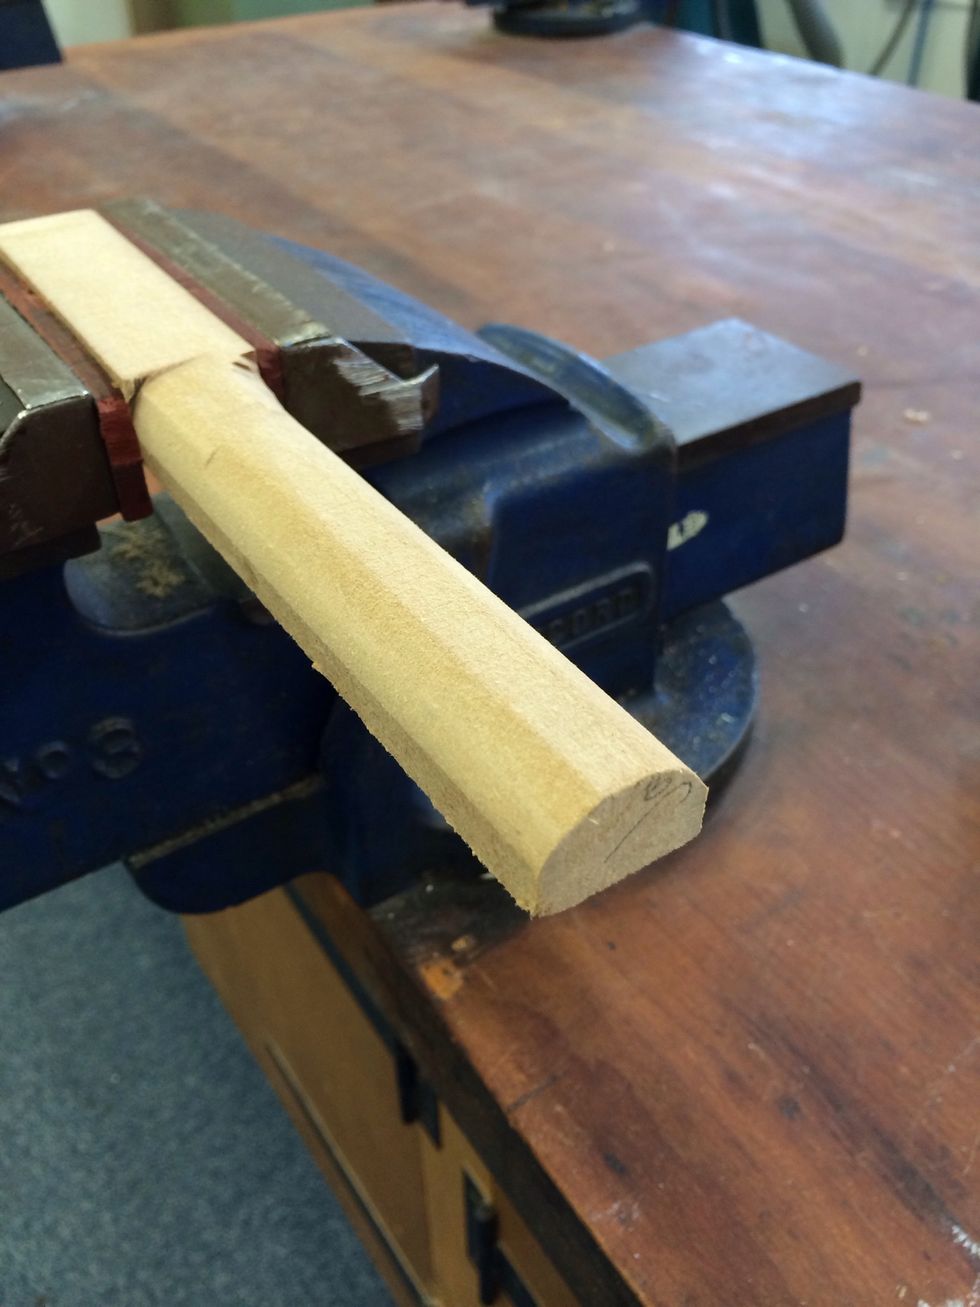
Shape an off-cut scrap piece of timber or MDF to place the can on. This provides a surface to press against in the coming steps.
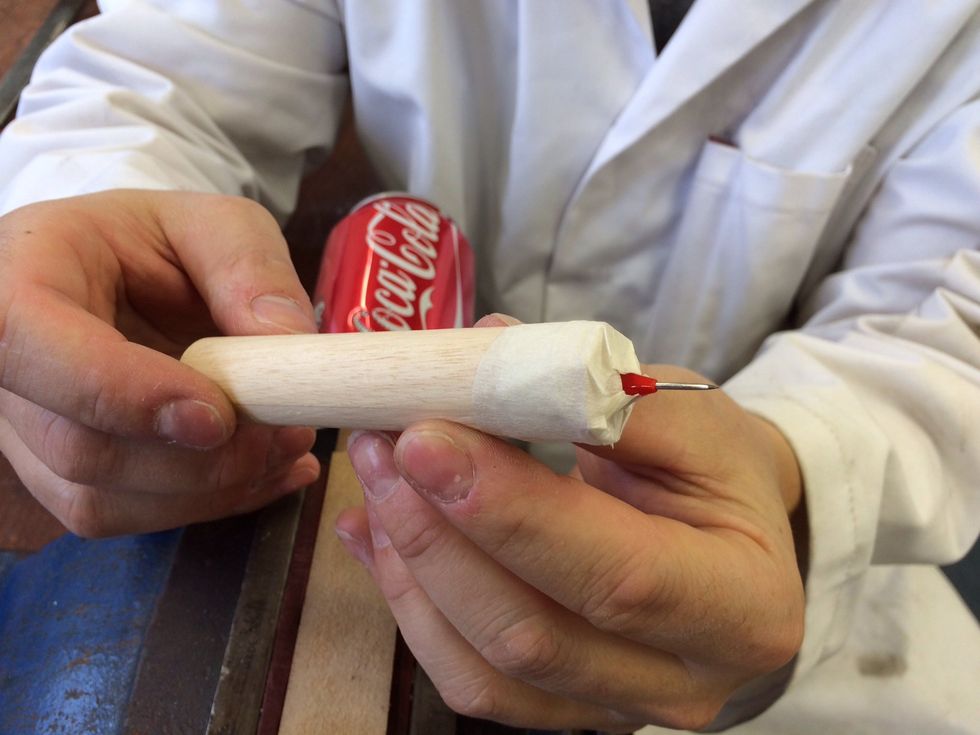
Here I have attached a large headed pin to a scrap piece of dowel to create a sharp tool punch.
Leaning the can on the scrap MDF, pierce the can along the lines if the logo (or wherever you want!)
The holes in the can...
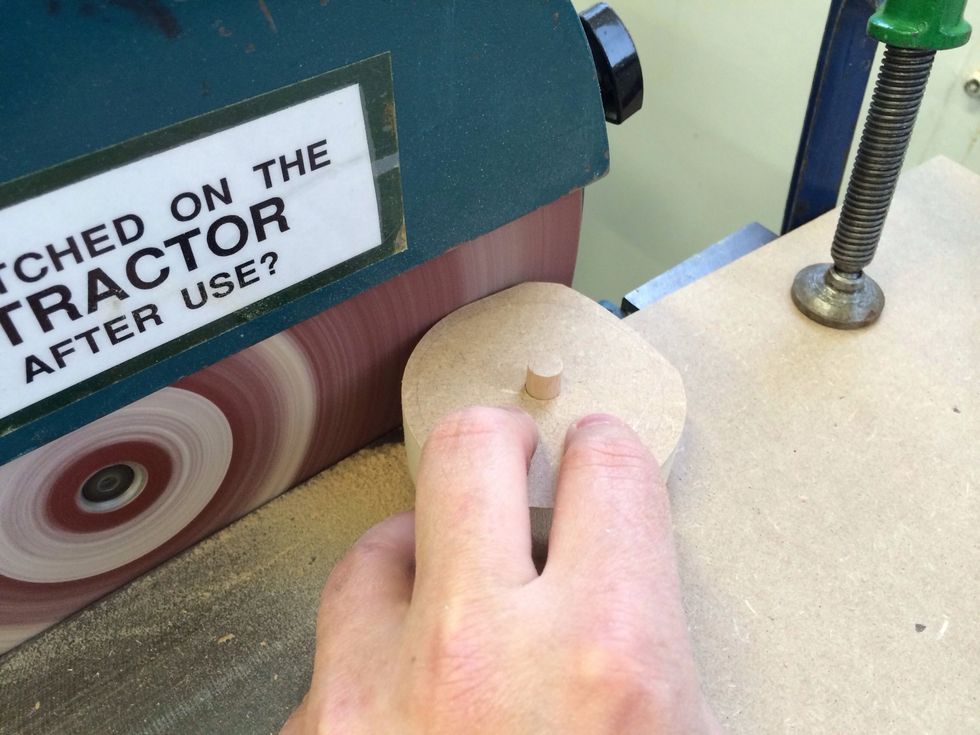
Here I have made a simple jig with some more scrap MDF and a piece of dowel. The jig is held in place by a clamp and another piece of MDF is turned to the diameter of the cams interior.

The finished MDF can sized blank piece.
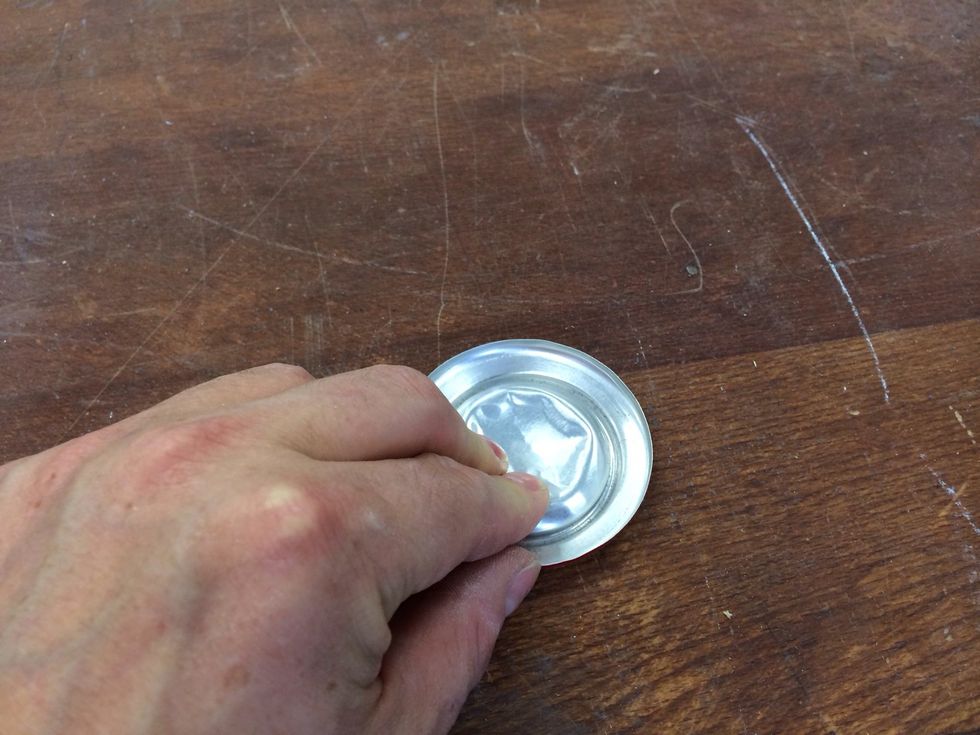
Flatten out the bottom of the can carefully by pressing down firmly bit by bit.
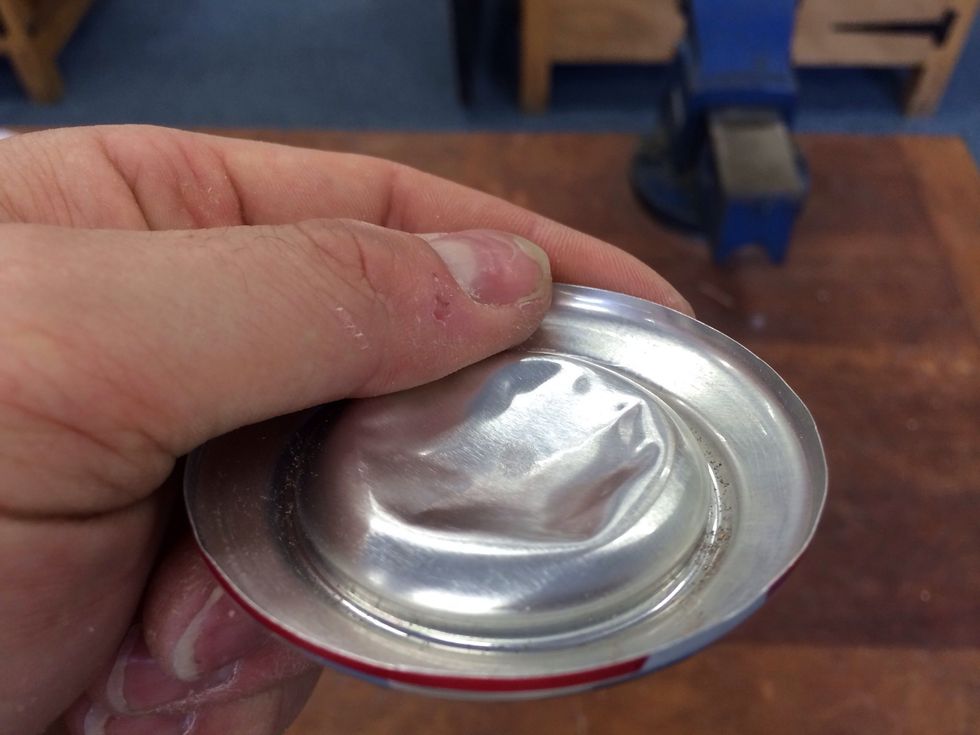
The flattened bottom will allow the MDF to sit inside the lip of the can.
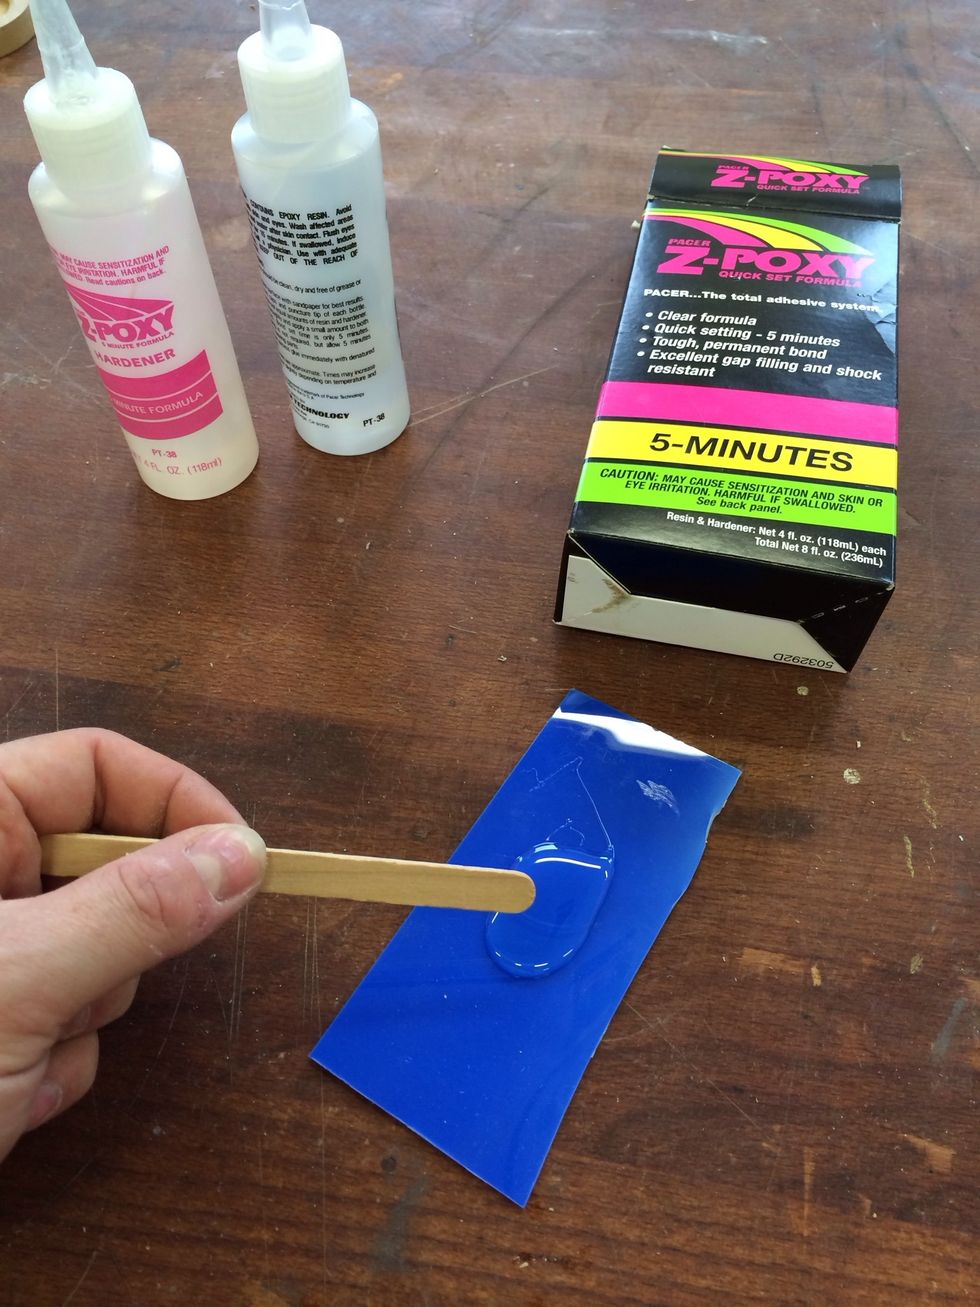
Mix up some glue, this is a two part epoxy that is good for securing various materials together and sets very quickly.
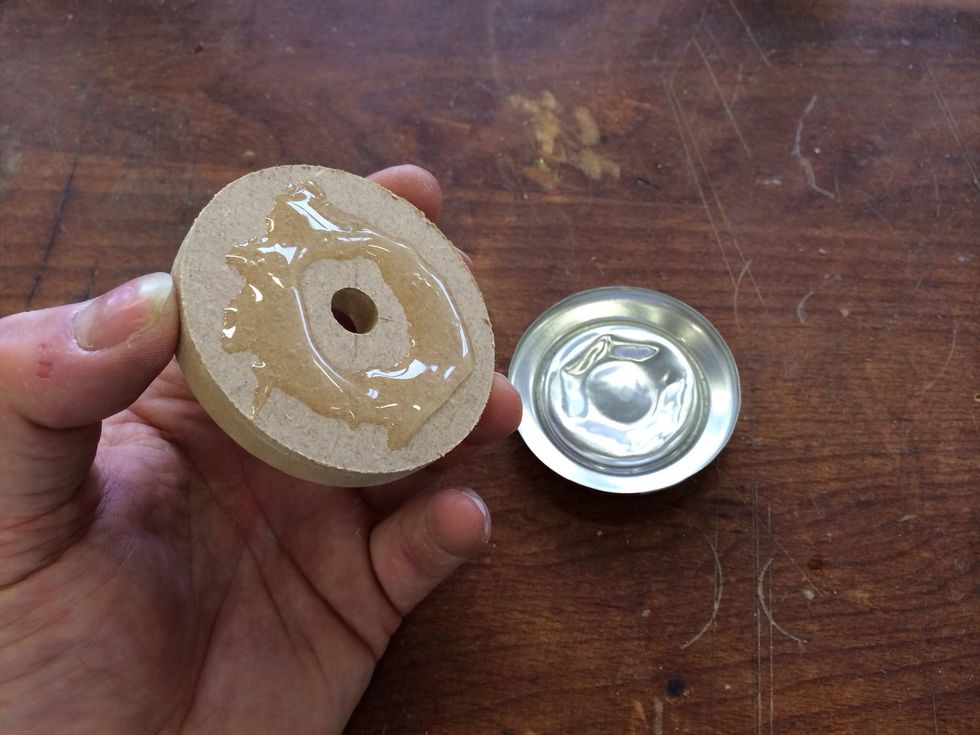
Spread the glue on the MDF.
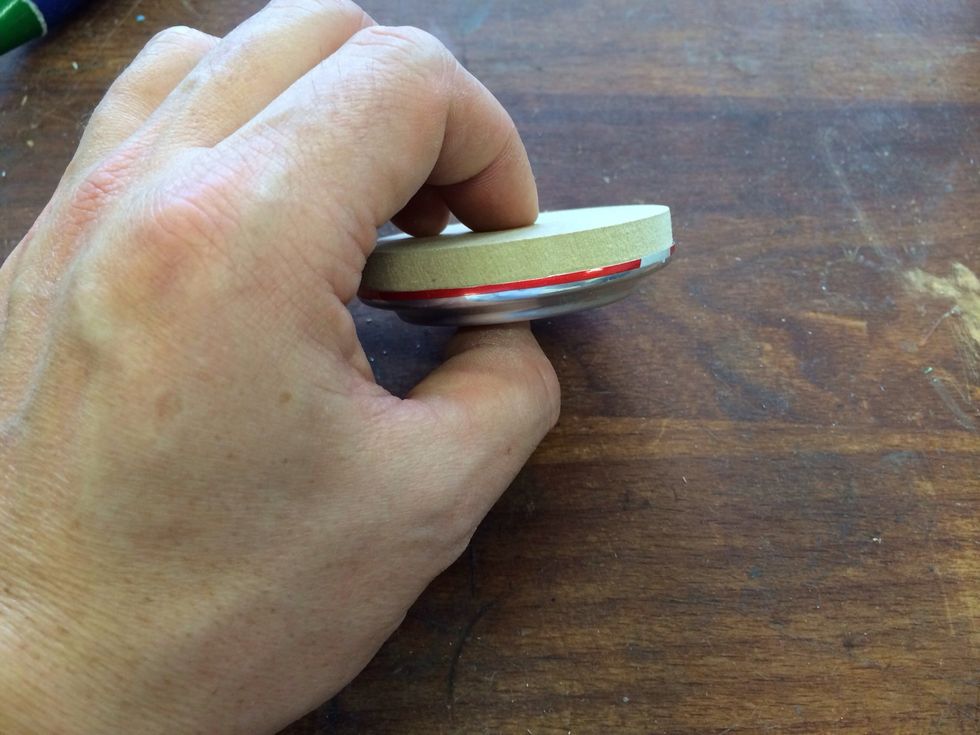
Squeeze the two together and allow to set.
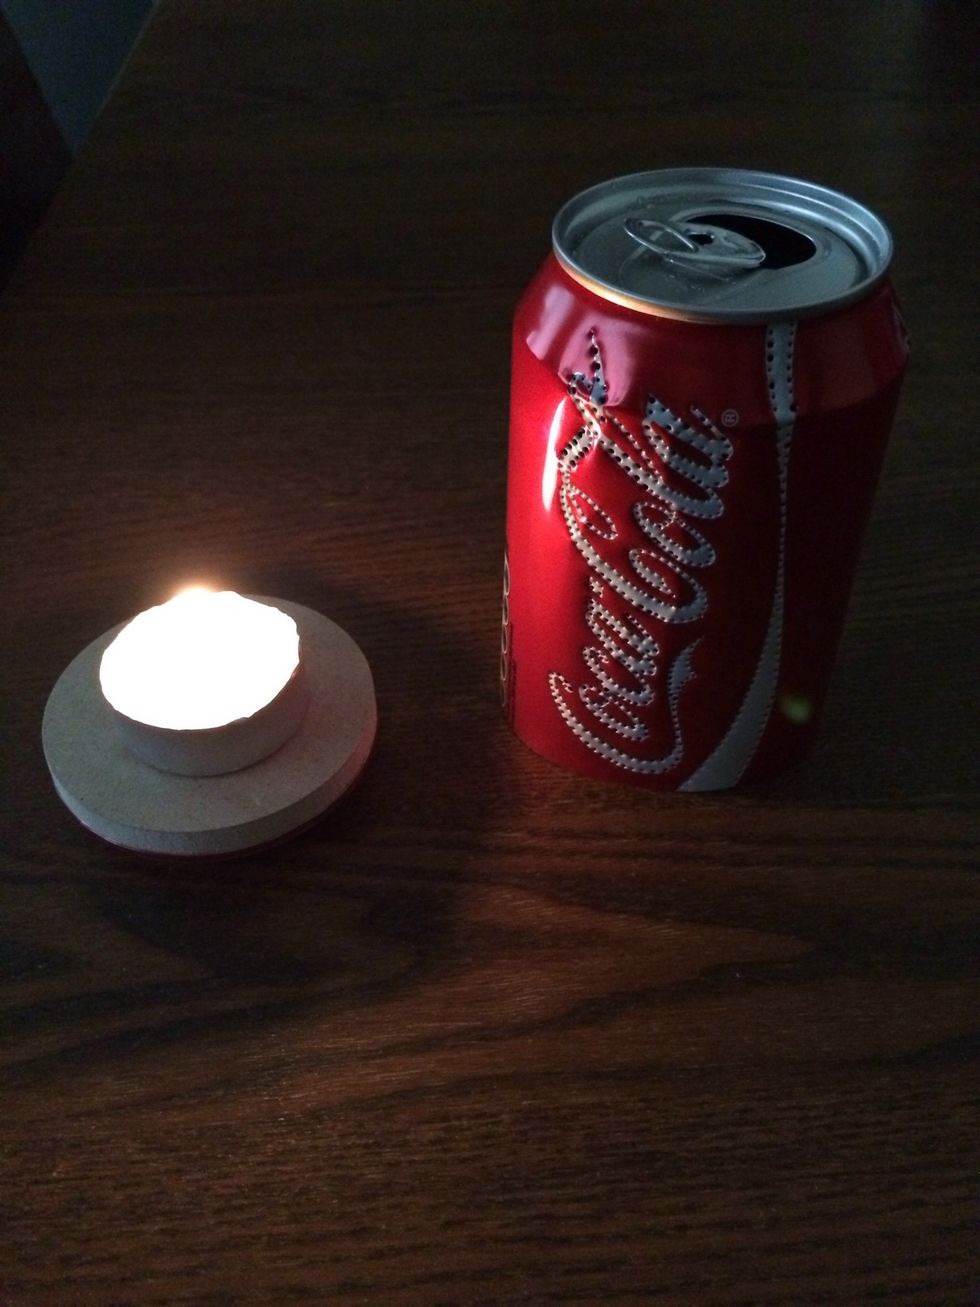
Ignite the tea light. The MDF could be drilled to accommodate the tea light but I did not have the correct diameter bit! Provided you are sensible when moving the can, the light won't move too much.
Place the top of the can on the base carefully.
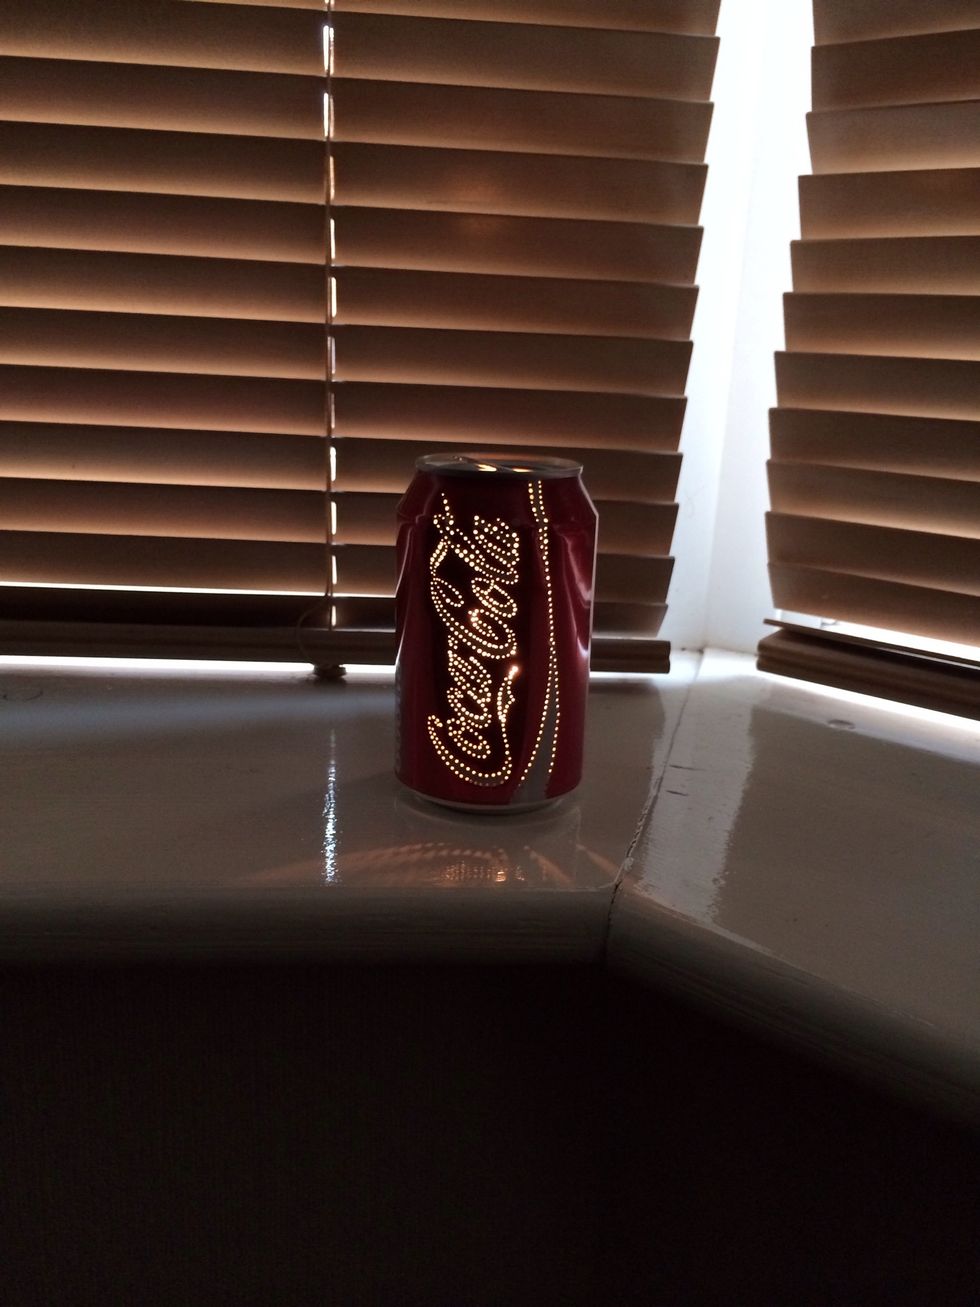
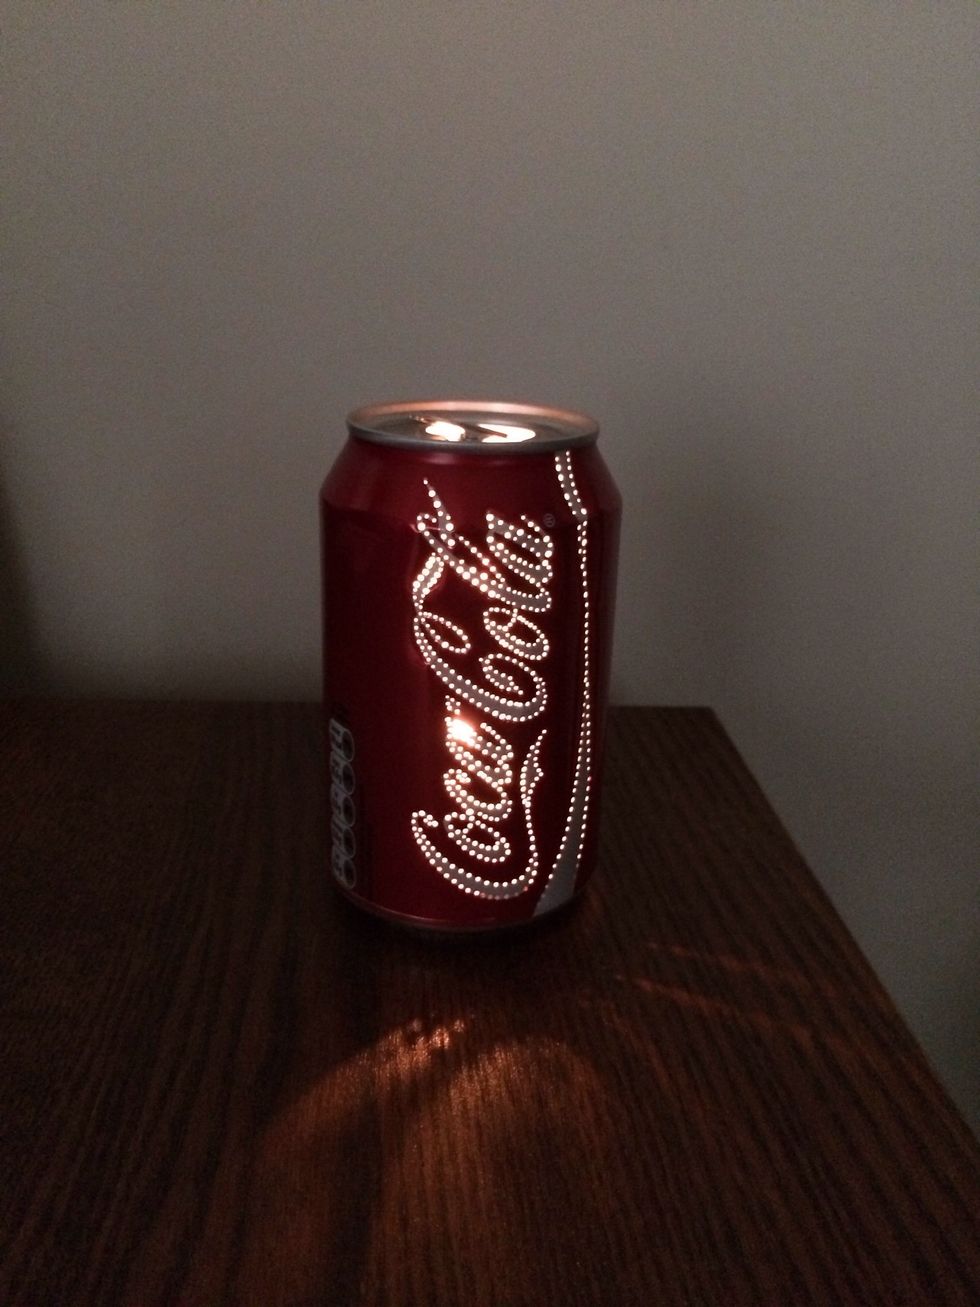
Admire your creation! Please note, the can will get hot, be careful when handling it. You can blow the candle out from the top of the can while it's lit and leave it to cool!!