The Conversation (0)
Sign Up

Apply your distressed inks to your card or tag. This technique works best with deeper tones of distressed inks.
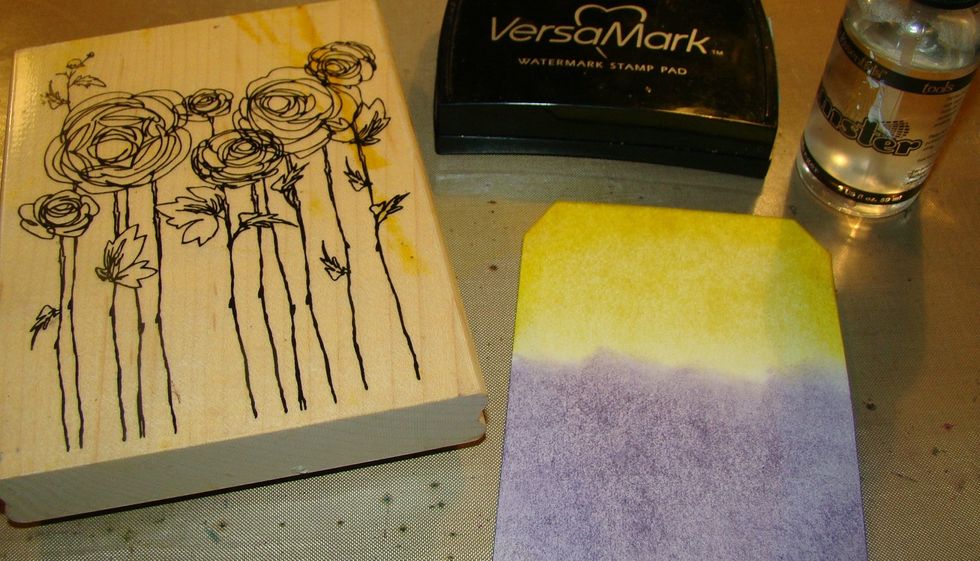
Stamp your image on the Versmark pad and then spritz with water.
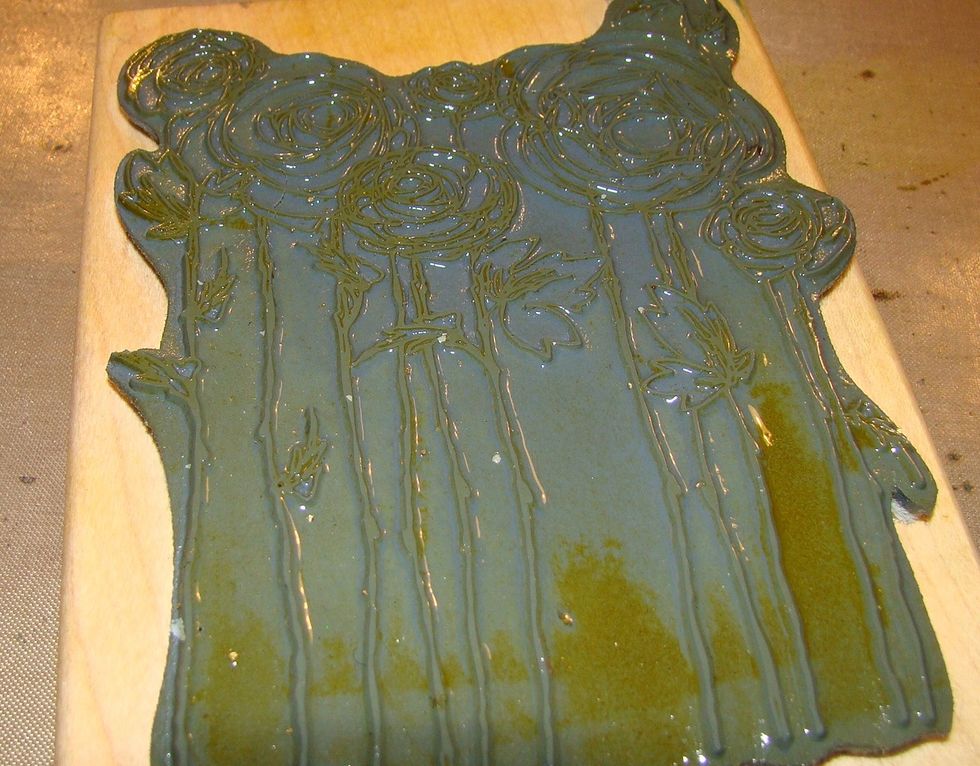
This is your stamp after you have spritz it with water.
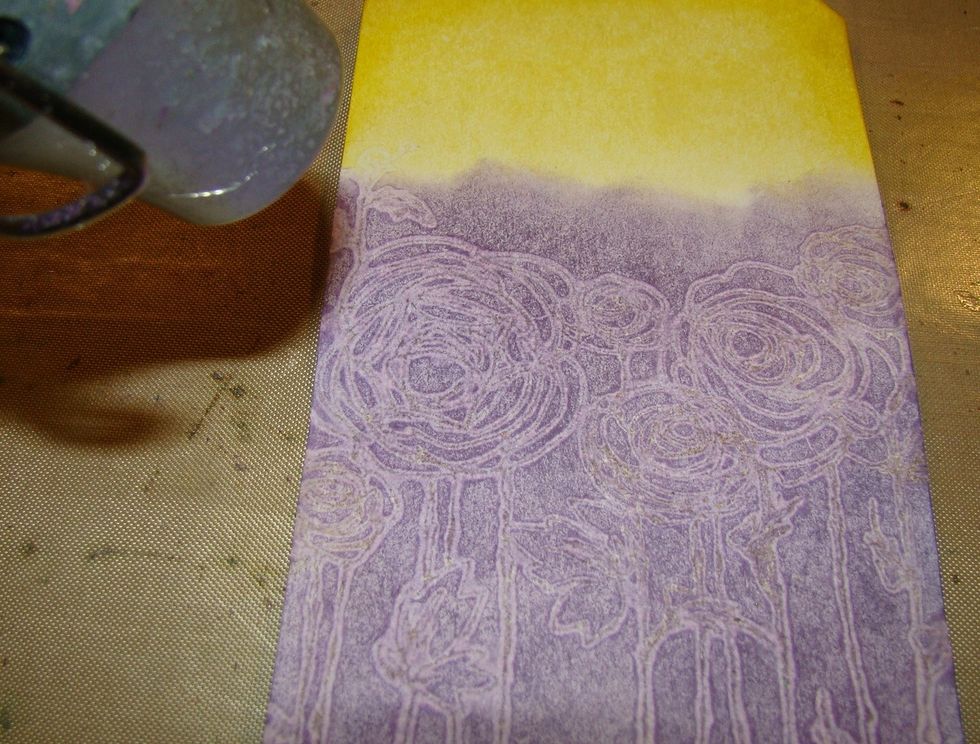
After stamping your image, heat set with heating tool.
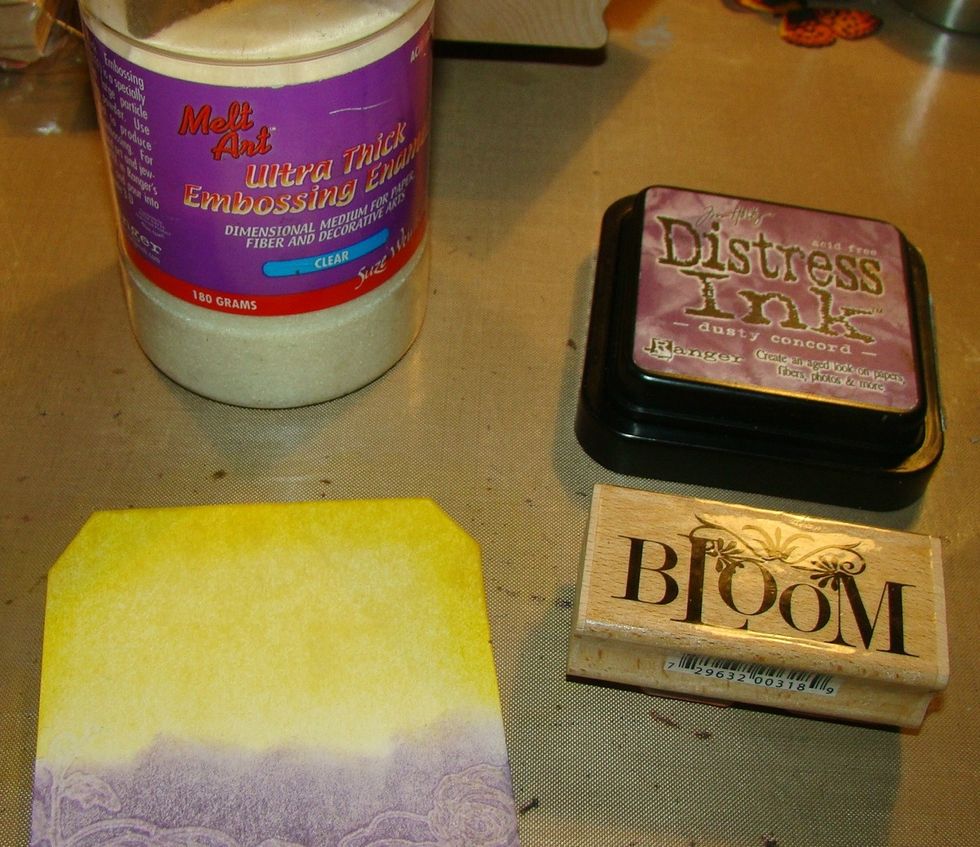
Using Distress Ink, stamp your sentiment. Distress Inks dry slow so this enables you to then apply clear embossing powder or UTEE to the sentiment. Then heat set.

See how the clear embossing powder gives your stamped image a nice shine.
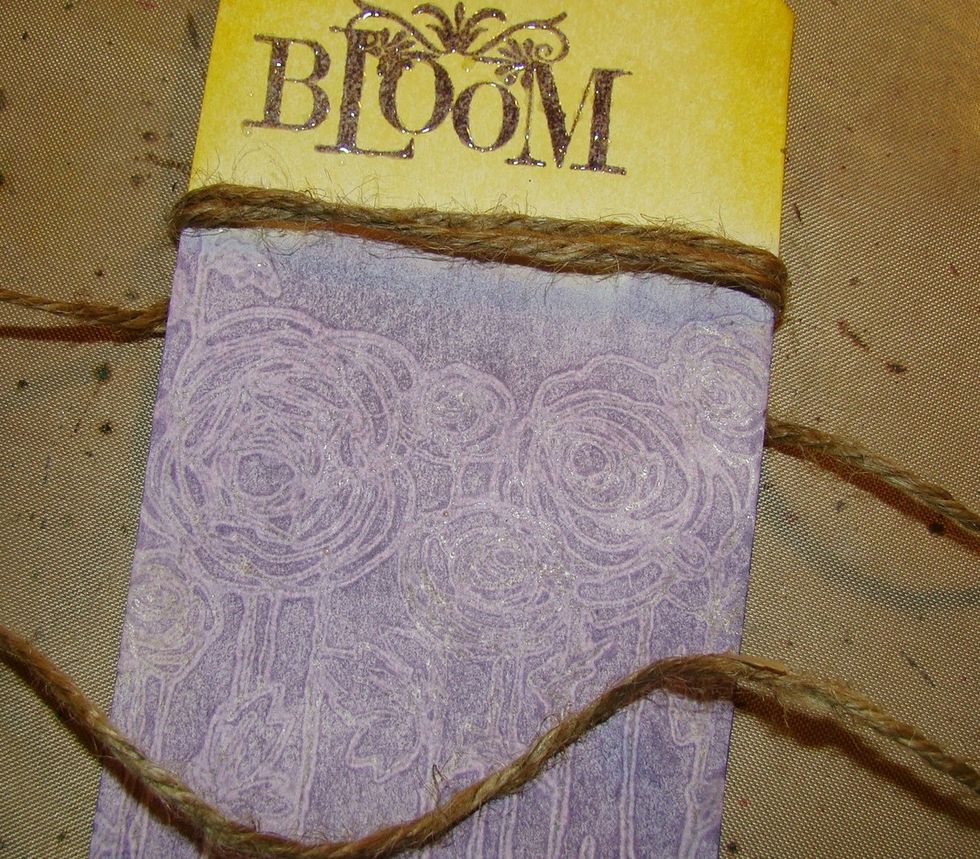
From here you can use your creative imagination to embellish your tag or card. I chose jute and wrapped it around 3 times, attached a small charm "Love" and tied to finish off.

Using Glossy Accents I also decided to add some lavender Dew Drops for added interest to the top of my Tag
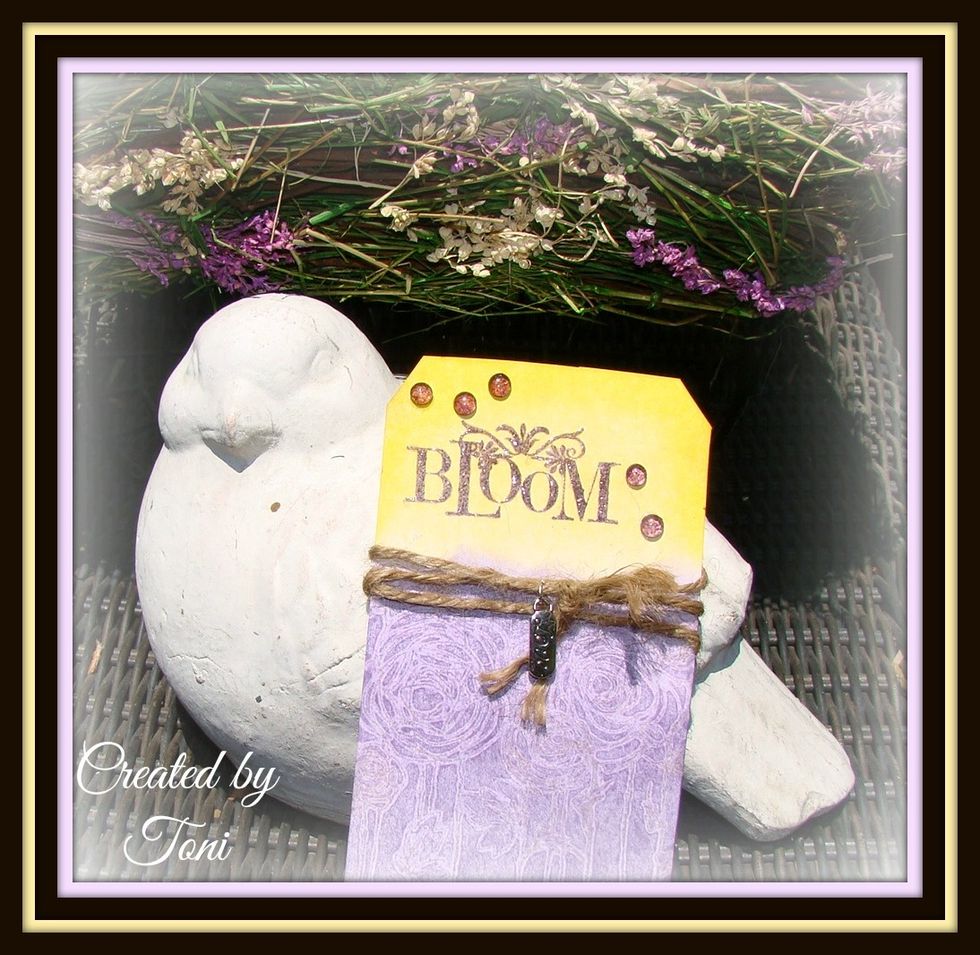
And here is the finished tag. Real simple but effective technique. Hope you enjoyed !