The Conversation (0)
Sign Up
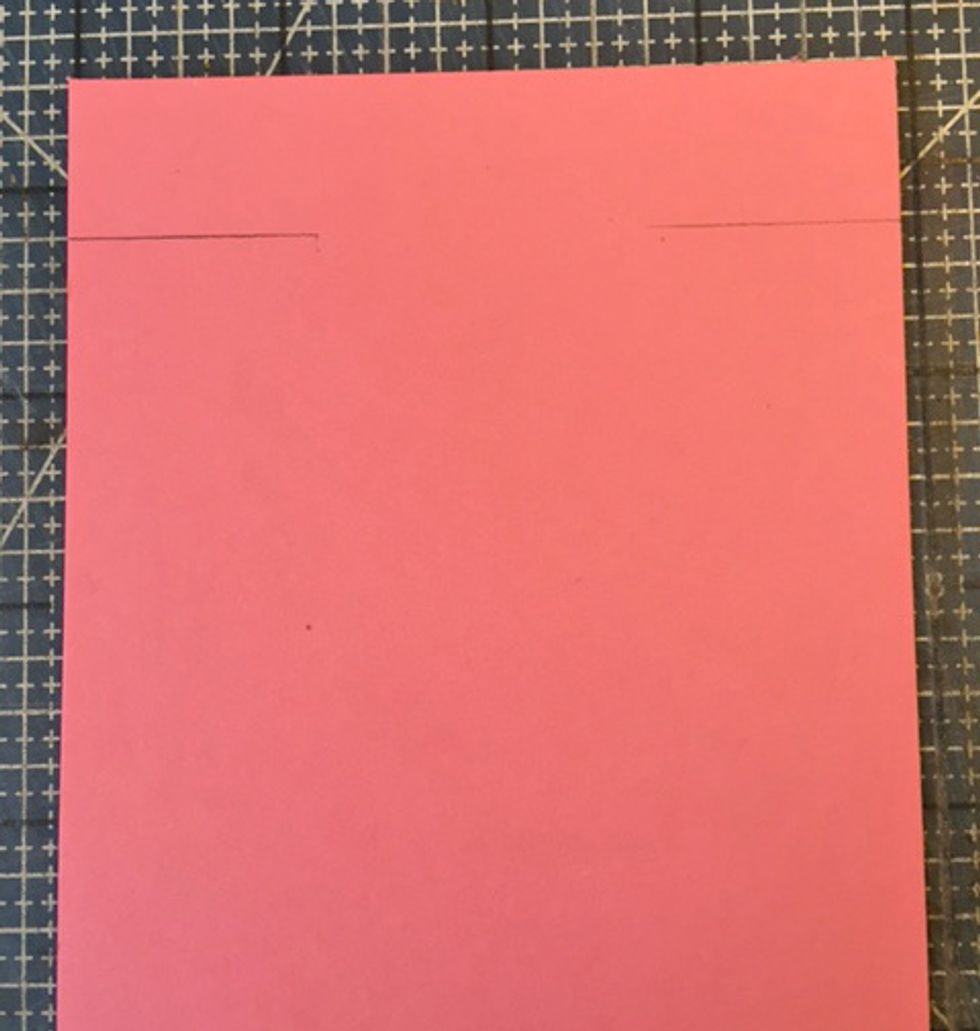
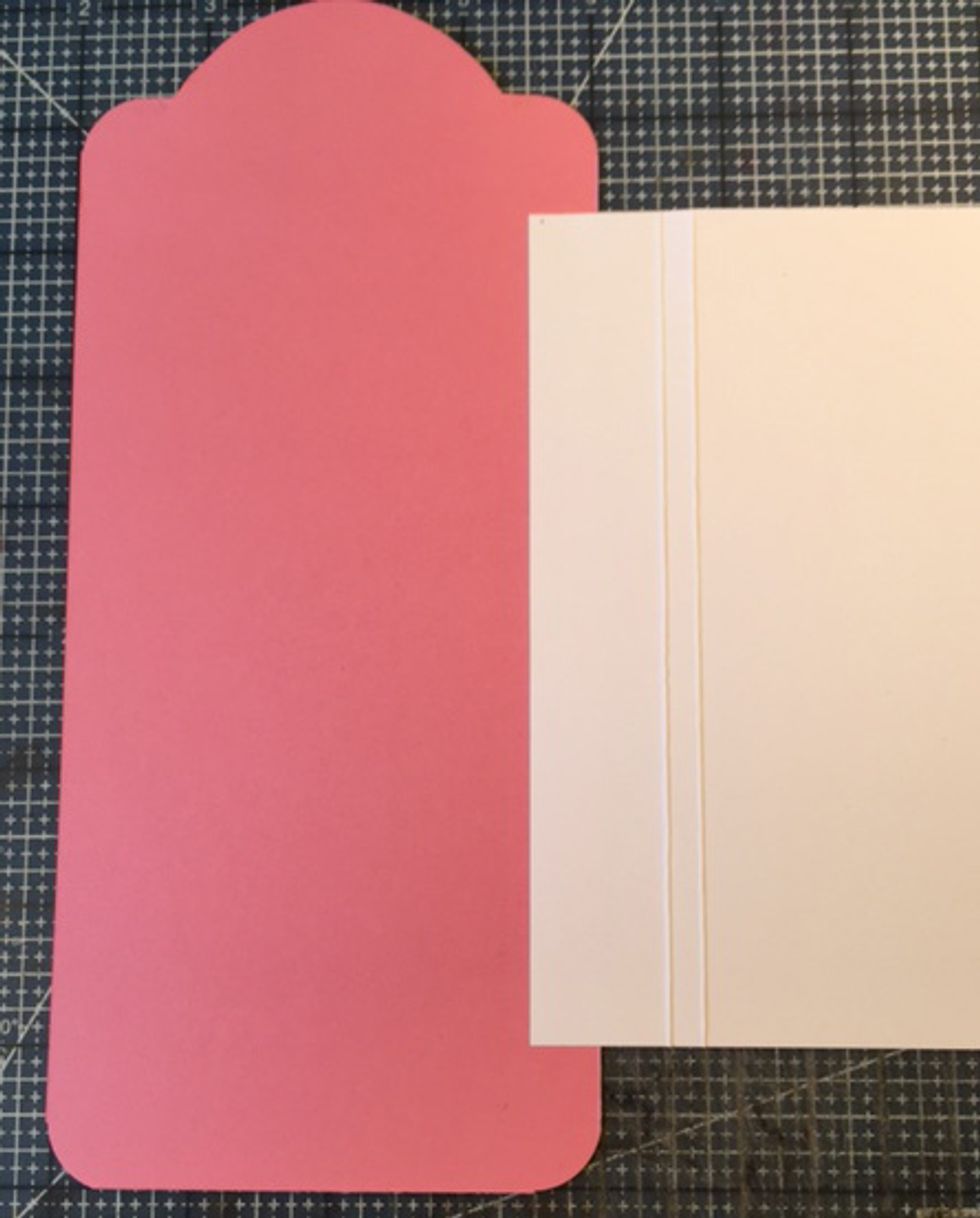
Cut a 4" x 9" tag from colored card stock. Mark 3/4" down from top edge.
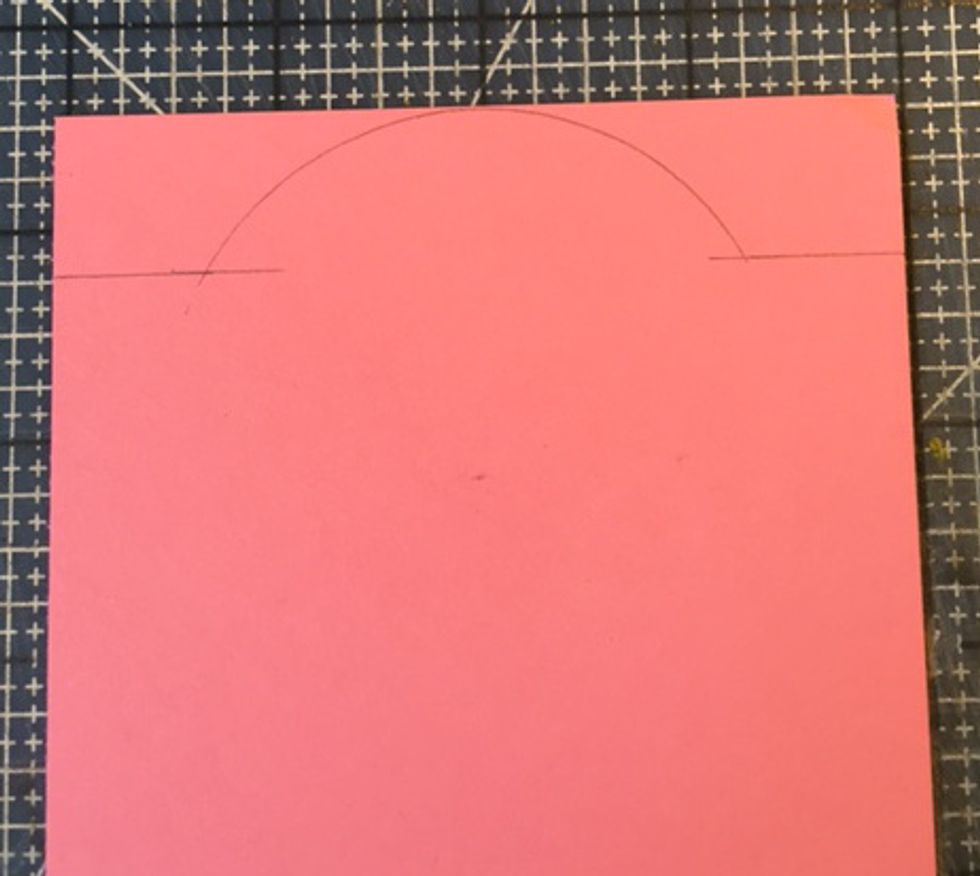
Mark a 3" diameter circle above marked line, centered.
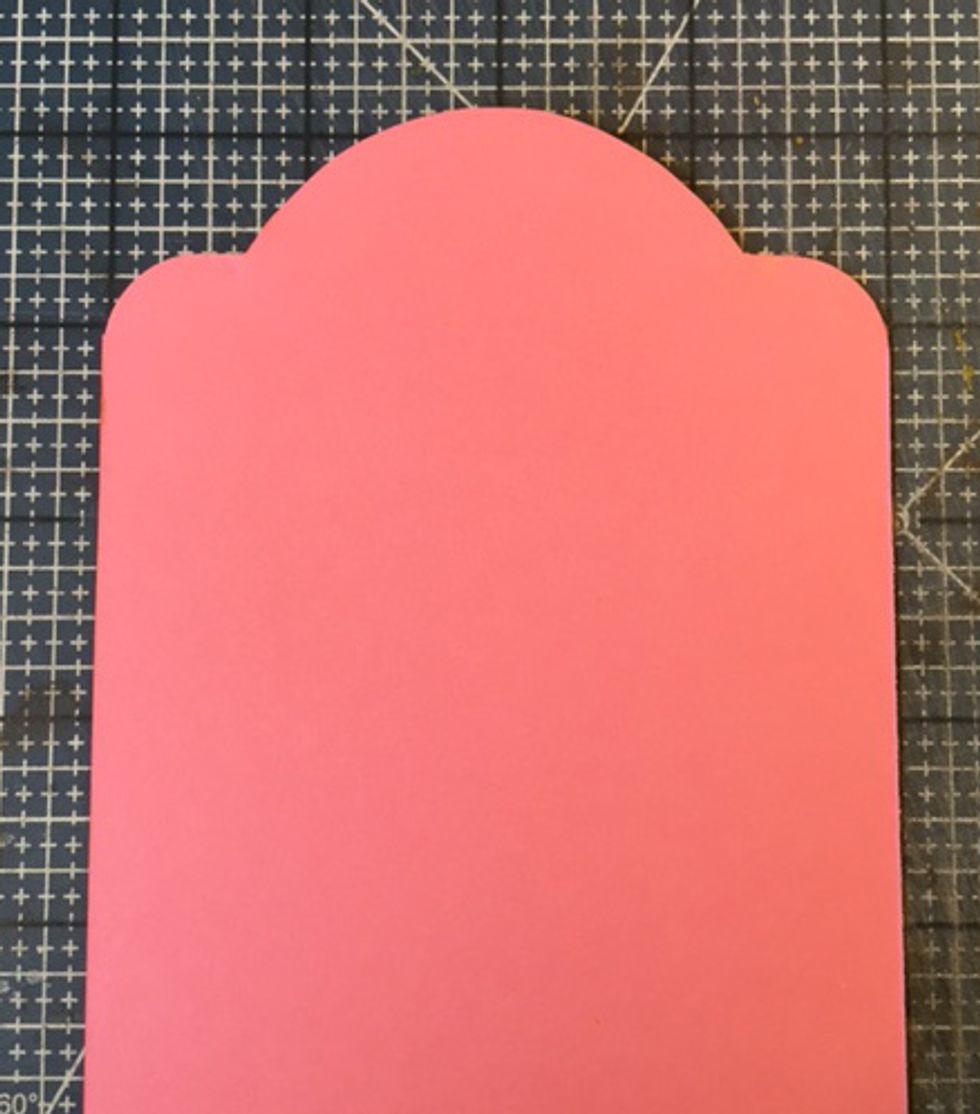
Cut out top of tag on marked line.
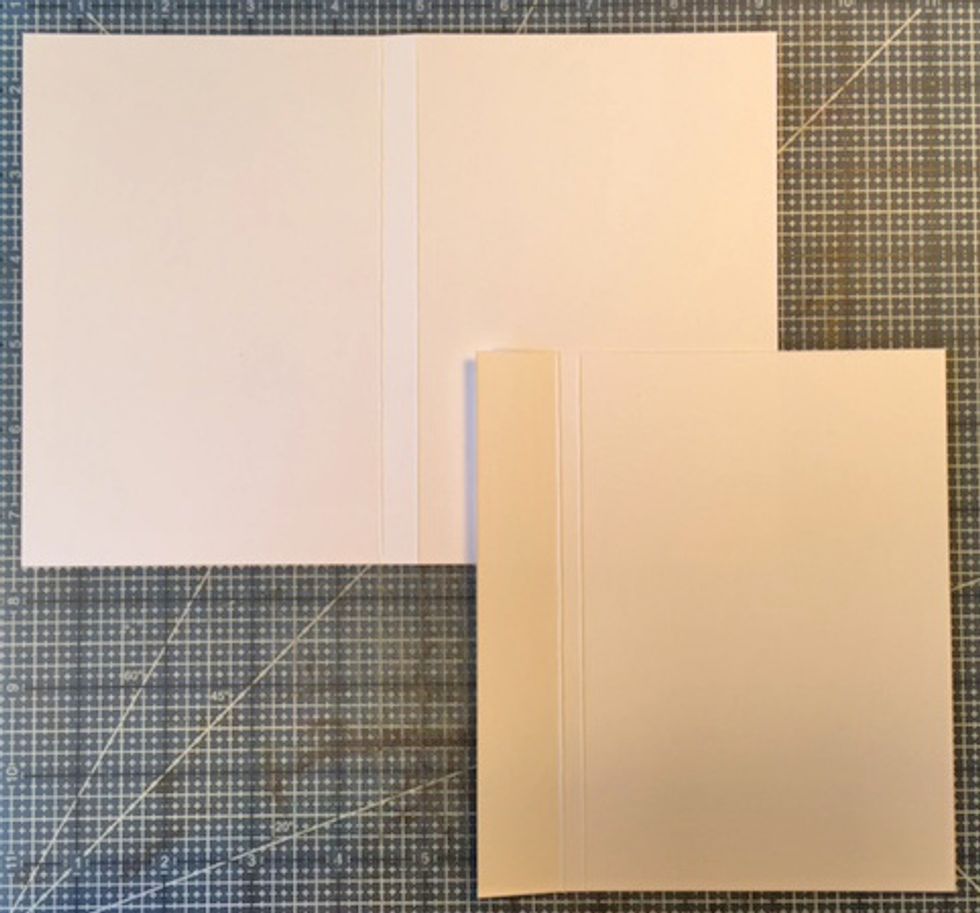
Cut (2) 6 1/4"h x 8 7/8"w rectangles of card stock for left flap. Score at 4 1/4" from each side. Cut (2) 5 1/2"h x 6 1/4"w rectangles for right flap. Score at 1" and 1 1/4" from one side.
Attach 1" section of right flap to right side of tag, overlapping 1/2" and centered along side.
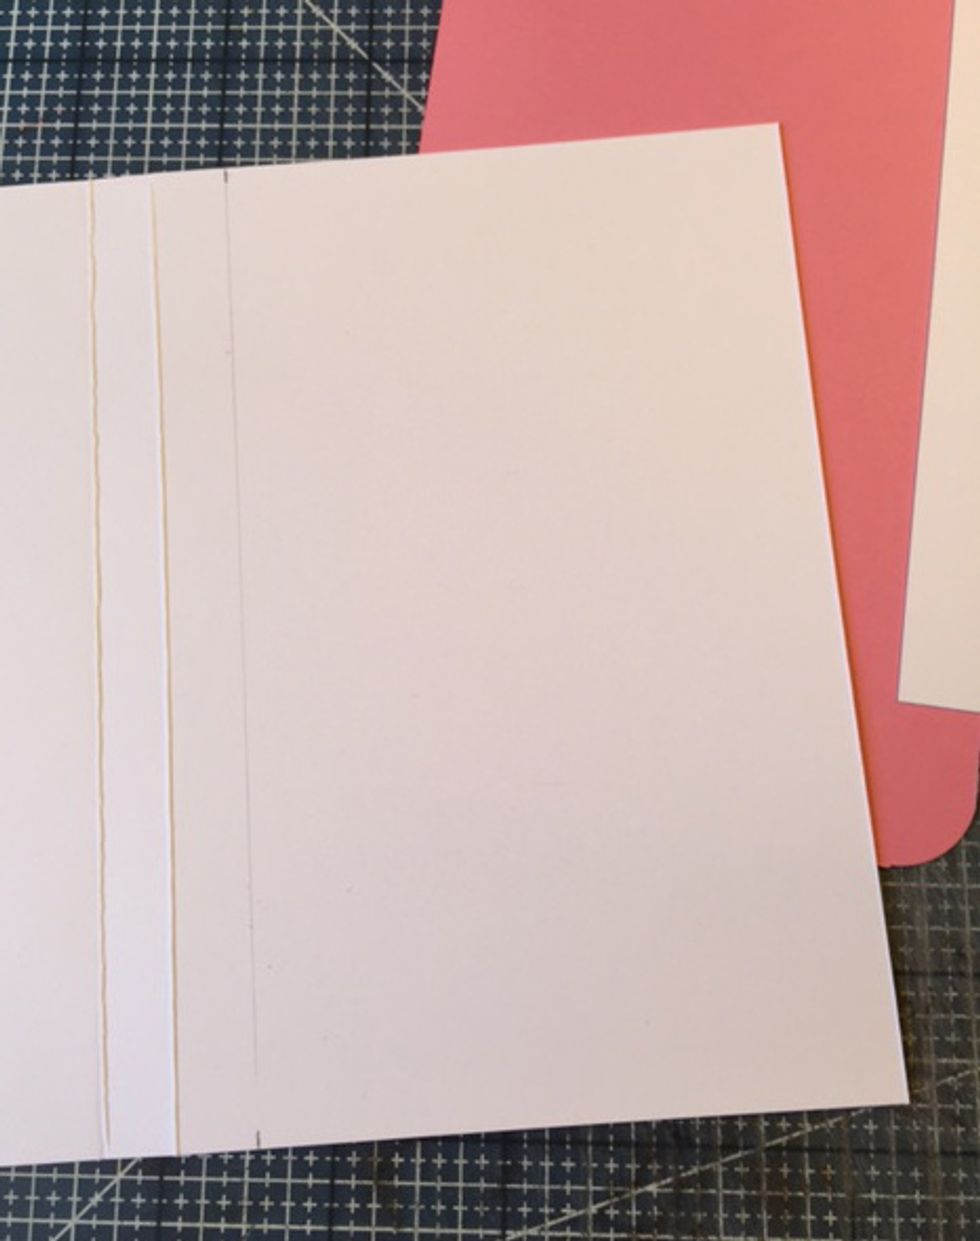
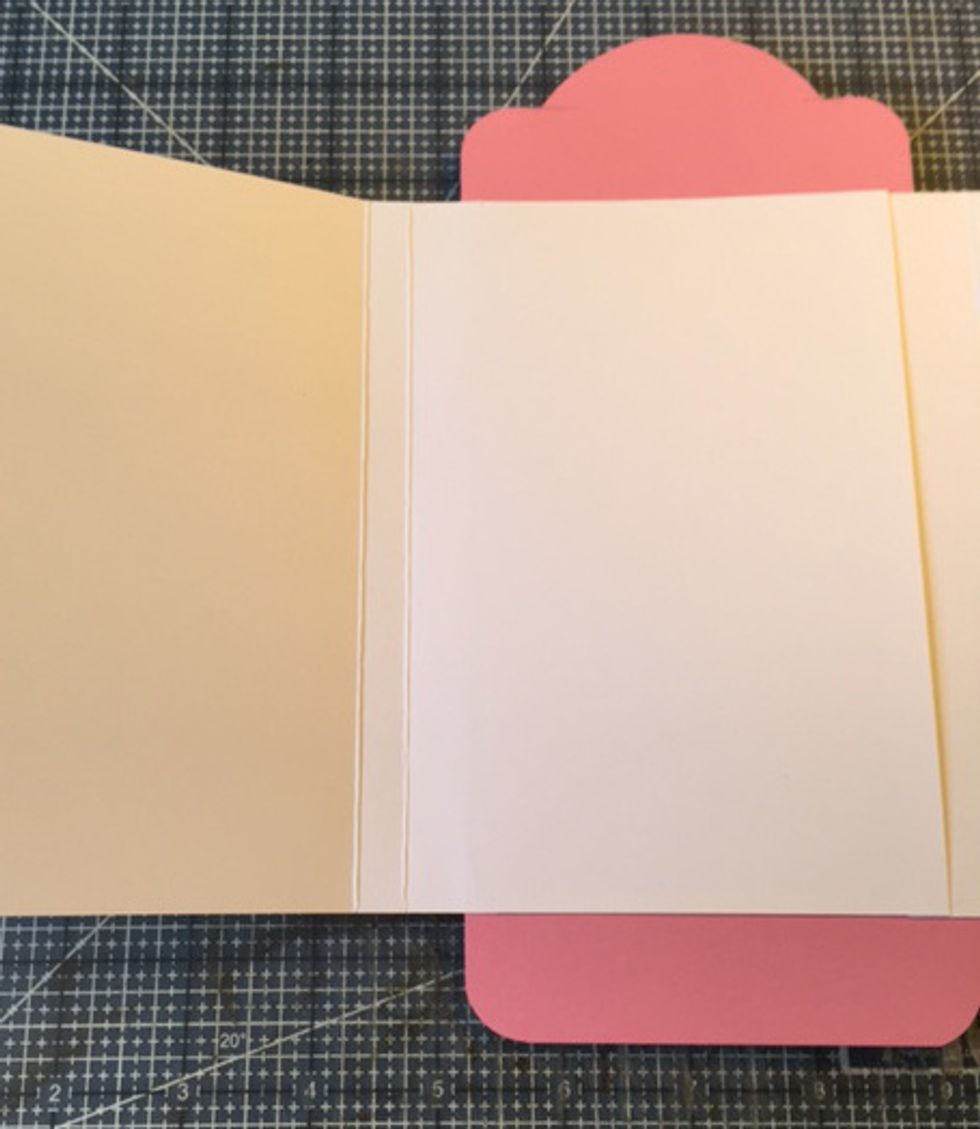
For left flap, mark a line 1/2" from fold on one side.
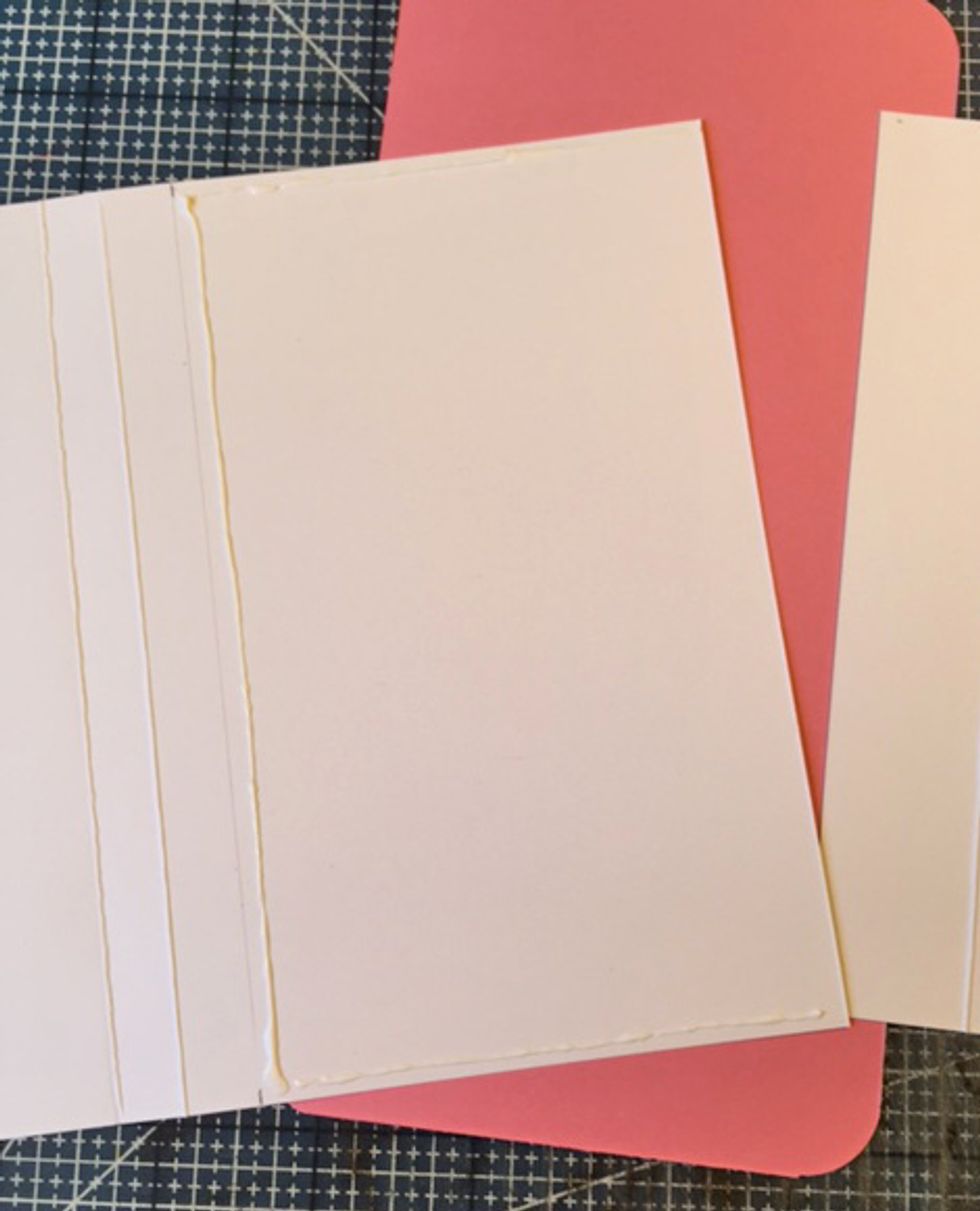
Add glue in a U-shape along top and bottom and along marked line.

Attach left flap to tag, allowing the first fold to overhang 1/2" on left side of tag. Align with right flap.
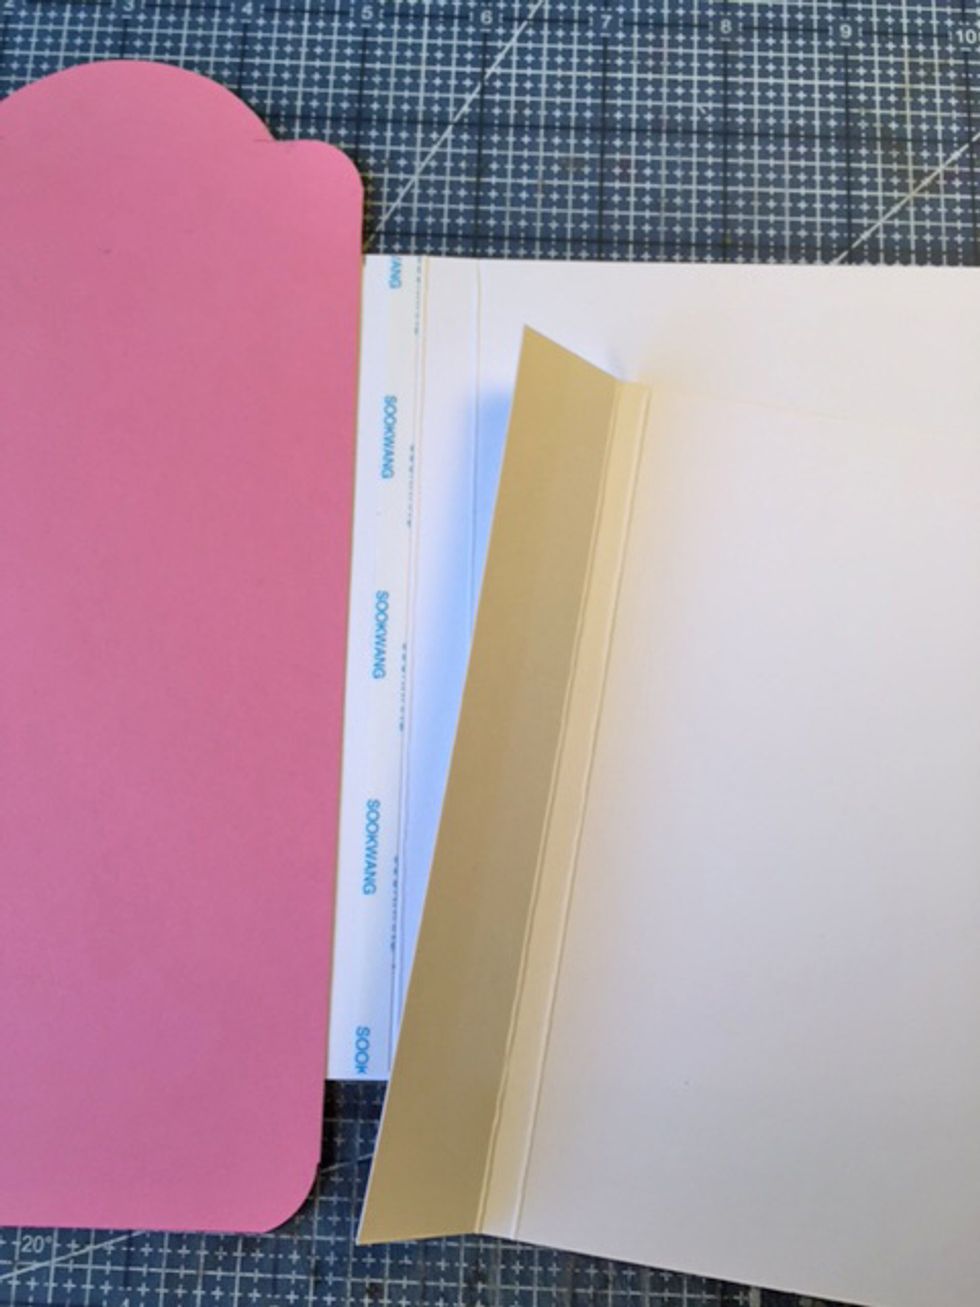
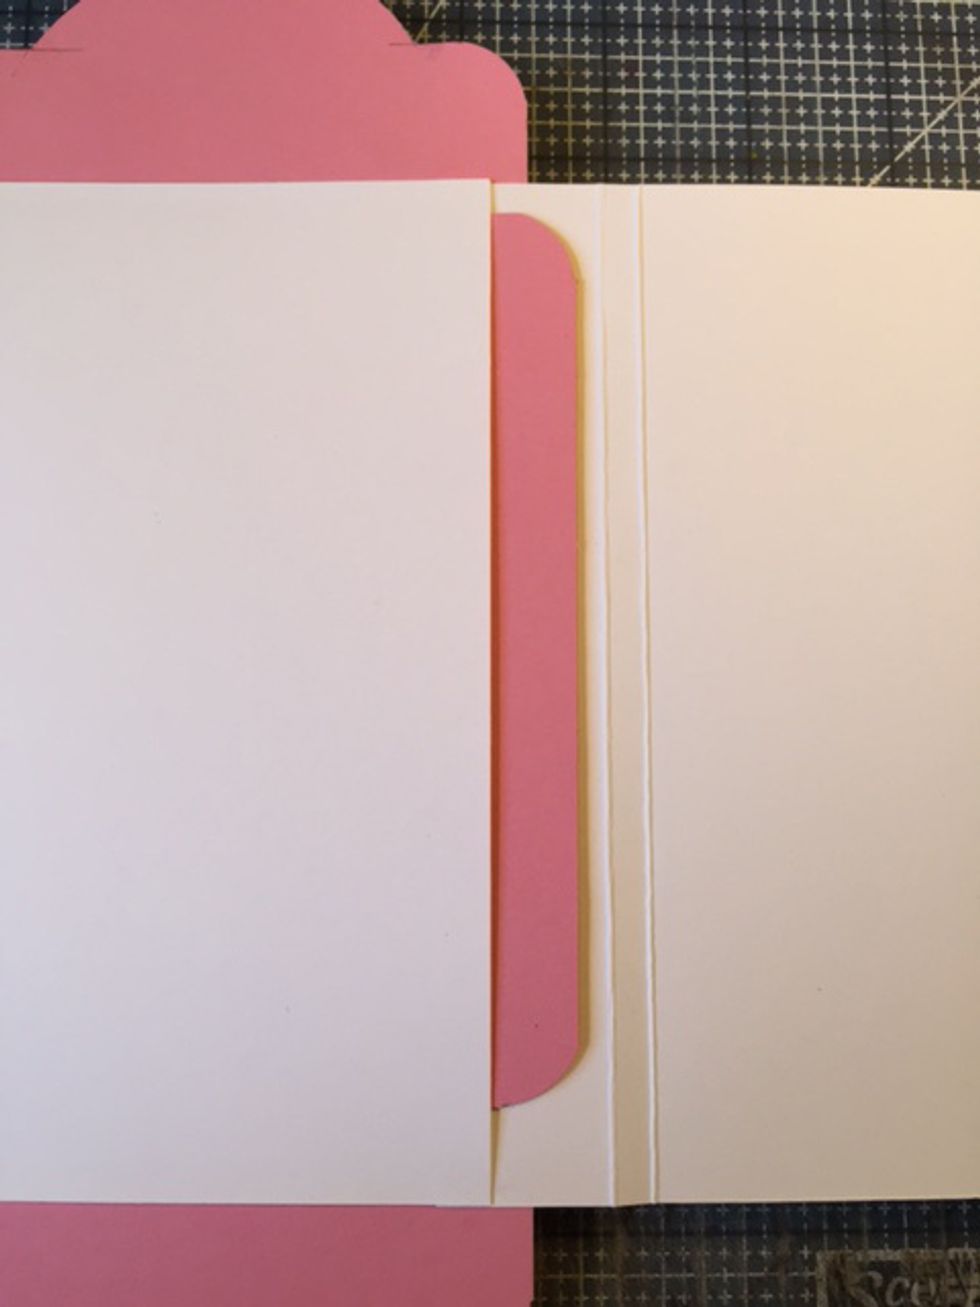
Flip tag over and repeat steps to add right flap. Attach the back of the flaps together with glue or adhesive.

Sides of flaps will align to form sides of Tag-olio.
Repeat, adding left flap
Fold flaps in to create Tag-olio.
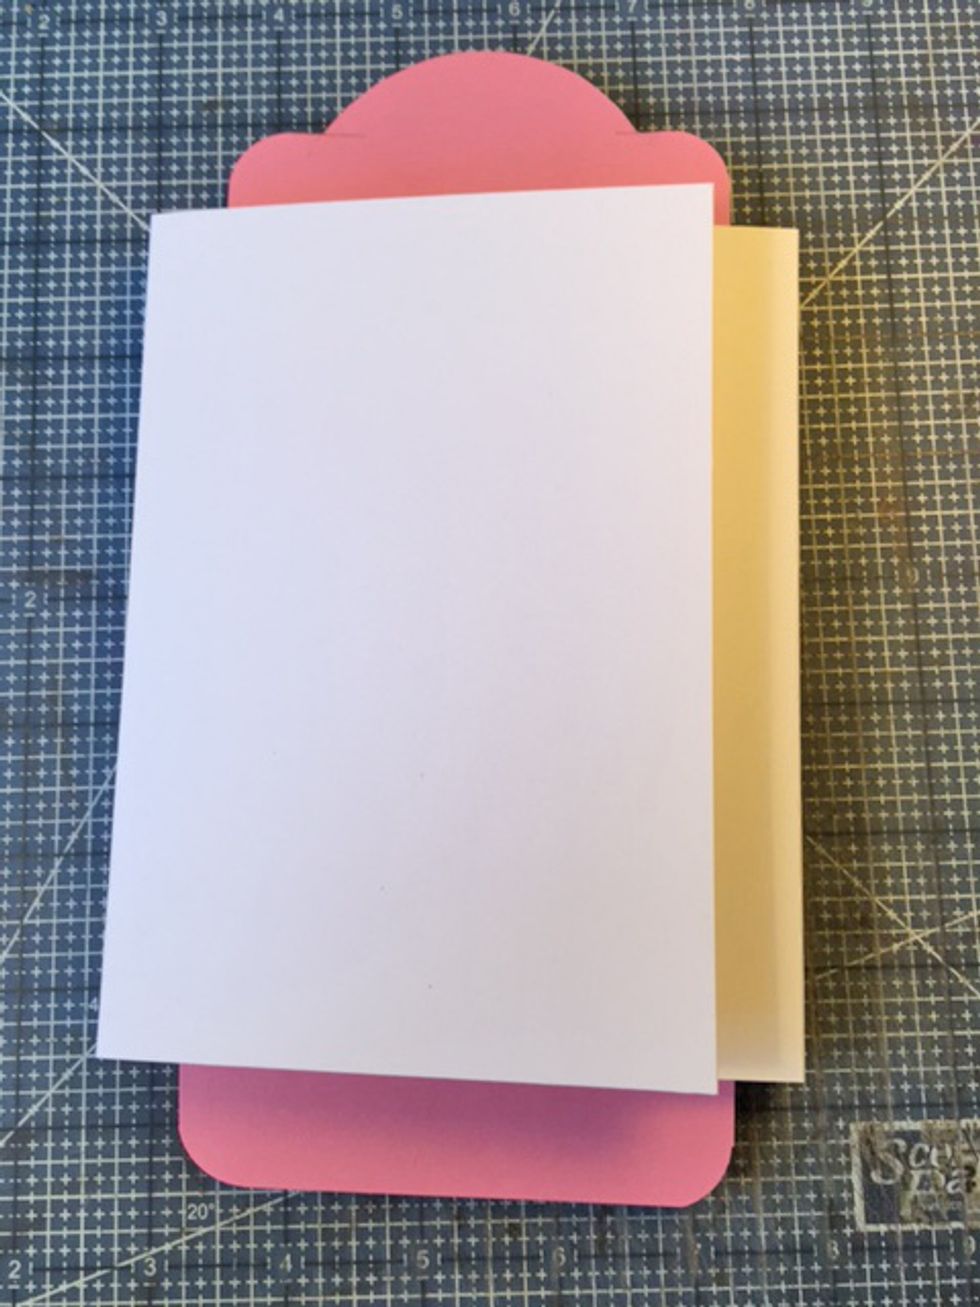
Add a 4" x 5 1/2" card stock tag to pocket.
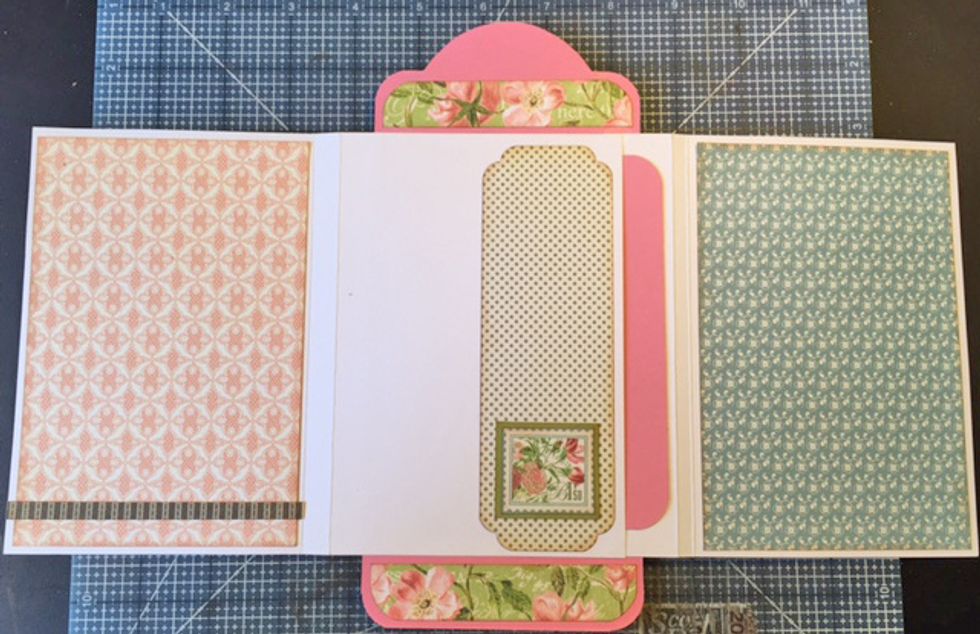
Add patterned paper and embellishments to inside flaps/pages.
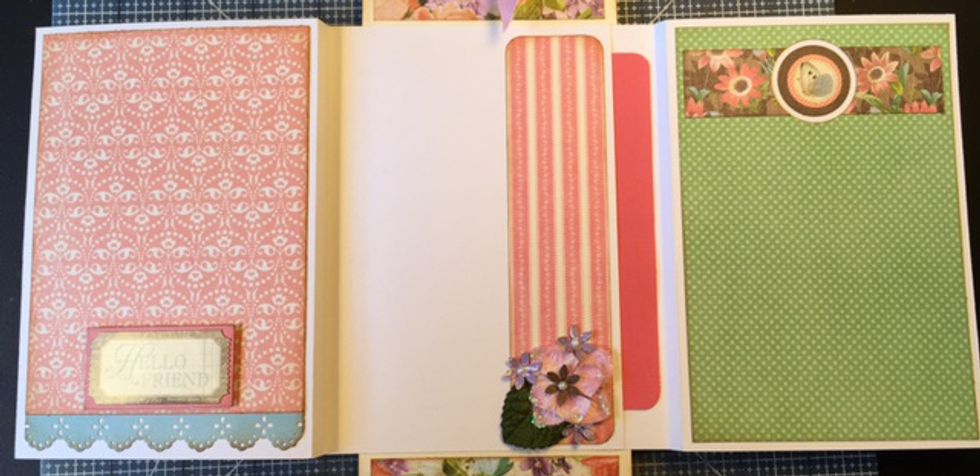
Add embellishments as desired.
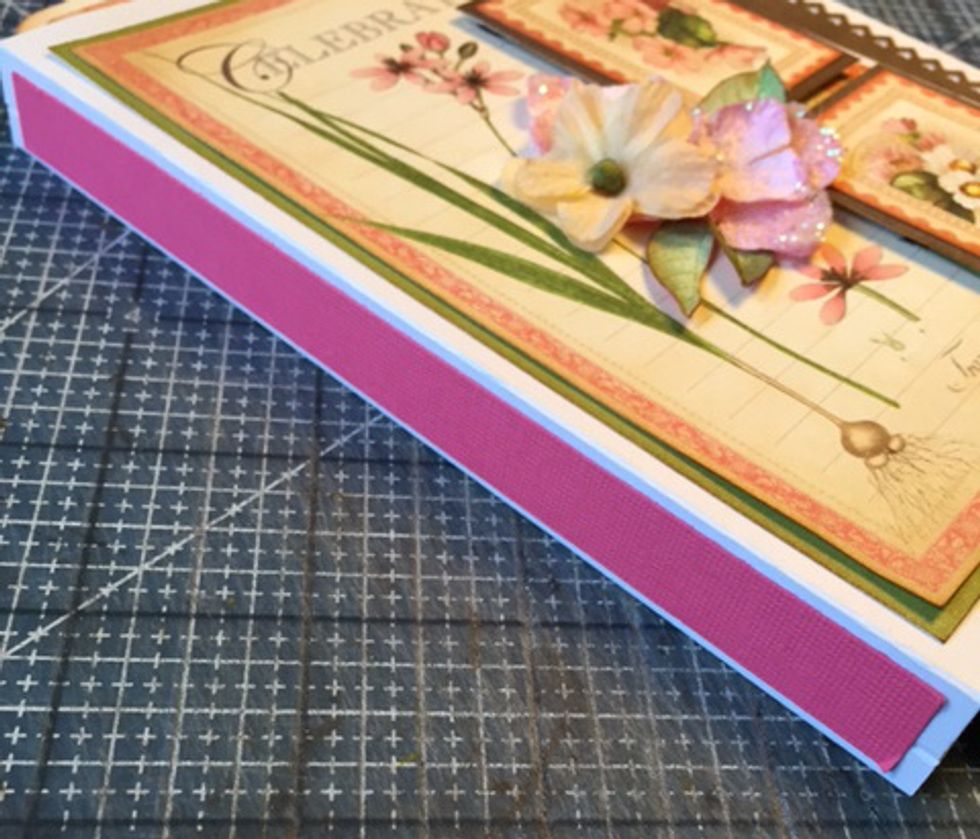
Add 1/2" strips of colored yardstick tot sides of Tag-olio.

Finish covers as desired with patterned paper and embellishments.