STEPS
TOOLS
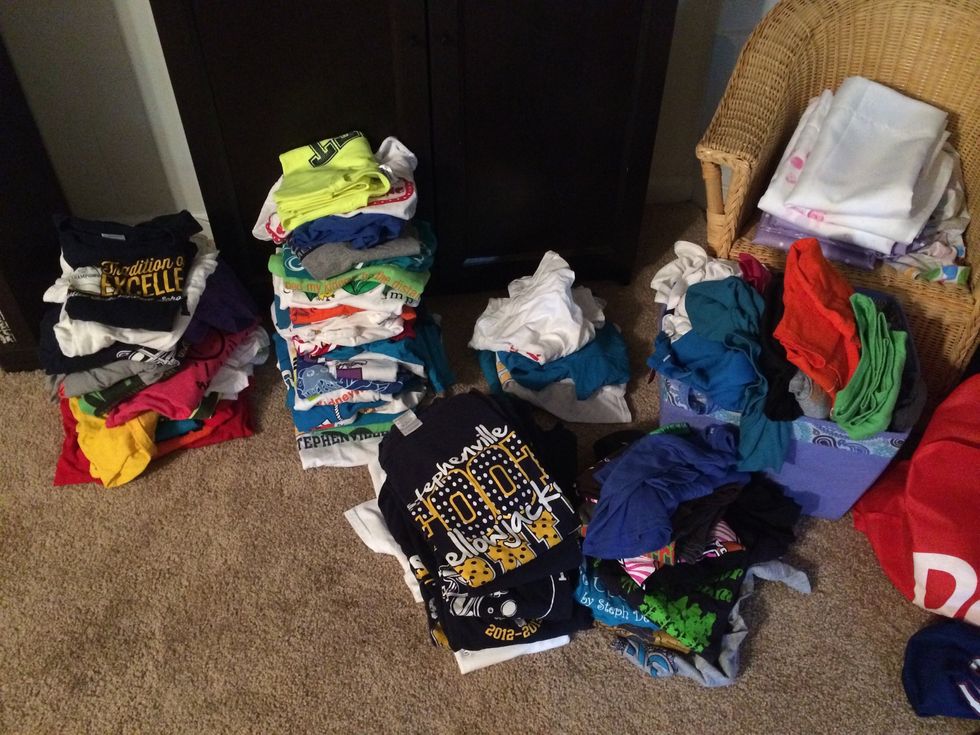
Gather your old tshirts! I used about 30 for this quilt.

Using a 12x12 template, cut out the graphic from each shirt. If you have a two sided shirt, cut the shirt apart first.
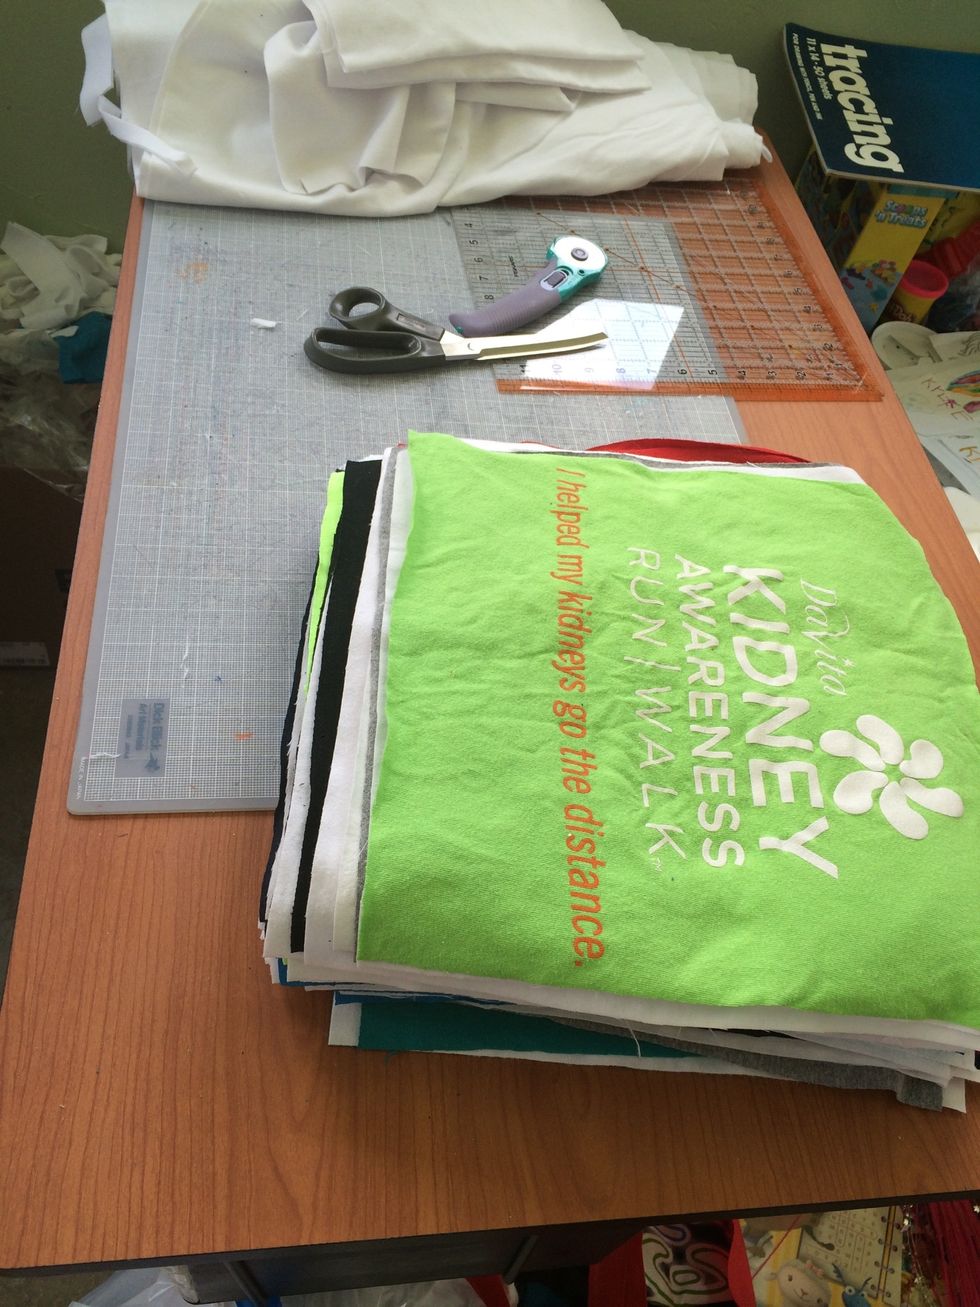
Cut all shirts, then cut out 30 squares of flannel. I chose to keep it simple and just used white.
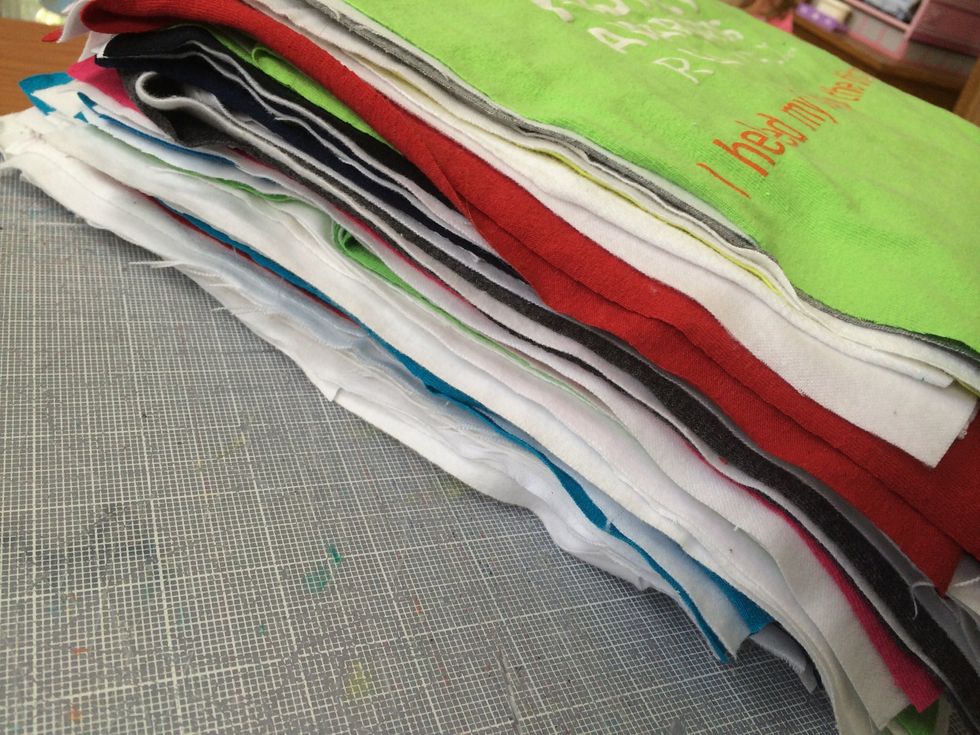
Make a tshirt sandwich stack. For most sandwhiches, I used the front and back if the same shirt with a piece of flannel in the middle. If the back was solid advertising, I used two fronts instead.
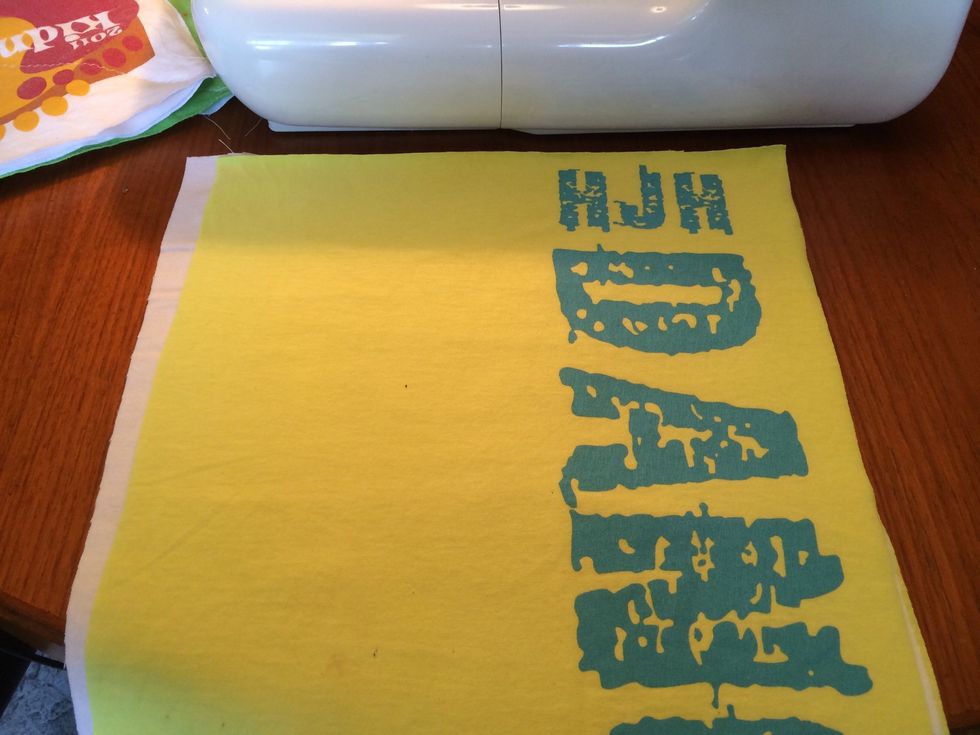
Before sewing, make sure that the graphics on both sides are facing out. Now SMOOTH the square. It isn't as important to have the edges match as it is to have all of the wrinkles out.
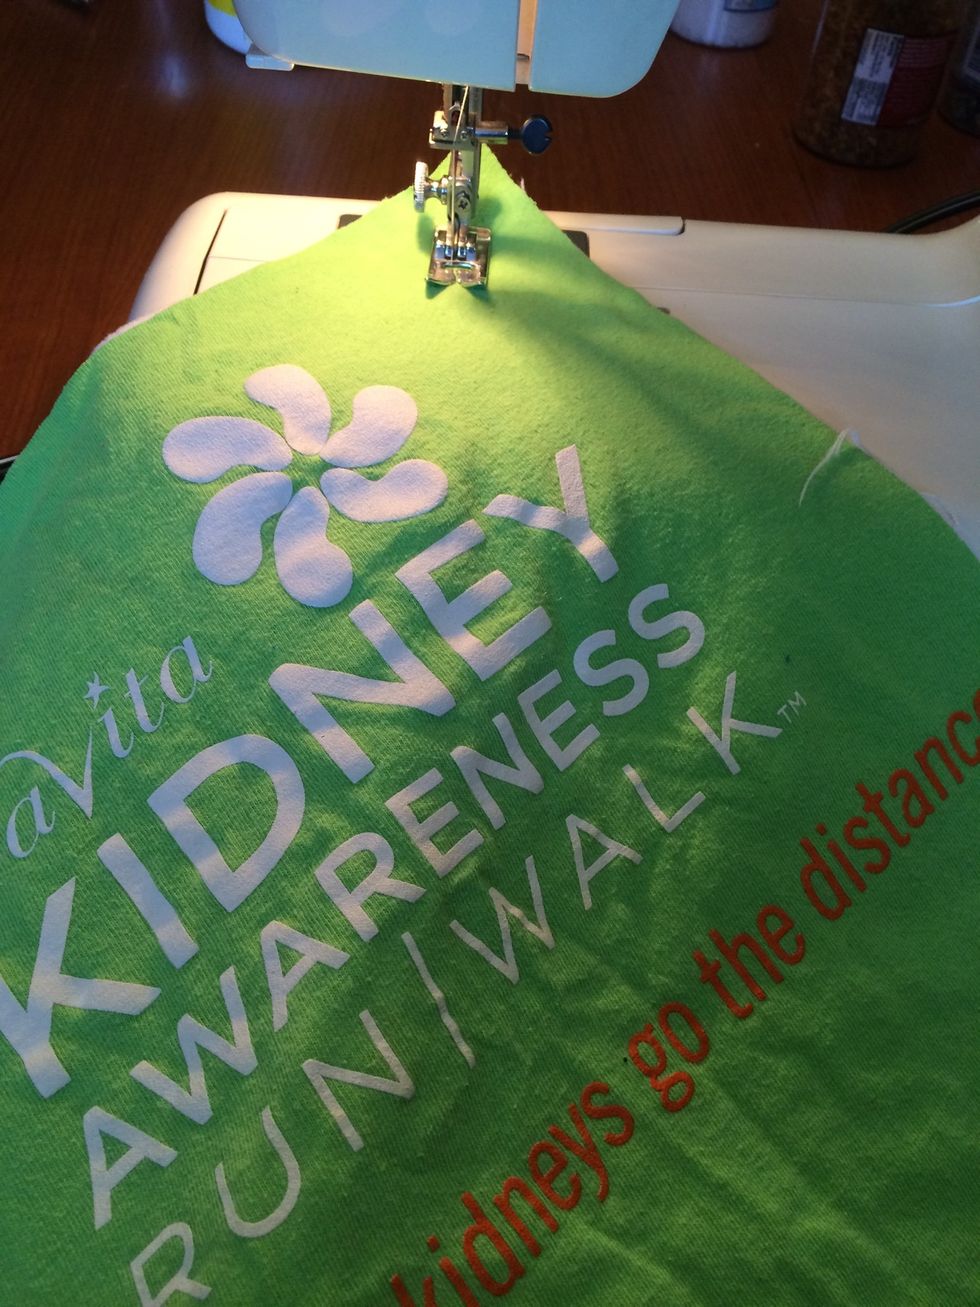
Start in one corner and sew an X across the shirt. Go all the way across from edge to edge.
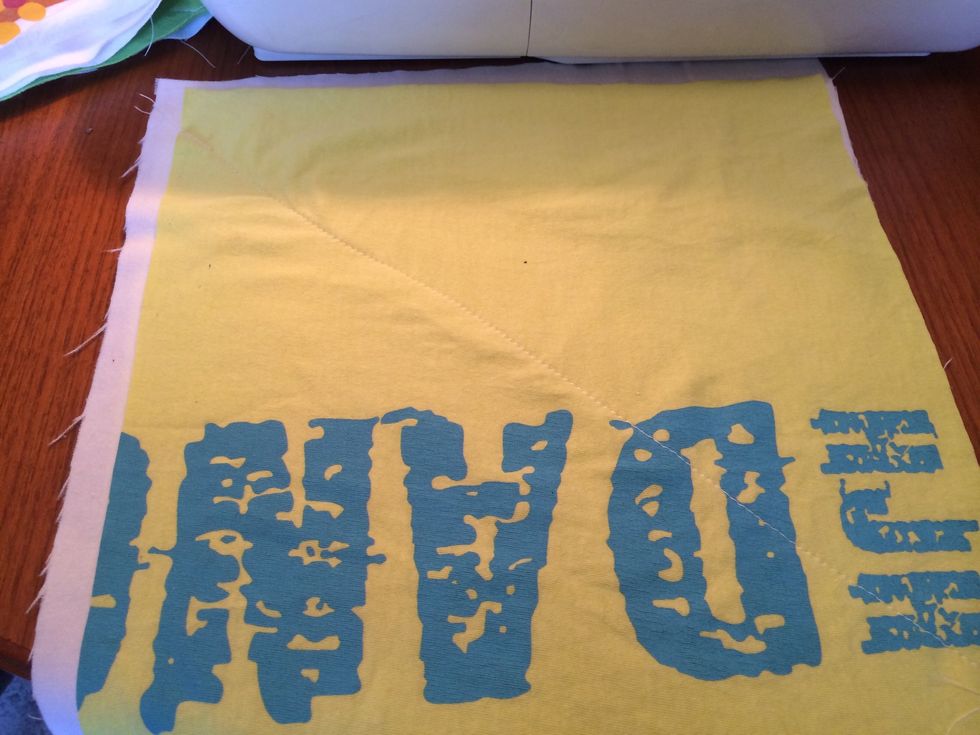
Like this. I just used a basic running stitch.
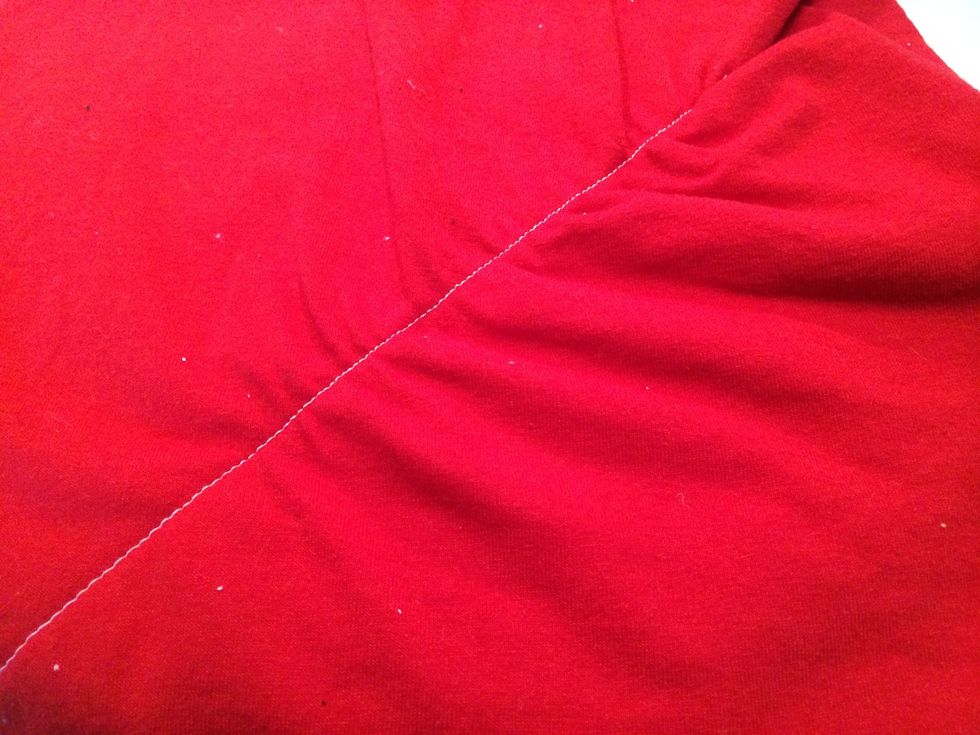
If one side bunches badly, take the seam out and redo it.
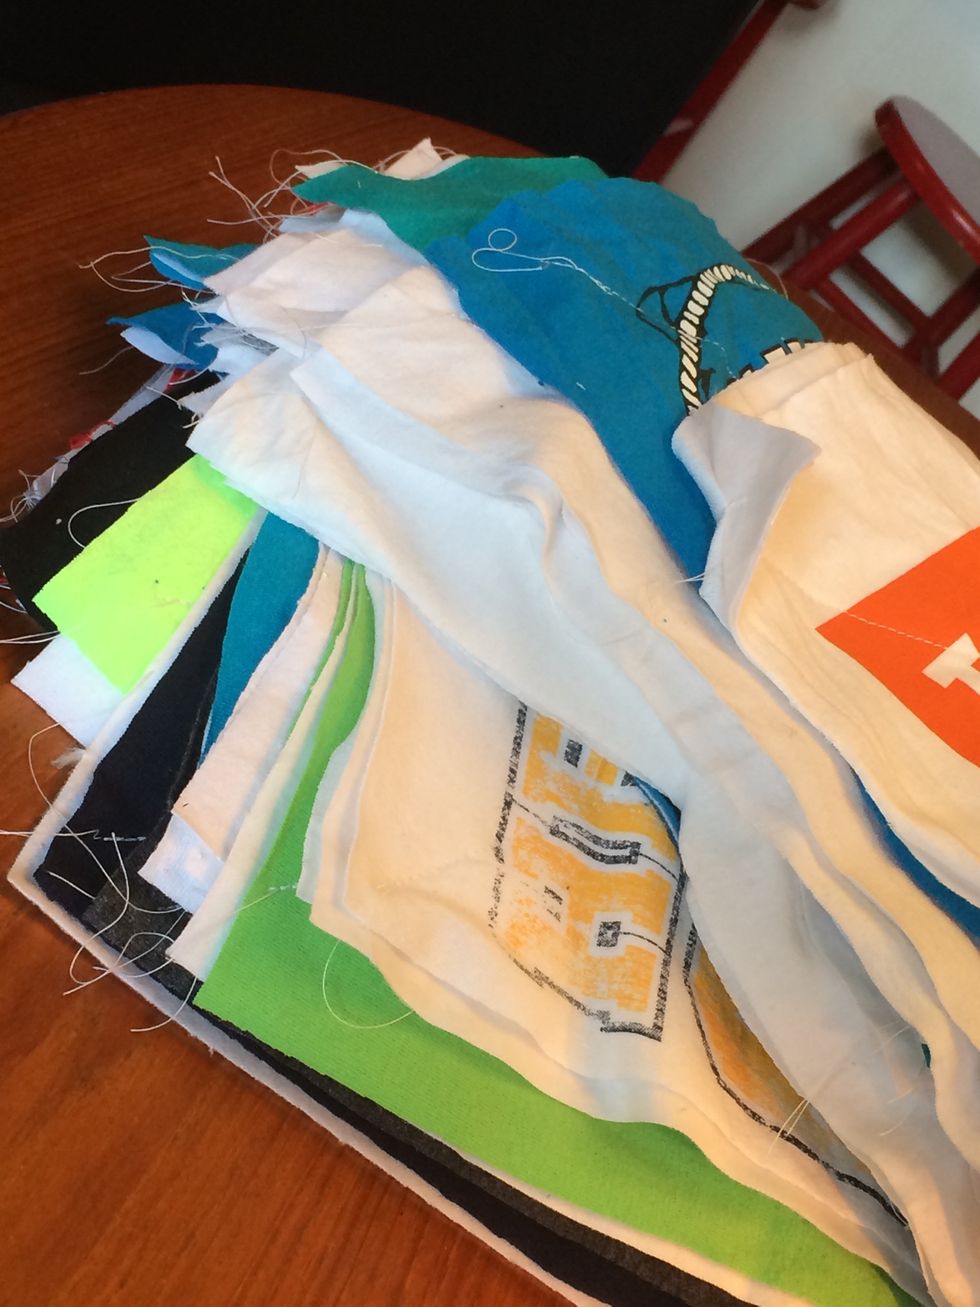
Here is the tshirt sandwich stack!
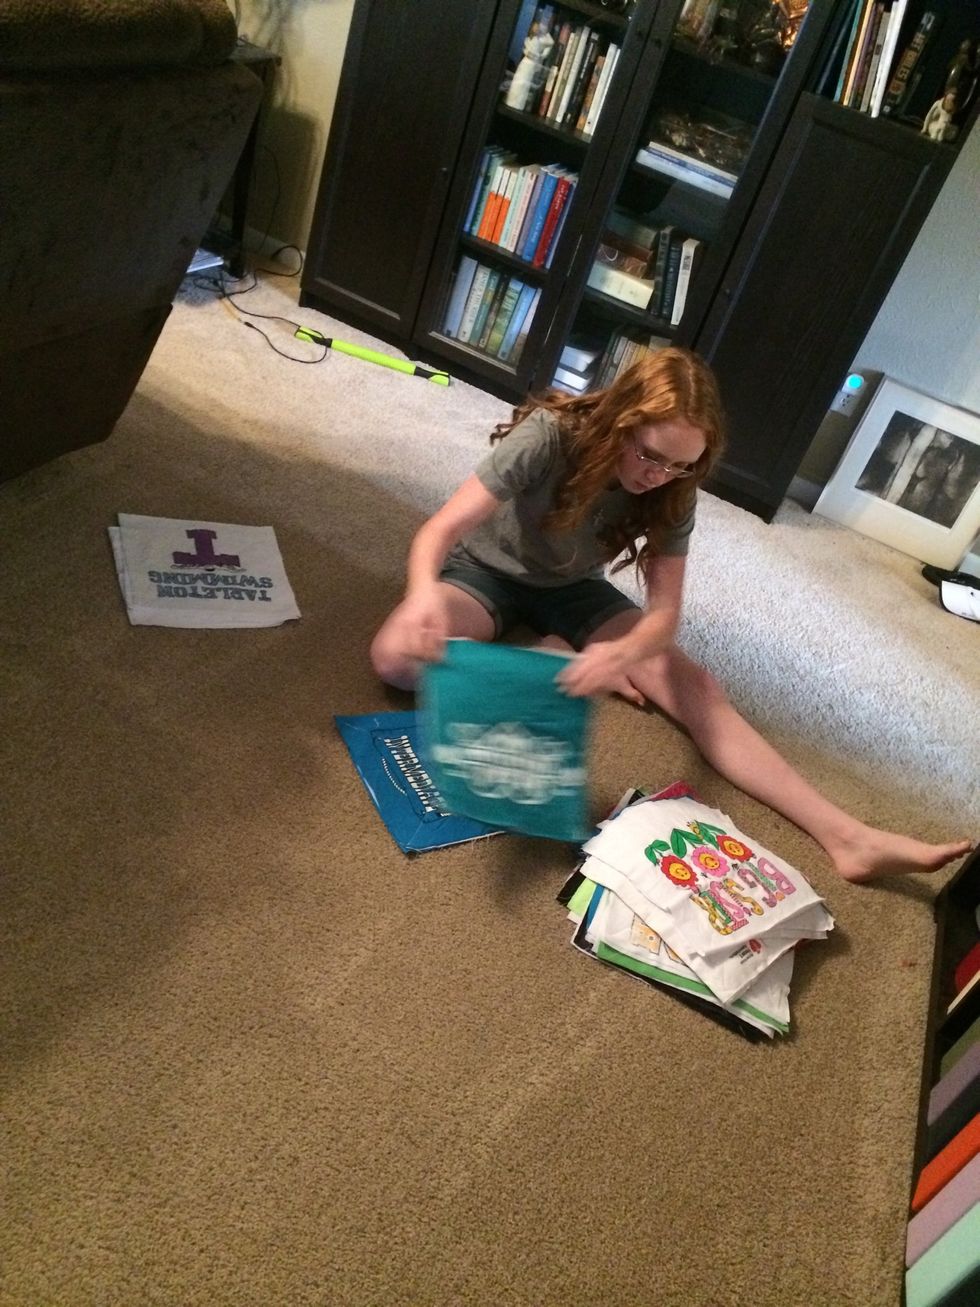
Now, sort the squares into colors stacks.

And start laying out a pattern.
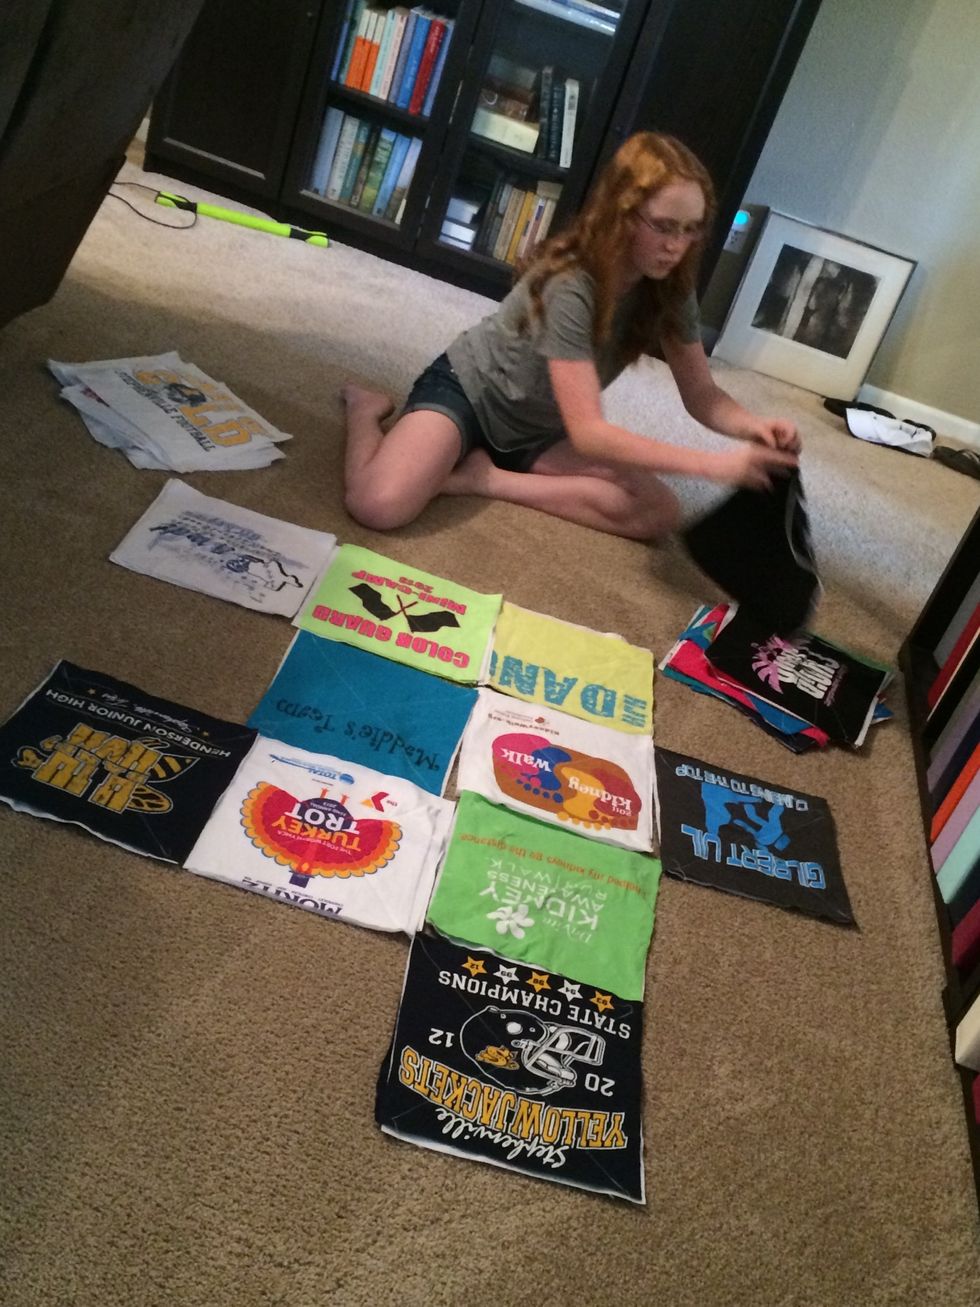
Your quilt will be 4 across and 6 down. Yes, you will have leftover squares. You want extras so that you can work the colors until you have them the way you like them.
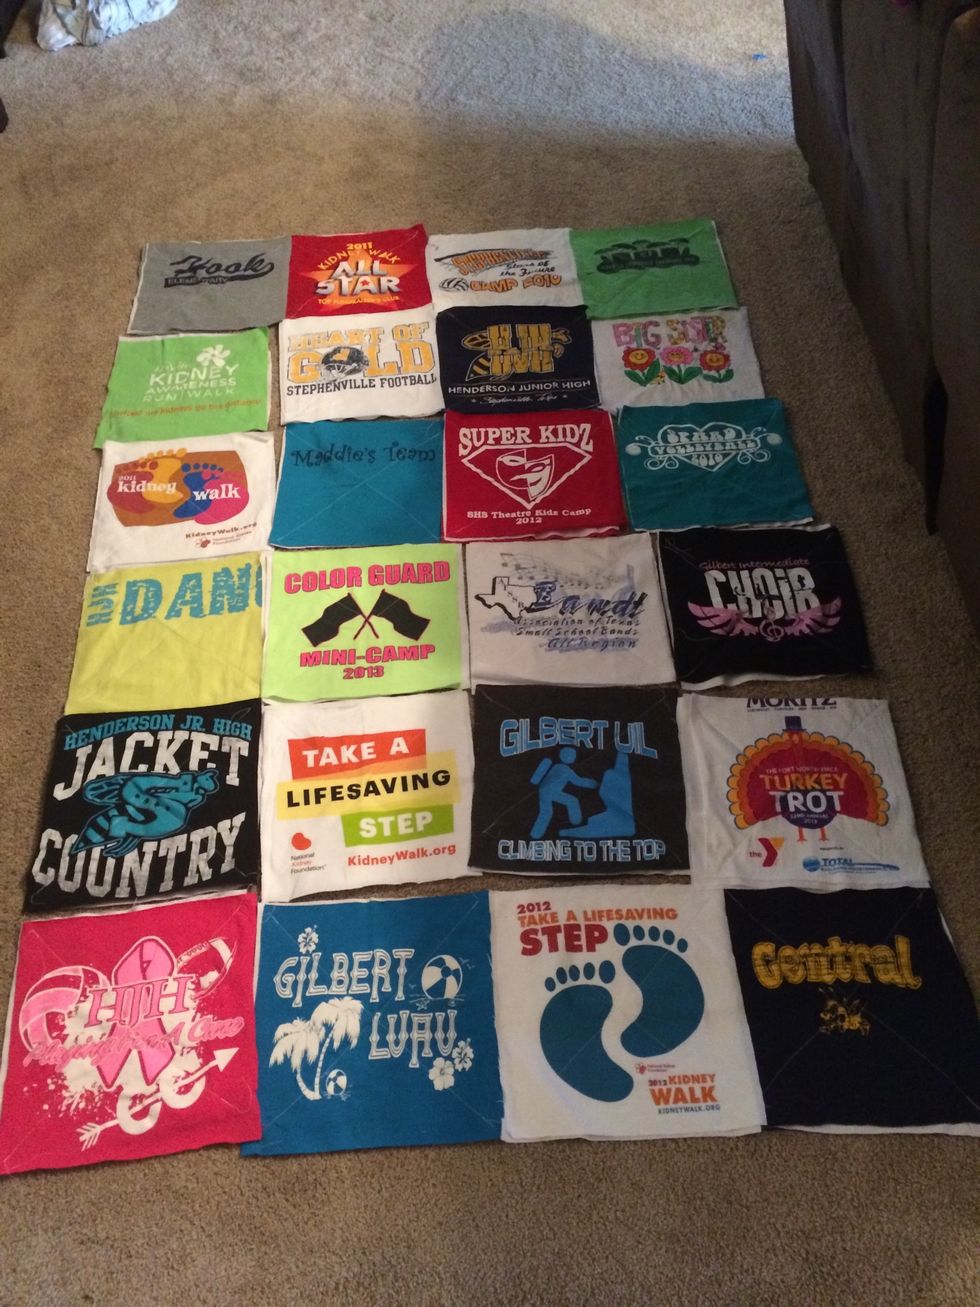
Once it's laid out the way you want, take a picture incase you mess up the layout while you are sewing.
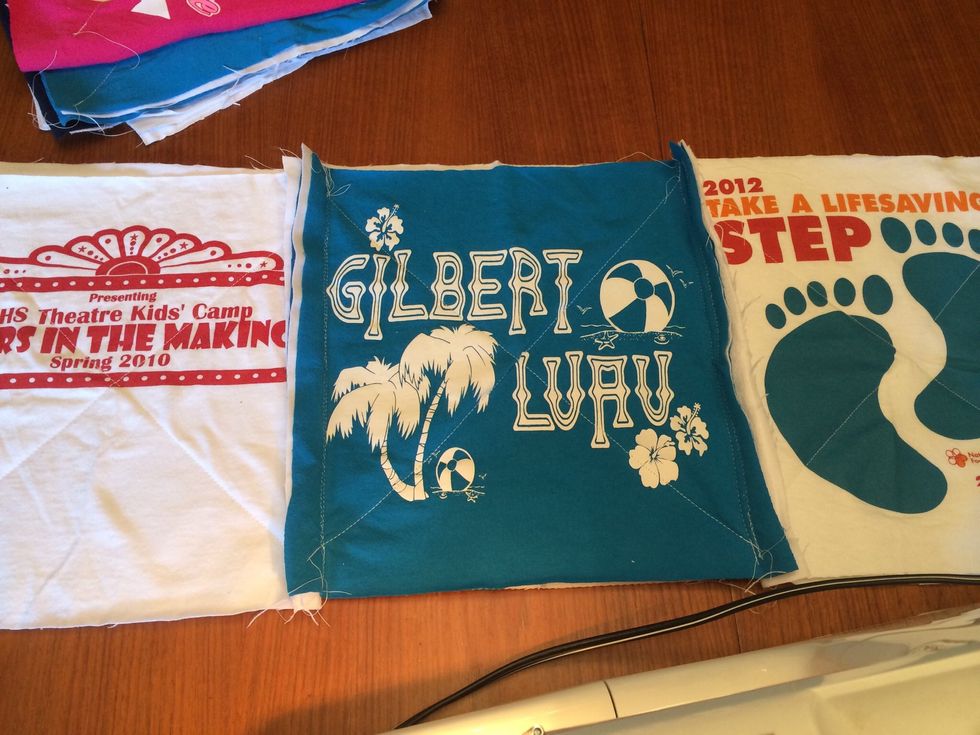
Now starting with the bottom left hand square and the one next to it, sew the edges together so that they will come out the front. You are just butting the two pieces together.
I sewed mine with a straight stitch at about an inch from the edge. Then I flipped the square over and sewed next to that seam using a small zig zag stitch.
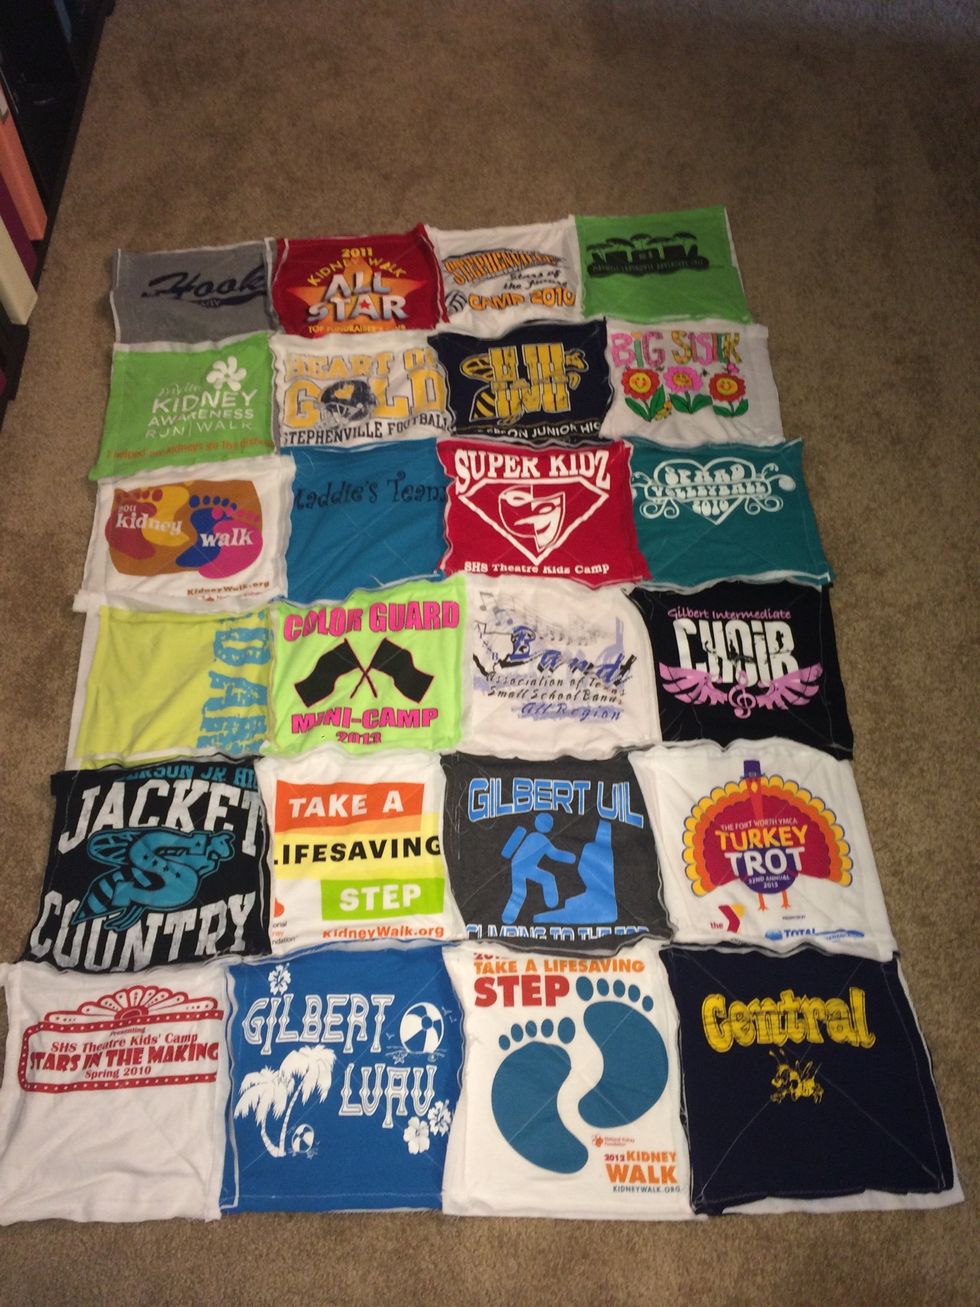
Here is the quilt all sewn together. The side with the edges sticking out us the FRONT!
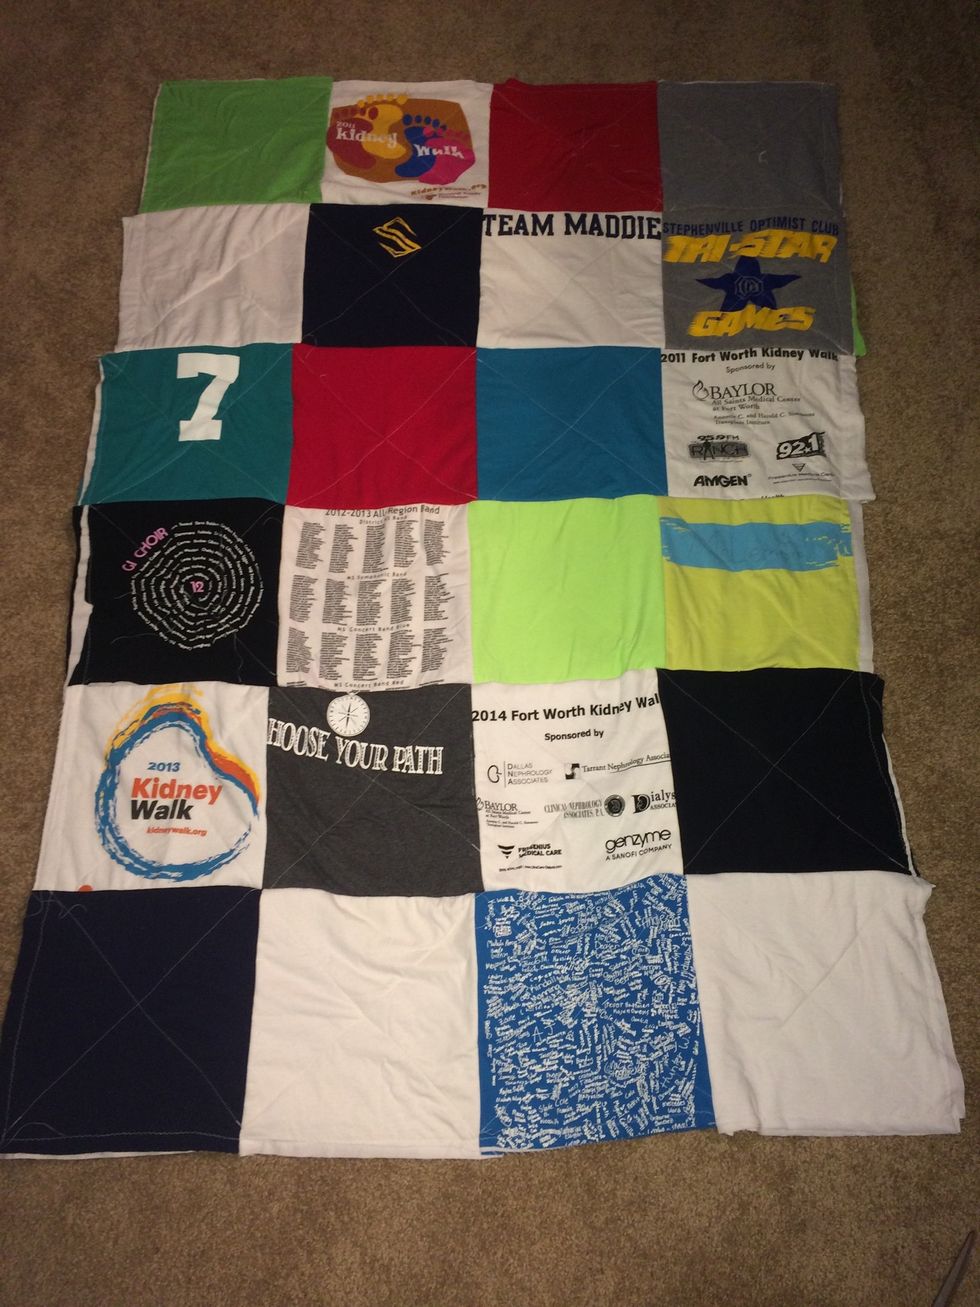
Here is the back.

Here is a close up of the front. Notice I was not precise with my sewing.
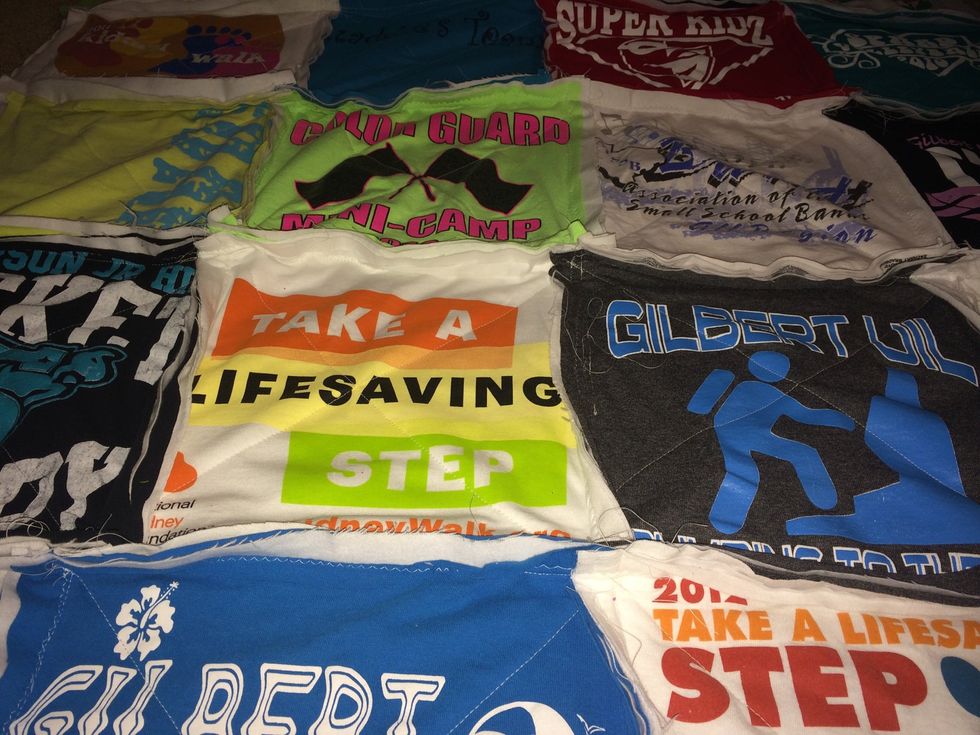
Another close up.
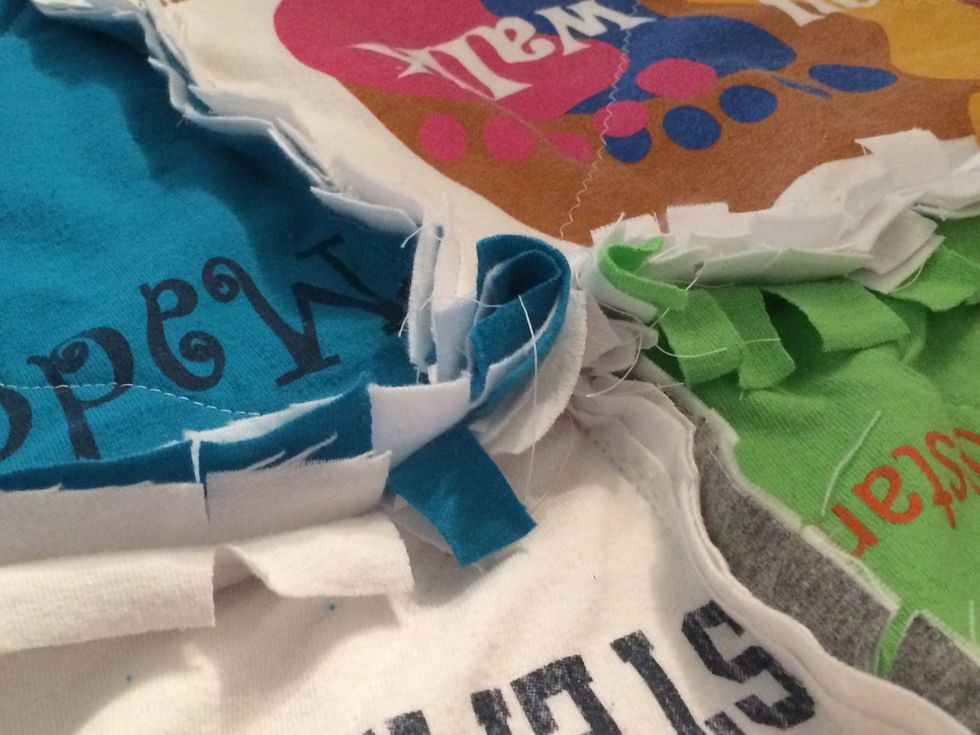
Now clip the edges! I cut every 1/2 inch or so. Cut to the seam, NOT thru the seam.
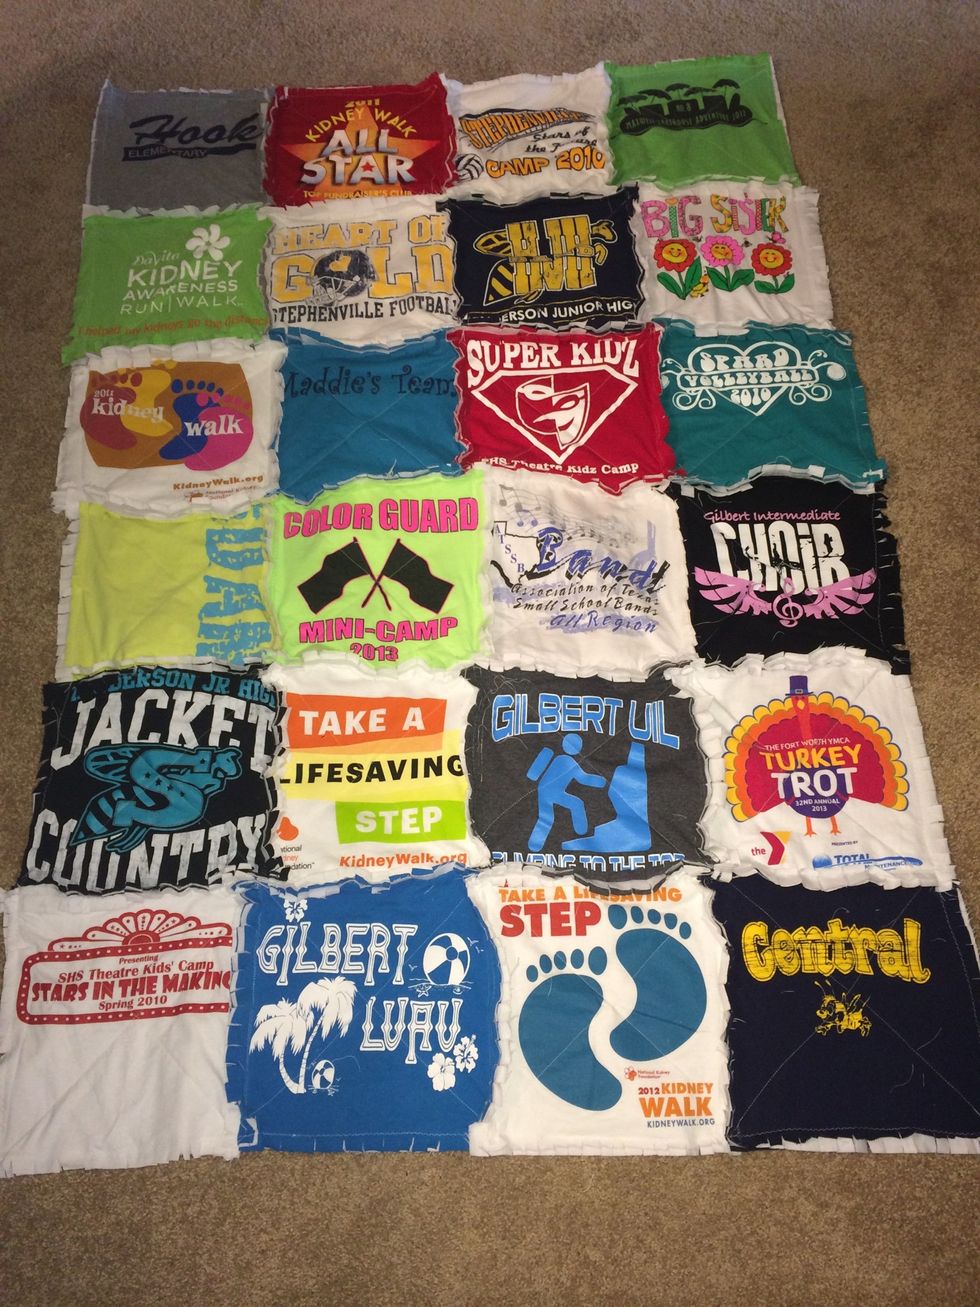
All edges clipped and ready for the washing machine. Note: you will have lots of strings left in your washer and dryer!
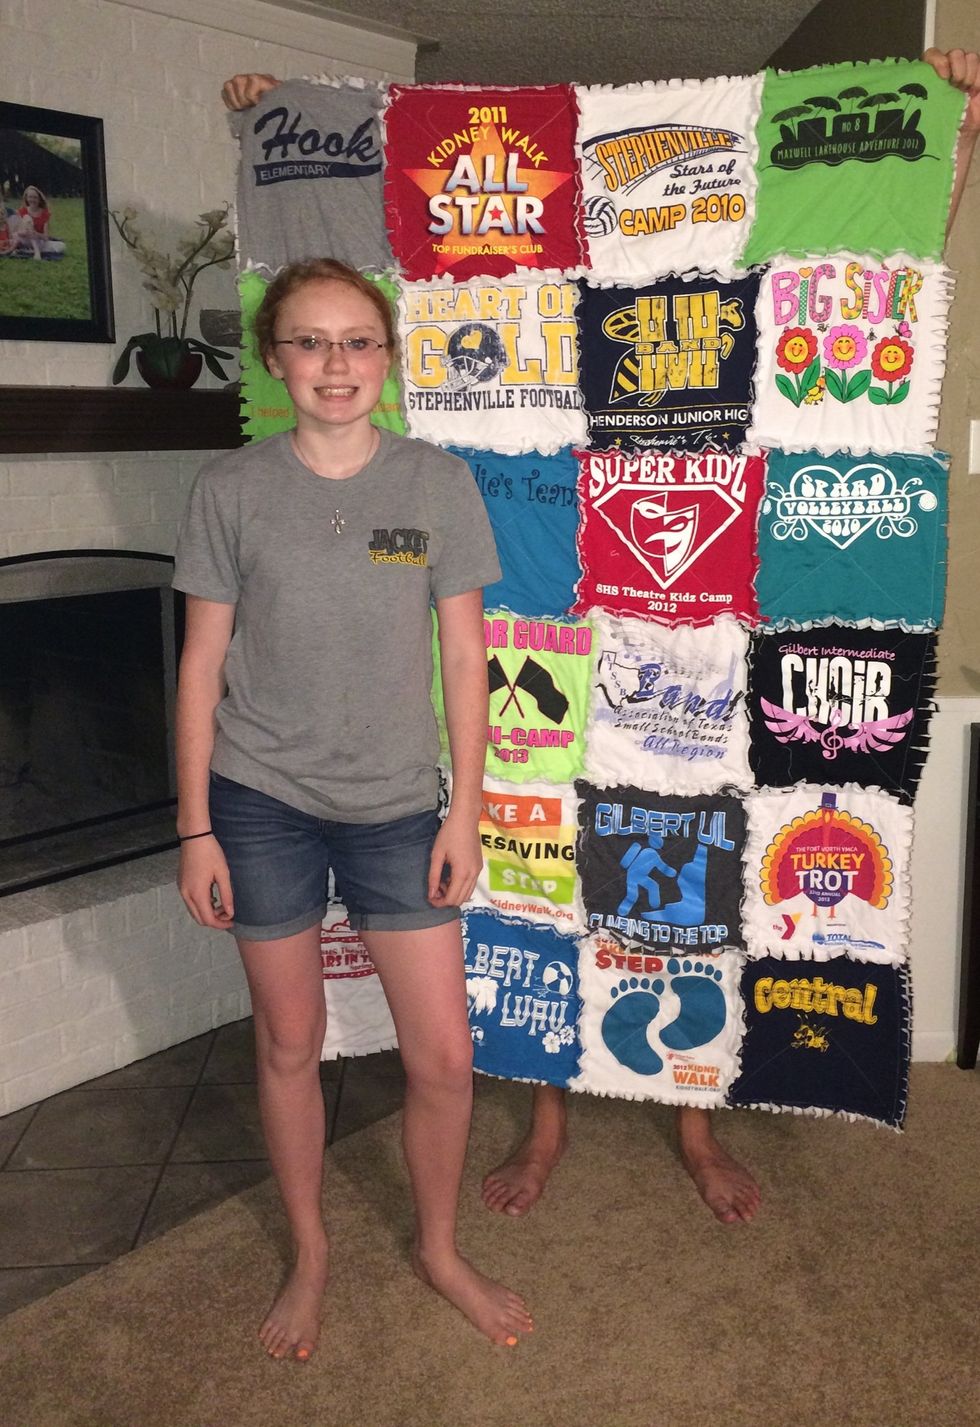
Finished quilt! Enjoy!! www.faithhopeandart.blogspot.com
- 30.0 Old tshirts
- Rotary cutter
- Self healing mat
- 12x12 inch template
- Sewing machine
- 30.0 12x12 squares of flannel