The Conversation (0)
Sign Up
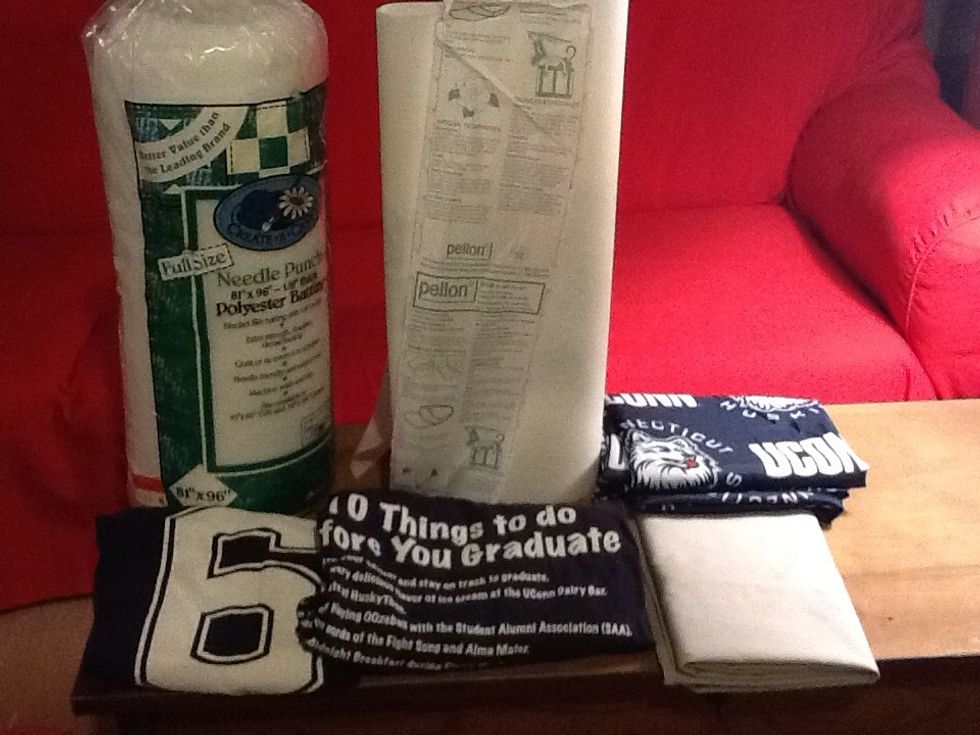
Needed supplies
Collect T-Shirts that are memorable over time from athletic teams, college, community walks etc.
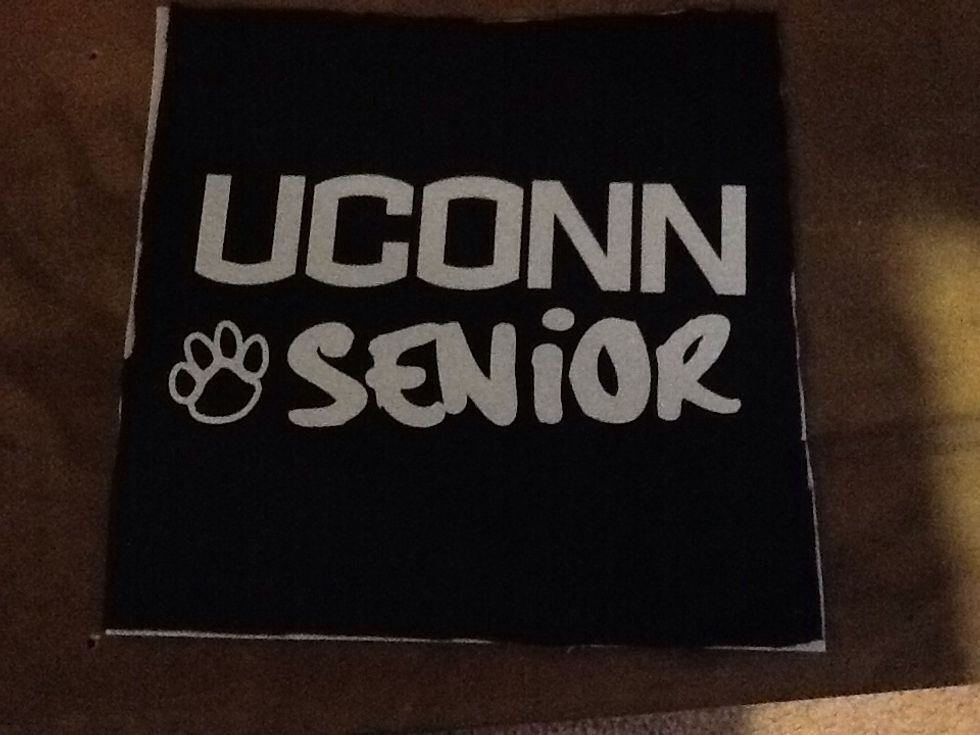
Cut out 12" x 12" squares from the front and/or back of the T-Shirt that will show the whole logo.
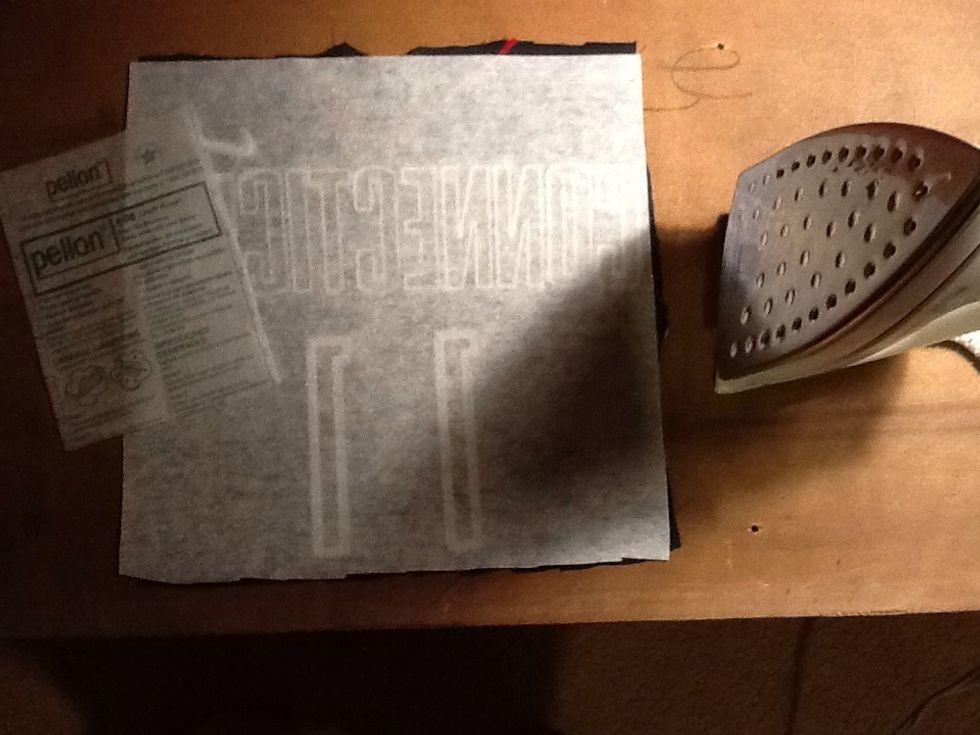
Cut a 12" x 12" square of the Pellon and iron the pellon on the back of the T-Shirt to make the quilt sturdier.
Cut out 12" x 12" square of opposing material to make a patchwork quilt.

Repeat step 4 to opposing material prior to appliqué .

Sew appliqué to front of square with a zig zag stitch.
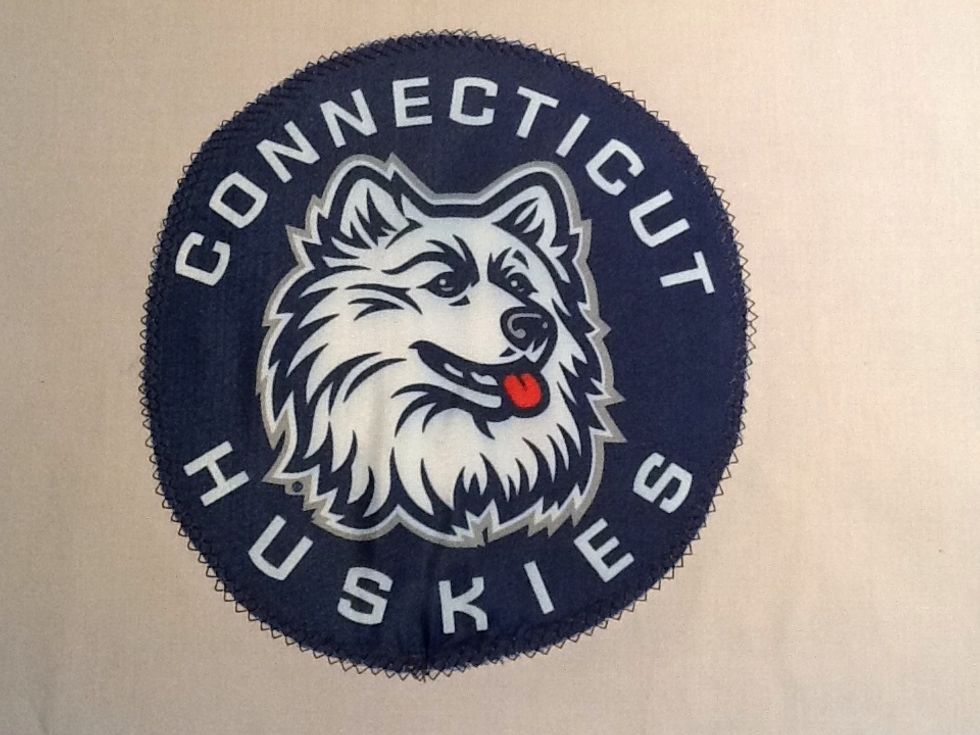
The finished product of the appliqué square.
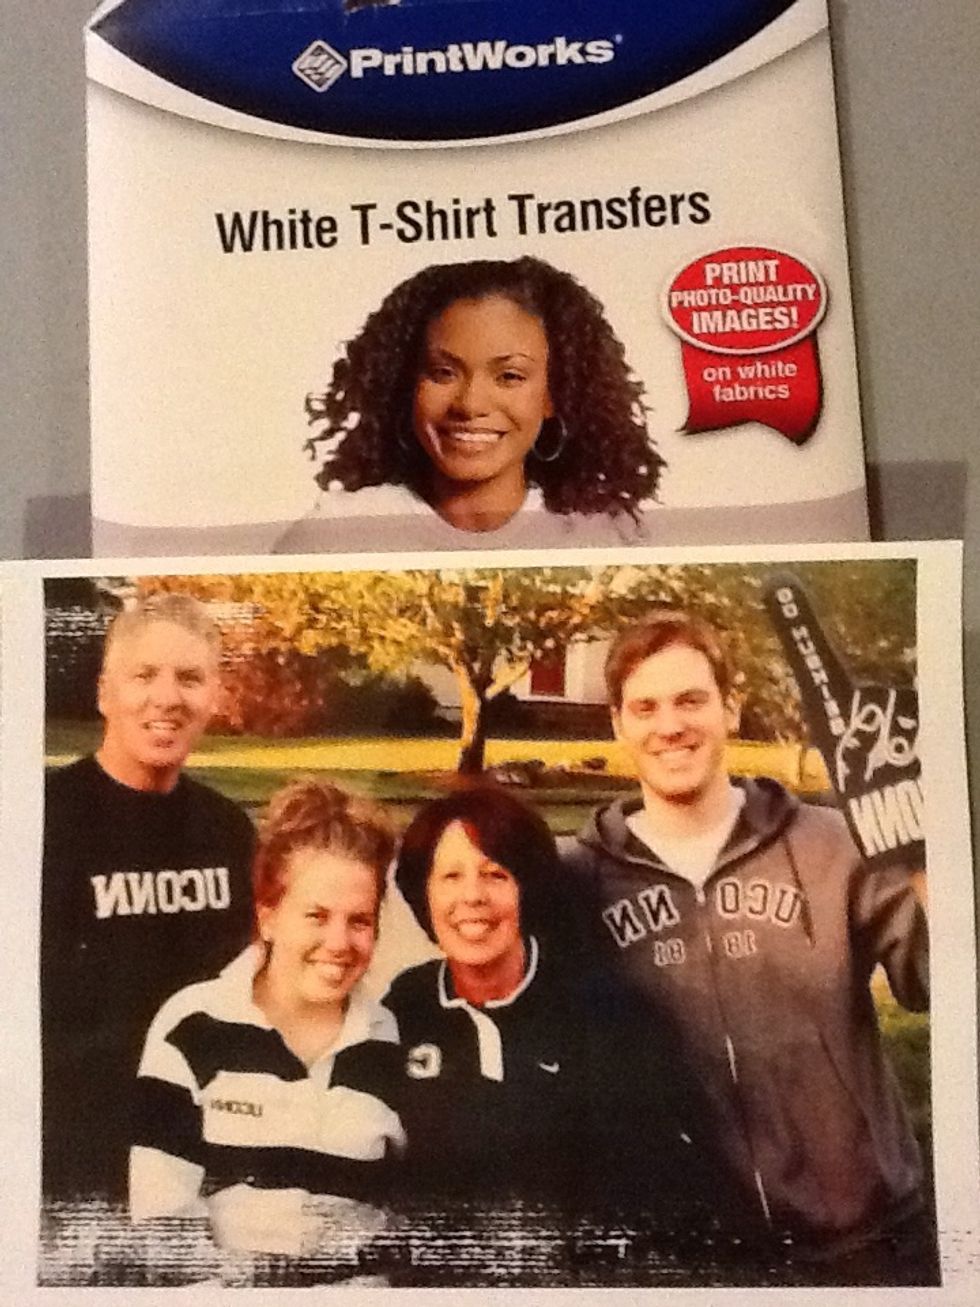
Purchase a white t-shirt photo transfer product. Follow directions for printing and ironing transfer from the product. REVERSE the photo prior to printing when there is lettering in the photo.
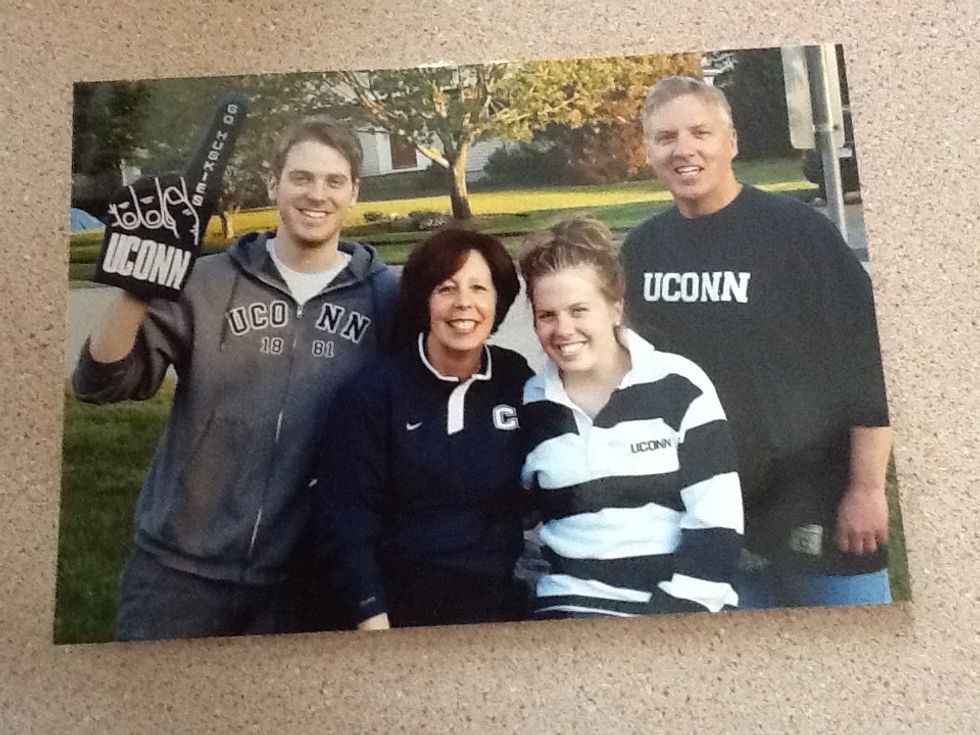
As you can see, once you iron it on the square the letters on the square can be read.
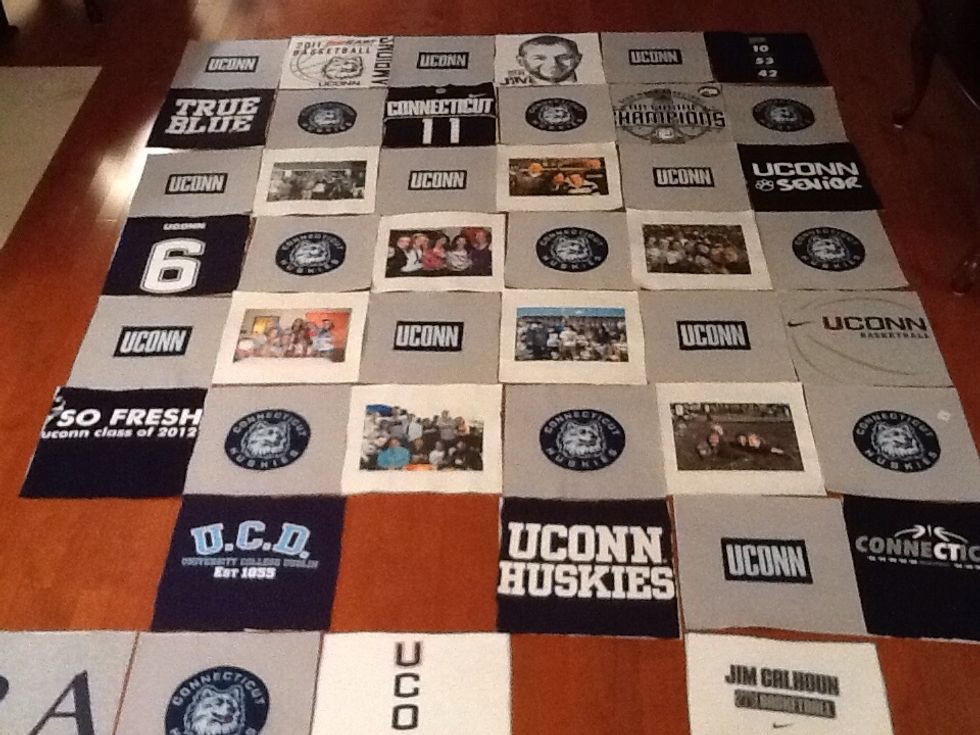
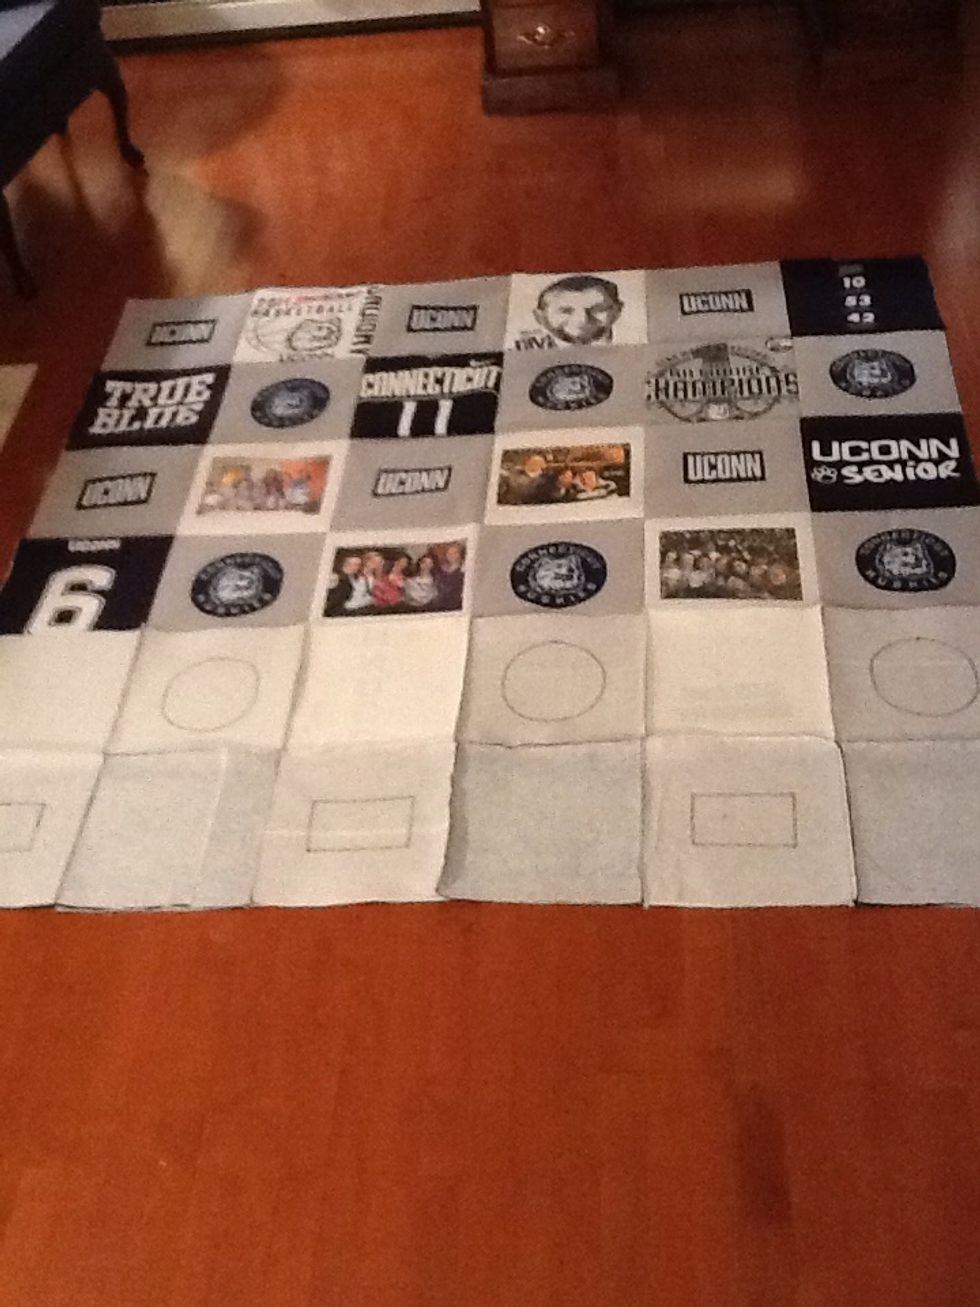
Lay out each square to organize your quilt prior to sewing. Check to see if you have enough squares. (this quilt needs 4 more appliqué squares)
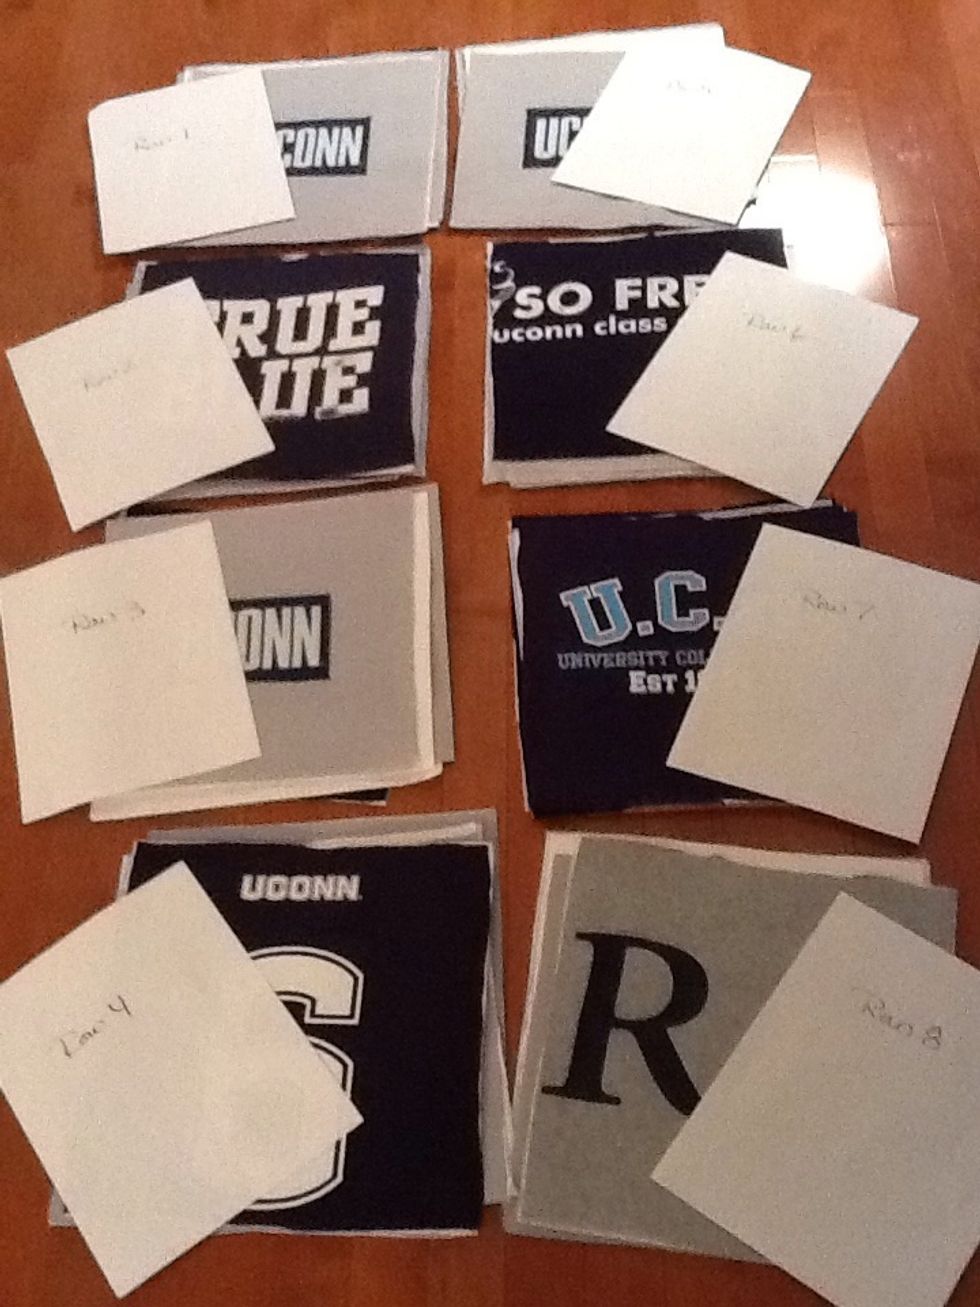
Stack each row left to right and then label each row prior to sewing.
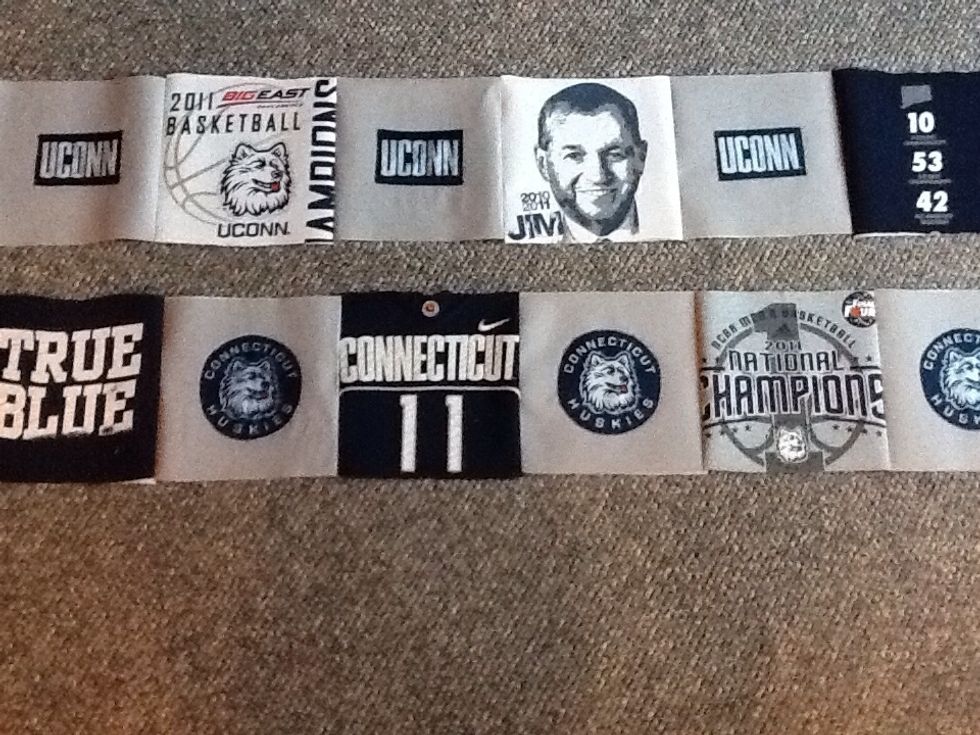
After sewing row 1 and row 2, prepare to sew them together by lining them up to each other.
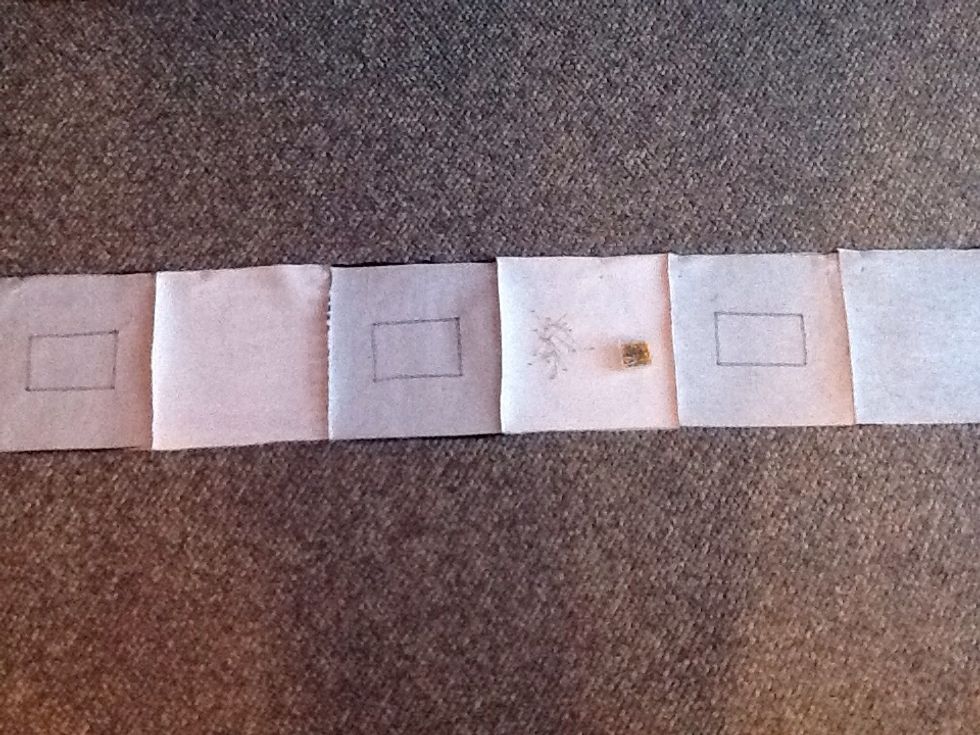
Place row 1 and row 2 front to front and pin to keep together, lining up each square prior to sewing a straight seam.
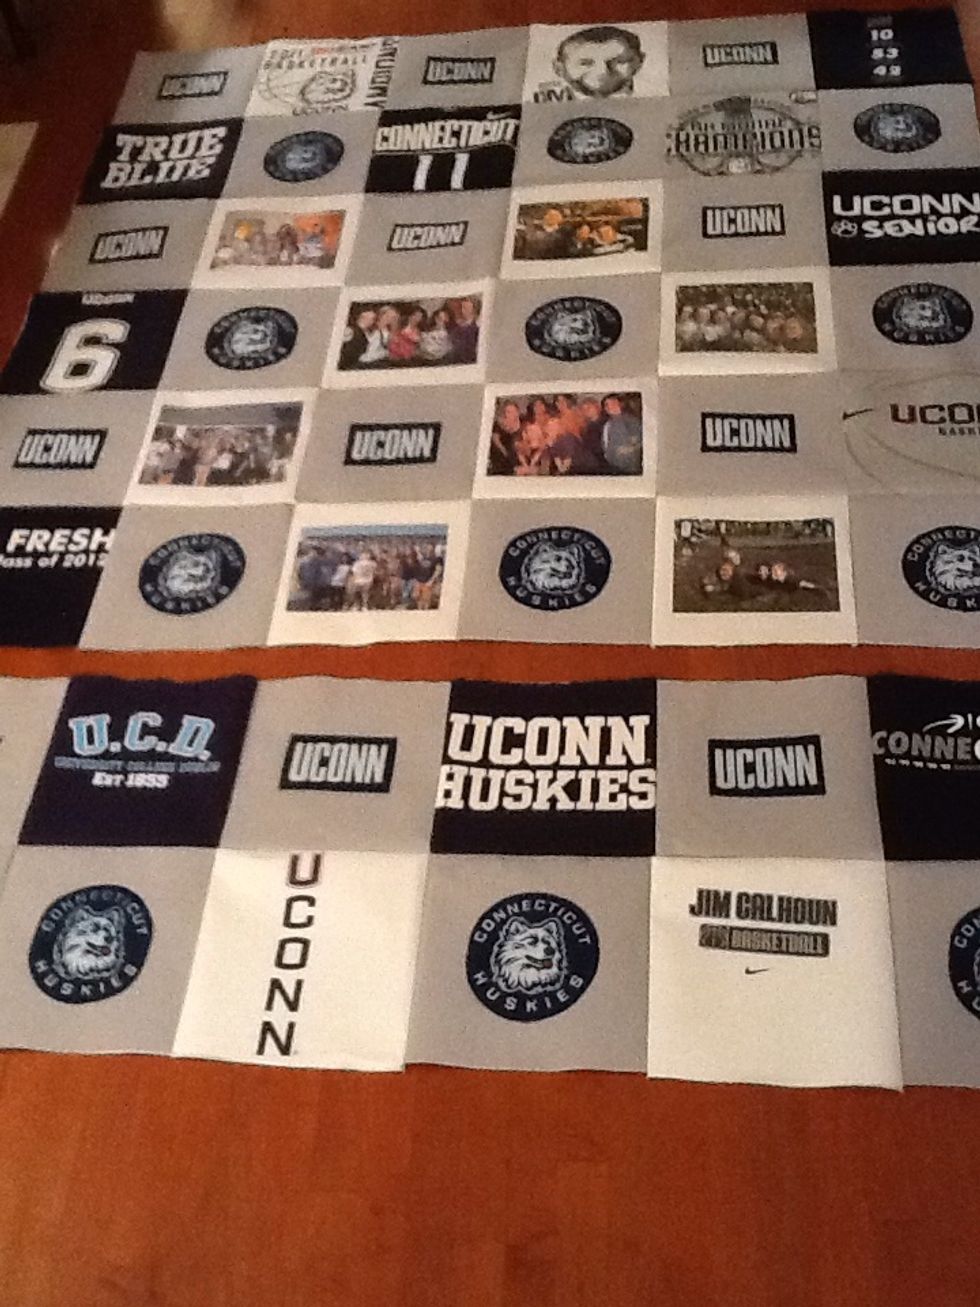
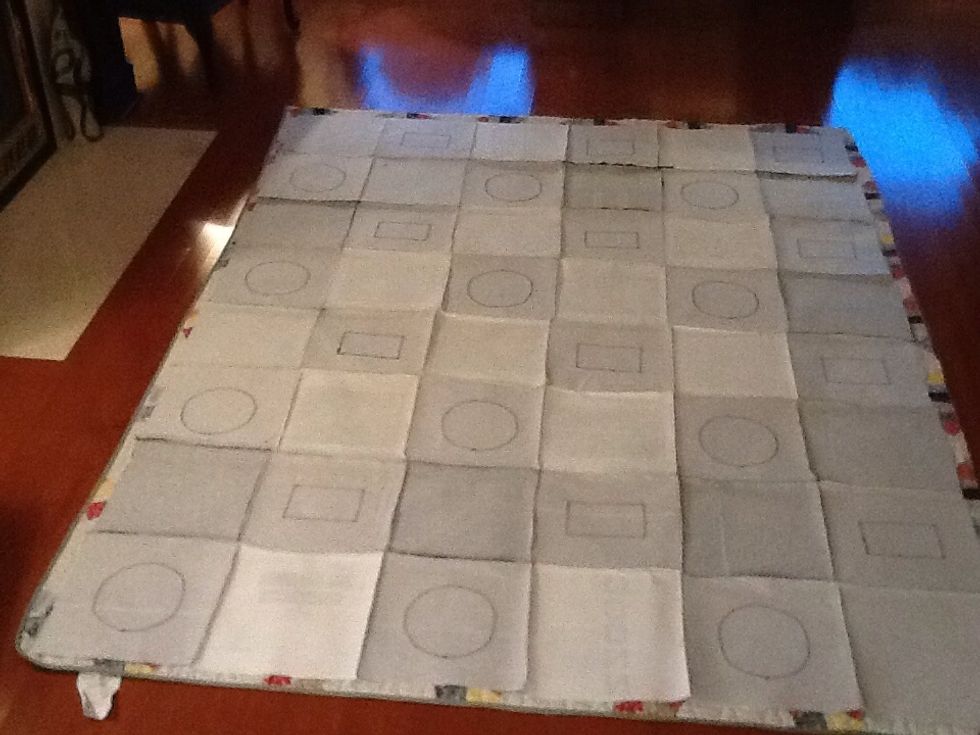
Continue adding one row at a time, while adding row 7 & 8 at the end .
Pin row 7 & 8 to row 6 at the end to help with the bulkiness of sewing. Sew your last straight seam to complete the front of the quilt.
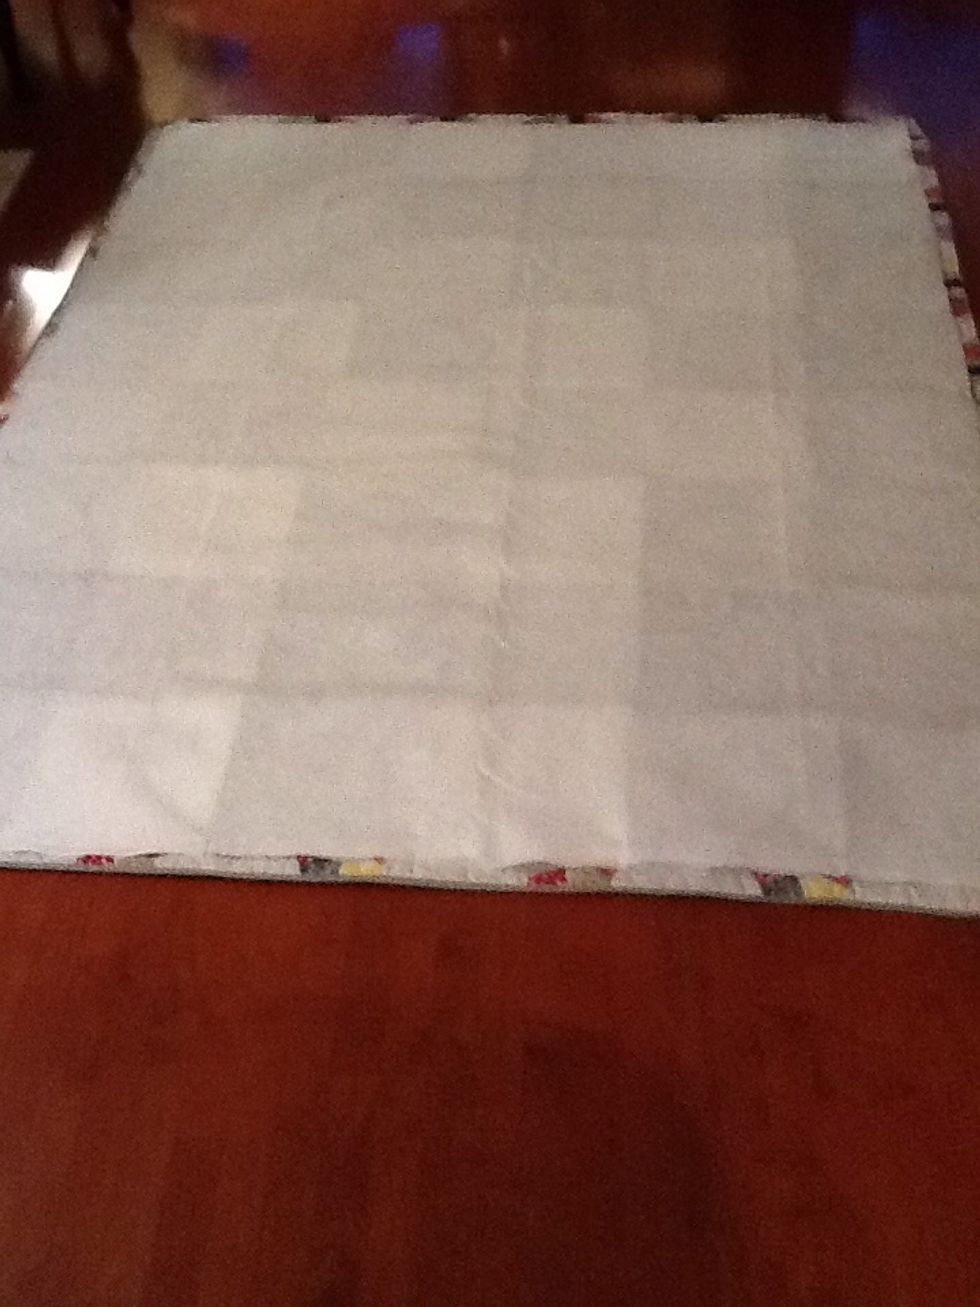
Place front of the quilt to front of the backing.
Lay the batting on top of the back of the top layer of the quilt. Sew the three layers together. Leave an open space at the bottom to turn the quilt right side out. Hand stitch the opening.
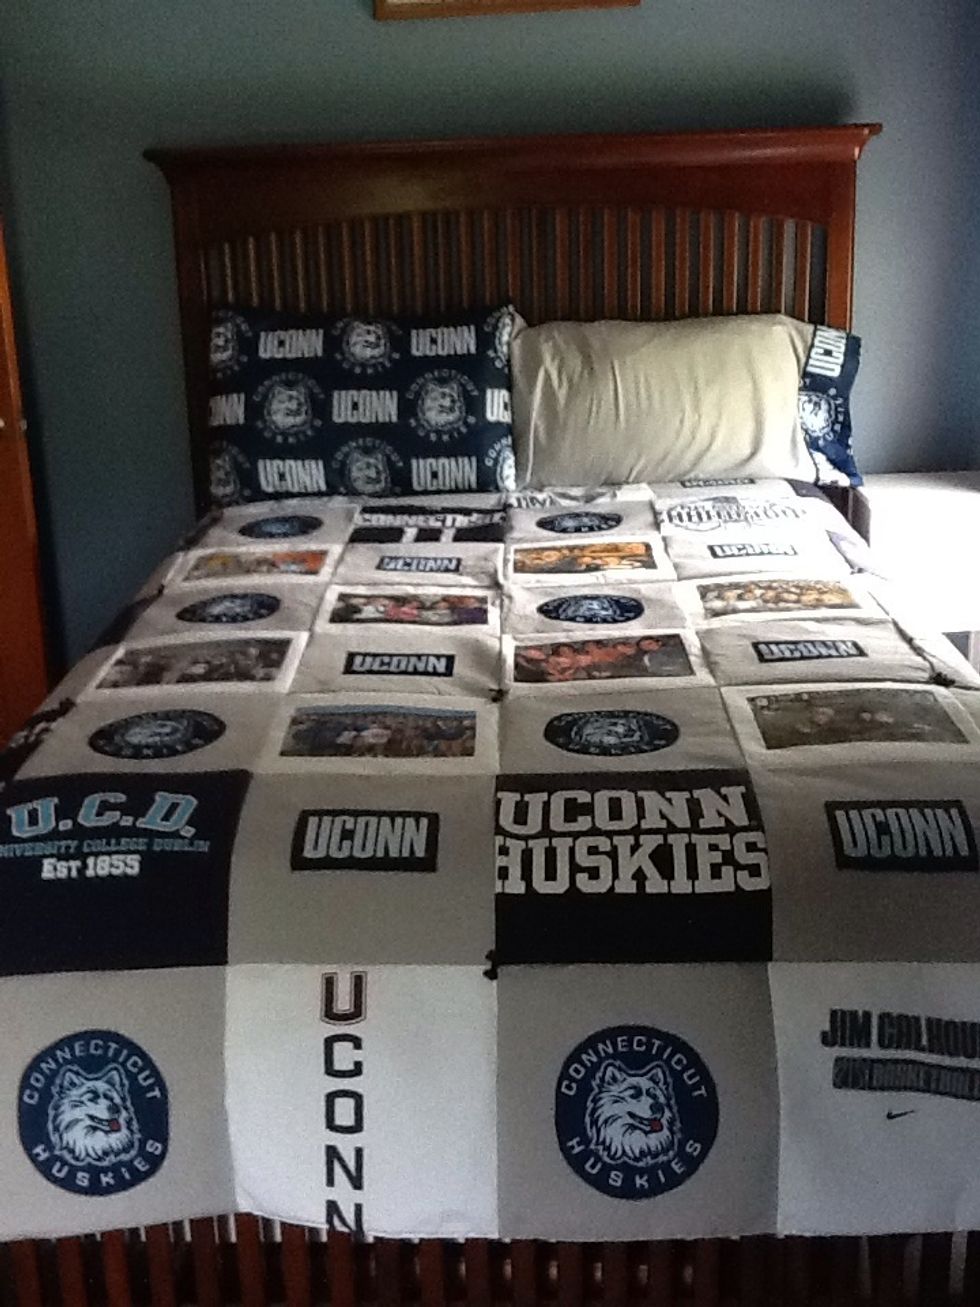
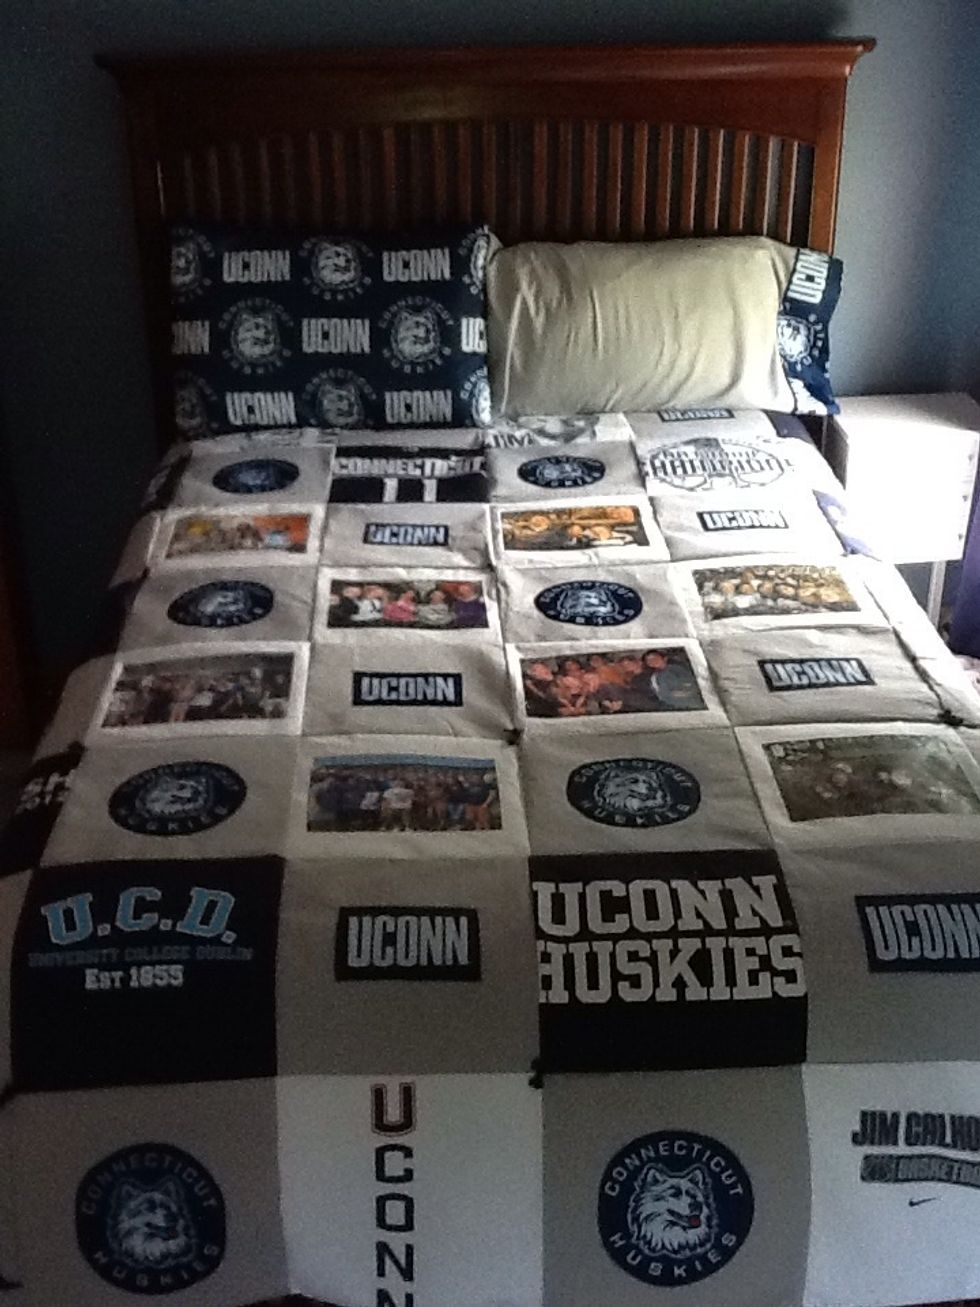
THE FINISHED PRODUCT!!! For added fun make a pillow case and pillow sham to match the bed spread.

6x7 quilt of 42 T-Shirt used for a high school graduation gift.
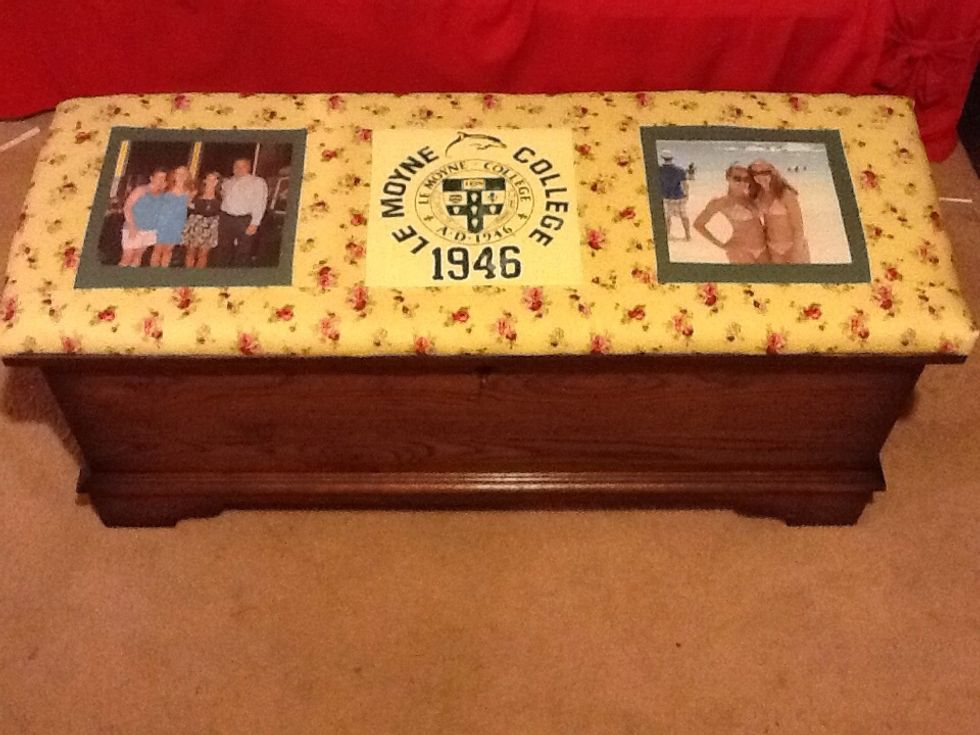
Make a seat cushion for a hope chest.
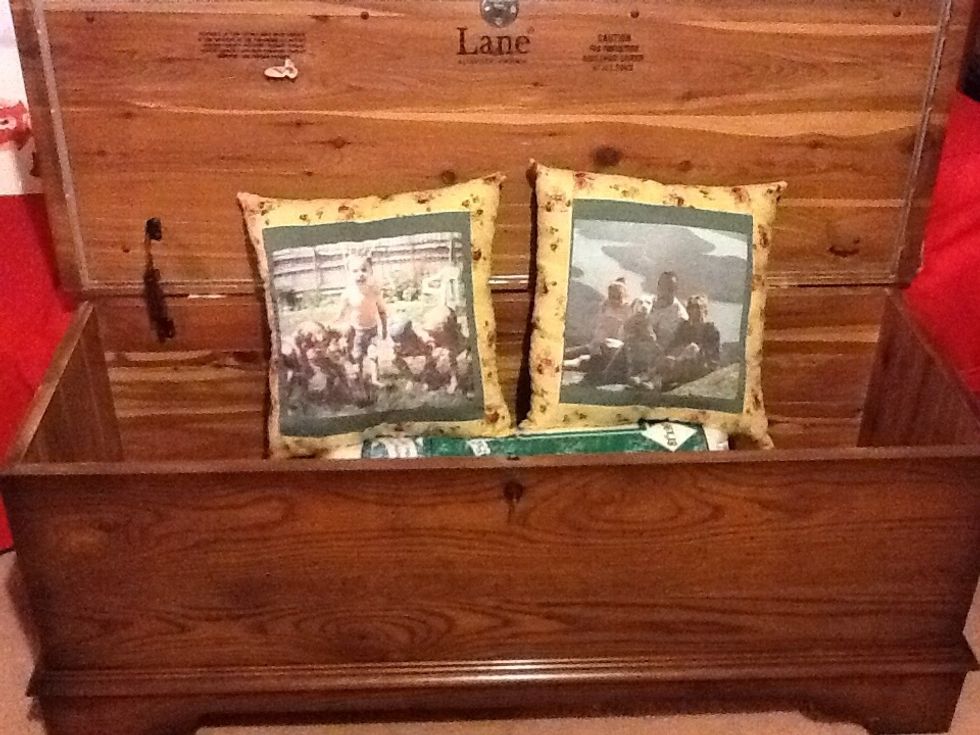
Make pillows to match GOOD LUCK...take your time and spend a couple of hours each night and you will be done in two weeks.
Oh so fun!