The Conversation (0)
Sign Up
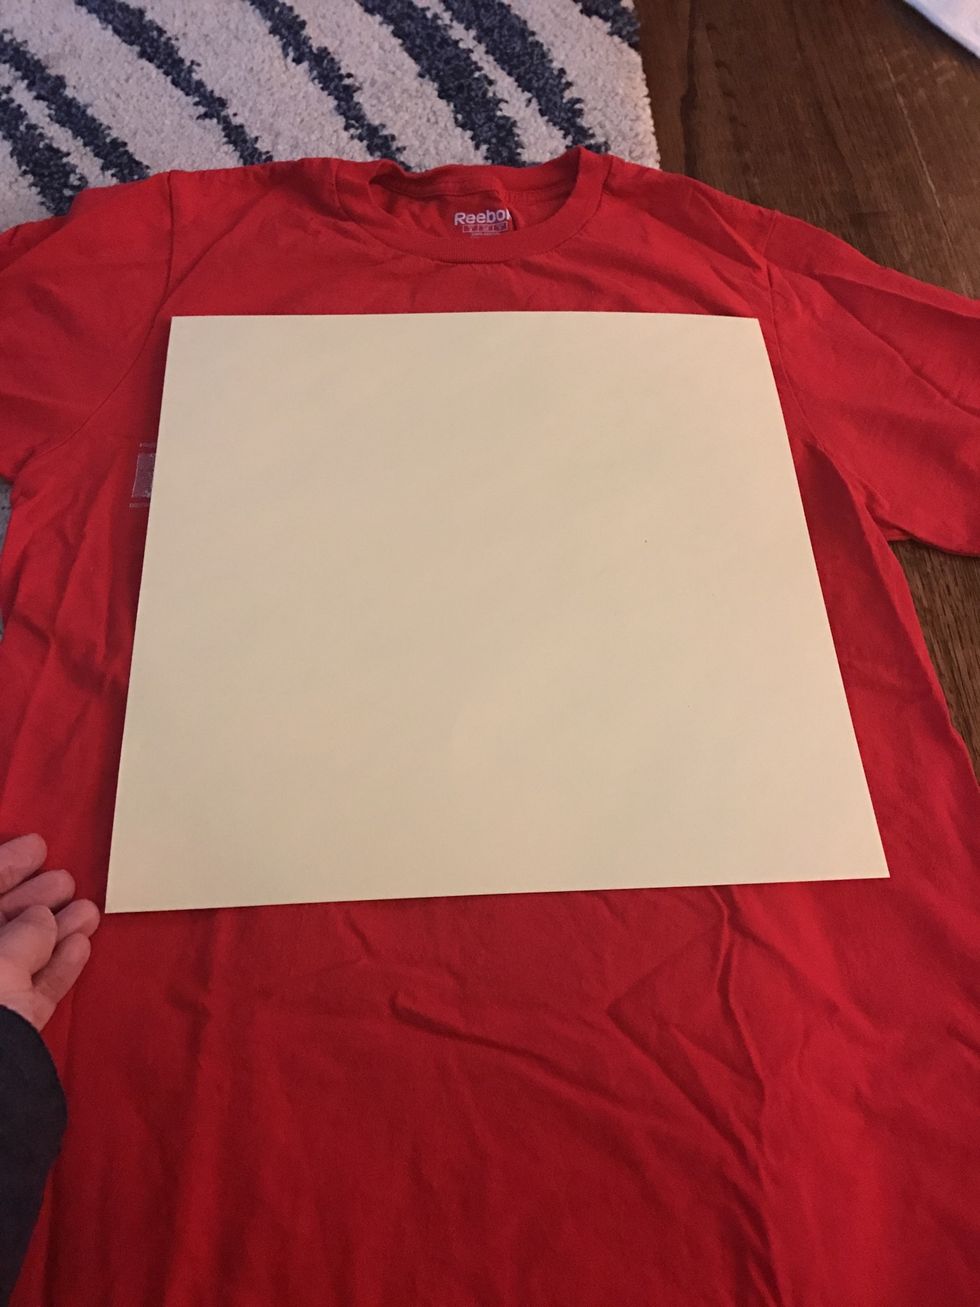
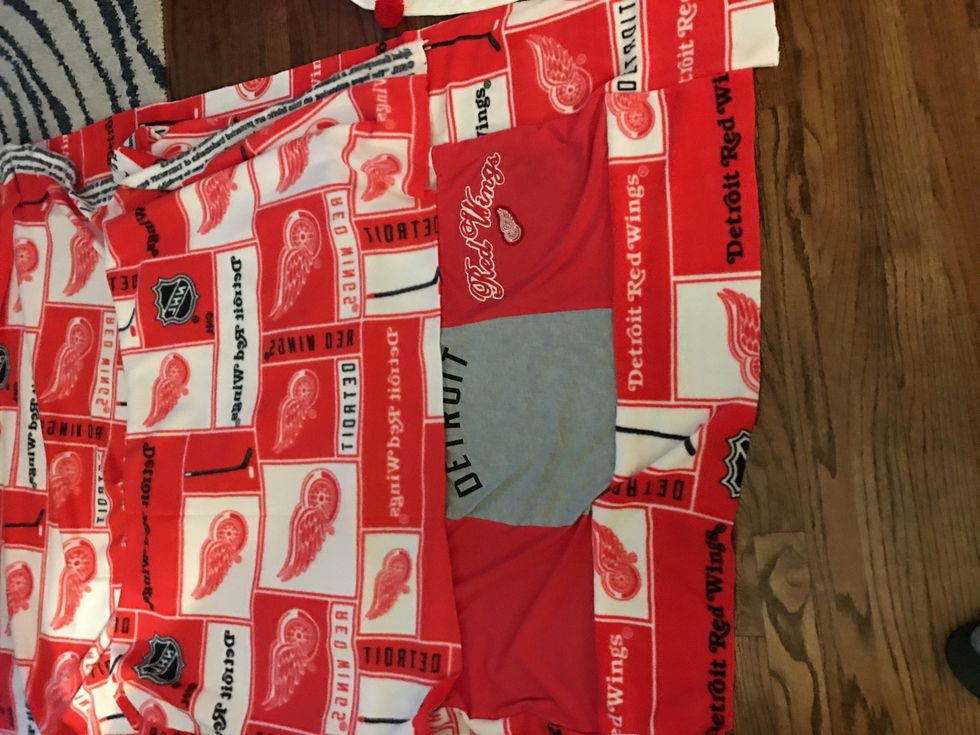
Starting with your first shirt, line up the paper template so that the design is centered.
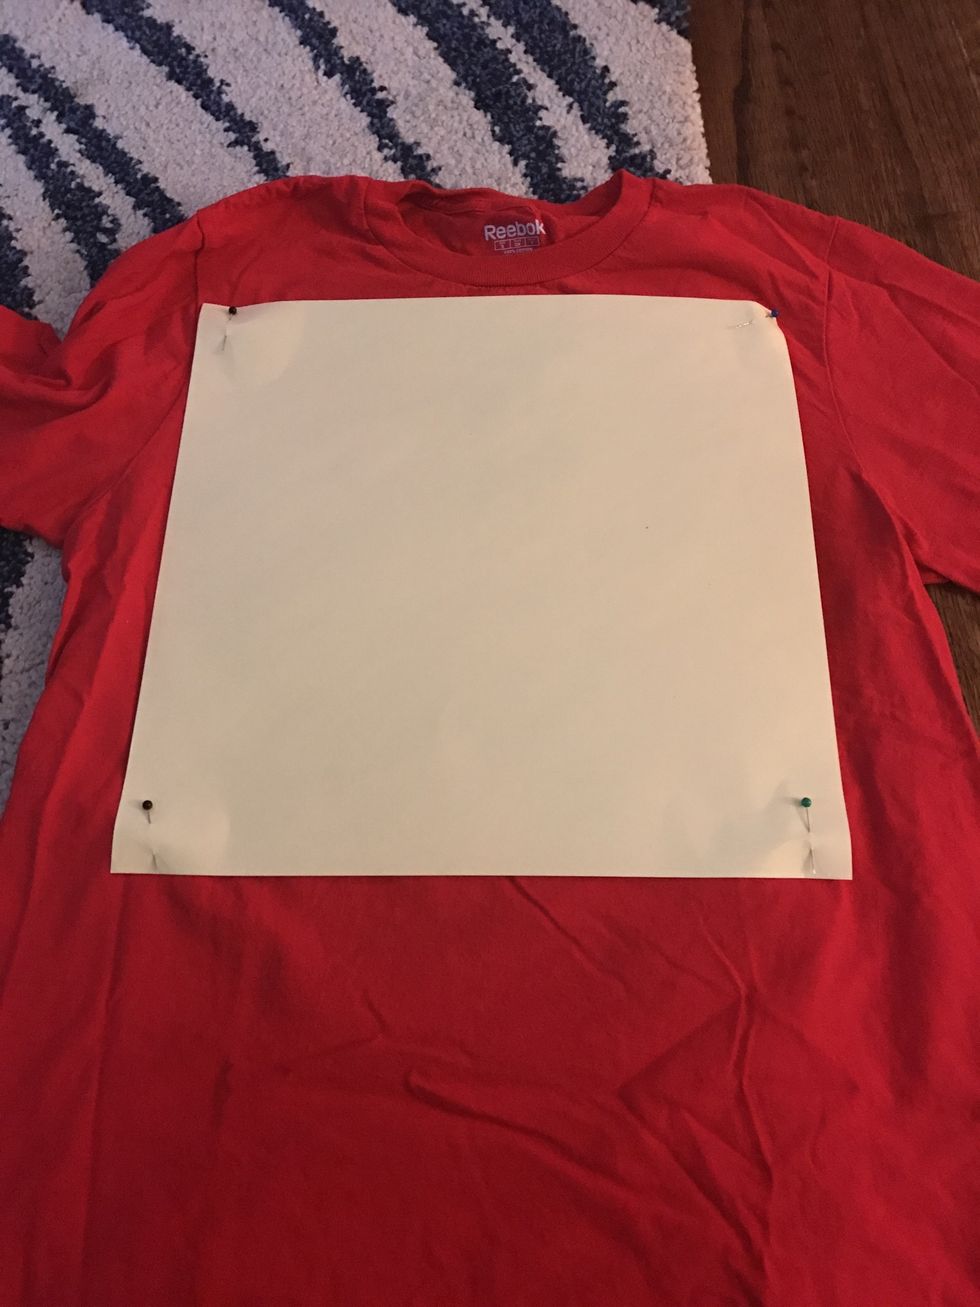
Pin paper in place. It is very important that your shirt remain flat! Any wrinkles will cause uneven squares and it will be difficult to sew them together later on.
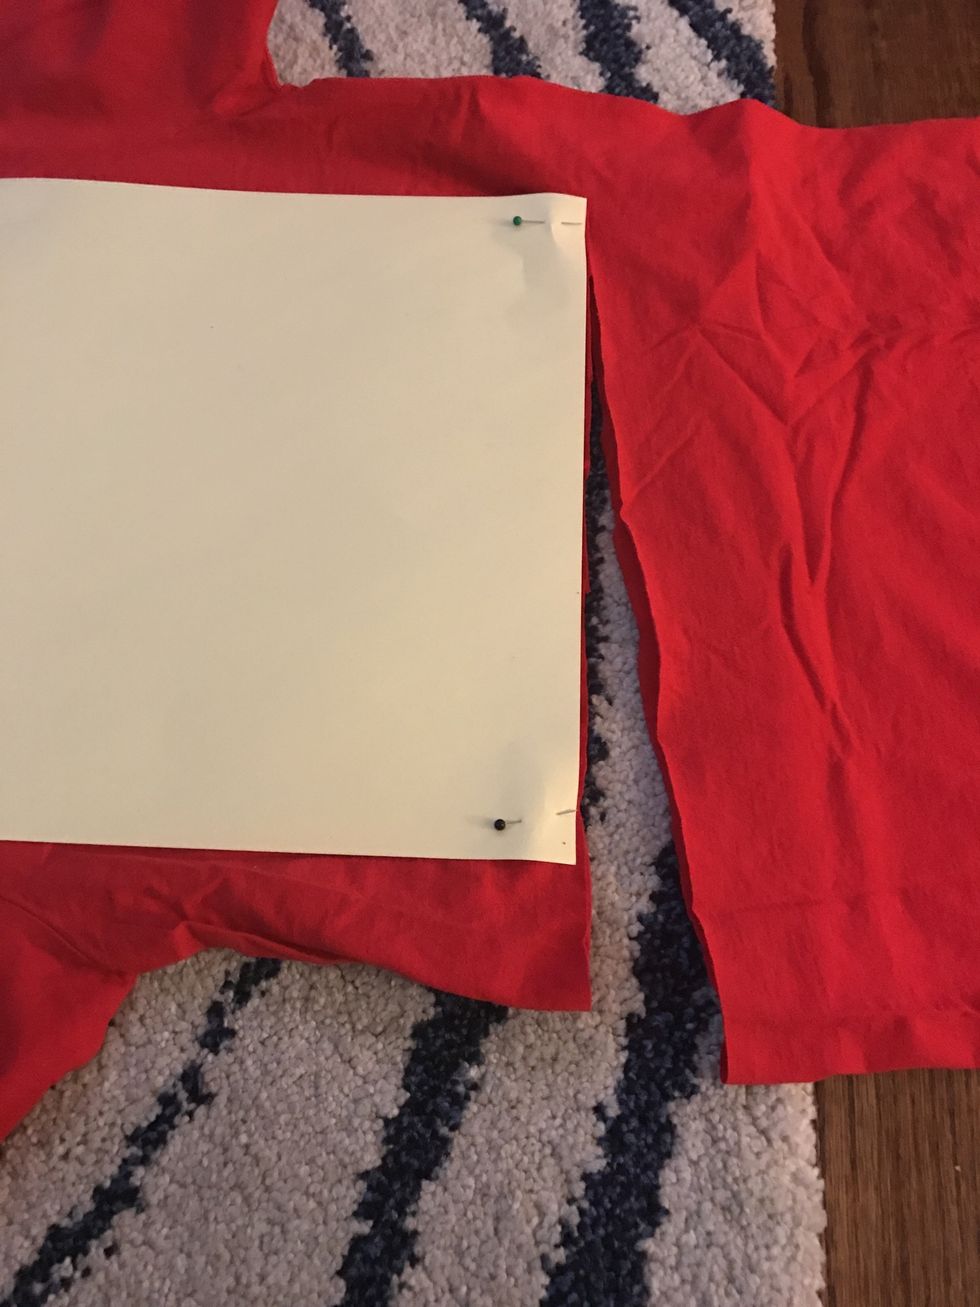
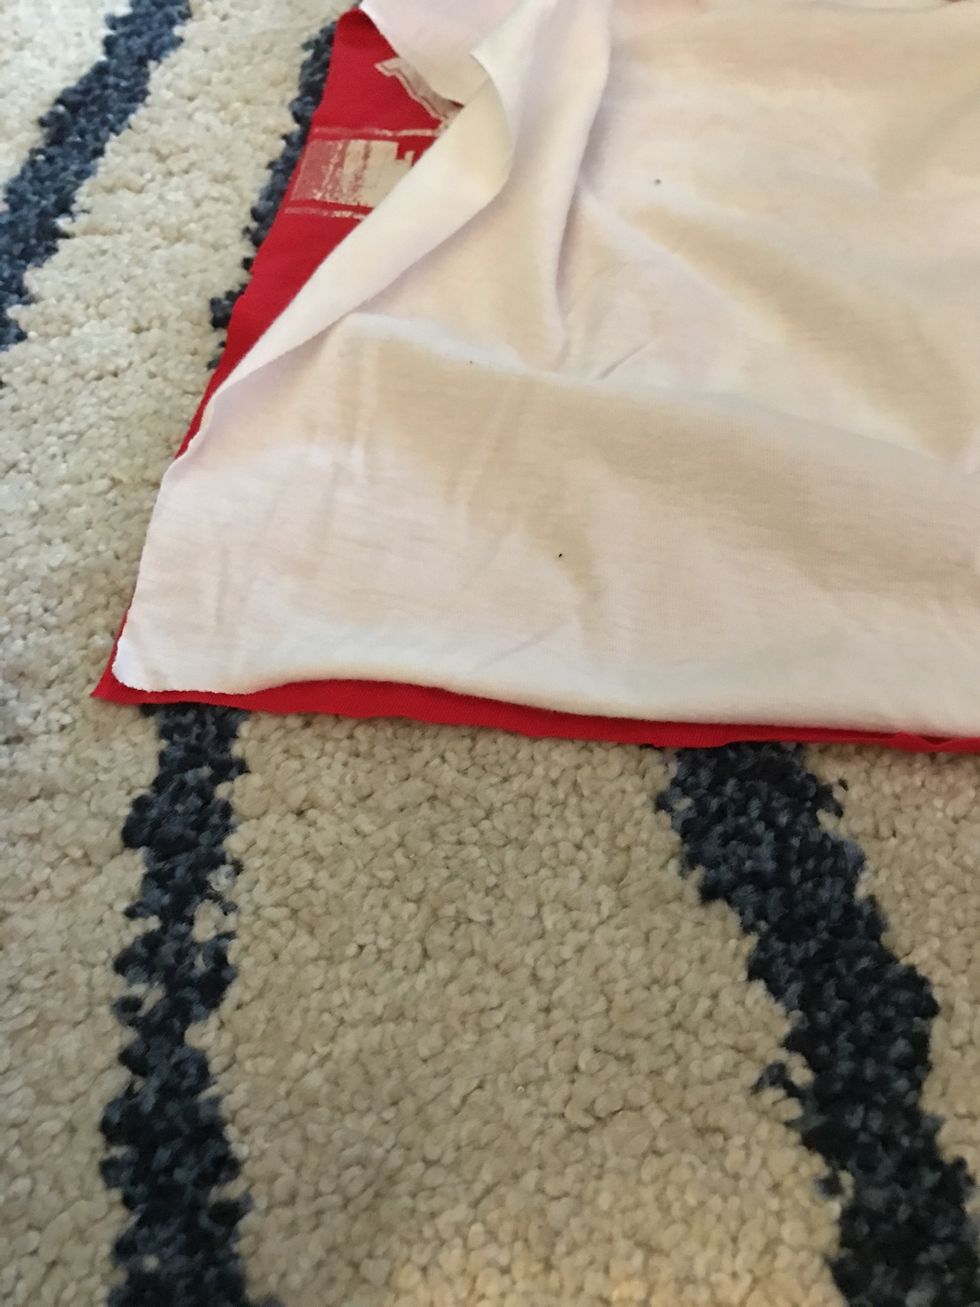
Cut on all 4 sides using your sharp scissors. Please note, the neater your cutting, the easier it will be to sew together later on.
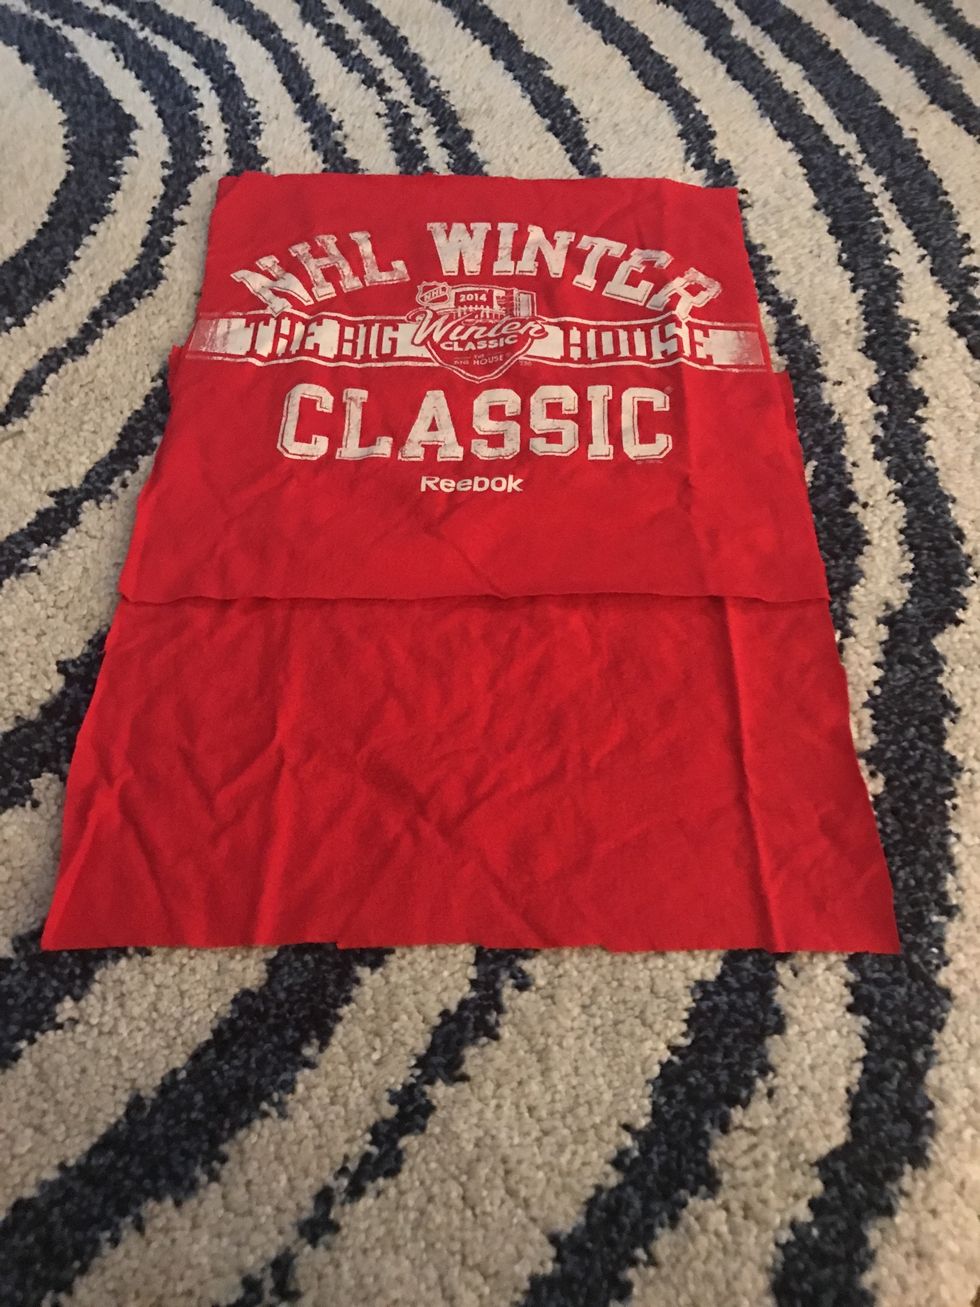
You'll end up with 2 squares. One from the front, and one from the back.
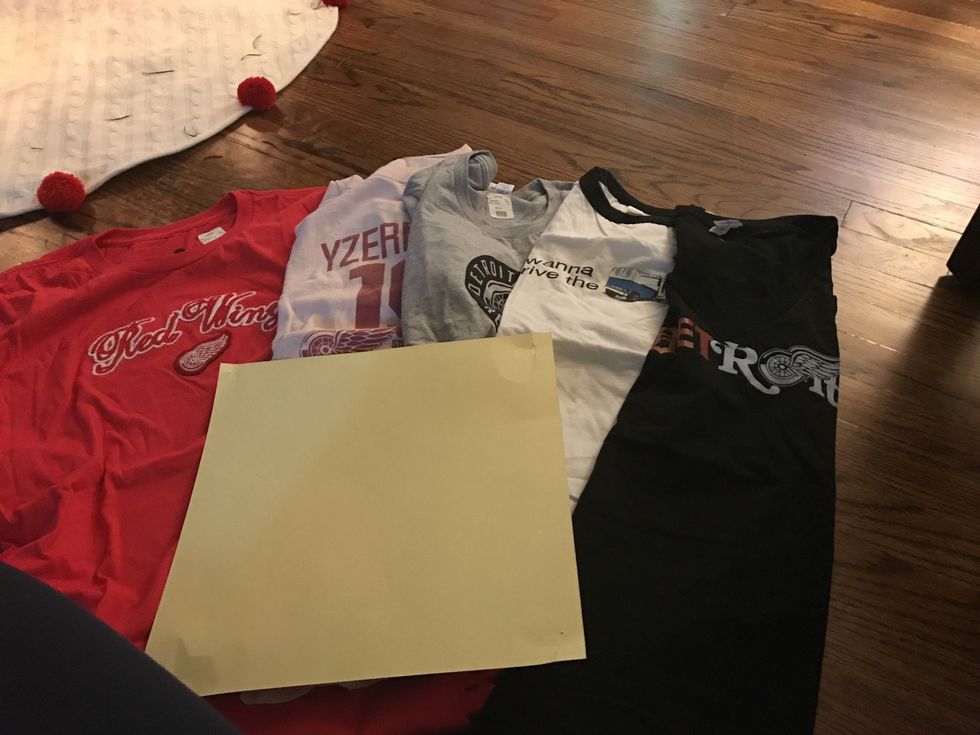
Repeat steps 1-3 with the remaining 5 shirts! You'll need 12 squares total for your blanket.
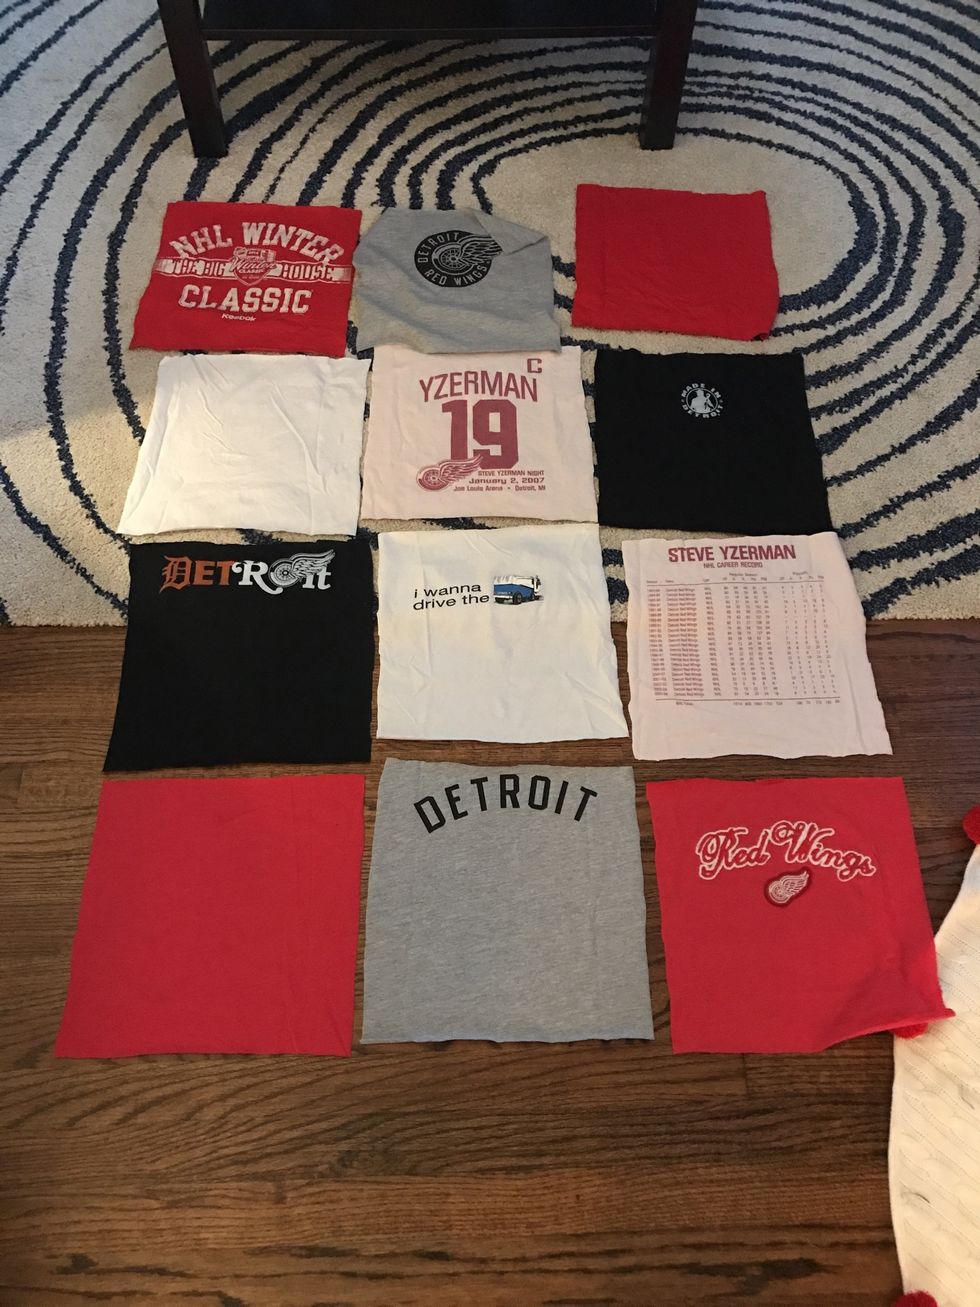
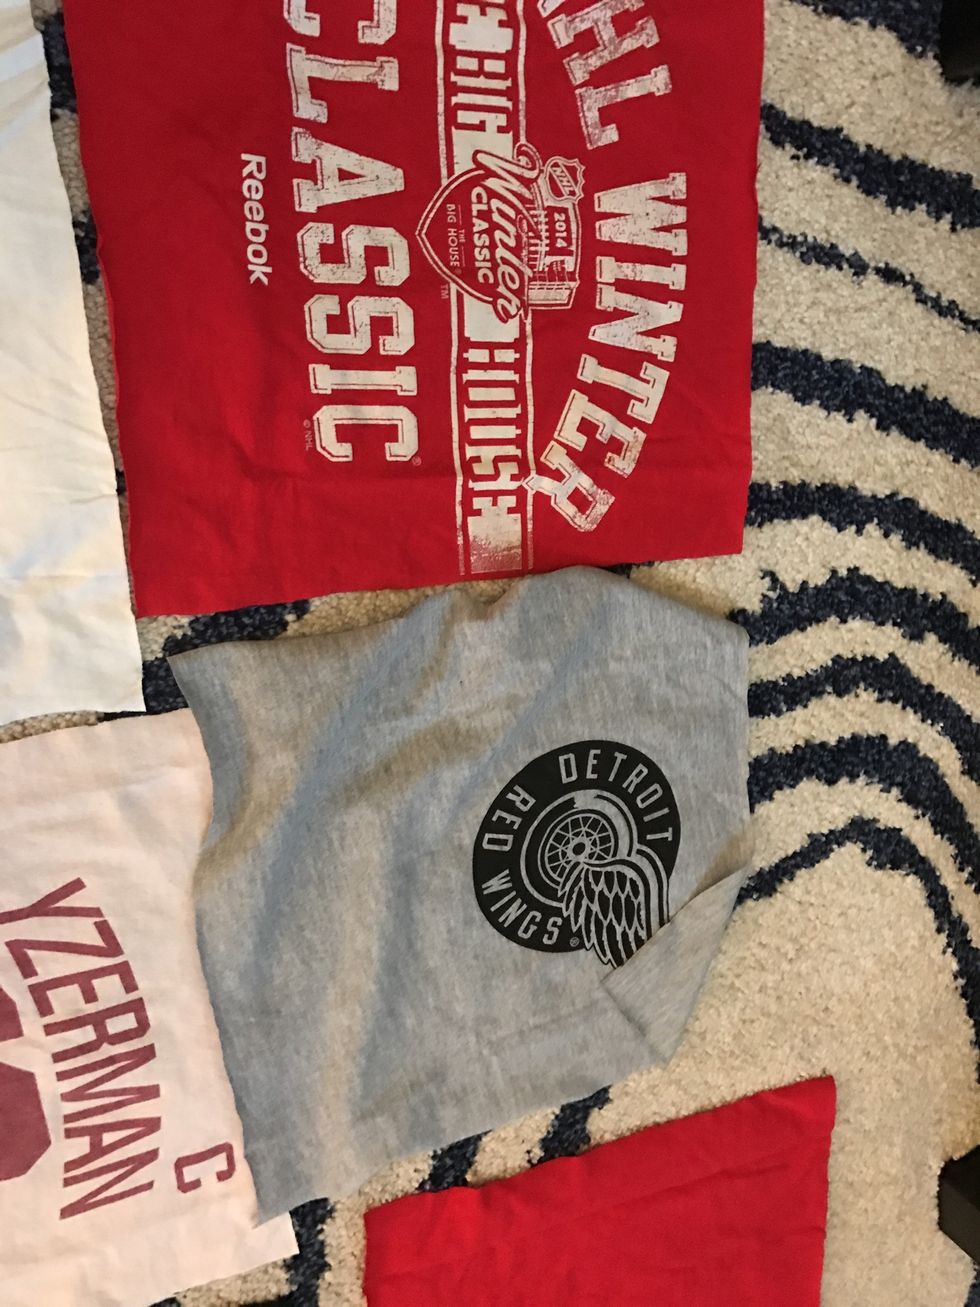
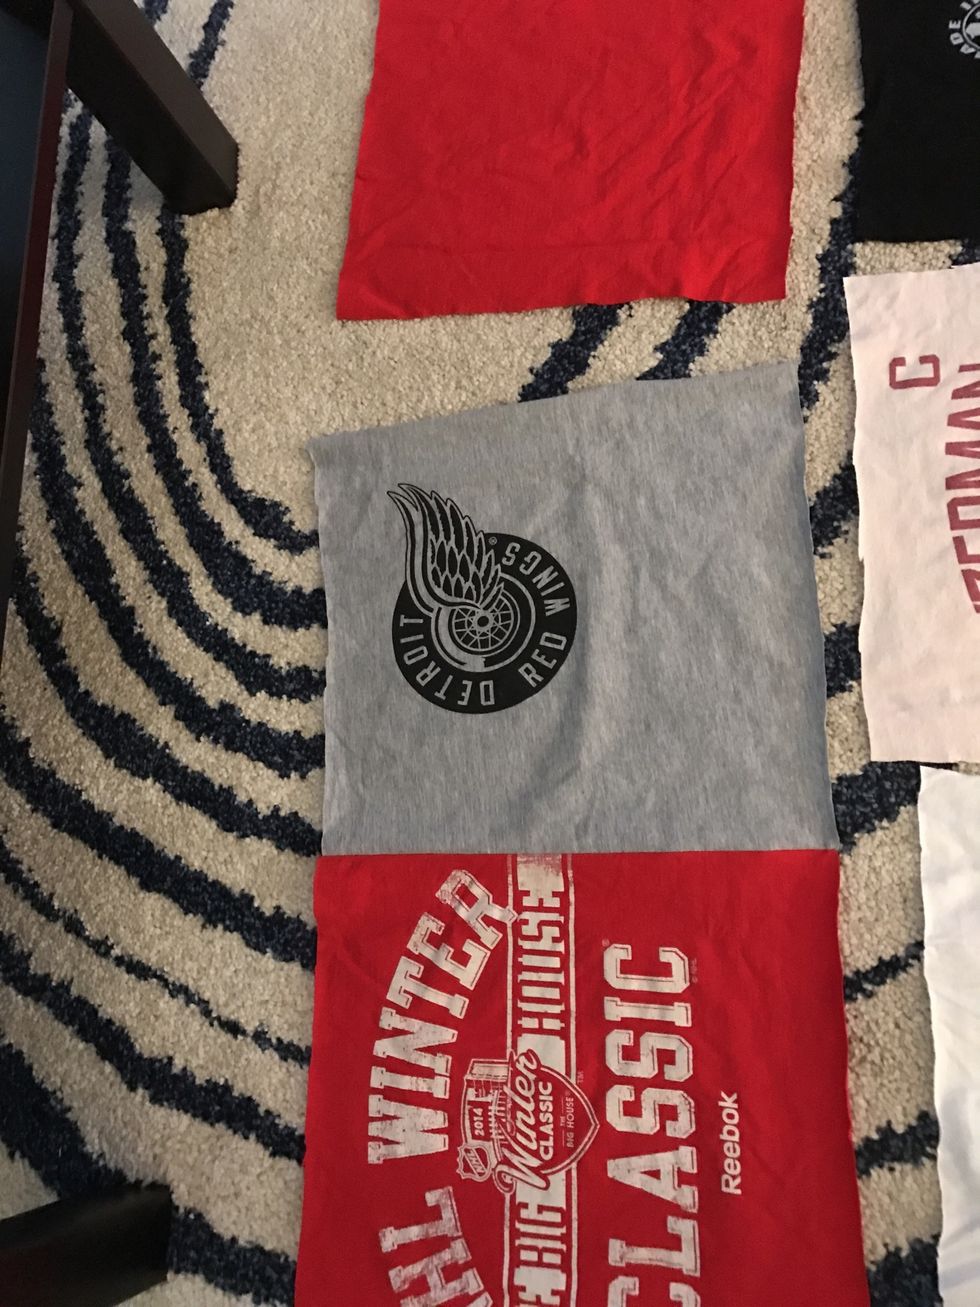
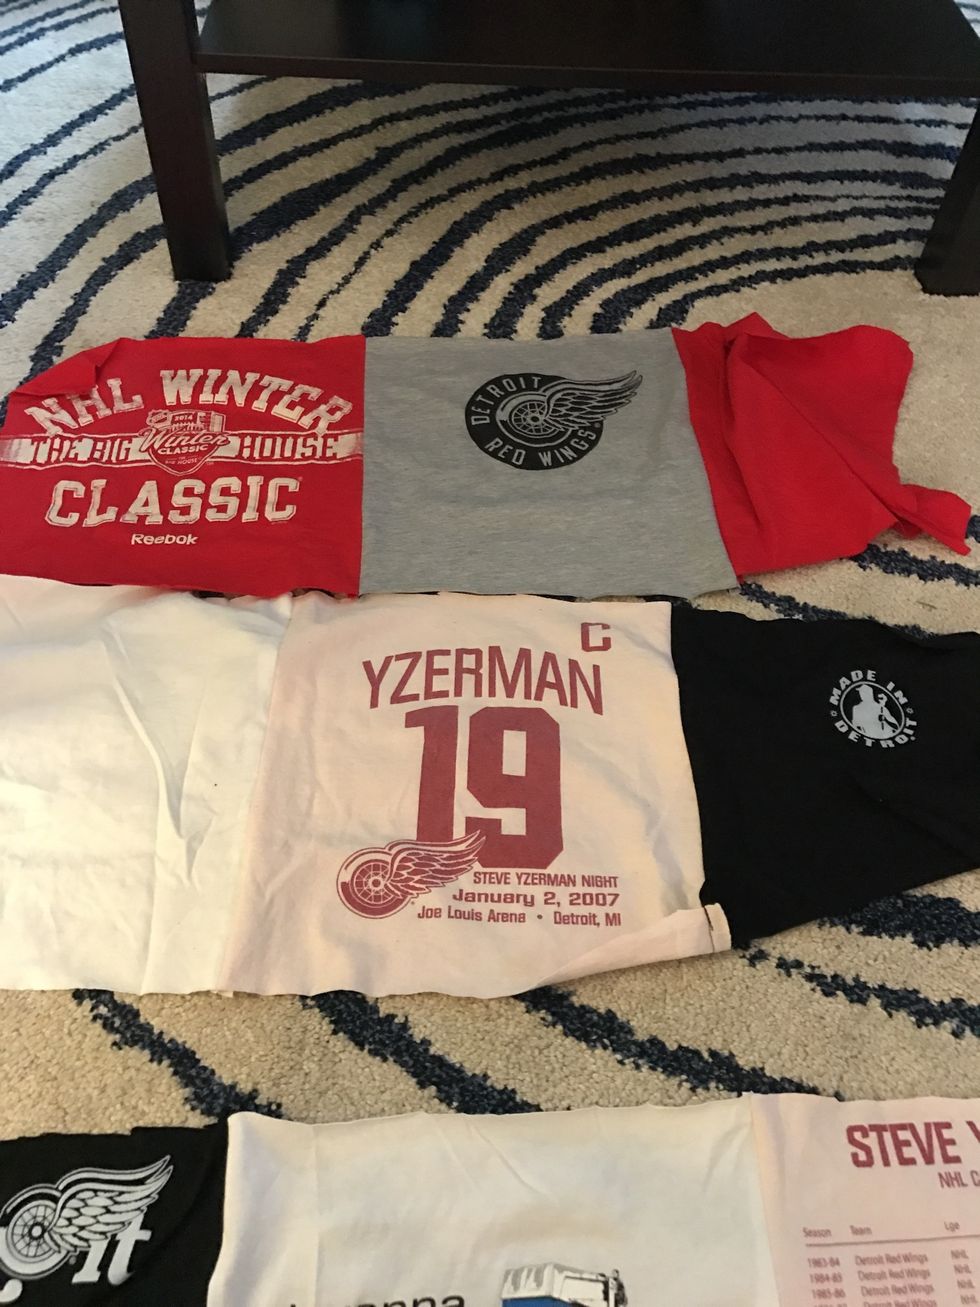
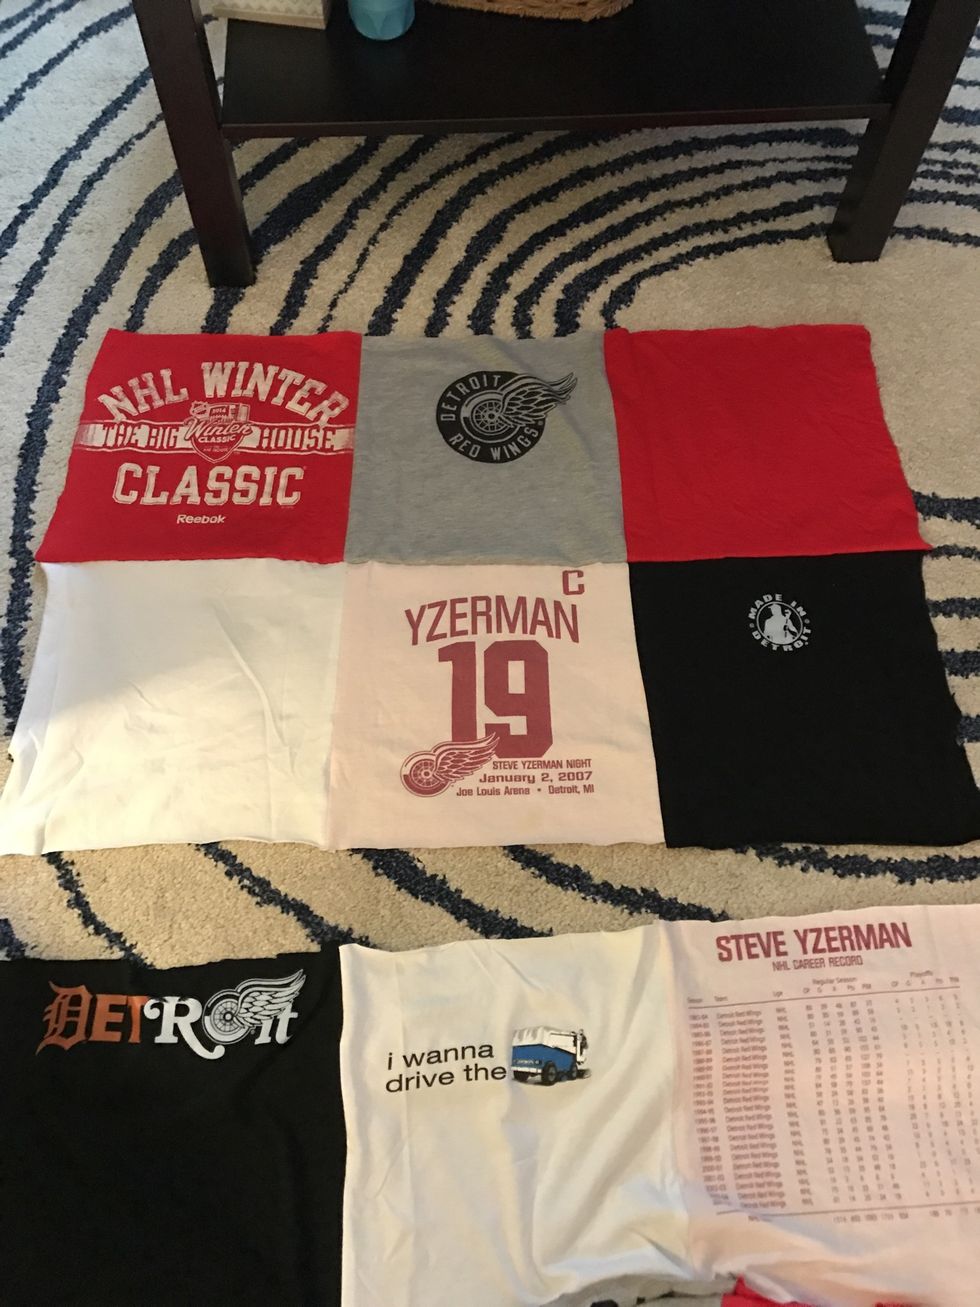
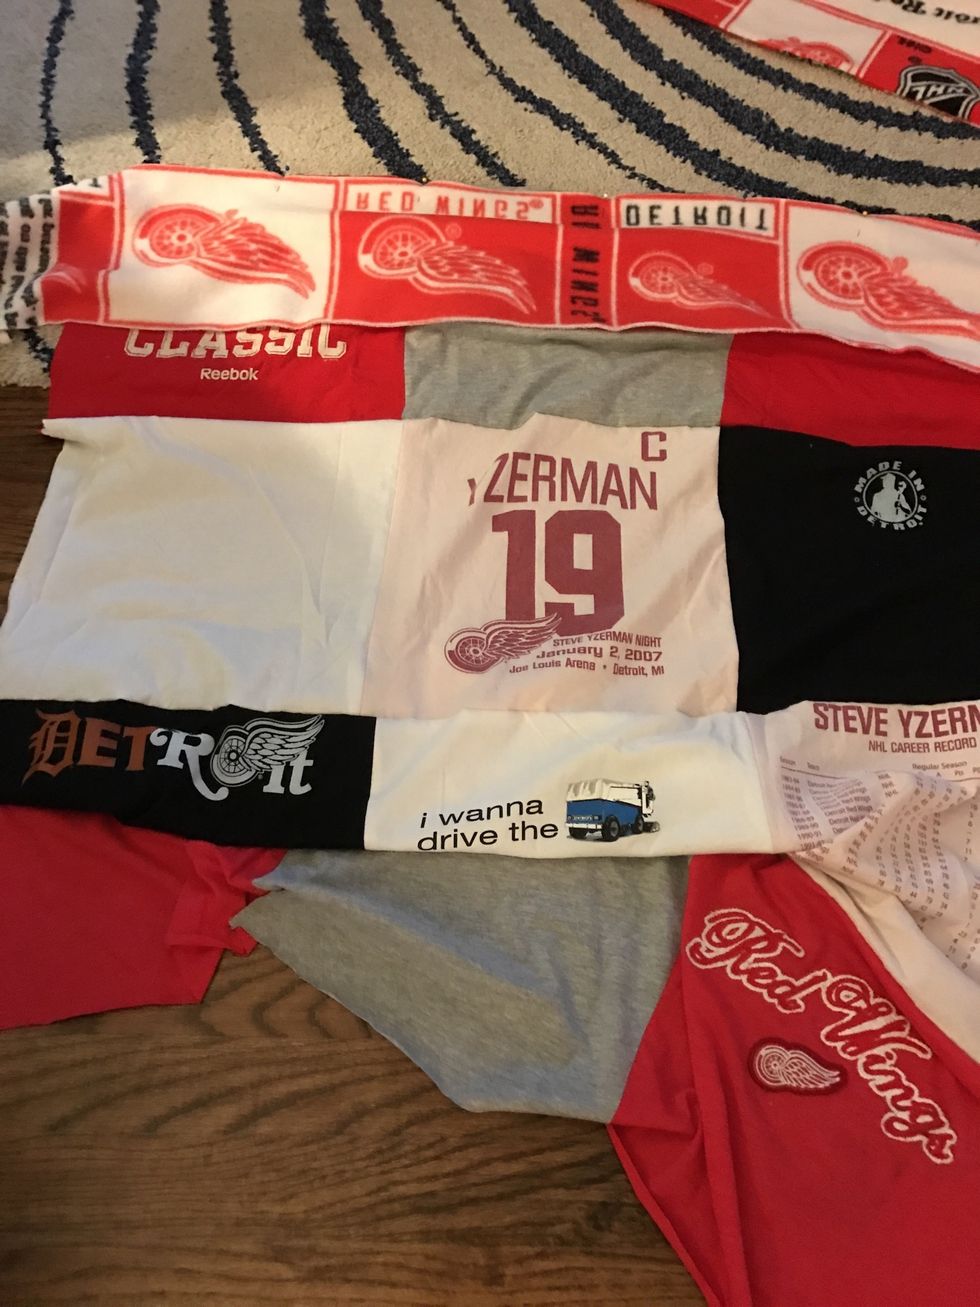
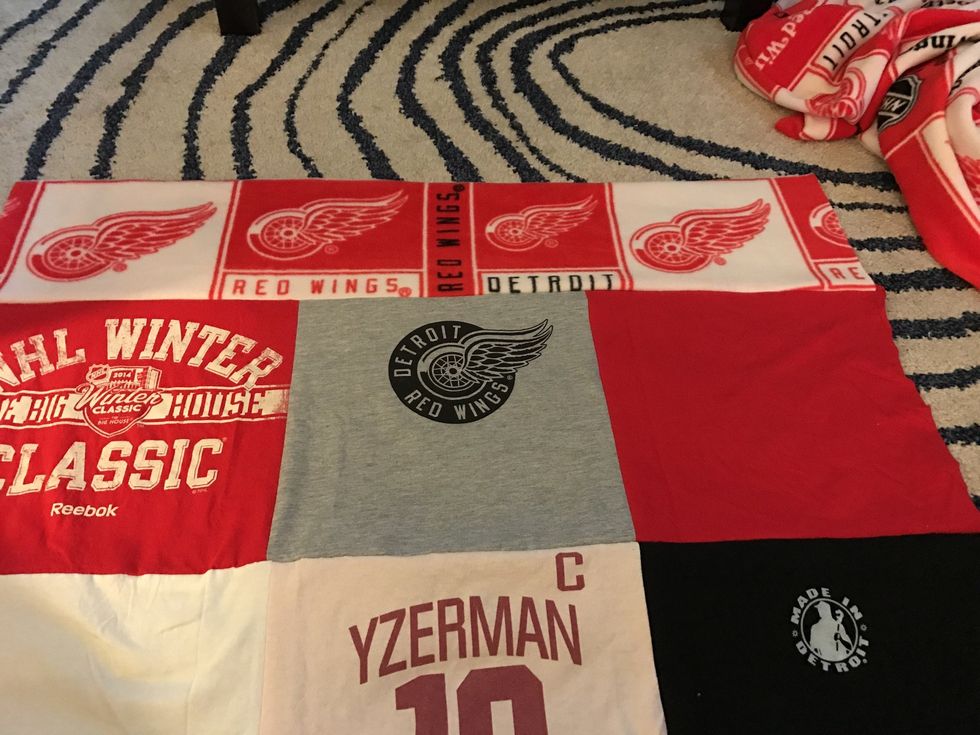
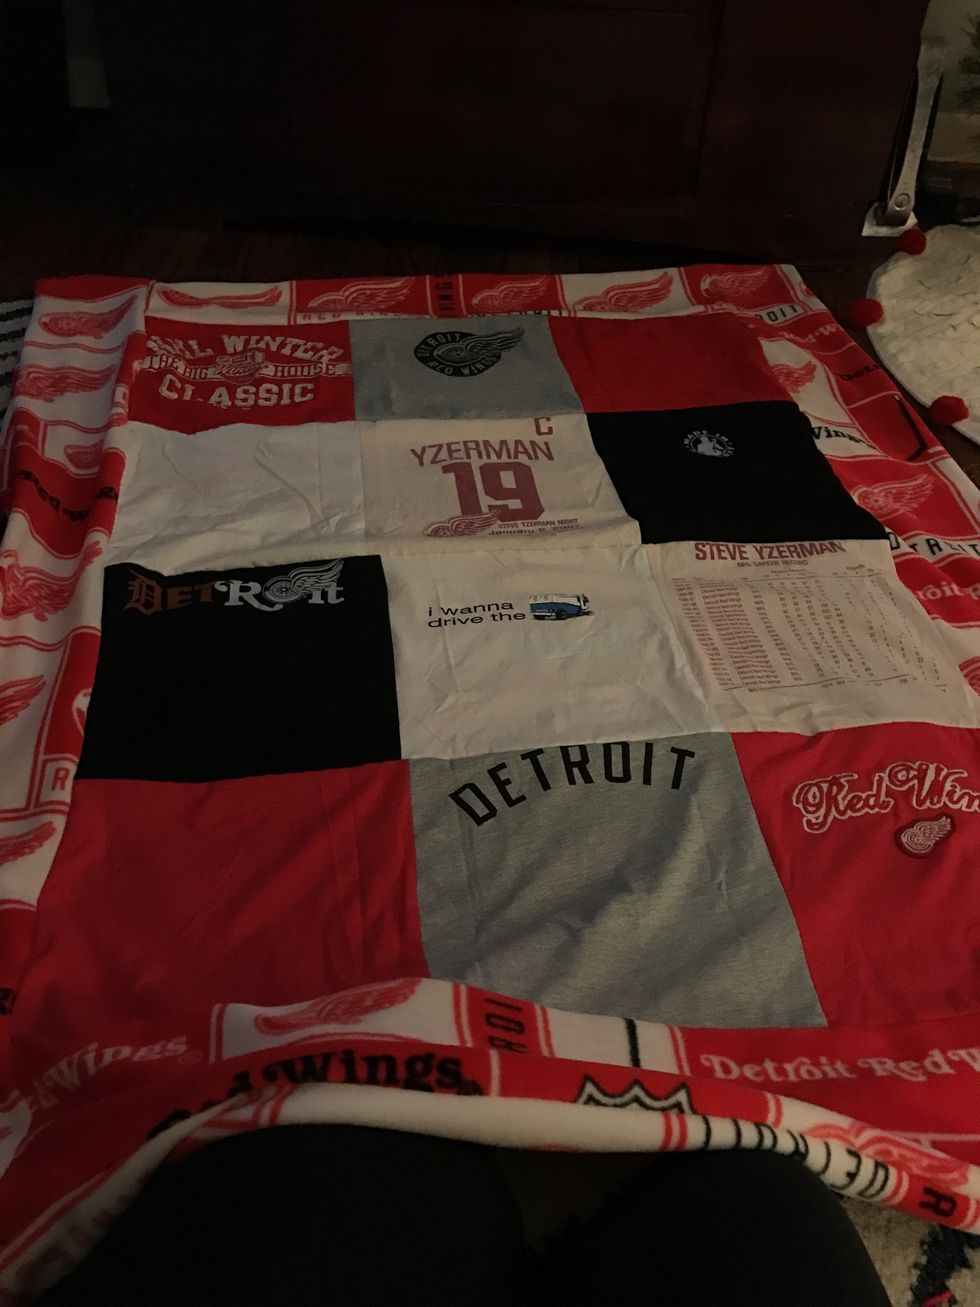
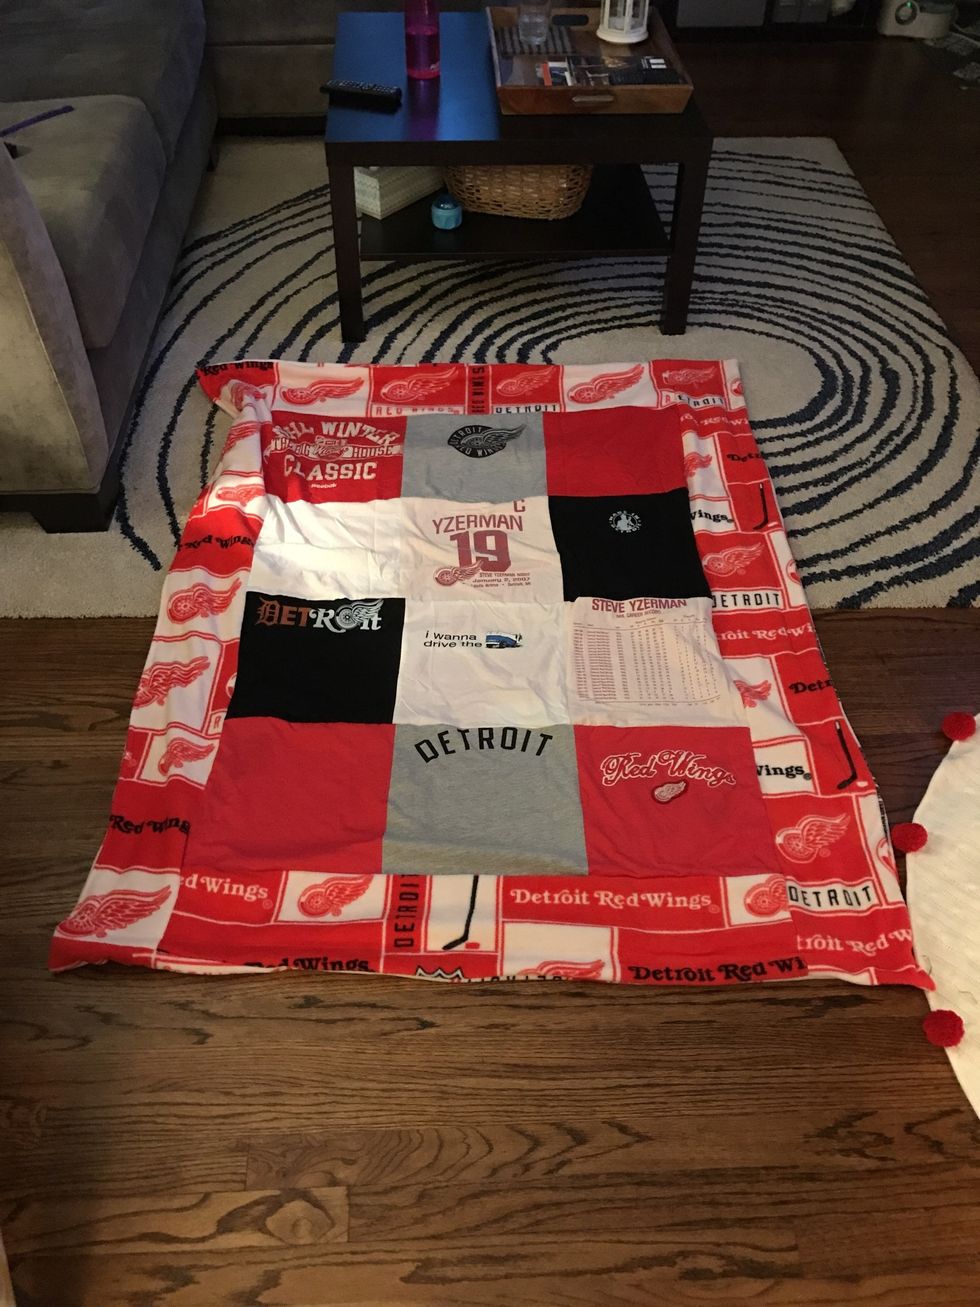
Now, layout the squares in 4 rows of 3 squares. Take a photo of how you'd like your quilt to look.
Starting with the top row, flip the left square onto the middle square so that the right sides are together.
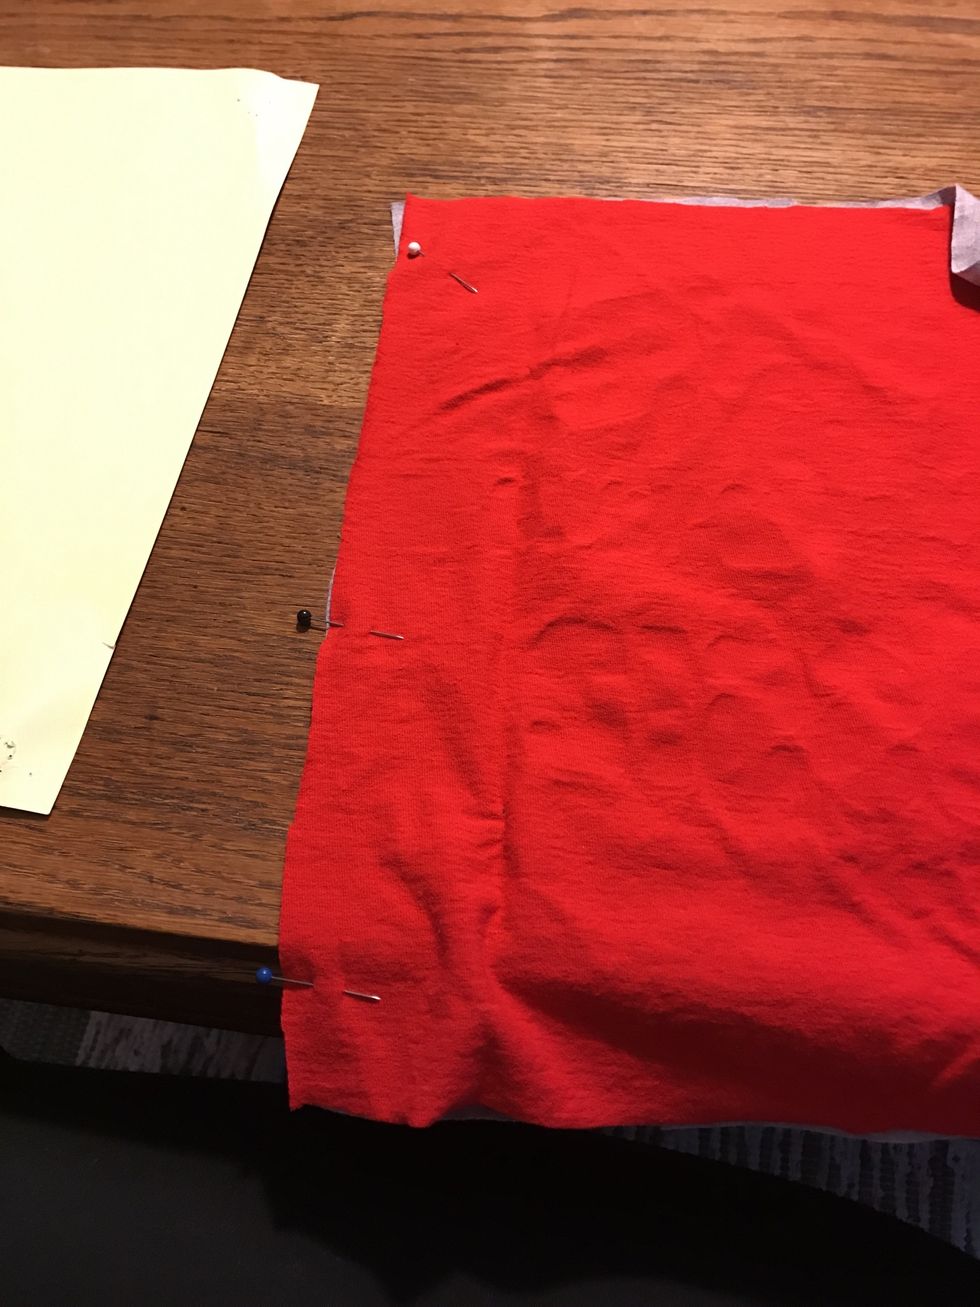
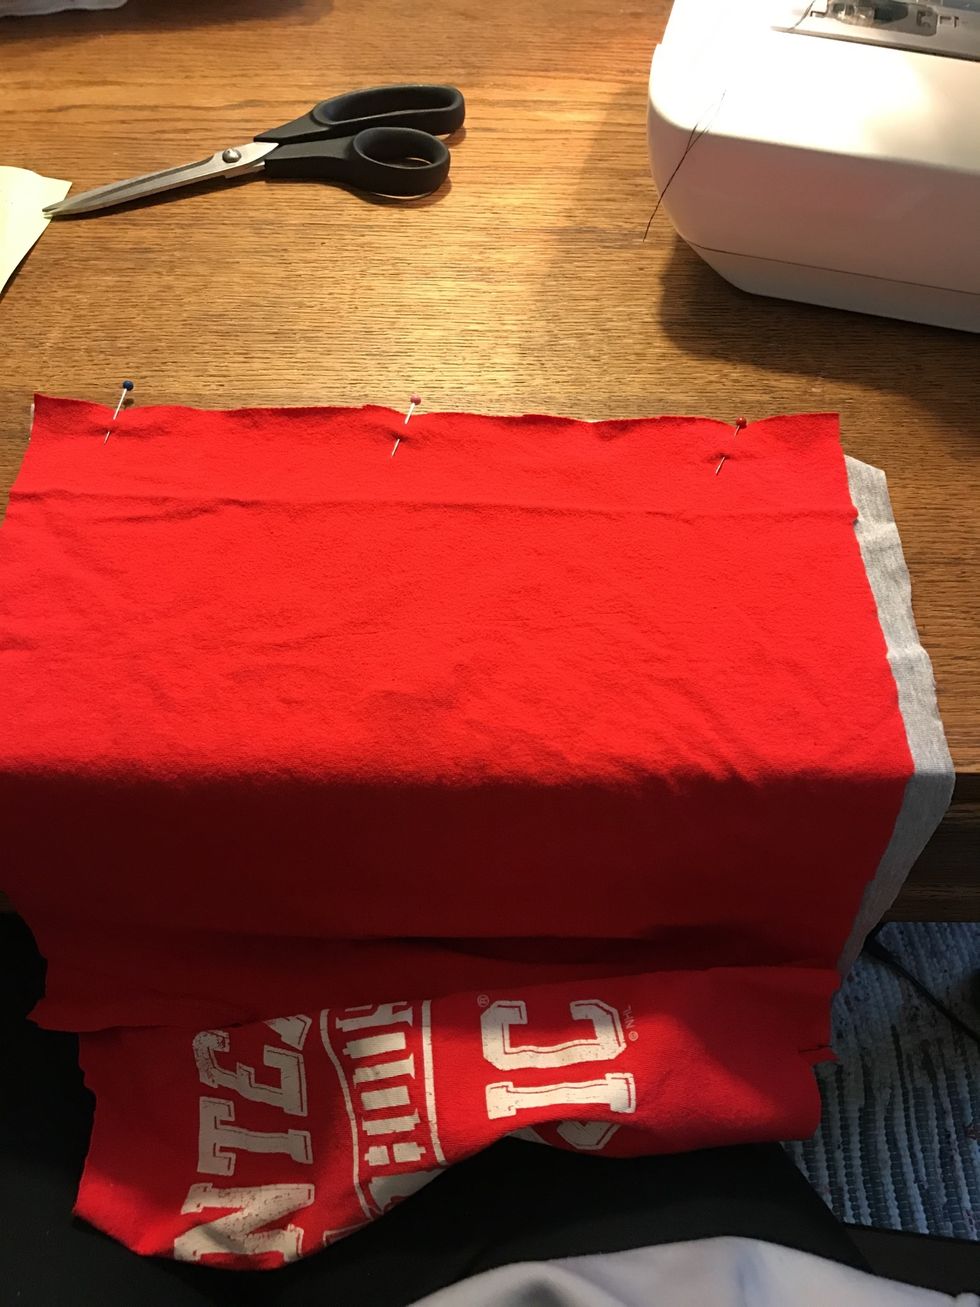
Line up the edges and pin.
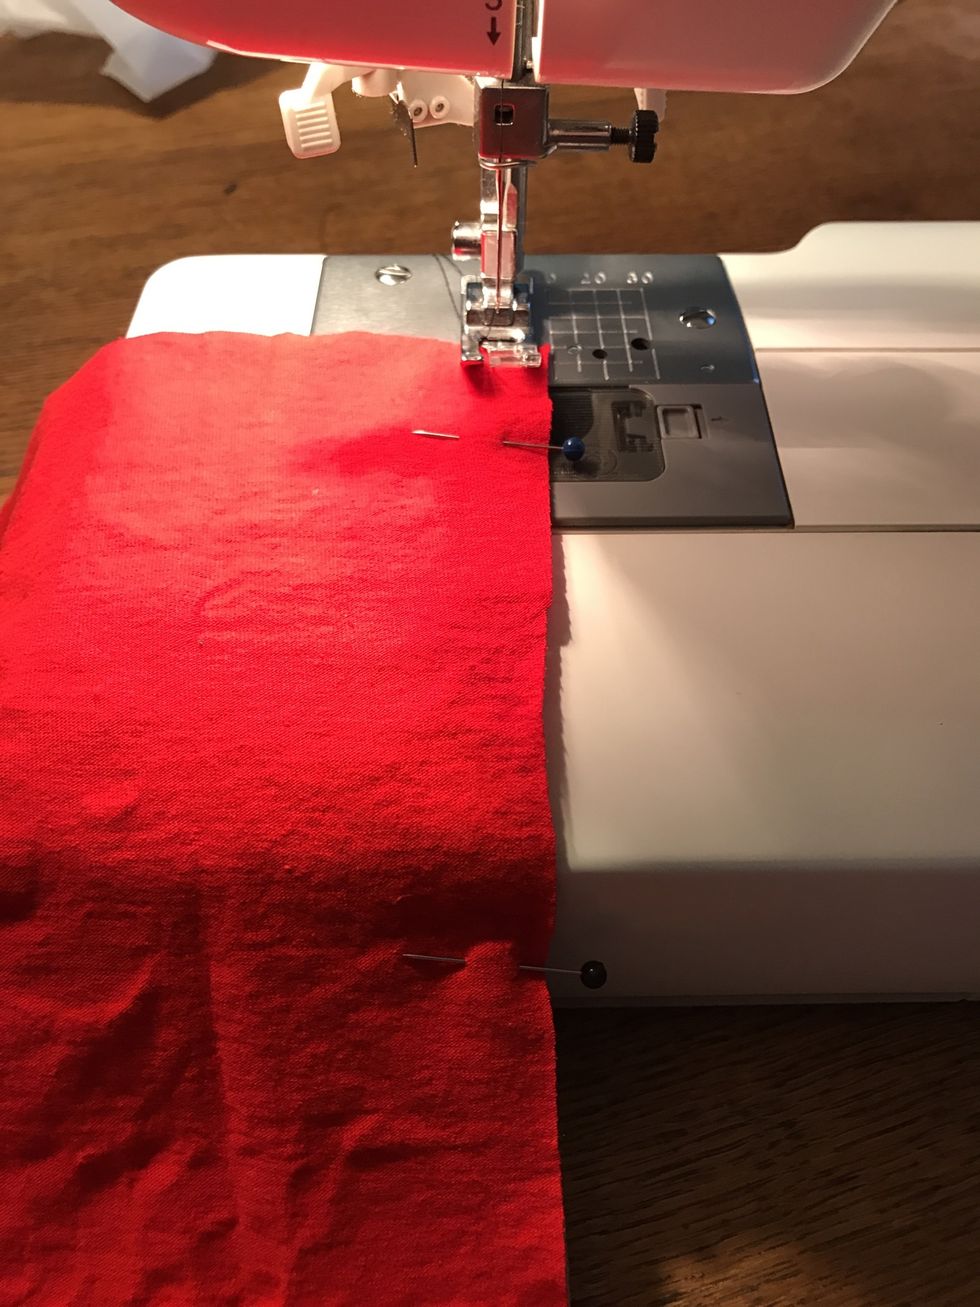
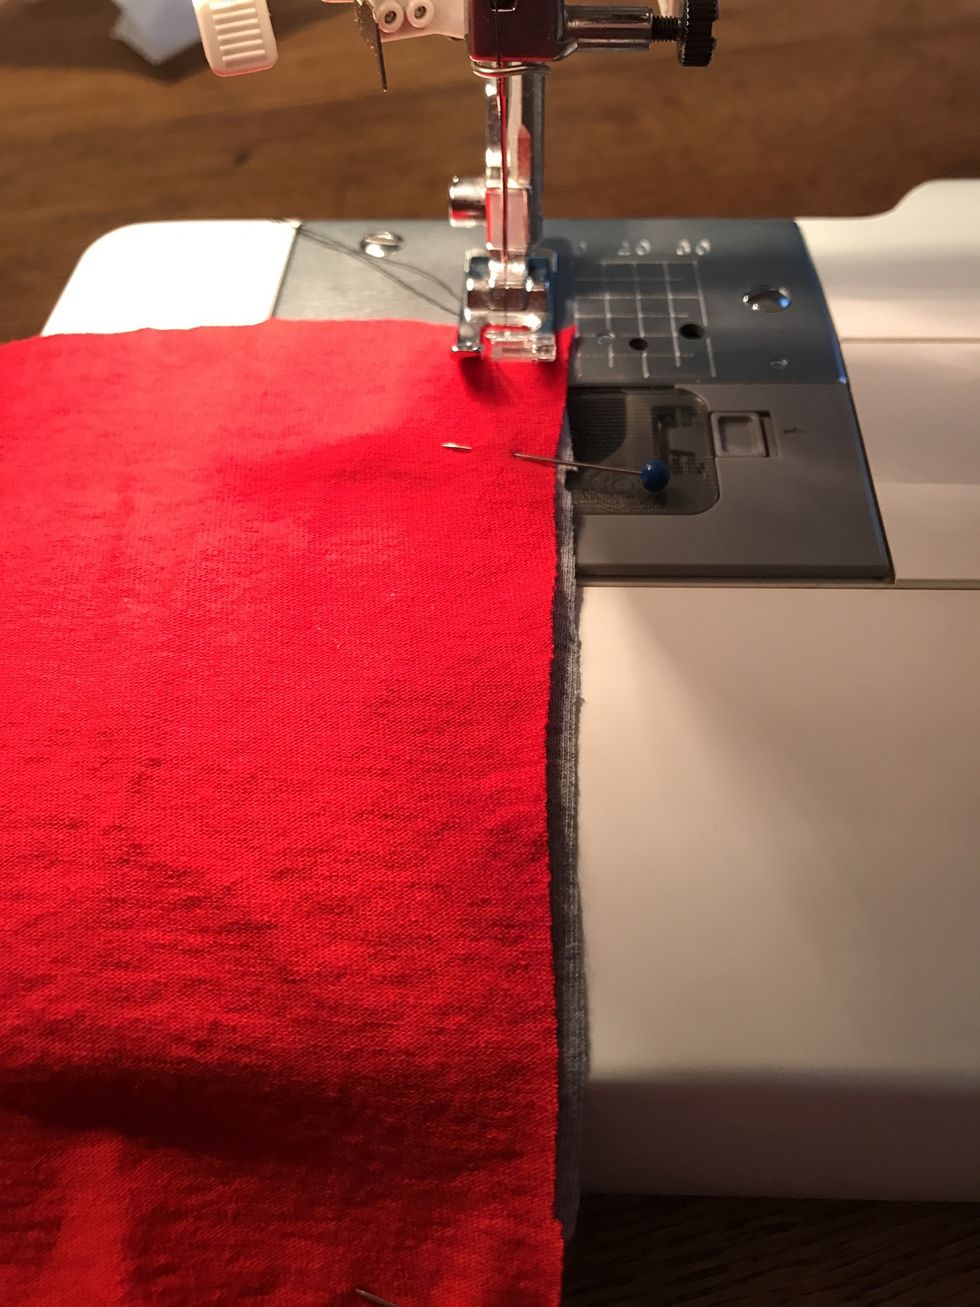
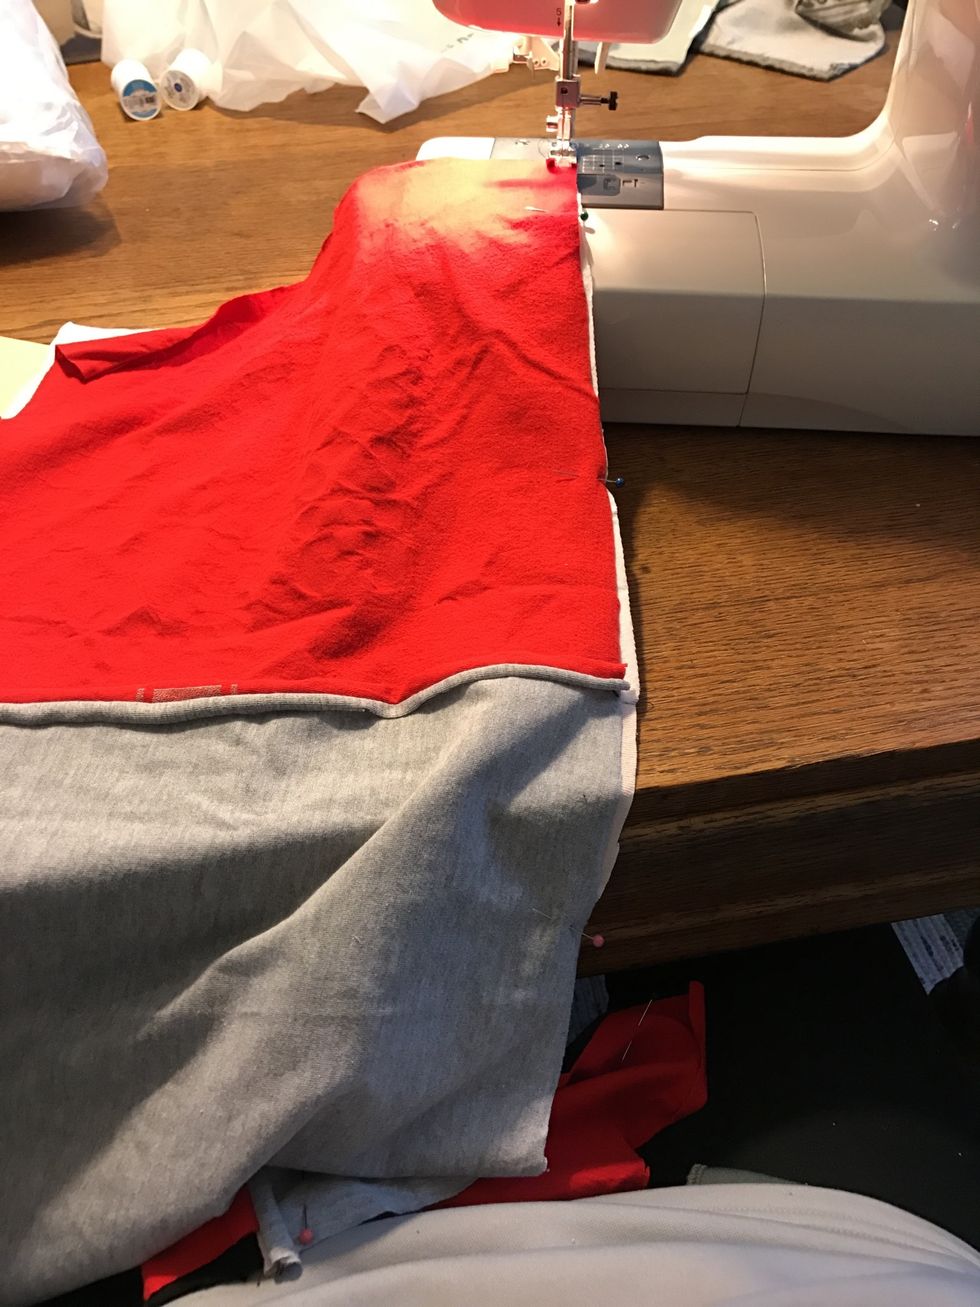
Now, sew the edges together. Keep the right side of the pressed foot lined up with the edge of the shirts. Backstitch at the top and bottom of the seam.
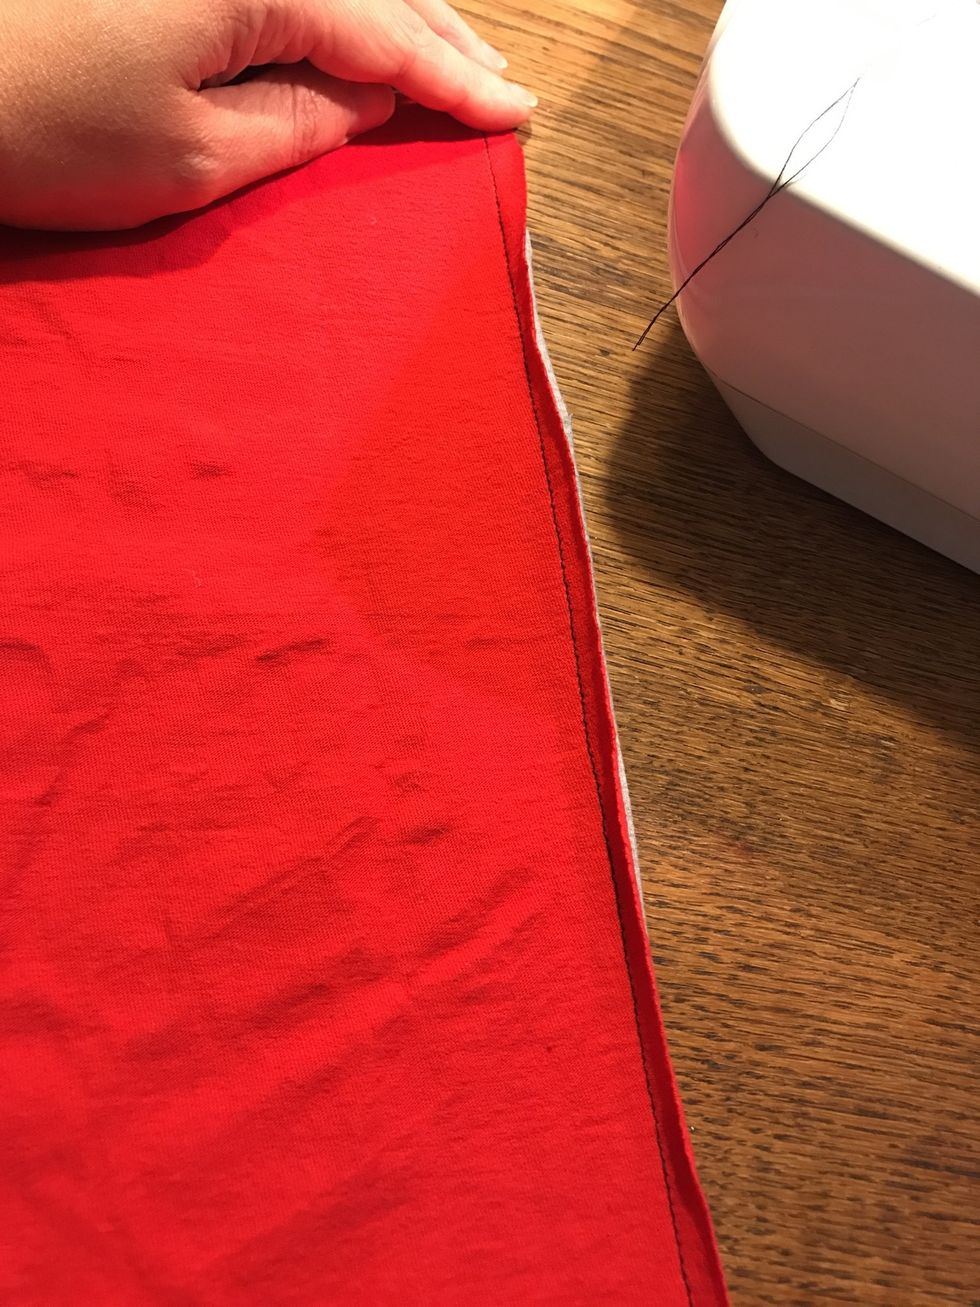
This is the finished 3/8" seam
See how the seam is on the backside, and the front side is neat and clean?
Now, flip the right square onto the middle square. Make sure the fronts (rights sides) are together!
Line up the cut edges exactly! Then pin them.
Stitch the edge at 3/8" by lining up the edge of the shirts with the right edge of the pressed foot. Don't forget to backstitch at the top and bottom of the seam.
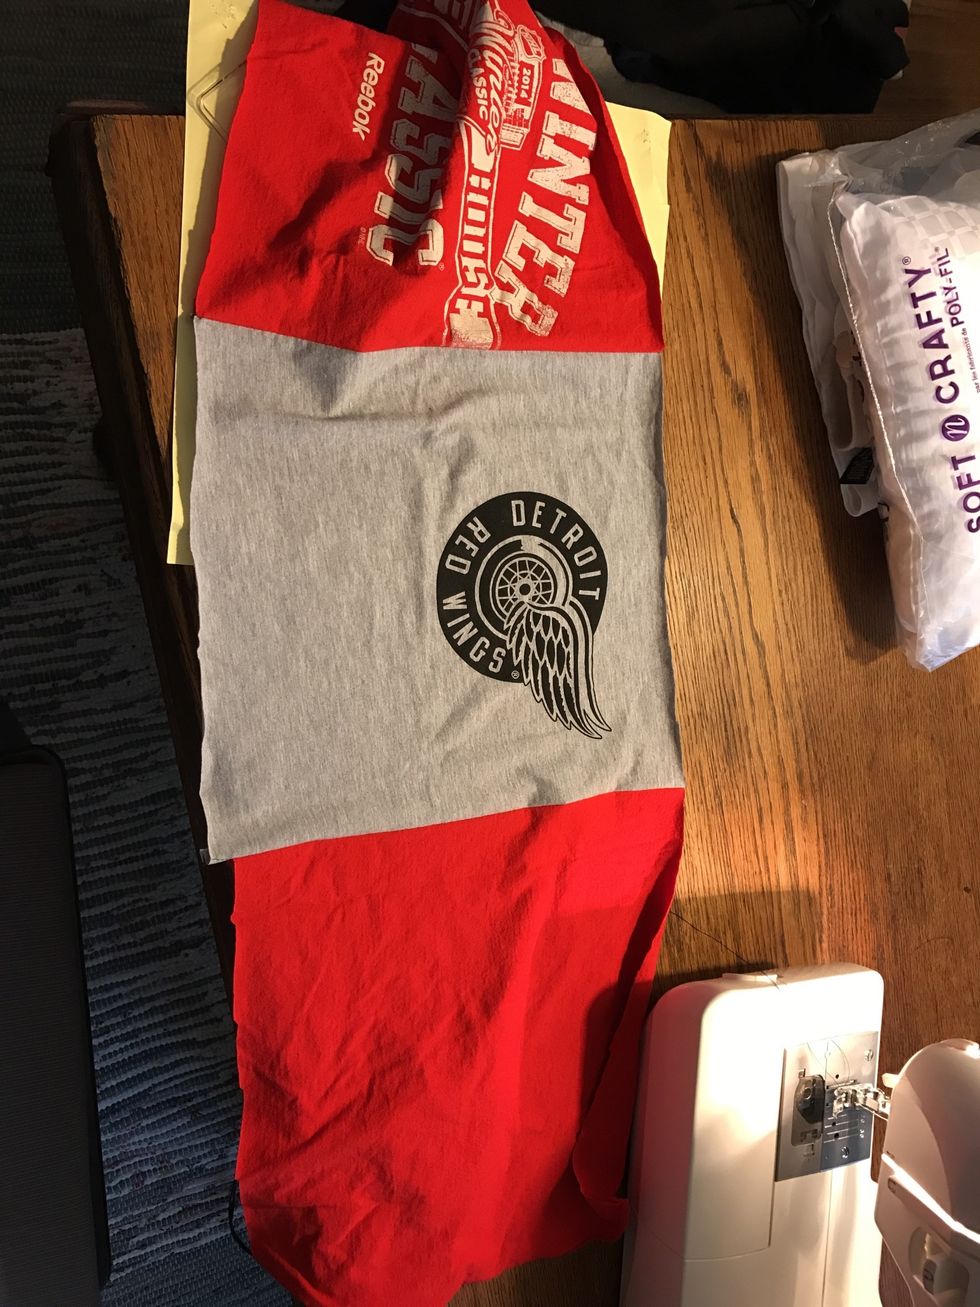
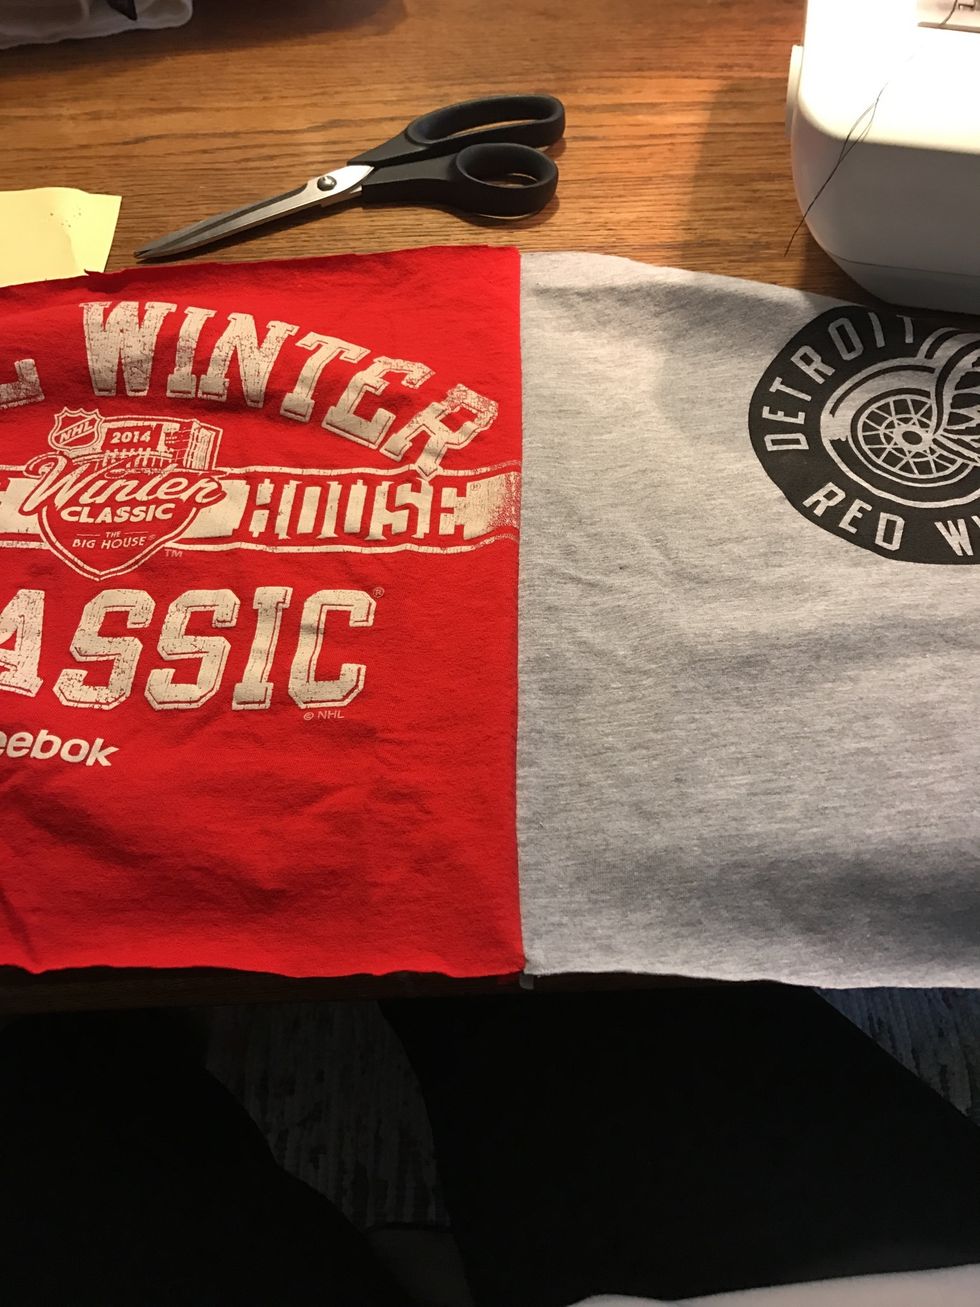
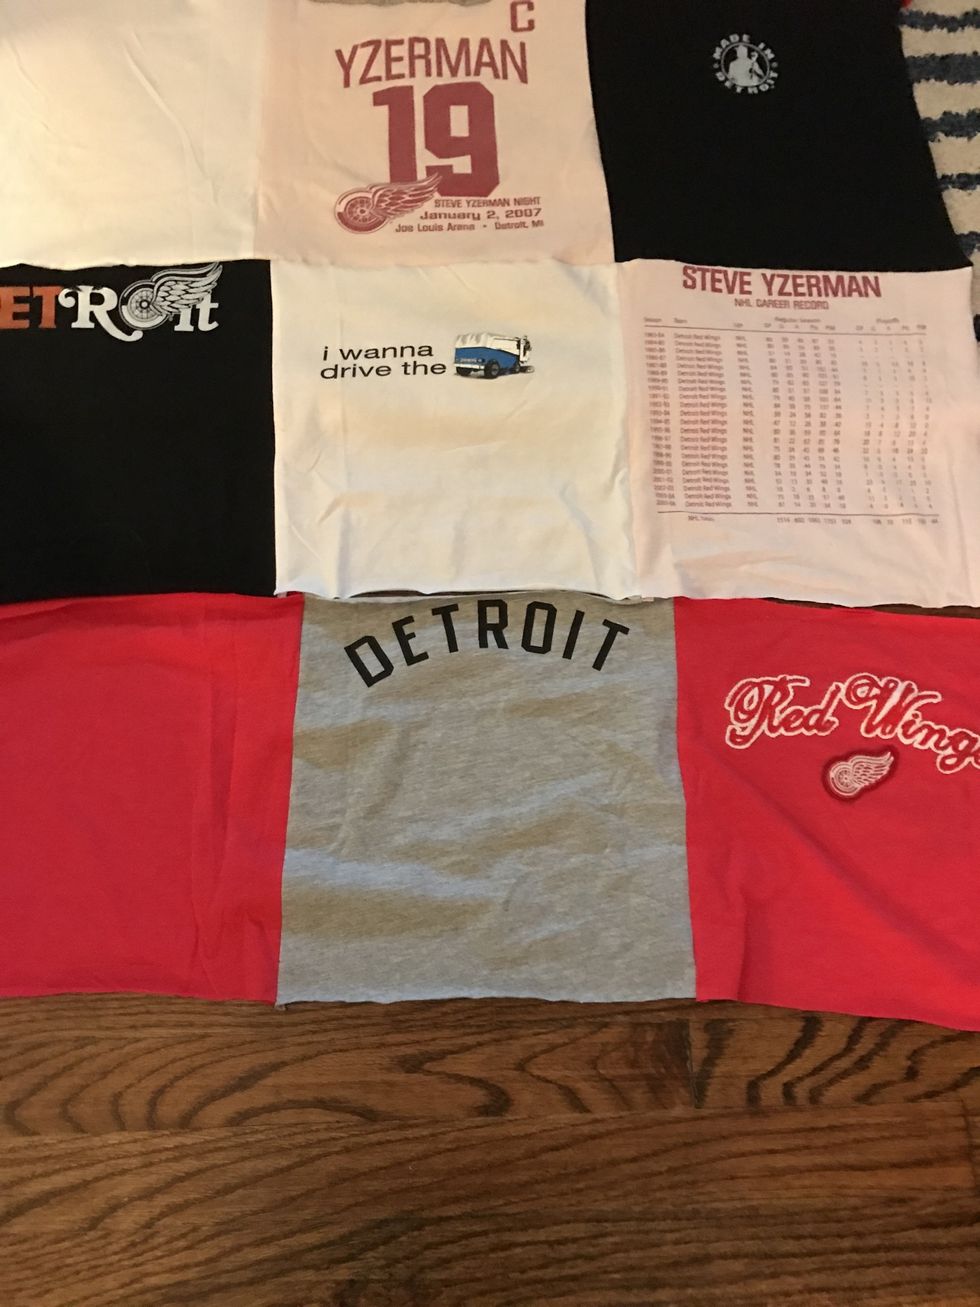
Now row one is done!
Now, repeat steps 7-15 with the next 3 rows of shirts.

4 completed rows...now we need to connect them!
We are going to flip the middle row up onto the top row, putting the front (right sides) together.
Now we will line up that edge (bottom of first row and top of second) and pin.
Now stitch the two rows together at 3/8" (line the edge of the shirts up with the right edge of the pressed foot) Don't forget to backstitch at the top and bottom of your seam!
See!
Repeat step 24 with the final row.
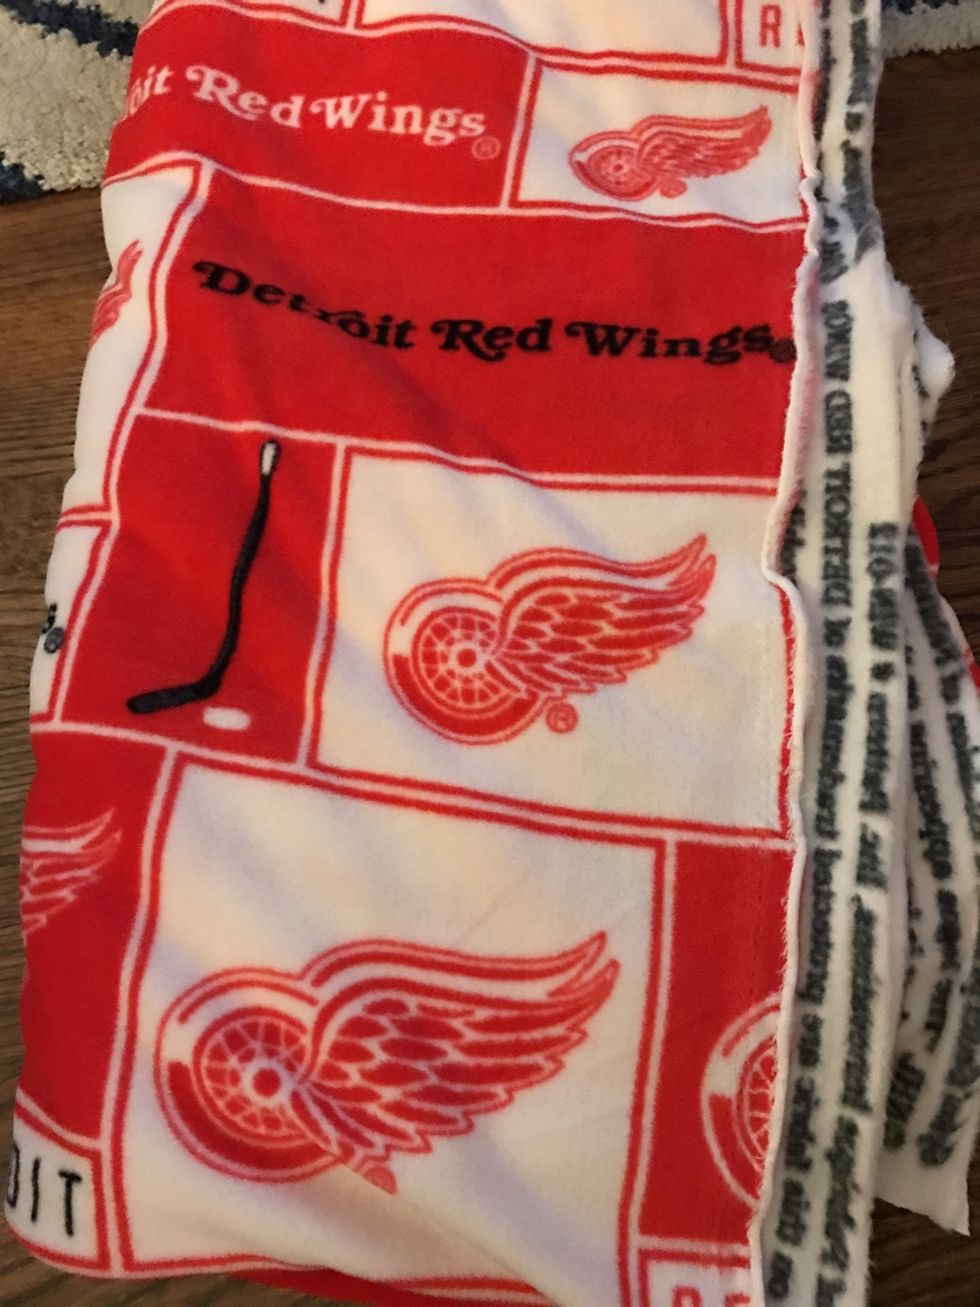
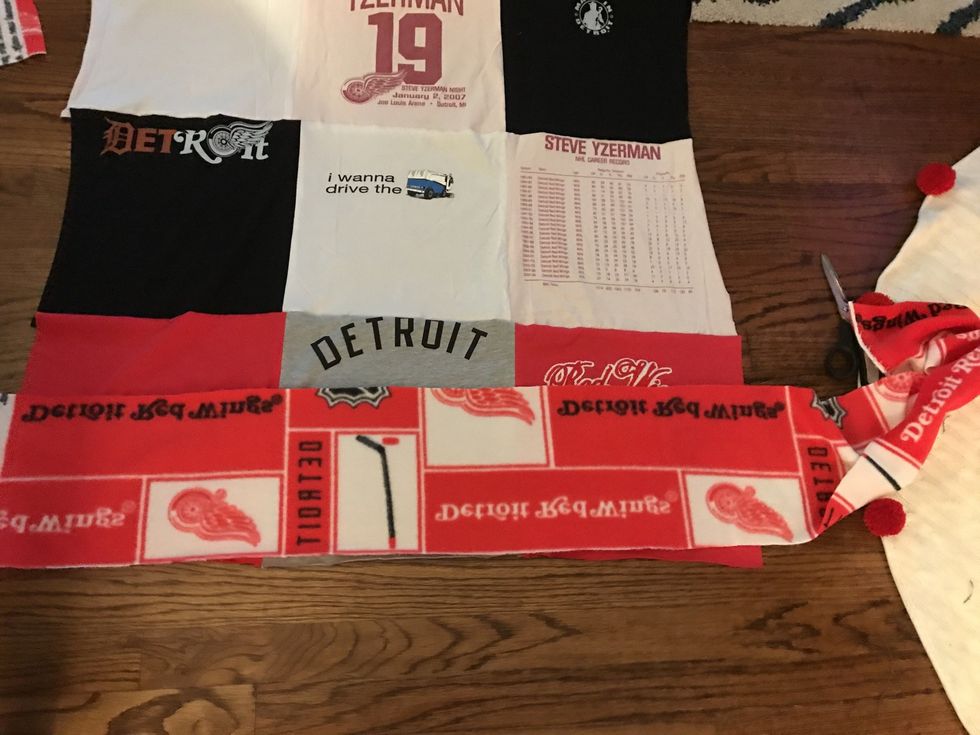
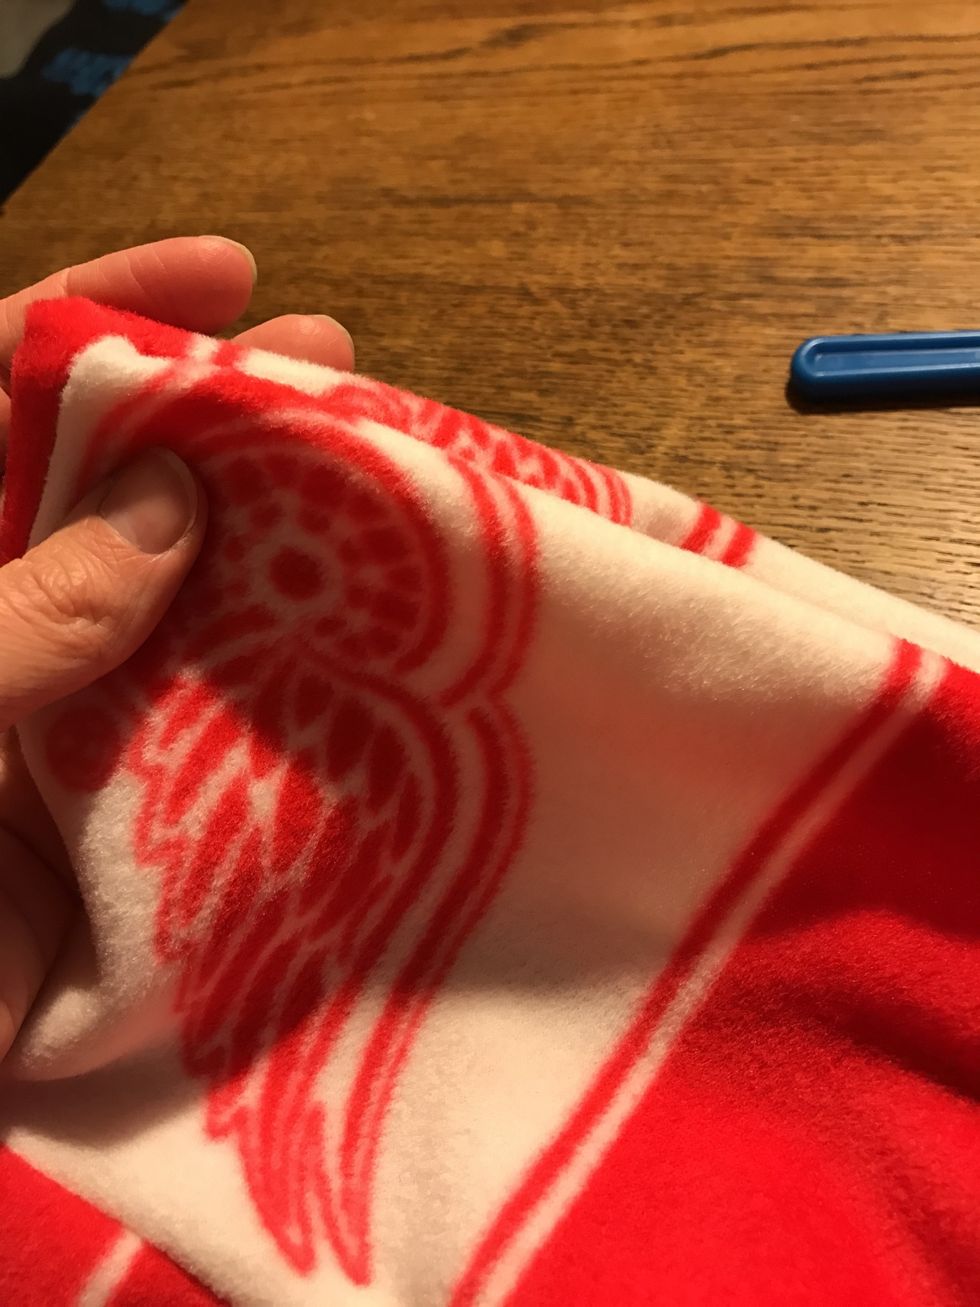
Now, you need your fleece!
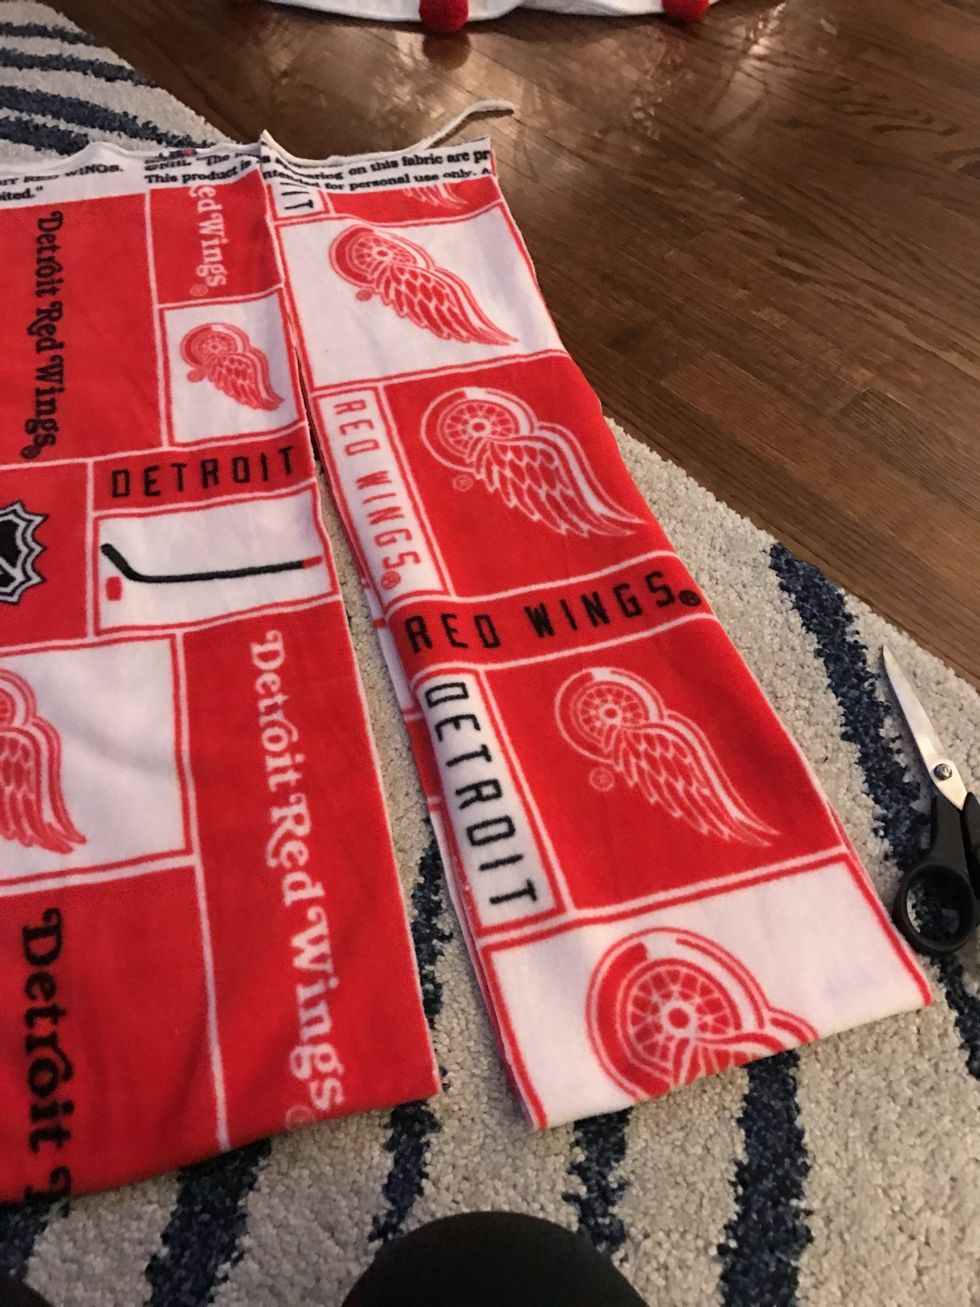
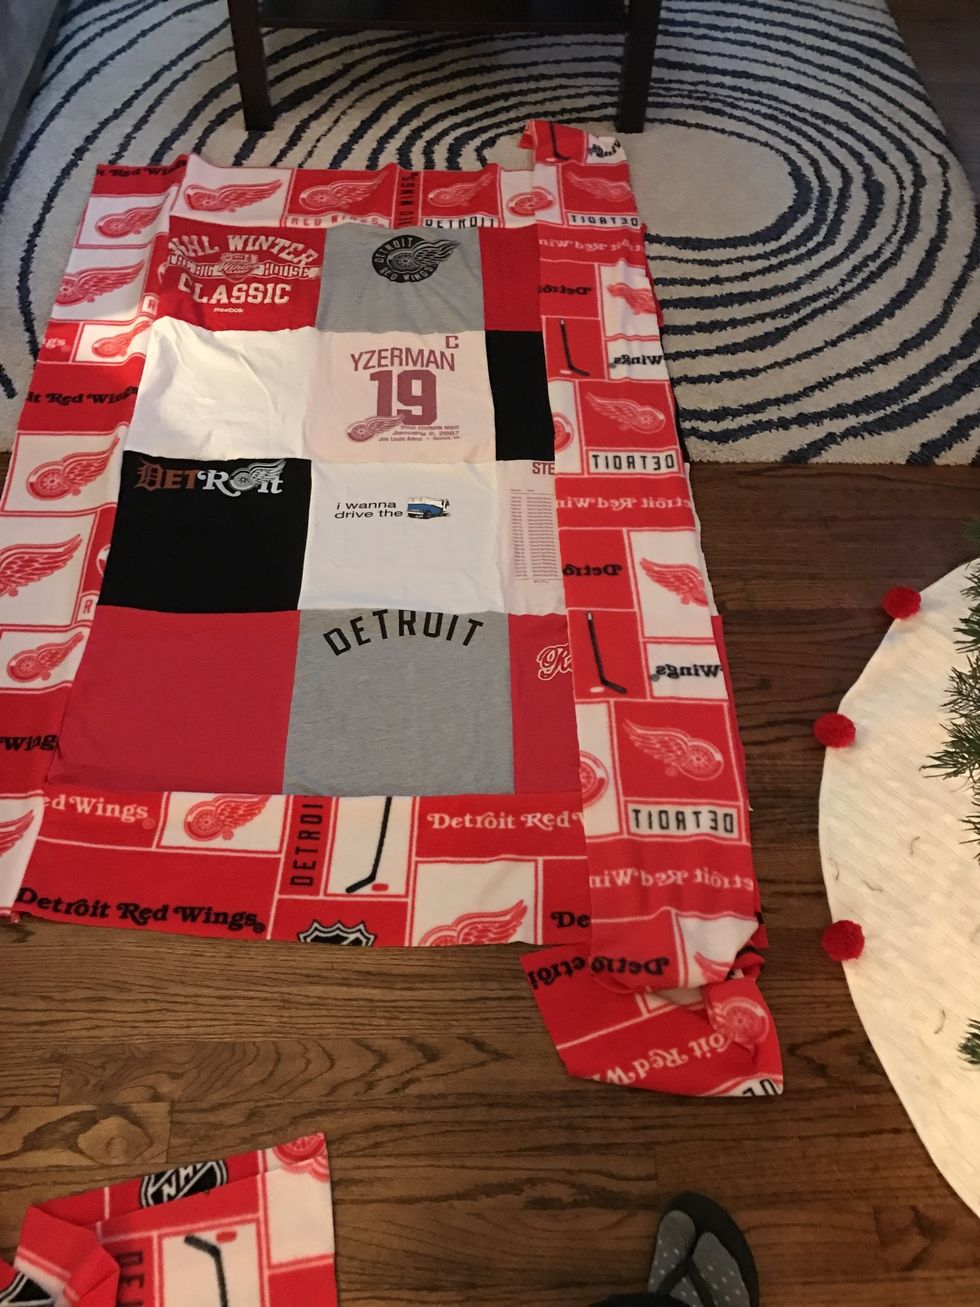
To make the top and bottom border, cut 2 even strips (about 6" wide) from the top of the fleece.
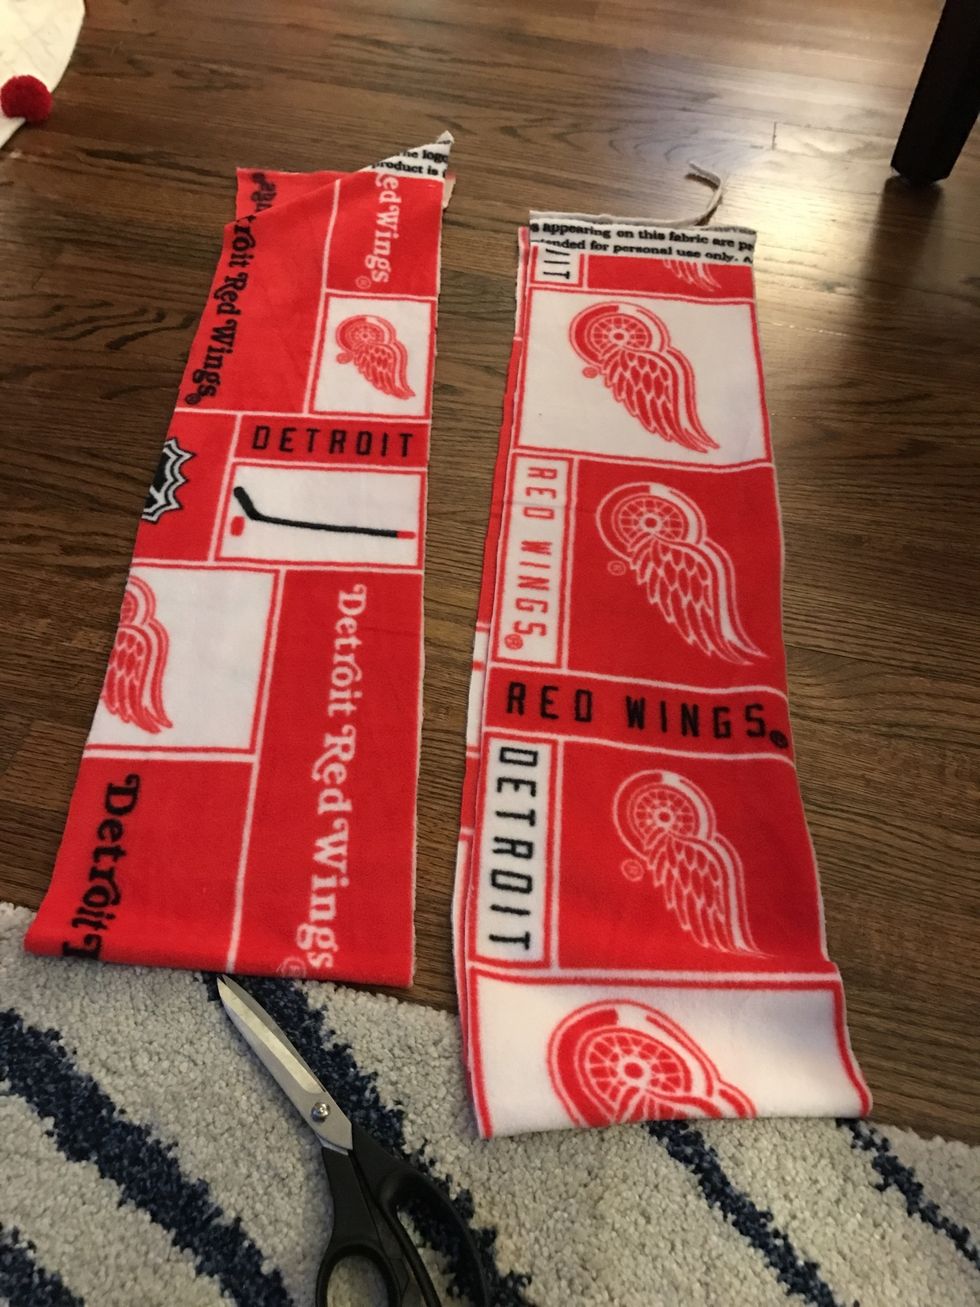
Like this!
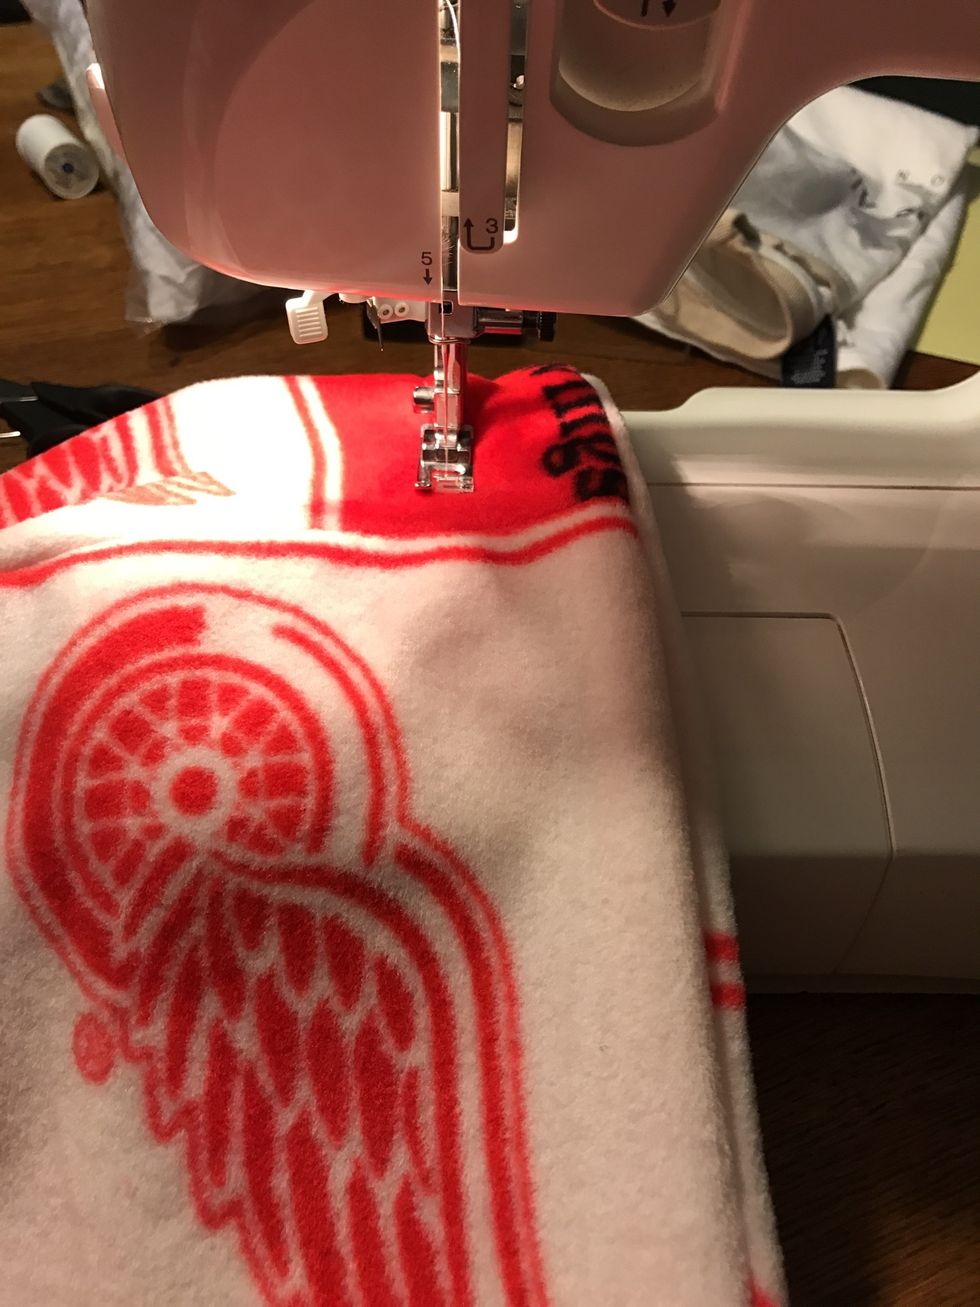
Put the right side of the blanket and the top strip of fleece together. Match up the edge and pin. See Mrs. Gruenwald for help if your fleece pattern has a direction (like mine) Trim the excess off
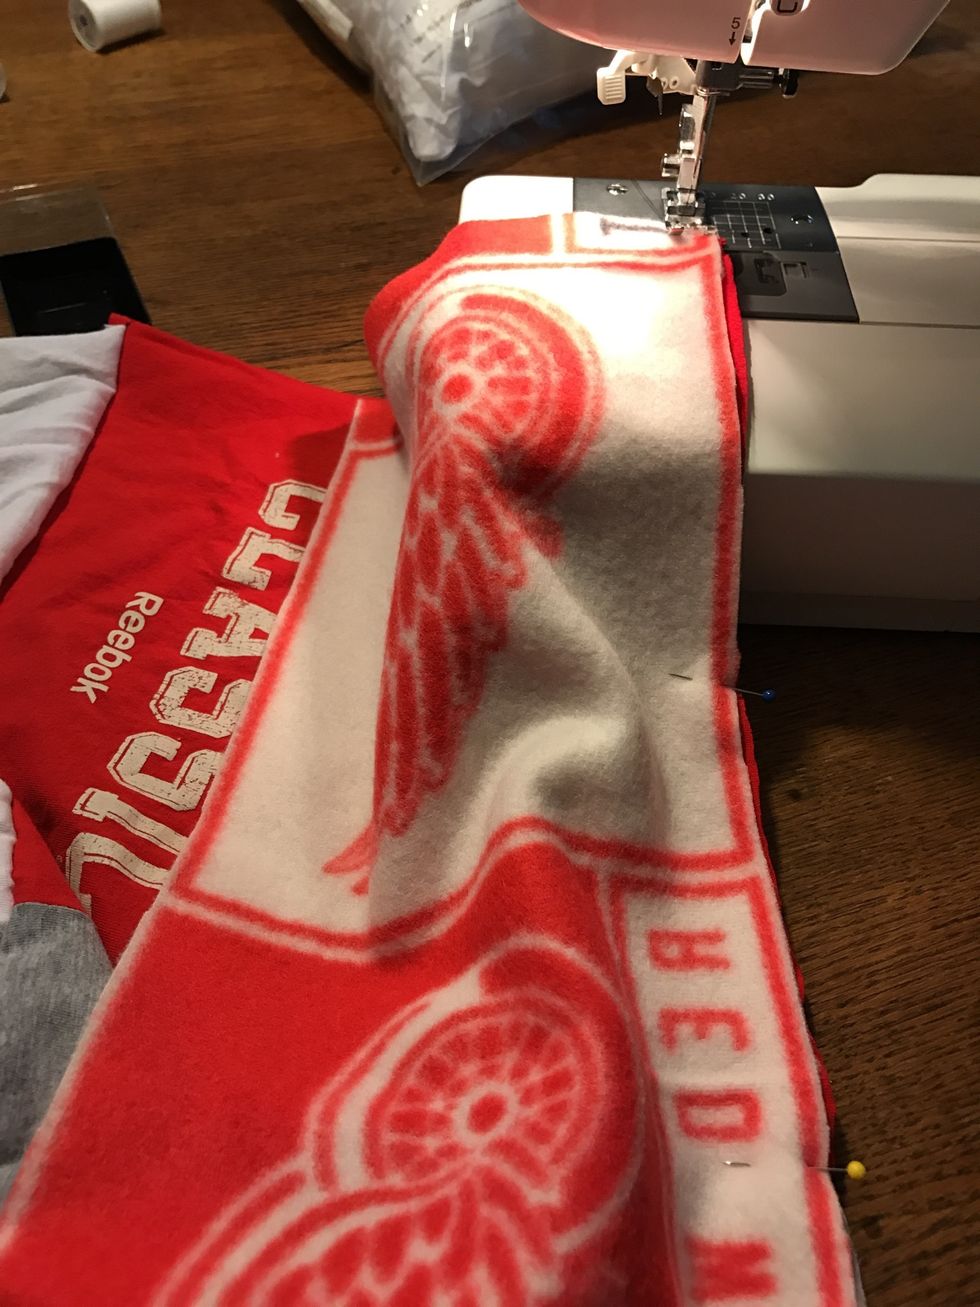
Stitch fleece to blanket at 3/8" (keep the right side of the fabric lined up with the right side of the pressed foot) and backstitch at the top and bottom of the seam.
Repeat steps 29-30 for the bottom strip of fleece.
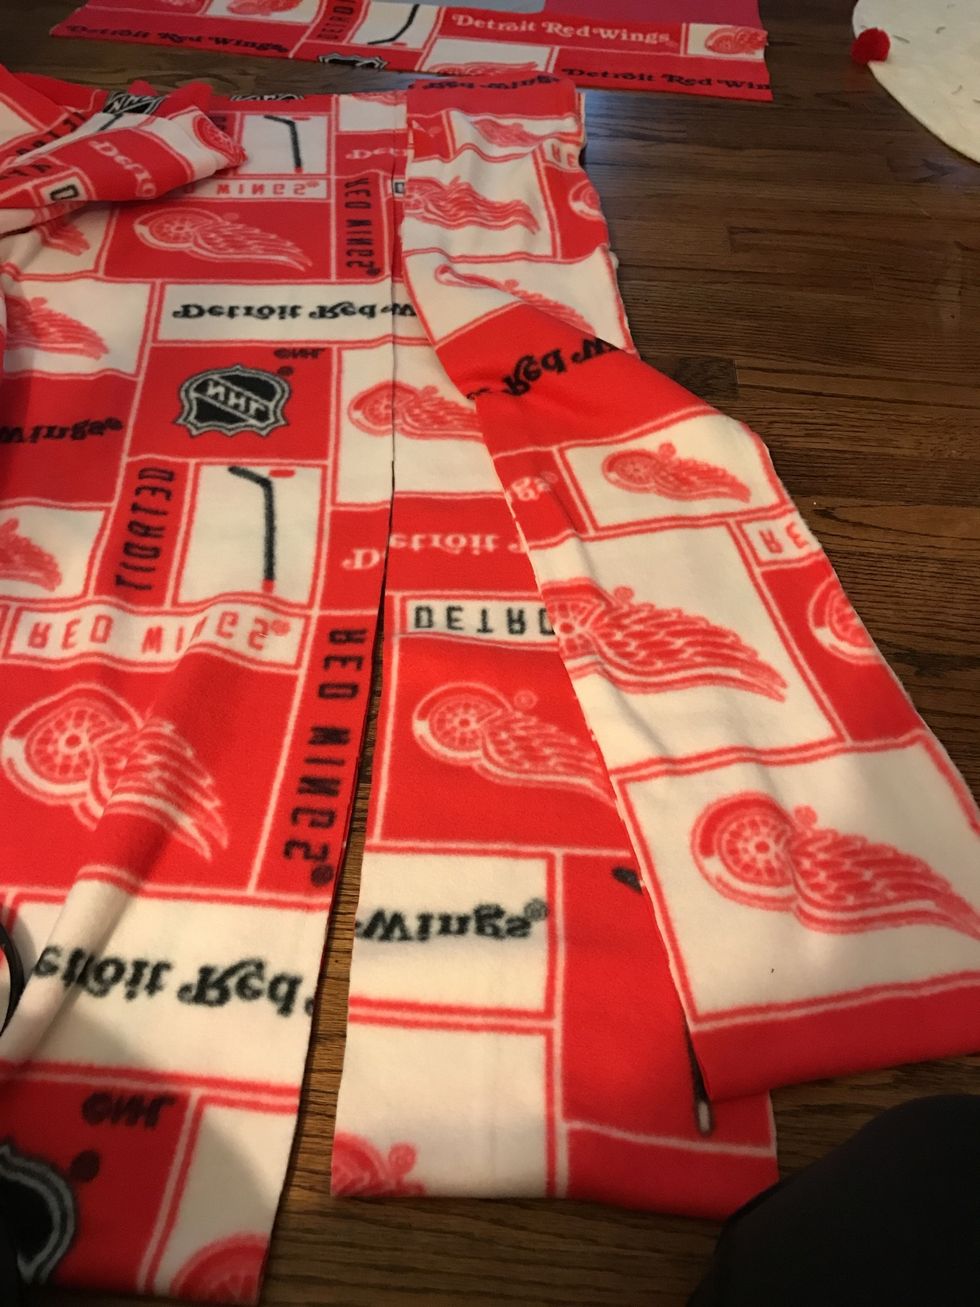
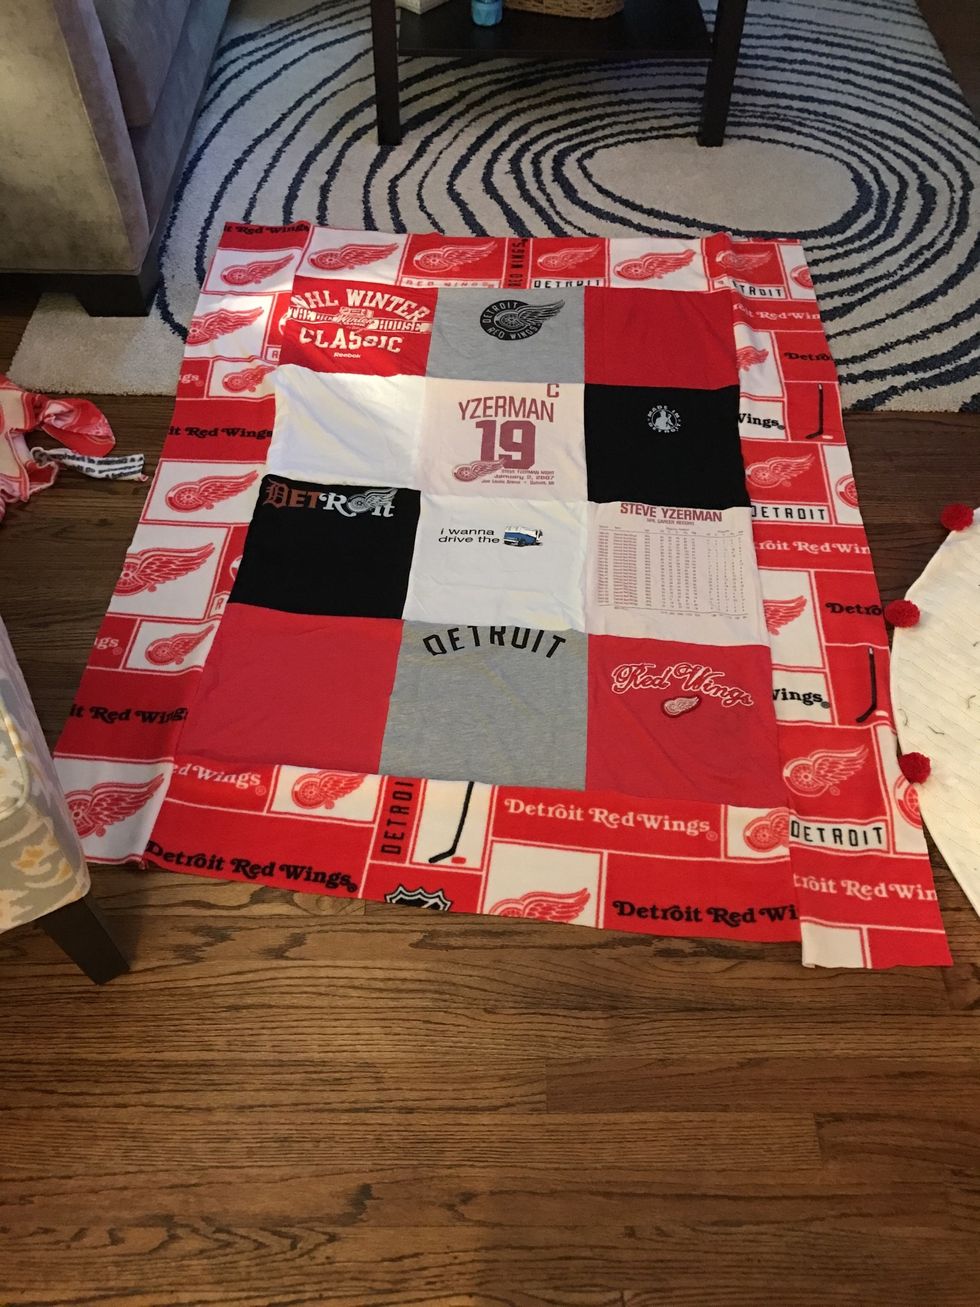
Now, cut 2 long strips of fleece for the sides. Make the strips about 6" wide.
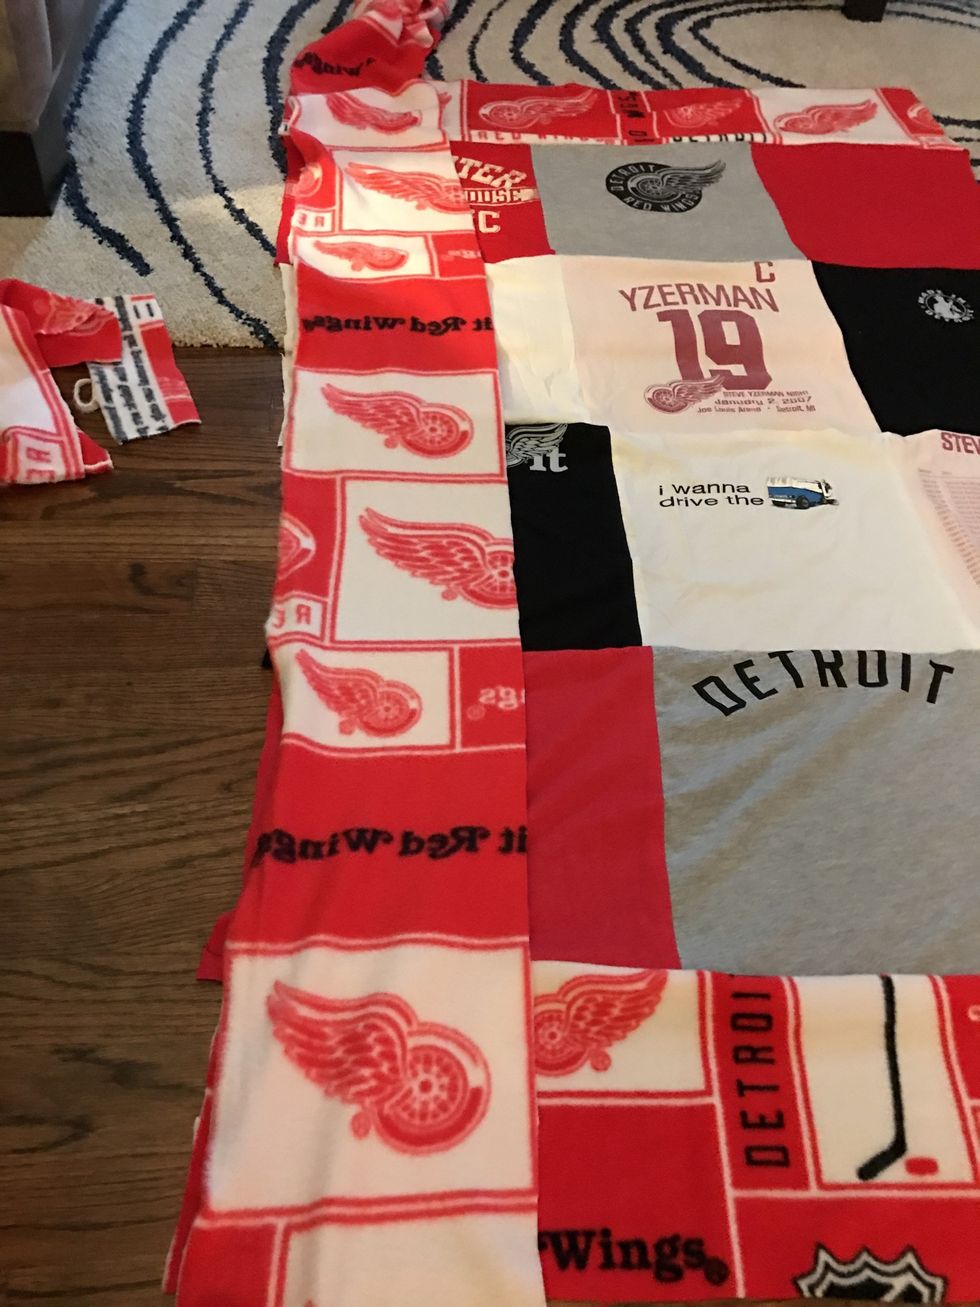
Put the right sides of the fleece and blanket together. Match up the edges and pin.
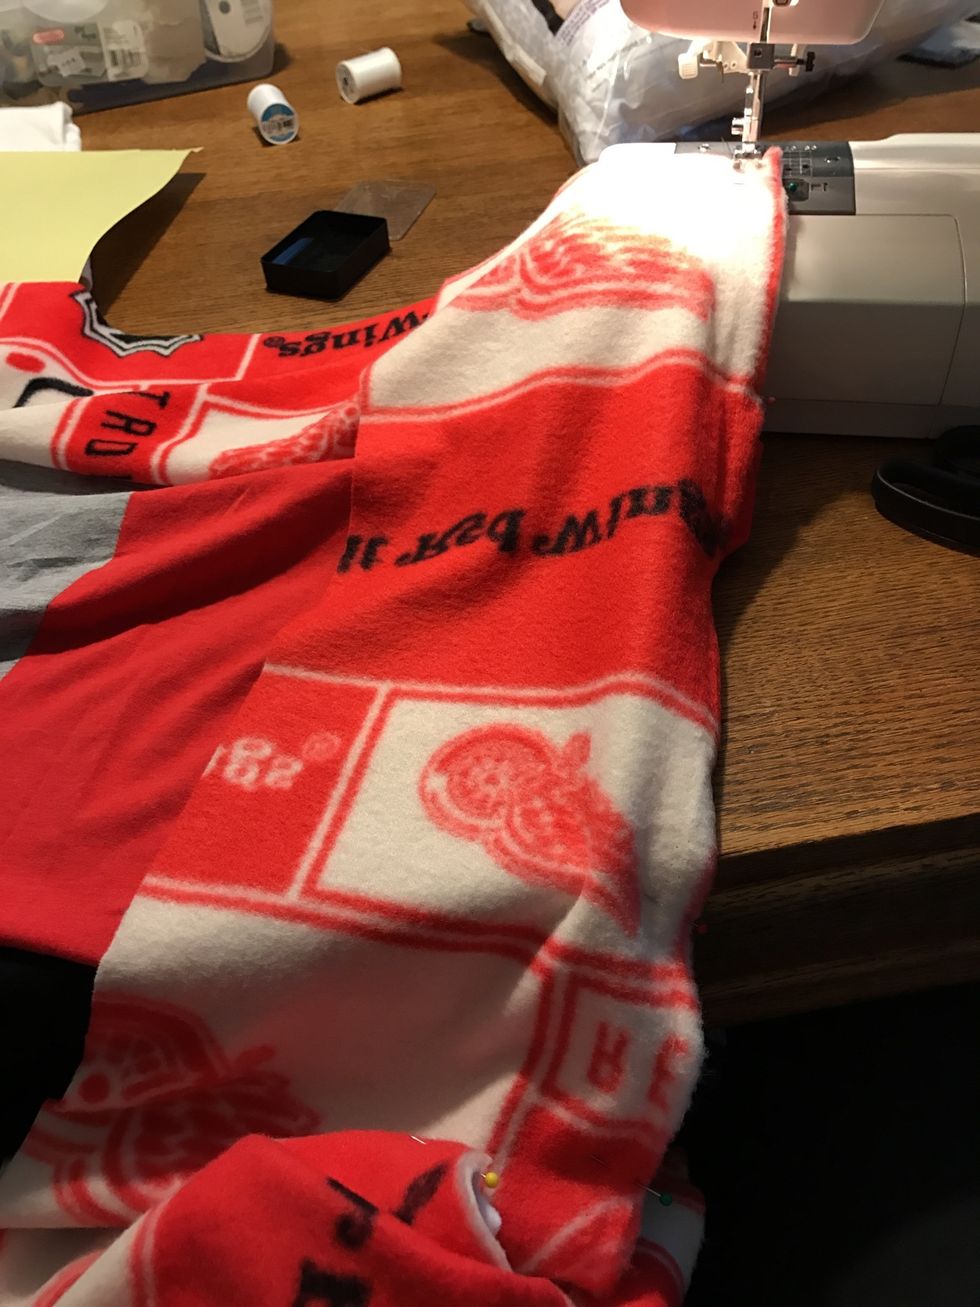
Now stitch at 3/8". Don't forget to backstitch!
Repeat steps 34-35 on the final side.
Now, take the rest of your fleece and pin it to your blanket, right sides together (of course). Sew all the way around at 5/8". Leave a hole that's one square wide.
Then, flip your blanket right side out.
To close the hole- fold the cut edges in and pin.
Optional- top stitch a 3" border around the entire blanket

If not, stitch the opening very close to the edge to close up the hole.
Congratulations! You made a blanket! 🎈🎉