The Conversation (0)
Sign Up
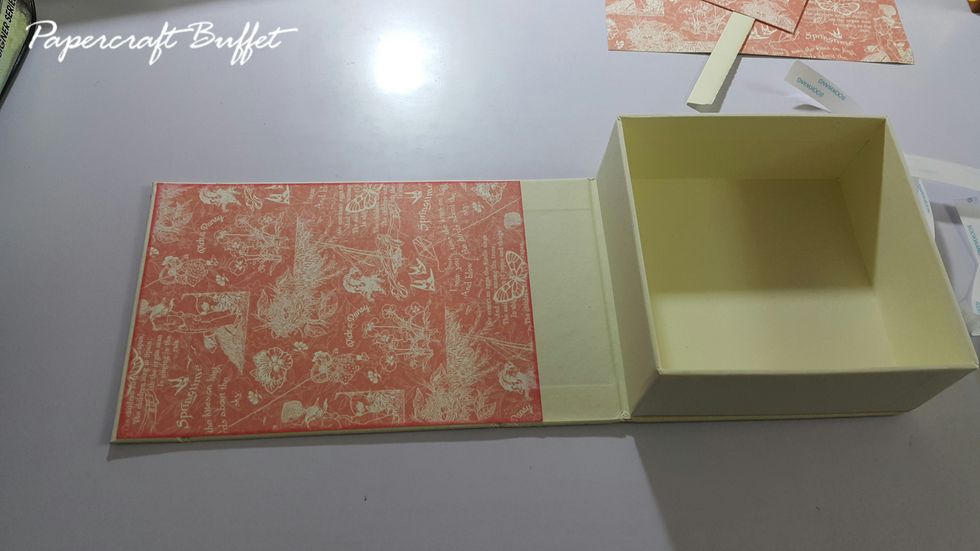
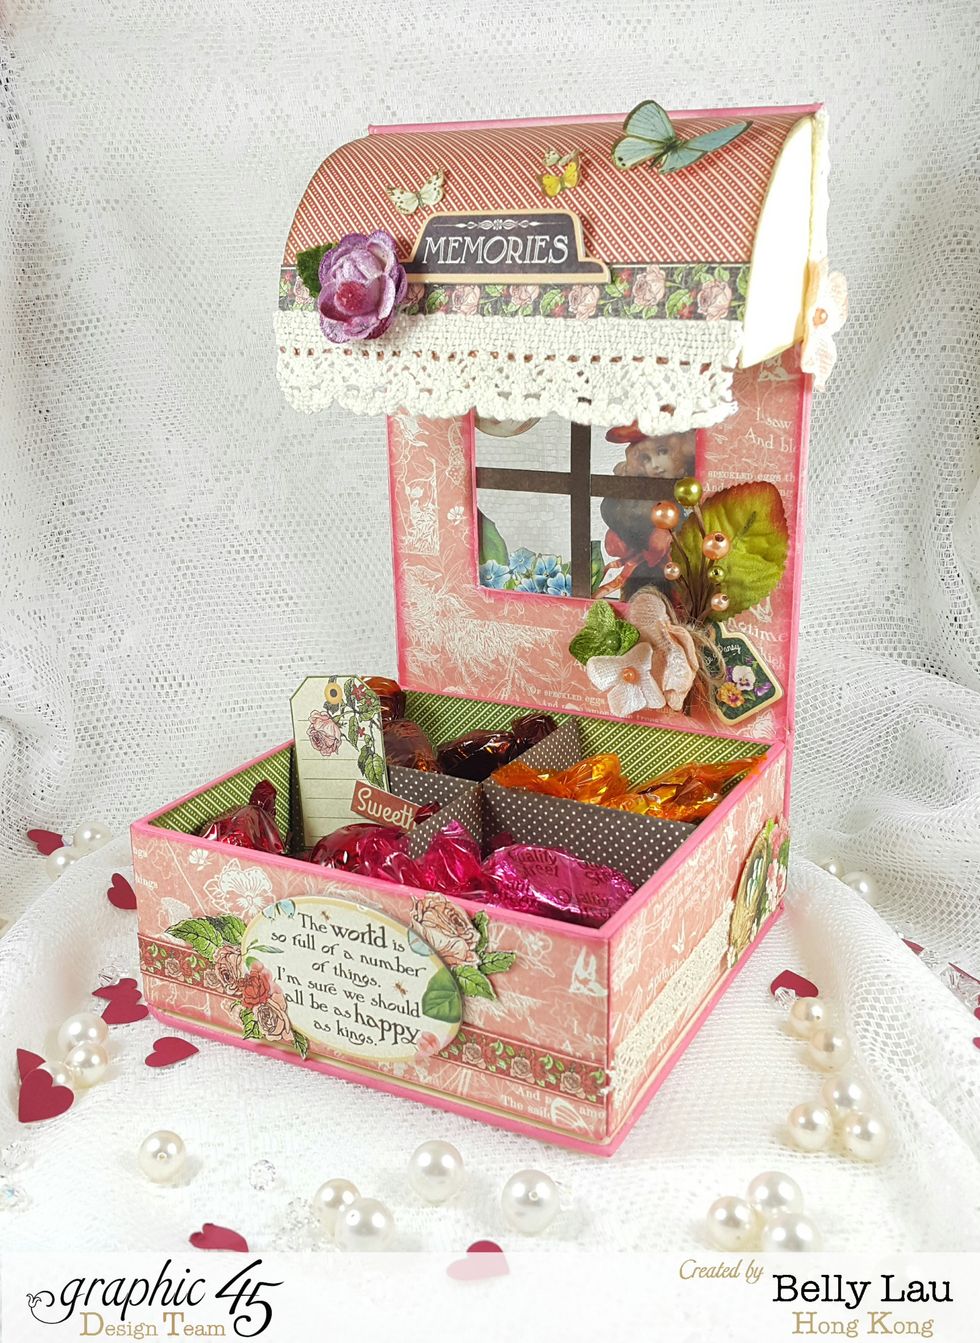
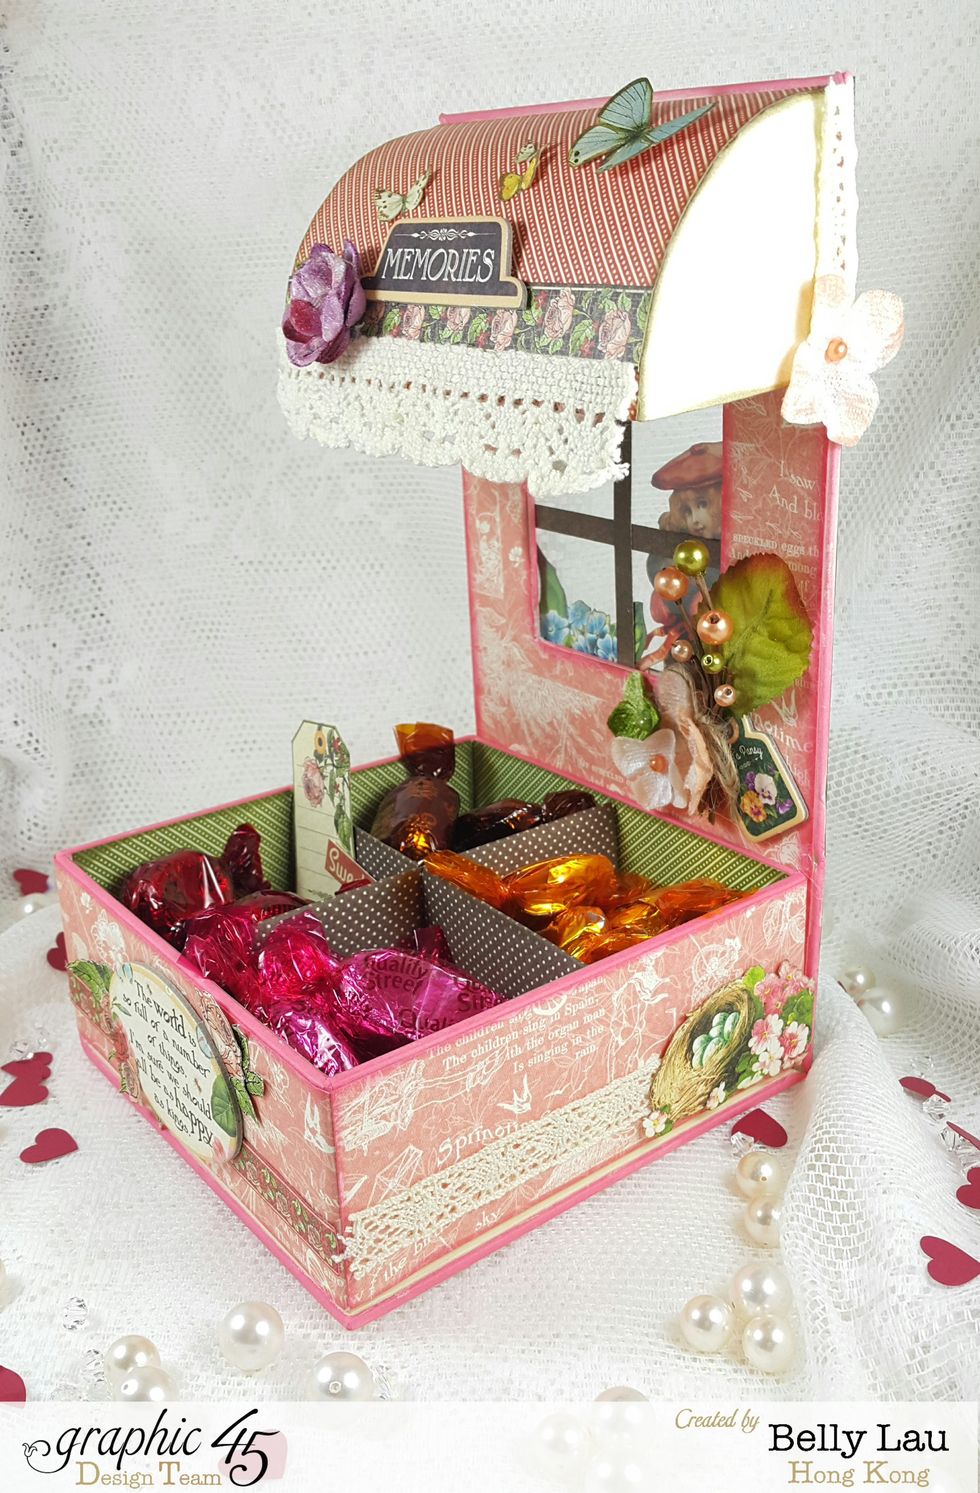
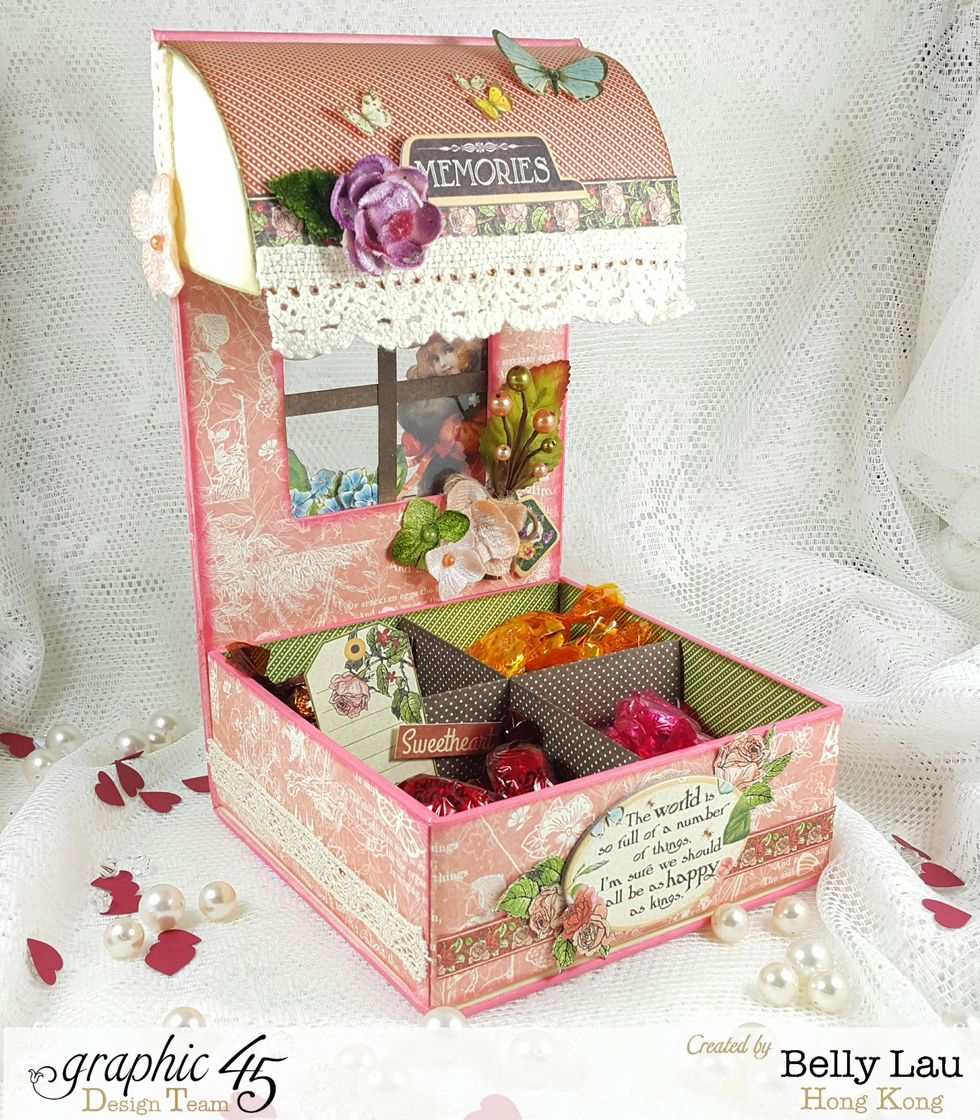
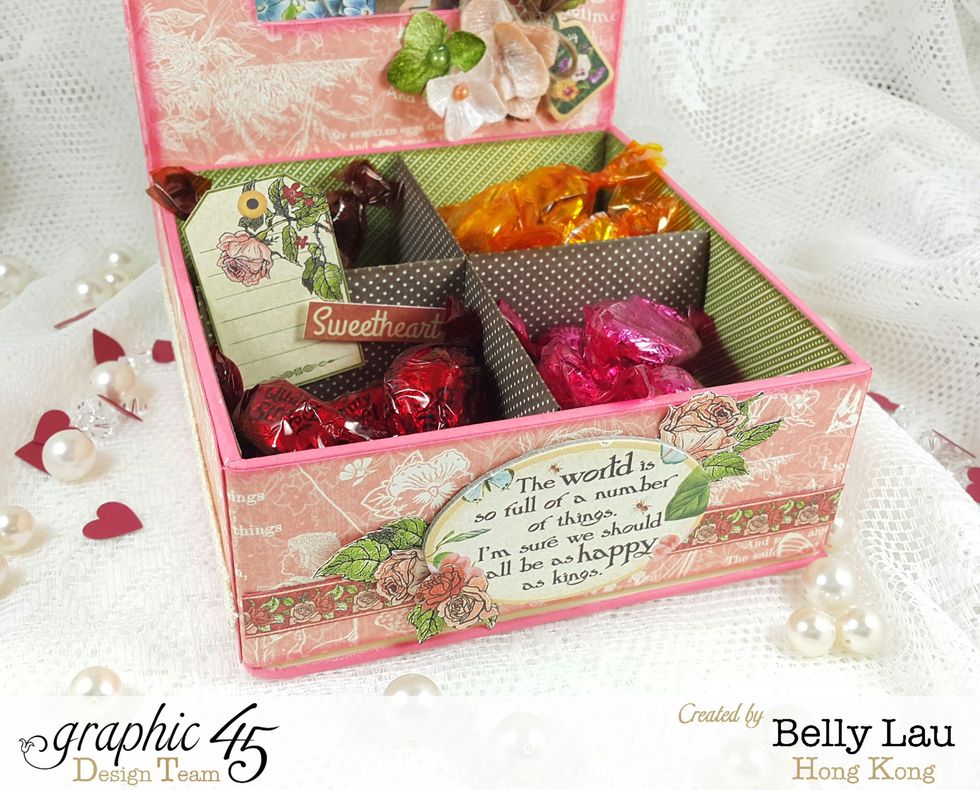
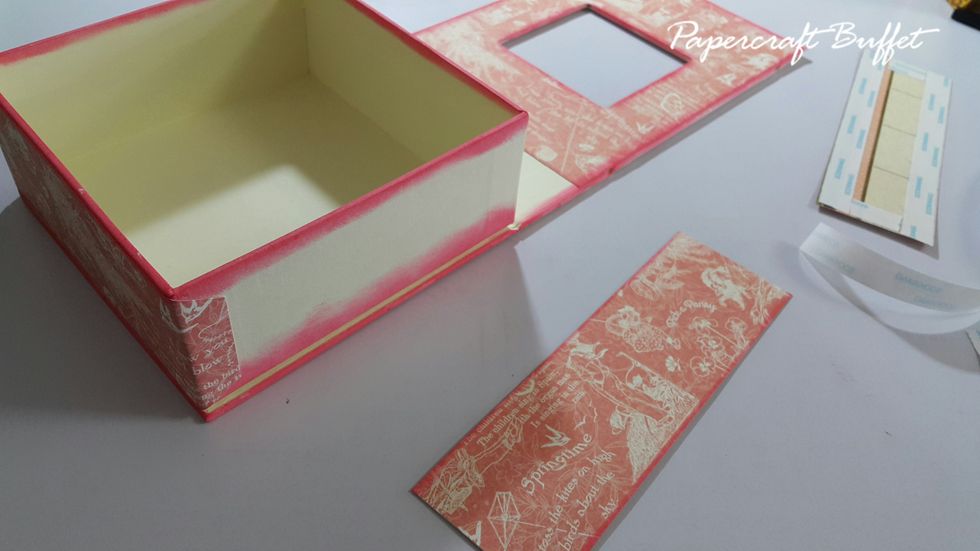
Adhere a piece of pattern paper of 5"(w)x7"(h) for the box backdrop, and cut the window out.
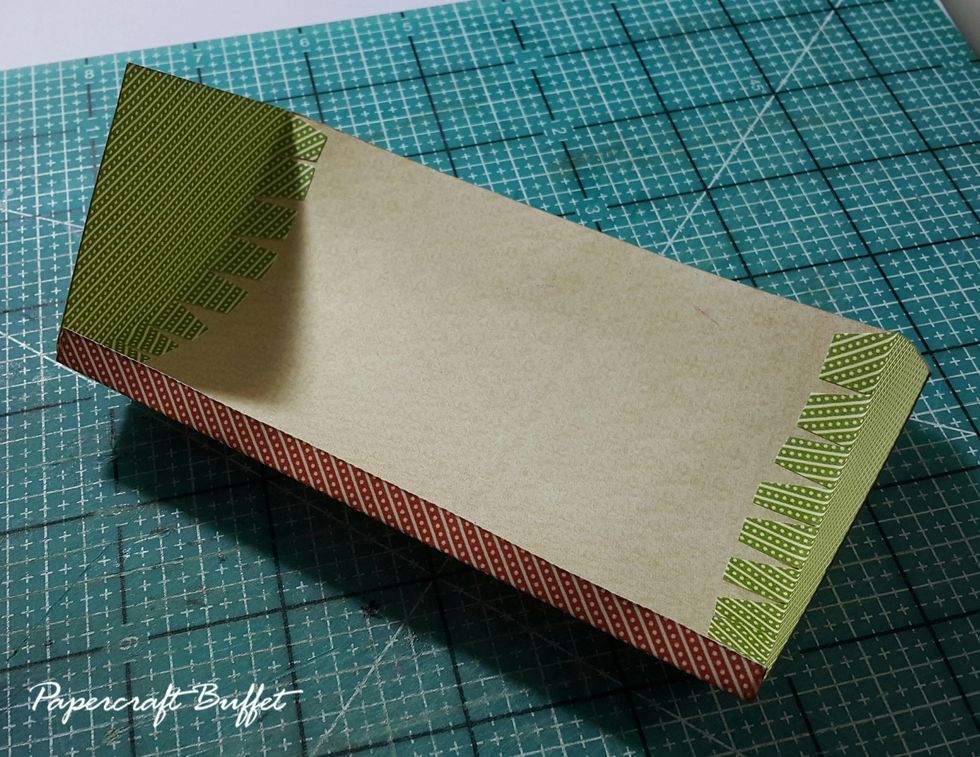
Cut paper of 1-7/8"(h)x6"(w) for 3 sides of the box body, apply Distress Ink and adhere.
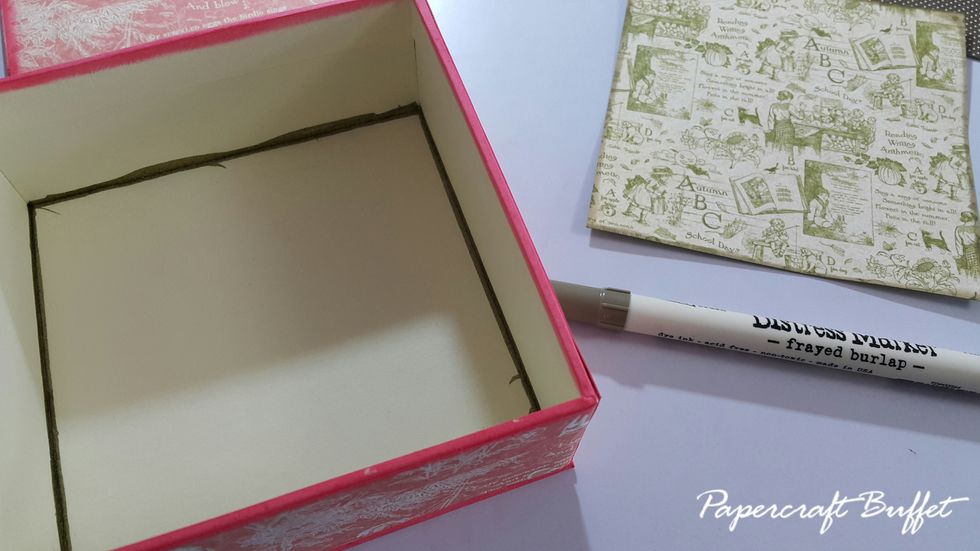
For a better and complete look, color the inside edges with coordinate Distress Marker.

Cut 4-3/4"x4-3/4" paper for the base of storage box, apply Distress Ink, adhere.
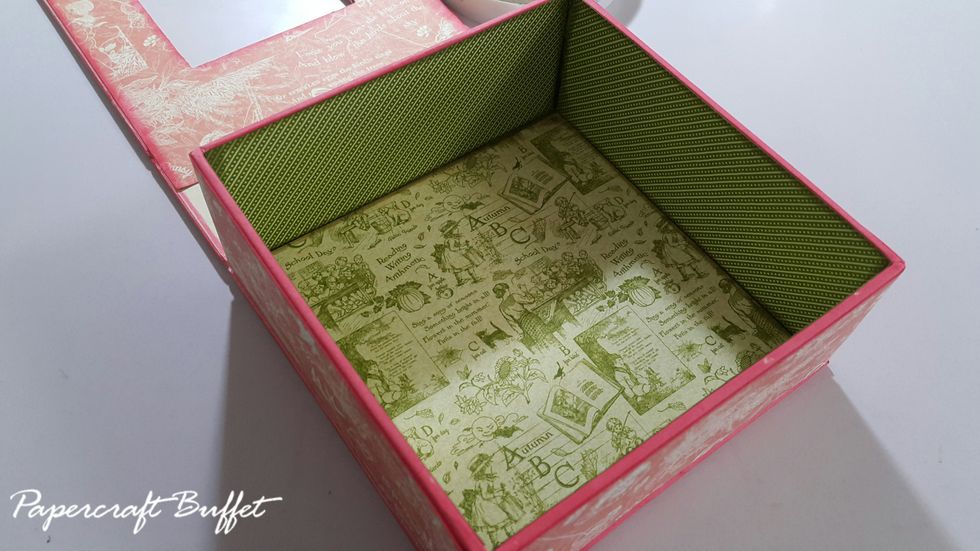
Cut 4pcs of 1-7/8"(H)x4-3/4"(W) for insides, adhere. Then adhere the box open lids with the storage box, which let the open window stand up.
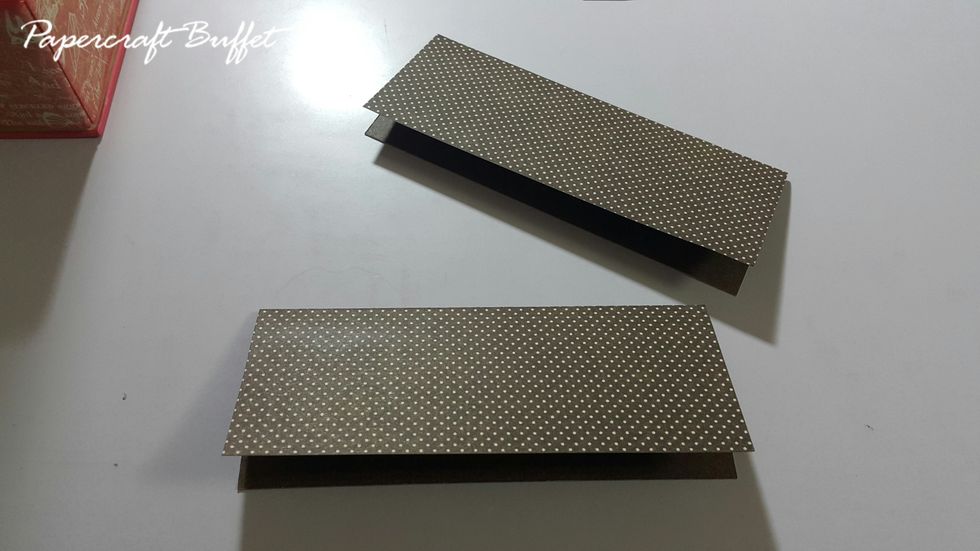
Cut 2pcs of 4-3/4"(W)x3-3/4"(H) and fold into half, which form 2 strips of 4-3/4"(W)x1-7/8"(H).
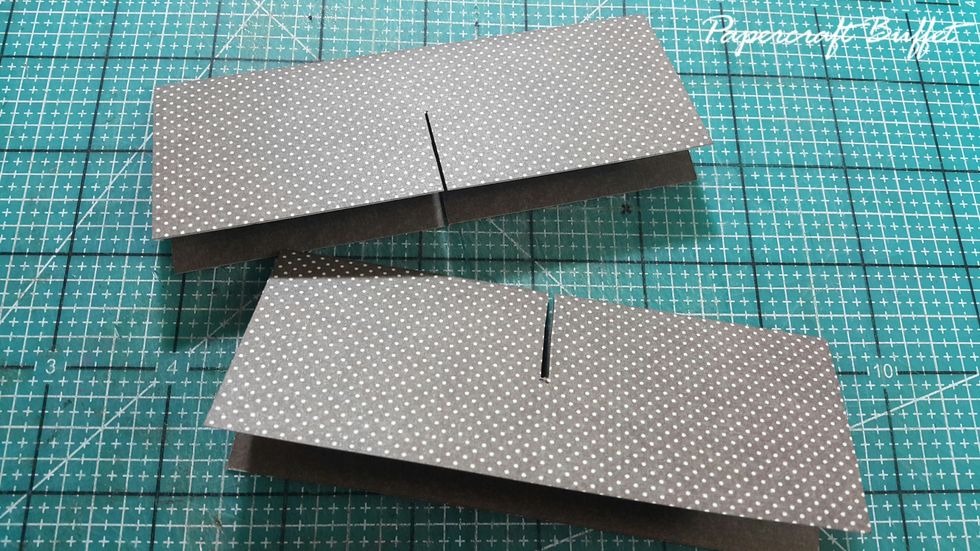
In the middle of the strips, cut out a gab for them to be insert into each other.
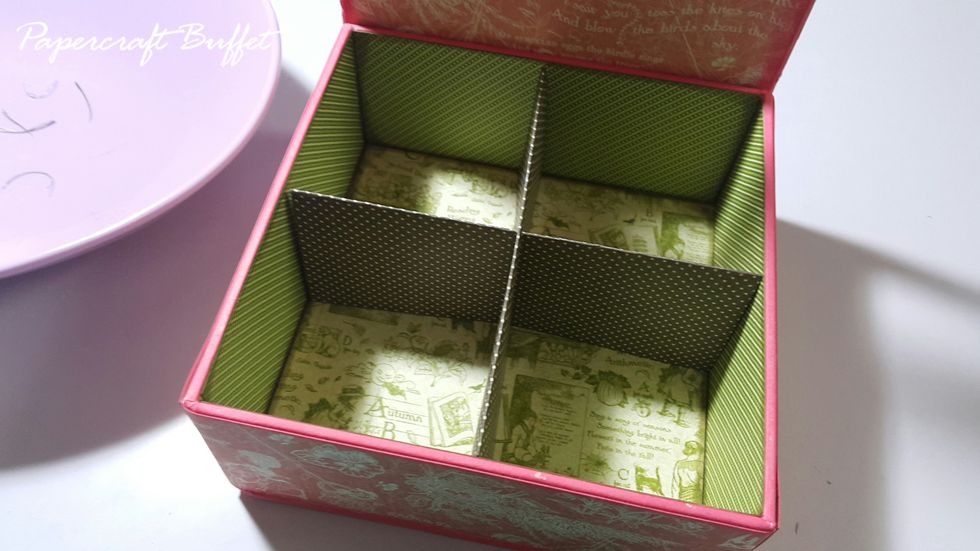
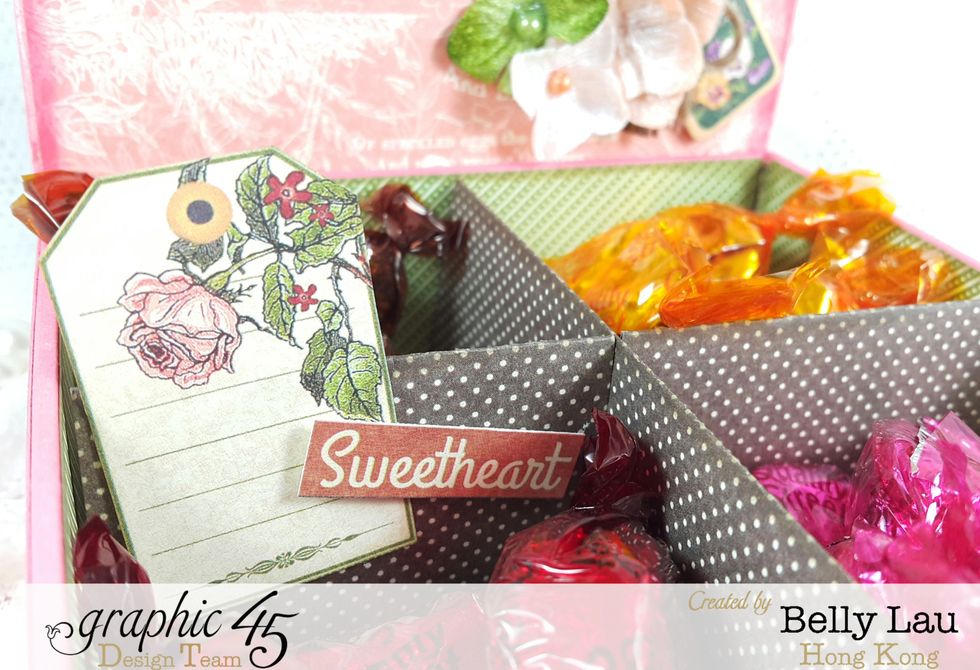
Form them to be the divider of the box storage, and adhere to the base of the box if you like.
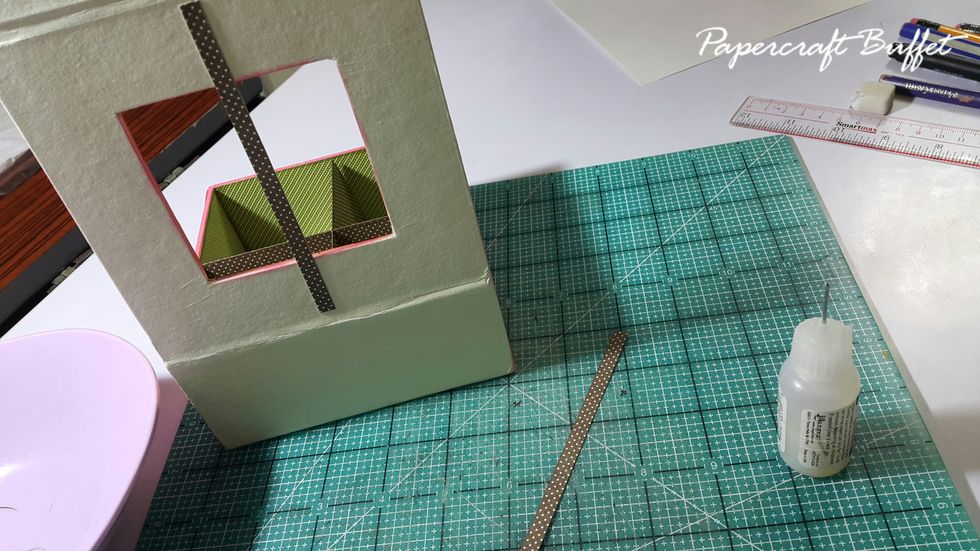
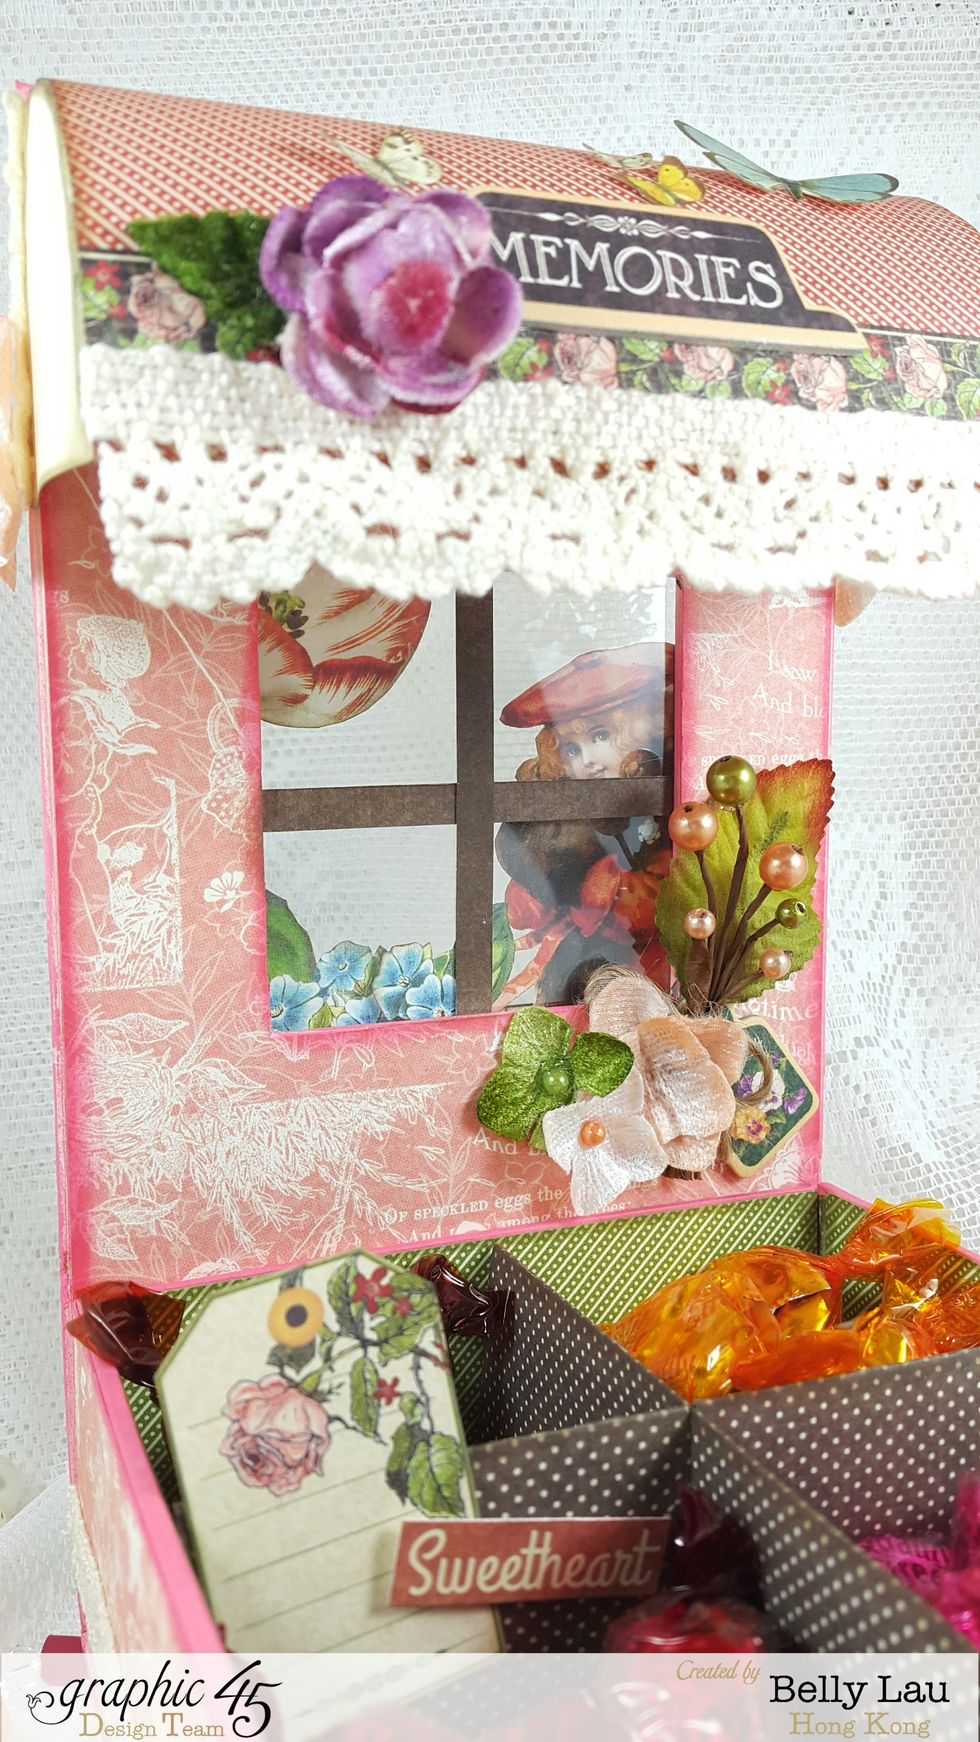
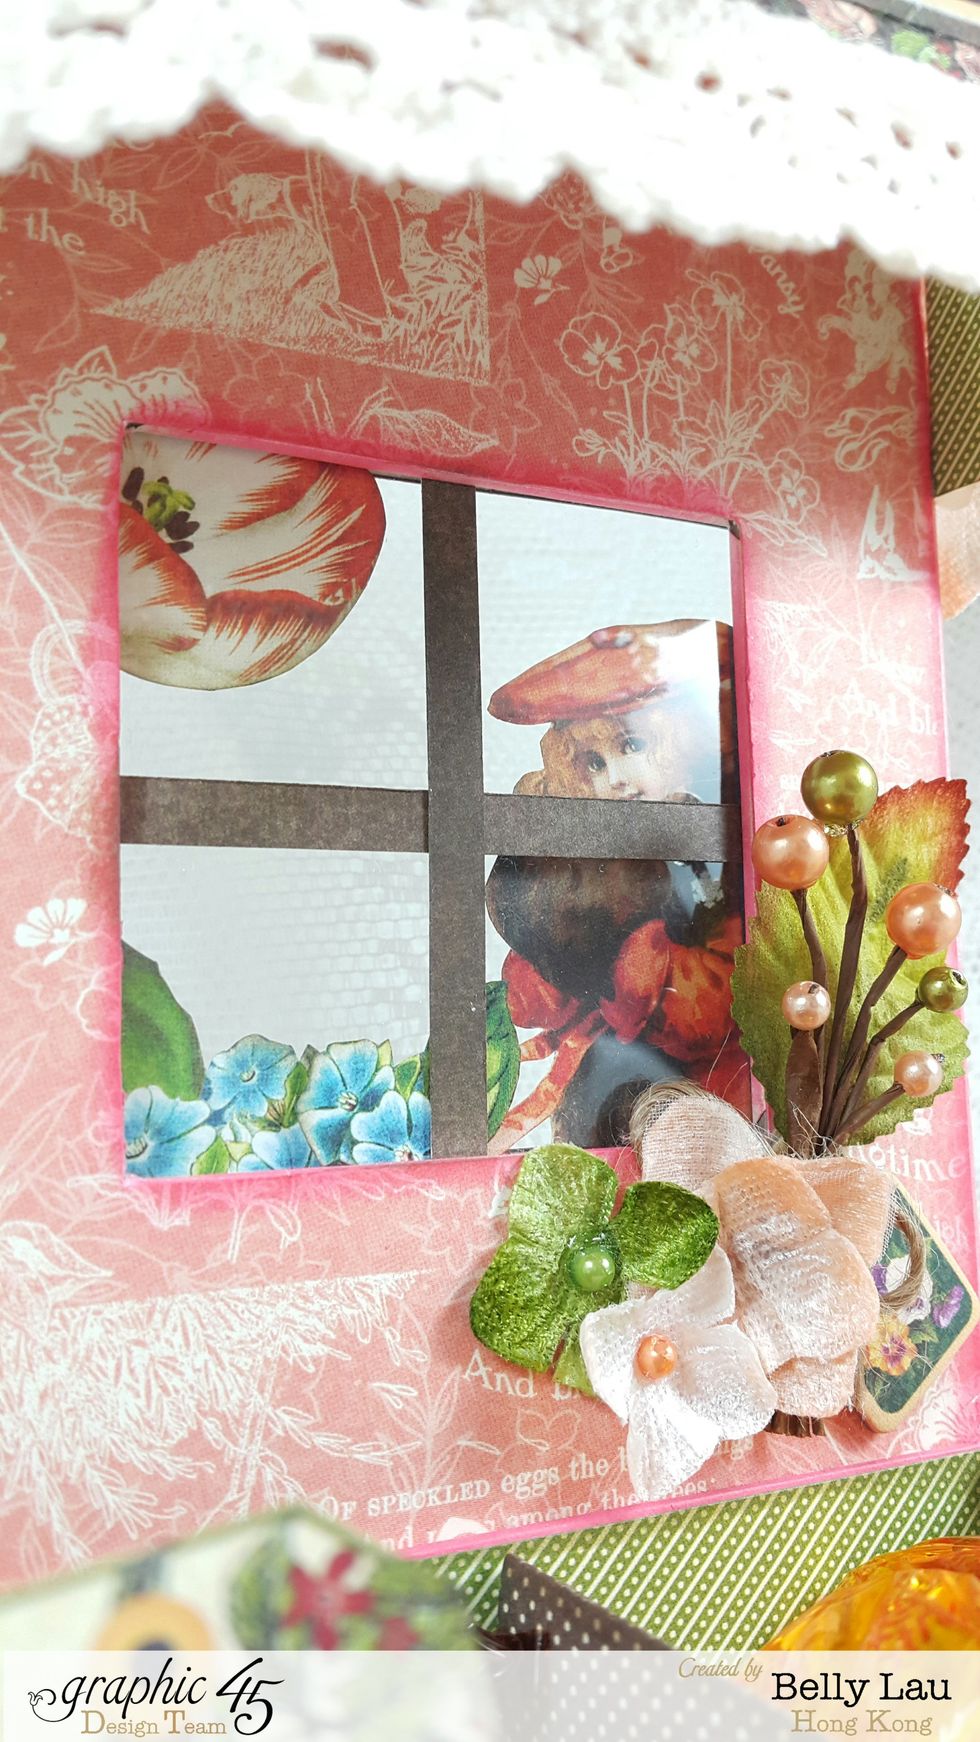
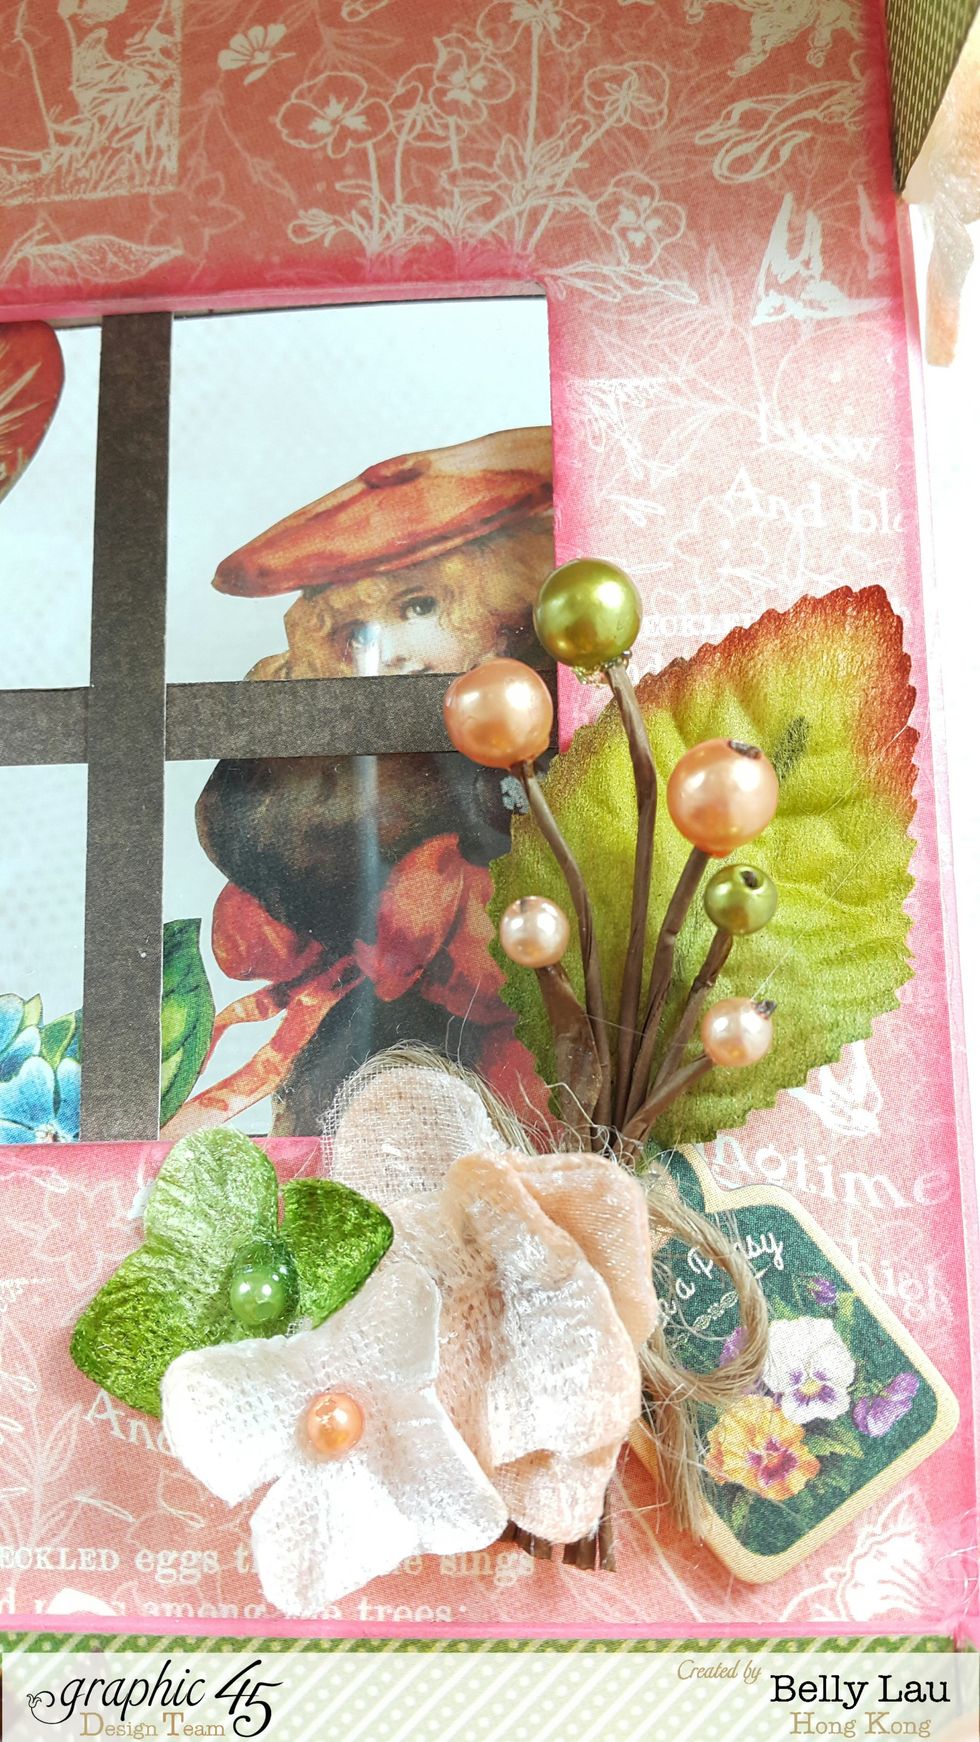
Cut 2 strips of 1/4" for window frame, adhere.
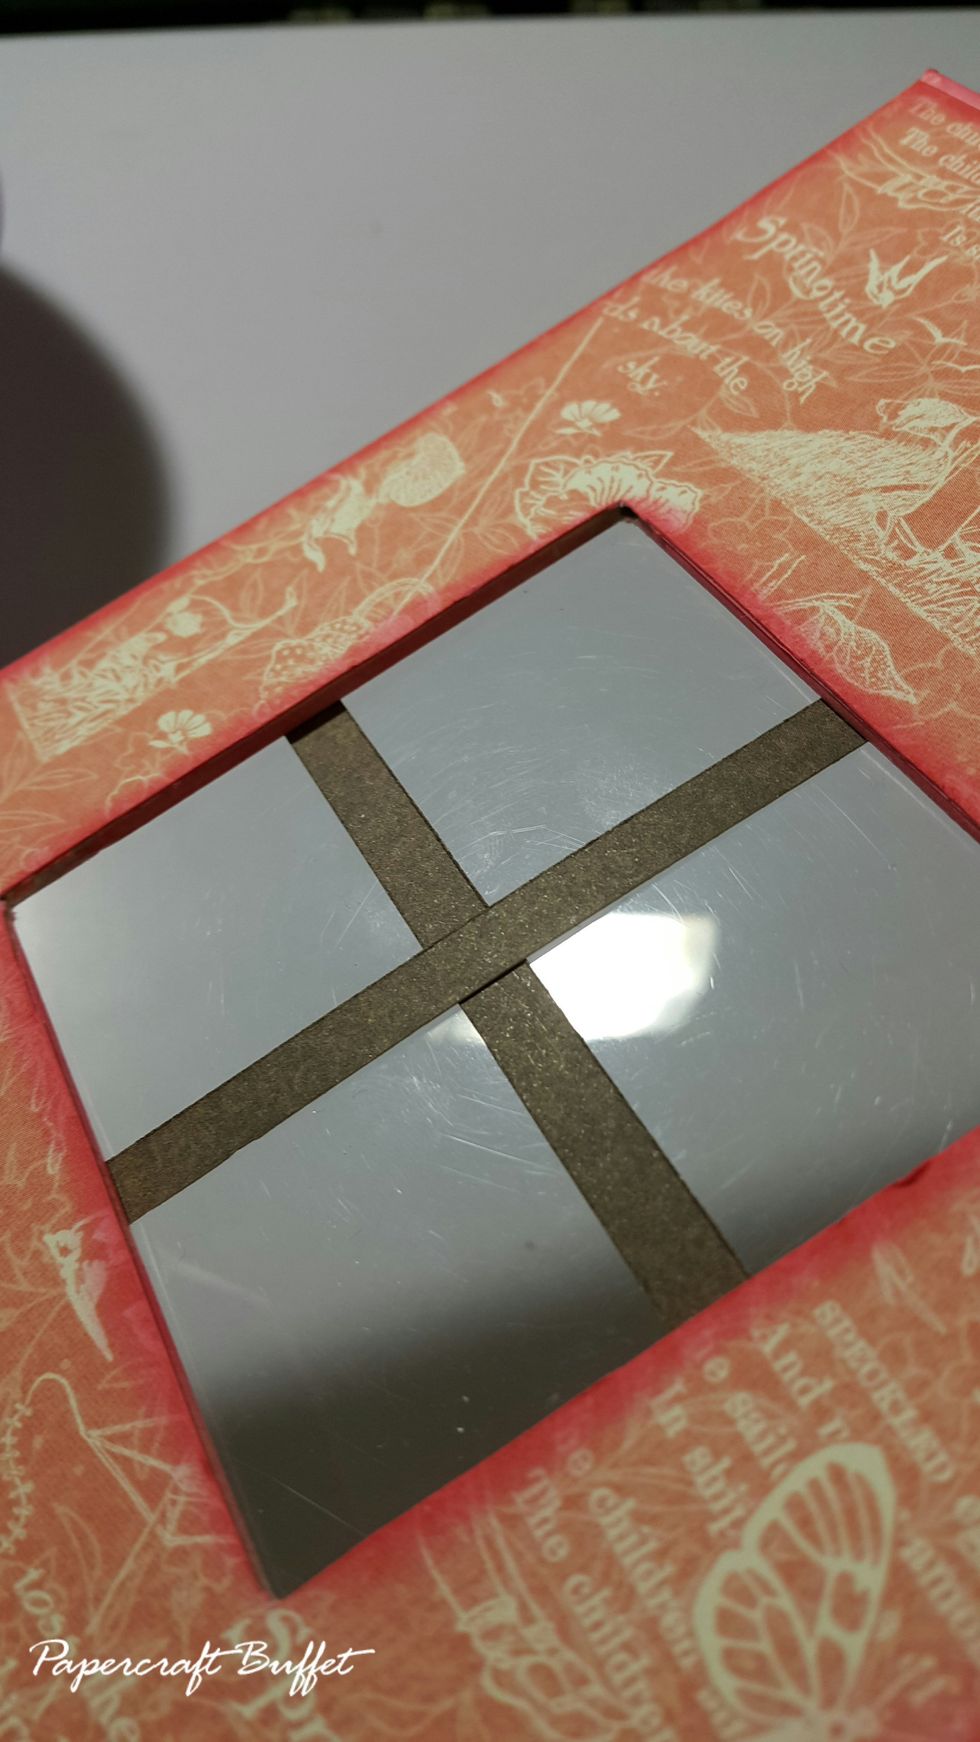
Cut 3-1/2"x3-1/2" acetate for window, adhere.
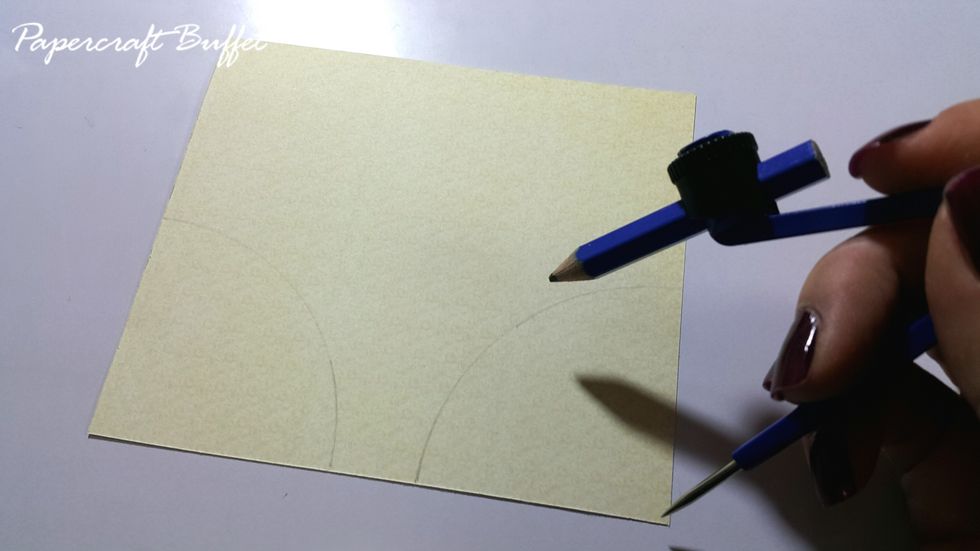
Draw 2pcs quarter of 2" radius circle on paper.
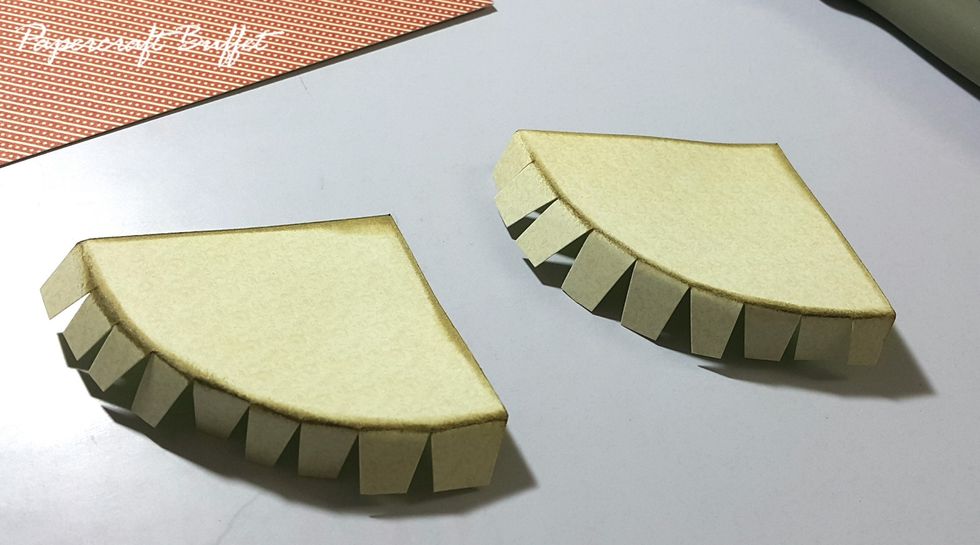
Cut them out with extra around half inch for gluing as shown.
Cut paper 4-3/4"(W)x3-1/2"(H) and glue on the quarter circles.
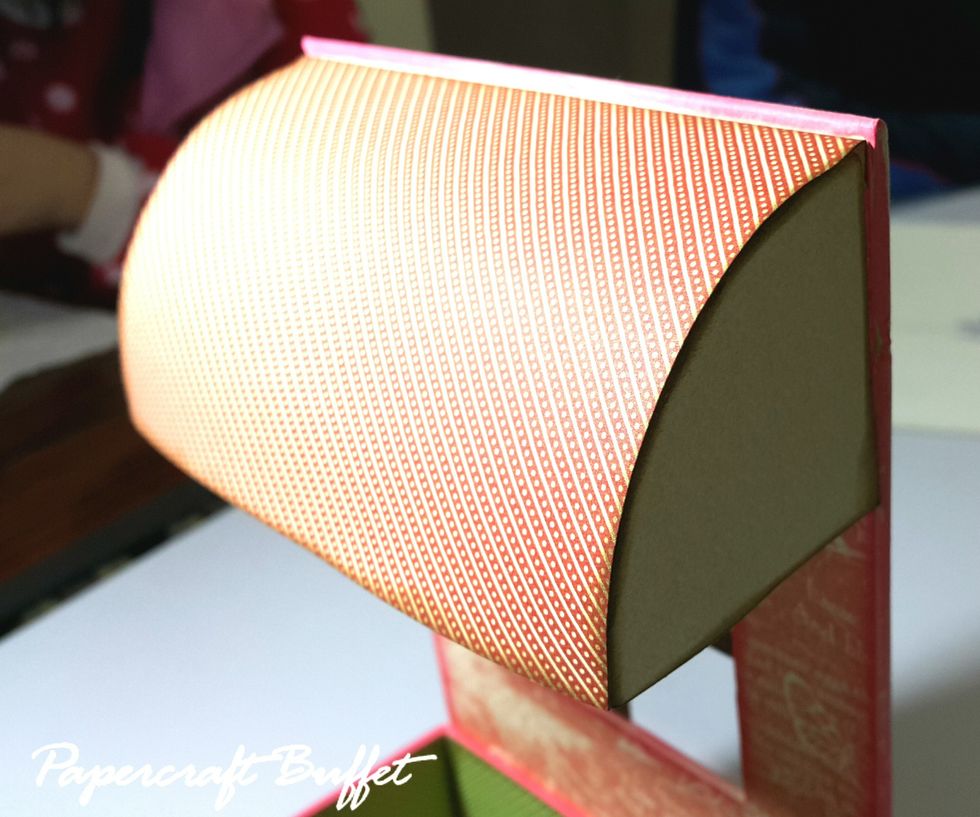
Adhere on the open lid.

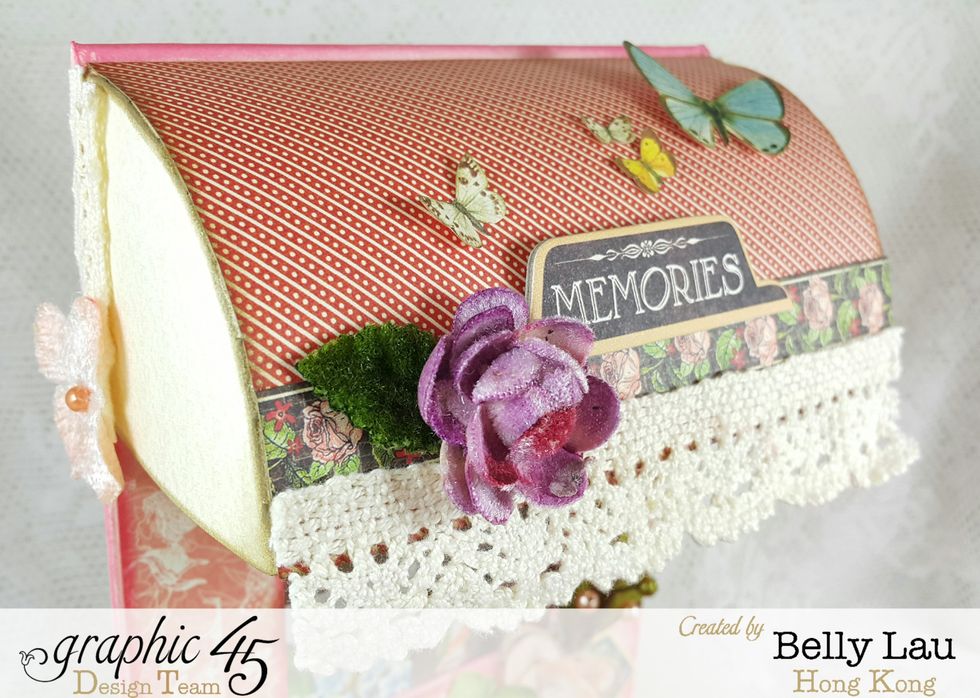
Cut 5"(W)x8-1/2"(H) for the back of the lid, cut out the middle window.
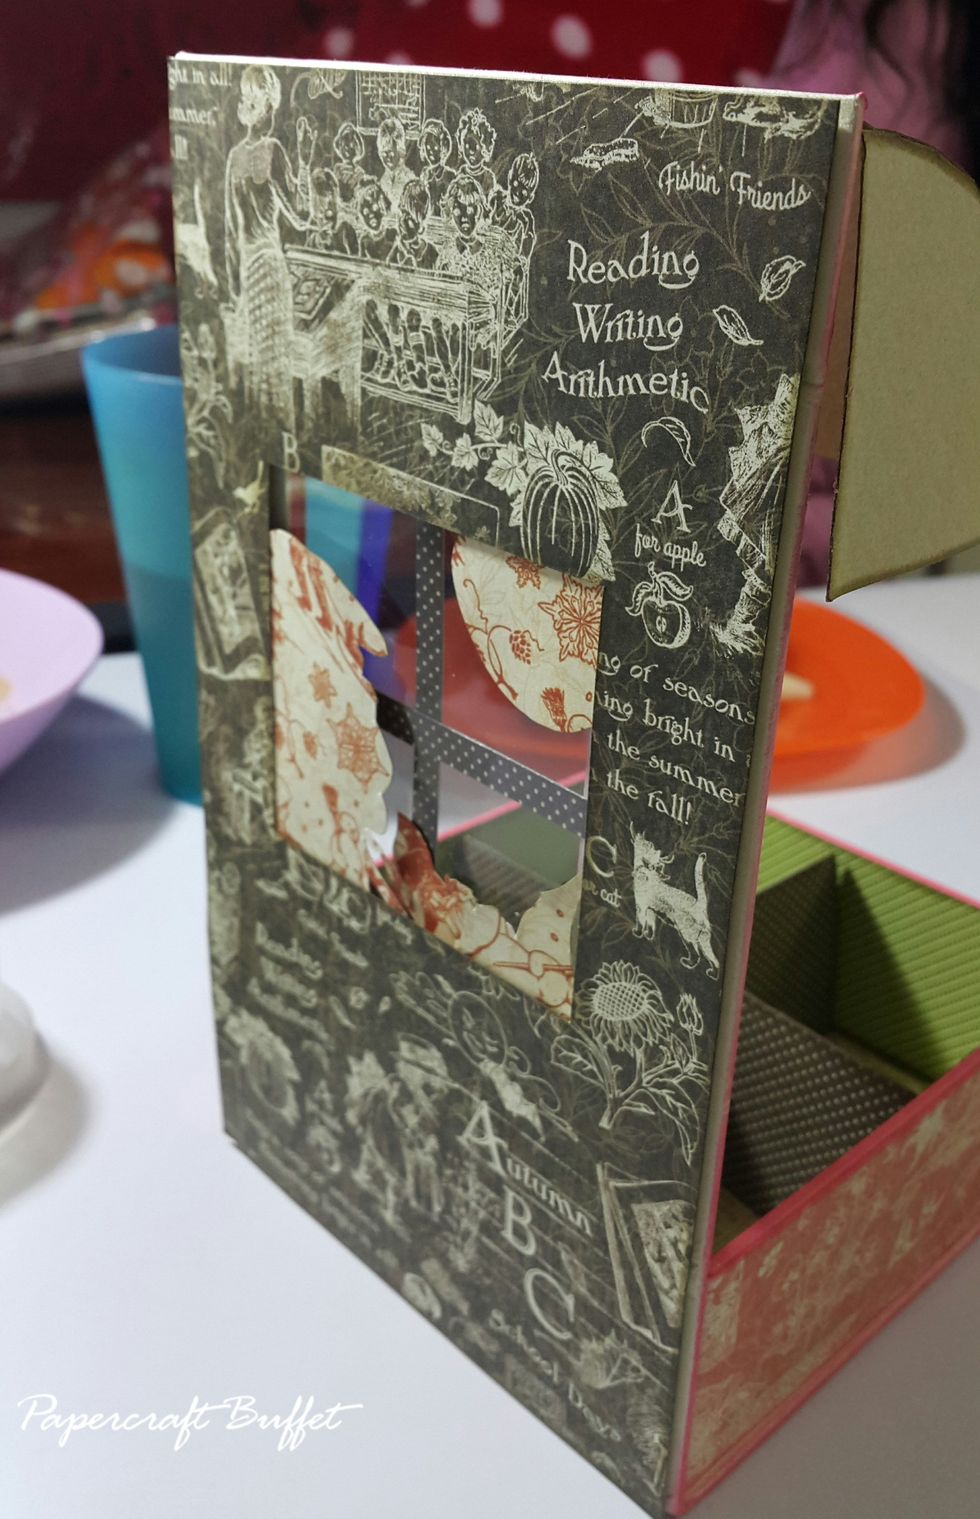
Before adhering the back sheet, add some fussy cut-outs onto the window, I used foam tape on a few of them.
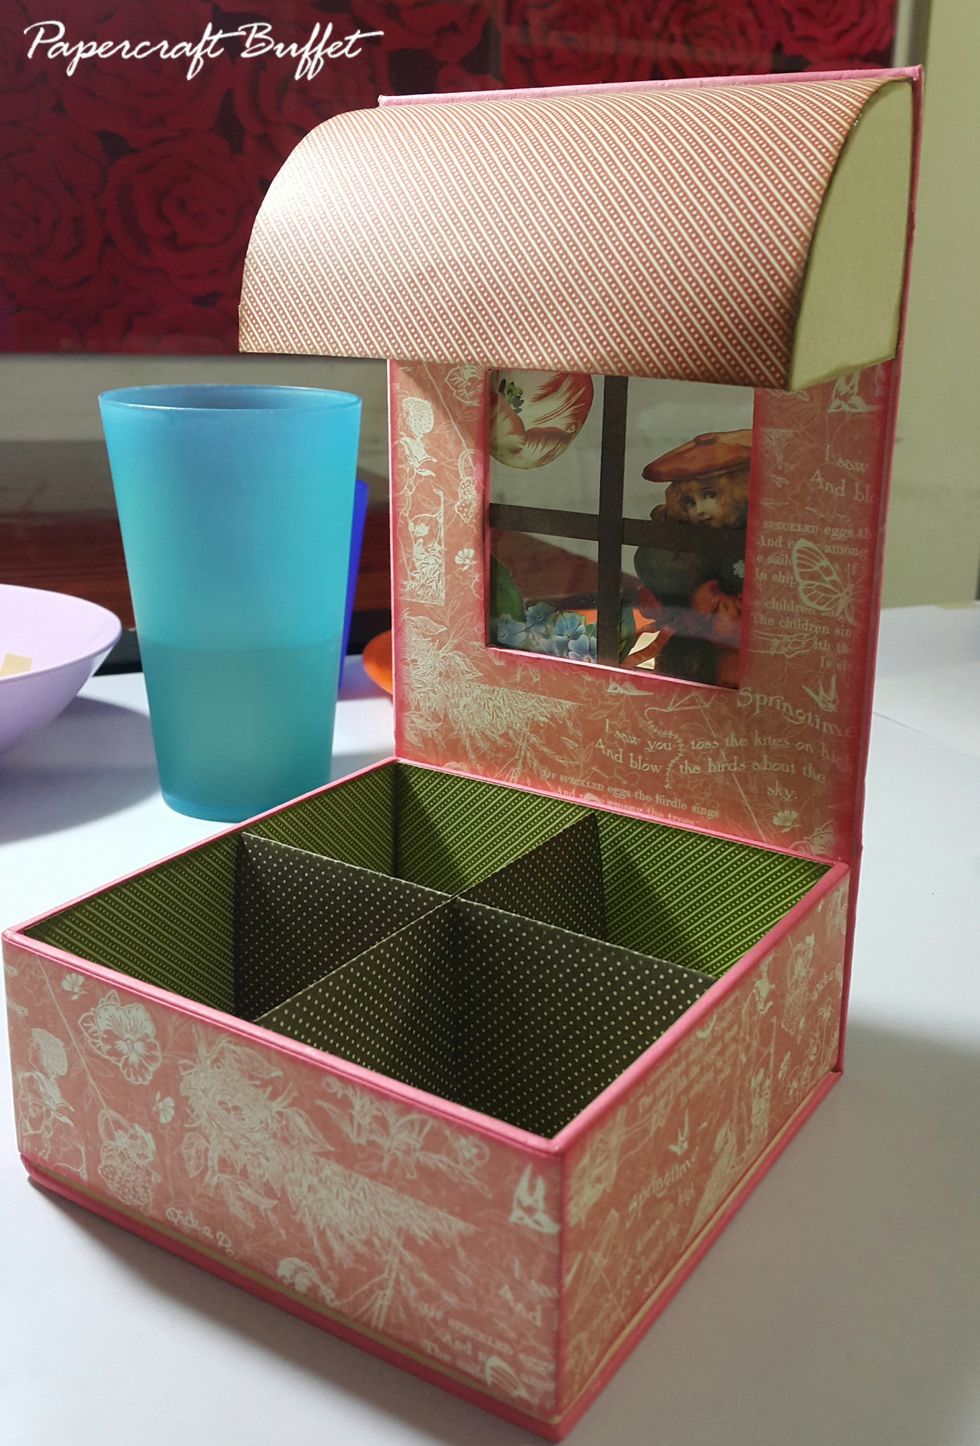
This is what the box looks like, and you can start adding embellishments, enjoy!!!