The Conversation (0)
Sign Up
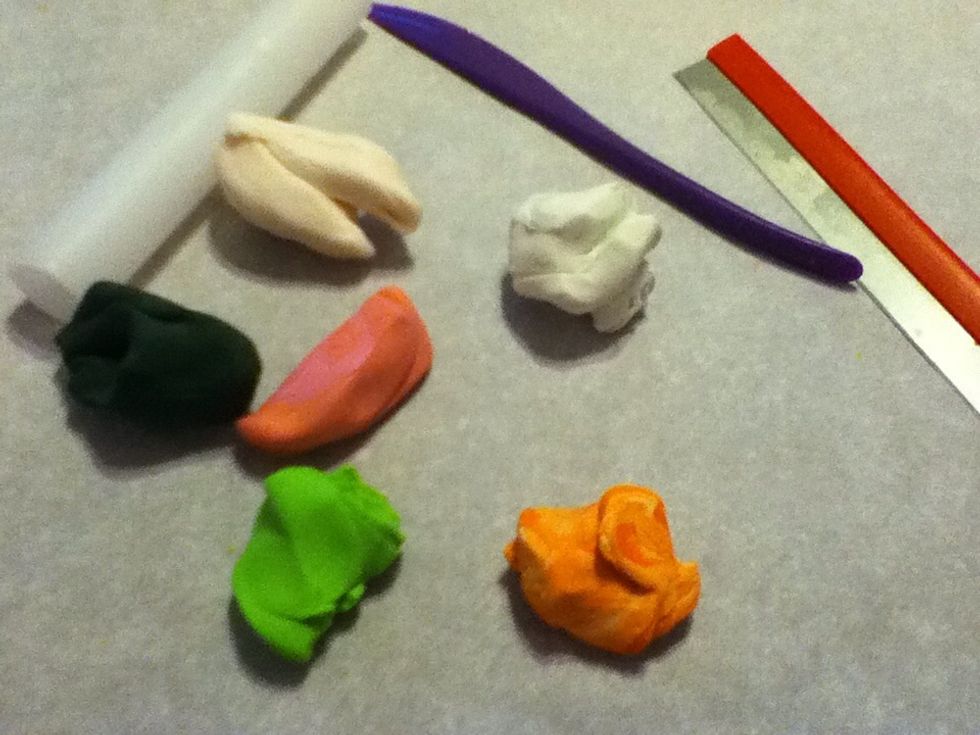
Our supplies. The clay colors are white, transparent, light green, orange, salmon, and a green/black blend.
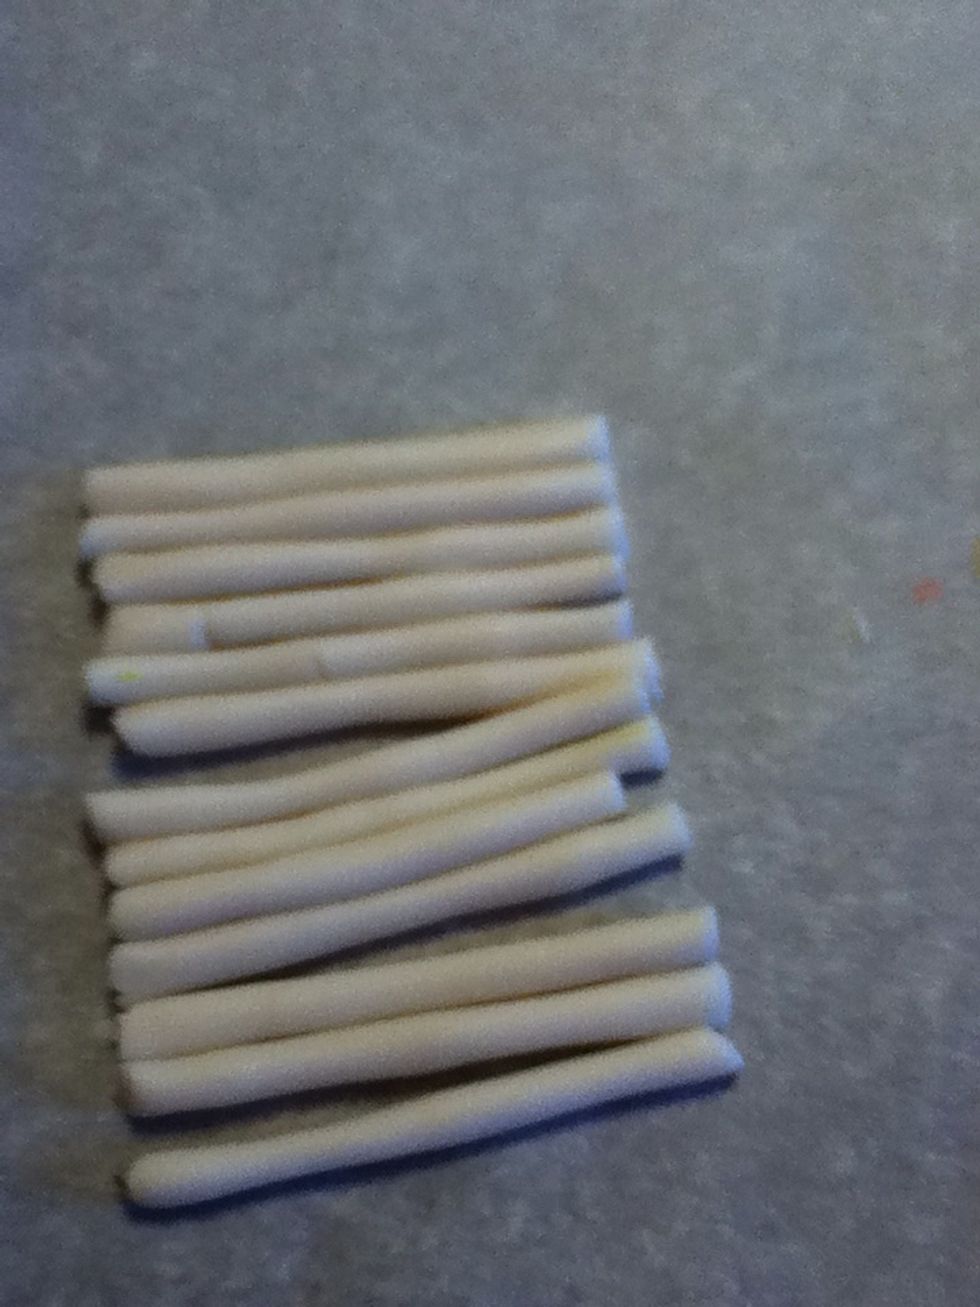
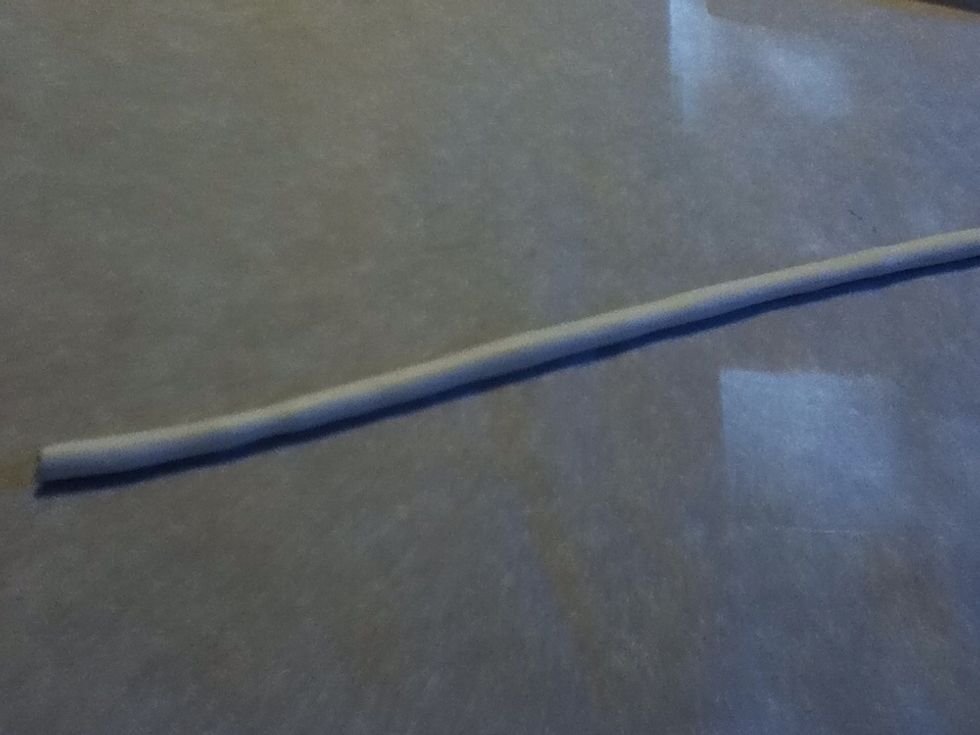
Roll your transparent clay into a long cylinder and cut into even lengths.
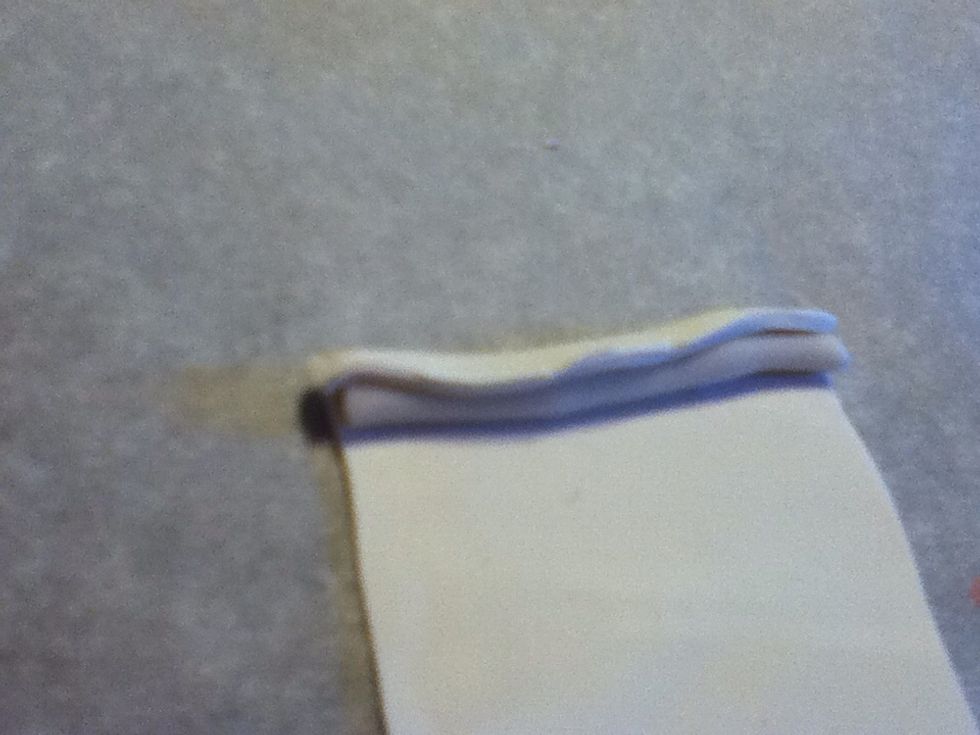
Roll out your white clay and cover all your transparent pieces.
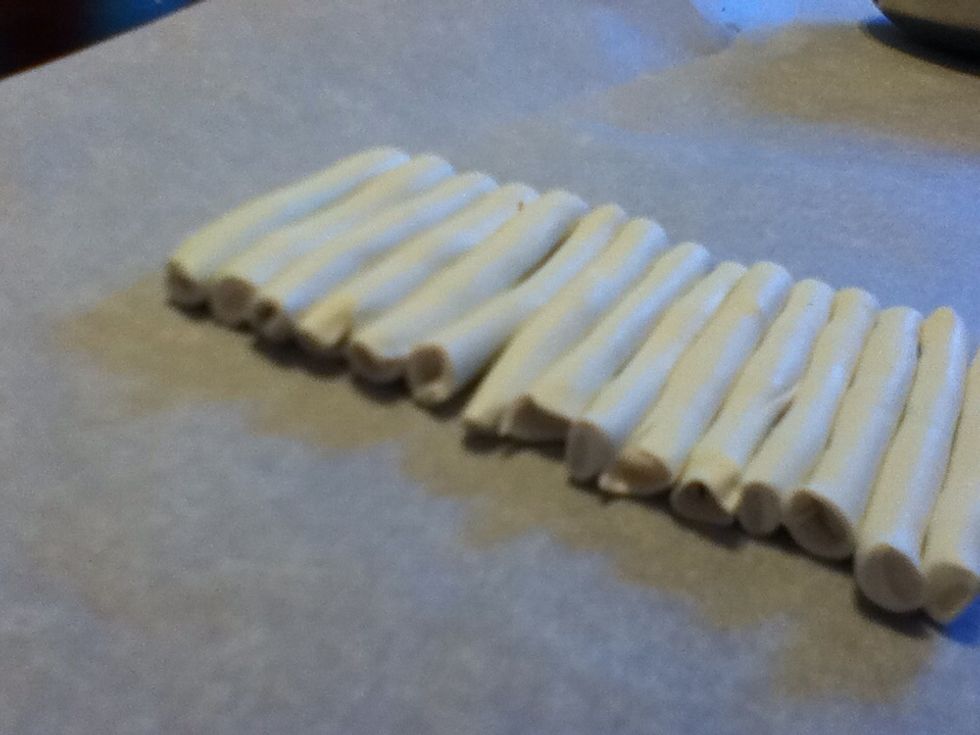
Should look something like this. These will be the rice. We'll trim the edges later.
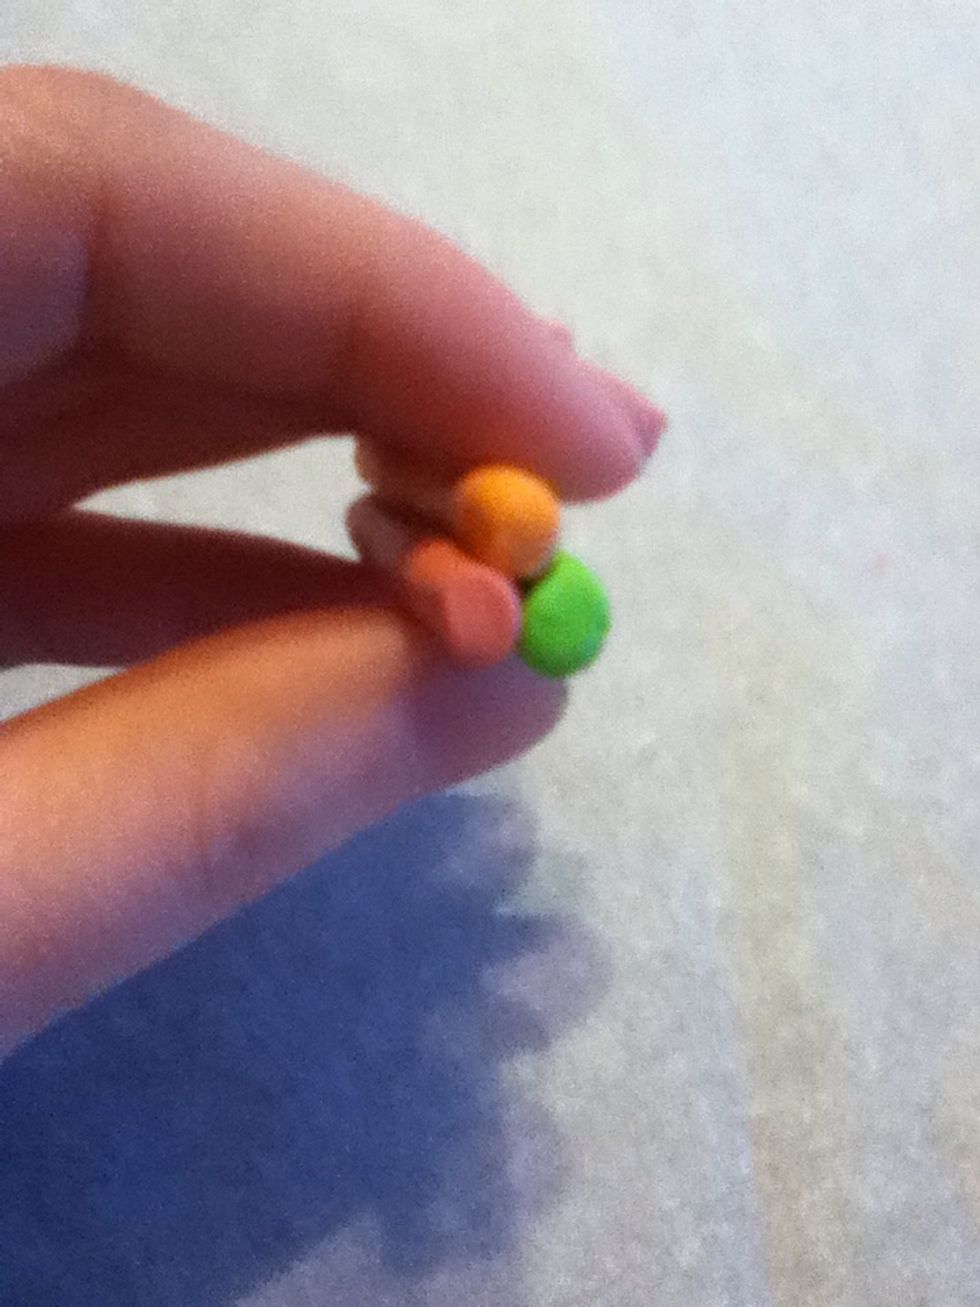
Make your filling. Here it's 'crab, carrot and avocado'. You can get really creative here, but contrasting colors show up the best in small beads.
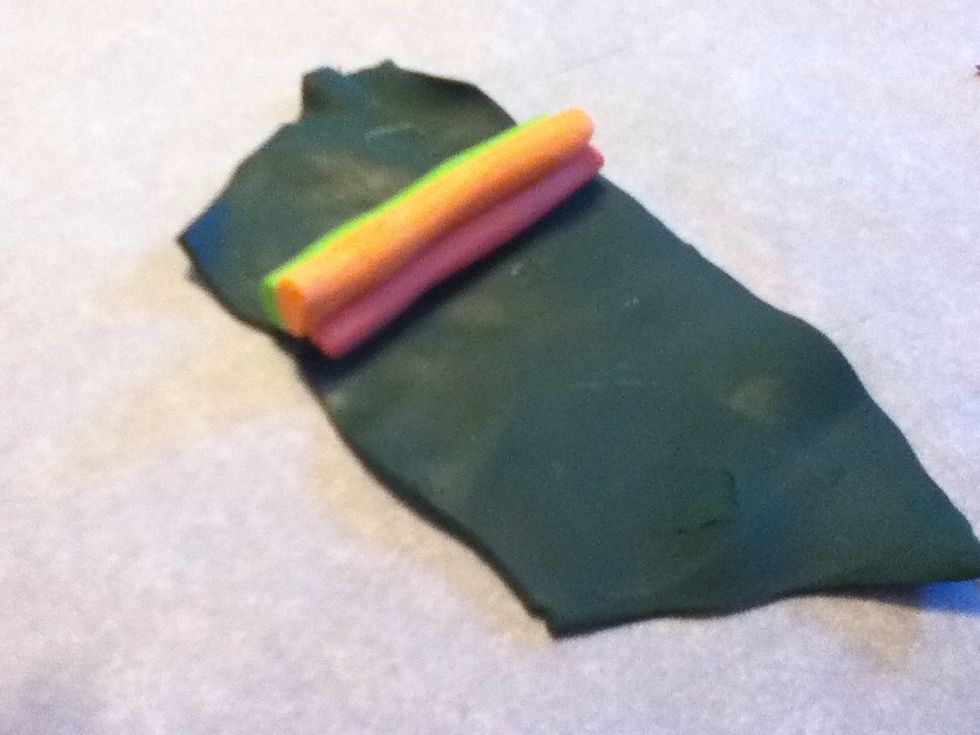
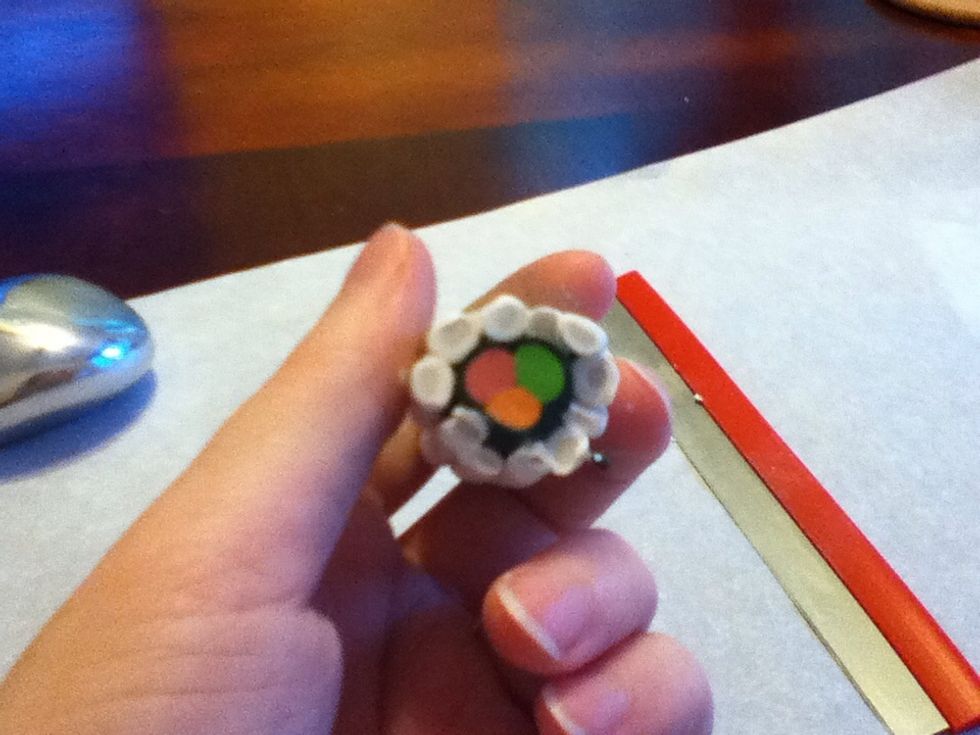
I'm making a California style roll, so I'm wrapping the filling in the 'nori'. You could also wait and wrap the whole roll at the end.
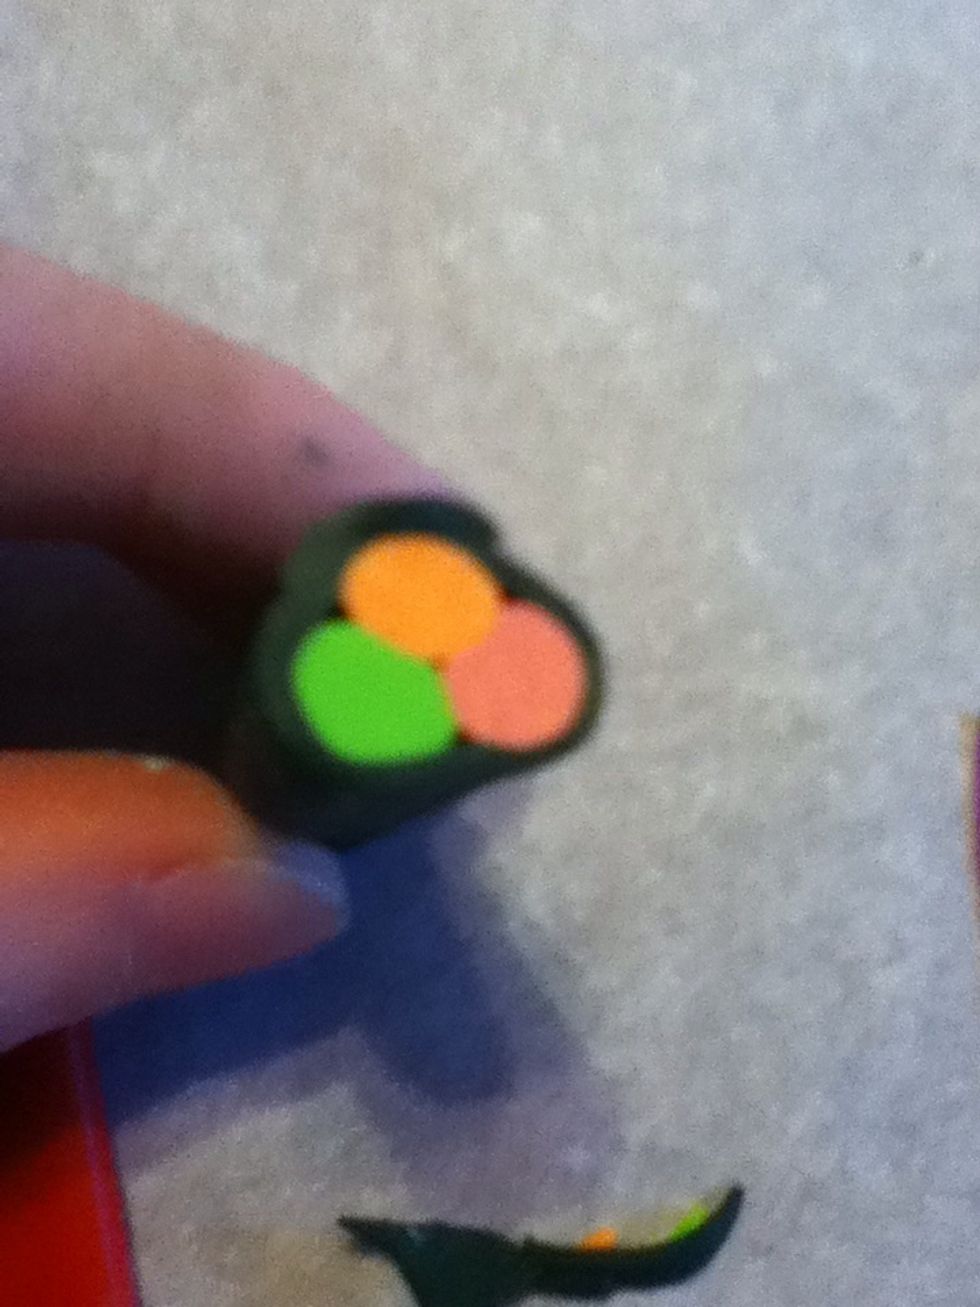
Voila.
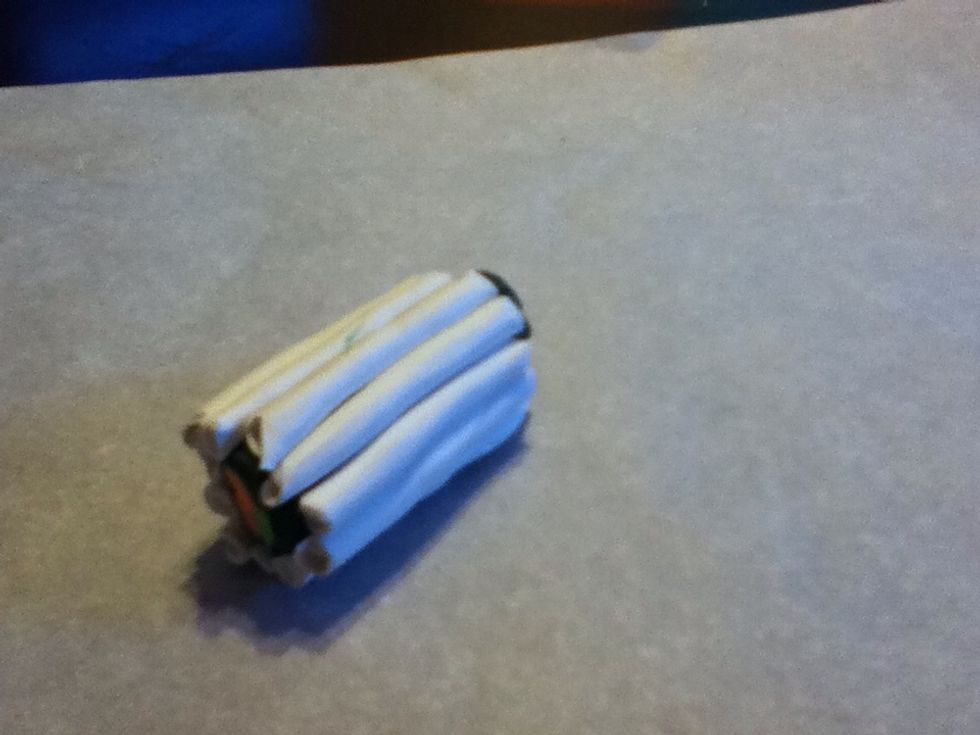
Roll your filling up in the rice canes you made earlier. You can use two layers if you wish.
Trim up the edges with your cutting implement.
Roll out the roll to your desired diameter and pop it in the freezer to harden up before slicing.
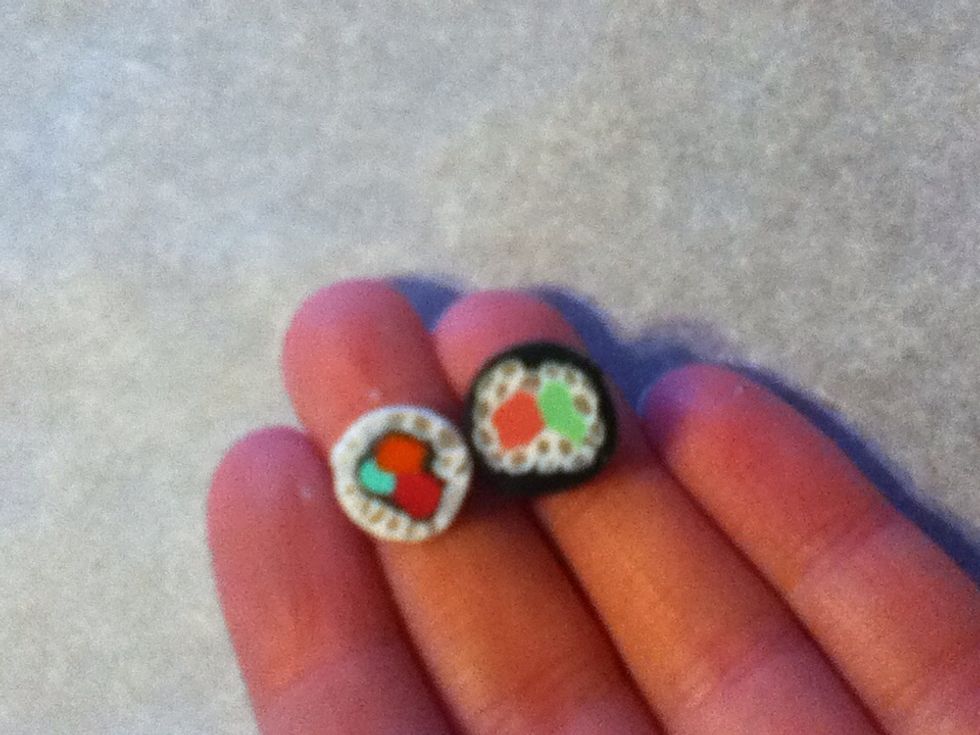
These are two larger examples from an earlier batch. The left is the a California roll and the right is the common maki roll.