The Conversation (0)
Sign Up
Eat your chips. Don't waste.

Grab your other supplies.
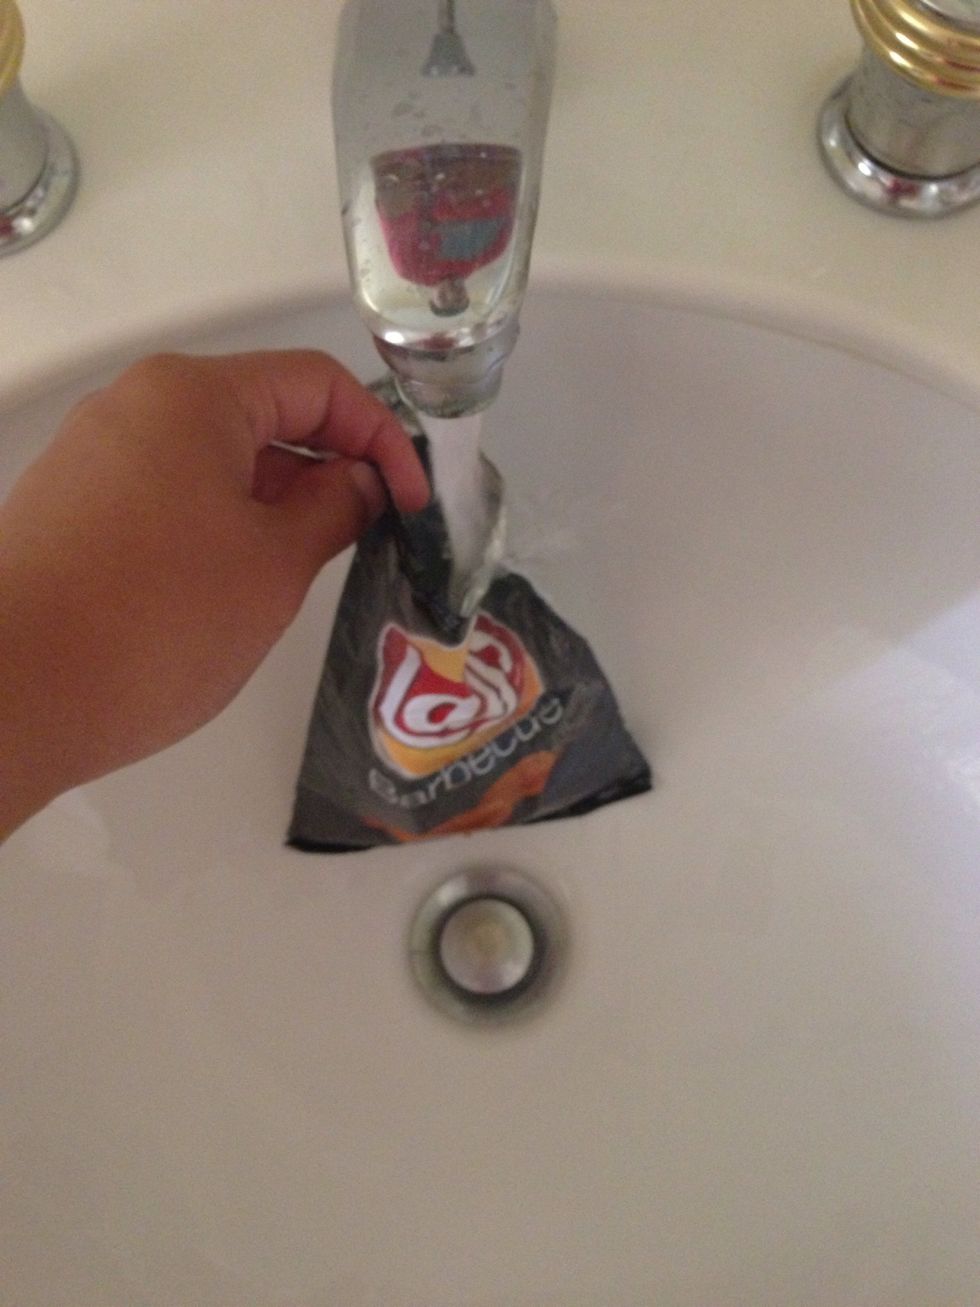
Wash out the bag so there is no chip crumbs or grease left.
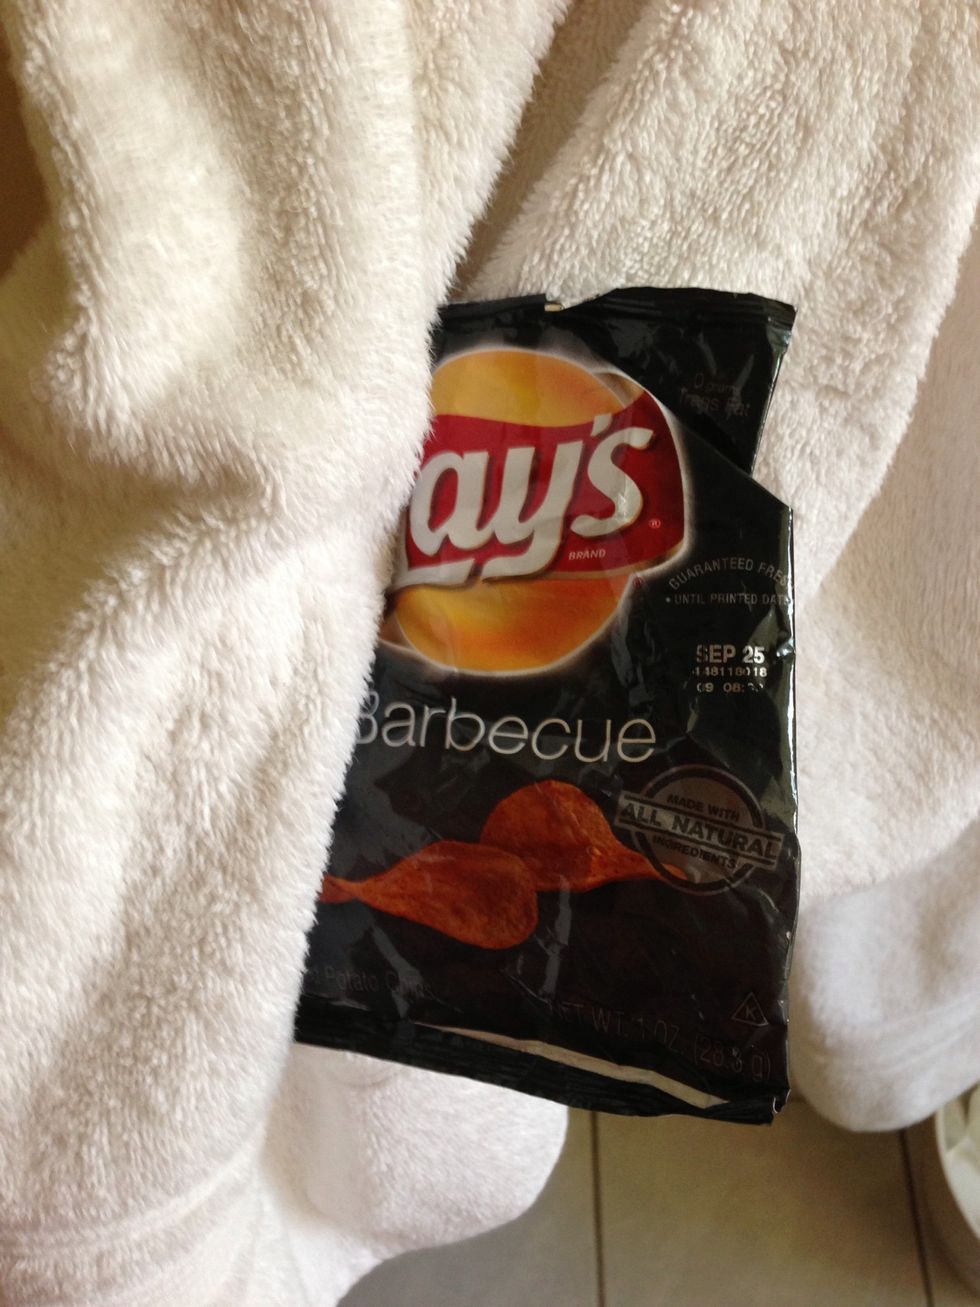
Best to dry it off.
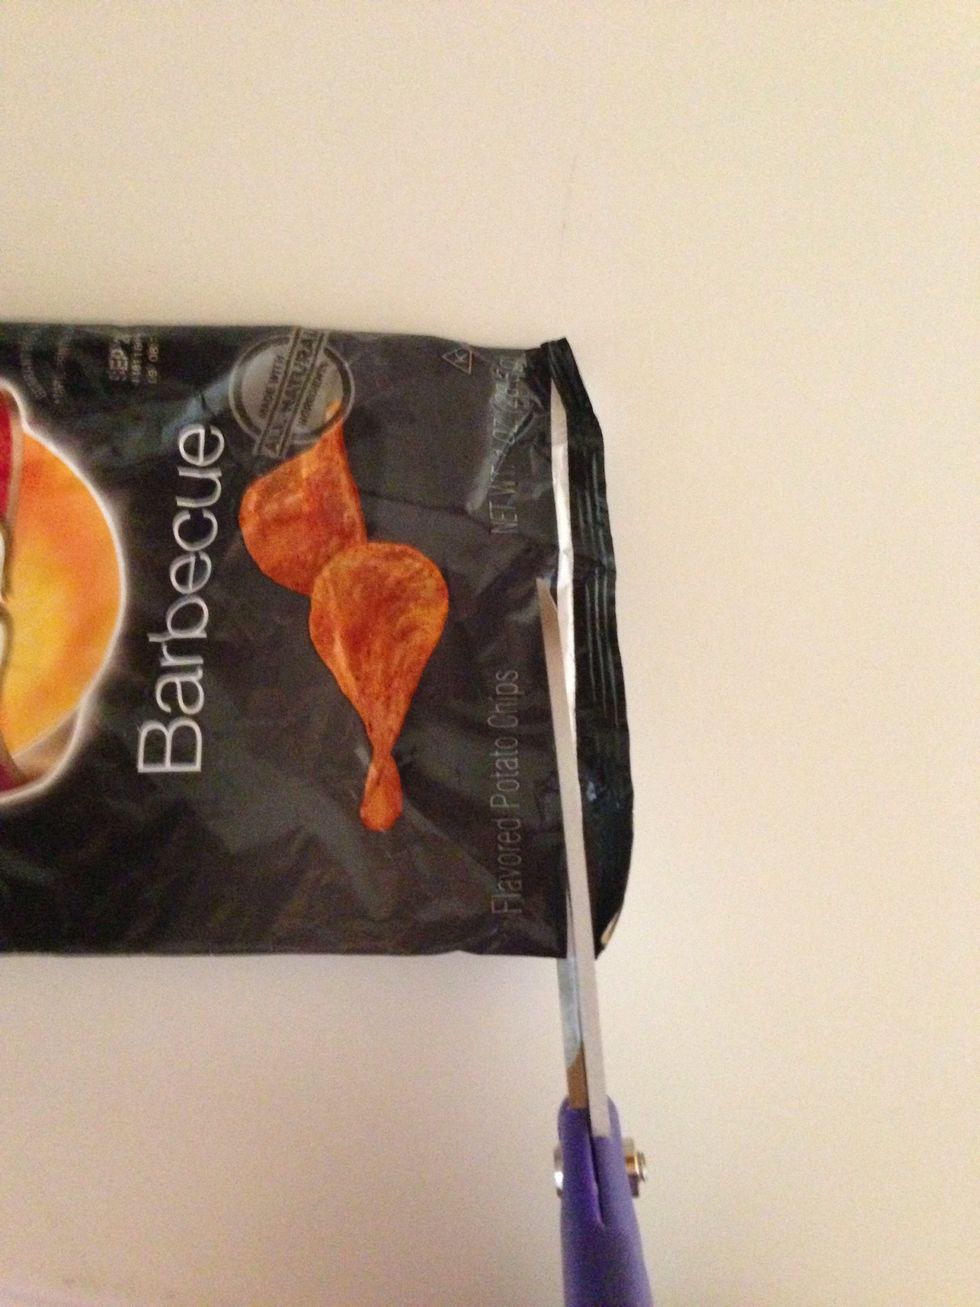
Cut off the bottom end, so it is open on both sides.
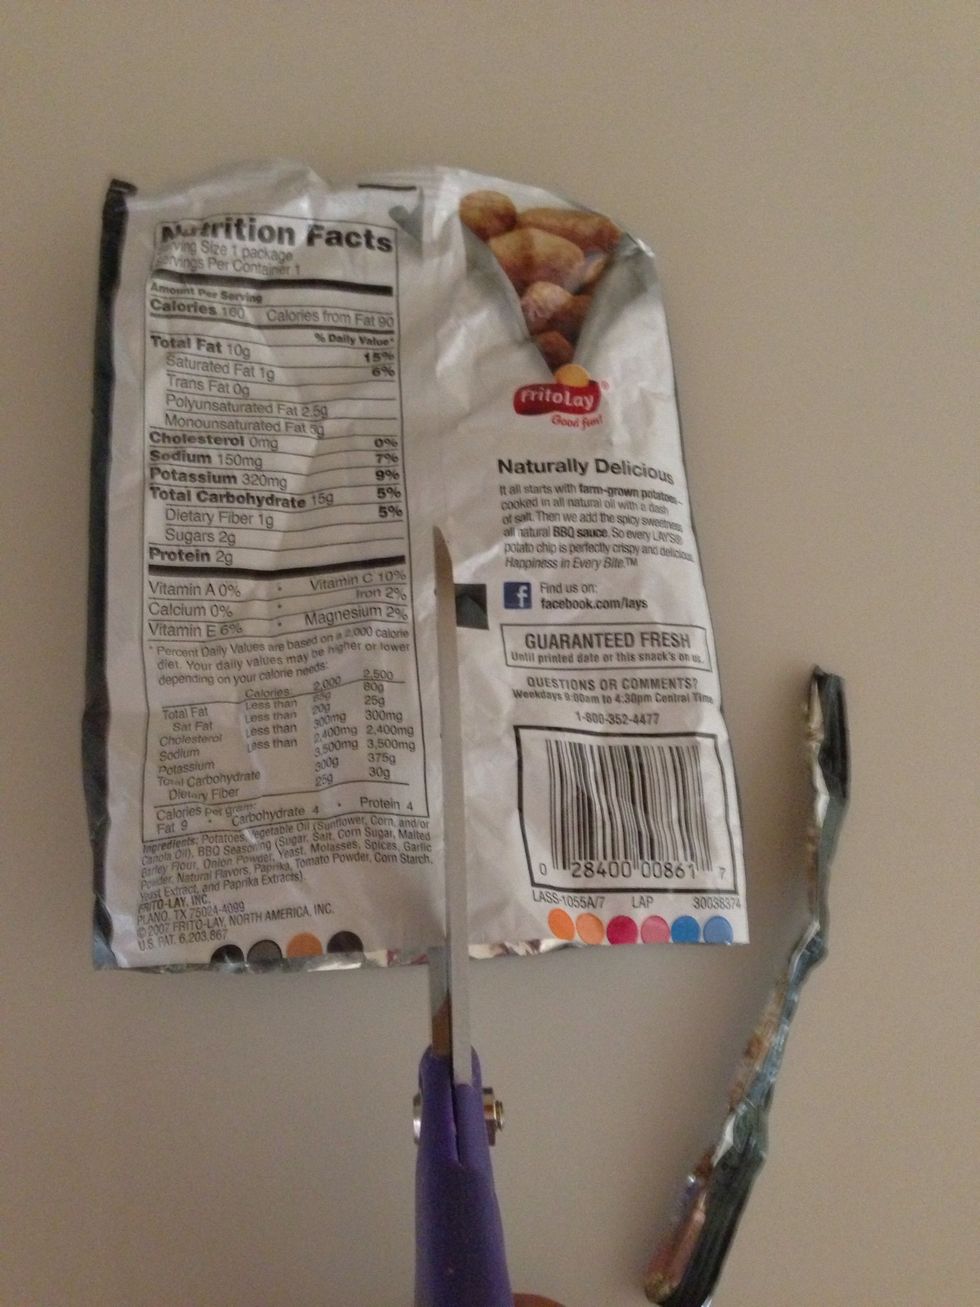
Cut up the center of the back to make it a flat sheet.
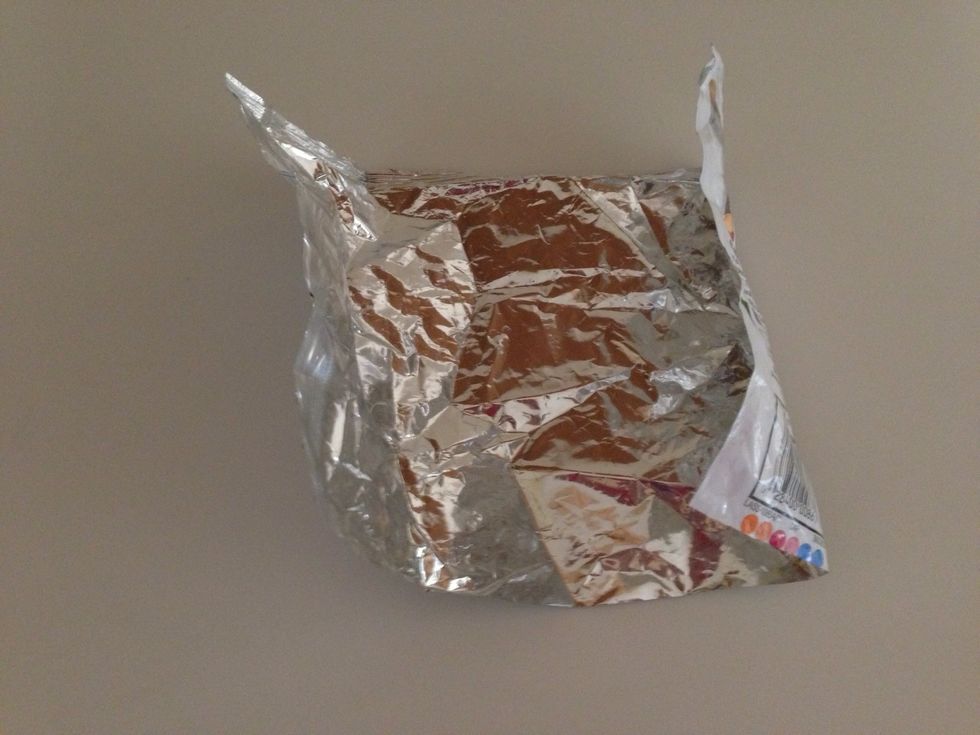
Taa dah! You can also wipe off more grease here, which is easier.
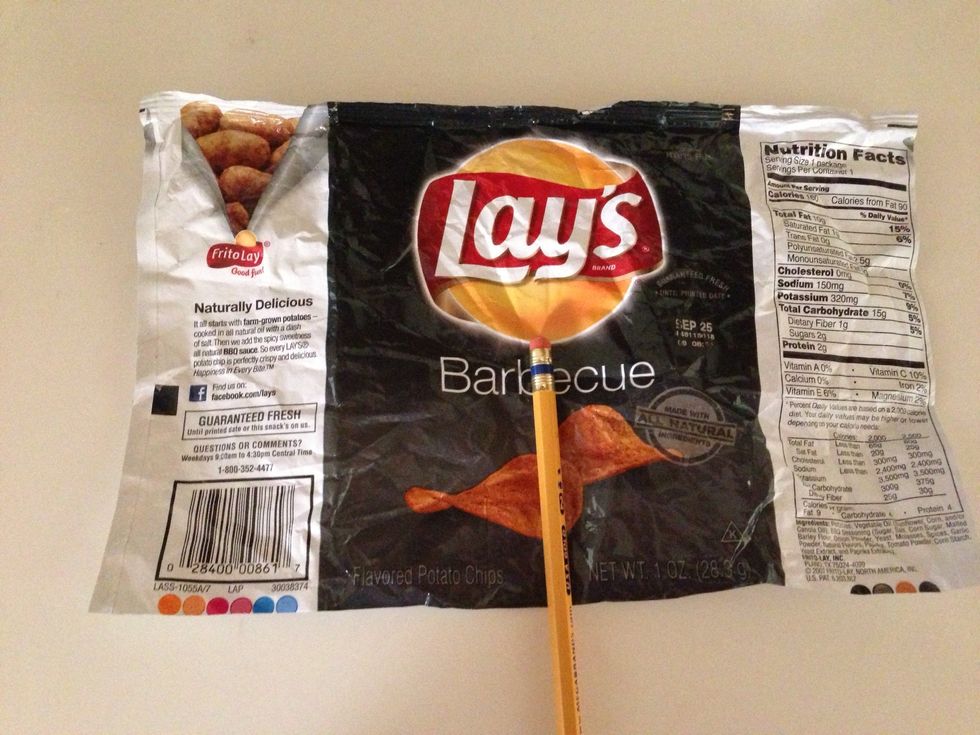
Grab your pencil and position the eraser end in the center of the bag. ~Make sure the bags silver side is facing down.~
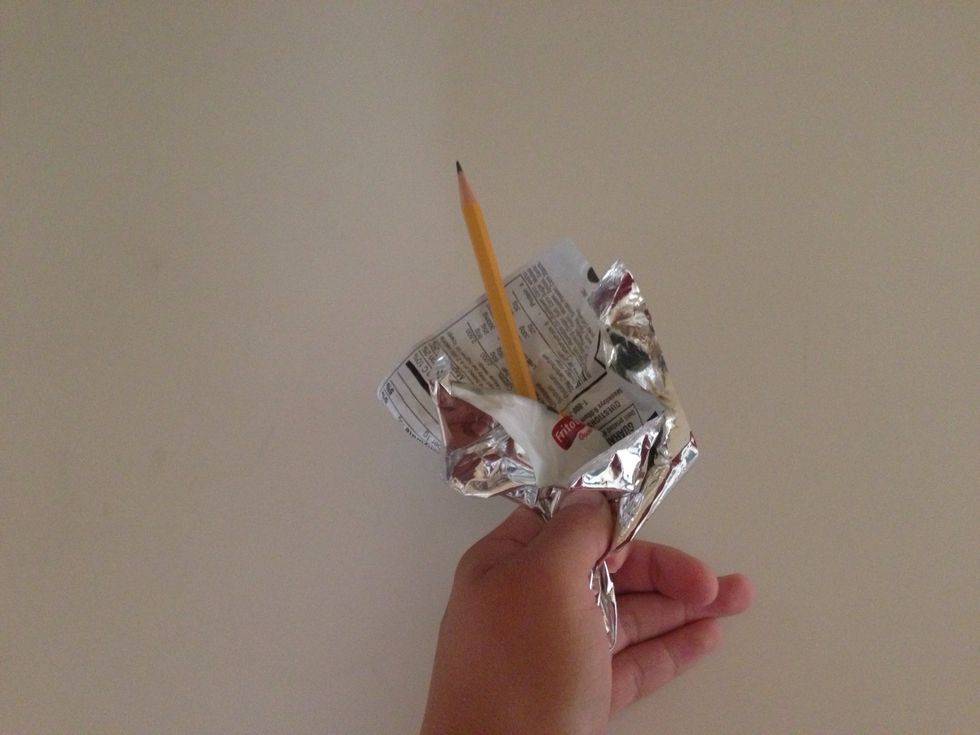
Wrap it up tight against the eraser end.
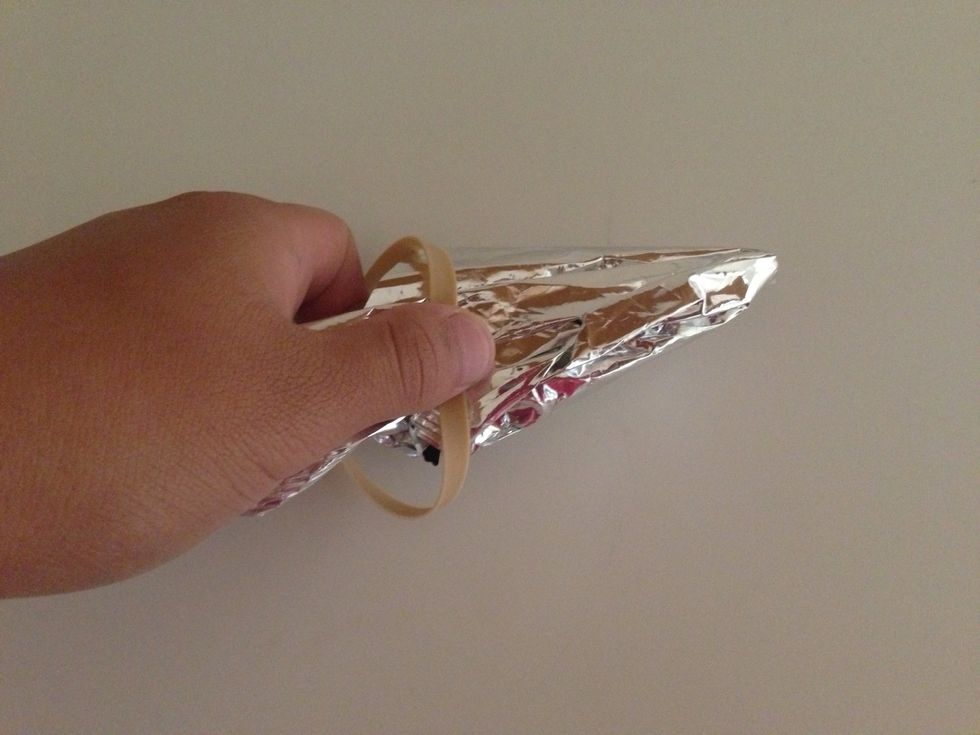
Use a rubber band to hold it in place.
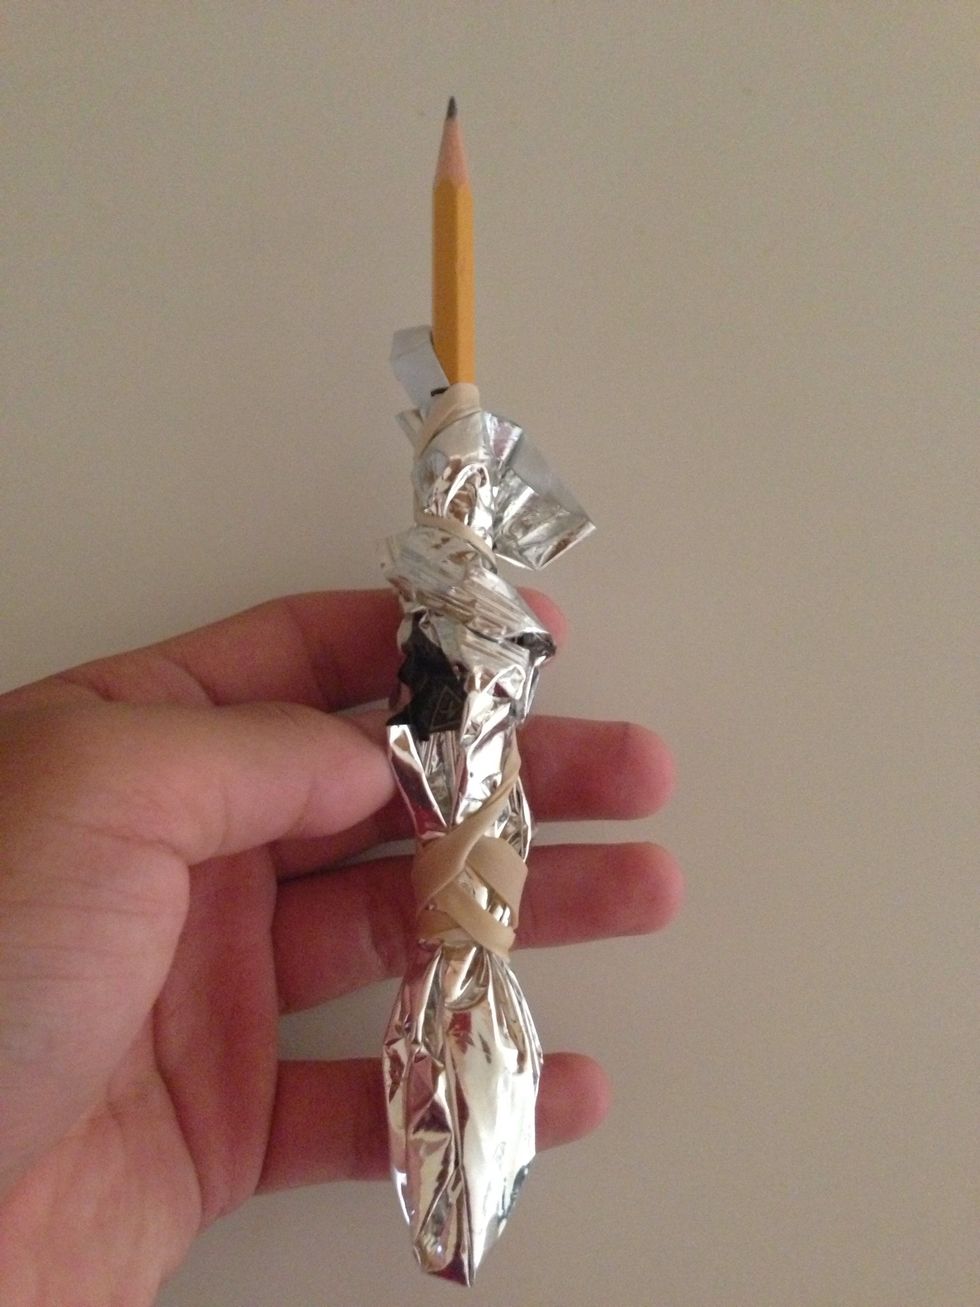
Make it tight and secure.
This stylus will also work for other iDevices, phones and tablets that don't work with regular styluses. And this is also way cheaper than buying one for around $15.