The Conversation (0)
Sign Up

Strawberries
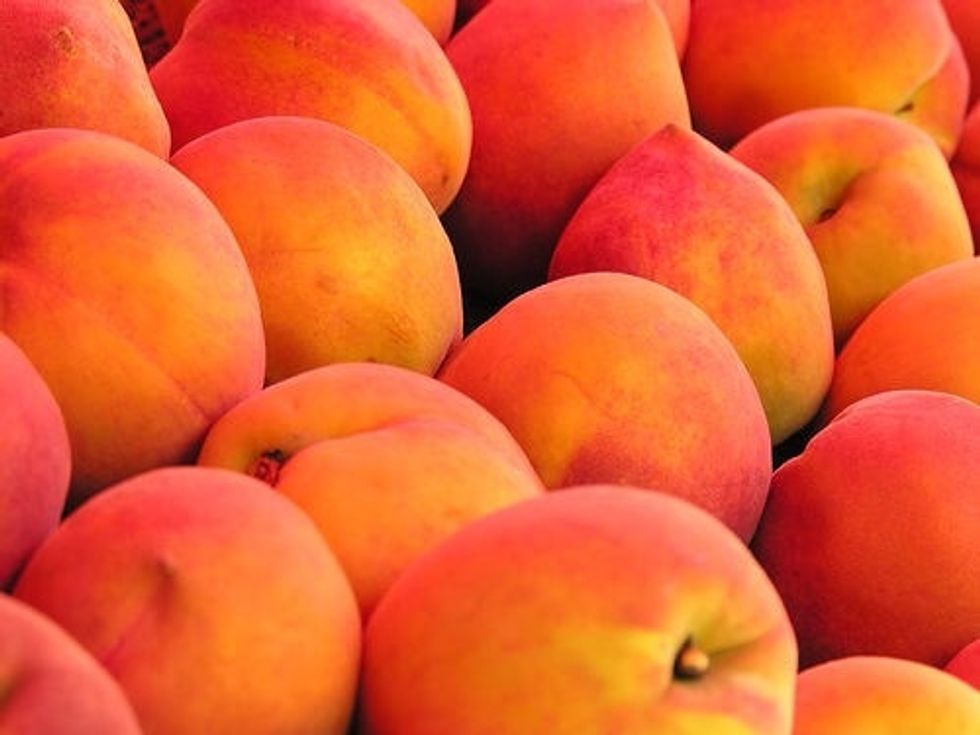
Or Peaches
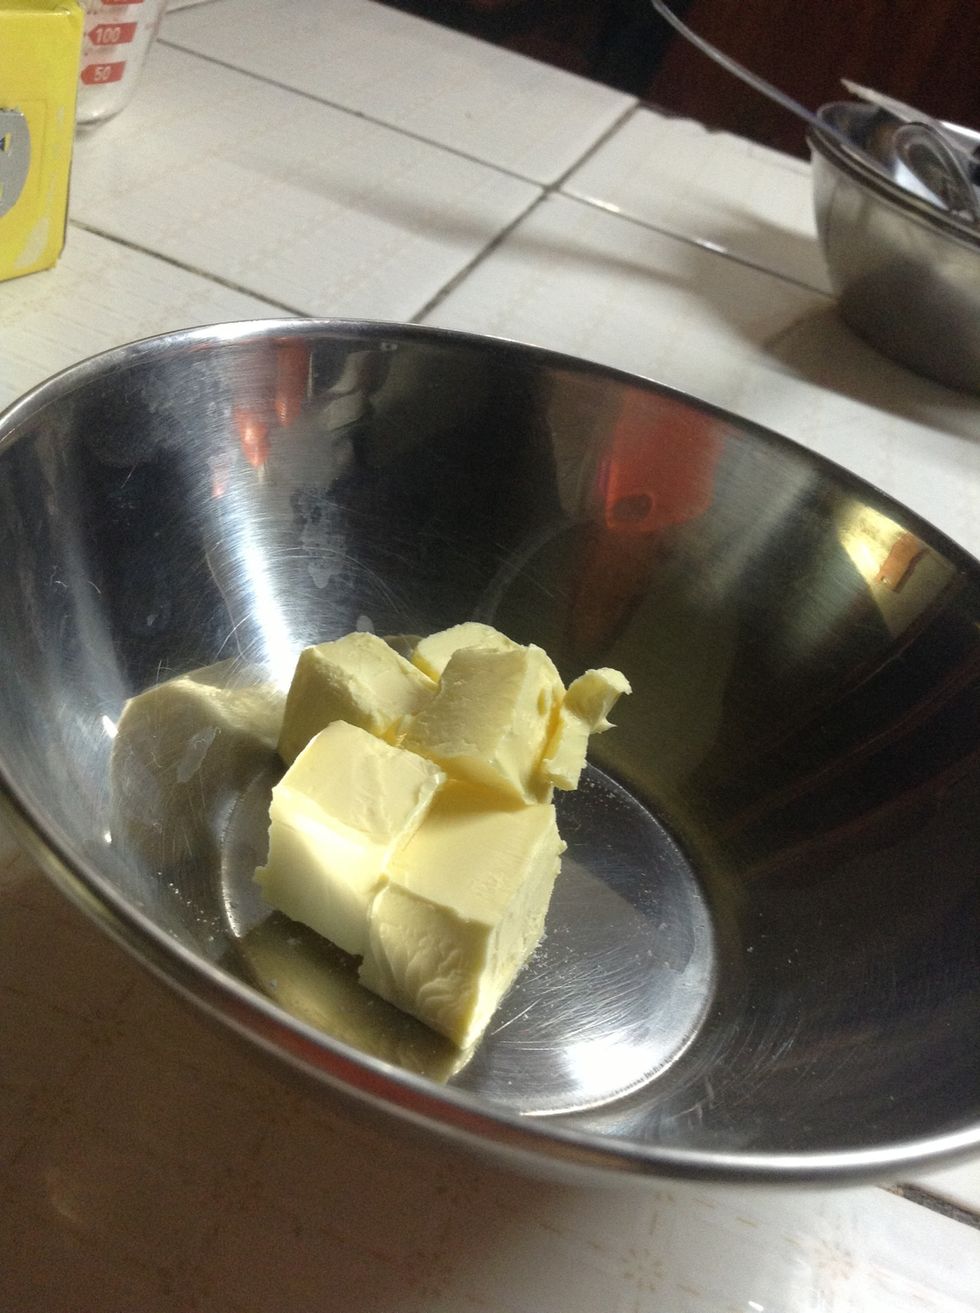
Butter
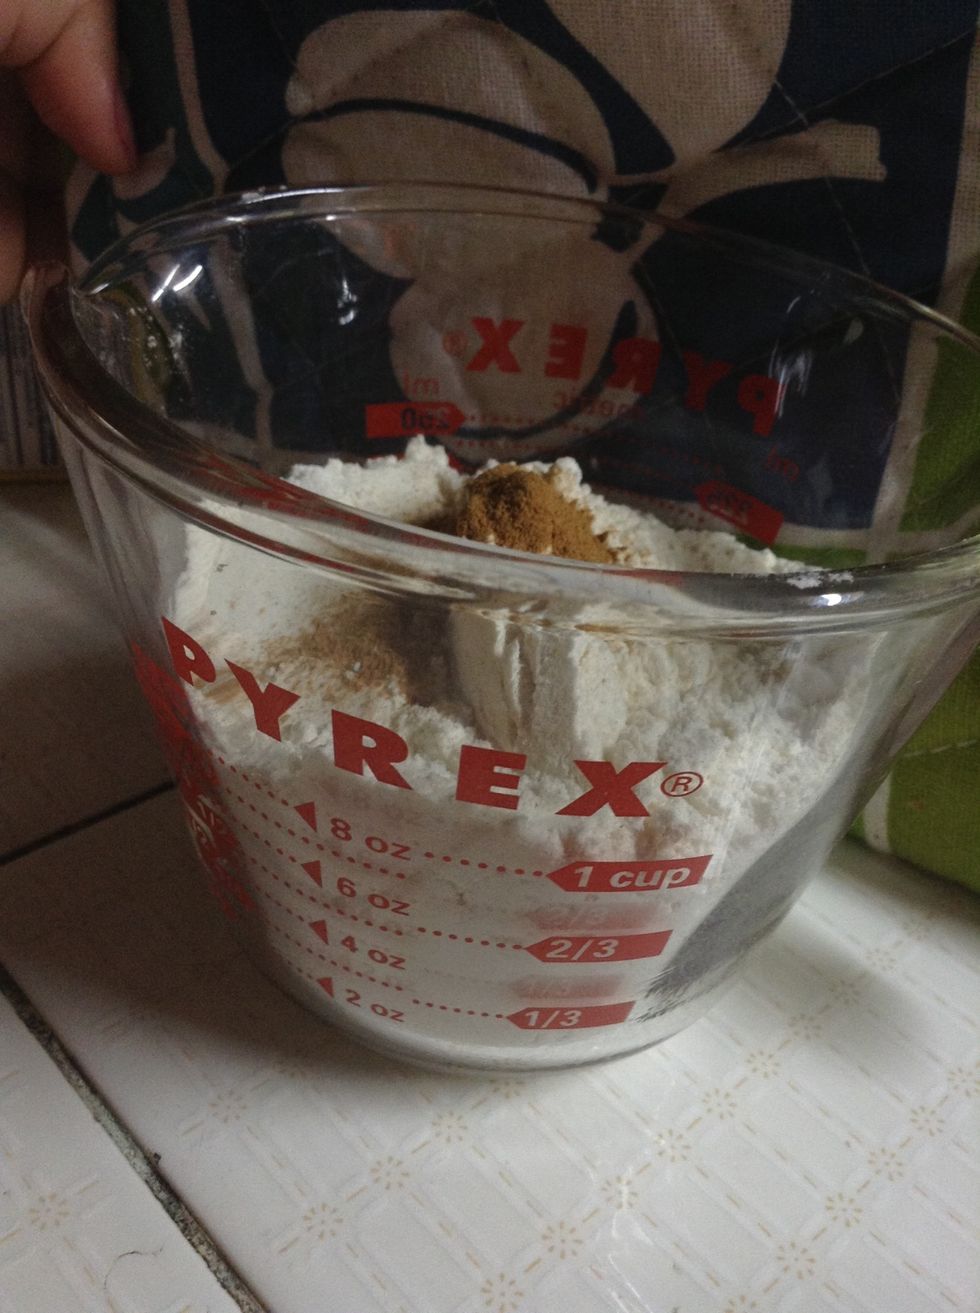
Flour and a little bit of cinnamon
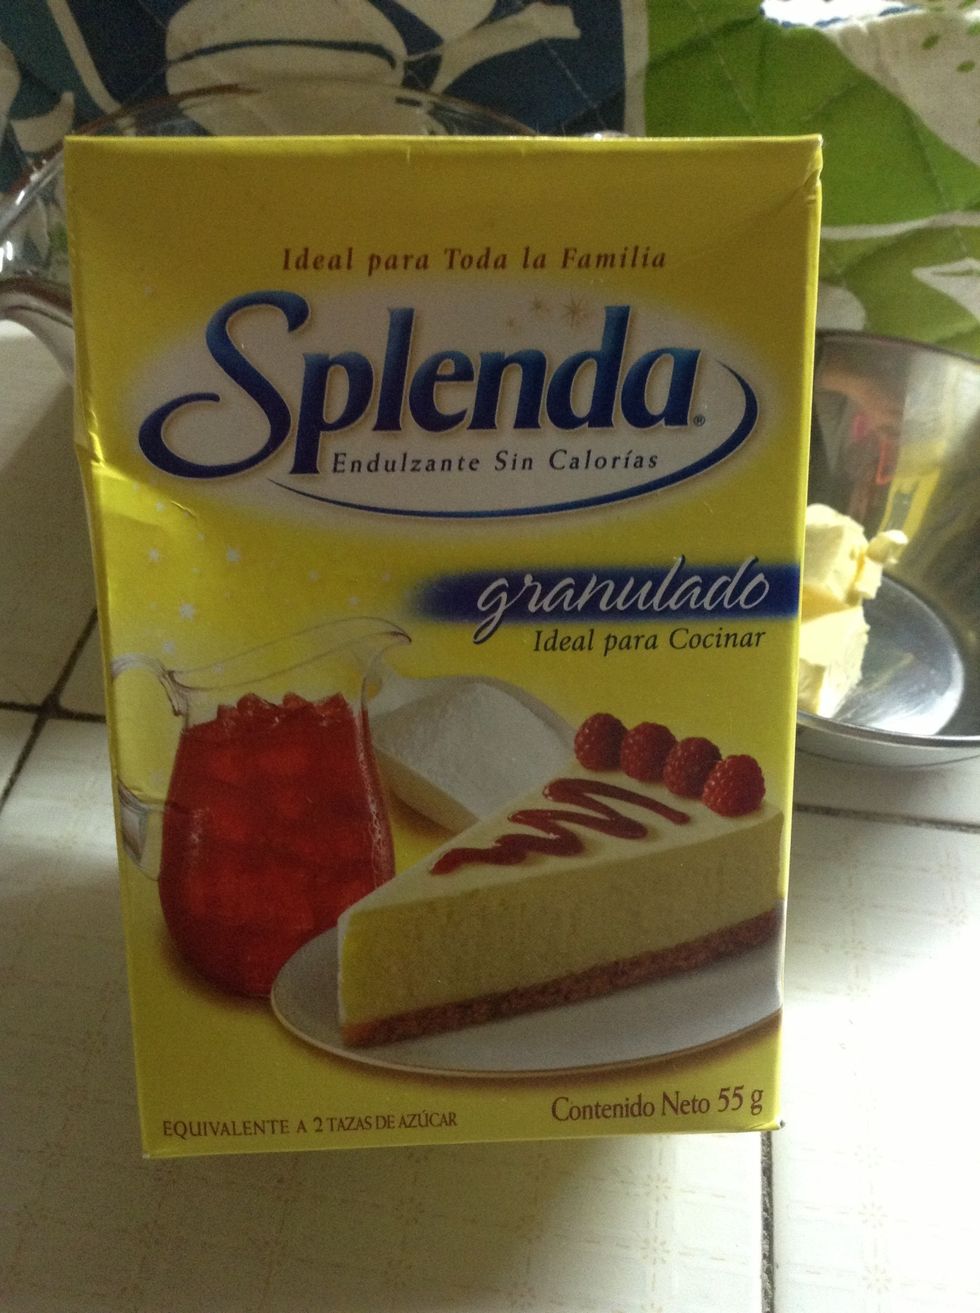
Splenda or regular sugar
Cold water
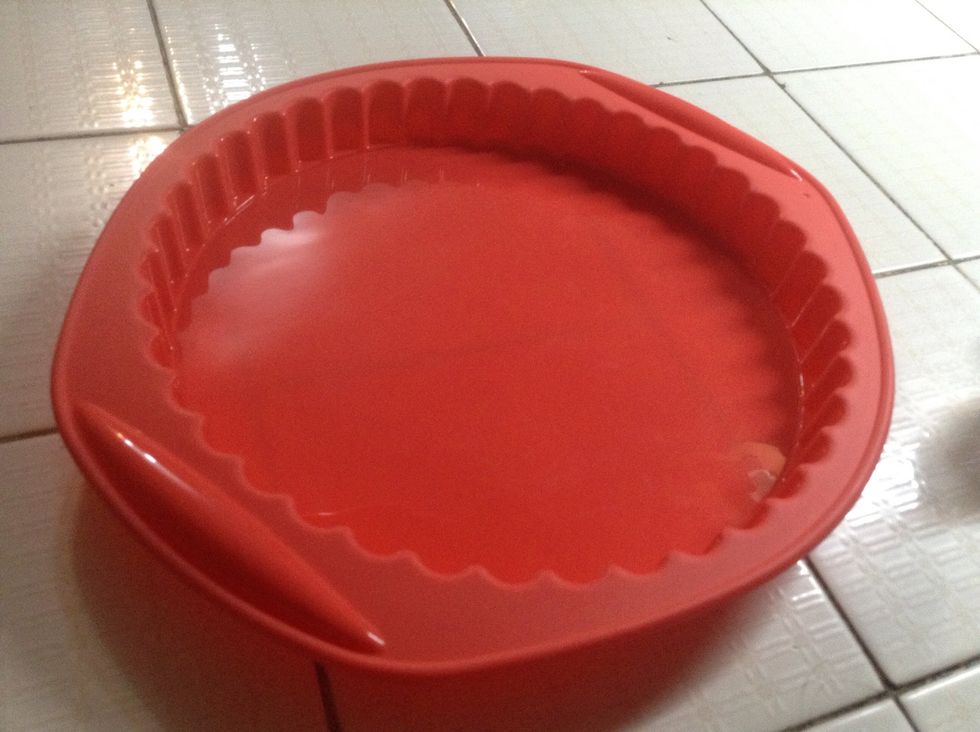
Round mold / pie mold
Sift the flour in a bowl
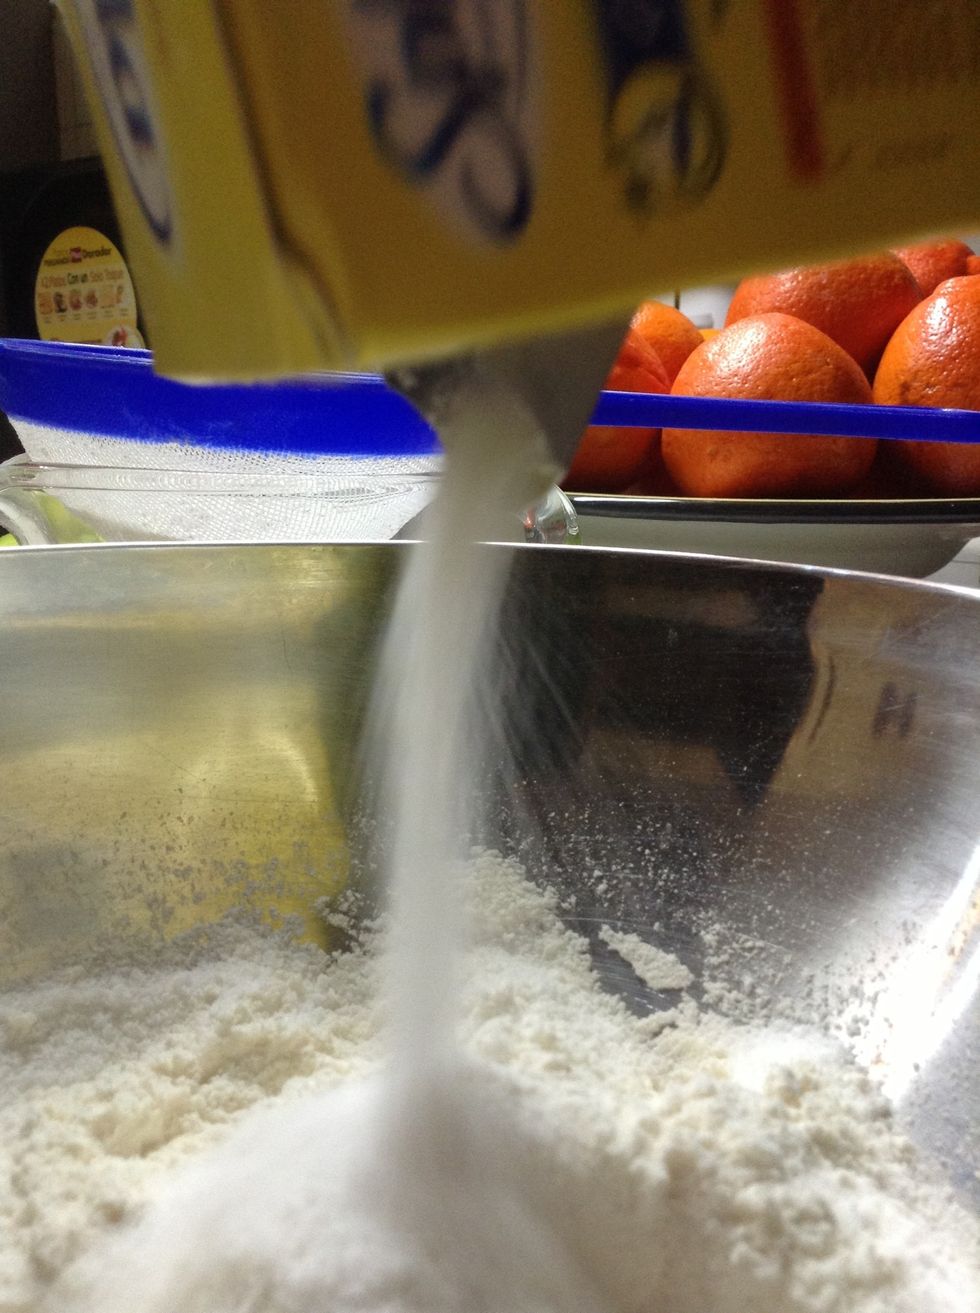
Add sugar or Splenda. Preferably use the ones that are specially made for pastries, as they become easier to mix.
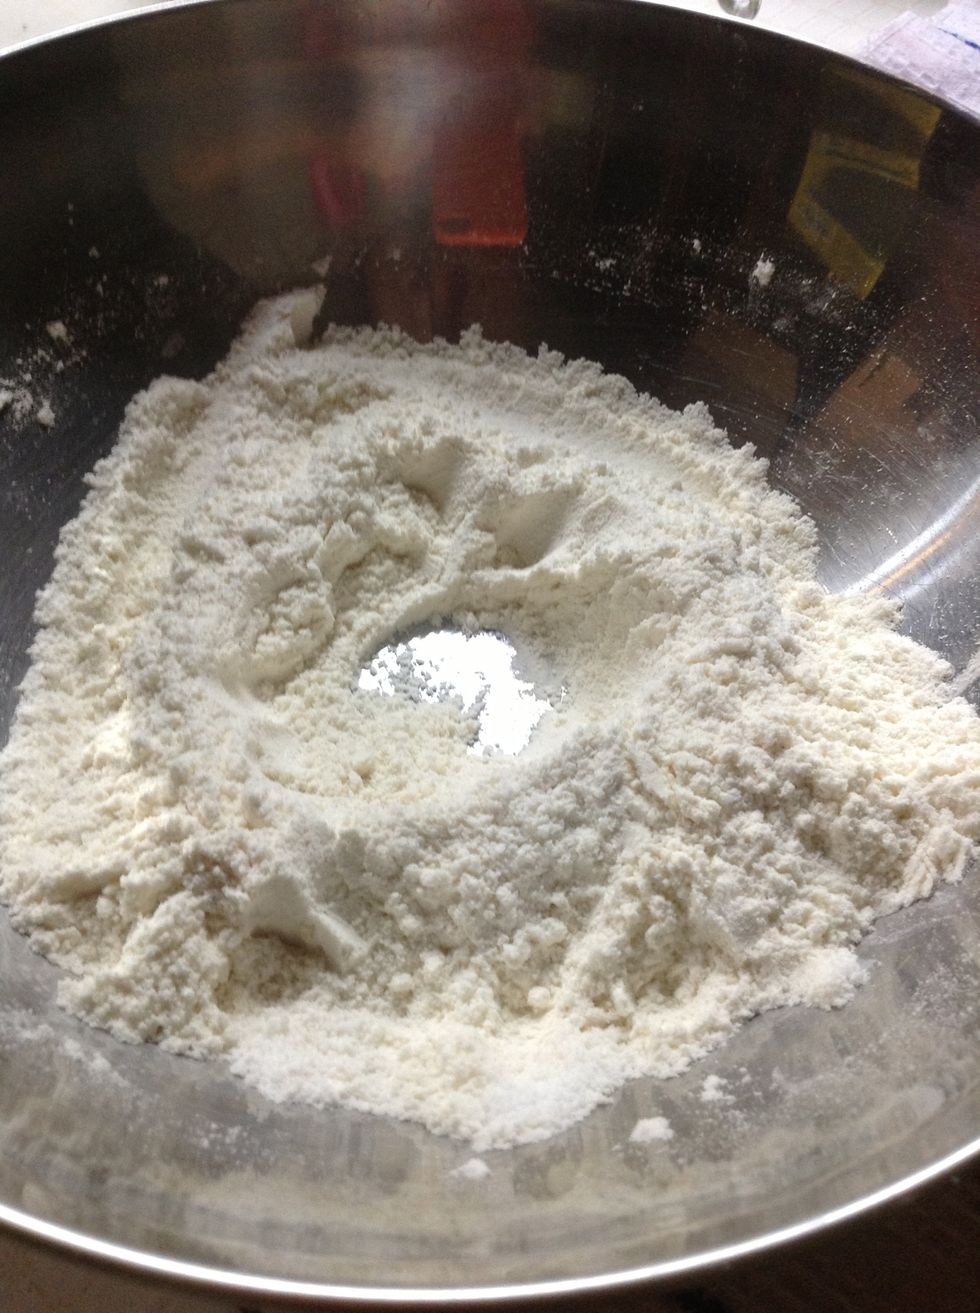
Mix the flour and the sugar together with a spoon or spatula. Then make a well in the middle of the mix.

Inside the cleared area place the butter. I like cutting the bar in little cubes as they are easier to mix. Afterwards grab some of the mix from the sides and sprinkle the butter cubes with it.
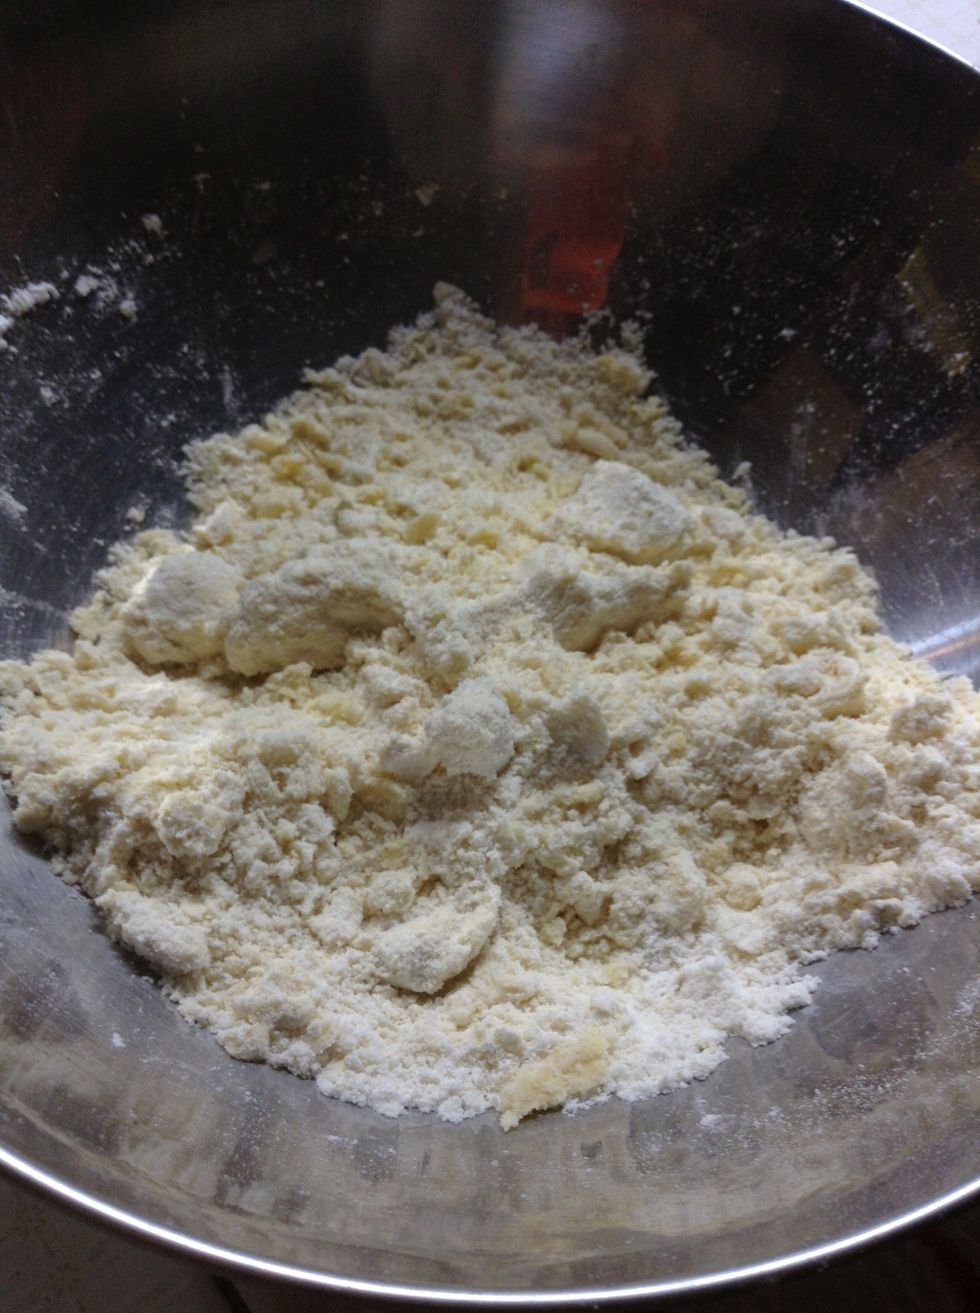
Mix the whole thin together, either with hands or a spatula. Make sure the butter cubes mix well.
You will start getting this kind of texture from the mix. If you are mixing with your hands, use some flour on then as you will have to deal with a greasy and sticky mix.. so keep mixing.
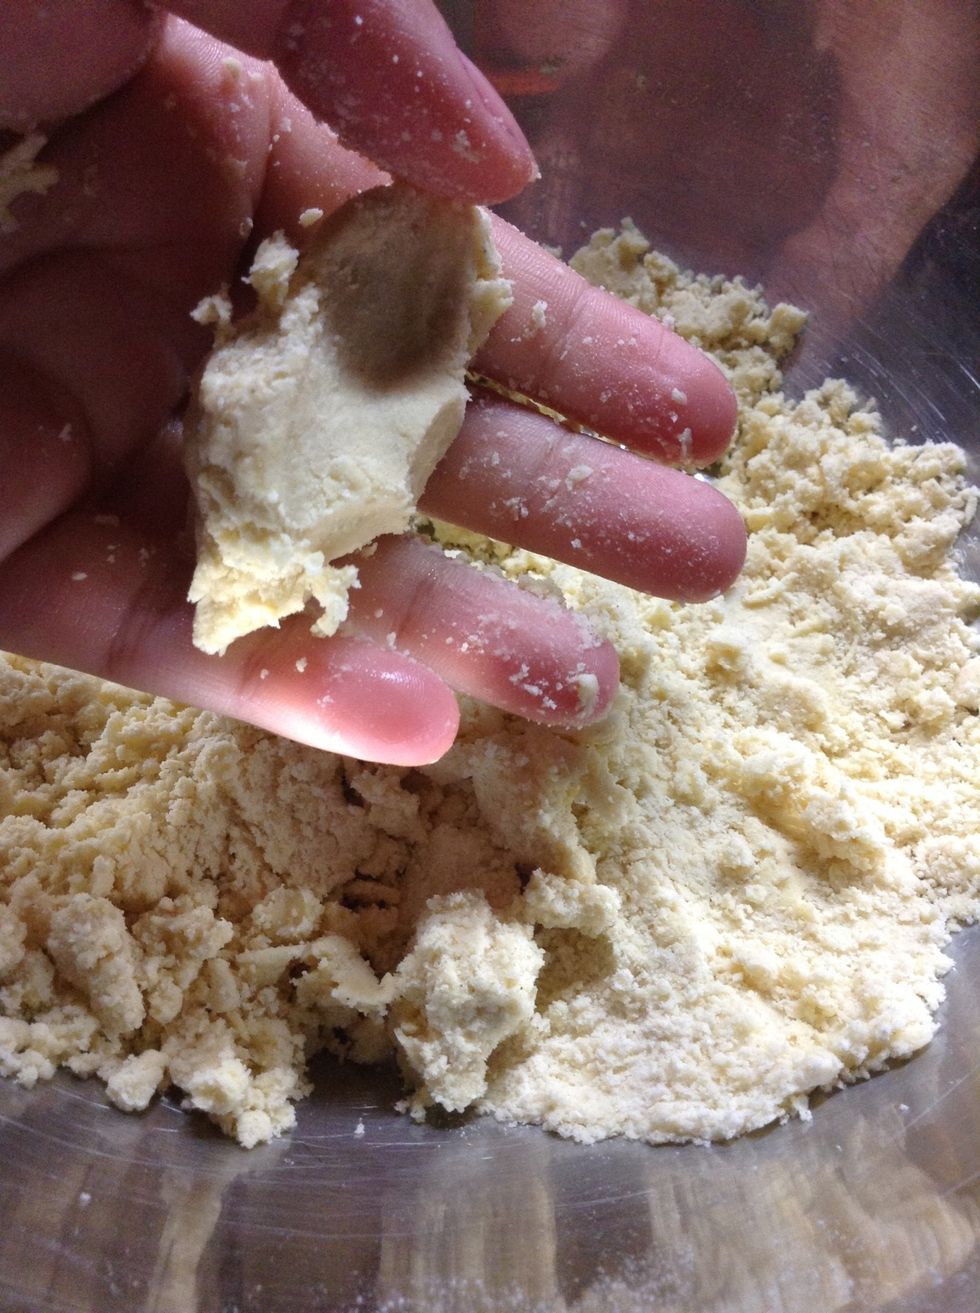
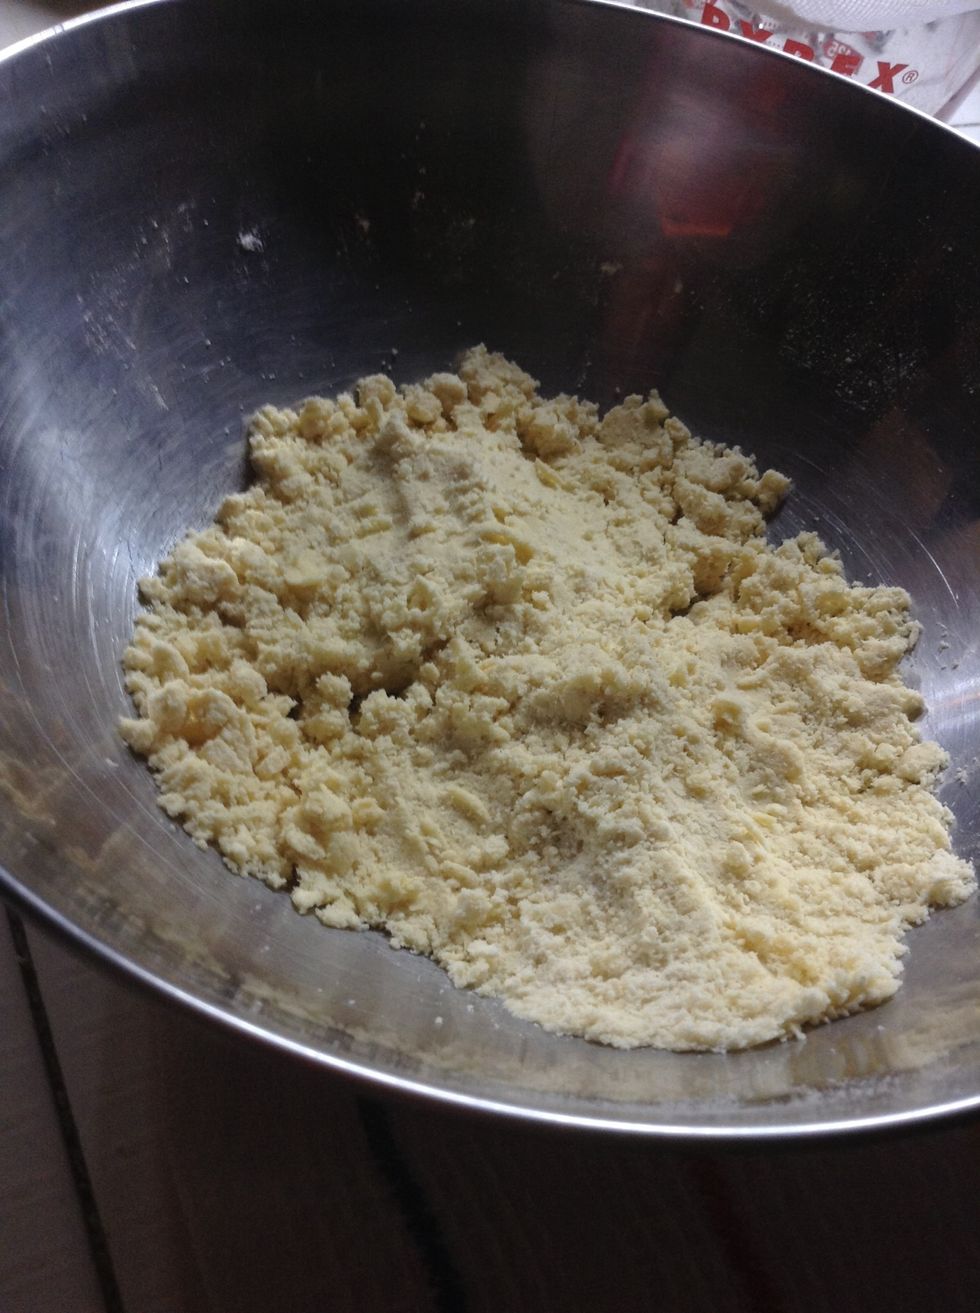
Once the mix stops sticking everywhere and starts having a more solid volume, you are done. It will still have a little texture but that is totally fine.
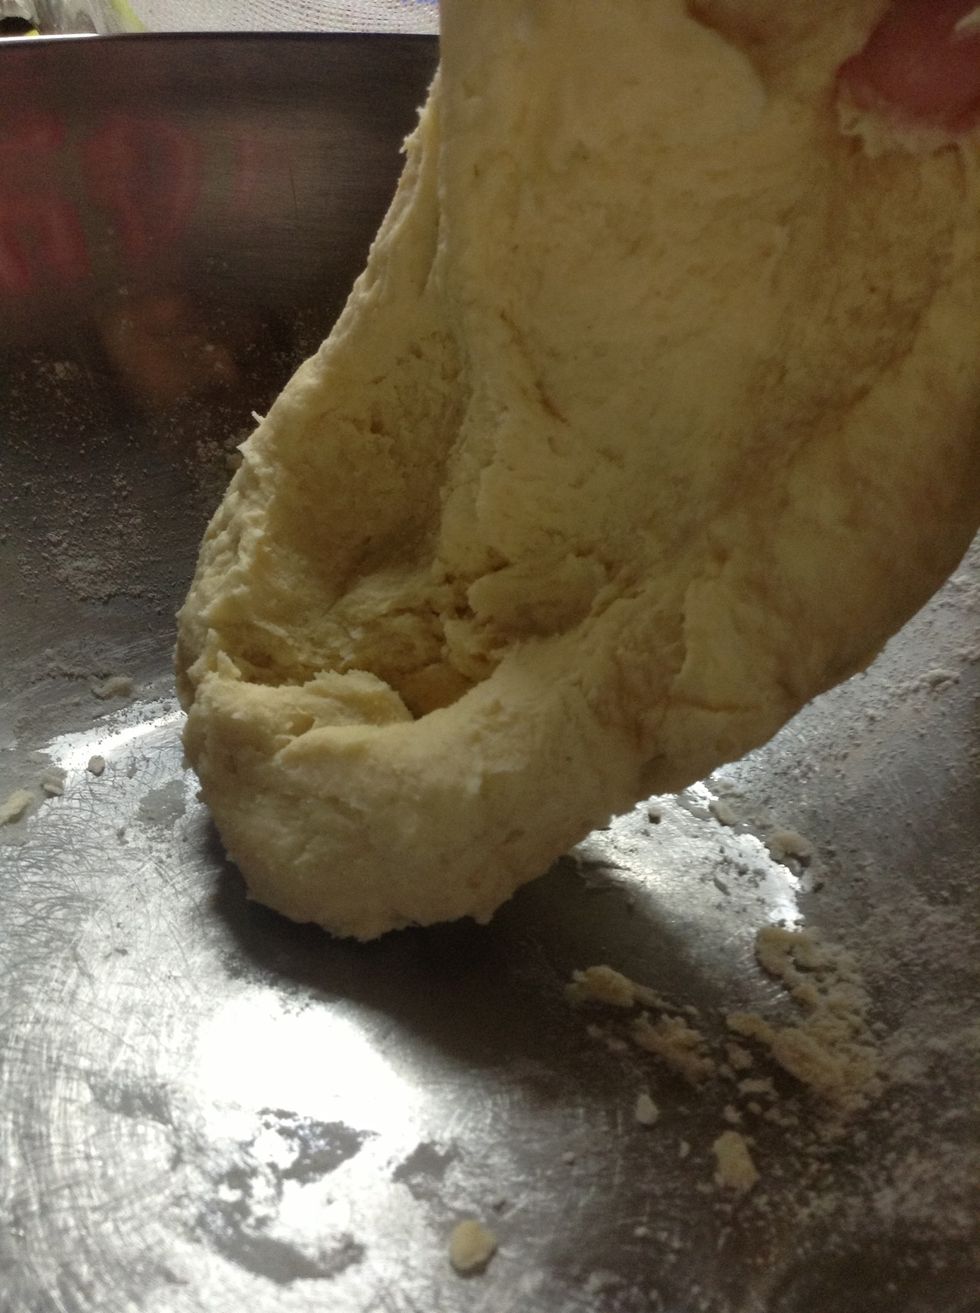
Grab the mix and start kneading the dough it into a ball.
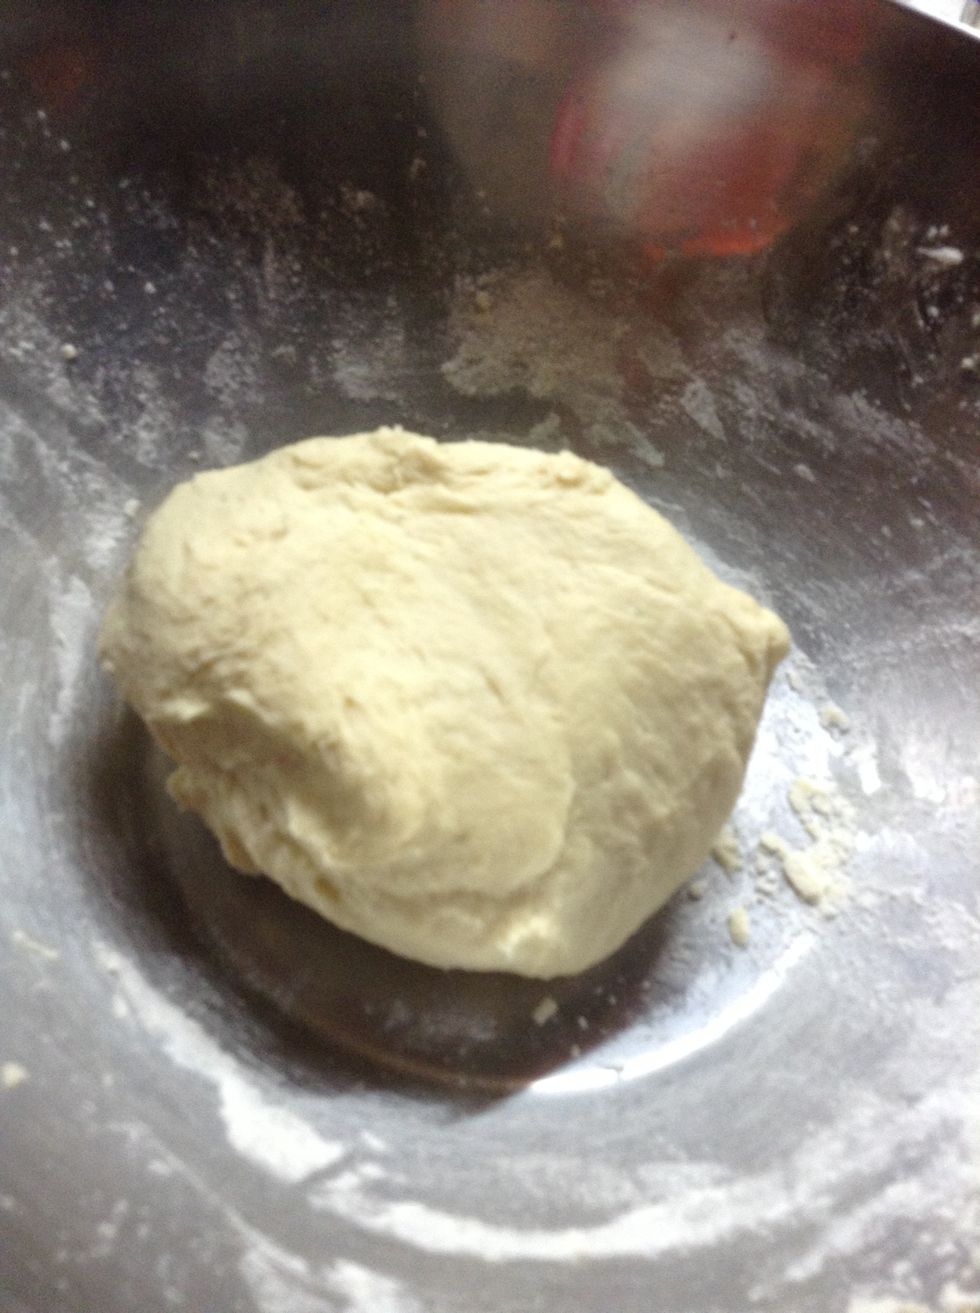
It will be ready when the whole dough stops falling apart to pieces and is not sticky anymore
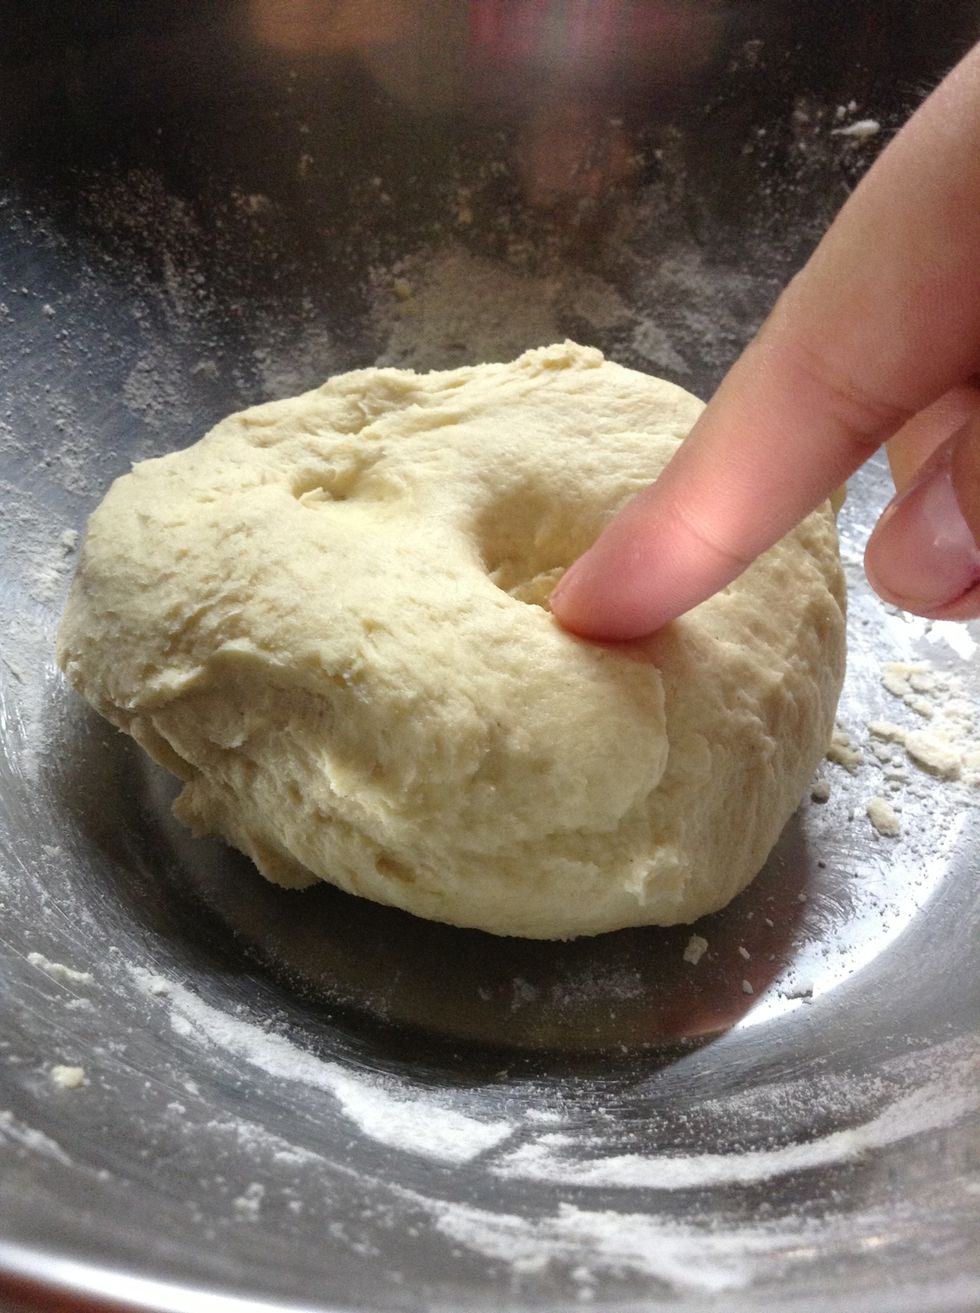
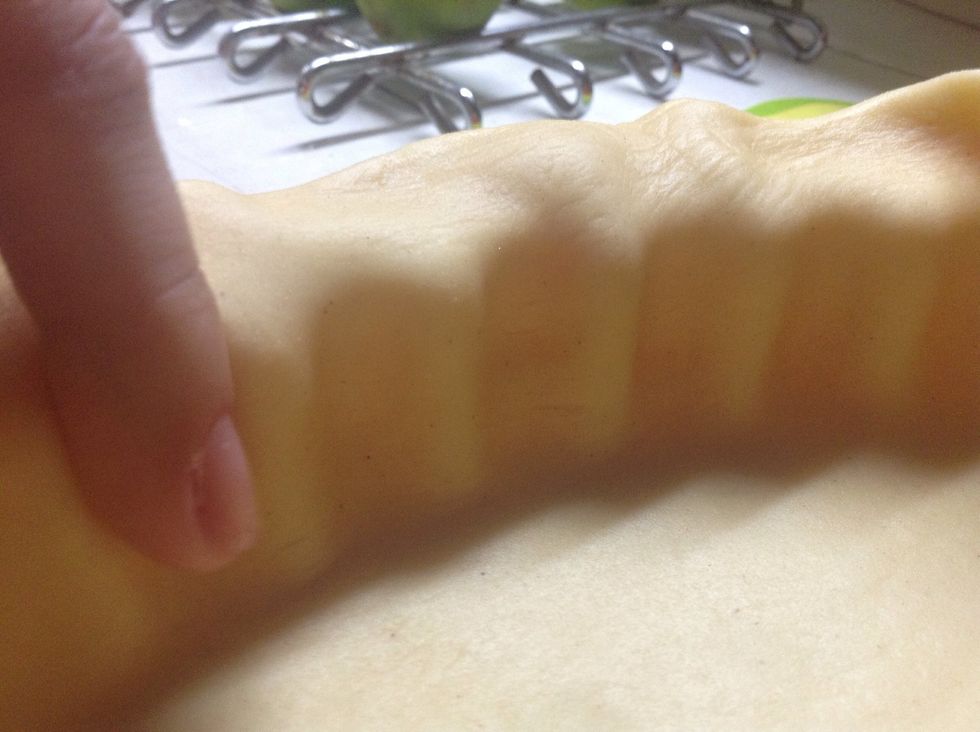
Make sure when you press a finger into the dough, it doesn't stick.
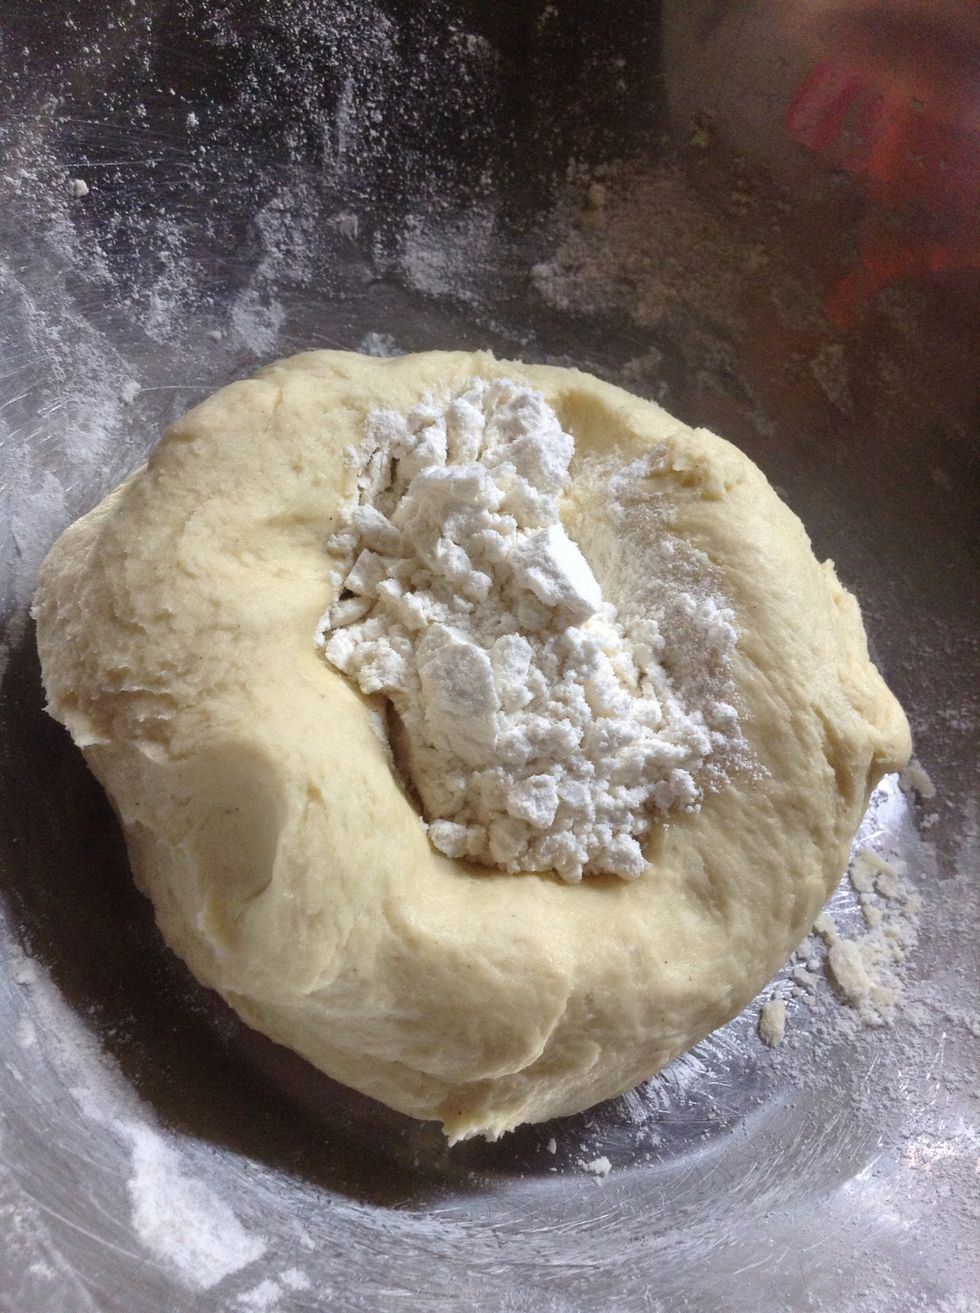
If by any chance it is still sticky add some flour in the center and start mixing from the sides to the center.
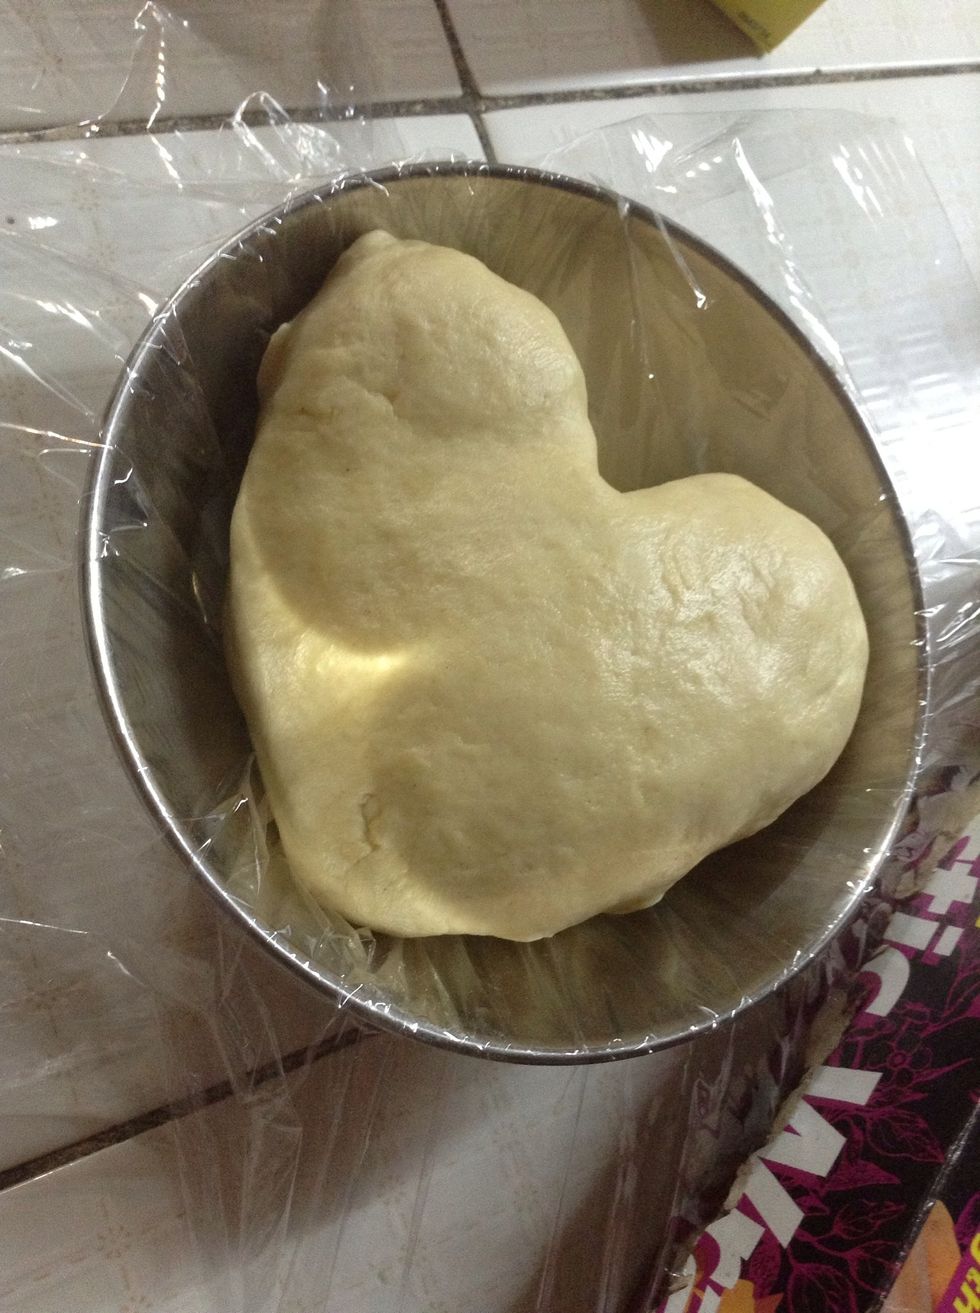
Make a ball ( in this case a made a heart out of fun) and wrap it with cling film. Take it to the refrigerator for about 20 minutes. We need the dough to be cool.
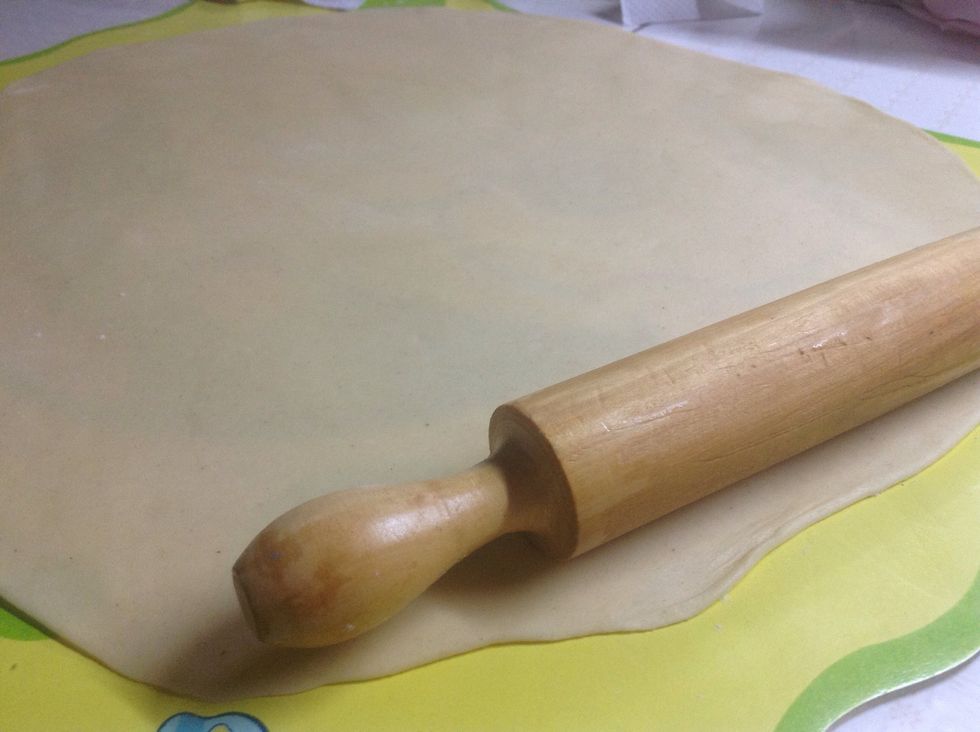
Once the dough is cold, take it out of its wrapper and roll it out. Remember to keep the circular shape.
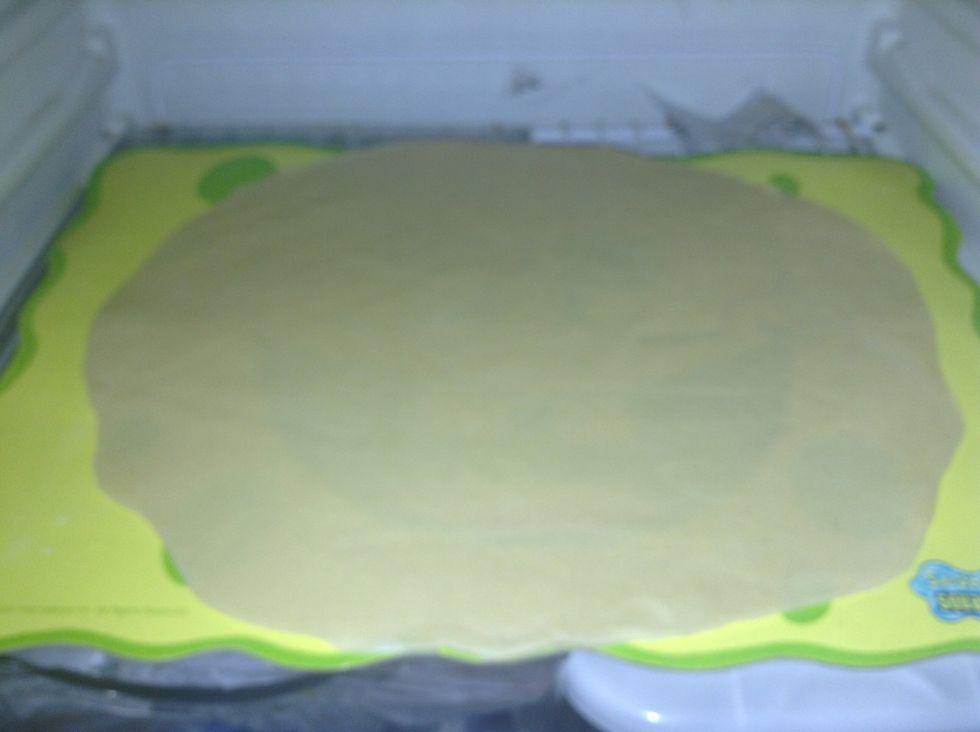
Once you roll the dough out to a size that can cover the mold, leave it in the refrigerator for 10 minutes to cool it down again.
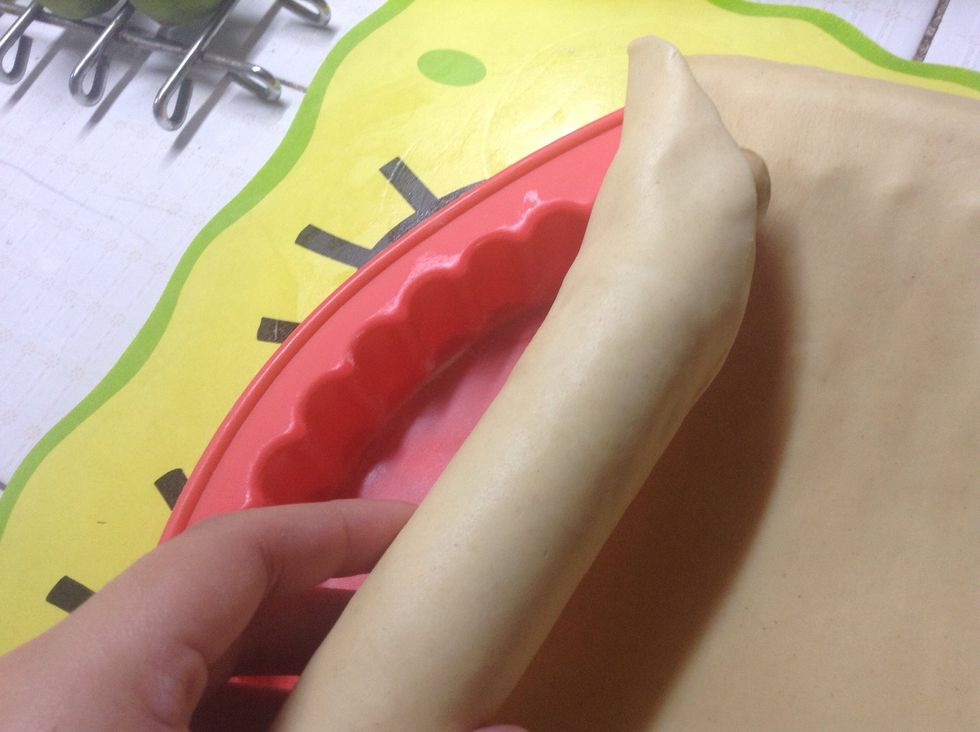
Once it is cold again, grab one side and place it in the roller pin and carefully start rolling it in. The idea is to take the dough from the mat to the mold without altering the shape it already has.
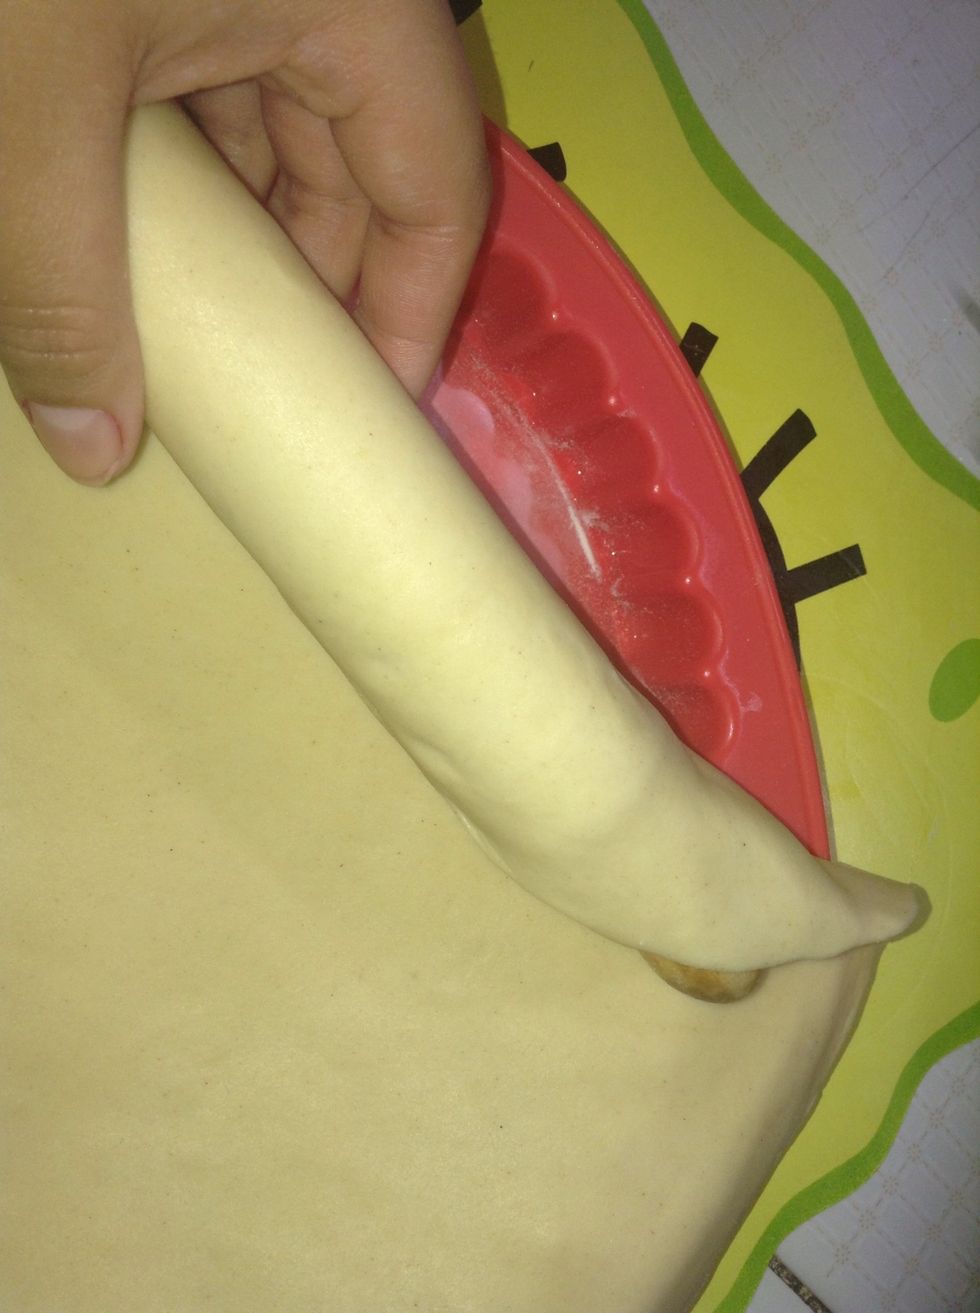
Starr placing the roller pin with the dough wrapped on any edge of the mold and start rolling till the dough is finally on top of the mold.
Make sure the bottom is covered with the dough
With the help of any finger gently press the dough against the mold.
Do this process in all the edges and bottom.
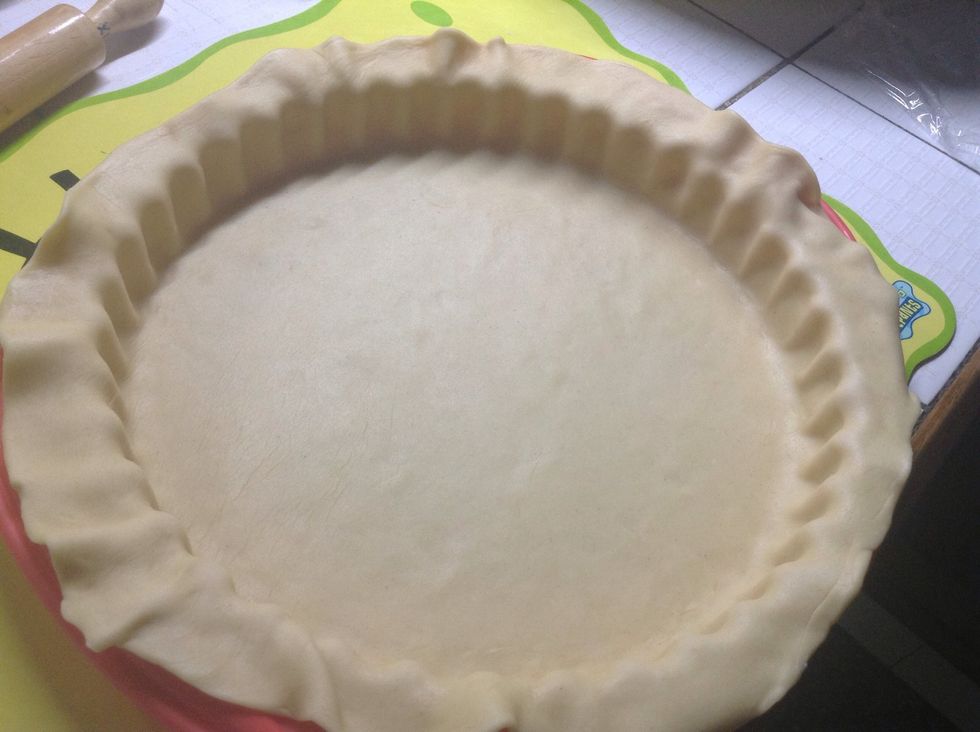
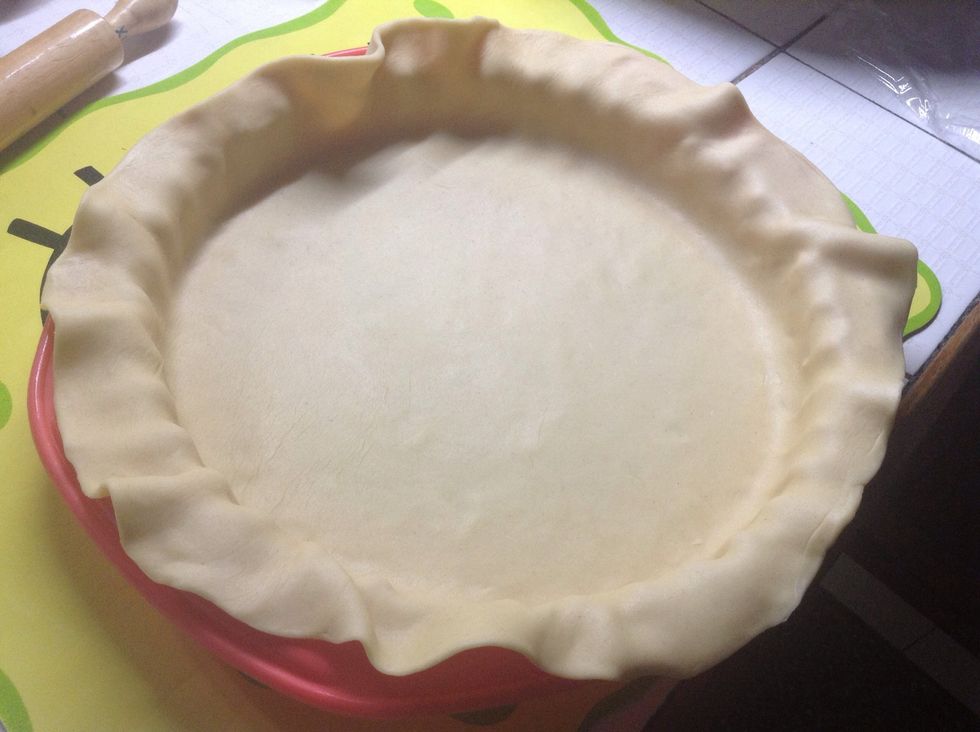
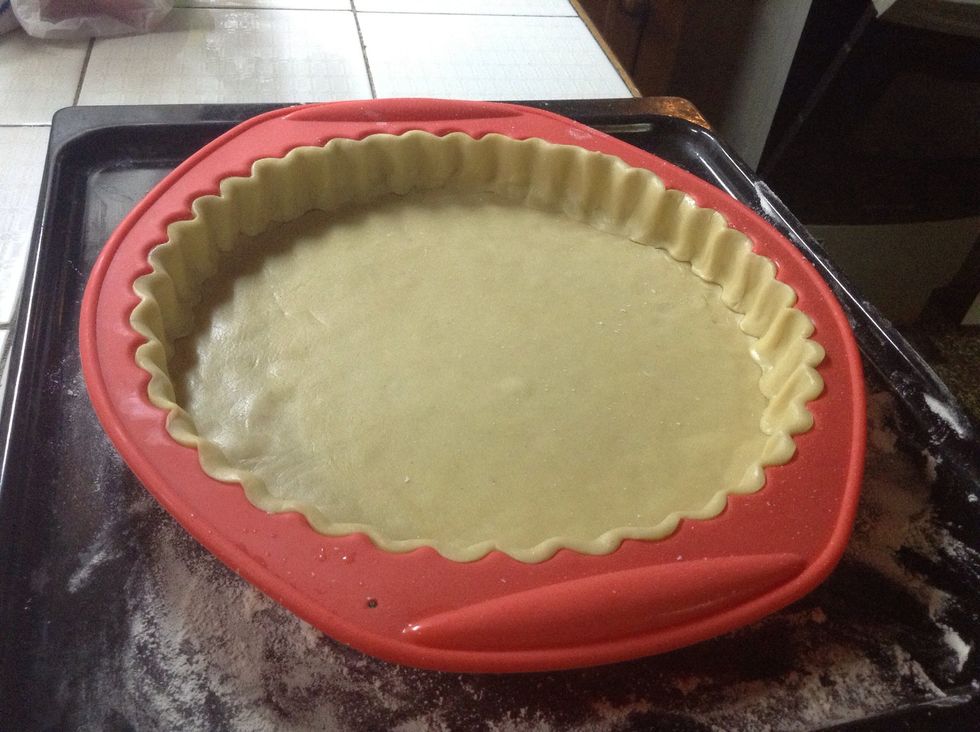
Once you are done, you will have something like this. You will have extra dough on all the sides. Some people like cutting it with the help of scissors. Personally i like doing two layers on the sides
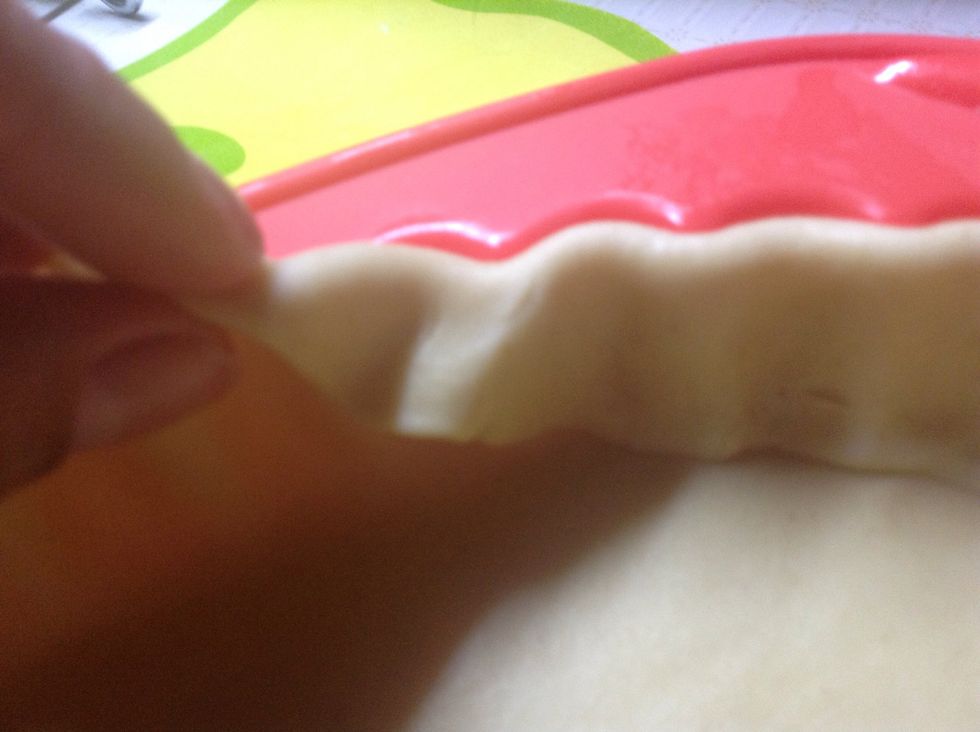
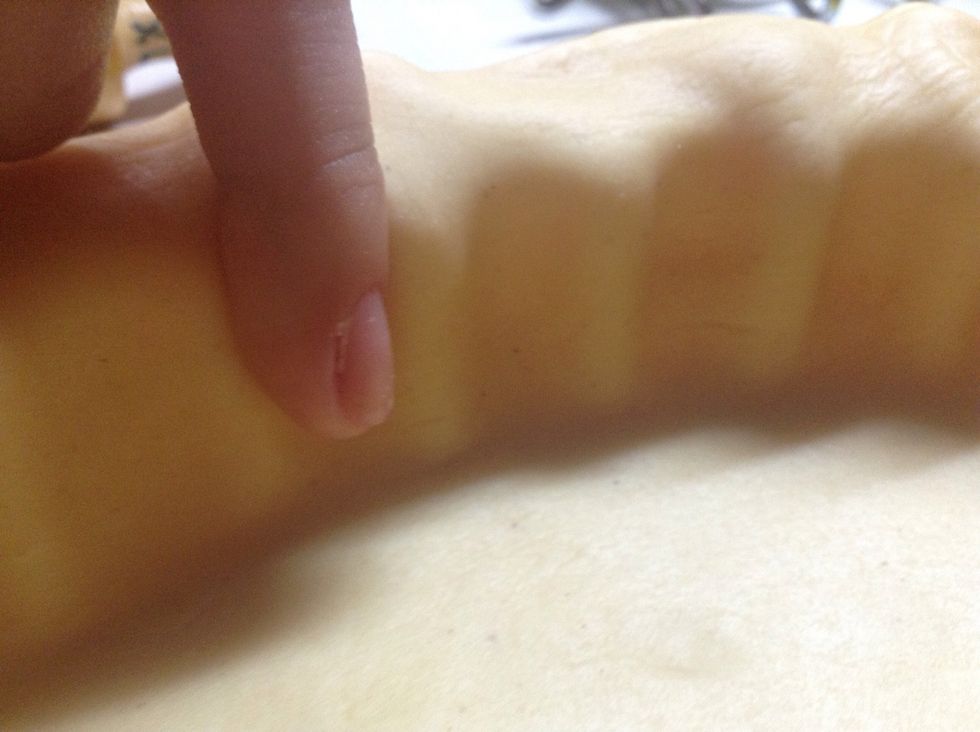
If you want to have to layers, to keep a stronger pie. Fold the dough like this.
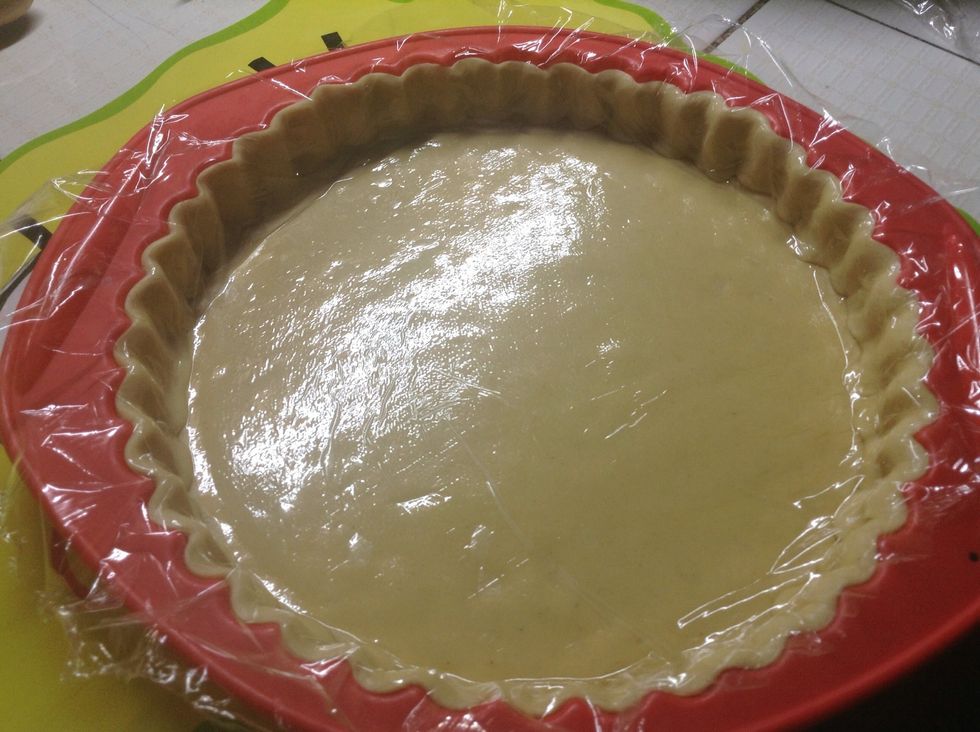
Once you finish, wrap the top with cling film and take the mold to the refrigerator for about 20 minutes.
Make sure you preheated the oven to 180 C / 365 F.
Once you take the wrap out, with the use of a brush paint the dough with egg whites and take it to the oven.
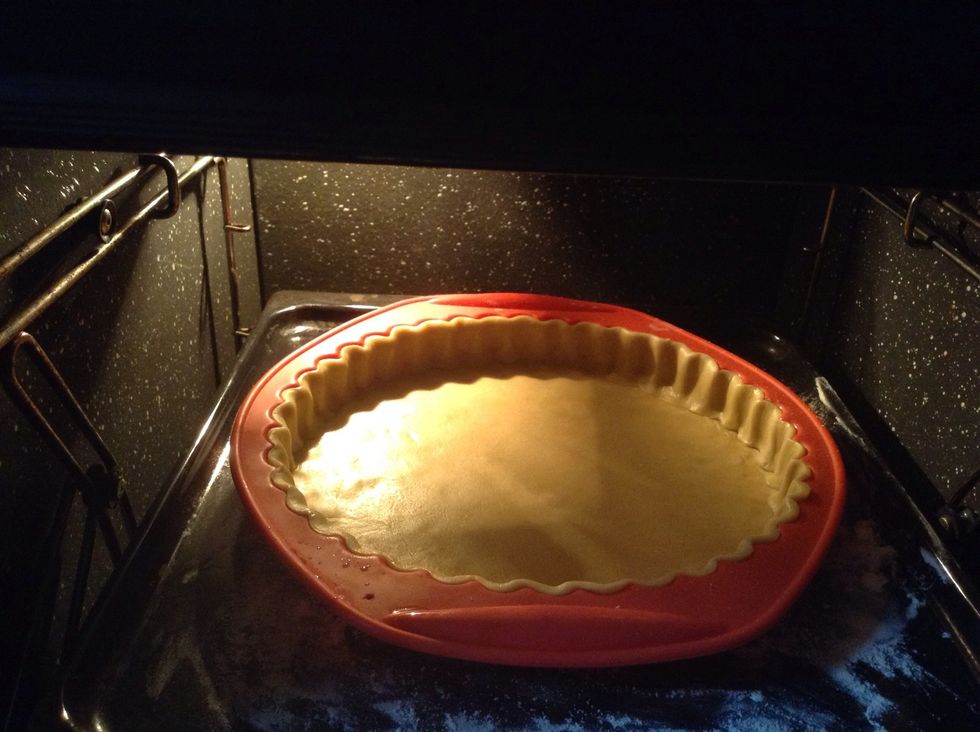
Leave it for 35-45 minutes.
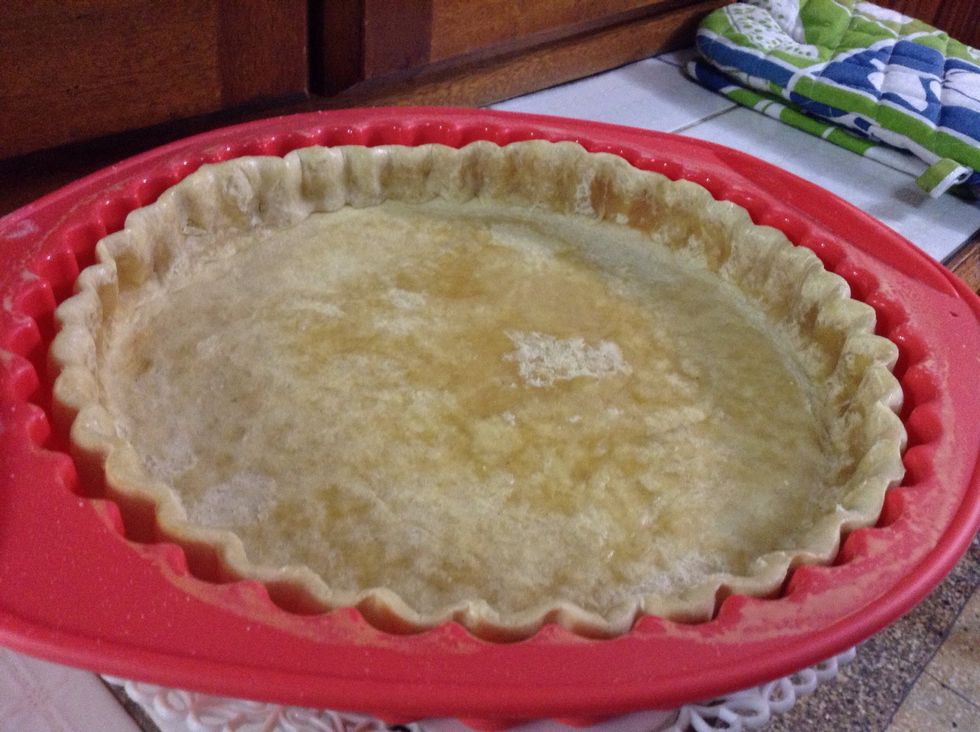
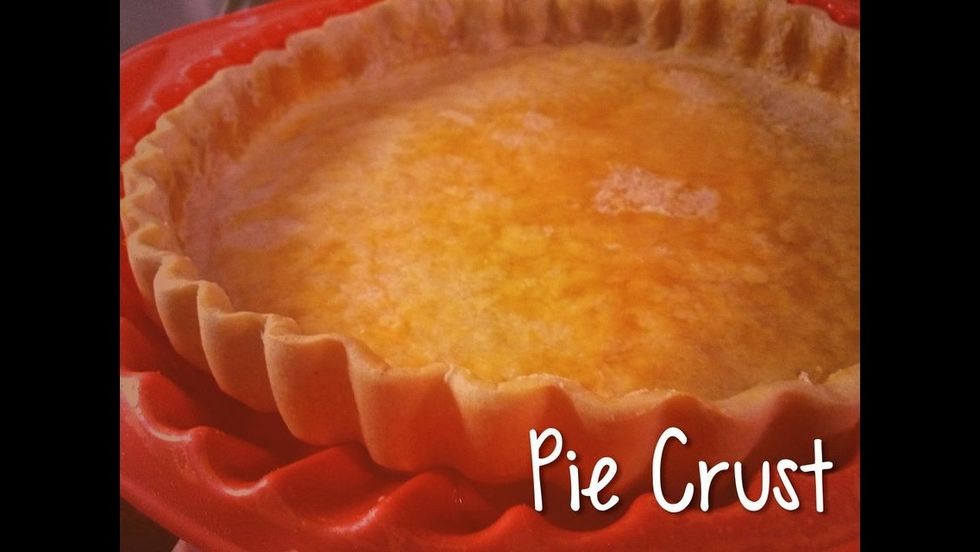
Once the crust is done, take it out of the oven but don't turn it off.
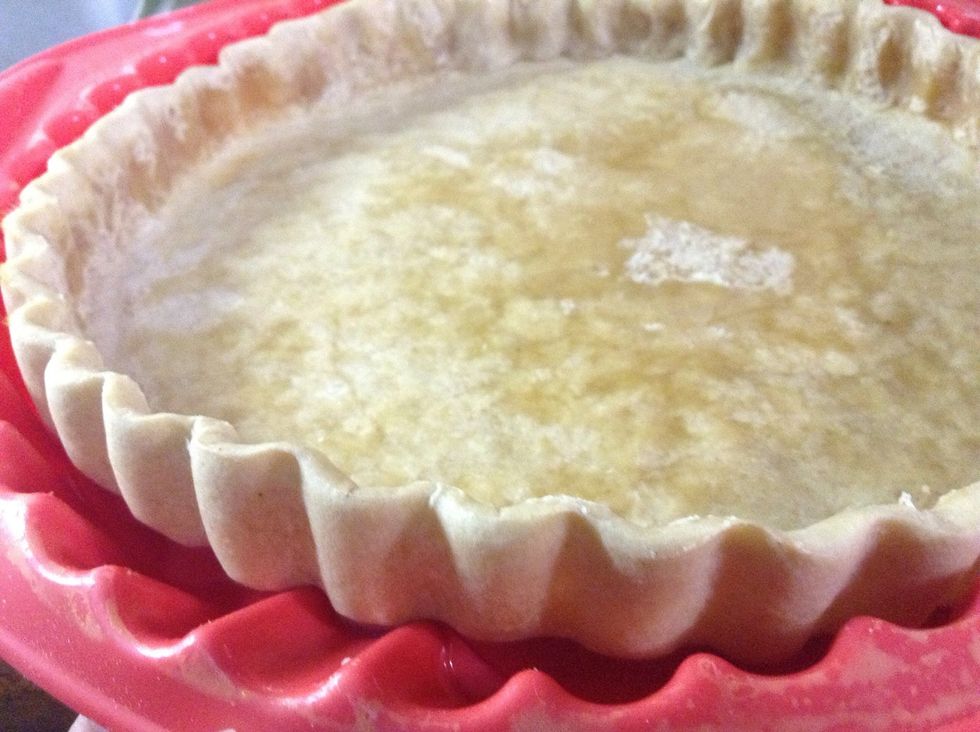
Make sure it is all good. If you want to have a golden crust, give one or two more layers but this time of egg yolk.
Depending on how much you leave it on the oven it will grab a more golden look, just remember to never leave the crust unattended since it can burn. Once it's ready, it's time to fill it!
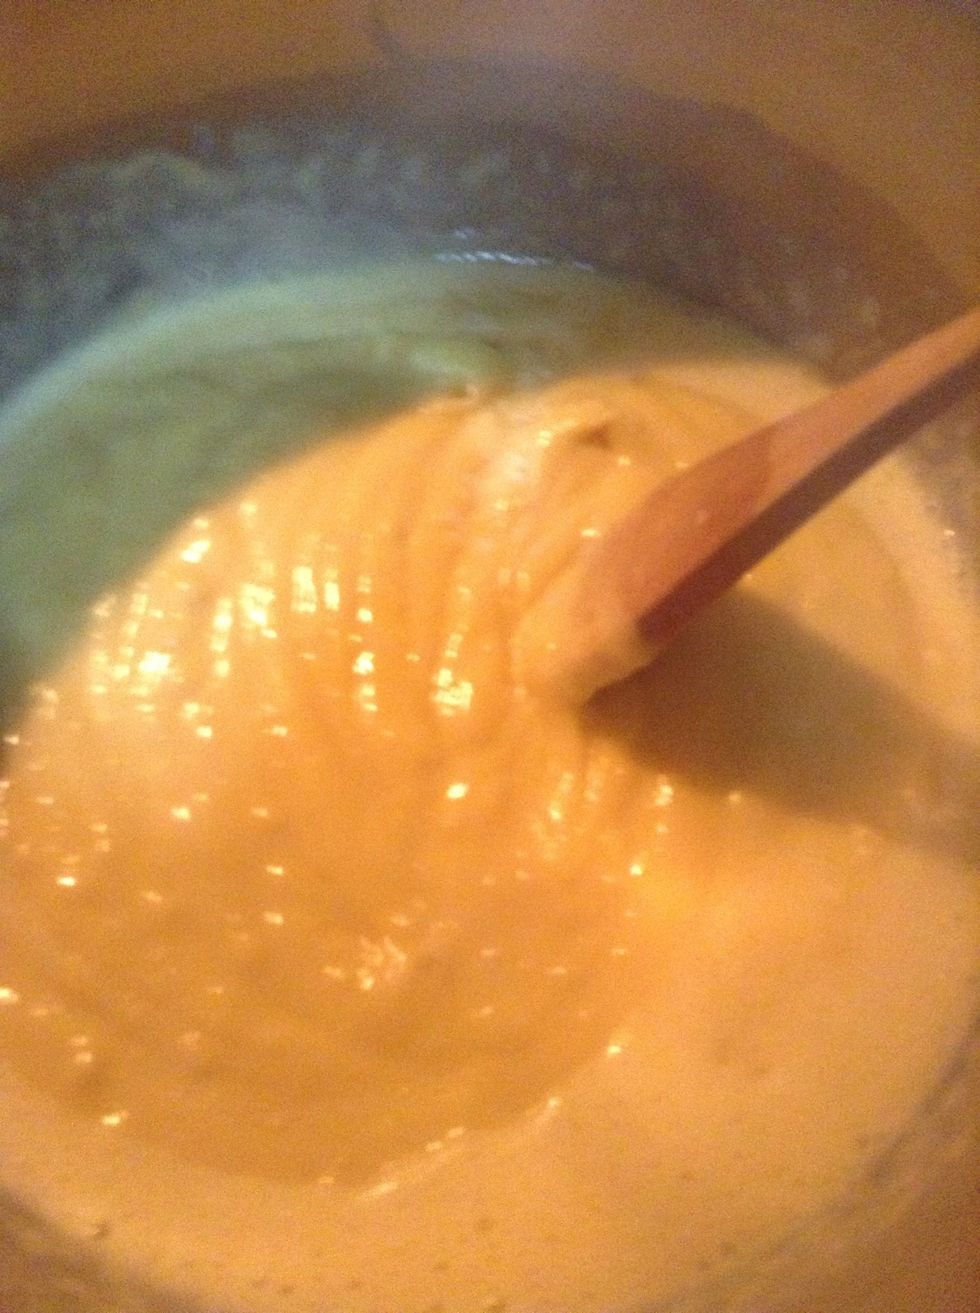
1.Boil the milk and the vanilla extract in a pan 2.In a bowl, add the egg yolks, sugar and corn flour and mix it with the help of a electric mixer 3.Pour the milk into the bowl and continue mixing.
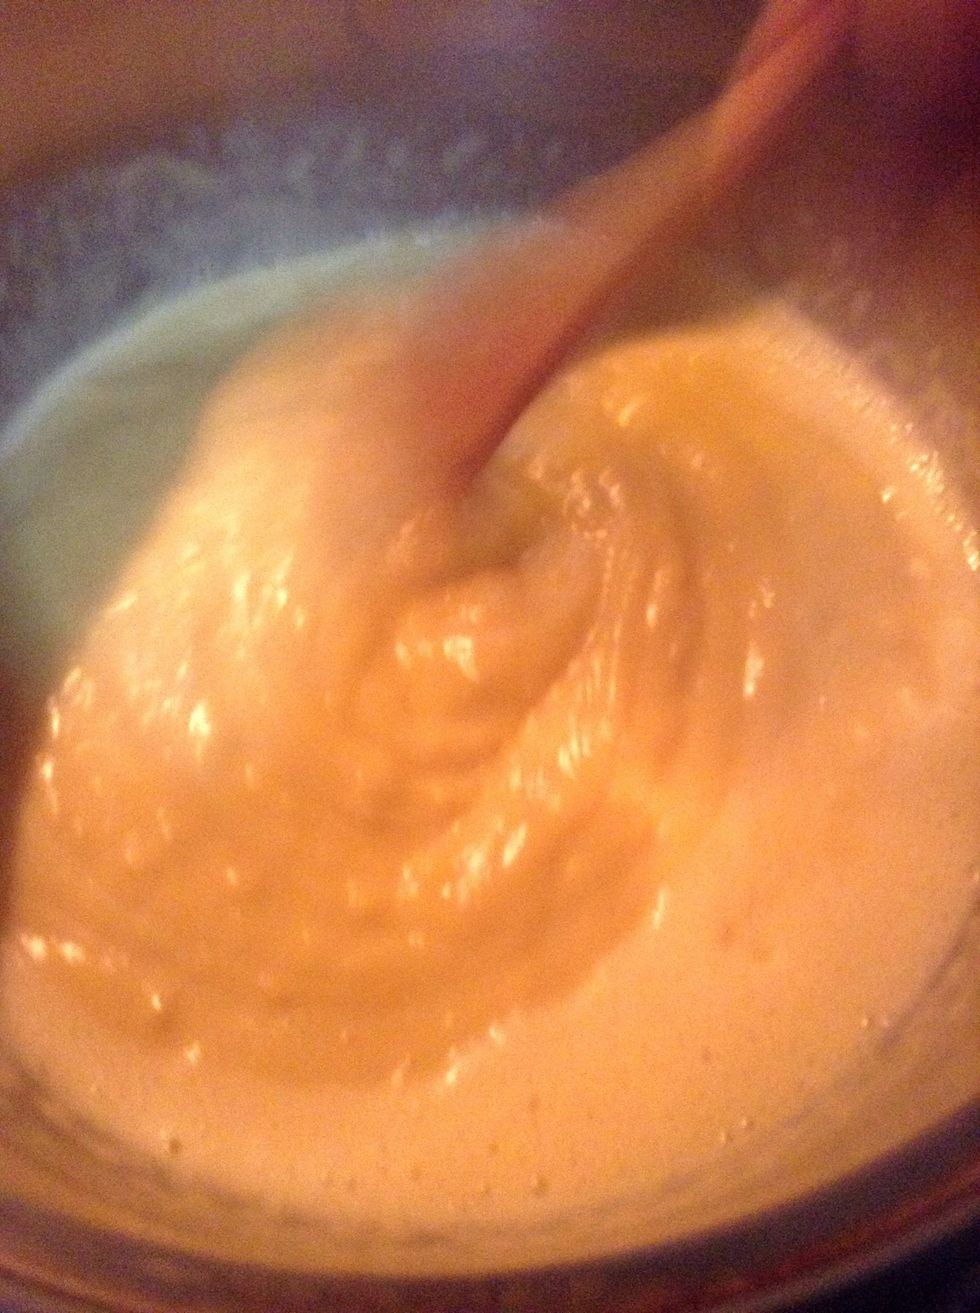
4. Take the mix into the pan on low heat. Stir with a spoon constantly to avoid burning or lumping.
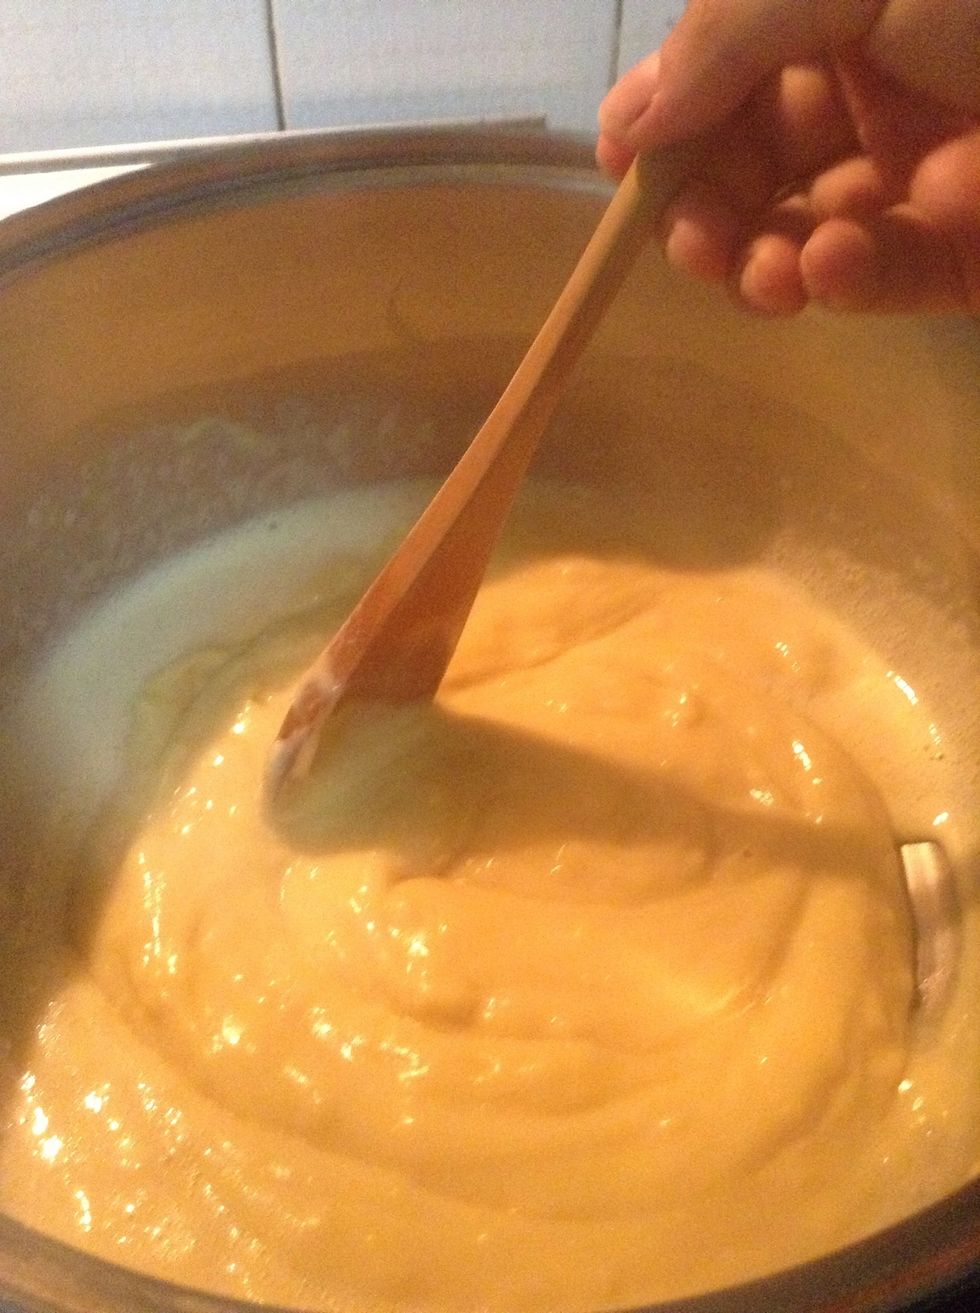
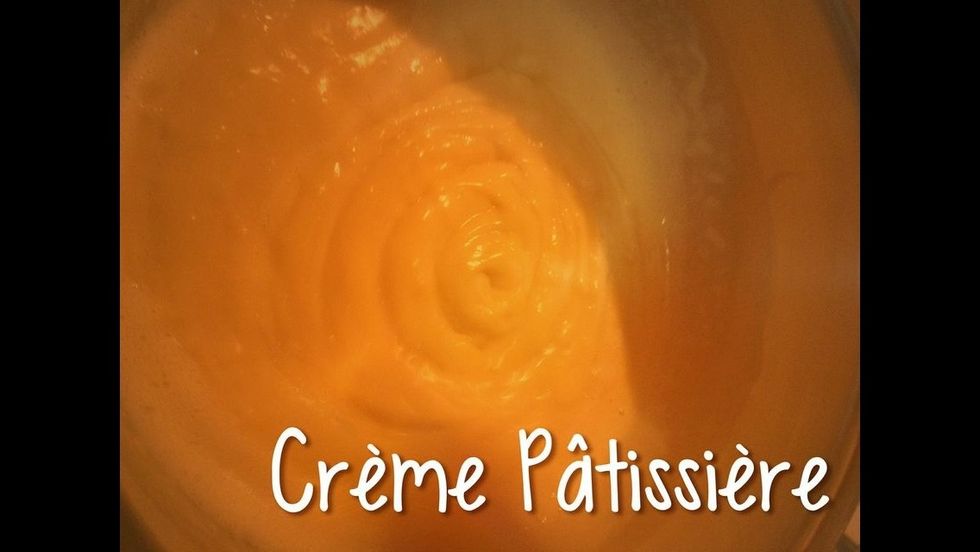
Once the mixture thickens, remove from heat
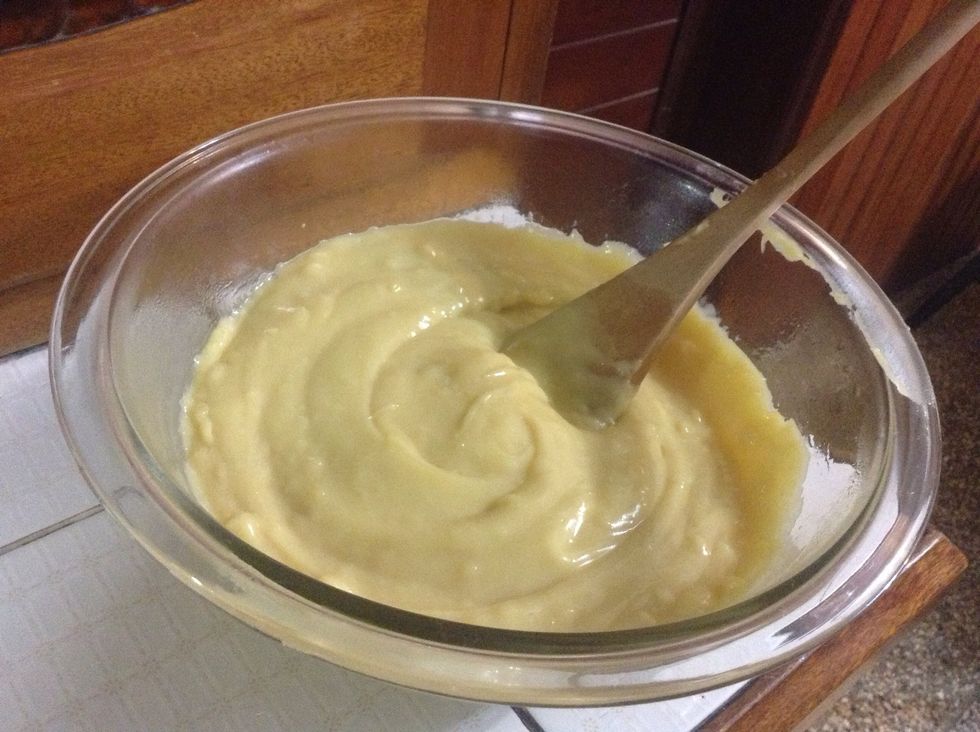
Pour it in a bowl and stir it
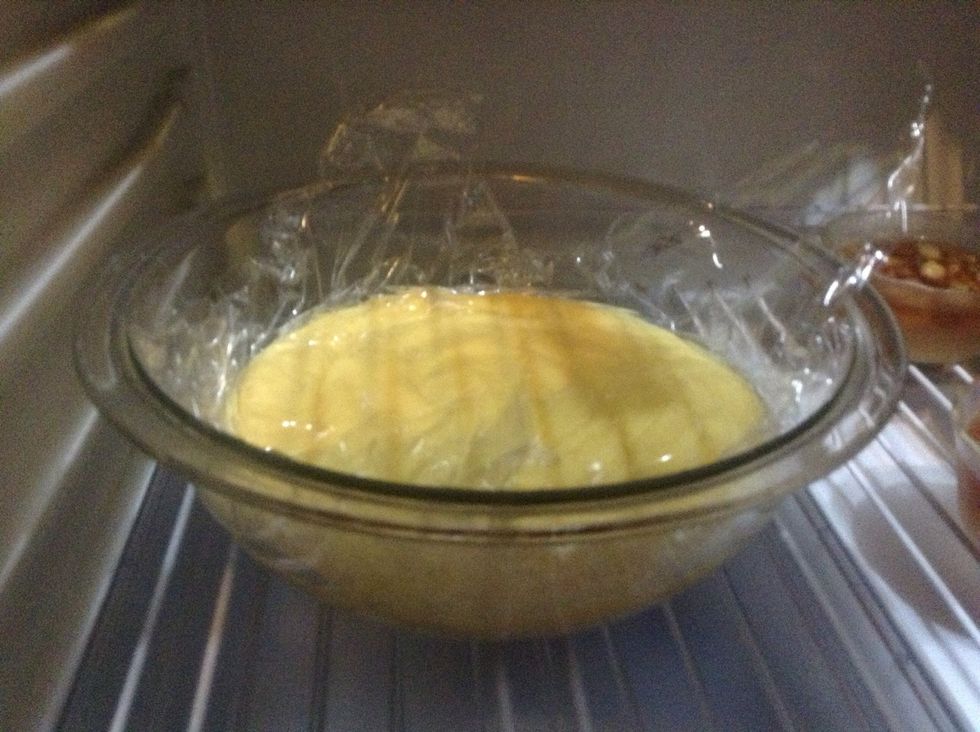
Wrap the top with cling film and take it to the refrigerator to cool down.
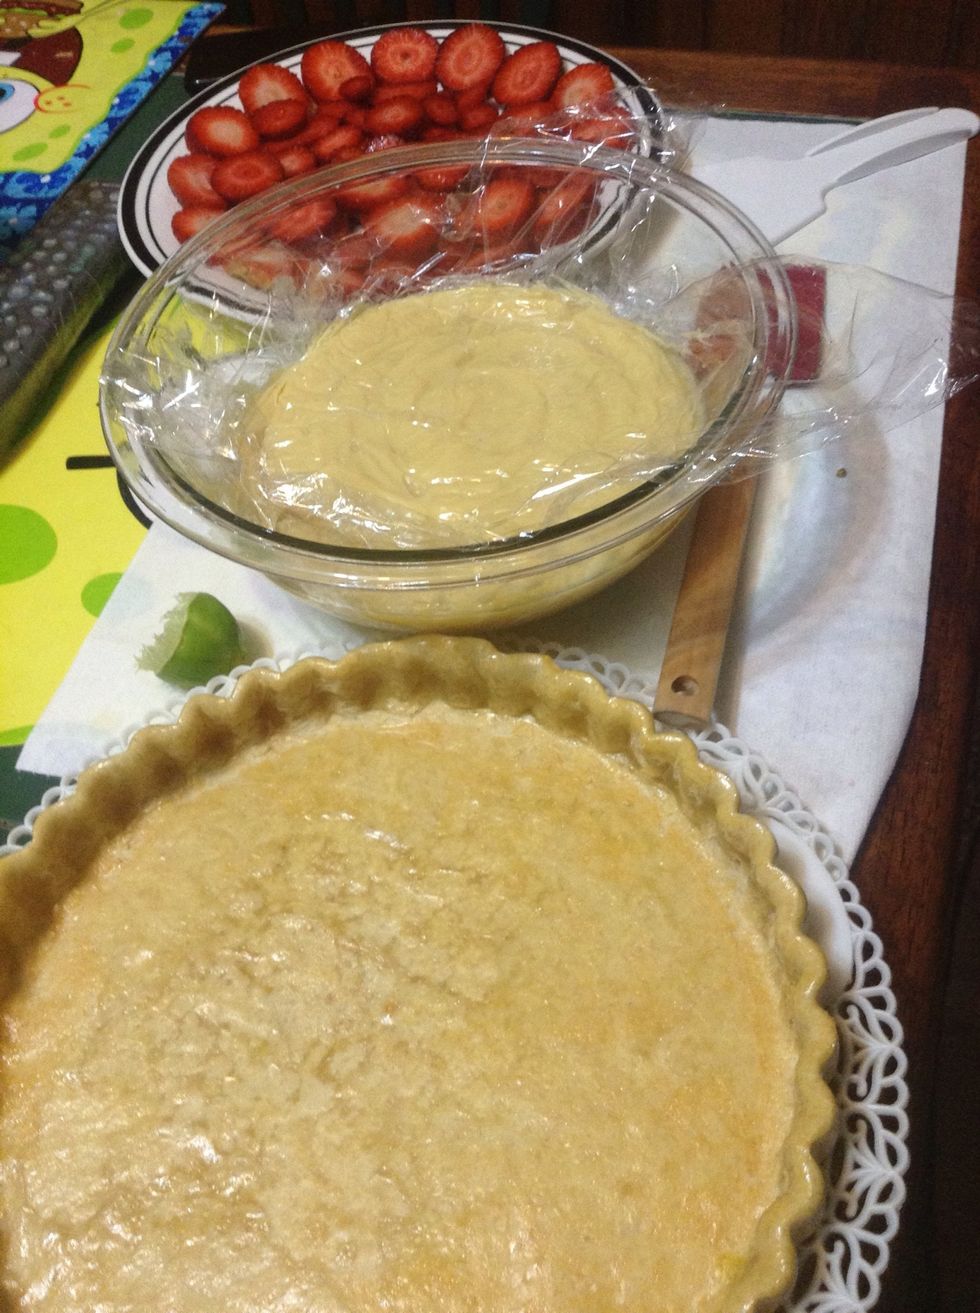
Once both the crust and the creme patissiere are cold, it's time to fill the crust!

Take the cling film off
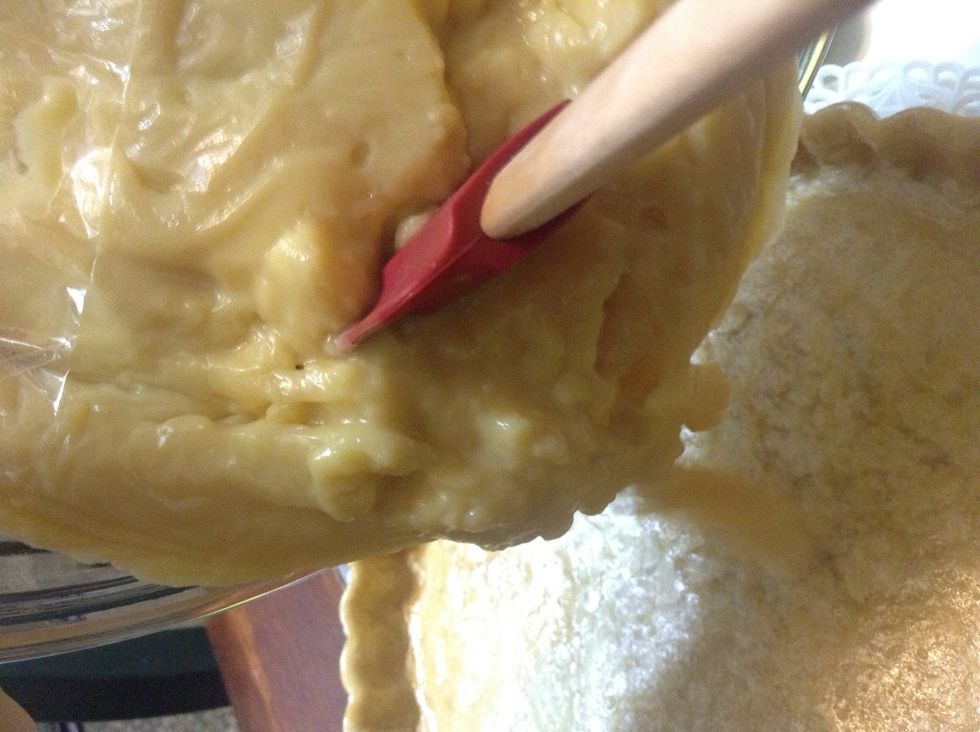
Pour it with the help if a spatula
Make sure the creme goes to every corner and crevice of the crust.
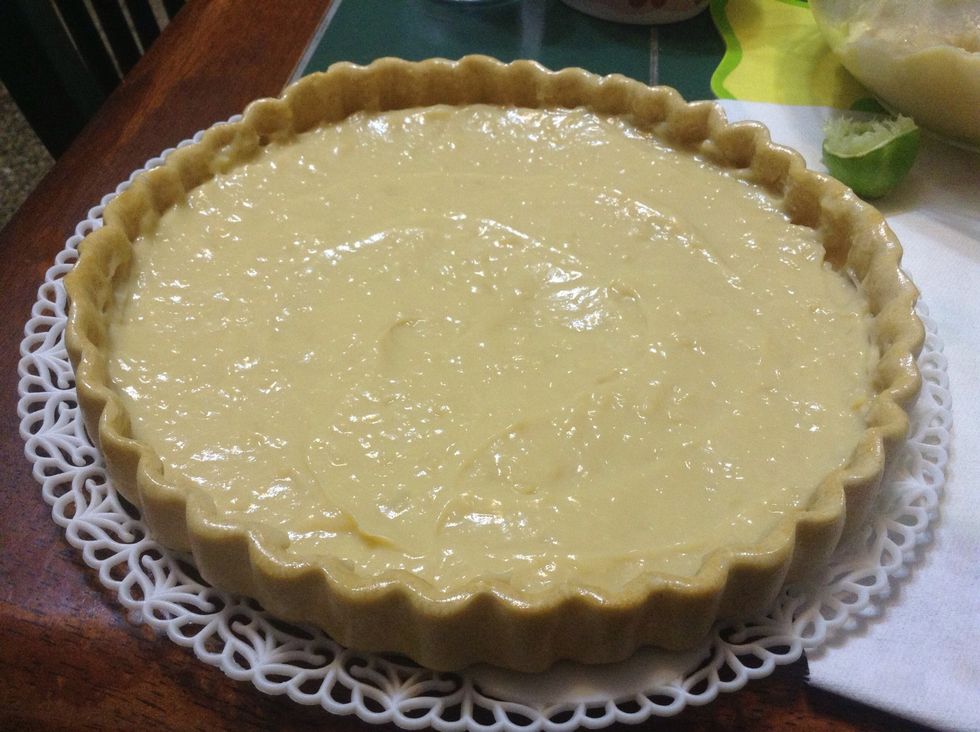
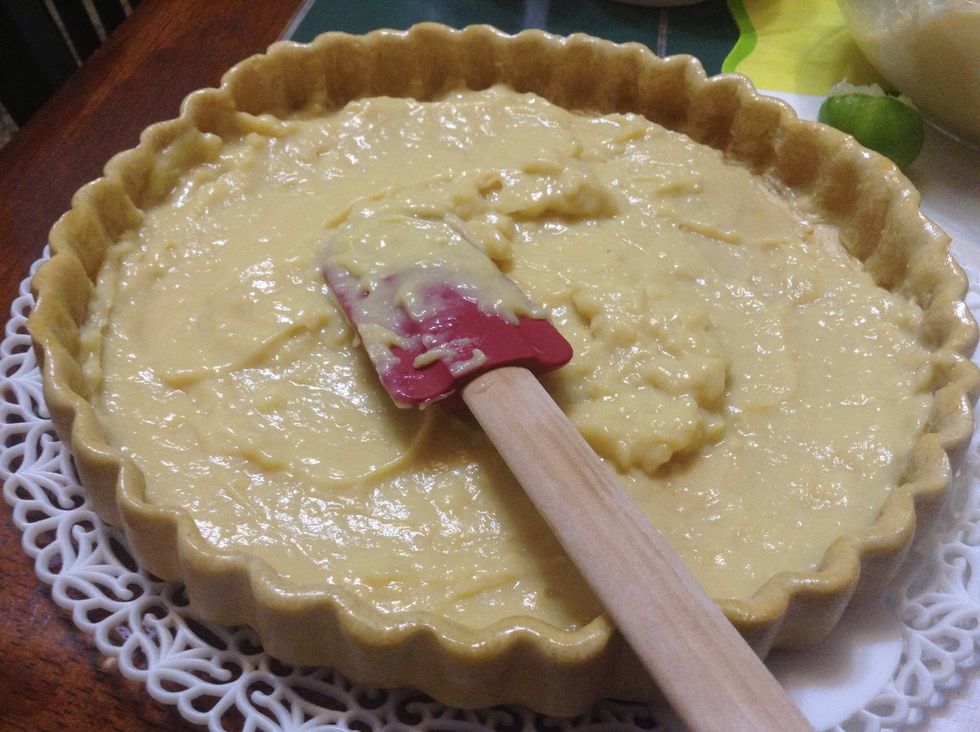
Flatten the creme with the spatula
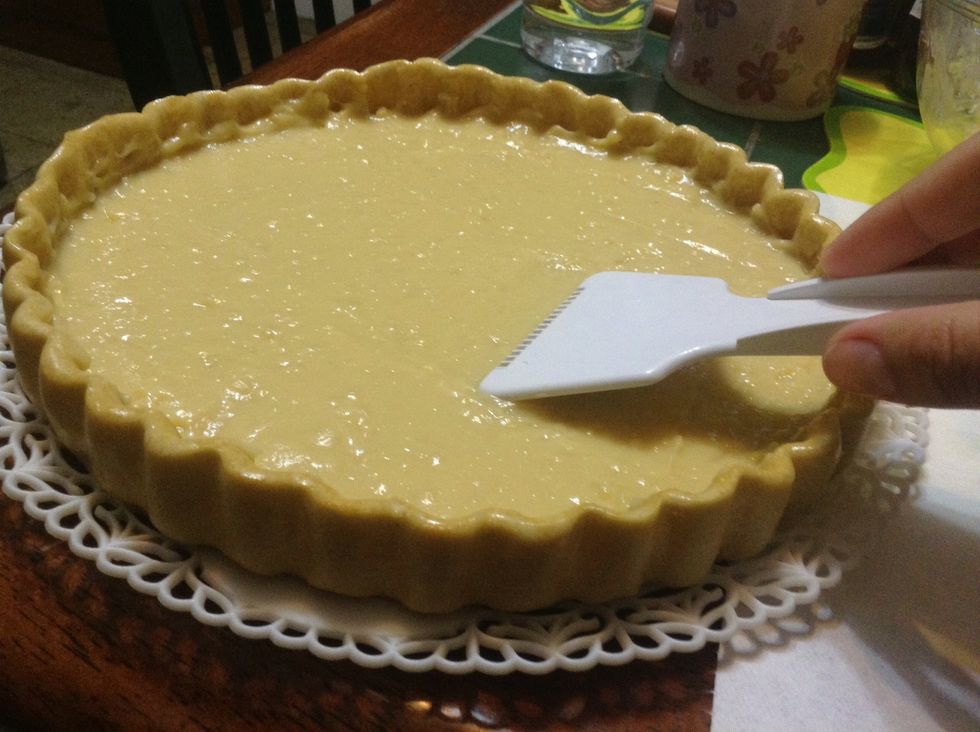
Or any other tool
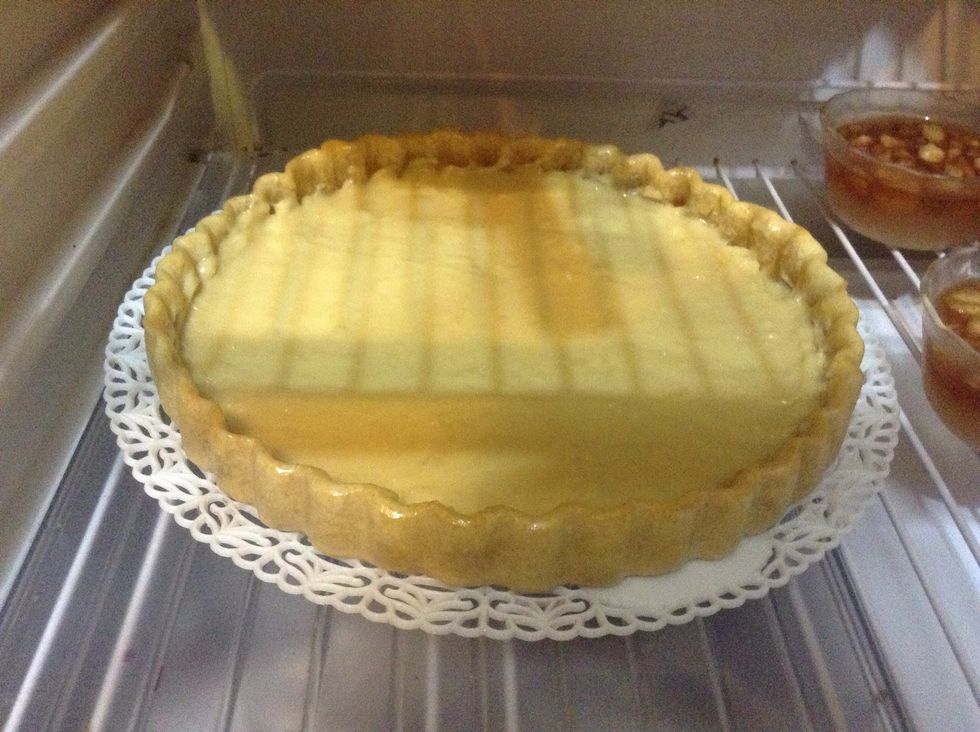
Leave it in the refrigerator while you prepare the fruit filling.
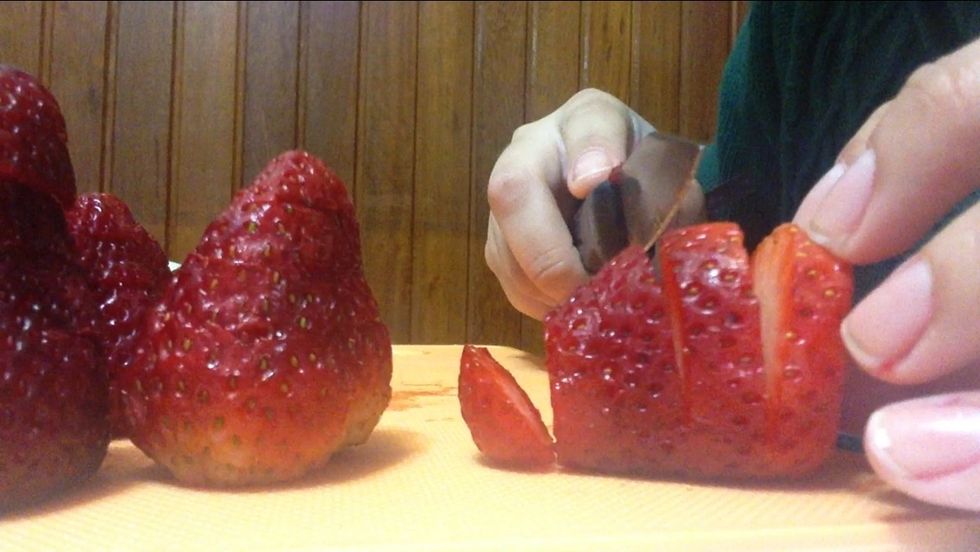
Cut the strawberries according to the shape and kind of decoration you want. It can be in long slices or round ones.
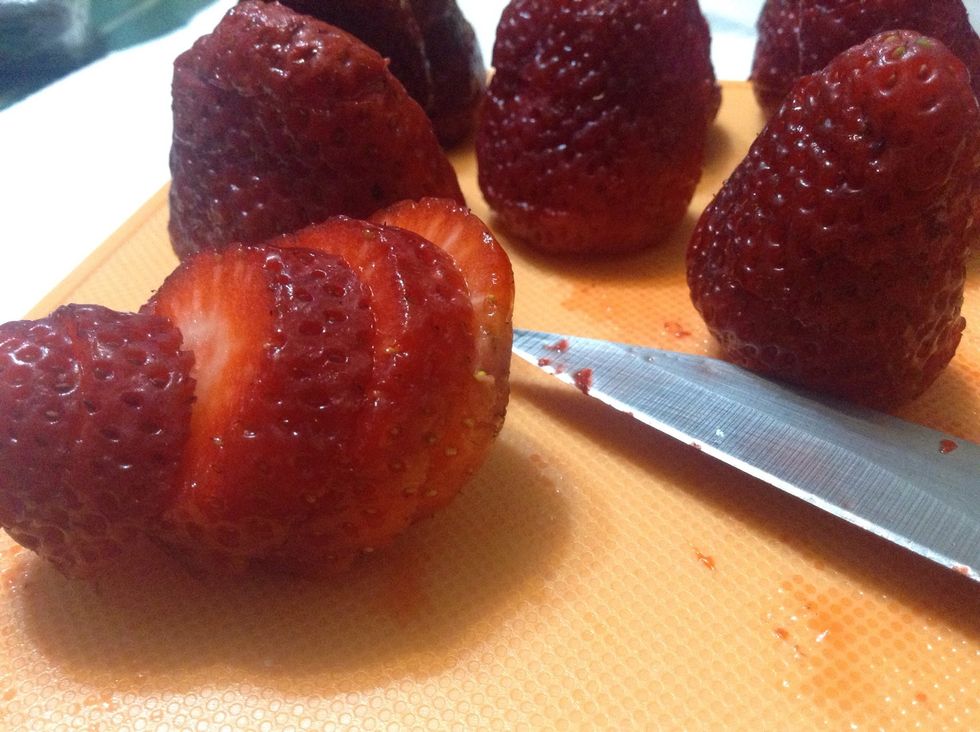
Make sure you have enough fruit to cover the top of the pie.
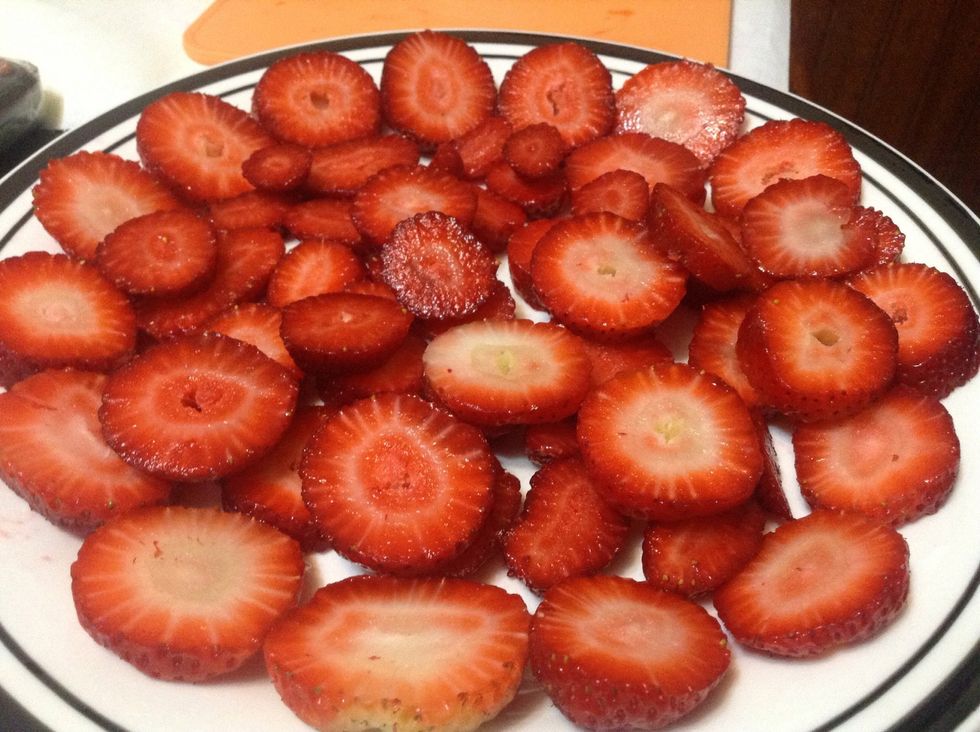
Put every slice in a large plate this way
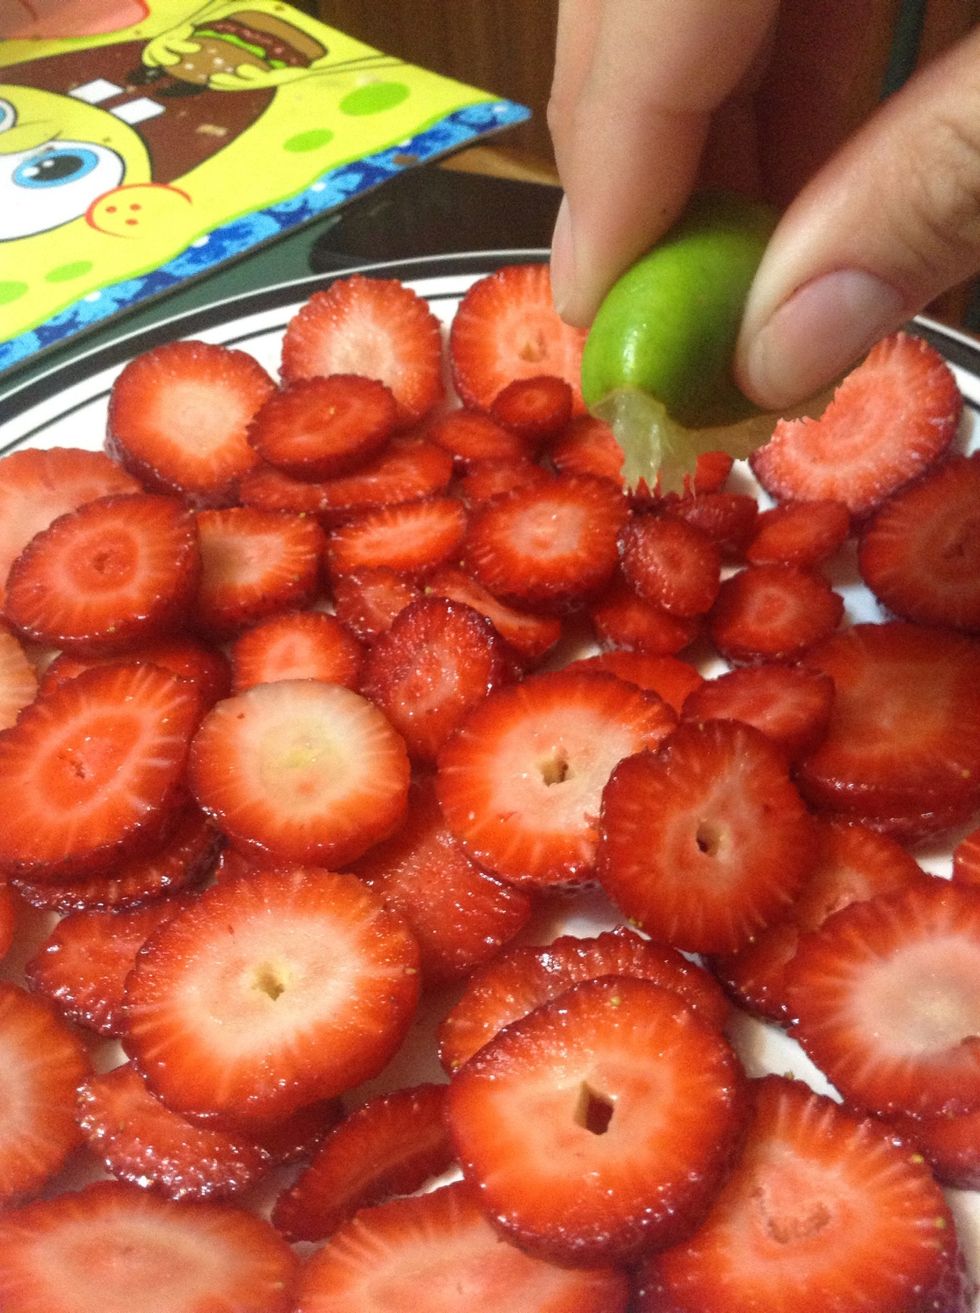
And pour lemon juice over the strawberry slices. This will give the fruit a little extra acid taste that will contrast perfectly with the sweetness of the rest of the pie.
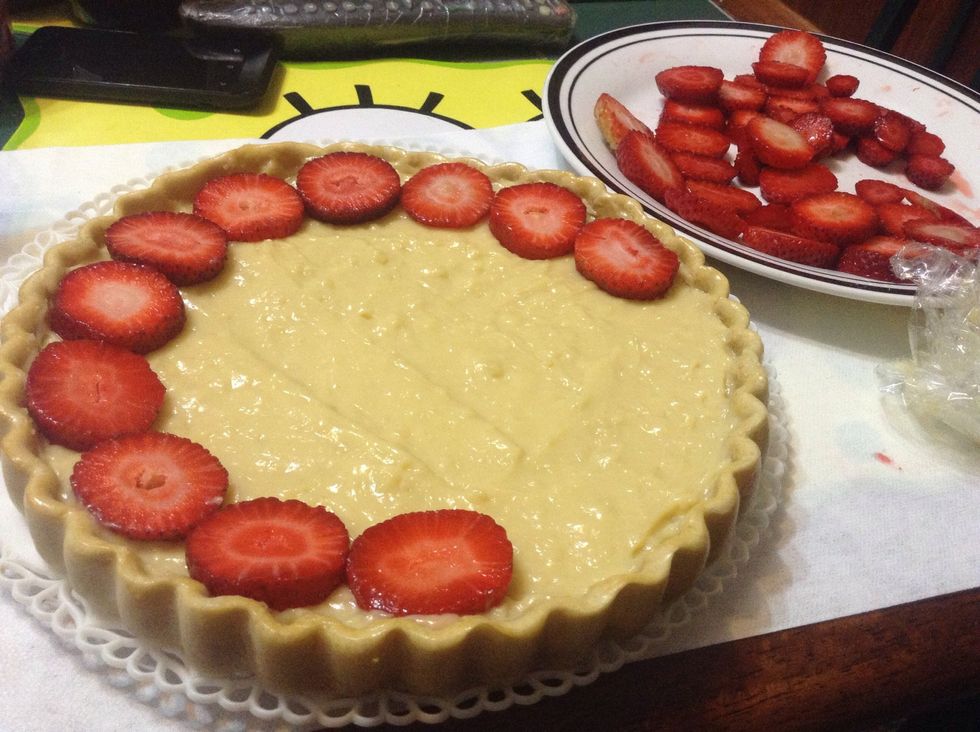
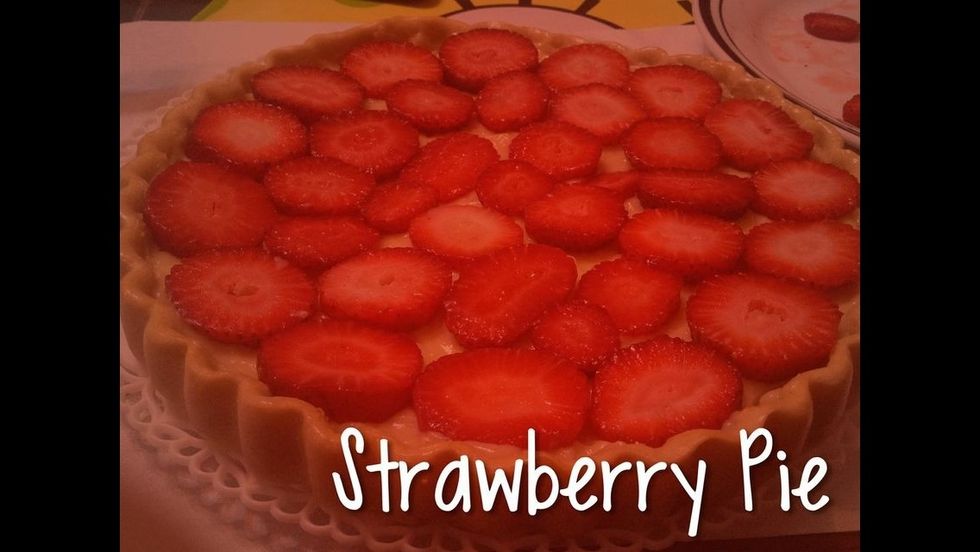
Once the slices soaked in lemon juice are ready, start to decorate the pie the way you want.
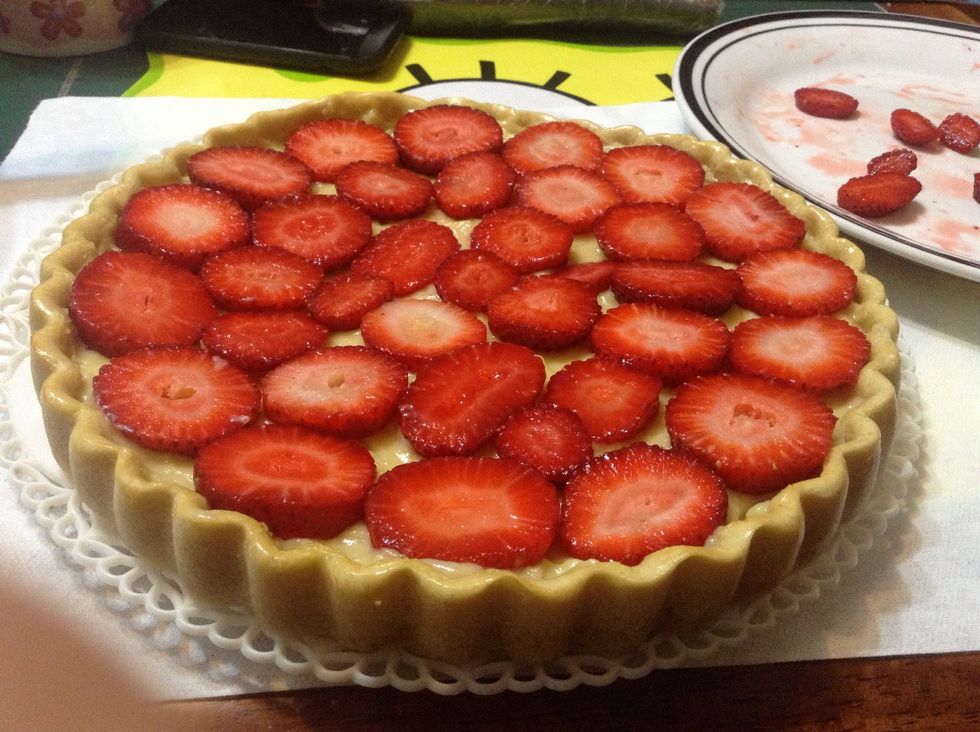
There is no actual wrong way to decorate, so be creative!
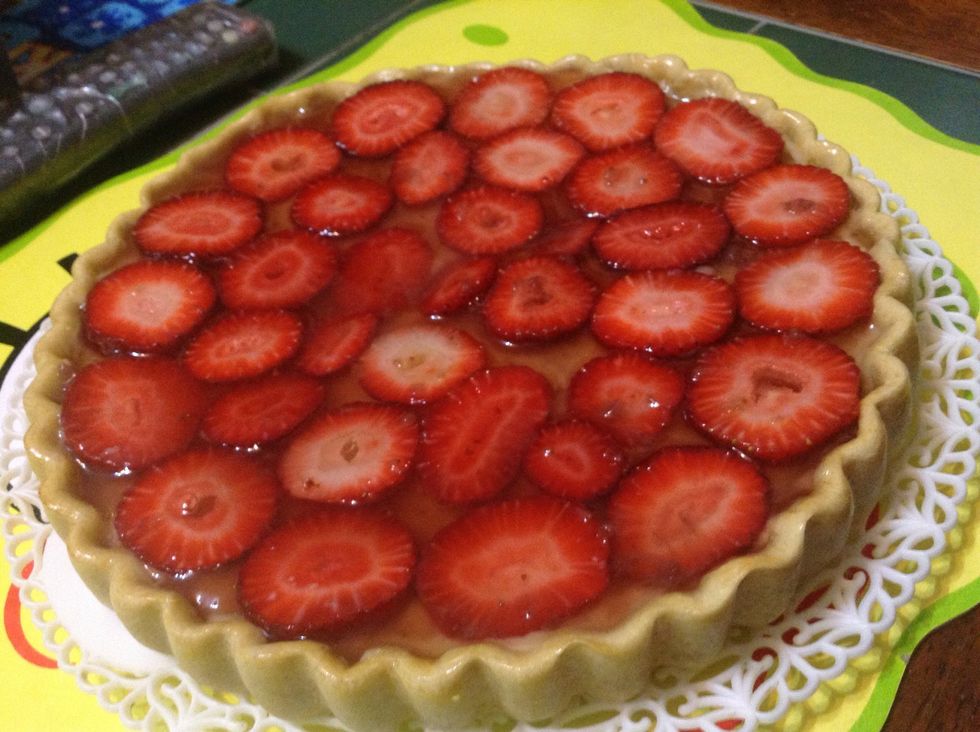
You can add a layer of strawberry jam to make it look even better. A tip: grab 1/4 of water add 2-3 table spoons of jam and heat it in the microwave. Then add isinglass and stir. Cover the top.
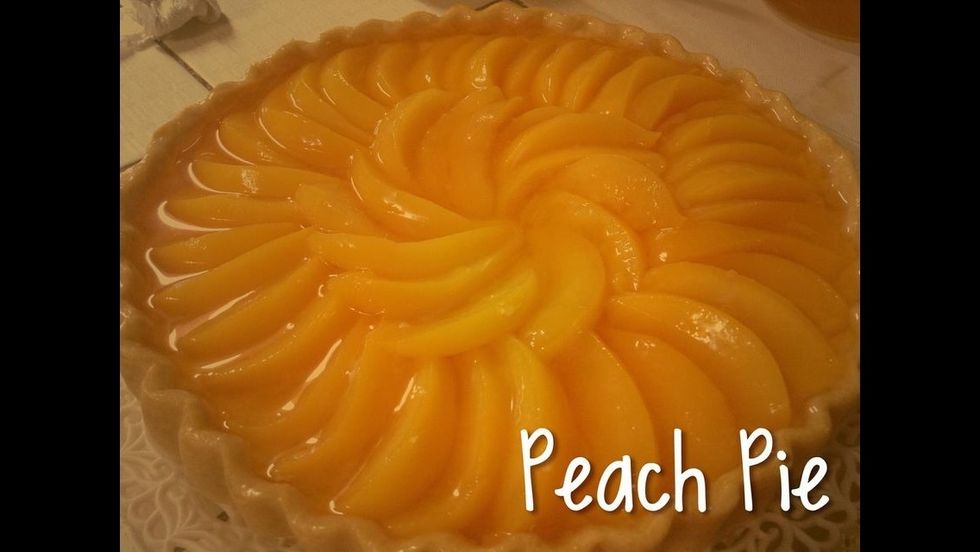
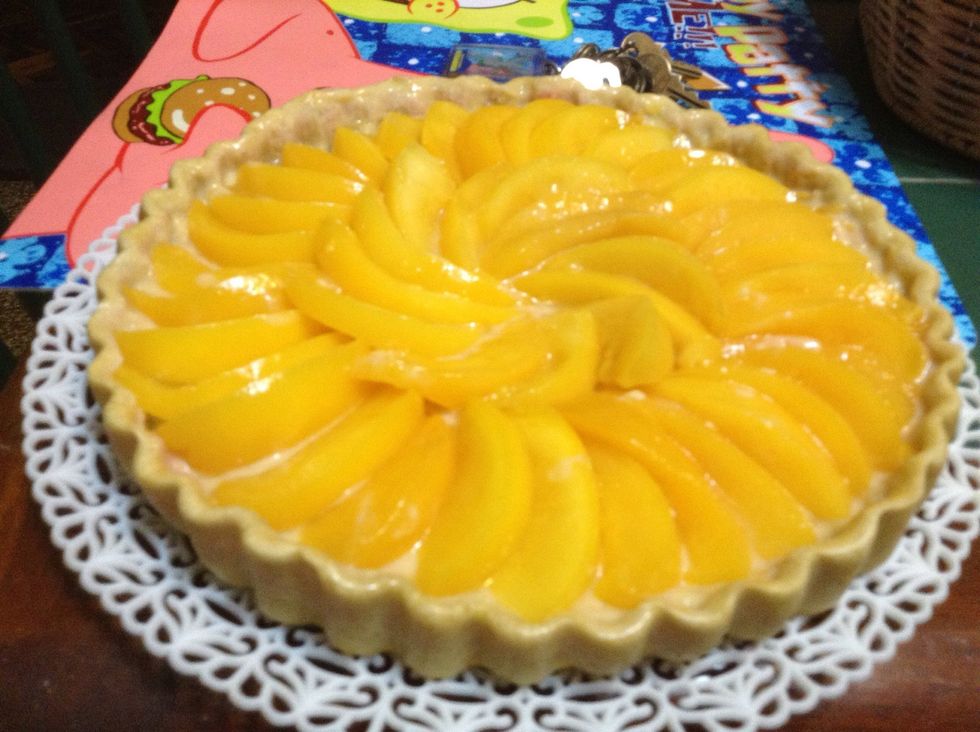
Same process goes to the peach pie, decorate it however you want it with peach slices.
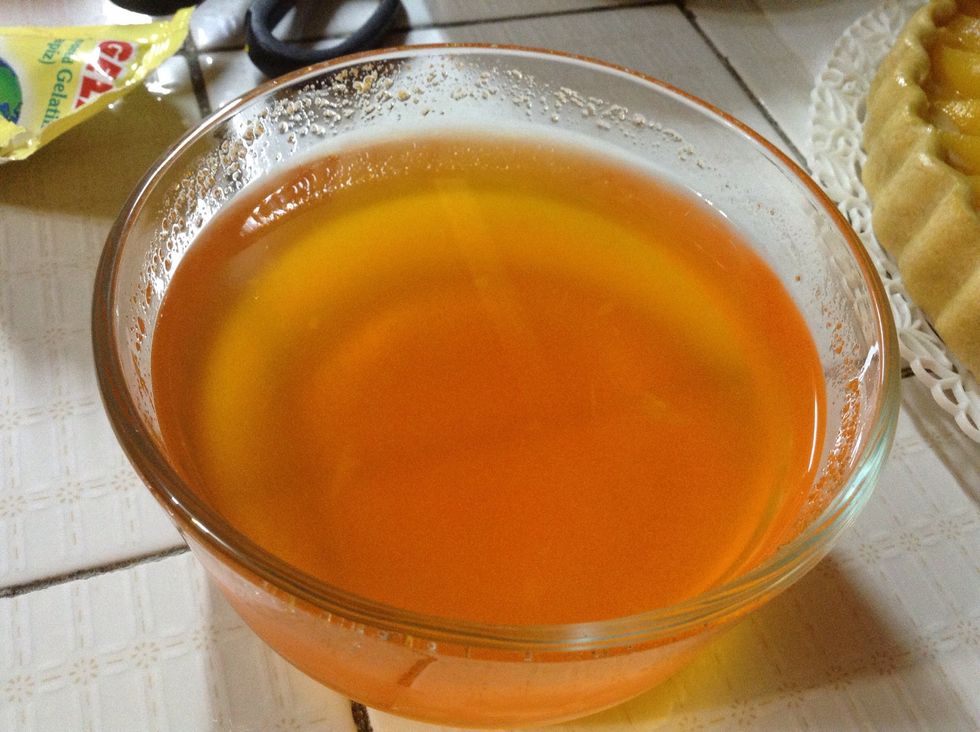
Just like with the strawberry pie, grab 1/4 glass of water, 2-3 peach jam and stir it
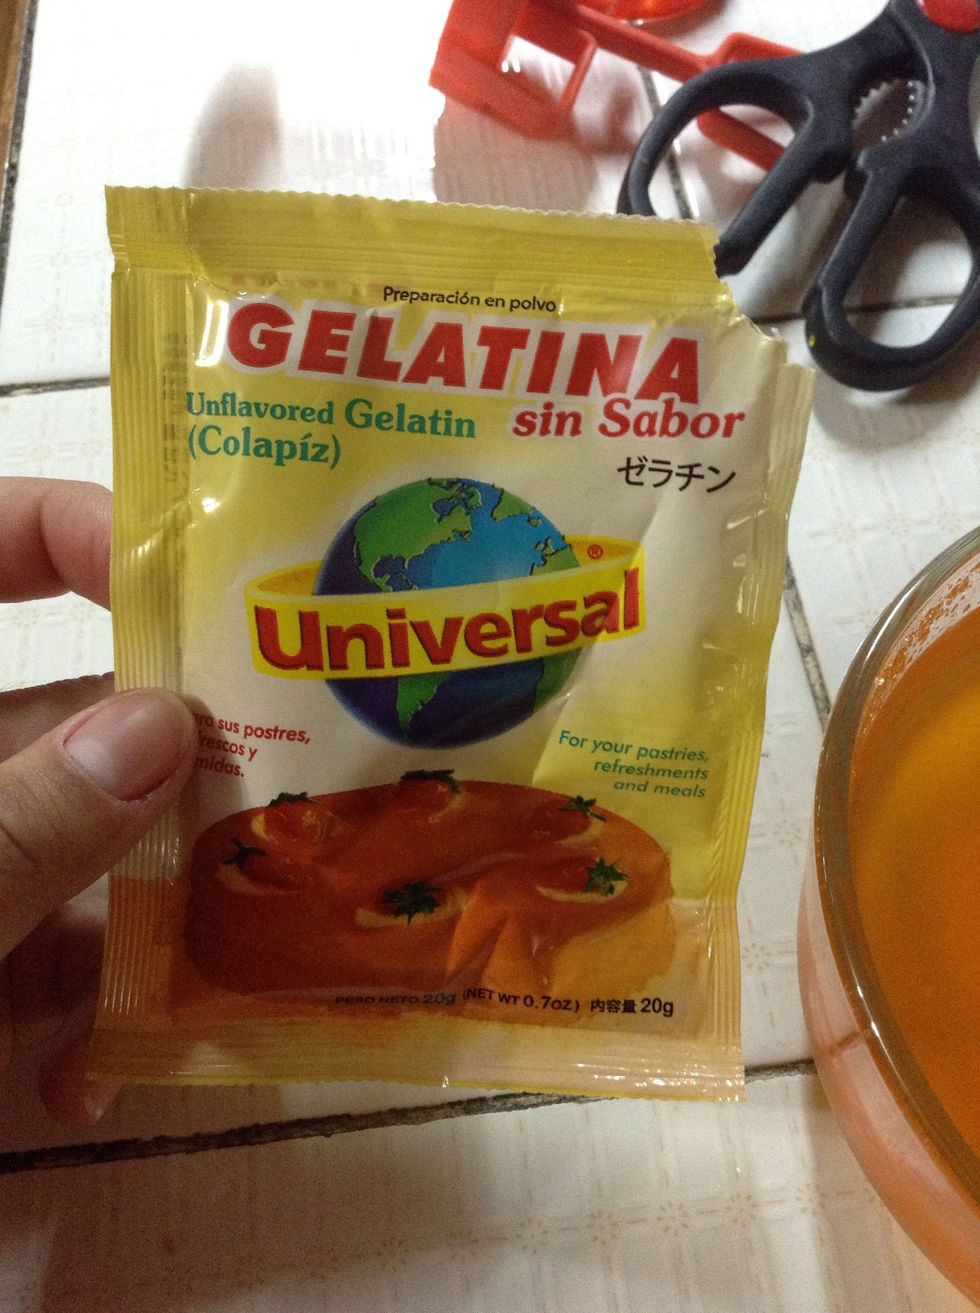
Add isinglass to the mix and heat it
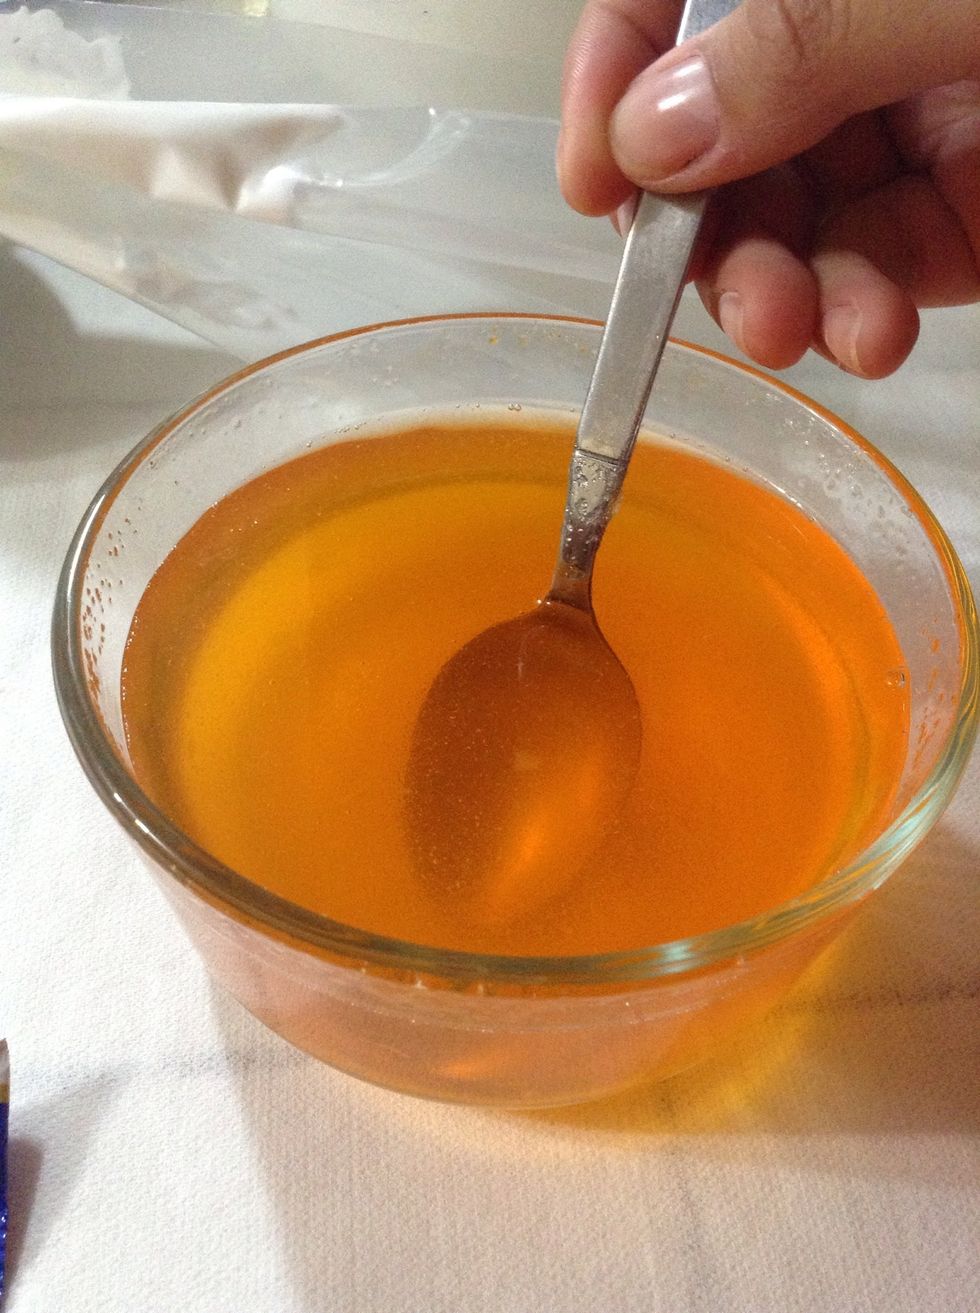
Stir the mix making sure there are not lumpsb
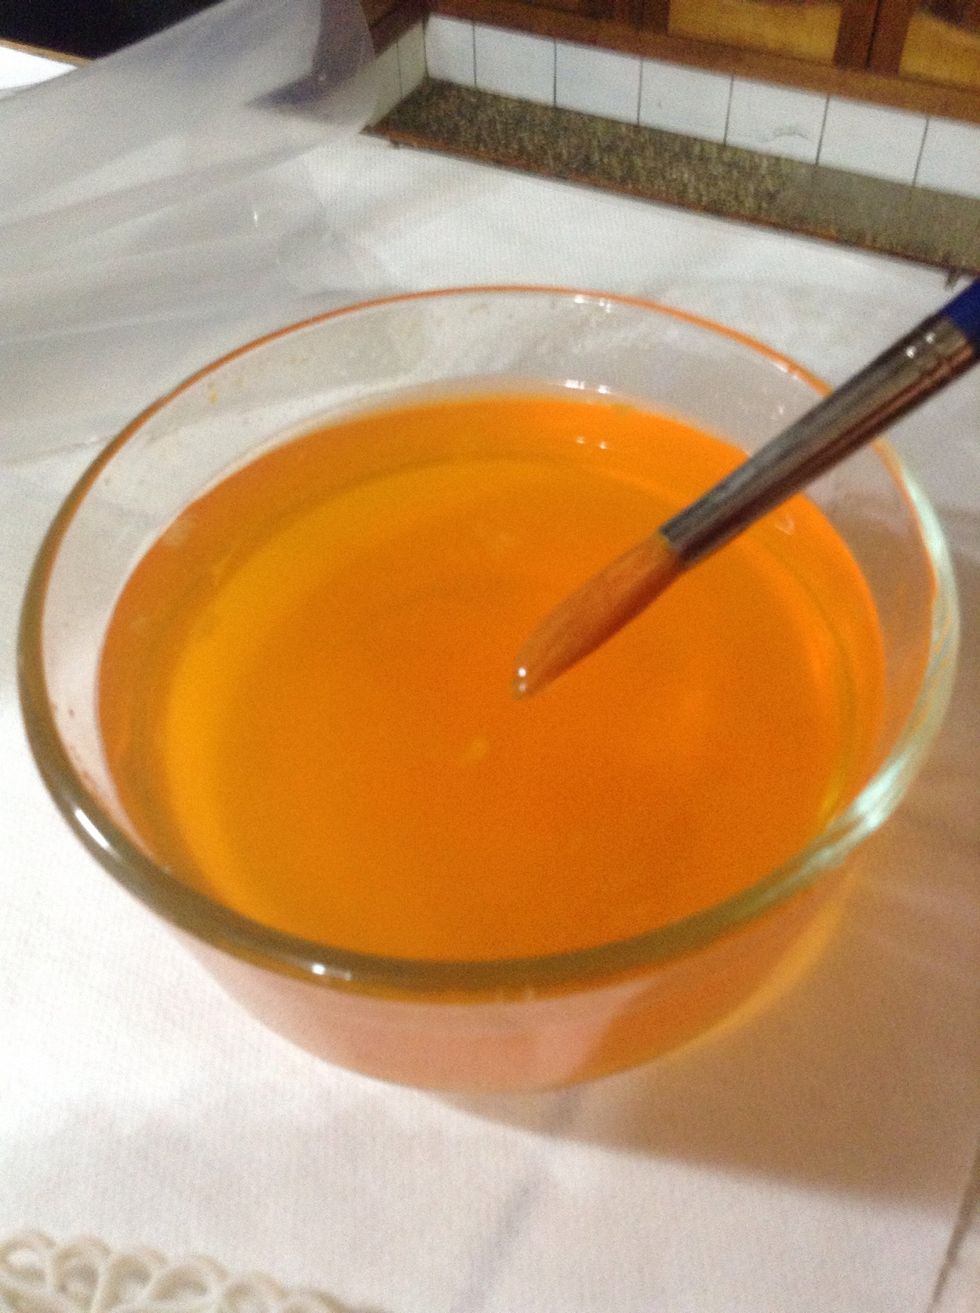
Grab a brush and soak it in the mix
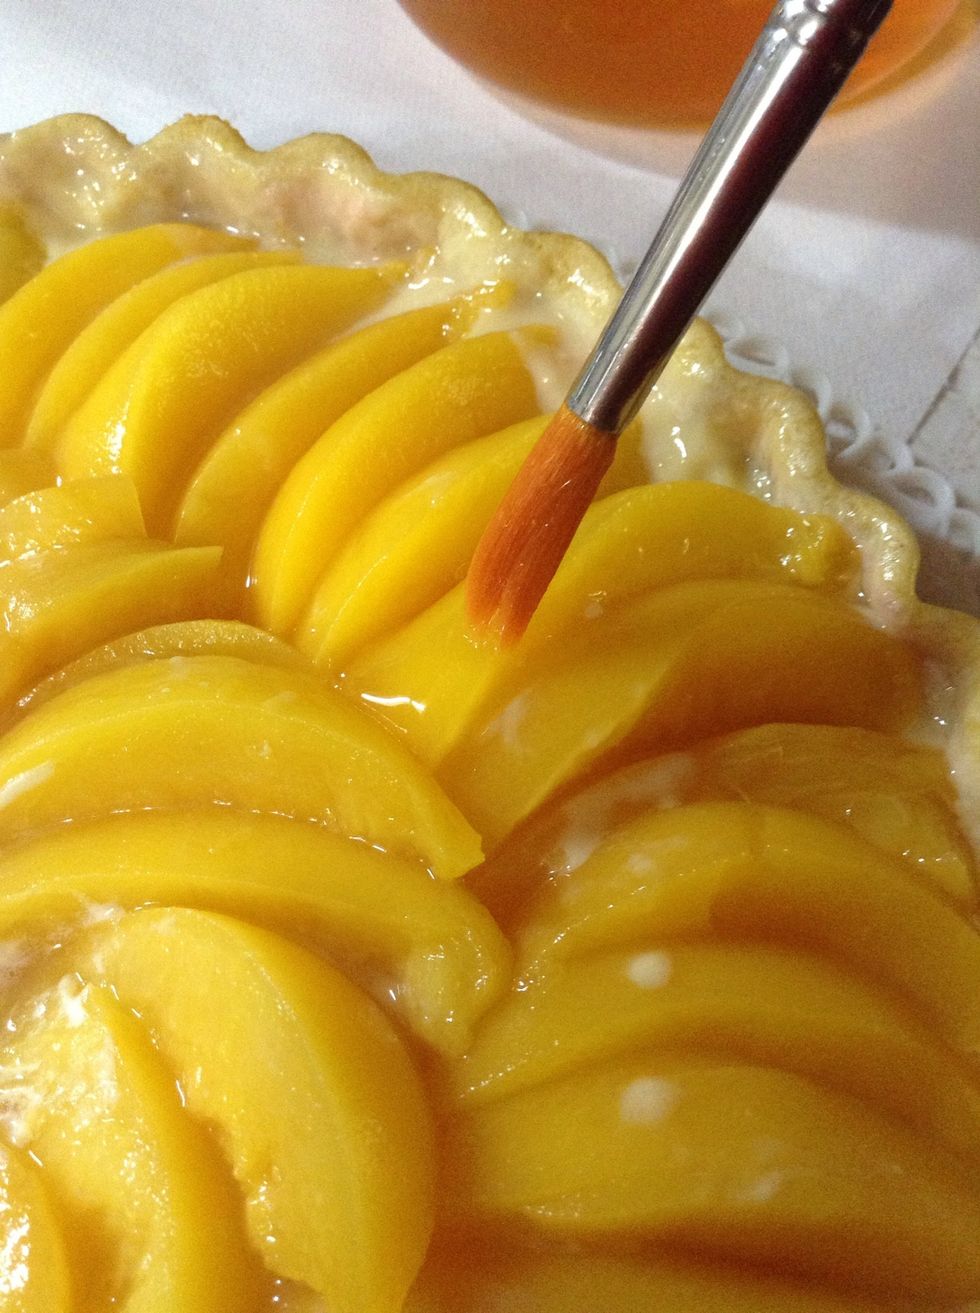
Start painting over the top of the pie.
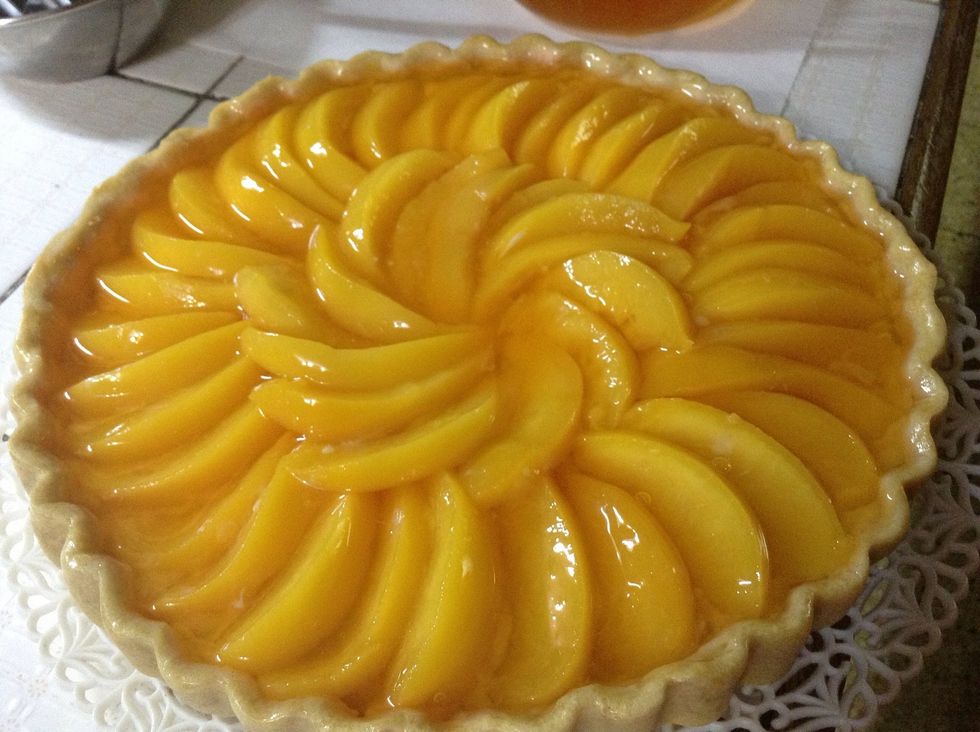
Voilá!
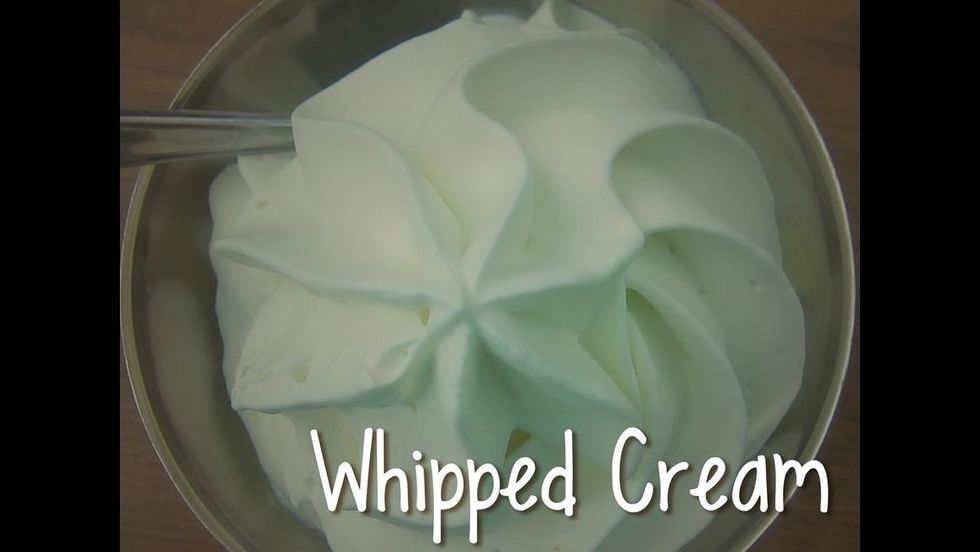

All you need is some milliliters of milk and whipped cream powder mix
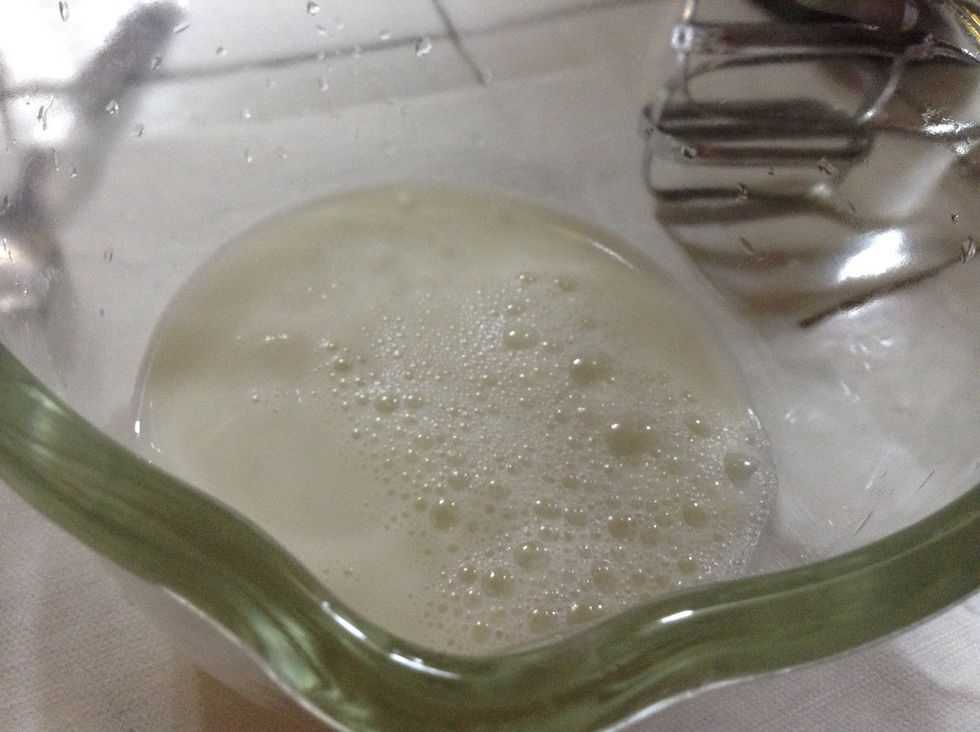
In a bowl, pour some milk. Preferably use cold milk
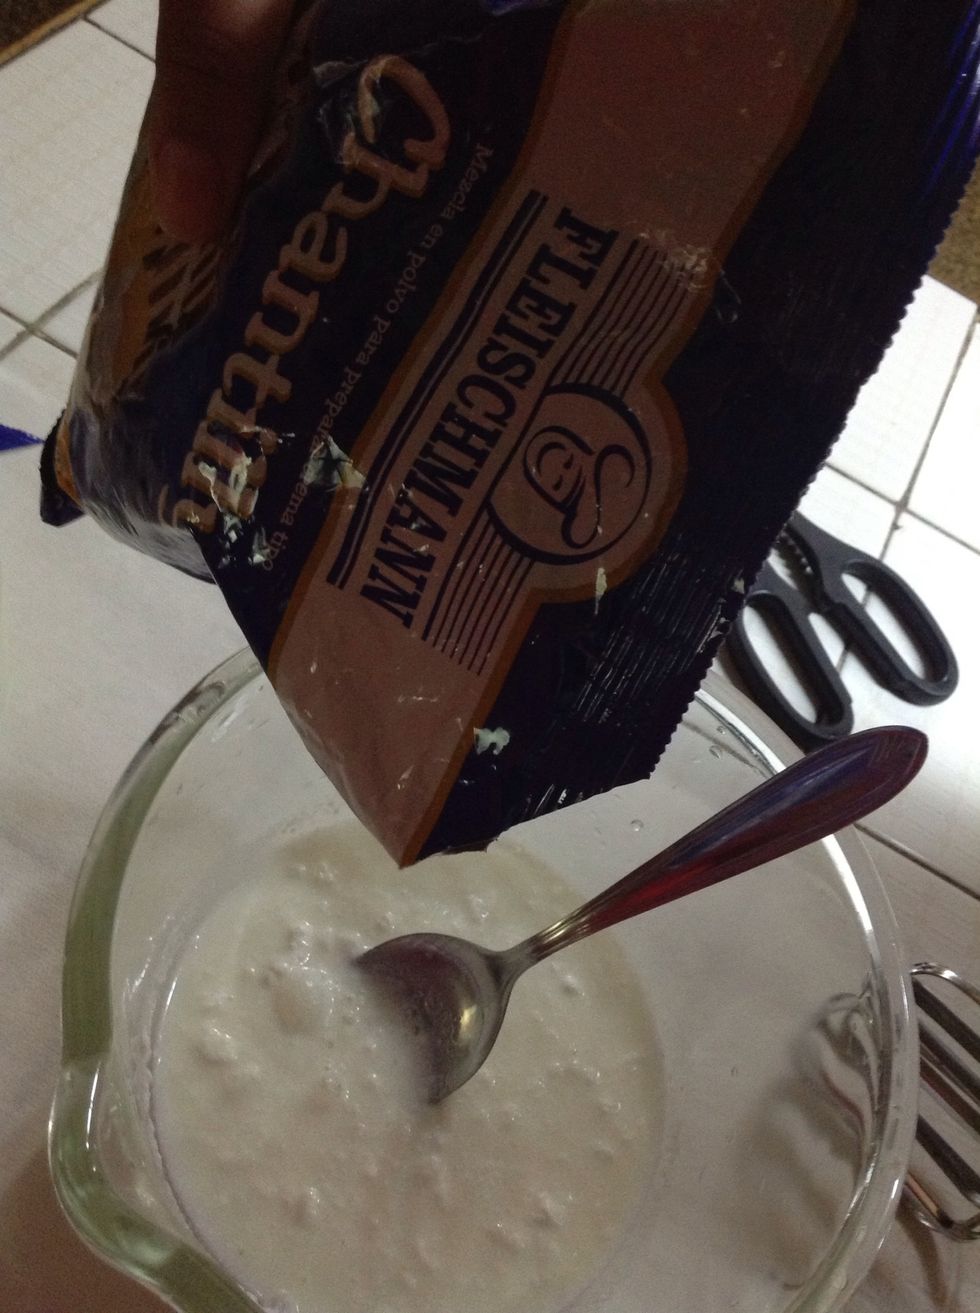
Add some powder mix
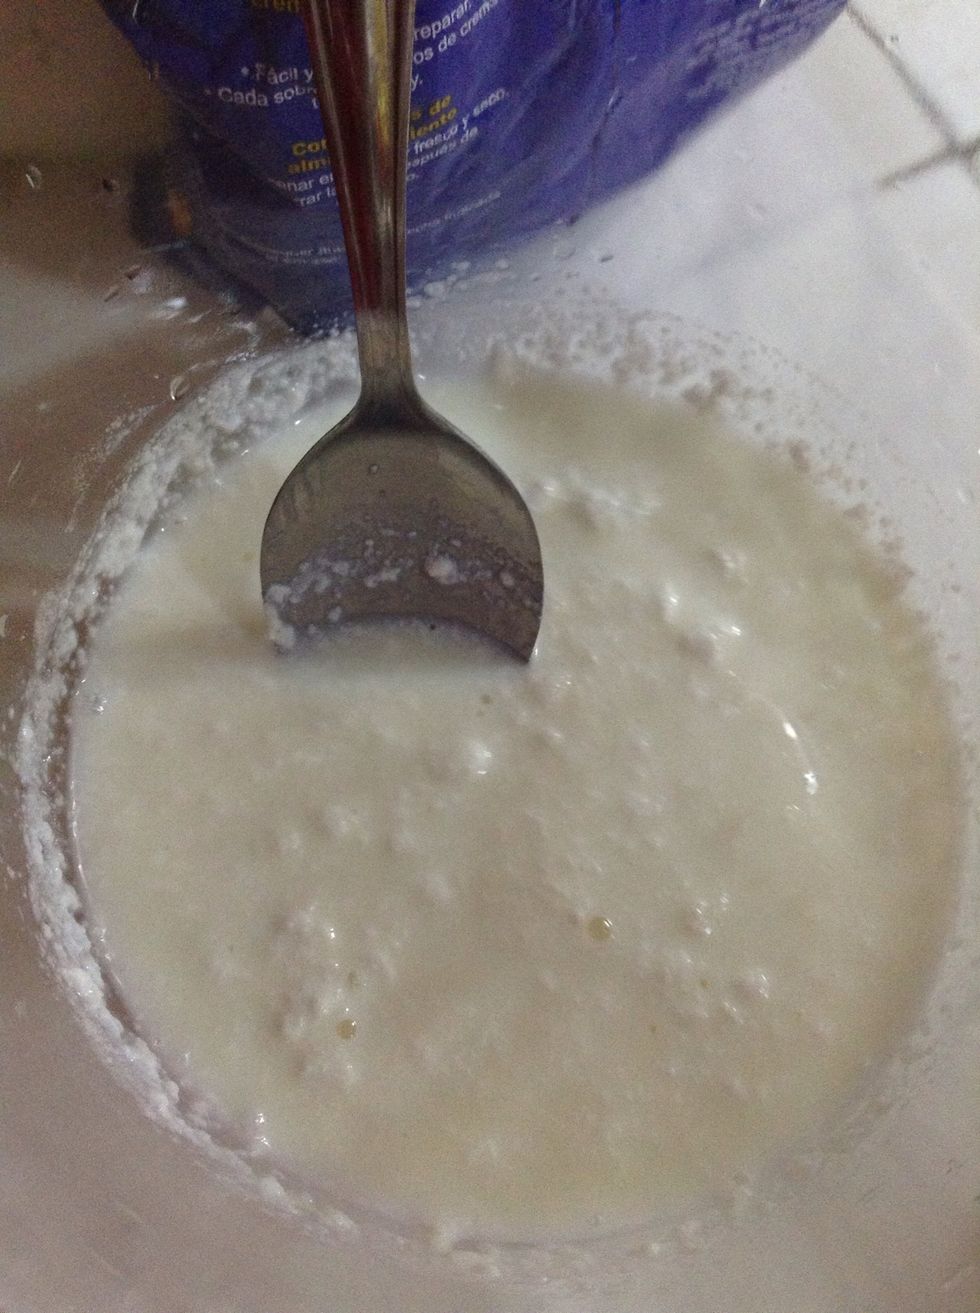
With the help of a spoon stir to help diluting the powder
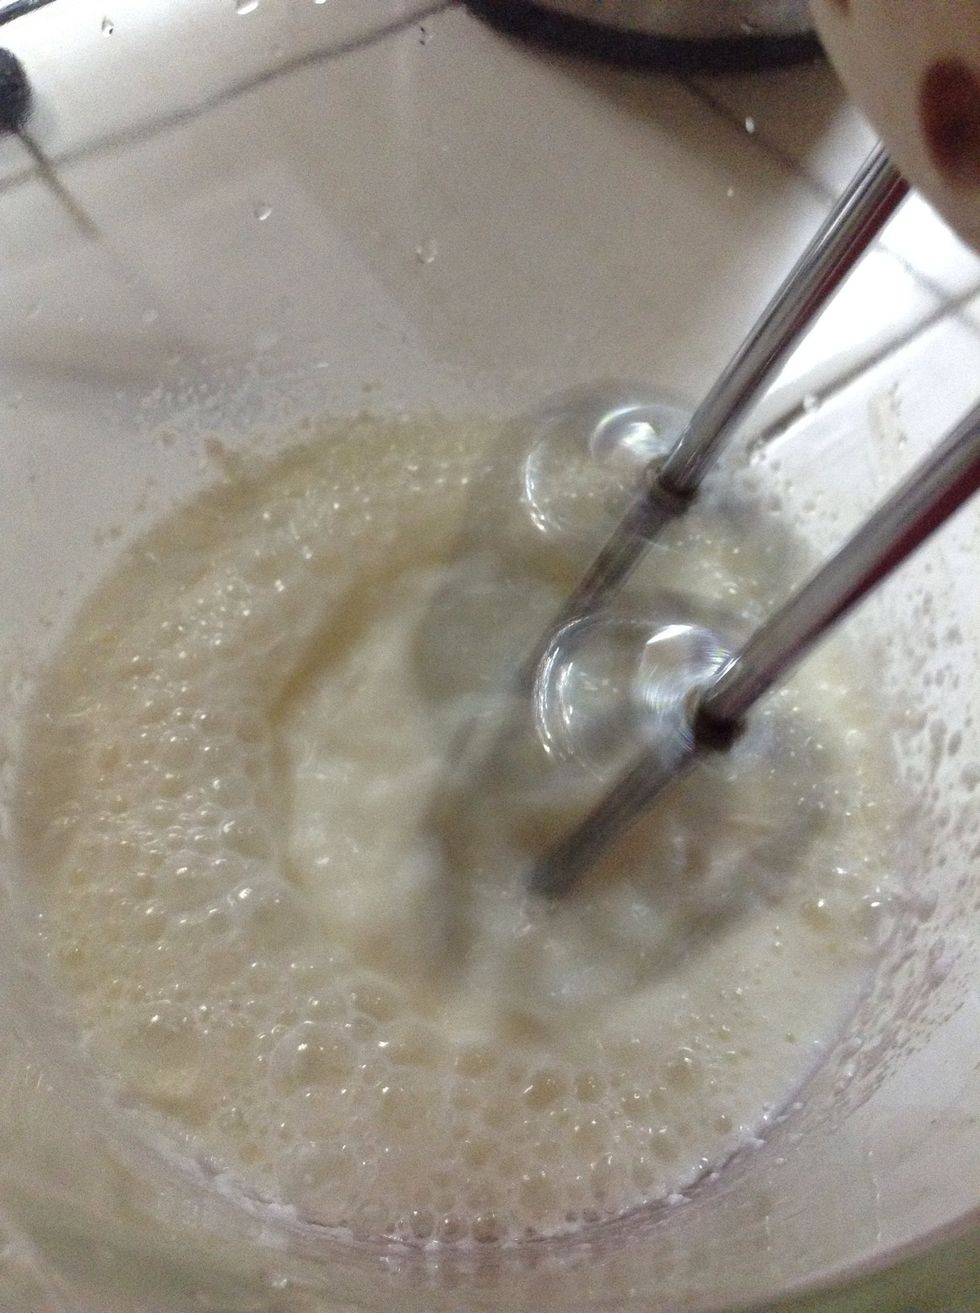
Mix it for about 5 minutes with the help on an electric mixer

You will start having an even mix.. Keep mixing!
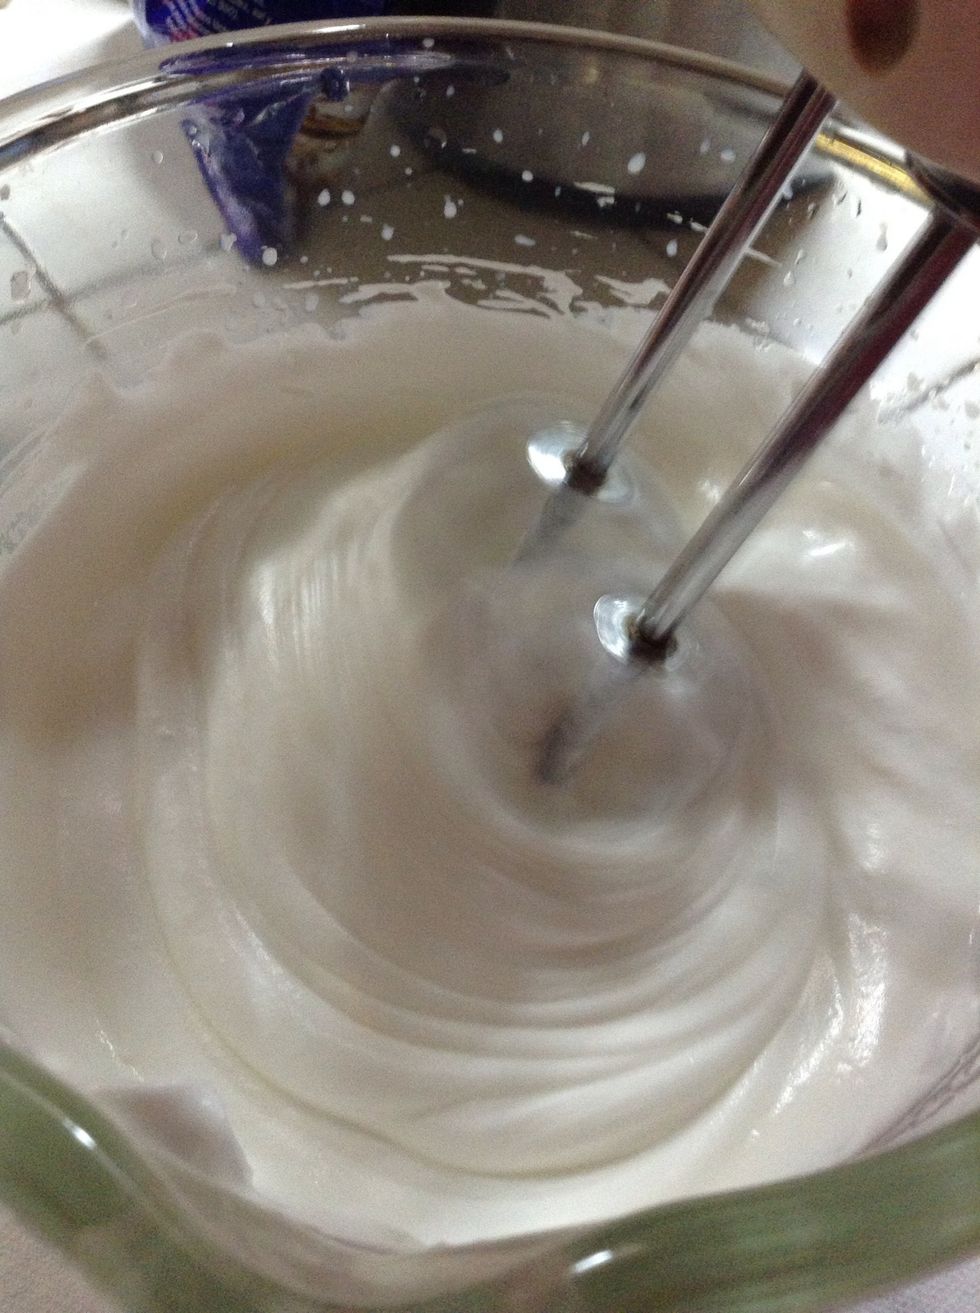
The mix starts thickening and having volume
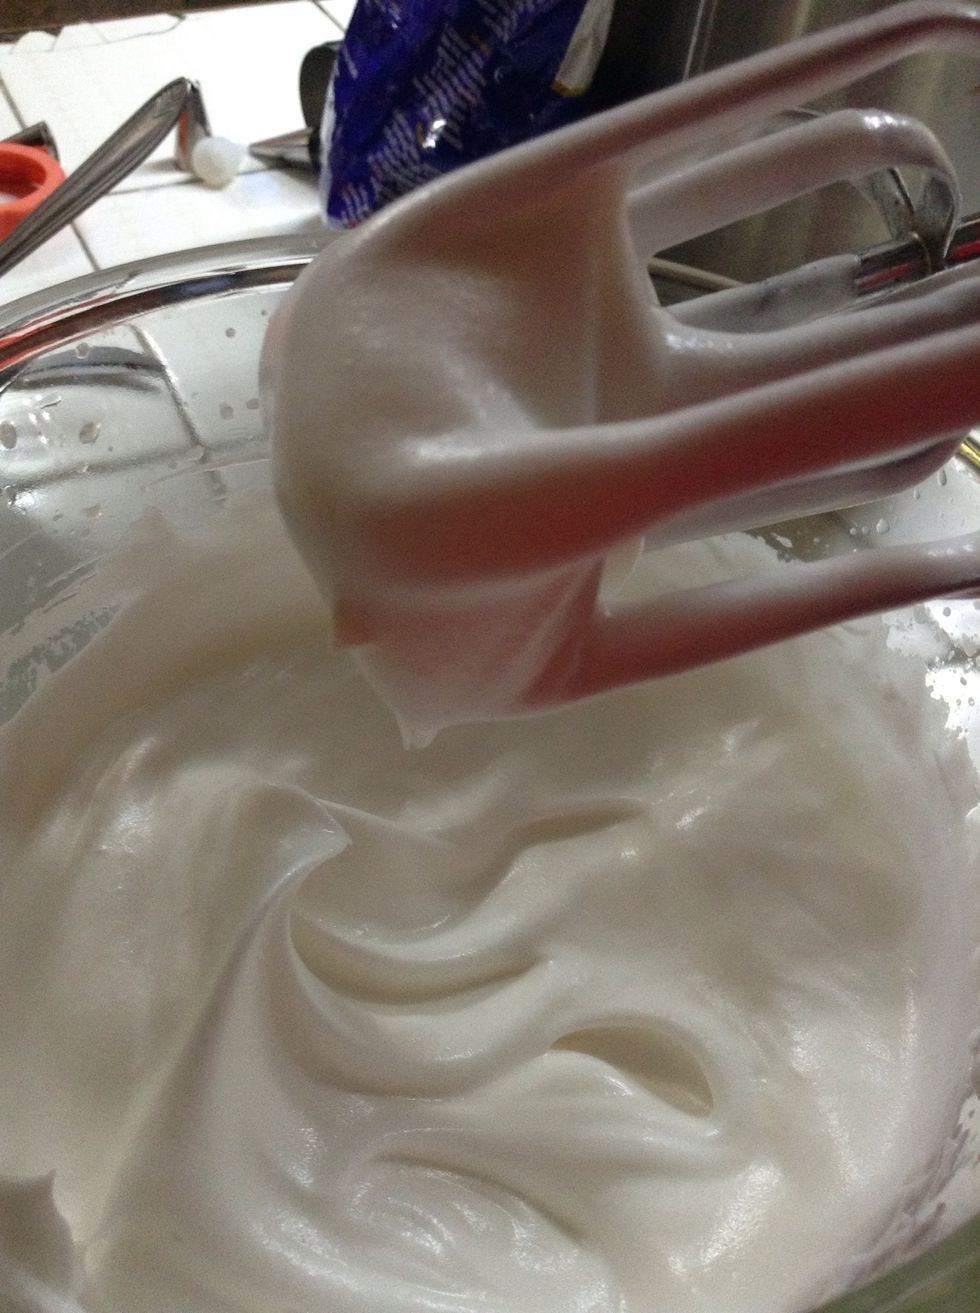
Once you achieve this texture where it doesn't drip, stop mixing.
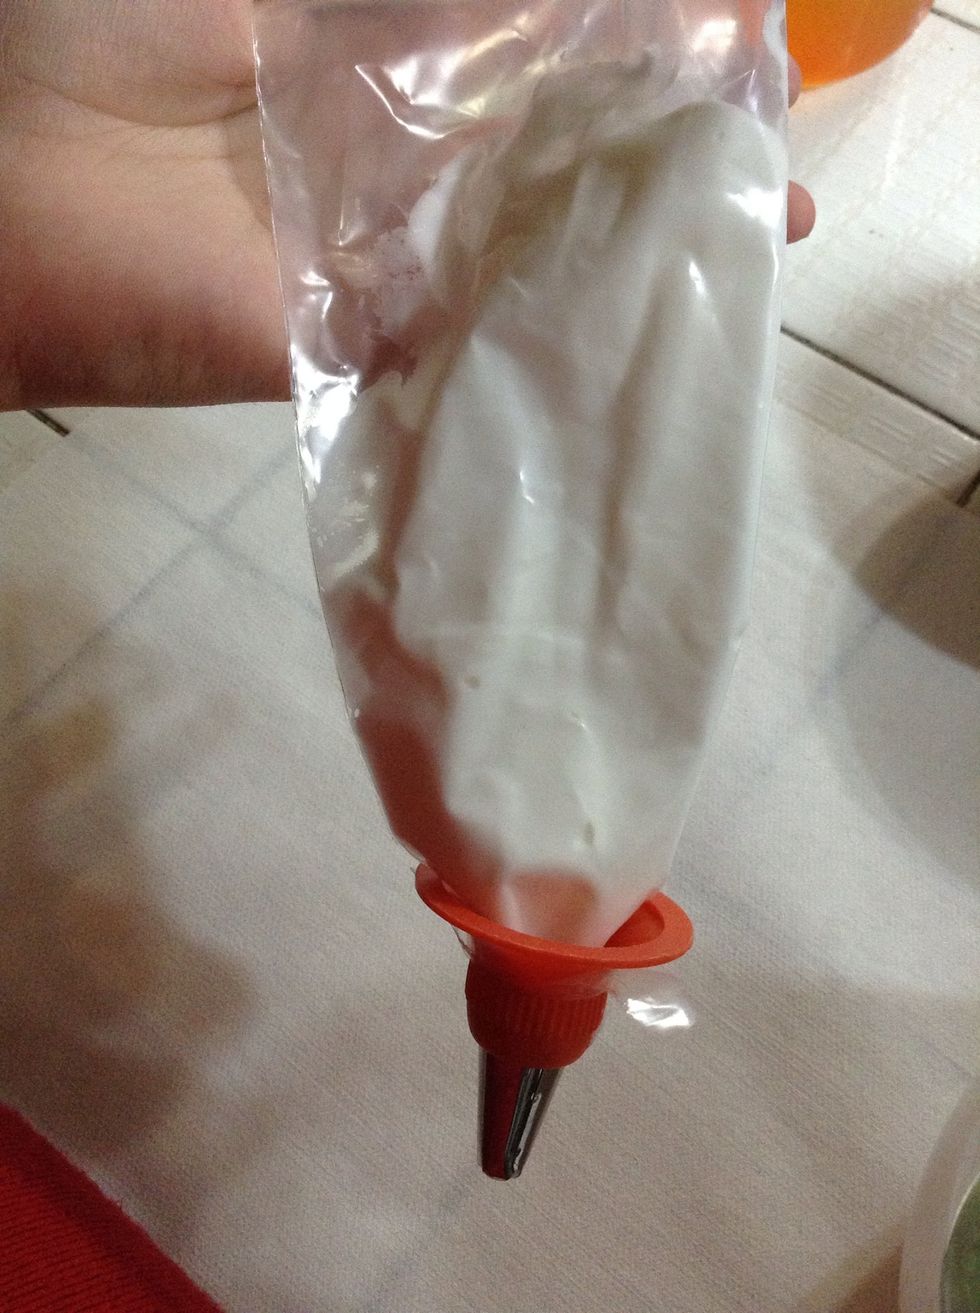
Prepare a pastry bag with the nozzle or tip you prefer. Put the whipped cream inside the pastry bag with a spatula or a spoon.
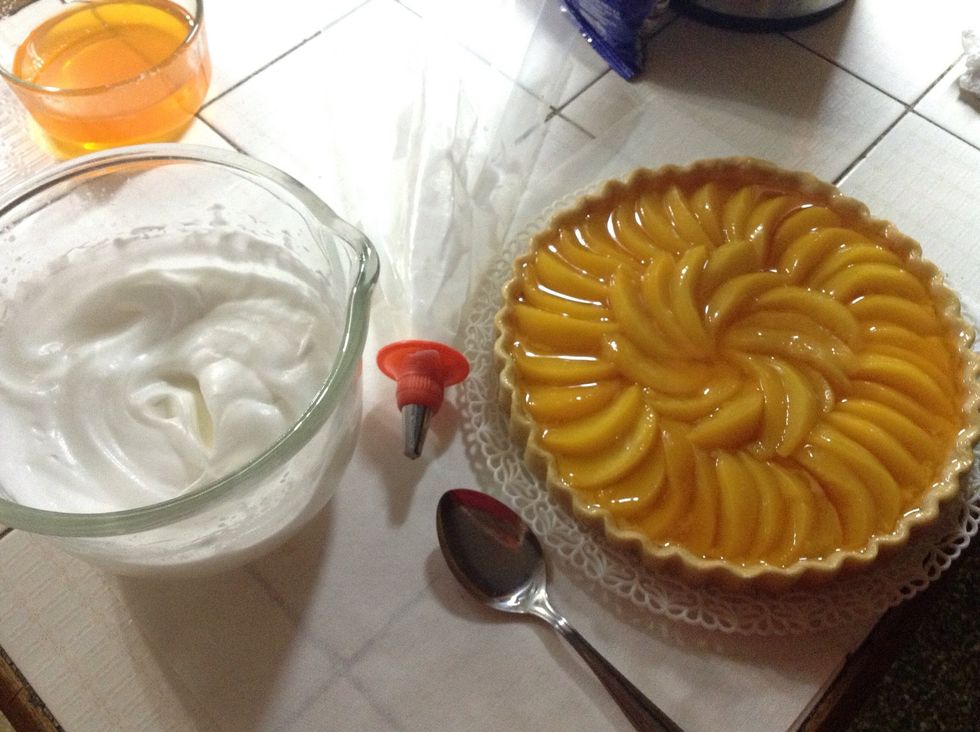
Now it'a time to finish the pie!
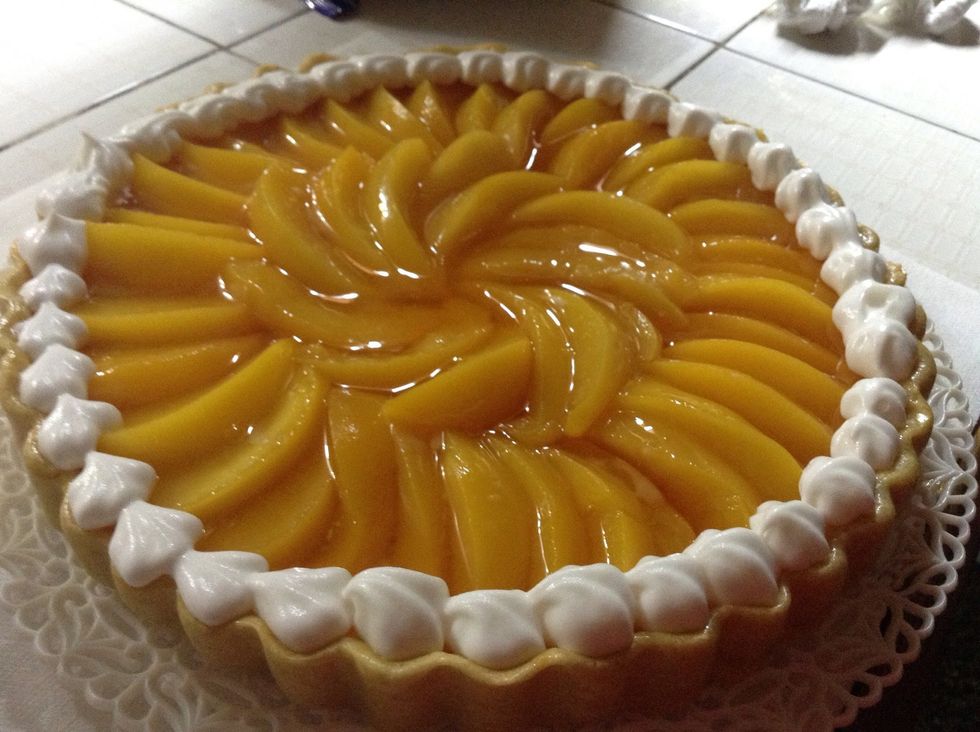
Decorate it however you like!
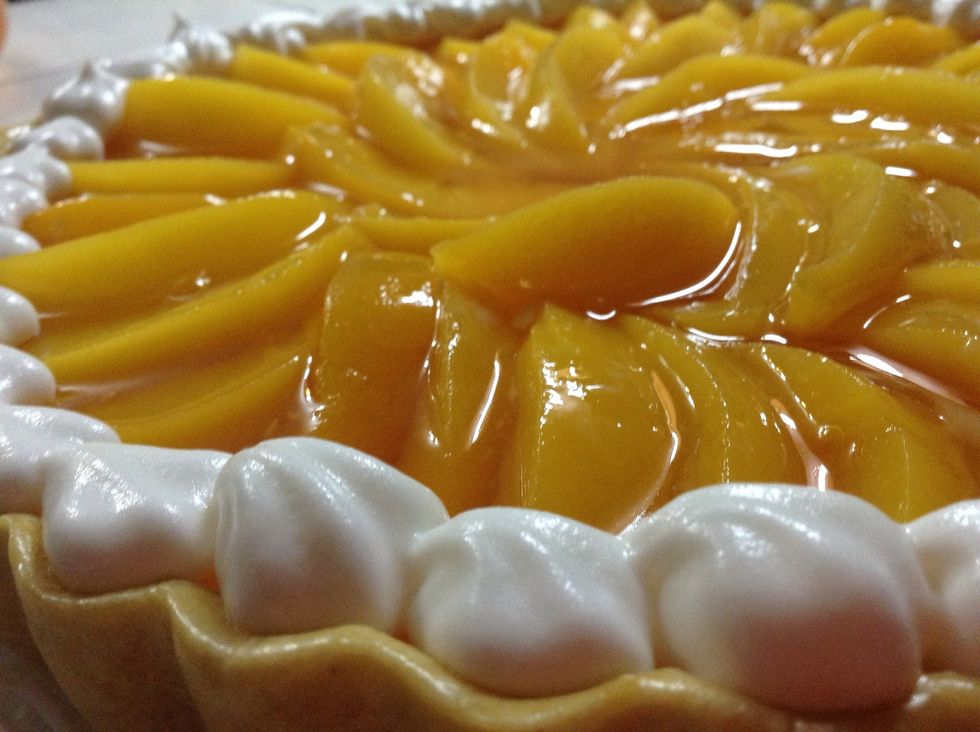
Enjoy! :)