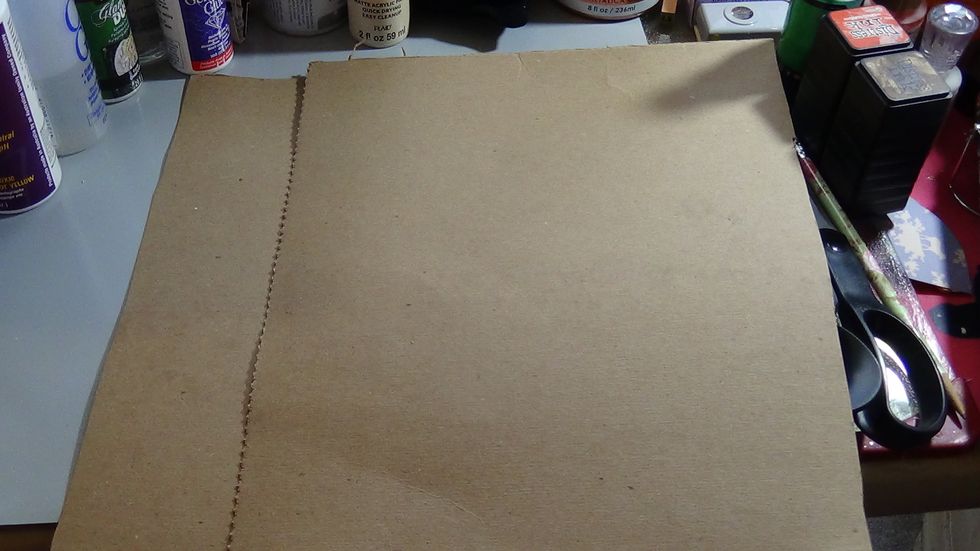
I began by using a light chipboard mailing envelope that I kept to be able to recycle it. This was the perfect project for this! You can also use a cereal box as well.

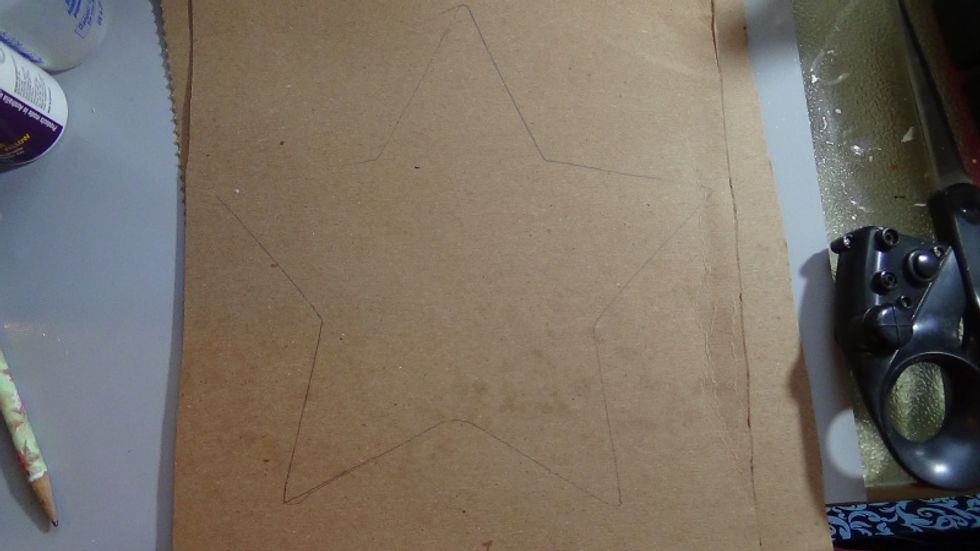
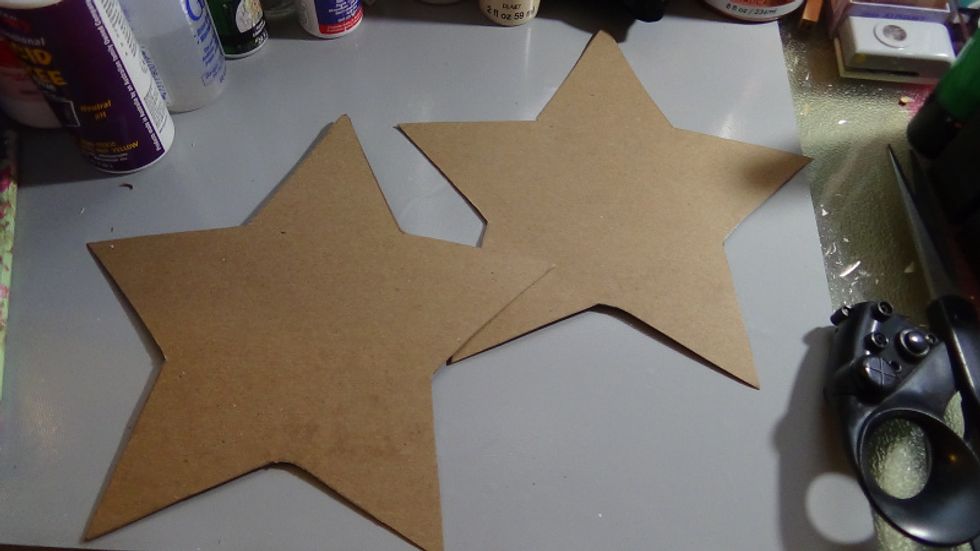
then had a mini album with the star pattern to trace it on both of the pieces of chipboard then cut them out.

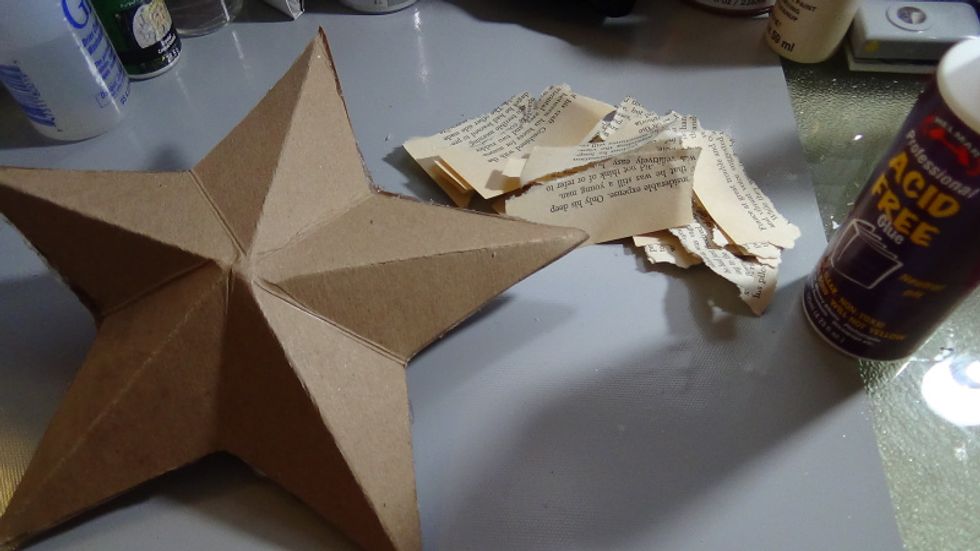
I then needed to score all of the points & open edges from the tip/opening to the center of the star. Did this with both .
Then I matched them up and adhered it using my hot glue gun since I needed it to glue fast.
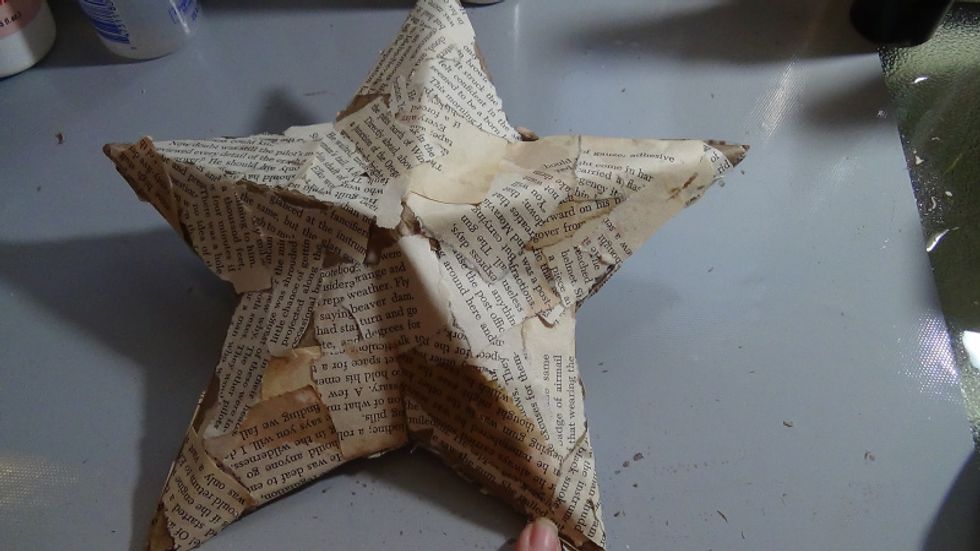
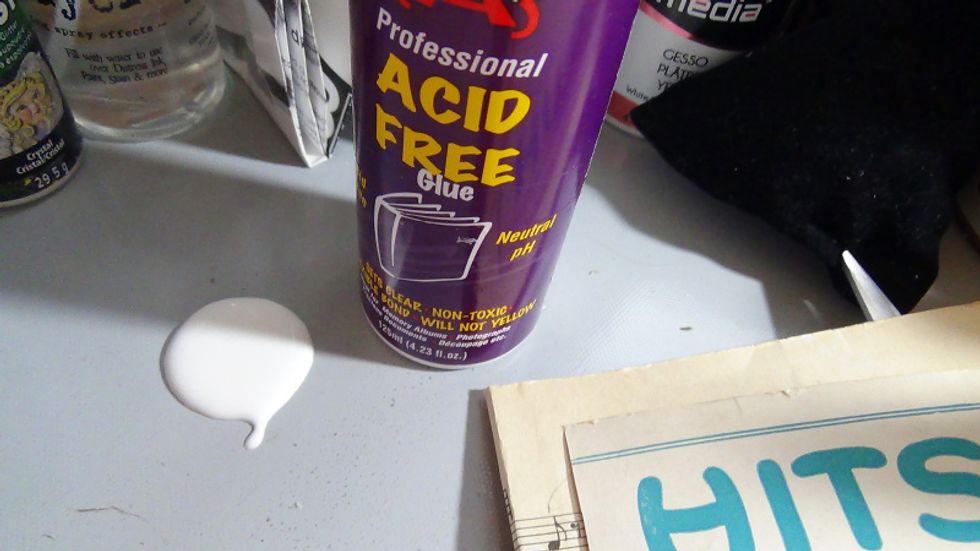
After cleaning up the edges from the glue strings, I then cut up my book paper to glue it on using Helmar Acid Free Glue
just poured some onto my craft mat and added a spray of water and used a paint brush to apply the book pages first.
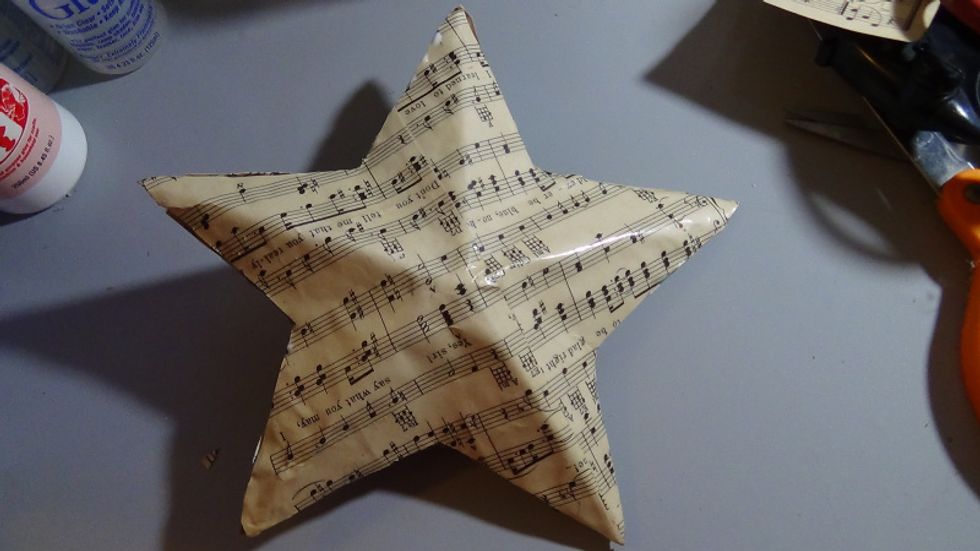
. I wanted to make it sturdy so being that I only had (1) music sheet, I let it dry before adding the last layer which was the music sheet
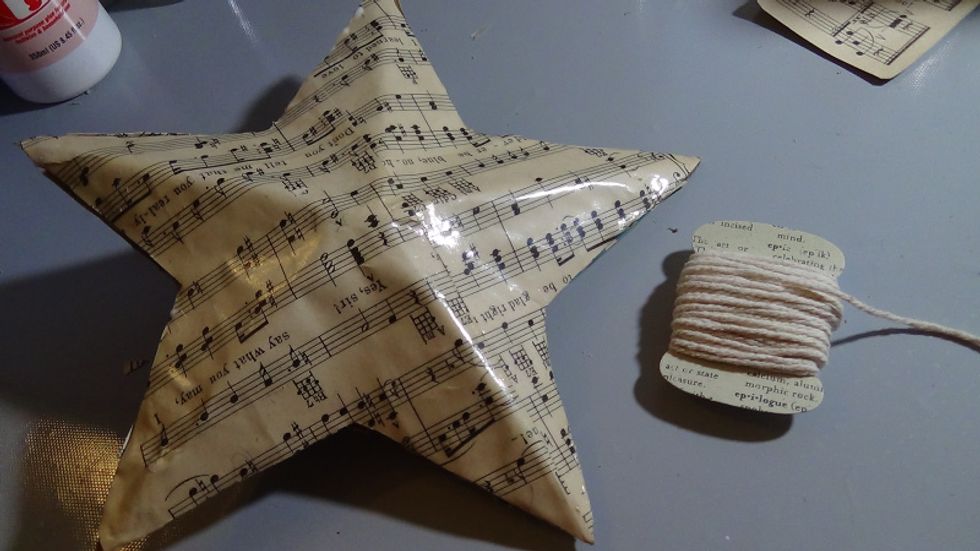
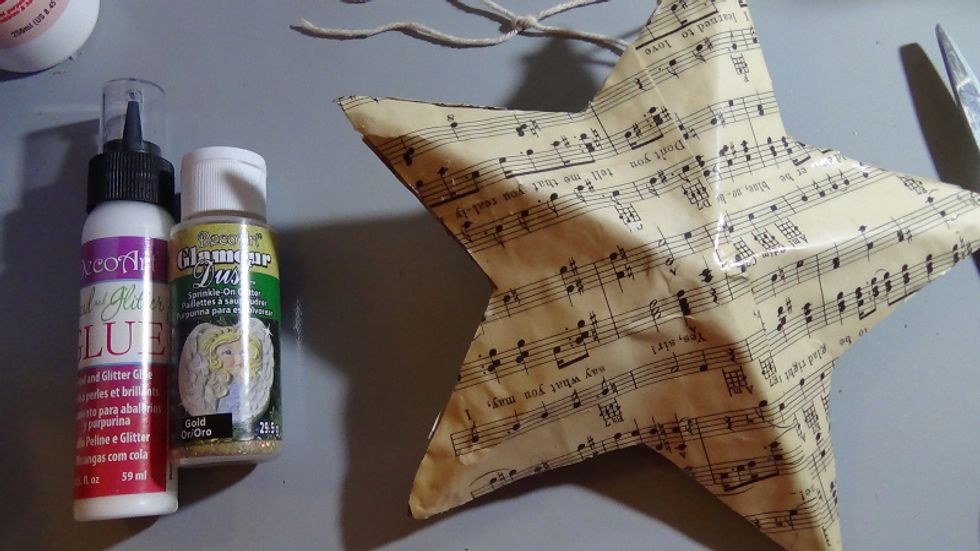
added one more layer of glue without water so it would seal and have a little shine.After it all dried completely, I made a whole using my crop a dile, then added twine to hang it up from.
wanted to add some glitter so I used some products from DecoArts, I applied the Glitter Glue along the edges of the star then sprinkled some of the glitter on top.
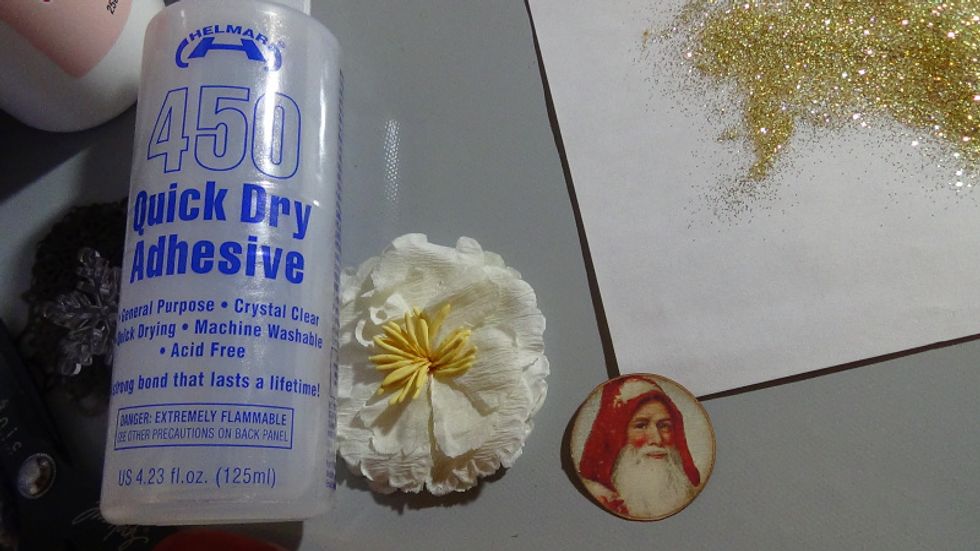
I cut this vintage Santa. I distressed the edges with Vintage photo distress ink. I adhered it to a white Prima flower using Helmar 450 Quick Dry Glue. Last I added some glitter to the flower
- Recycled Chipboard
- Helmar Acid Free Glue
- DecoArt Glitter
- DecoArt Bead and Glitter Glue